Transcripts
1. Introduction: I love playing piano because of the infinite possibilities
of expression and inspiring others to play
their favorite songs and compose is something
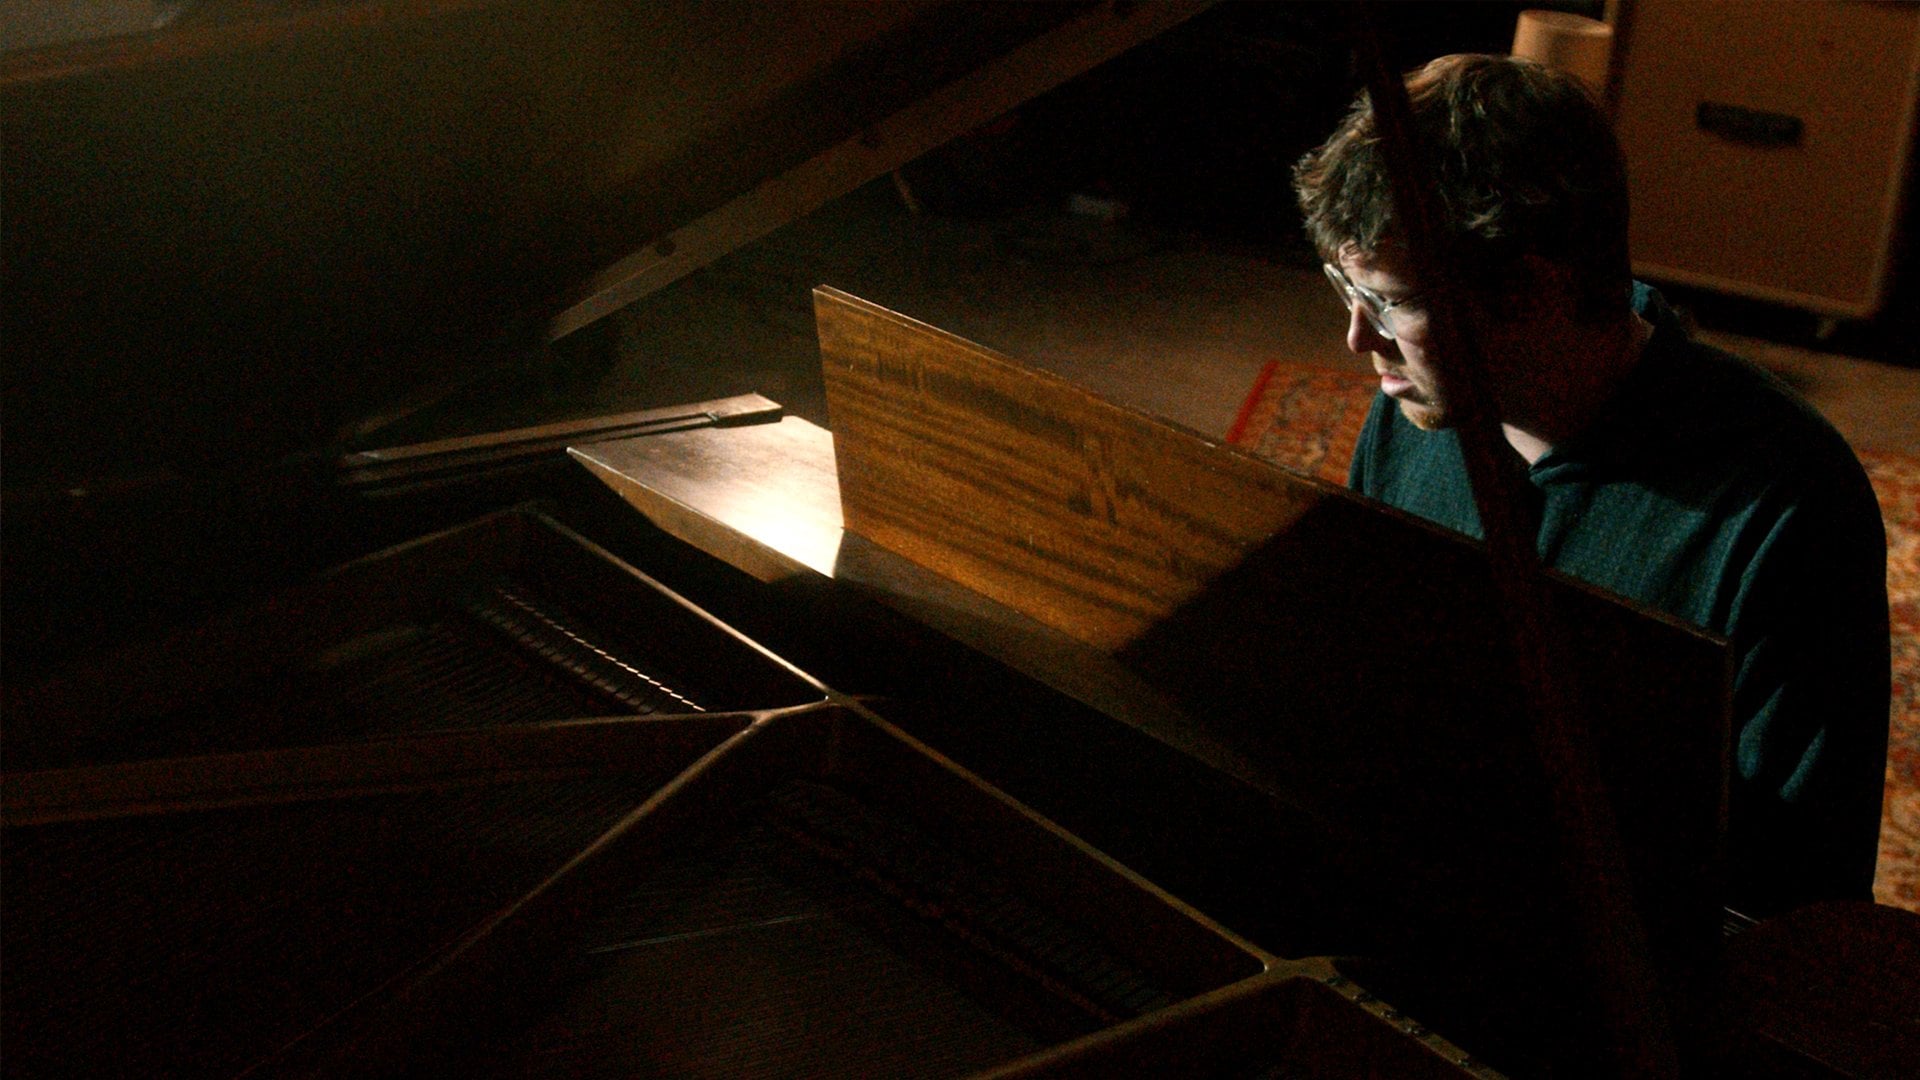
I'm very passionate about. Hi, I'm Alicia Fox, pianist, producer
and songwriter. I've been playing piano for
18 years and have performed internationally
and produced with artists such as tape McCrae, schoolboy Q in
music, sole child. If you're excited to learn
different approaches for playing your favorite songs
in creating arrangements. This class is for you. We're going to look
at ways to create advanced accompaniment
patterns that will work for pre-written songs or when writing original music. We will also look at
recording and releasing original music and different
approaches for these, you'll need either a piano or a keyboard and ideally
a sustained pedal. By the end of this class, you'll be able to take a simple chord progression and turned it into an advanced arrangement
with numerous techniques. Join me as we learn some fundamentals of
creating arrangements.
2. Getting Started: Many of the most in-demand PNS and keyboardist
are those who are able to create an
effective arrangement out of a simple
chord progression. When I play with live artists, many of them looked
to me to take the recorded version
of their song and transfer it into a
piano arrangement or something that will work
well with a live band. Mini songs have similar
chord progressions in being able to
transform them in add your own voice is a great
way to stand out as a pianist by practicing
concepts over multiple songs, we strengthen our ability
to approach new material, which is helpful
for songwriting, studio work, and
live performance. In this class, we'll explore more advanced
accompaniment patterns, different voicings
for extended chords, such as ninth and 11th voicings. How to use altered chords
to create tension, and how to use
rhythmic displacement to create excitement when
creating an arrangement. We will also discuss
releasing original music in different strategies
for how to get your music heard by
a larger audience. Join me as we dive into some advanced
arrangement concepts.
3. Practice Techniques: In this lesson, we're
going to be looking at practice techniques in
different ways in which you can apply the concepts to become a more well-rounded
pianist and composer. Since much of this class
is based on concepts, it's important to be
applying these in as many ways as possible
so that we can become a more well-rounded player
and have more options when approaching new material to establish an effective
practice routine, it's important to figure
out what time you feel most inspired and what time is
best for your creativity. Personally, I feel most
inspired in the morning. So I've developed a morning
routine in which I wake up, have a cup of coffee, and read the newspaper
before playing piano for an hour without
looking at my phone or introducing any
extra distractions. I think of it almost
as a meditation or journaling session in which
I'm letting ideas flow and getting comfortable
with the instrument this morning routine is the foundation of my day and it's important for me
that I start this way. You may find that you feel most inspired at night and
that's okay as well. It's important to try
different methods of practicing to see what
works best for you. Since a lot of piano is visualizing different
shapes and chords, I'd like to introduce
a practice technique for grouping chords
by how they appear. For this, let's dive
into seventh chords. We'll start by looking
at major seventh chords. C major seven. F major seventh are similar in that they
both use all white keys. In this way, we can classify or group these chords together. D major seventh, E
major seventh in a major seventh are similar and they all
start with a white key, followed by a black key, followed by a white key, followed by another black key. In my mind, I visualize
these chords the same way because they're layout
on the piano looks the same. In the same method,
D minor seven, E minor seven, and
a minor seventh, all use all white keys. While F minor seven,
G minor seven, and C minor seventh
start with a white key, followed by a black key, followed by a white key, followed by another black key. It's helpful to group these chords so that
we can get used to visualizing them and have them at our
fingertips quicker. There are a couple
of chords that are one-of-a-kind in
their composition, such as B dominant seventh, which is a white key followed by two black keys followed
by a white key. So it's important to remember these outliers and get used to recognizing them so that the
cords are at our fingertips. And as soon as we
see a chord symbol, It's almost like seeing a color in which we
don't have to think, Oh, that's green or red, but we instantly know
that is this chord. So you want to practice to a point where it
becomes second nature. So you can easily read
through core charts by seeing a chord and having your hand instantly
know what to play. Another important part of
developing your own sound on the piano is anytime you come
up with something you like, It's very important
to transpose it to all 12 keys so that you then have it as an option for any song or key signature. But first, let me again
explain what transposition is. If you remember, we looked
at the Circle of Fifths, which shows that
there's 12 unique keys. You can play any phrase or
melody in all of these keys. And it's important
to get used to transposing something in case you're performing
with a singer who's used to singing a song
in a different key. For this example, I'll
look at a short phrase and then transpose it
across all 12 keys. I'm going to play a
minor 11th voicing, starting on D minor in moving an inner
voicing with thirds. So let's say I was playing
and I discovered this and oh, I like the way that sounds. So instead of just having
that as an option in D minor, I'm going to move it
across all the keys. So I'll move up each node a
half-step to E-flat minor. So now I'm playing the
same relationship, but it's in a new key. I'll continue moving
it up the piano. So now I've got it in E minor, move up to F minor. Then I'll move it to F-sharp, followed by G minor,
A-flat minor. If this is a lot,
just bear with me. A minor, B-flat minor, B minor, C minor, C-sharp Minor. And finally back to D
minor, where we started. Now I'm visualizing
this because I'm very familiar with
the chromatic scale, which is all of the semitones. So each time I'm
moving the chord up, I'm moving one semitone
in one direction. This way, if I now
have this concept, which is a third roll
on a minor nine chord. So I started in D minor, but if there's a
song and F minor, I'm now able to apply this to any song because I've
learned it in every key. So let's say I was
approaching a song that was F minor to C minor. If you'd like, you can
improvise over this using the C minor scale
or the sea blues scale, which is C, E-flat, F, F sharp, G, B flat, and C. So now I'm going to
try demonstrating this technique
over these chords, which is F minor to C minor. So now I'm taking a simple concept and I'm
turning it into more of a full song or arrangement just by moving that one
concept through keys. A lot of times when I'm playing piano as part of my
morning routine, I'm simply moving
a concept around into different keys
as an exercise. But then occasionally,
I'll like it and want to develop it into
a full composition. To wrap up, we've looked
at the importance of establishing a routine
for practicing. And I'd like to emphasize
again that a daily practice, even for ten or 15 min, will yield better results
than practicing for 4 h one time and then leaving it alone when
you're beginning at piano, it can be overwhelming
because it's introducing a whole
world of concepts. In this way, learning piano can be similar to
learning how to bike, in which it's a bit of
a steep learning curve. But once you get going, you remember these
skills for life. In conclusion, it's
essential to be applying these concepts in as
many ways as possible. In anytime you come up
with something that resonates with you to transpose it to all 12 keys so you can effectively have it as a
tool at your disposal. In the next lesson, we're going to be diving
into some more advanced accompaniment patterns
that can help strengthen your skills
when approaching a new chord progression
or song structure.
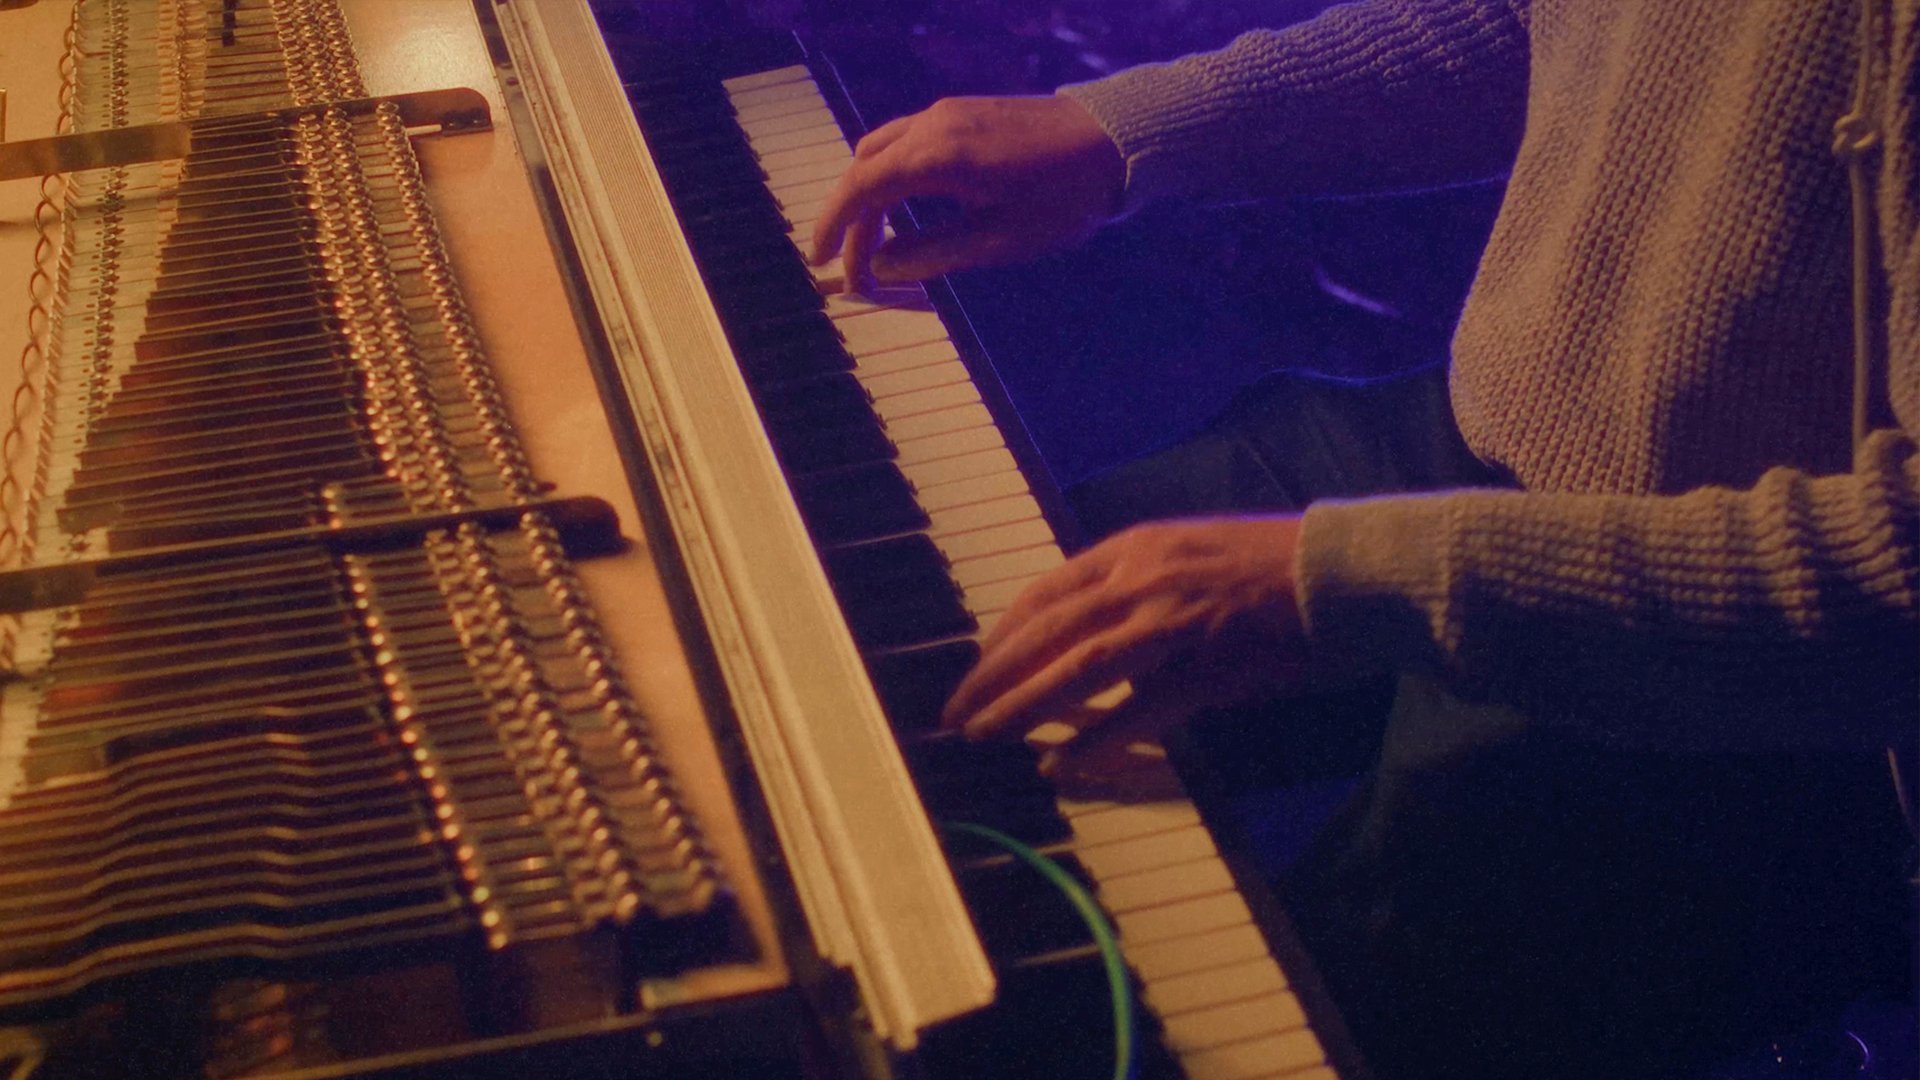
4. Accompaniment Patterns: Now that we've discussed
practice habits, let's jump into some
accompaniment patterns that can help bring a simple
chord progression to life. There's a lot of freedom and creativity that comes
with creating a pattern. In anytime you come up
with a pattern you like, it's important to apply it to as many songs or chord
progressions as possible. So you can internalize
that pattern and have it at your disposal
when approaching new music. To begin, I'd like to start with an intermediate pattern
over the chord progression, C major, E minor, a minor, and F major. For this pattern, we'll
only be using triads. So let's first play the
chords with our right hand. We've got C major, E minor, a minor, and F major. For this pattern,
I'm going to start by playing the top two notes, the third and the
fifth of the triad, and then moving down
to the first note. Once you're
comfortable with that, we can add in our left-hand
playing the root nodes. So this is an example of a basic pattern that then can be applied to any
chord progression. If someone gave us the
chord progression, D minor to G major, we could take the same pattern and apply it there,
which would be you can come up with your
own patterns or find patterns in popular songs
or classical music. Another great technique
for coming up with accompaniment patterns
or compositional tools, is to use a common tone, also known as a pedal tone. In this case, we come up with a chord progression that can
have three or four chords, all share one common node, which we pedal on top. For this example, I'm going
to use the pedal tone F, which will remain the top
note on all of these chords, even though they move
through different keys, I'll start out with
a chord, G minor. Then I'll go down to
G-flat major seven, which is in a different key, but it's still uses f, followed by f minor, and then followed
by E-flat minor, which also uses f. Now a pedal, that tone, which ties
the cords together. So even though the chords in this progression came
from multiple keys, the f or pedal tone helped as a glue to
tie them together, giving the listener
something to hold onto. Now, I'm going to take a
new progression and look at ways of using inversions
to bring it to life. This new progression is
going to include the chords, a flat major seven, D flat seven, C minor seventh. In a dominant
seventh, flat five. I'm going to play
that progression now and experiment with some different accompaniment
patterns using inversions or rearrangements of the same grouping of notes. You might notice
that occasionally when I'm playing a pattern, I'm repeating a note like I did for the guide tone exercise. In this case, I was playing in a flat major seven chord
and repeating the note G, because that acts as a pedal
tone between all the courts. Watch again as I pedaled G
throughout the progression. We can use pedal tone or common tone exercises
when approaching a new progression to add a note that can link
the courts together, connecting them
for the listener. Now that we've looked at some more advanced
accompaniment patterns, I'd like to return to
our first progression and invite you to practice that. Once again, that
progression was C major, E minor, a minor, and F. And we started by playing the third and
fifth of the voicing, then going down to the root. Like this. If you'd like another
accompaniment pattern, we can take the same
chord progression, but applying arpeggio starting from the top of the
chord and going down. For both examples, I was using
the same triad in court, but finding two different
accompaniment patterns or different variations
of playing the chords. Now this may take some practice, and it's important
to remember that this is an ongoing journey. In the next lesson, we're going to move
on by looking at some upper extension ninth
and 11th voicings that we can apply to the pre-existing
major and minor seventh chords we've already learned.
I'll see you there.
5. 9th and 11th Chords: In this lesson, we're gonna
be looking at how you can use ninth and 11th upper
extensions to add color to our pre-existing minor
and major seventh chords. Let's begin by taking the example of a D
minor seventh chord, which includes the notes DFA, and see, if we remember, the seventh note of this
chord was referred to as a seventh because it's
the seventh note of the corresponding scale. In the same way when
we add on our ninth, which is e. It's called
the ninth because it's nine notes up from the
original root, 123-45-6789. So a D minor ninth
chord would include the notes D, F, a, C, and E. If you think about it, this cord actually includes two chords we've
already looked at. It has an F major seven, as well as a D minor seven. So you can think
of a D minor ninth as a cousin of F major seven. Let's now familiarize ourselves with a couple of other
minor ninth chords. So to start, we'll look
into G minor seventh, which would include the notes G, B-flat, D, and F. When adding on the 9th, we can think of it
as the second node of the corresponding scale, which in this case would be
a whole step higher than g, or two semitones higher than the root g. So for G minor ninth, we would have G, B-flat, D, F, and a. This court also includes
a B-flat major seventh, as well as the G minor. We can tell that the minor ninth has a bit more of a
characteristic sound. It's not just happy or sad, but it has a bit more
dimension to it. Now let's practice switching
between D minor ninth. In G minor ninth. Adding a little
melodic variation. Excellent. After
getting familiar and comfortable with
those two chords, Let's look at one more
example, C minor nine. For this, we'll start
with C minor seventh, which we know
includes the notes C, E flat, G, and B flat. And then we'll add D on top, as this is the
second or ninth note of the corresponding scale. For these ninth chords, I'd
recommend using both hands. Your left hand can
play the triad, and your right hand can
play the upper extensions. If you want. It's important to go through the root position ninth chord by going through every note of the
chromatic scale, I'll demonstrate
that now briefly. If we started with
D minor ninth, would move up a half step
to E flat minor ninth, followed by E minor ninth, followed by F minor ninth, followed by F sharp minor nine, followed by G minor nine, followed by a flat minor ninth, followed by a minor ninth, then B-flat, then B, and C, Then C-sharp. And then we reach back to D. Once you've gotten
more familiar with the concept of minor ninths, let's add on the minor 11th. Let's go back to D minor ninth, D F-A-C-E. and look at
adding on the 11th, which in this case would be G. A D minor 11th
chord has five notes, D, F, a, C, E, G. And you can see it includes
a C major triad and a minor triad in F major
triad and a D minor triad. So it's a very dense chord with a very open sound because it has many major and minor chords giving it a complex character. Let's look now at G minor 11th, which would be G, B flat, D, F, a, C. In practice now, moving between these two chords. So we've got D to G. If you want, you can try the
arpeggios of these chords, which would be as another way
to get familiar with them. Now, let's talk about
major ninth chords. Let's look at C major seventh. To add on a ninth to this, we would go to the second or ninth note of the major scale. Since there are seven notes, these end up being the same
note, which would be d. So a C Major nine would
include the notes C, E, G, B, and D. Now let's look at F Major nine, which would include F-A-C-E.
and then the ninth note, which would be g. You can
tell that for these chords, we're always leaving
one white key off in playing the next note. Moving up in thirds. In the same way, to create
a major 11th chord, we would add on one more note. For an F, This would be b. So this is considered
a sharp 11th chord in F major seven sharp 11, which includes many
triads as well. E minor, C major, a minor. And these chords have a very bittersweet quality to them and can be very useful when creating
effective chord progressions. To recap, we looked at how we could create a minor ninth and a minor 11th by adding on those upper extensions from
the corresponding scale. And also how we can create a
major ninth or major 11th. These minor ninth
chords will become very useful as we move
to our next lesson, introducing altered
chords, which can be used to resolve
to the minor ninths, creating tension before release. In the next lesson, I hope you'll join me as
we discuss altered courts.
6. Altered Chords: Now that we've
discovered how to find minor ninth and 11th chords, I'd like to discuss a new topic in introduce altered courts. Altered chords are great
for creating tension before the release of going into a minor
ninth chord ulcer. Courts can also be
used to expand on a basic chord
progression and add more depth in story plot to it. First of all, let's look at
what an altered chord is. We'll start by taking a
dominant seventh chord. In this case, I'll start
with the a dominant seventh, which includes the
notes a, C-sharp, E and G. In altered chord is a dominant seventh with a raised
5th and a raised ninth. So we would raise the fifth
scale degree and move the e up to F. And we would
also add a sharp knife, which is also known as a minor
third adding see on top. So for an altered chord, we would have a C-sharp, E, F, G, and C. Now this is a very dissonant in open sound and can be used to create tension before resolving
back to the minor ninth. Let's imagine we have a
basic progression of D minor ninth to a minor ninth. We can think of these
as r to home bases. They're both constant
sounds that are pretty. So for the D minor ninth, we've got D, F, a, C, E, and the a minor ninth, we've got a CBGB. We can think of
this as a roadmap, and these are our
two destinations. Now, we're going to expand on this progression by placing
an altered chord in front of each of
the minor ninths to enhance it and give us
somewhere to resolve two. Anytime you have a
minor ninth chord, you can place an altered
chord in front of it and find the altered chord
based off the fifth that would resolve into that
corresponding minor nine. So we're starting
with D minor nine. And we know we're gonna
go into a minor ninth. Sort of find the altered chord
that would go before that. I would look at the fifth of
a minor ninth, which is e. So now let's find e altered. We'll start by finding the
E dominant seventh chord, which is E, G-sharp, B, and D. And then we'll raise the fifth, moving to be up to see
an ad on a G on top, giving us E, G-sharp, C, D, and G. This is an e altered. So now I'll try
playing the D minor. And instead of going
straight into the a minor, I'll play the E altered before, which will increase tension, thereby making the
resolution even sweeter. So now we've got D minor. Then e altered a minor. So we still, it helps set up the landing for us
to get to a minor. Now, before we go
back to D minor, as this is a looping
progression, will need to find the altered
chord off of the five of D, which in this case would be a. And we already learned
a altered chord. But once again, we
would start with the a dominant seventh chord. Then we'd move up the
fifth to F sharp, the ninth, which is C,
giving us a C-sharp, E, F, G, and C. So now we've turned a two chord progression into essentially a four
chord progression. We're still landing on our home basis of D minor
ninth and a minor ninth. But we're placing an
altered chord before them to increase the tension
before the resolution. I'll play just the
minor ninth chords, and then I'll add in
the altered chords so you can see how it sounds and how this is basically an enhancement to the
pre-existing progression. We'll start out with just
D minor to a. Right. I'm just rolling the courts. Now we'll add in the
alternate courts DNA altered. So it adds a bit
more story plot. D, e altered, a altered,
leads back to D. Then he also then a. Again. Let's look at one more example and how we can apply
all three chords. Let's say for this example, we've got a progression
in C minor, which starts with
a C minor nine, then goes down to a B-flat, then goes down to an a
flat and an F minor. So once again, our
original progression is C, B flat, a flat, then F minor. So we know if we're going
to lead back into C minor, we can place an altered chord coming off of the
fifth of that key. Of C minor would be G. So let's find a G altered chord. So we'll start with a
G dominant seventh. Then we'll raise the
fifth, the half-step, and add the sharp nine, or minor third of that key, giving us GB sharp, F, B-flat. Now I'll try placing that
altered chord before the C minor to add some
dimension to the progression. G. Alternatively, you can improvise over this with
the sea blues scale. She altered, finished
with an arpeggio. To recap, altered chords
are an effective tool for increasing tension in adding to the contour of a progression. Anytime you have a
minor ninth chord, you can place an altered
chord before it coming off of the fifth of the minor ninth
that it's leading into. In the next lesson, we're going
to look at how we can use rhythmic displacement
to increase excitement when creating
an arrangement.
7. Rhythmic Displacement: In this lesson, we're gonna
be looking at how we can use rhythmic displacement
to increase excitement in add variation
to our arrangements. In most popular music, the common time signature is 44, meaning there's four
beats in every measure. In this next example, we'll be looking at ways to add up different
subdivisions of time to imply different
time signatures while still staying in for, for, for the first example, I'd like to take
two simple chords and imagine that we
have eight beats. I'll be moving between a D
minor nine and a G7 chord. I'll start out by playing
four beats of each chord. I've got 1234, 1234, 1234, 1234. So a basic way to
add variation to this would be defined two odd numbers that
still add up to eight, but give us the illusion
of other time signatures. For this example, I'll use five beats and then three beats. So we'll still be in 44 time, but we'll be switching to the second chord slightly later. Now I'll demonstrate
123-451-2345. So instead of playing
four beats of each, now we've added some
variation by playing the first chord for five beats
and the second for three. Let's take another progression. We've already
looked at, C major, E minor to a minor to F. And I'll play five
beats of the C, three beats of E minor, five beats of a in five
beats of f1234512, 12345123. You can add a bit
of variation to any progression by instead of
doing four for adding 5.3. Now another subdivision
of 44 would be 16th notes four
times four is 16. So for the next exercise, we're gonna get
more advanced and look at a 16 note phrase. For this example,
I'm going to use two chords that we use
in a previous lesson, a minor nine to D minor nine. I'll start out by playing four groupings of four for
each chord, adding up to 16. For this exercise, we'll
be using arpeggios. One-two-three-four,
one-two-three-four, one-two-three-four, one-two-three-four,
one-two-three-four. The goal with this next exercise is to take subdivisions of 16, but use odd numbers
that will add up to 16, but will give us the impression
of other time signatures. You can think about what
numbers would add up to 16. And it's great to use
numbers such as 57.9. We could use 556, which would add up to 16, keeping us in 44 time, but implying a five. So for these progressions, I'll use a five-note
arpeggio, 12345. So I'll do one pattern of 51, pattern of five and
then a pattern of six. So we're staying in 44 time, but implying other time feels 123-45-1234, 512-34-5612, 1234 5123 4512 3456
1234 5123 4512, 3456, 1234, 5123, 4512, 3456. Let's look at another example. I'm thinking of numbers
that will add up to 16. And I know that five-sevenths
and nines are odd numbers, so they create a good
sense of time field. For this example, I'll do 754, which also adds up to 16. This rhythmic
displacement exercise is a great way to create
excitement and variations with our phrases by adding
an odd numbers while still being enforced
for are common time. For this next example, I'll use a pattern of nine
and then a pattern of seven, which will add up to 16. I'll use the same two chords, a minor ninth to D minor nine. A pattern of nine can also be thought of as three
patterns of three. So I'll be using that here. One-two-three, one-two-three,
one-two-three, one-two-three, one-two-three,
one-two-three, one-two-three, one-two-three, one-two-three, one-two-three, one-two-three, one-two-three, one-two-three, one-two-three, one-two-three, one-two-three, one-two-three, one-two-three, one-two-three, one-two-three. This concept is similar to programming hi-hats
when you're producing, in which you can use
different variations to imply other time fields while
still remaining in 44. It's important to
remember that the piano is a percussive
string instrument. And we can take a
lot of concepts from drums and apply them to piano. To conclude, in this exercise, we looked at ways you can create different subdivisions that will still add up to 16 or eight. So we remain in common time, but imply different time fields. In the next lesson, we're gonna be looking
at how you can use repeated note arpeggios
or runs to create variation when approaching
an original song or an arrangement of an existing song.
I'll see you there.
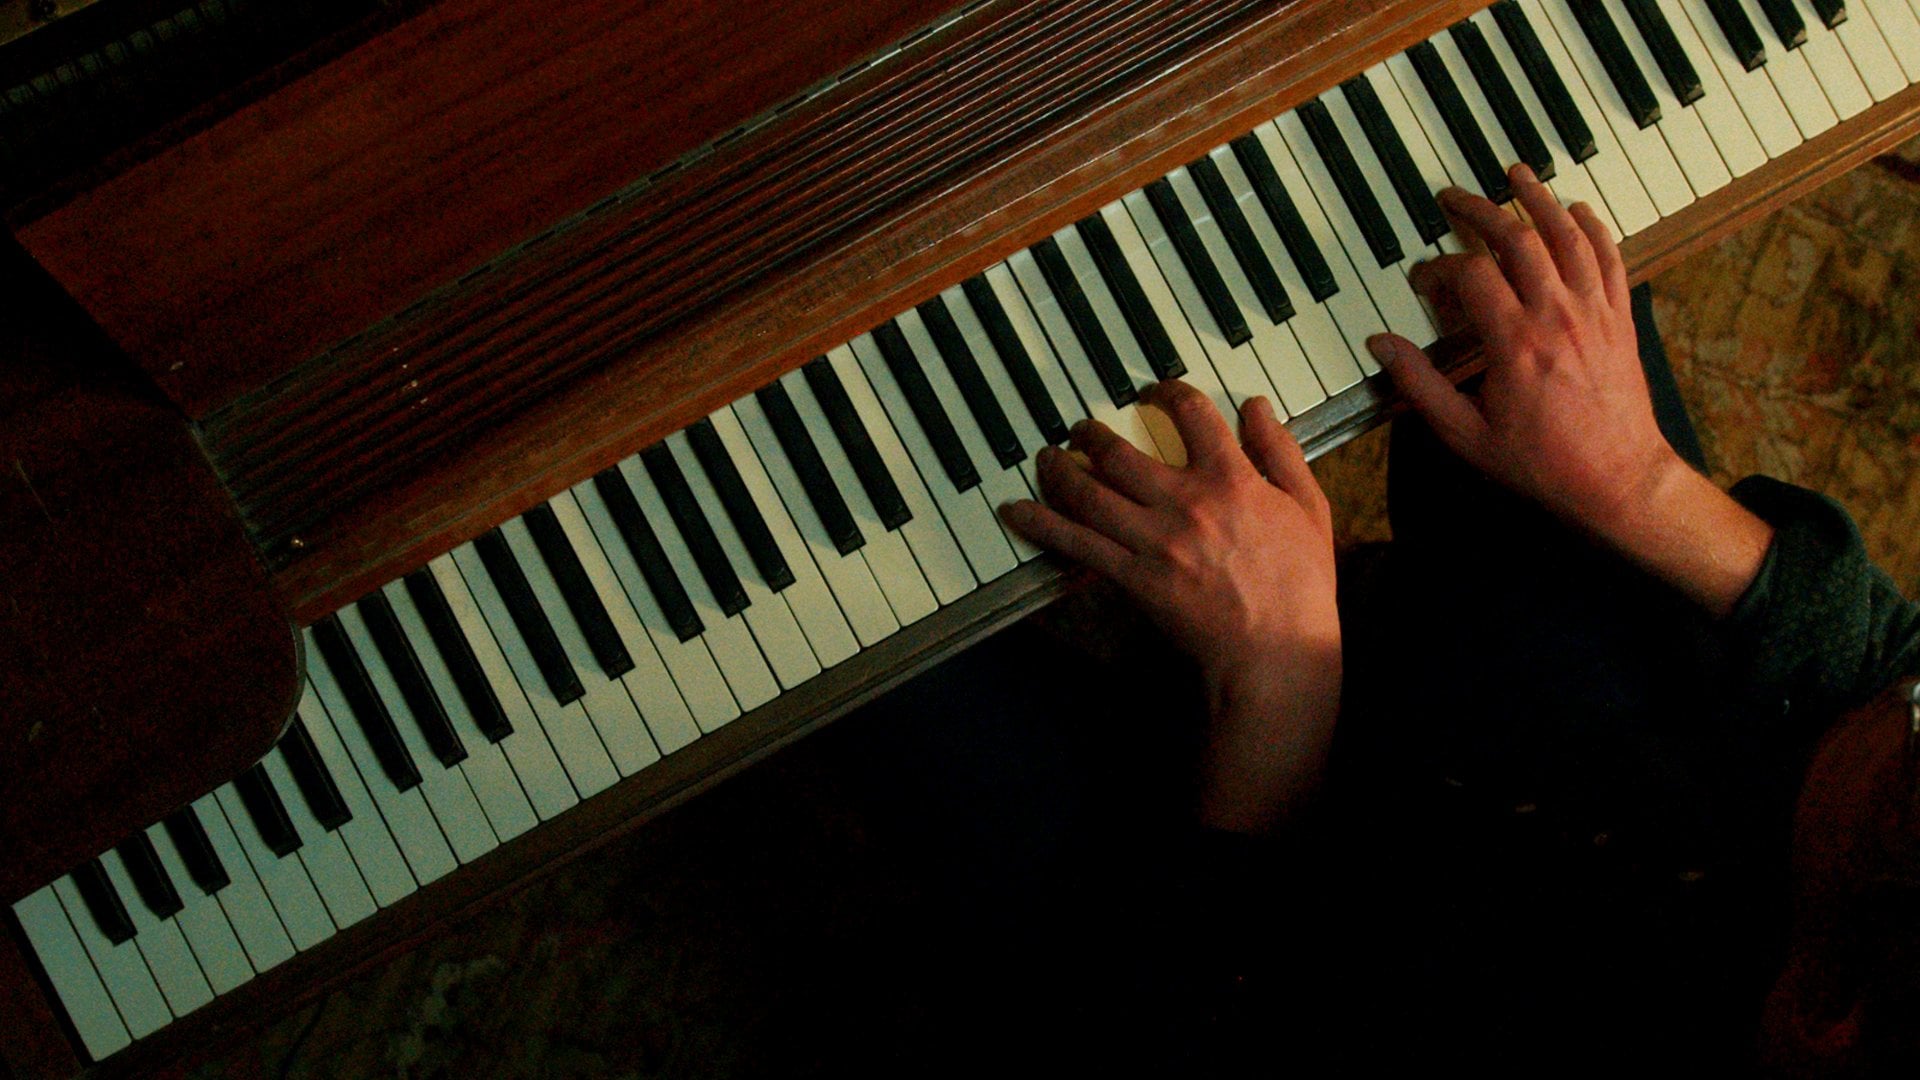
8. Repeated Note Arpeggios: In this lesson, we're gonna
be looking at how you can use repeated
note arpeggios or runs to create a
nice texture for an arrangement or as a vehicle for an
original composition. Repeated note arpeggios or runs deal with using a couple of repeated notes to create a texture that moves
across the piano. Anytime you come up with a repeated note
arpeggio you like, I'd encourage you to try it. It all 12 keys so you can
have it at your disposal. We'll start by coming up with a sixth note phrase over
the chord D minor seven. Since D minor comes from
the C major CTL scale, I'll be using the C
major scale when I'm thinking about which notes
to use for my arpeggio. For this one, I'm
gonna be coming up with a sixth note phrase, or two repeated
three note phrases. I'll start on the note E, and I'll go E, F, C, G, a G. It's important to
remember with these, we want to end the phrase
near where we started in octave higher so that we can
repeat it across the octave. So for this I'll do EFC GAG, which lines me
backup to E, E fc. So I'll try playing that now. I could also go back down starting on the GAG
and then the CFE. So even though it's just
six notes repeating, it sounds like a
much longer phrase because we're moving
in across the octave. If I like this phrase, I'll then try it in every key so I can get
the most out of it. Now I'll move this same
phrase up to F minor. So for this, I would start
on G and try it in this key. Now we'll try playing
from D minor to F minor in turn this into
a basic composition. Back to D. The down. A lot of times when I'm
practicing piano in the morning, I'm running through
different phrases in trying to apply them in
as many ways as possible, in seeing what chords they work over as a compositional tool. Now, let's come up with an eighth note phrase
over another chord. For this example, I'll
come up with a phrase over the chord G minor
ninth, G, B-flat, D, F. And since this is a chord that comes out
of the F major scale, I'll be using that
scale when I come up with options for my melody, I'm going to start on
the note C and come up with an eighth note phrase
that will end near the C, an octave higher
so it can repeat. So I just came up with, see, a, B-Flat, C, D, F, B-flat, which lands me close to
the sea in octave higher, so I can play it
across the octaves. Here we go like this. So we repeat it moving
across the piano. I'll try it again
slowly starting lower. It's important when
practicing these phrases to start slowly
and then gradually increased tempo
using a metronome online or a physical one. I'll start practicing
it a little more quickly and see if I
can move through it. If I like this, I'll try
moving it to another key. Let's do B flat minor. So basically, I took one concept and then to get
it to come out in my playing, I've moved it around
into different keys. So if I'm playing with
friends and someone has a composition that needs
an ending on B-flat minor, I can use the same phrase
that I came up with in G minor and have
multiple options. I'll continue practicing
this way so that every time I see a chord and I want to come up with a repeated phrase. I've moved through dozens of
variations so that I have lots of things that
I'm able to go to and I'm not locked
into one option. These repeated note phrases
are great for ending songs, but can also be
used in soloing or improvising and as a
compositional tool. Now, I'd like you
to try creating your own six note phrase over
the cord, E minor ninth. For this, you can use
the key of D major as E minor is a cord
that comes out of the CTL scale for D major. In our next lesson, we're gonna look at
how you can take drop-two voicings to take a pre-existing melody
and really make it sing.
9. Advanced Voicings: In this lesson, we're gonna look at how we can use drop-two voicings to take a
pre-existing melody and turned it into
a chordal pattern. Drop-two voicings refers to a concept in which
you use two chords, a C major chord and
a B diminished. And we alternate between the
inversions of these chords, creating a CTL scale. This is a great method for developing coral
melodies because we can take any melody and
apply drop-two voicings to it, thereby bring it to life in
adding another dimension. This is a similar concept
to how choir directors or arrangers would take a melody and arrange it for four voices. In this example, we're gonna
be using the key of C major, and I'm going to
explain how you can find drop-two
voicings in this key, we're going to be starting
with a C major sixth chord, which includes the notes C, E, G, and a. A is the sixth note
of this scale. We'll start by moving through all the inversions
of this chord. So we've got CGA. Then we'll move this
C up an octave, giving us e GAAC. Move the e up an octave, giving us g ACE, and then move up again, giving us ACG, which is
similar to a minor seventh, before finally landing on the same court in octave higher. For this exercise,
will always be playing in inversion
of c major six, or a B diminished seventh. Now let's look at that. Be diminished seventh,
which includes the notes B, D, F, and a flat. Let's go through the
inversions of this chord. So we'll move the b up, giving us D, F, a flat, and B. Move the bottom note up again, giving us F, a flat, B, and D. And then
we'll move up again, giving us a flat, B, D, and F, before returning
to the same chord, an octave higher, F and a flat, we'll start with the C, E, G, a chord. Then we'll move to the next
version of B diminished, which is D, F, a flat B. Before moving to the next
version of the C6 chord, again, E GAAC, before moving to the next version
of B diminished, F, a flat BD. Before moving to the next
version is C6, GAAC. On to the next version of B
diminished, a-flat, B, D, F. The next version
is C6, a, C, E, G. And then the next, the final version of B
diminished B, D, F, A-flat. So once again, this looks like
this with just right hand. So whatever note we have on top, we can apply that voicing, whether it's a C major
six or a B diminished, and fill in the
chord underneath, I'm going to take a
basic melody in C major and demonstrate how you can play it
with these courts. It's important to remember that the B diminished chord always resolves back to
the C major six. So this technique creates an intrinsic tension
and resolution, thereby enhancing the
sound of this progression. I'll take a basic melody
like Mary Had a Little Lamb. And try it with these
drop-two voicings. Anytime there's a note, C, E, G, or a, I'll use some version
of the C major sixth chord. Anytime the melody
note is D, F, a flat, or B, I'll use some inversion
of the B diminished chord. So since we started on e, i filled in underneath with E, C, a G. For the next note, D, I realized this
was the B diminished, so I filled in with dB, a flat F, followed by C, a, G. So I was able to take a
melody and bring it to life. Let's take another
example of a melody, e.g. this G, F, E, C, D, with drop-two voicings, that would sound like this. So you can see we're taking a simple melody and then
applying these voicings, whether it's an
inversion of the C major six or the B Diminished. This can be a great
technique for bringing melodies to life if we're
playing with our left hand. And also for creating substitutions for pre-existing
chord progressions. I'll play that melody again with a stride pattern
with my left hand. We can now bring
in our left hand. And these are called drop-two voicings because you can
take the second note from the top and
the right hand is playing and drop it
down the octave. For our left hand. To demonstrate, we'll start
with this chord, E GAAC. We can take the second note
from the top, which is a, and move it down
with our left hand, giving us now pattern. These are shapes
that choir directors will use a lot when
arranging for voice, as there's a natural
movement between the nodes. In once again, I'm
explaining the drop-two voicing
concept in C major, but you can use it
in any key by using the one root major and the
seven diminished chord. Now I'm going to take a
simple progression and show how it can be expanded by
using drop-two voicings. For this example, I'll use a progression we've
looked at before, a minor seven, D minor seven. Since a minor is the
relative key of C major, I'll use the C major drop twos
we just learned to create a substitution from getting
from a minor to D minor. We know we're going from a to D. So I'm going to add in a
drop to Melody in-between, creating more tension and more movement before we
get to our home-base. So instead of just going
today, I'm now gonna go. I'll do another example. We're still landing on D, but we've created an
entire world of getting there by moving through
the drop-two voicings. Let's do another example. You can notice that
time I played in a altered chord
before the D minor, a lot of times it's easier
to visualize this by writing down all the notes of the two chords you're using. So you can have that as a reference when creating
a chordal melody. Anytime you have a melody, you can use these
drop-two voicings to alternate between
the one major six and the seven diminished
and bring the melody to life with a full
CTL arrangement. As an assignment, I'd
like for you to take a melody in C major
in orchestrated, given the drop twos
that we just went over, after you've done that, you can upload it to
the project gallery. And I look forward to
seeing what you create.
10. Voicing Practice: Welcome back. In this lesson, we're gonna
be looking at how you can use inner voicings to create more movement inside
of your courts. Inner voicings refers to a concept in which
you move notes inside the cord while the
outer voices remain the same. In this lesson, I'm going to demonstrate multiple
concepts that you can apply for inner voicings over a D minor seventh chord. When creating inner voicings, it's great to use intervals
such as thirds or six, which are consonant intervals in sound good for harmonies. Let's look at an example
of a D minor ninth chord, in which case we
will have D, F, a, C with the left hand, and AGC with my right hand. The C note is going
to stay on top, but I'm going to
move these thirds in-between to pivot
from E and G to F and a back to E and G.
So as we can see, the cord stays the same, but there's an inner voice
movement moving from E to G, up to FNA and back down. Or if I find an inner
voicing I like, I'll move it and transpose
it to different keys. I'll transpose this around, moving it up to F minor. Now, let's look at another
example of an inner voice, and we could use over an
F major seventh chord. For this chord, Let's
start with this voicing, C, G, and then the right
hand will play a and E. The interval between
the top note on both hands is a sixth, meaning that we can move this around and it will sound
like a great harmony. So I'll go up and play. My right hand is playing EDC, while my left hand
plays G, F, E. So once again, it's so this inner voice
is moving while the outer voices are
staying the same. I'll demonstrate that, moving it around to a couple of keys. Anytime I come up with an inner voice saying
that resonates with me, I tried to apply it in as
many ways as possible. So then I have it as another
concept that I can go to. Let's look at one more
example of an inner voicing. This time over a C
minor ninth chord. For this, I'll be playing
C, E flat, and G, The triad with my
left hand and B-flat, D and F with my right hand. I'll be pivoting
between B-flat and D, and C and E flat. So let's try that now. I'm switching between
B-flat and D, and C and E flat and then
moving back to b flat and d. So the F on top is
staying the same, but the voicing is moving
inside of the chord. One song I wrote, Grand
Canyon uses this concept. It goes like this. You can see the
outer notes stay the same while the movement
is inside of the chord, creating a very nice
texture. Listen again. To conclude. Inner voicings are great concept for creating movement inside of the chords while retaining the
outer structure. Anytime you come up with an inner voicing
pattern that you like, I encourage you to transpose
it to all 12 keys so that you can have it at your fingertips when
approaching new material. In the next lesson,
we're going to look at how we can take
some of the concepts we've learned on piano
and apply them towards producing with a digital
audio workstation. I hope you'll join me. It's gonna be a lot of fun.
11. Producing and Recording: Welcome back. In this lesson, we're gonna be learning how we can use
some of the concepts we've learned on piano and transfer them to a
production contexts. For this example, I'll
be using Ableton Live, which is a DAW or Digital
Audio Workstation. There are a lot of
other options of Dawes you can use
such as GarageBand, Logic Pro, or Fruity loops, all of which do similar things. For this lesson, I've
got a midi keyboard, which is plugged
into my computer, meaning that all of
the sounds I play on the keyboard can then control the sounds on the computer and record them into the project. When starting
producing, I like to come up with a chord
progression first, then add in a baseline melody in additional elements such
as drums and other things. For this example, I'm going
to start by recording in a chord progression
in the key of C major. I'm going to start by setting
my tempo to 83 beats per minute and make sure I have my metronome on so
I can play in time. I'll now record the
basic chord progression, which is F major seven, E minor seven, D minor seven chords from the
C major CTL scale. I'm going to count in,
and then we'll start. Now that we've got the
chord progression, I'm going to add in a baseline. So I'm going to switch
to a bass instrument and use the techniques we
learned about baselines, playing the root nodes, and using other parts of the
C major scale to fill in. Now that I've got the baseline, I'm going to add in some
additional arpeggios on a road sound, which is an instrument
from the seventies. In this case, I'm using a
model of one. So here we go. Now that I've got my baseline, I'm going to add in some drugs. I'll be playing the
drums on the keyboard. So this is sometimes
a difficult task, but I'm going to try my best. Now that I've got
a basic outline, I'm going to improvise
using a Synth Lead, and I'm gonna be soloing using the C pentatonic
scale. Here we go. Now that I've got
the basic elements, I started with a
chord progression. I found a baseline
that worked by playing the root notes in introducing
other notes in-between, I then added arpeggios
on the roads. I didn't play it in a drum part. And then I finished by adding in a pentatonic improvisation or a melody using the
C pentatonic scale. Now that I've got some
basic elements of my song, I'm able to fine
tune it from here. The goal of this
demonstration was to show you that a lot
of the possibilities and concepts on
piano can also be applied in a production
or songwriting context. If you have a digital
audio workstation, I'd encourage you to try
using some of the concepts we learned in writing and producing
your own original music. I'd love for you to upload your original music to
the project gallery. I can't wait to hear
what you create. In the next lesson,
we're gonna be looking at some
methods for releasing original music so
that you can get it heard by others
around the world.
12. Releasing Music: Now that we've
looked at how we can take some of the concepts on piano and apply them
towards producing music. It's time to talk about
releasing music so that others around the world
can hear our compositions. One of the exciting things about the age that we live
in is it's never been easier to record your
own music and to release it so that others can hear it and share it all
around the world. There are a lot of great
platforms such as TuneCore, destroy kid, stem in many more, where you can take a final as song and then release
it on Spotify, apple Music, and across
other streaming platforms. A lot of times
musicians will put in a lot of work towards
creating their music, but then fall short
when thinking about a release strategy are
different ways to market their music with
social media platforms like Instagram,
TikTok, and Facebook. There are a lot of
resources so that you can take a recorded song
and get it out there. One of the things that's most
exciting to me about making music is how endlessly
collaborative it is. We can use the
skills we learned on piano to amplify an accent, other people's voices
and their messages, the skill set of
playing piano can open up endless possibilities and can lead to collaborations with vocalists, instrumentalists
in rappers. It's led me to performing across the world
and being able to work in the studio with many
artists such as schoolboy, Q, BJ, the Chicago
kid, and Tom Mish. These classes are merely an introduction or opening
the door to a whole world of possibilities with the piano in collaboration in
the class resources, I provided a guide with some helpful tips for
releasing your own music.
13. Final Thoughts: Congratulations, we've made
it to the end of the class. If you've been with me since the start of the
journey, you know, we've covered a ton of topics involving many
different concepts. In now, we've combined
all the elements from the previous classes
to finally be able to release original music
out into the world. It is my hope with this
class that you'll feel inspired in new
possibilities will be opened up that you
can use when playing your favorite songs or creating original compositions
or improvising. It's been my pleasure
and honor to be your teacher throughout
this process. And I really look forward
to seeing what you contribute to the world
of music until next time.
 Elijah Fox-Peck, Pianist, Songwriter, Producer