Transcripts
1. Introduction to The Course: Hello everyone. I'm Savini Gauri And I will be your baking and pastry mentor for this course. My aim is to make sure that I'm able to debunk and
demystified baking and pastry and make people
understand that it is actually a very fun and joyous thing to do rather than being a tedious
and strenuous task. My aim is that I break down all the recipes into very small and easy understandable steps for anybody, for all skill levels. In this course today I will be teaching you how
to make brioche dough, which is a classic enriched dough. And along with that I will give you three recipes of using that brioche dough First will be classic
hamburger buns, so that you can have some
amazing burgers at home. Then we have a sweet monkey bread, with salted caramel, bananas, chocolate. And then we'll go on to
a savory monkey bread, with butter, garlic and herbs. I will also be adding a
bonus lesson at the end, which will teach you how to
make salted caramel at home with a foolproof recipe.
Let's get started.
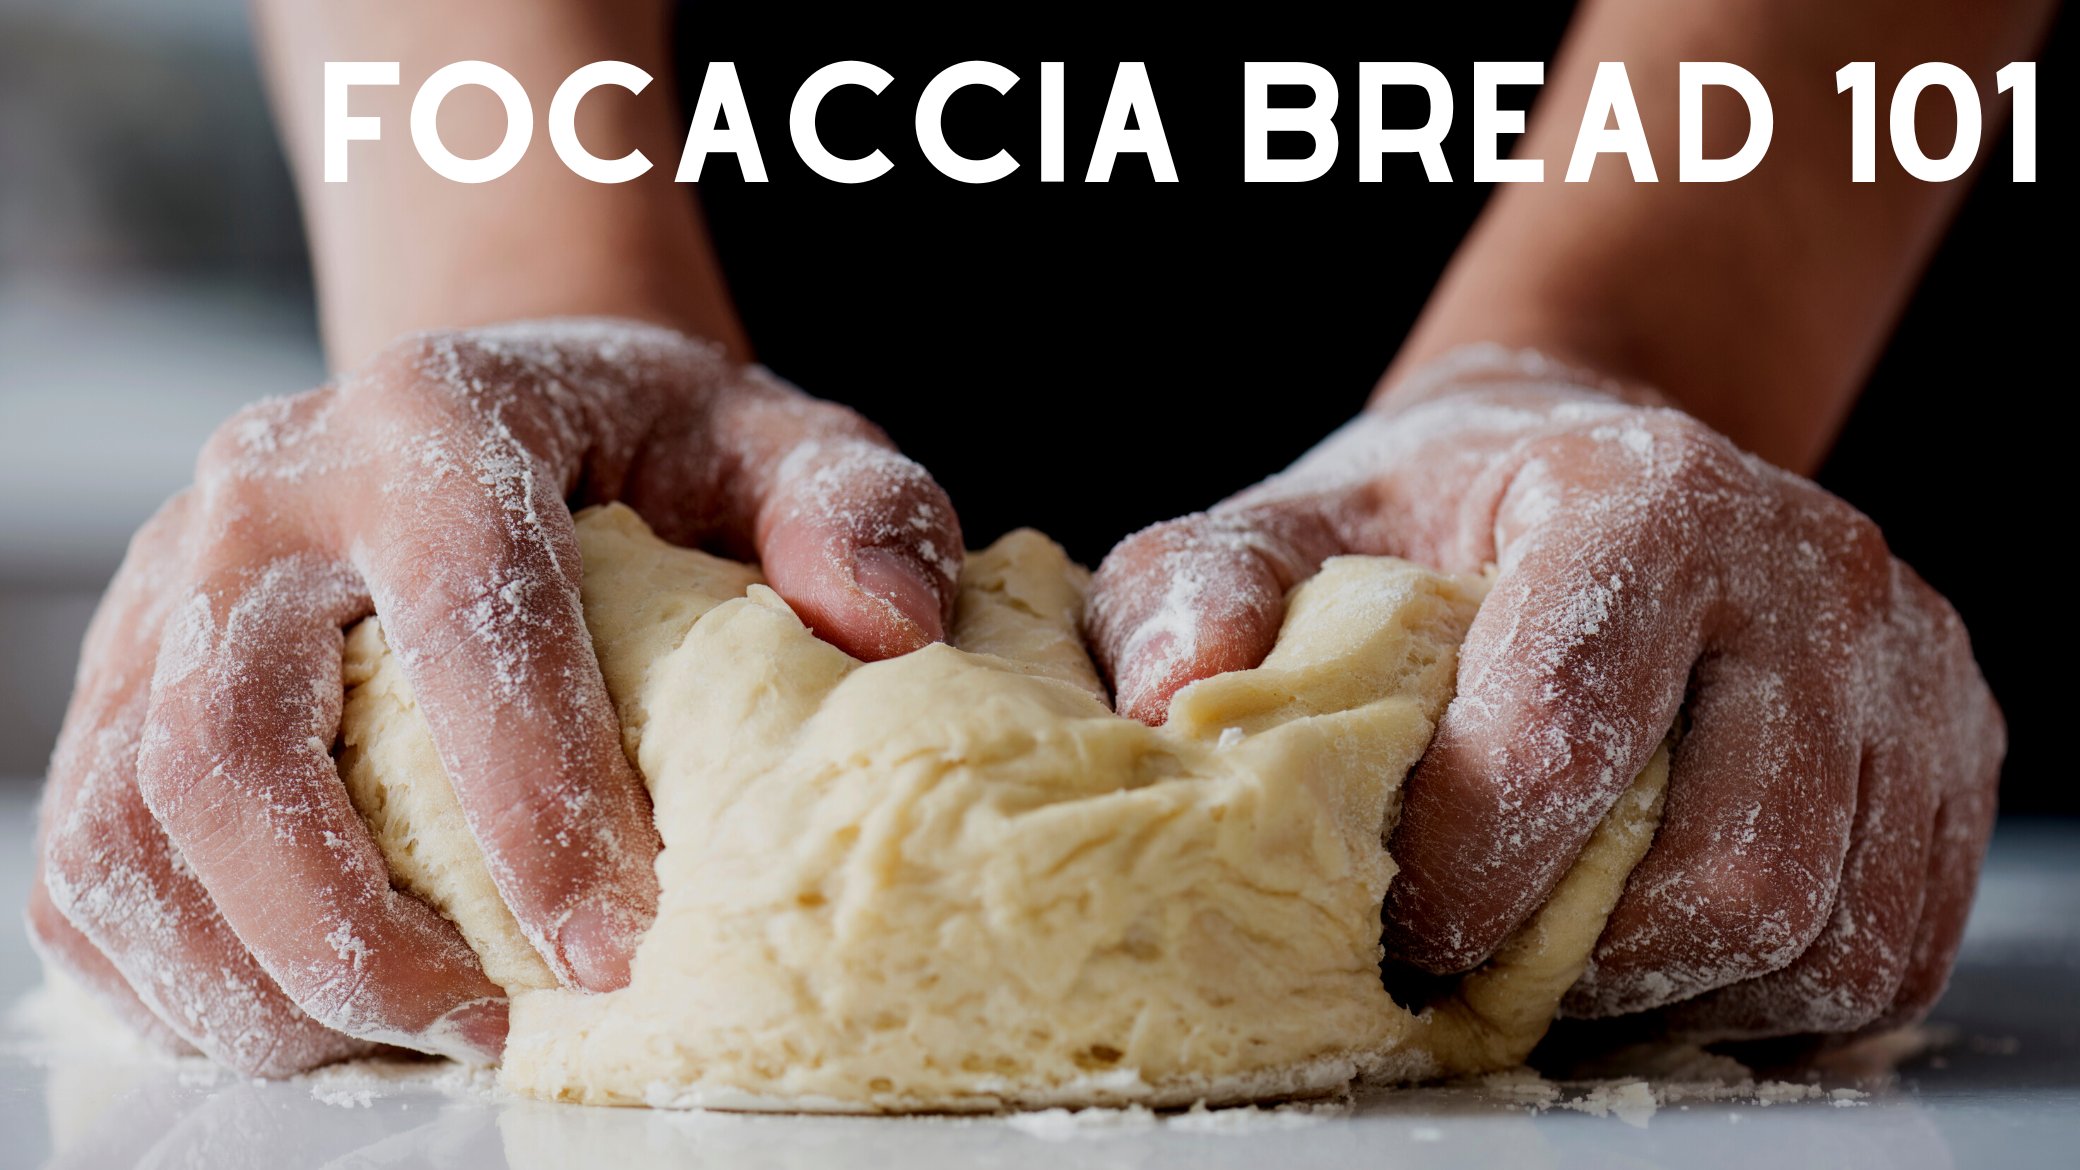
2. Making of Brioche Dough: So today we will be
making a brioche dough. For this brioche
dough, we'll be using a stand mixer along with
the hook attachment. You can also make it by hand, but then it just takes
a little longer. Or if you have a
hand-held blender or mixer you can make
it using that as well. So to make this
dough we'll be adding 240 ML of milk, warm milk. We don't want hot milk,
we don't want cold milk. We want warm milk. Like 20 seconds in the microwave at full
power will be good. To that we will add 35 grams, that is three tablespoons
of fine sugar. or powdered sugar. In goes
nine grams of yeast, that is 2.5 teaspoons of yeast. And we will start blending
this or mixing this at low speed for
about 30 seconds. Till everything
starts to get mixed. We don't want everything
dissolved, just start mixing in. That's good enough for us. Now to this we will
add some salt. This is one teaspoon of
salt or five grams of salt and mix again for
another 30 seconds. Now, we'll turn off
the mixer and add to it three cups of
all-purpose flour. That is three cups, 360
grams of all purpose flour. All the flour will
go in at once. We will not add it in
increments, will just add all of it at once. And now we will continue mixing it and we will mix
it on low speed. Make sure it's on low speed because in case
it's on high-speed, it'll be a white mess all around of powder flour
flying around everywhere. Nobody likes that. You'll notice that it'll almost
look like that there's too much dry ingredients
for the wet ingredients, but that's okay. Don't worry. It'll be fine. It'll just take a little long and
it'll mix just alright. Now, you'll notice that if
you see the wet spots coming, you can start increasing
the speed and mix it on a medium
speed for a minute. or so Once you notice that there
are no dry spots left. Then you can turn off the mixer. And then you'll notice it's now dry and sticky
at the same time, which is a very weird
combination to have, but that's alright. To this, now we'll add butter. We have 65 grams of cubed butter. We will add a few pieces of that butter and then
resume kneading the dough. This time we'll knead the
dough on medium speed, not on high or low, but medium speed, and we'll continue to knead it. Now, we'll add the rest of
the butter in increments, we'll add two or three pieces
of butter at a time, and continue this
process until we have added all the
butter into the dough. You'll notice that
right now the butter is at a soft enough consistency
where it won't break the dough, but it's hard enough that
it can hold its own shape. That's just the
right combination. If you have any
other doubts about it We can talk about it. So now, We continue mixing it until all the butter is nicely
mixed into the dough. It can take a while
It will take like four or five minutes
for that to happen. Once it continues to mix, you will realize that the
dough will start looking like a puddle as if there's too much wet ingredients in it,
but that's okay. In the meanwhile,
we'll take bowl of ice and water and keep that aside. We'll take some
neutral tasting oil, like a vegetable oil or grape seed oil, We will take a glass bowl, And a silicon spatula along with it. Keep these things aside and
prepped for when we'll need them. Now, you'll see that this
dough looks like a puddle and mix it for four to five
minutes on medium speed. You don't even need to
touch it, just let it go. Then we'll turn
off the mixer. And now comes the ice water
part. We'll dip our hands in the ice water to test the
dough if it's ready or not. This ensures that the dough
doesn't stick to our hands. You'll notice that
right now the dough is breaking rather than
stretching or tearing. It's breaking, it's
breaking into pieces. So we will continue
the mixing process. We will mix it or knead it for another four to five minutes. And then you'll notice
that slowly and gradually the dough will
start coming together. It'll start leaving
the sides of the bowl. If that happens, great. In case you feel
that's not happening, you can always use a spatula
and just collect it a little and that
kind of nudges the dough in the right direction
of coming together. And then we'll
resume the mixing. Will mix it for another
four or five minutes So known we've been mixing
it for ten minutes. And once we've
mixed it this time we'll repeat the process of dipping our hands in the ice cold water and
checking the dough. This time you'll notice
that the dough is going to be more stretchy
rather than breaking. It will tear, there's an elasticity
to the dough. If you're satisfied with the
elasticity like mine is, then you can simply
start the rest of the process and stop the kneading in case you're not satisfied, which is okay, that can happen. Continue kneading it for another three to four minutes
and you should be there. You will reach that
stage of elasticity. We'll gently collect the dough in the bowl using the
silicon spatula. We don't have to apply
a lot of pressure. It has to be with feather
light hands so that we don't deflate the
dough or agitate it. Now, we'll take the glass
bowl that we've prepped. In that glass bowl, you can just simply
add a few droplets of oil so that the
dough doesn't stick. Then you can transfer this beautiful elastic
dough into the glass bowl. Now, you don't need
to do anything fancy. Just pat it a
little on the top. And even out the surface, it doesn't have
to look a certain way that's completely alright. Now add a few drops of
oil on top pat the oil, this oil is so that the plastic wrap does
not stick to the dough. Now we're going to cover
it in plastic wrap very gently, very lightly. We don't want to seal
it tightly, we just want to put a nice layer of plastic
so that it doesn't dry out. Now we'll let it rise at room temperature for
exactly 60 minutes. Let's move on to
the next lesson.
3. Burger Buns: Shaping, Proofing and Baking: It's brioche burger bun time. Now that the dough has been
rising for 60 minutes, you will gently remove the
plastic wrap and you will see that the dough has risen
by about thirty to thirty five or forty percent. But if it's more than that or
less than that, It's okay. You don't need to
worry about it. You can take a bench scraper
and keep it aside. Take a weighing scale if
you want to be precise with your
measurements. Gently oil the plate that you've kept on your weighing scale.
Keep that aside. Have a line tray ready with either a silpad on it
that you'll lay your buns on, or with the baking paper, whatever is available.
It's completely alright. Generously apply oil on whatever surface that you'll be working on and spread it nicely. Also make sure that you apply the same oil on
your hands as well, since you'll be
working with dough. Now, take out all of the risen dough onto
the work surface. It may take a little effort, but that's completely all right. Now, take this dough
and give it a rough, rounded shape with really light,
feather light hands. You don't need to apply
a lot of pressure. And if you want to be precise like me or if you're
finicky likes me, you can weigh the whole dough. And then mathematically divide it
into six equal portions. I'll be using my
bench knife to cut it in case you don't have a bench knife
that's all right, you can use a
regular large knife and divide it into
six equal parts. If you don't have a weighing scale, you can just simply eyeball it and that's completely fine. Just make sure that they are roughly the same size because
they just look better, baked together, and they
look prettier as well. And the baking time also
becomes more or less the same if the pieces are in
the same weight range. Now we'll take one
piece of the dough and gently put the edges of
the dough underneath it to give it a roughly
rounded shape and collect all the not so pretty parts at the bottom of it and
make a nice round ball, place it on the silpad
and gently press it. We don't want to apply
a lot of pressure, just be gentle with
handling the dough. We will repeat this process with all the other pieces
and make sure that they're nicely rounded. And here we are with
the six pieces. Now will be allowing
them to rest. We will cover it with
plastic wrap again, like we did with
the dough earlier. We have to gently cover
it with the plastic wrap. The plastic wrap does
not have to push on it because we want to give
the dough enough space to rise. With gentle hands, we'll let
it be kept on top of the dough and let it rise
like this for 45 minutes. Now that it's been 45 minutes, the dough has risen
by again, 30-35%. We will gently remove the
plastic wrap from on top of it. And when you will touch the
dough and press it down, you will feel like there's
a springy effect to it that every time you gently
press it, it rises back. Now, we will be baking
these buns in the oven at 190 degrees Celsius for 18 minutes or until they're
nice and golden brown on top.
4. Burger Buns: Finishing and Cutting them Open: Here are the buns
ready out of the oven. You will notice
that they've almost doubled in size,
which is perfect, we'll let them rest on the baking tray that
they were baked on and generously apply
some butter on them. We'll brush this butter on all the pieces you have
to be really generous because it is this
butter that will give it the nice shiny look
to the buns. You can butter your
buns twice in case you're not satisfied with the amount of butter you applied
the first time. Now, we let them cool on the baking tray for
about 15 minutes. Once they're properly
cooled for 15 minutes, we will transfer them onto the
wire rack and let them sit on the wire rack until they come down to room temperature. If we cut them while
they're hot or warm, it'll disturb the
inner texture or the smoothness or
the crumb structure of the bread on the inside. We don't want to do
that because a brioche is a very rich dough
and it will become smushy. Now comes my favorite part, cutting into the bread. We'll take a cutting
board and put a piece of the bun on it, take one bun and we
will gently slice it across or slice through
it using a bread knife. Never use a regular
knife to cut bread. Always, always use
a bread knife. We'll gently cut through the bread and it's time to see
the inside of the bread. You will see that there is a nice and tight crumb
structure for the bread, but at the same time
it'll be nice and elasticy or at least
flexible, it won't break. To give you a closer look. It's nice and tight
on the inside, but beautiful crumb
structure that has enough space to absorb
all the beautiful sauces and all the yummy sauces
you'll be applying in your burger buns to
make perfect Burgers. Now let's move on to the
next usage of brioche dough. See you in the next lesson.
5. Sweet Monkey Bread: Preparing the Dough: Now it's time for some
sweet monkey bread. For this, we will raise the
brioche dough for two hours, that is 120 minutes
instead of one hour. we'll take a baking
tray lined with either some parchment paper or a silicon mat, a bench knife. If you don't have a bench knife, you can just use a
regular large knife and some vegetable oil or
any neutral tasting oil. We'll gently remove the
plastic wrap from the dough. Then we'll oil our baking tray
lined with parchment paper or our silicon mat whatever
we have and keep it aside, then we'll generously
apply some oil on the workbench to ensure that our dough does
not stick to it. And also apply some
of that on our hands and knife. And now we'll take out all of that beautifully risen dough
onto our work surface. Gently press it down a little and cut it into
four equal parts. We have to be really rough
for these measurements. You don't need to
be really precise. Now we'll roll out
one part of that dough, again, there's no specific
measurements to it. It has to be really random
because monkey bread is all rustic and cut it into
equal sized pieces. Now again, try to
be equal if they're equal great if they're
not completely alright, we will repeat this process
with the rest of the dough. Always remember that if, if the pieces are more equal sized, the bread will
look more elegant. But if the pieces are a
little different in size, it will look more rustic. You can choose whatever
works for you. For me, I like a
combination of both so some pieces are of one size and some pieces
out of the other. Now, we'll take those pieces and start rounding them and making small balls out of them. We will gently take the piece on our palm and just round
it a little again, rough round balls, nothing
precise, nothing specific. And repeat this process
with all of the dough. We'll place all of these balls
on the oiled surface that we have prepared and keep them slightly apart because
when they rise, you don't want them to rise and become one big ball again, that kind of defeats
the purpose. We will repeat this
process with all of the dough and have
it all prepped. Now you'll see that
no two pieces are of the same size. But
that's again, okay. And we let this rise for 30 to 40 minutes at
room temperature.
6. Sweet Monkey Bread: Assembling and Rising: While this dough rises, we will start prepping
for the rest of the components of our monkey
breads, sweet monkey bread. So we have one banana that we'll peel and we'll cut it
into small pieces. Again, rough small pieces. There's no specific size,
measurement, nothing. Just rough small pieces of
bananas and keep them aside. Apart from that, we've taken some semi sweet dark chocolate that is
chopped up into pieces. This is about half
a cup of chocolate. You can use milk chocolate, white chocolate, any
chocolate you like. Then we have half a cup of
powdered sugar or icing sugar, whichever is available
to you in that will mix a few pinches of salt and about half a teaspoon of cinnamon and mix
it well until we have some nice cinnamon sugar
ready and keep that aside. Now, we'll take a bundt pan. You can use any other baking tin/pan you have or you like. There's no specific tin or shape that is allocated to a monkey. Monkey bread is usually whichever
tin you have available. And we will apply
some butter in it. We will generously
apply butter because we don't want our bread
to stick to the pan. And this butter will
also give the bread a nice bright golden brown
color at the bottom. And then we also have some
salted caramel that we made. For the salted caramel. You can go to the end and look at the bonus lesson
that I have added, which has this beautiful, Salted Caramel's recipe Our has been rising for
about 30 minutes. Now it's assembly time. For assembling
this monkey bread. We will first drizzle a generous amount of our salted caramel at
the bottom of our tin. Then we will put this tin aside and take the cinnamon
sugar we have prepped and gently dip each
and every ball of dough into that cinnamon sugar until it is lightly coated. And place a nice ring
off that dough at the surface or at the bottom of the baking tin on top
of the salted caramel. Again, there's no
standard strict way of assembling a monkey bread. It's all random, it's whatever you like, That's
completely fine. We will put a layer of
that dough on the bottom, then move on to sprinkling some chocolate
on top of that. And sprinkling some
bananas on top of that. Then drizzling some
more salted caramel. And then we'll repeat
the process of coating the dough
in the cinnamon sugar, adding the bananas,
adding the chocolate. The quantities of the banana and chocolate can completely vary. You can skip the bananas, skip the chocolate, put both, add more of it. Whatever flavors you like, you can add different
fruits to it. If you like berries, you can add berries to it if you like
some other chocolate. If you want to add some nuts. If you want to add
some other type of source instead of
a caramel sauce, like a bourbon
sauce or anything, you can add whatever you like. It's just that whatever tastes good
to your palette whatever tastes good
to you, add it, there's no strictness
to a monkey bread. And we'll repeat this process. Now. We let our monkey bread rise for about 45
minutes to an hour at room temperature.
It's been an hour. And now to check if our monkey bread has
risen properly or not, you will gently press on
the surface and notice that if the dough springs
back to its shape, that means the monkey
bread has risen. See how I pressed
it and it's back, I pressed it and it's back. This means that our bread is 100% ready to go into the oven, will bake it in a preheated
oven at 180 degrees for about 25 minutes
or until there is a nice dark golden
brown color on the top.
7. Sweet Monkey Bread: Final Product: It's been 25 minutes and our
bread is out of the oven. See how it's got a nice dark
golden brown color on top. We will gently brush a light layer of butter
on it, not too generous. A very light layer of
butter on it and let it rest on a wire rack for
about five to ten minutes. Now we'll drizzle some
salted caramel on top of it, because there is never too much salted caramel on monkey bread. And now, We'll take
a plate and put the plate on top of the bread and empty
it out of the tin. You will gently tap the tin. And since we applied the
butter in the beginning, Our bread will come out very easily in one beautiful piece. Now again, we'll drizzle some
more salted caramel on top. If you liked this side, you can always use the
side of the bread. If you think that the other
side looked prettier, you can take a plate and flip
it again and use that side, I can't stress on
the fact enough that there is never too much. Caramel or salted caramel
on your monkey bread. So we go again. Now, the sugar that, the cinnamon sugar
that we'd kept aside earlier is coming to use now for finishing
the monkey bread, we'll just take some
cinnamon sugar in our hand and sprinkle
a bit of it on top. And voila, we're ready. Now let's dig into it
and check a piece. Let me take out a piece. Now you'll see that this
piece breaks off beautifully. And it has a nice broad
buttery bread crumb on the inside with a nice golden crispy texture or a nice golden crispy outside,
it breaks beautifully. It's perfect for wherever you want to put it on the table, whether it's for
breakfast, lunch, or brunch, whatever
works for you. Now it's time for some
savory monkey bread. Let's move on to
the next lesson.
8. Savoury Monkey Bread: Preparing the Dough: For the Savoury Monkey Bread our dough has been
rising for about two hours Will gently remove the
plastic wrap from on top of the dough with
feather light hands. We also have a bench
scraper ready or bench knife ready in
case you don't have a bench knife, you can always use a regular large knife
and keep that aside. We've taken a baking tray
that we've lined with a silicon mat in case
you don't have that, you can always use
parchment paper, we'll apply some oil on the silicon mat and also apply some oil on
the work surface. We'll generously apply this
oil and spread it using our hands and apply the same
oil on our hands as well. This can be vegetable oil or
any neutral tasting oil. Now we will take
out the dough on do the work surface and very gently flattened
it out a little. We will flip it and
flattened it out, flip it and flatten it out. There's no specific measurement. It should be about an inch high. Now we'll take the
bench knife and start cutting strips
out of the dough. Each strip should be
about an inch thick. Again, you can use any
other measurement. You can make it thicker or thinner. There is no specific
rule to it and we'll repeat the process
with all of the dough. Once all the strips are cut out, we'll take each trip and start cutting
rectangles out of it. You can try and make rectangles
to be of a similar size. But if they're not, that's
completely alright. That's the rustic charm
of a monkey bread. Will repeat the cutting
process with all of the dough. Then we'll start placing
all these cutoff rectangle dough pieces onto the
oiled baking tray, make sure there is
some space between all the pieces that you're
placing that in case they rise, they don't rise into
one big clump of dough. Once you're done placing
all of the dough, you can let this dough raise for about 30 to 40 minutes
at room temperature.
9. Savoury Monkey Bread: Assembling and Rising: In the meanwhile, let's get the rest of the prep done
for the monkey bread. I've taken five to
six cloves of garlic and a bunch of eight to ten
stems of fresh conriander. In case you don't
like coriander, you can always use other
herbs like basil, mint, Rosemary, whatever you like. We will roughly chop up
all of the coriander. It has to be a real rough chop. You don't need to make
it fine or anything, a real rough chop. And we'll put that aside. Now we'll move on to the garlic and start mincing the garlic. In case you don't feel like mincing the garlic
using a knife, you can always use
a garlic press. Or even grate the garlic. I would recommend
using fresh garlic and not the garlic paste or the garlic powder that
you get in the market. Fresh garlic has its own flavor. We'll mince it up real well. And then we'll keep
the board aside with our freshly
chopped coriander and garlic. And now we'll take one-third
cup of melted butter. To that we'll add a teaspoon of chili flakes and a teaspoon
of oregano seasoning. You can add more of it if you
want it to be spicier. To that we'll add the freshly minced garlic
and all of the coriander, leaving a teaspoon of
coriander behind or, a little bit of
coriander behind that, we can use as
seasoning in the end. Now, give it a nice mix
and make sure all of the coriander is
evenly coated in the butter and keep it aside. It's been 40 minutes since
our dough has been rising. You'll notice that the
pieces have puffed up little. And now, it's time to
assemble the monkey bread. For that, I've taken a bread loaf you can use any
other tin you like, any shape that works for you. There's no set rule. Now take each piece of dough
and gently coat it in the butter mixture
that we've made and start placing those
pieces in the tin. We don't need to
apply anything in this tin like we did in
the sweet monkey bread, since this has enough butter
on its own, as it is, continue coating
all of the pieces of dough in the butter. You don't need to be too
stingy or too generous. Just dip it lightly, shake off the excess coating
and place it in the tin. There is no set
pattern as to how you should place all
of your dough in it. But you can just randomly put them because it's
supposed to look rustic. Now, we will allow this
assembled monkey bread to rise for about
50 to 60 minutes. At room temperature. It's been 50 to 60 minutes since our bread
has been rising. You will notice that the bread has significantly
risen in volume. You can check if
your bread has risen properly by gently pressing
on the pieces of the dough. Every time you
press on the dough, you will notice that it
has a springiness to it. That every time you press it, it bounces back, you press
it, it bounces back. That is the perfect signal to show that a bread
has risen properly. Now it's time to
bake it in the oven. We'll be baking it in the
oven at 190 degrees for about 25 to 30
minutes or until it has a nice light golden
brown color on the surface.
10. Savoury Monkey Bread: Final Product: Our bread is out of the oven. It's risen in volume significantly and it has a nice golden brown
color on top. To finish it off, we will apply some melted
butter using a brush again, a very light coating
of the butter just to give it a
nice shiny look, because we already know there's a lot of butter on the inside. Just apply a very light coat
on top to give it a shine. And then we'll allow
it to rest over here for about 10 to 15
minutes on a wire rack. Our bread has been cooling for about 10 to 15 minutes
on the wire rack. Now I have chosen
to present it on a wooden chopping board or wooden cutting board because I think it just looks
pretty on it. Now. I'll take the bread. I've put a plate on
top of it and now I've kept the wooden
board handy next to me. I will gently tap out the bread, since it is so much
butter in the bread, it'll come out with all
the ease in the world. You won't need to put
in a lot of effort. You can just simply lift the tin and the
bread will come out, see the nice light golden
color on the outside. If there is any coriander or any seasoning left on
the bottom of the tin. Don't feel shy use a
rubber spatula or a silicone spatula and empty it out and just put it
on all of the bread. You don't want to waste. It's like liquid gold. It's amazing in taste. You don't want to waste it. Now I'll place the board
on top and gently flip it. I broke it a little. Don't do it like I did. Be way more careful than me because this bread
is really brittle, but it's not fixable, but it will taste amazing. This is just proof
that how soft and fluffy this bread is
and how delicate it is. Every piece of this monkey bread will have a nice
crunchy texture on the outside with some
buttery softness on the inside with a kick of
garlic and coriander. I hope you really enjoy it. Make sure you have it
nice and hot and don't wait for it to cool
down. It's all yours. Voila. Let me know if you were able to keep your
monkey bread intact. Let's review all the lessons.
11. Final Thoughts: Now that brings us to the end of this course in which
I walked you through a basic enriched
brioche dough and three amazing recipes to
use that brioche dough with. We started with the brioche
hamburger buns that can be used to make
some amazing burgers, French toast, or even
a bread pudding. Then we moved on and
learnt how to make a sweet monkey bread
with chocolate, banana, and a bonus recipe
of salted caramel. This monkey bread
is a perfect desert to serve for the table, for everyone to enjoy together. It makes for a perfect
brunch offering on a warm, sunny summer brunch day. Then we learnt how to make savory monkey bread with
garlic, butter and herbs, which is again a perfect
recipe to serve on a table or as a snack
appetizer or even for brunch. All three of these recipes were made using the same
brioche dough. These recipes are just the
tip of the iceberg for all the things that you can do with that basic brioche dough. If you have any questions about these brioche recipes or any variations you
may be trying. Feel free to reach out with
questions and queries. You can share your queries
in the discussion section or find me on Instagram for the
handle @savinithebakeshop. Do share your baking
adventures with me using the hashtag
#savinithebakeshop. I hope to see you guys soon
with another such recipe. Do let me know if you have any specific thing that
you would like for me to walk you through and
share the recipe with you until next time. Bye-bye.
12. BONUS LESSON: Salted Caramel: For the salted caramel, take a heavy bottomed saucepan In that, turn on the heat on medium. In the pan, add three-fourth
cup or 150 grams of granulated sugar and
one-fourth cup of water. Make sure the water
is room temperature. Continue to mix the
two things until the sugar is completely
dissolved on medium heat, it'll take about four
to five minutes, but continue mixing. In case you see the sugar
forming any clumps, do not worry about it, Just continue to
stir it constantly. Eventually in a few minutes, you will notice that the liquid, the sugar liquid will start
gaining an amber color. It'll start turning brown
and caramelised. That is the first step
of salted caramel. Once you're satisfied with
the color and you'll see an amber shade
turn off the heat. And to the saucepan. Add 65 grams of unsalted
butter at room temperature. Mixed the butter, it'll
take you a minute until the butter is
completely dissolved. Once the butter is dissolved, then turn on the heat
back to medium and vigorously stood on medium
heat for two minutes. You will notice that
the sugar mixture will bubble up and come
up in the pan, but don't worry, that's okay. Then once it's been two minutes
since you've been mixing, start adding the cream. We will be adding
120 ml of cream, or half cup of cream. Pour the cream in slowly
while constantly stirring. Continue mixing for
about a minute or till all the cream is completely
dissolved into the mix. Then let the caramel boil for
one whole minute. Without stirring. Again, you will see the caramel
rising and bubbling up, but that's completely alright. When it has been
boiling for one minute, just turn off the heat and to
that add the flaked salt, mix in the salt really well In case you don't want
to salt your caramel, that is completely alright. You can completely skip the salt and then
let it cool down. Make sure that the
caramel is completely cooled down before you use it, since it's hot sugar
and it can hurt you. I hope you enjoyed the recipe.
 Savini Gauri, Serial Baker, Learning Pastry Chef