Transcripts
1. Introduction: When you look at the biggest brands out there, all of their imagery seems to fit the same vibe and that identifies their brand. But how can you structure your photos so that way they sell that brand? Hello and welcome. My name is Finn badly, I'm a commercial, fashion and portrait photographer, as well as a Skillshare top teacher. Today, I am coming to you to show you how you can structure and plan your photography projects, so that way you can structure a body of work that is meant for the end platform. This is not a one-off photo shoot type of course to show you some techniques, this is how you can take the knowledge that you have and bring it together to create an overarching theme across a body of work, whether it be product photos, e-commerce, studio imagery, or on-location lifestyle shots, and where and why you would use each different one differently, as well as things to keep in mind when actually taking those photos so that way they are meant for that end platform. This is not a beginner's course by any means, this is the type of thing where you understand the basics and fundamentals of photography and the lighting. This is designed more so for those in-house creative types. If you're in-house photographer, an agency or company, this is going to give you the tools that you need so that way you can take what you already know, but bring it to the next level and deliver absolutely mind-blowing results for your company or for your agencies, clients. Throughout this course, you're going to learn how to effectively communicate with your art director or creatively lead make sure that everybody is on the same page of what you are looking for, and then how to take that material and translate it into actually planning and executing the photo shoots that will create this content. This is less of a technical-based project focused course, this is more so giving you the tools and ideas and strategies to go out there, work with your creative team, build an idea of how you're going to structure this content and then go out and execute it, all while keeping in mind the end platform that you are going use it on. Every platform is different, and I'm going to show you why it is so important to keep that in mind when you're shooting. If you were looking for more technical courses on lighting and camera basics, I do have a couple on here on my Skillshare profile, so be sure to check those out if that's what you're here for. But, if you are looking for a way to create a cohesive look across all different platforms to really drive home the brand identity that you're going for, then make sure to stick around. With that in mind, in the discussion and project tabs down below, I implore you to discuss and share your findings of how the information of this course has worked its way into your workflow, and hopefully allowed you to create cohesive looks across multiple different photo shoots for your company or for your agencies, clients. This is something that you will see it all come together, and everything will work how it's supposed to and fit perfectly. This is going to give you the tools of how to plan for that and execute it. There is a lot to cover so buckle up. I hope to see you there.
2. Understanding The Why: Firstly, I would like to thank you for enrolling in this course, and I hope the information proves very useful to you. Now, with that said, let's jump right in and actually explain the why of why you would want to know what platform you're working with, and why you would want to create a cohesive look across all of them. Each platform is completely different from one another, and as such, it would be a mistake to put the same content across each platform. This is no different from sharing your photography, or sharing the photography created for your brand or agency. This is the type of thing where you can understand the platform that you are going to be putting those images on. No matter what it is, print media, social media, if it's your website, anything in between, understanding how that system works and how to actually best deliver images for that. This isn't where you want to put all your eggs in one basket. This is something that will be an ongoing process, which is why this is particularly tailored for my in-house creative types. This is because you would be working on an ongoing process on these projects, handling all the photography for your company or for the agency that you work with. Then you can actually discuss with your art director or creative lead how you can bring all these ideas together to create a look for your company that makes it clear what that brand identity is, while also pulling the viewer in, securing them and making them interested in what it is that you have to offer. This is learning to use imagery as a tool. You know the basics, you know the fundamentals, now we're taking it to the next level. You are steering the ship and knowing which way to navigate in which different territories is paramount, and that is exactly what we're about to talk about. In today's ever-changing digital landscape, it is more important than ever now to actually understand the platform that you are working with and how best to structure the content that you're putting out there. How best to craft your images so that way they make sense for that platform and attract the audience that you are trying to bring in. This is something to really nail down that brand identity, make everything fit and feel cohesive so that way when your target market sees these images coming in, they go, "Yes, this is for me. How do I get this? Where do I go? What do I have to do?" You keep bringing them in and have them become a return customer. You don't want to be the run of the mail company that shoots everything on a plain white background with no real taste or spice to it. You want to add your own flavor and create something unique across everything that says yes, this is who we are. Then your target market sees that and says, "Yes, I want that. This is who I am, I relate to this, let me check this company out." Then you get return customers, because they identify with you based on the imagery and the content that you put out that reflect who you are as a company. With that all said, let's actually get into the different platforms, how they work, and how you can plan for each one accordingly.
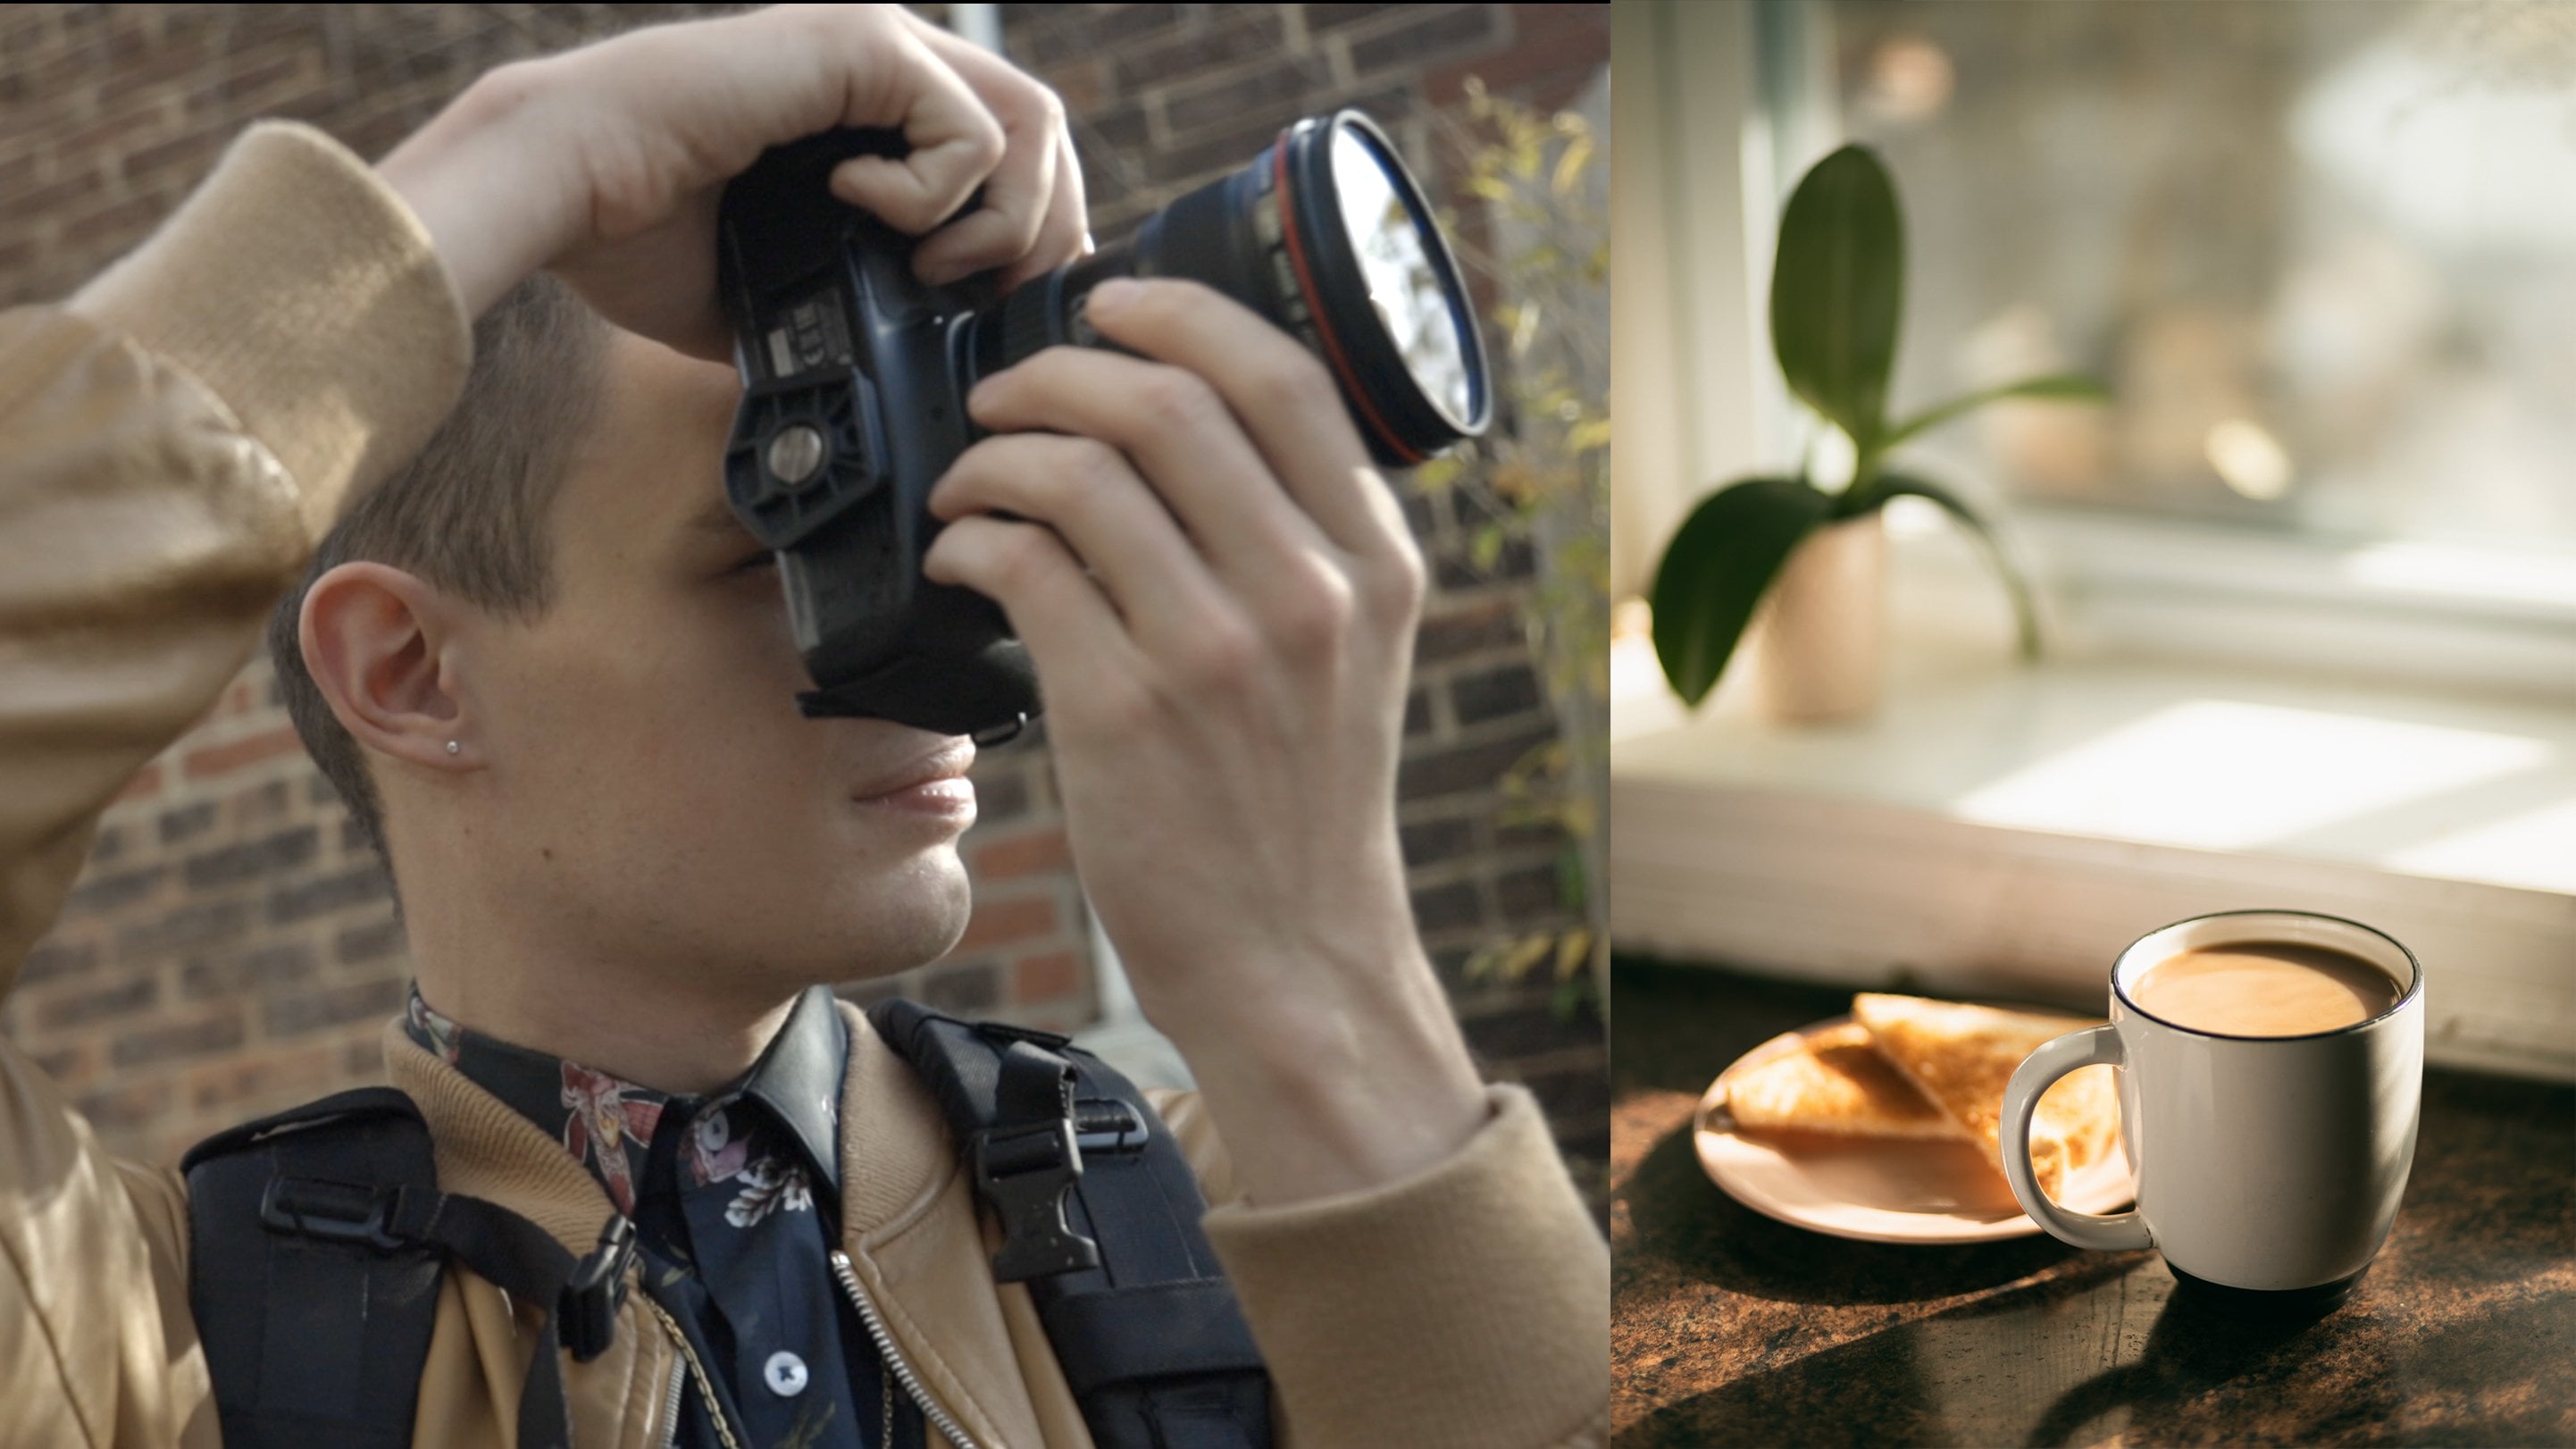
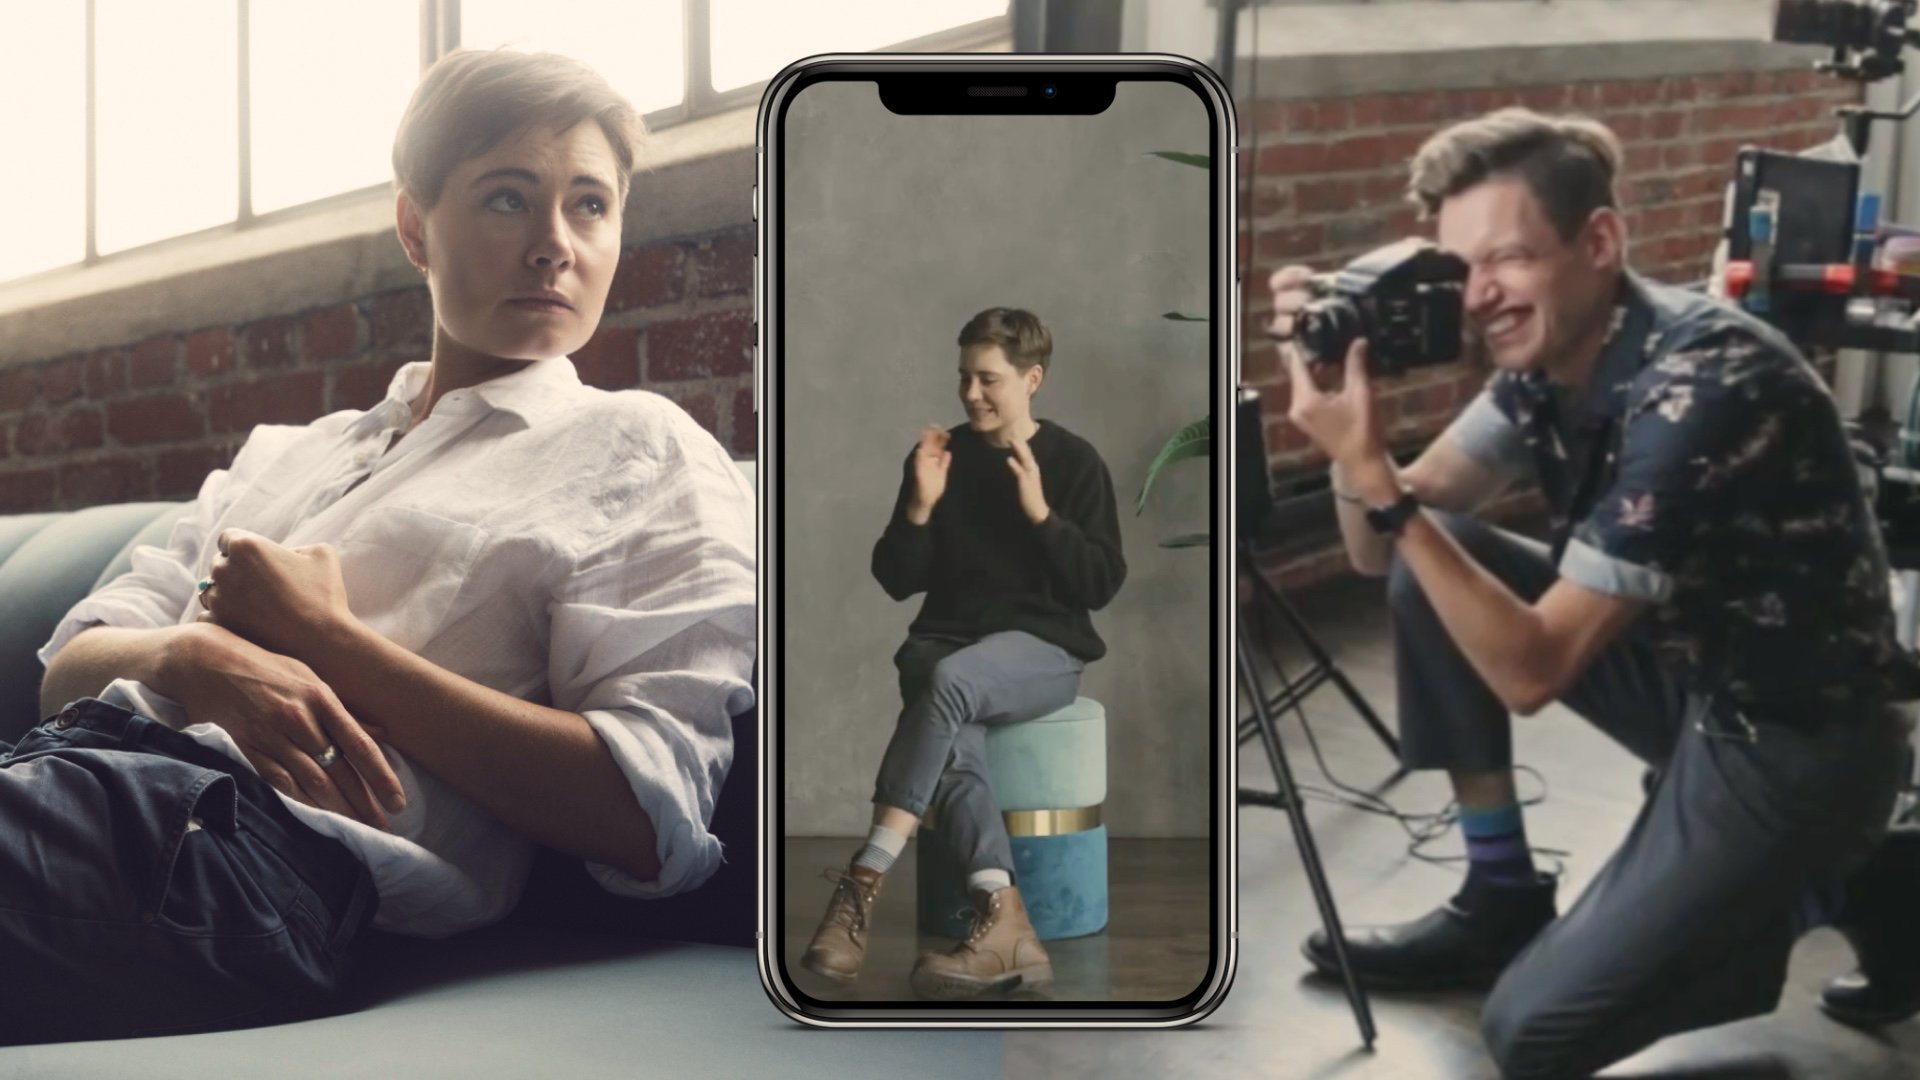
3. Adjusting for Your Platform: There are so many different platforms that you can put images on, but each one works differently. How can you tailor your images for all of them? Now this will work if you're a freelance photographer trying to put your own images out there but is especially important for my in-house creatives who are posting images across different platforms. It is so important to know which ones to post what on. Without further ado, let's get into that. Social media, print, advertising, web, all these different terms thrown around, but how can you tailor your photography for each one? Let's start with one of the biggest ones out there, Instagram. If you want to be posting photos for a company on Instagram, how can you make sure that they deliver the best result possible? Well, for one thing, everyone who's on Instagram is on a vertical device. This means a lot of your photos should probably be vertical. You would want these photos to be something probably more of a lifestyle in nature. This is where you're going to have your on-location photoshoots or you're heavily styled in-studio ones. These are typically more dramatic or more intense photos made to stop the viewer when they're scrolling, they'll stop and go. What is that? How do I get that? Where is that? That looks amazing. I want to live that life. I want this in my life. I need to have this. How can your photos actually do that? The first thing you wanna do is obviously shoot in a vertical format, but it is important to keep in mind if you are on a full-frame or crop sensor camera basically, unless you are shooting with a medium format camera, this is something you need to keep in mind, a full-frame or APS-C crop sensor camera both of them shoot on a 3 by 2 aspect ratio. This is not quite as wide as your traditional 16 by 9 that we see for video. It is not quite as tight as something like 8 by 10, or 4 by 5 as you would call it. Now the thing to keep in mind there is Instagram. Their crop restrictions for vertical photos are 4 by 5 which essentially means that the top and the bottom of your image are going to be cut off. If you shoot fairly tight and have very little headroom and very little breathing room on the bottom when you go to post that to Instagram, it's not going to come out quite right because the top and the bottom will be cut off. Now the way to solve this is simply to shoot wider than you have to. What I like to do is when I'm shooting, I will scan the edges of the frame and make sure I pull back just a little bit, zoom out just a little bit, take a couple of steps back, just so that way you have that breathing room. Our cameras these days have enough megapixels where it's not going to make a difference, especially when you're only delivering a lower-res web-based file. It's going to be super compressed and the quality of those megapixels isn't going to make as much of a difference. Pull back a little bit and then crop in later because it will definitely save you and you'll actually get the crop that you want versus Instagram cutting off the top and bottom of your image. Now, why would you actually want to shoot vertical for Instagram? Well, you can shoot landscape and have that whole 3 by 2 aspect ratio in there which is great but you want to capture as much of your viewer's attention as possible. If they're scrolling and you have a landscape image that takes up less of their screen, which means it takes up less of their attention. If you have less of their attention, you're less likely to have that convert. The way to actually have them more likely stop in their tracks and check out what your company has going on is to shoot in a vertical format, capture more of their screen and therefore capture more of their attention. Now, something like a billboard you would obviously not want to shoot vertical for unless of course, it's a special vertical billboard or something. But for a billboard, that is a landscape orientation typically this is something where it's going to be a large hero image. This is where you had have multiple people in a frame and you wouldn't have too much going on, but you wouldn't have nothing going on. This is something where you'll be driving down the road and people will look at it and that'll stick in their mind. You want that to stick in their mind and you need a very striking image for that and you want it to be in landscape to cover all of that billboard. Now, this is something where billboards are actually not as high resolution as we might think because they are designed to be viewed from far away. You could have a fairly large portrait orientation image that you post on Instagram, that is your hero shot. But if that middle bit of it is the most important part, you can crop in and make that into a billboard as well. But it is recommended to have different sources for each one. You'd have a dedicated landscape photo for that billboard and you would have dedicated vertical images just for Instagram. That way, whenever people are looking at your brand they're seeing things with fresh eyes. They're not seeing the same thing repeated over and over again, and it keeps their attention. You see this billboard and another thing that you want to keep in mind is leaving enough negative space. Negative space being the blank space or empty space in your frame. This can be sky, this can be just anything that isn't the main scene of what's going on. It can be a bunch of trees out of focus, anything like that. Obviously, the graphic designers on your team will modify this so it fits what they're going for. But you want to leave that negative space for text and copy to be put in there for logos that sort of thing because you're not just going to put a photo on a billboard. You are going to put your logo, maybe a little tagline, something like that. That way they see that image catches their attention and they see the logo and then that sticks in their mind, they keep coming back to it. You want to leave that negative space in your landscape shots so that way, that copy can be added in there. This is also the type of photo that you can create a web version of, which is going to be a little lower resolution, something like 72 DPI or pixels per inch. Then that way you can put that on a website, have that on the landing page or something like that, and have some copy in there as well to really draw people in and connect that to the billboard that they saw on the website. Now, the other thing to keep in mind is whatever your company is selling you want to make sure that not only do you have these lifestyle photos, but you also have some maybe studio shots of it, in action or it being worn if it's clothing, basically it being used how it's supposed to be. If you're selling a digital product you might want to see people using it in an action, something like that. For those, you may also still want to shoot wider anyway, similar to Instagram because some of these will work for Instagram, or what you can even do have that main image but post it in the carousel type. You have that main image and then people scroll through and they see the different looks that are in that main image. If we're talking fashion, for example, you see that main image you scroll through and you see these different outfits, how they're supposed to be worn. Then you go to that page, click the link in bio, go to the website and the rest is history. You want to shoot a little wider in case it out 4 by 5 crop also if you want to make it so the images aren't quite as long on your website, that kind of thing. Also to keep in mind, Instagram does have their ideal image guidelines. Make sure to keep those in mind when you're exporting your photos just so everything loads properly. This is also something to keep in mind for your website. You want to have that lower pixels per inch. That way those load quickly because there's nothing worse than when you go onto a website and you're trying to look at something in the images are just taking forever to load. That's why we don't upload full-resolution photos to websites because in those couple of seconds it takes to load, their attention is gone and now they're on to the next thing and they're not coming back. But if you have it where they click on that page, or they click on that product and it's there, then you have them. Then from there, you have them showing this product, how it's being used or how it's supposed to be worn or it in action. Then you want to show what the actual thing is. This is where you have those detailed product shots. If you're going to shoot it on a white background and that's totally fine but also there are ways to spice it up which we'll get into. But this is where you show the product as it is. There are ways that you can carry over themes from the lifestyle images, from those on figure demonstrative studio shots, and carry those themes over to those product photos. Everything just blends, everything fits together and we create a cohesive look that is consistent with your brand identity and makes that verragio, yes, this is me. I'm going to add to cart because that's what we want at the end of the day, isn't it? If our images bring those people in, pull them in, keep them there, and secure that sale that makes us look good as photographers quite frankly. These are the techniques of how to do that. You understand that these product photos or to show those details to really seal the deal there, you want to actually look at the different intricacies of it. First, you are showing them the lifestyle they want to live. You pull them in on social media, on billboards, in magazines, you pull them in with that and you show them that lifestyle that they want. Then you show them how it's actually going to be used. That's going to interact with them. If it's how it's worn, if it's how it's used, if it's a software product, for example. Then you show that product itself. Nothing super fancy, just that product keeping in mind that brand identity, adding some styling elements in there to keep that on-brand but showing those details of that product. Showing it from multiple angles if it's a physical thing and you showing all the little intricacies of it. On the note of magazines, also, something to keep in mind is a lot of these will be vertical photos and will need to be that same 4 by 5 crop except you're going to want to leave that negative space still the same with the billboard for any amount of text or copy that's going to be in that print ad. This is the same for ads that are vertical on a bus stop or anything like that. You want to leave that negative space for that copy. If it's at the bottom, top, corner, middle, wherever it is, you want to know ideally beforehand so that way you can have that planned out. Talk with your graphic design team, talk with your art director and see how they're trying to structure this, and then you can plan for that in the actual shoot itself. Also with these being print ads that are going to be viewed more close up as opposed to far away like a billboard, this is where you're going to want to have a very high resolution, at least 300 pixels per inch, and usually a fairly large image size. That way they're going to look clean and crisp no matter how close or far away from them you are. Now that we understand our different platforms, let's actually go ahead and use that information for how to plan and communicate all these different photoshoots together to create one cohesive project.
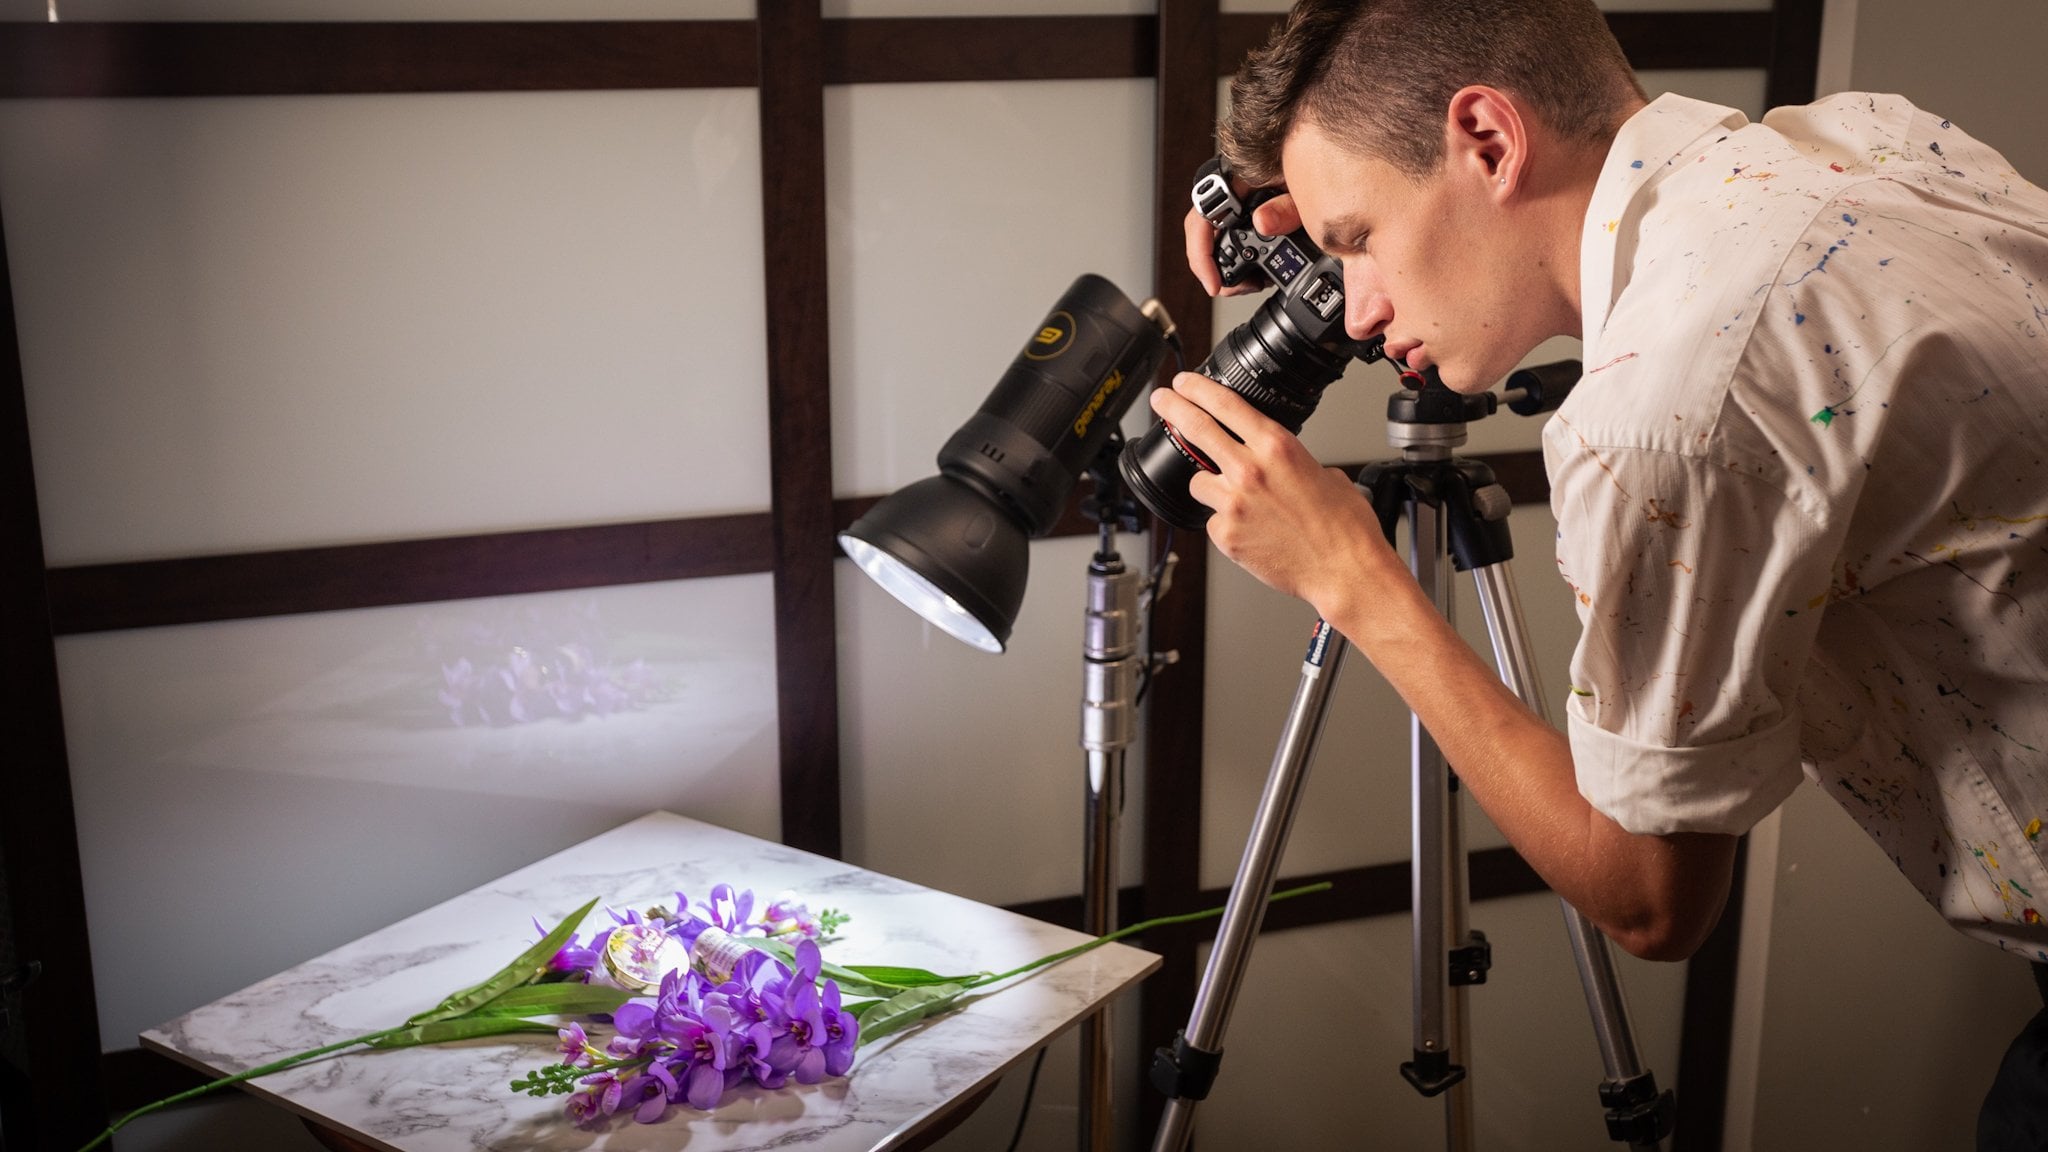
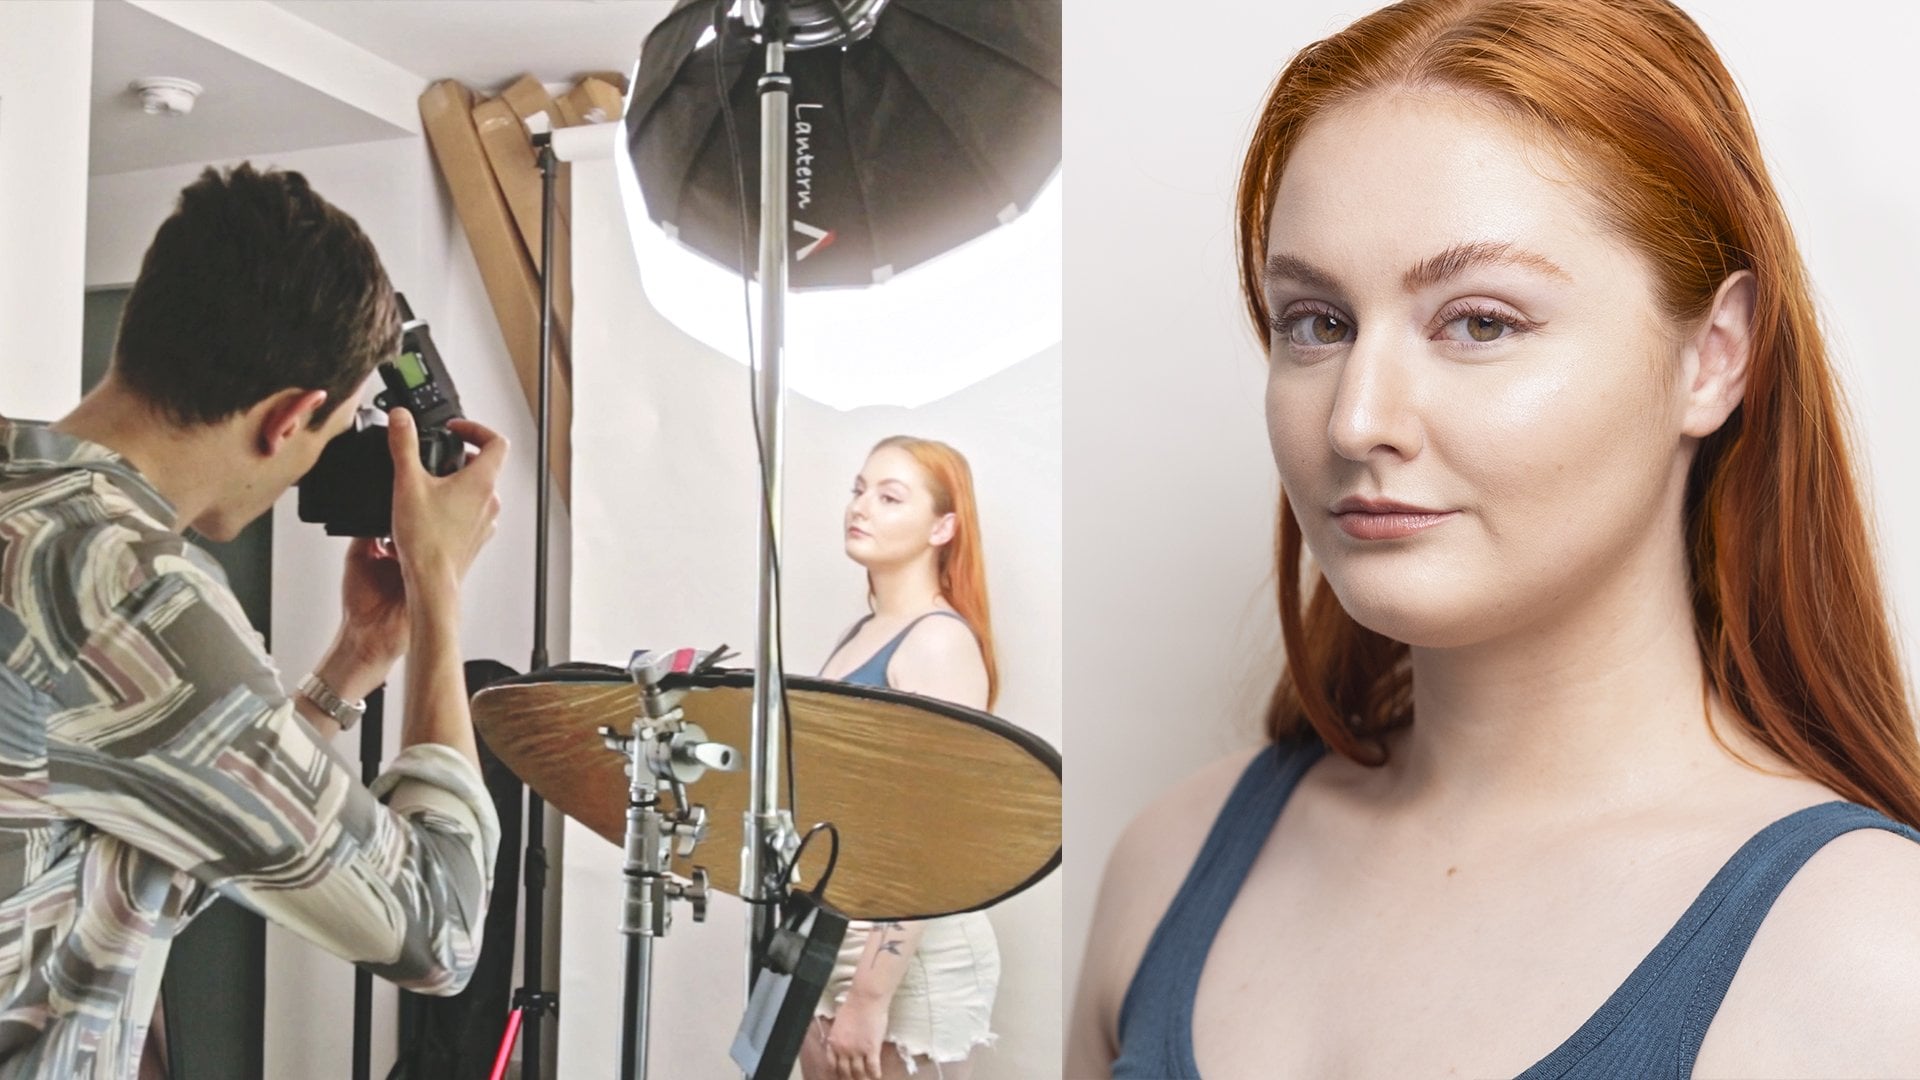
4. Planning Your Content: Actually, planning your content, this is not just you handling this photo shoot alone, this is working with other people. How can you plan this so everyone's on board, everyone knows what they're looking for and that way everyone gets the desired result that they're looking for? The easiest way I've always found to do this is creating what we call a mood board. Now, maybe you have worked with these in the past. We're going to really nail down something that highlights key elements across multiple different levels. We're talking product photos, we're talking lifestyle photography and if you're something like a clothing brand or shooting anything that would involve people, maybe some e-commerce style studio shots as well, and how to keep all of these along the same theme so that way everything just fits together, everything fits well, makes sense, and only serves to enforce that brand identity that you have. Now, this is also the time to look back on what your company or your agency has created in the past and how you can take that and work with it, keeping that in mind as you're structuring these future projects. Take the time to talk with your creative lead, with your art director and actually find out what it is you're going for. Are you trying to stick with similar themes that were present before or are you rebranding a bit? Are you changing things up? Are you wanting to be more modern, more current, maybe even a bit ahead of the curve, if you will. There are whole bunch of different things to consider and that's why these conversations are so important. With that, let's actually jump into creating a mood board. That way, everyone knows and is on board with what is actually going to be taking place. Now, the way I always find is best to do this is use reference images found on something like Pinterest. Now, myself, I know people who will just create a regular Pinterest board and work with that, but for me, I like to take those images from Pinterest and then put them in an actual document that I can send out and highlight different areas of which things I want to focus on. In this case, if you're doing a shoot that involves product photography, lifestyle photography, etc., you want everything to have similar elements but the product photos are going to be in studio detail shots showing what is actually happening with the product, what it looks like, different features, etc., whereas the lifestyle shots are going to be actually selling that lifestyle. With that, you want to make sure both of them are fitting a similar vibe and theme, but also they're two independent things. Things to keep in mind at this point are a color palette, are the different tones and themes that are going to be present here, and this mood board is going to nail down just that. For the purposes of this course and this mood board, we are going to be creating it as if we're creating a series of shoots spanning from product photography, studio on figure photos, as well as on-location lifestyle photos for something of an activewear, yoga-focused brand. We want the idea to be this natural, very Earth-toned vibe, something very aligned with health and wellness and that natural Earth-focused idea, something where the brand would be very Earth-focused as well and very natural, that sort of thing. We want that to come across in the imagery. We have our mood board that we have put together here. This particular one I created in Procreate. Essentially, what I did is I went onto Pinterest and found a bunch of images that worked for the feel of what I was going for. Then I downloaded those and put them in their own document. That way, all the ideas that are supposed to fit together I can clump together and have them be their own thing versus a large Pinterest board where everything just mashes together. We can see based on what we have created here that each idea is solidified, but when you look at it as a whole, all the ideas come together to form a central theme. Now, in creating this mood board, there are different images that we came across that look really nice and look really great, but they don't fit with the theme that we're going for. An example of this for the lifestyle photos is this one right here where we can see it's a very dramatic look, and while this is very dramatic and will stop you in your tracks, it does not work with the overall theme that we're going for. It'll come off in left field, and while it is a beautiful and striking image, it does not align with the overarching brand of what we're trying to say here. That is why we only are looking to things that make sense for this particular shoot. Something like that would be for a different type of brand or maybe a different themed shoot altogether. It is important to keep these things in mind when you're looking at a lot of these images as you'll come across a lot of different looks, but it is important to narrow them down to exactly what you're looking for. That is why it's also important to know what you're looking for and look for those specific search terms. If I'm looking for a natural activewear photoshoot, that's what I'm going to search and we're going to look until I find a similar color palette to what I'm thinking of. Then, I'll go through that rabbit hole and find everything that fits with what I'm going for, and then bring that together in the actual mood board. That's what we did here and I think it's a very successful one that we could take to any creative team and get everyone on board with the overarching vision, and then turn that into a beautiful series of photo shoots. That's what we want to do here. We want to create that cohesive look. Part of that is taking colors present in some of those reference photos, as well as some of your previous company or brand's work and create a color palette. That way, all of your shoots are going to have the same general theme. Another way that you can work with this is plan out your lighting. For example, a lot of the photos that we see in this mood board are heavily backlit, and if we want to bring that in for that sunny, natural vibe, that is something where out on location you would actually backlight the scene. Then, in your studio shots and product photos, we can do something like we see in one of these images with putting some leaves in front of the light and stuff like that to still keep that bright sunny vibe going. You can carry that on to the product photos as well. This doesn't have to be a technique that's just used in one thing, you can carry it throughout all of these shoots to make sure everything fits really well together. Conversely, if you want to have a really soft look, you'd have it lit really soft and natural on location, carry that over into the studio on-figure post photos, and then carry that into your product photos as well. Although, this is important to note, it doesn't matter what type of company you are working with and what that message is, you can tailor your photography and the ideas for these photo shoots, you can tailor those to that brand identity. A beautiful example of this is fashion designer Tom Ford, who has really edgy, striking visuals where all of the on-location photos are very punchy, and dark, and dramatic, and even though the posed studio photographs showing the clothing being worn as it's supposed to so you get an idea of how it fits, those photos are still lit very dramatically. You have that one light source with that intense shadow that still fits with the brand. Then, they carry that same punchiness over to their actual product photos. Everything is very seamless, everything makes sense. That's what we're trying to do here, we're trying to make everything make sense. This mood board, you can take, bring it to a meeting with your art director, creative lead, or creative team as a whole and say, "This is what I'm thinking of for this shoot. This is what it'll take to execute it," and everybody can get an idea, give you feedback, if it's necessary, and then that way everyone has a picture in their mind of what they're going for, and then you can take the next steps to actually go out and take those photos. From here, if you really want to get into the nitty-gritty, you can create detailed mood boards for each portion of the overarching project in and of itself, but you have the ideas and fundamentals how you would go about doing so. Certain things that I look for when creating a mood board like this, for example, are the overall tonality that we're going for in the colors. Some of the vibe, the overall energy, and look, and feel that we're going for is something I really want to nail down. Now, this, I wanted to have something where it encapsulated what we're looking for out of the studio shots, out of the product photos, and out of the lifestyle photos, but you don't have to stop there. You can go deeper, have a specific mood that you're going for. If it's really happy and easy going, you can have a whole bunch of those photos for the vibe. You can have a whole bunch for the type of clothing you're going to be doing. You can have a whole bunch for the location, the makeup, the hair, the styling, etc. The list goes on and the possibilities are endless. Be sure to be careful not to go so far as to have things that suddenly start feeling like they don't work together, because if you put too many photos in at once, then sometimes it may get a little overwhelming. But also make sure you have enough photos included in there so it gives you something to work off of and peace portions of ideas together. Even in this mood board, there was one photo of a woman wearing a bright blue activewear set. Now, this doesn't really fit with a lot of the color palette and everything that we're going for but that's okay because this company probably wouldn't have that color, but this is just an idea of the actual look at how those on-location photos would be. But keeping in mind the color palette, so that would obviously shift. These are things you can bring up too with your art director just to let them know that, hey, this is just a reference. That's all these photos are. I took none of these photos. You can use some of your own as reference if you'd like to, but for the purposes of this, these are all images not taken by me, used specifically for educational purposes only. Do with that as you will. With that said, let's actually get into some tips and techniques to keep in mind when you're taking these photos so you get the best results for whichever platform they're going on.
5. Shooting for Success: Now, you know the platforms. You have your mood board and you've had those conversations of how to structure these shoots and it's time to actually do it but here are some tips to keep in mind, so that way you have the most successful result possible. Something that I like to keep in mind when doing a large scope of work like this, especially for those lifestyle images is how can I change it up so these images stand out from the rest? Ways that you can do this is change your lens, change your angle or change your light. All of these will drastically change how the image is looking, if you go to a wider lens and come closer up, you're going to get a very distorted image that looks very dramatic. But also, this might not work for all types of photoshoot. If you're doing something like that, natural, earthy yoga active wear type of clothing you wouldn't want to go super wide and come really close because it's going to distort everything and look really dramatic and edgy which is not the look you're going for. However, if you come back with a telephoto lens and zoom in really close, getting a nice isolated subject and have a nice back light that can entirely create a different look altogether that will really create this sense of wonder and mystery in the image because there will be so much out of focus but that isolated subject will really stand out. This different things to keep in mind when you're actually shooting, so you get the best results. Another thing to keep in mind is those photos that you're taking, when you're taking them, know where they're going to be. If you're taking lifestyle photographs that are going to be for print in a magazine, they're going to be on Instagram and they're going to be on a billboard. Know that your vertical photos are going to be in print and in Instagram and have that four by five crop. Shoot wider but also remember that these can be more dramatic. These can really stop you in your tracks and that's what they're supposed to do. Change up the light, change up your angle, change up your lens, do things to really bring that viewer in. It's also these moments where you can punch in on details, so that way in Instagram you can have a carousel where you have these lifestyle photos, where you get those wider shots and you tell a complete story, where you start wider and you come in, keeping in mind that four by five crop obviously but you come in closer and then you get a cohesive story, you get the wide shots, you get the close-ups, you get the mid-range, you get like a full body, long shot of multiple people together. You get a one or two subjects isolated with like a 3/4 body and then you come in really close getting those details. It just sells that entire lifestyle from start to finish. Something where you can have a multiple page spread where people will keep looking through it. Then you'll turn your camera horizontal to get that incredible landscape billboard image. This is where you're going to keep in mind that negative space. This is where you're not going to have too much busy-ness going on. Maybe you'll just focus in on the subject in the product. Say if it's a car ad, the person walking by the car, maybe looking off in the distance and just that and that's it. Then your Instagram photos can be the person with the car in a wide shot and then maybe them inside the car driving, maybe a close up of the hand on the steering wheel for example. These are the type of things that you can keep in mind and then you just light them all the same way with a similar look, so that way everything fits together. All of these things come together to create that cohesive look that we're going for. The best part about having something like the mood board that we created is once you have that conversation with your creative team, you can go out and start sourcing the different aspects you're going to need for it. If you need different props, you can figure out what you need and exactly what will work for that vibe and that look that you're going for. If you need to cast a specific type of person, you can start narrowing that down because you have the look of everything that you're going for. You know what your brand is trying to say and you just have to pull everything together to do just that. Because you have all these styling elements already planned out, it's going to save you actually a lot of time. That's the other thing, is all of this planning, all of this preparation that you are thinking of now is going to save you so much time and so many headaches afterwards and it's also going to make sure that everybody is on the same page and knows exactly what's going on. That way there's no guesswork. You get in and you know exactly what you're looking for. You can take this one step further and build a shortlist if that's something that you're looking to do, especially if you have a very large project on the go. Granted, that's not something you have to do. But what I like doing at the very least is having a clear idea in mind of the different products that we have to showcase or the different elements that are all going on and how to capture each one of those and make sure you get enough content for each one. Like I said, punching in on those details, getting those different angles. If you're taking studio shots of somebody wearing something, you'd take the front, you would take the back, you would take the side, you would punch in a little bit and get a detail then same thing for the product photos. You would take it from the front, the side, the other side, the back, come in for some of those intricate details. Same thing applies for the lifestyle photos as well. Get those wide shots, get those really heart-stopping images that really pull you in. Then comments for some singular photos that do the same thing. Punch in a little more for more detail and just get all those different angles. Switch it up and get all the content that you need to out of it. This is a way that you can create a cohesive look while also getting a whole bunch of different images that show all the products and all the content that you need. Other things to keep in mind are actually how you direct and pose anybody that's in your frame. If the vibe is something very happy and very easy going, you're going to want a lot of natural smiles, you're going to want everything to be fairly loose. You're not going to want things to be specifically posed. But if you're going for something more dramatic, you'll want those more dramatic poses. Additionally, if you're showcasing something of a software product, for example, you would want those people at the computer interacting with that software and reacting to it how you would want them to. If it's something to make their lives easier, you would want that sense of relief. If it's something whether really diving into, if it's a creative product, for example, you want them to be really focused. Keep these things in mind when you actually go out and shoot and they will make a world of difference. These are notes that you can include in something like a mood board or in a meeting with your art director or creative lead. These are things to bring up so you know, going into it, what you're actually looking to get and that way you can describe through your talent exactly what it is you're trying to say and then bring that out in those images. You can even take this as far as building your lighting scheme around it. If you're going for that more dramatic, edgy vibe, light it that way. If you're going for that more happy, easy going vibe make it really bright and maybe a little bit airy. These are all things to keep in mind that entirely change the look of what you're going for. Because the look defines the feeling that the viewer is going to have. You want to really sell that feeling to them. Anything you can do to really hone down and nail down that look in that feeling will only help to translate that to the viewer which will only draw them in. These are all the different ways that you can use the imaging techniques that you know and how you can pull those together to create a cohesive and effective look across any platform. These are the ways that you can shoot for success.
6. Conclusion: If you've made it up to this point in this course, I want to thank you so much for your time and I hope you gained a lot of value out of the information presented today. I really hope that it serves to really increase your workflow and make your planning, your preparation, and overall, the outcome of your projects that much better. Again, feel free to share down below in the project and discussion tabs your findings as a result of the information presented today. Let me know if it changed up your workflow, if it changed up how you communicate or how you plan these different projects, whether it's your own personal work, or whether you're that in-house creative photographer working with graphic designers, art directors, creative leads. That way you all know how to create that cohesive look across any platform, knowing not only how to do it, but why you're doing it, which is the most important thing. If you have any questions regarding the lessons or any of the information covered today, feel free to drop down in the discussion tab down below, as I'm fairly active in there, and will try my best to answer any questions that you may have. If you enjoyed this course and you want some more technical-based information, I do have a bunch of other courses spanning from portrait photography, fashion, lighting, as well as product photography, and even a bit of cinema on my Skillshare page. So be sure to check that out. Additionally, I do have a YouTube channel where I release smaller, more bite-sized, consumable pieces of content. If that's your thing, make sure to subscribe over there as well. Lastly, I would like to once again thank you. I hope the information presented today was very valuable to not only you but your company or creative agency as well. Work hard, rest often. I hope you have a very creative day.
 Fynn Badgley, Fashion & Portrait Photographer