Transcripts
1. Intro: And welcome back to another awesome
Blender class with me. Ken. Now, I have a
question for you. Have you ever wanted to
take your logos, graphics, graffiti or
illustrations and place them directly onto a
three D model in Blender. Maybe you've seen some
stylized vehicles or props or game
assets covered in decals and cool artwork
and wondered how the artists placed
those graphics exactly where they want them. In this class, I'm going
to show you one of the simplest and most
powerful techniques for doing that using Blenders stancil
texture-paint tools. Texture-paint allows
you to project images directly onto the surface
of a three D object, almost like using a
projector or stencil, so you can place artwork
anywhere on the three D model. And this gives you
a lot of control. With this technique, you can
add graffiti, decals, logos, stylized props,
vehicle graphics, product branding,
and any artwork you have onto your
three D models. In this class, you're
going to learn what texturing is and how
it works in Blender. How to prepare your three D
model using UV and wrapping, how to use blenders
texture-paint, workspace, how to project
artwork using stencil masks, and how to save and render
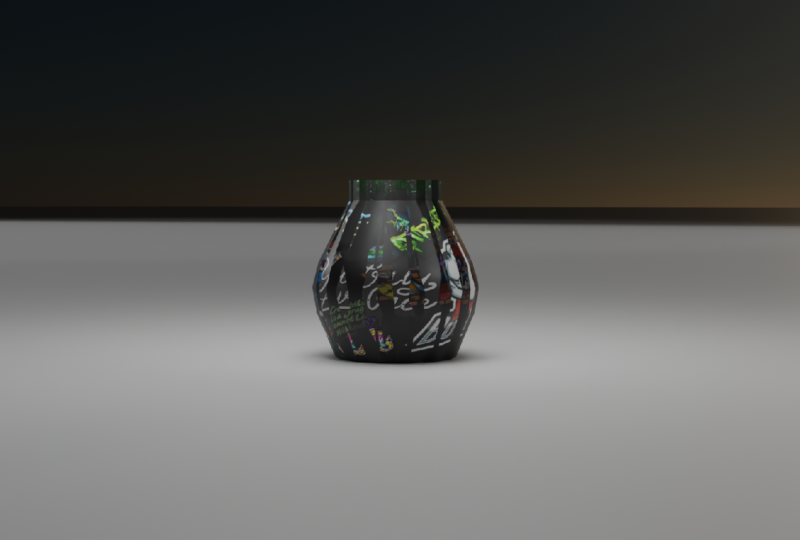
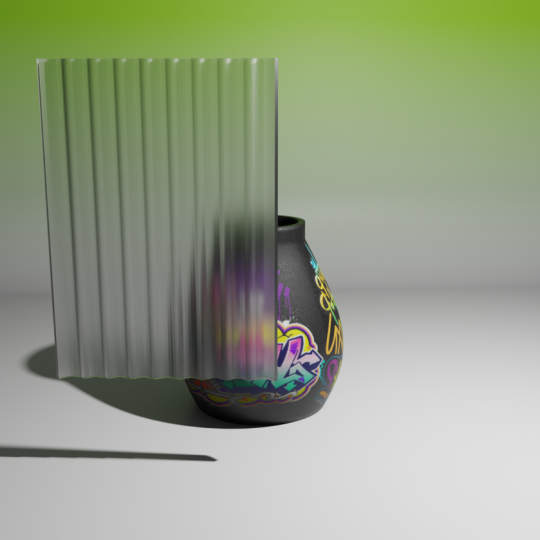
your finished textured model. For our class project,
you're going to decorate a flower vase using your own artwork,
decals, and graphics. You can use images
from texture websites or even artwork you've
drawn or painted yourself. By the end of this class, you'll be able to place your artwork anywhere
on your three D models. So if you're ready
to get started, let's jump right in. See you in the next lesson.
2. What is Texturing: When we create three
D models in Blender, they usually start out
as simple gray shapes. The geometry defines the
shape of the object, but it doesn't define how the surface of the object looks. And so the visual appearance comes from shading
and materials. So we want to take a moment
and remind ourselves of how we add materials
to an object. So we have this cube right
here inside Blender. This is a brand new project. If I want to add
materials to this cube, first of all, I need to
switch to the shading mode. And of course, now this switches automatically
to the material preview, so we can see materials. And as you can see,
our material has automatically been added
to our cube because we cannot change the appearance of this geometry of this cube
without first of all, creating a material
to it because everything that is
going to be visible on the surface of this cube is stored inside this
material, called material. We can rename it to my material. So we can have
multiple materials. And this specific Momial
material is going to hold the specific colors
within surface appearance, we're going to define here. Now, with this cube selected, of course, I can see
myomaterial here. One way to add details to the surface of any object
is to use texture. So if I hit Shift A
and go to texture, as you can see, we
have several textures. I can use Voronoi texture. And place it right
there. And immediately it starts rendering this, and I can adjust the scale and detail
and all these things. That's one way to
apply surface details. You can create rubber, you can create metallic surface. You can create soil using
this type of texture. This is what we call
a procedural texture because it's using mathematical formulas as
you adjust these fields, to adjust what you're
seeing in here. So it's a procedural texture. Now, if I remove that
by hitting delete, another way to add details to your surfaces is using an
imported image texture. So if I hit Shift A,
go back to texture. We have image texture. We can come and connect
that to the base color. So right now, we
have two choices. We can either open
and upload or import an image that we downloaded
from a website like polygon or polyhaven
or texts.com. So I'll go to my downloads. I want to switch to thumbnails and look
for a texture here. This is a metal texture. Now that I've added that image texture
that I downloaded from a different website and it's connected to the
base color of the cube, now it's taken up or it's showing that particular texture. The third way to apply
textures and add details to your three D model is through creating and drawing or
painting your own image. This is an important image. From wherever I downloaded it. And now we've connected
it into this. But the other option is to
not use an imported image. We can actually
draw our own image. So instead of saying
open, we say new. This opens up a model or pop up to allow us
to name our image. We want to name this image. So let's call it our
custom base color. And I can make it two k image. I'll select these
two and say 2048. Let me brighten it up and let's give it
a light blue color. I'll leave everything else
the way it is and say new. As you can see, now, what you're seeing here is not an image uploaded
into Blender. It's an image we've created ourselves and given
it a blue color. I wanted us to know about
those three ways to add details to your three D models because we're going to
focus on the third one, the method of creating our
own image inside Blender. I'm going to explain this much further in the
upcoming lessons. You're going to understand
why and what we're doing.
3. Texture Paint Workspace: Da includes a
dedicated workspace specifically designed
for texture-paint. Let's switch to the
texture-paint workspace. This workspace contains many
tools, but for this class, we're going to focus on
just a few important areas, the parts that are relevant
to what we want to learn. The three D viewport. This is where we will paint
directly onto the model. As we brush across the surface, the texture will be
applied in real time, allowing us to see
our artwork appear instantly on the object.
The brush tools. Now, these tools allow us to control things such
as brush size, blending modes, and all that. But we're not even going to
mess around with this part. For this class, we will mostly use the standard paint brush. In other words, we're not
going to change the brush, but we're going to change the brush size and brush
strength from time to time. Then we have the texture slot. This is where we will
load the image that we want to use as
our stencil mask. Then we also have
the image editor. You can think of this as a
mini photoshop inside Blender. Remember that, unlike procedural textures
which are generated mathematically or
imported textures that come from
external websites, texture-paint
involves creating or editing an image
yourself within Blender. That image is then wrapped onto the three D
model as a texture. The image editor is
where that image file lives and where we can view and save the
texture we're painting.
4. UV Unwrapping: Before we can paint textures
onto a three D object, Blender needs a way to map a two D image onto
a three D surface. Because remember, the
image you're painting is two D and the object is
three D. To understand this, imagine a cereal box. When you buy a cereal
box at the store, it already has graphics
printed on it, such as branding,
nutrition facts, product images, marketing,
graphics, even the price. But those graphics were not printed after the
box was assembled. Instead, they were printed while the cardboard was
still completely flat, just a two D flat
piece of paper. The flat sheet is
printed first and then later folded into
the three D box shape. UV and wrapping in Blender
works in a very similar way. Blender temporarily has to
unfold the three D model into a flat layout so that the images and artwork
can be placed on it. This flattened layout
is called the UV map. And each individual
flattened piece is called a UV island. So this is an island. This is an island, and
this is an island. Now, let's take a look at a simple example by
UV unwrapping a cube. So inside Blender, I want to switch to the UV
editing workspace. When we switch to that, Blender automatically
selects the cube and switches to edit mode because Blender expects us to select edges and mark scenes. Now, Blender is also
smart enough to give us a suggestion of how the cube
will look when unwrapped. So because a cube is a simple primitive Blender
already knows where to place SMS and has already done that and
given us a suggestion. But what if you have a
more complex three D model that Blender needs you to specify where the
SIMs should go? That's where you
manually add SIMs. Now, we're going to do
the same for this cube. Now, you will notice
here in this UV editor, when I select an edge here, it's also selected in there. And that's because this is on. So I like it being on, so toggle it on and that
allows you to select. If you select a pace here, you will know which
pace it is on this side. So that should be on. Anyway, let's switch
back to edge select. And let's see a different result if we just decide to
select everything, as you can see,
the tool tip says, projection unwraps the selected
faces of mesh objects. So it unwraps the whole cube. And that's how it flattens it. So every face is just placed next to each other like that. Now, the original
default wrapping that Blender had done is what you would expect in a real world box laid down and ready to
be folded into a box. Now, if we want to get a
different result for this box, I can select these three edges like that, then right lick, Mark CM, then select
these three edges, right lik Markm if I select, now if I select and then U, I like using the
unwrap conformal because you can see that's
a different result and it's very ugly
because we did not separate these two maxims. I've selected these two. Let's hit A, then
U rap conformal. That's a different
way to unfold it. We're just playing
around with it. If I select this Mark C and select these two. Maxim, then select
everything with A, then U. Now, as you can see,
we've just unwrapped it by placing SMS
in different parts than Blender had placed
them because this is blenders unwrapped
and this is ours. Blender had placed
SMS in other parts. If you're working
with a cylinder, let me delete that Shift
A, mesh, cylinder. As you can see, Blender has a suggestion on how
it should look, and I love that suggestion because if we switch
to edit mode, the reason Blender
unwrapped it like this is because Blender expects you to place artwork continuously on
this surface here, and that's this surface here. So if you place an image here, it's not going to break midway. But let's see what happens if you UV unwrap it differently. If I add a UV SM there
and another one there, then mark C. Select A, UV unwrap as you can see, it's a very ugly seam. So what we need to do is, let me just undo that. We can go with
Blenders suggestion or we can do it
manually ourselves. And as you can see, there is a top face, bottom face, and the side faces. So holding down Shift O and clicking on any of
these edges that go round, you select all those that loop, hold down Shift out and
select that bottom loop, and I will select one edge here. Maxim. Now if I
select all, then. As you can see, we have
something close to what we had. And that's because we
just placed a seam right here and at the bottom, and just once here. So it's like cutting
this cylinder. If you had a blade and this cylinder was
made from cardboard, how would you cut it in order to lay it flat to paint on it? You would want just one seam here and a seam
opening these two up. Then you lay this down.
5. Flower Vase Texture Painting - Part 1: So having gone through
all that Blender theory, it's time to put everything
we've learned into practice. We want to see how to
texture this flour vase. And, of course, I'm
going to provide this three D model below this video player
in the projects and resources tab.
Check it out there. So now, if you want to
texture-paint this flower vase, the first step we
want to do is go to the UV editing workspace
and UV unwrap it. So as you can see, the topology
is a little bit weird, and that's because I
modeled this flower vase in plasticity and then
imported it into Blender. So the topology is a bit weird. But what we want is to look for a place we can place a seam
from top to bottom like this. So I'm going to
switch to edge mode, then select the top edge, hold down Control and
click the bottom edge. It will select
everything in between. And there is no edge here. So I can select
hold down Shift and select this then hold down Control to select all the edges in between the current selection and the previous like that. So now we've selected
that entire loop, and the bottom loop, I'll just hold down Shift
and out. There we go. So now, right leak mark SM. So it's going to be cut
right here. And here. Now, I'm going to do the same, but for the inside, so I'll select the top edge
there, hold down Control, select the bottom,
then hold down shift, and hit one of the edges here
to select the bottom loop. Now the reason I'm not
doing the same here, shift out for this top
loop is because it's selecting two thirds of it
and skipping these two, and I have to manually hold
down shift. There we go. Now that's the entire top
inner loop right there, right a maxim. So there we go. Now, if I select everything, A, then go to unwrap conformer.
That's what we have. I'm going to rotate this
holding down Control to jump in five degree increments until the rotation up
here says 90 degrees. Grab it to position
it inside the canvas. Just like the save. Now, we need to have this
on UV sync select so that when I select a part
of the geometry here, I can see exactly where it is. So this is the out side. This is where we're
going to paint. So now that we have
that UV unwrapped, we've told Blender, this is the way we want to
apply the texture. We can apply a
continuous texture here, and it will not break because there are no
seams in between. It's like a flat sheet of paper that can be printed
on or painted on. So step number two is to switch from UV editing
to texture-paint. And automatically,
this will switch to image editor from UV editor. This was the UV editor. Now, this is the image texture. And when we switched to
the texture-paint mode, Blender automatically loaded the three D view port
switched to texture-paint here and prepared a canvas here in the image editor for us to start drawing
because remember, this is a mini
Photoshop right here, and Photoshop has a canvas that you can put
your artwork on. So this is where we're
going to place our artwork. Now, every three D model
must have a base color. Remember, if we go back to layout for a
moment and we want to apply some textured or shading
to this three D model, what we have to do is go
to shading like that, and then add a new
material here or switch to materials here
and add a new material. That's the same thing as going inside texture-paint right here. And saying, we want
to create a material. And with that material, we can add a brand new slot. Let me show you what a slot is. If I switch to shading mold and add a new material to this
selected flower vase. This is a slot, base color slot, roughness slot, metallic slot. Alright, so do that because we want to go to
texture-paint right here, this model, we can add a material to it and
on that material, we can add a new base. In fact, let me just divide this into two. I
forgot to do that. Let me switch this to
the shader editor. It's the same as switching to this part because this is also
the shader editor, switch back to texture-paint. Now, if I add a material here
with a slot of base color, automatically, it's
given a name like the name of the five flower
vase, then base color. I want to make it two k 2048, and let's say the flower
vase should be black. The base color of
the flower vase or the base material that
was used to create the flower vase was
a black material. So we can give it
a black material. I'm just going to pull this
down like that, then add. Now, if I zoom out on this, because we have a material, we can now start drawing on it. If I pick a color
here, select this, brighten it up, we can
start drawing on it. If I undo all this, and start drawing before
adding any material, Blender does not know exactly
what you're trying to do. So if I try to draw, it says missing materials,
textured or linked. Because remember, we said a material is what
stores textured and colors and
other things you've defined for the surface
of your three D model. So without a material, you cannot start
drawing or painting. That's why you need a material. And let's just say
base color here. Let's just go with
white or gray. Now, remember this
is a mini Photoshop, so you can draw here or here. So if you draw here inside the Mini Photoshop
or the image editor, you're drawing on your
model, just like that. So if I undo all that, and once you make changes here, just like in Photoshop, where you make changes, you
need to save the changes. But the initial thing
you will need to do here is save that image
because remember, when you're using
procedural textures, if I switch to shading, if you say Shift A and
go to texture and you're using a noise texture
or a Voronoi texture, those are mathematical
calculations happening as you switch the knobs of the node. As you adjust these knobs, those are mathematical
calculations. Let me just disconnect this. So these are real time mathematical
calculations that are happening as we adjust this. But we also saw that the other
way to add an image is by importing an image
that was created by someone else and
using it as our text. So if I go to download and
select this image right here, where is that metallic image? Now we've given
it a premade text that cannot be
edited in Blender. But we can edit this
image in Photoshop. If we edit this
image in Photoshop, and save it in Photoshop. Blender is going to detect
those new changes and show the image with the new changes because we're reading
the same image. Now, because we're not pulling
this image from outside, we're actually making or using our own image
here, flower vase. That we've drawn
inside texture-paint, we still need to save
it the same way you will go into Photoshop and edit and save that other
image you downloaded from online in order to see
new changes in Blender. So when you make new changes to this texture that
you're drawing, you need to save it. That's why we have this
small star. So save that. The first time you do that, you're going to save it inside
your computer somewhere. Going to save it on the desktop. Is my desktop. New folder, vase. There we go. Now,
as you can see, the star has disappeared. But if I draw something now, notice the star is back. So now, that's how to
draw with brushes. And, of course, we can
change the brushes here. Let me just undo all this. Of course, we can
change the brushes. If I switch back
to texture-paint. I can pick that brush, and as you can see, it's a little bit more faint
than the other one. If I pick the sharp
one, it's much sharper. And I can hit F to
make this smaller. If I hit F and drag
left or right, we can make the brush smaller. And Shift F adjusts
the strength. So I can make it very weak
so that when I'm drawing, there is nothing I'm drawing. Shift F again, 0.0 73f
to increase the size. And as you can
see, it's drawing, but you can't quite see
because it's very faint. Shift F, let's say,
up to that spot. As you can see,
we're able to paint some colors that are more faint than the ones
we drew previously. And so as you can
see, with this, you have a very powerful way to add textures to your
three D models. But the question
is, how do you add graffiti when you don't
know how to draw? You're not a graffitti artist. That's where the texture slot comes in because with
the texture slot, we're able to select an
image that someone else drill and imprint it
onto our three D model. And that's what we're going
to see in the next lesson. I'll see you shortly.
6. Flower Vase Texture Painting - Part 2: Now it's time to use some real artwork to
decorate our flower vase. We want to use
professionally done artwork on our three D model. So how do we do that? We already mentioned that inside the tool, the active tool right here, we have a texture slot. Now, in order to use an
image from outside as our Stencil because we're going to switch to Stencil here. We're going to select this, and the image should
be somewhere here, but we've not told Blender where the image is in our computer. So we need to do that
by going down here. So right now we're
inside the active tool, showing you everything
about the active tool. But down here is where we
can add a new texture. Now, the way I like to do
this is divide this into two. So I'll just go to this corner
and pull that like that. And now that this is
on the texture view, I can go back to the
to view right here, and that gives me access
to both of these. So in here, if I
select that new, we create a new texture. And here we want to say we
want to use an image or movie. We have others here, but we're interested in image or movie. And this is where we pick one. So I'll just say open. And in here, I have several graphics I had
downloaded from Free Peek. So as an example, let's go with this baboon. Is it a baboon? So now, when you
import an image, it's going to be on the bottom
left corner right here. If you want to move the image, right lick and drag, so right click and drag. If you want to resize it, hold down Shift,
right click and drag. If you want to rotate it, you can hold down Control, right click and drag, rotate. So now let's switch
to front view with one on the
keyboard, on the numpad. Now we're in the front view. Just navigate as
usual in Blender. And now I'll zoom in. You can zoom in to
bring the three D model closer or if you want
it to remain there, you can resize the
artwork itself. So just right lick and drag. Alright, I want it
to be inside within all right shift down shift
and drag left to resize. Maybe that spot right there. So now if I start drawing, it will be drawn there. So now if I rotate,
as you can see, it's been imprinted
onto the three D model. If I switch to layout, you will notice something. The problem is it's too
faint. It's too grade out. Why? Well, let's go
back to texture-paint. Remember, we reduced
our brush strength. If I hit Shift F and drag it to the left and
take it all the way to one, and let's switch to
maybe side with three on the numpad let me just shift drag to make it
smaller, right click. All right. Now if I draw here, As you can see, it's very, very visible and clear. Now, if I go to layout, it's much more visible. Let's go to texture-paint
and rotate. To change the image you're using and still keep the one
you had the previous one. If you want to use it later, you can click this new
texture icon here. What that does is it
creates a new slot for a new image texture while also leaving this
other one available. I can select this and
still draw with it. Now, if I click here
and select this, it's empty asking
me for a new image. I want to go in here and let me select let's give it hip hop. I'm going to make all
these graphics available. You can download them
together with the model. And if I rotate, now we have that awesome texture
right there. Let me I'm not going
to use that again, so I can just replace it. Let's see. Graffiti.
Now, you will notice graffiti is squeezed
because the image I've replaced was portrait was tall, but graffiti is wide. So Blender is a bit confused
about the aspect ratio. So we go here, then
click Image aspect. That will resolve the
image aspect ratio. Now, if I rotate this, shift right leak to shrink, then right leak to relocate, maybe up to that spot. Now, let's not
forget to save this. If you don't save your texture and clothes Blender,
you're going to lose it. It's not saved. So save
this treat something. Let me paint this here. Select another image. Maybe this girl will shift
it now aspect ratio, so image aspect, hold
down shift, right lik. Then right li Here we
can add a different one. So let me select something else. This bulldog open. Let me place it in front of that gollla. I think
that's a gorilla. But now because it's more
visible than the gorilla, it's going to look as though it's some artistic
background there. So let's switch to layout.
7. Your Project: Now it's time for you to put everything
you've learned into practice by reproducing
this flower vase and all these graphics. Now, it doesn't have
to be identical, but this was just an
inspiration I created for you in case you need
something you can look at and try to reproduce. I think it's quite creative if you ask
me, as you can see, there is this brim that has
these glowing green squares. And of course, you've already seen some
of these graphics. I'm going to provide the folder containing all these graphics together with the three D model. So you're going to have
everything you need to practice everything
you've learned in class. Now, with that, said,
as you can see, I'm going to provide
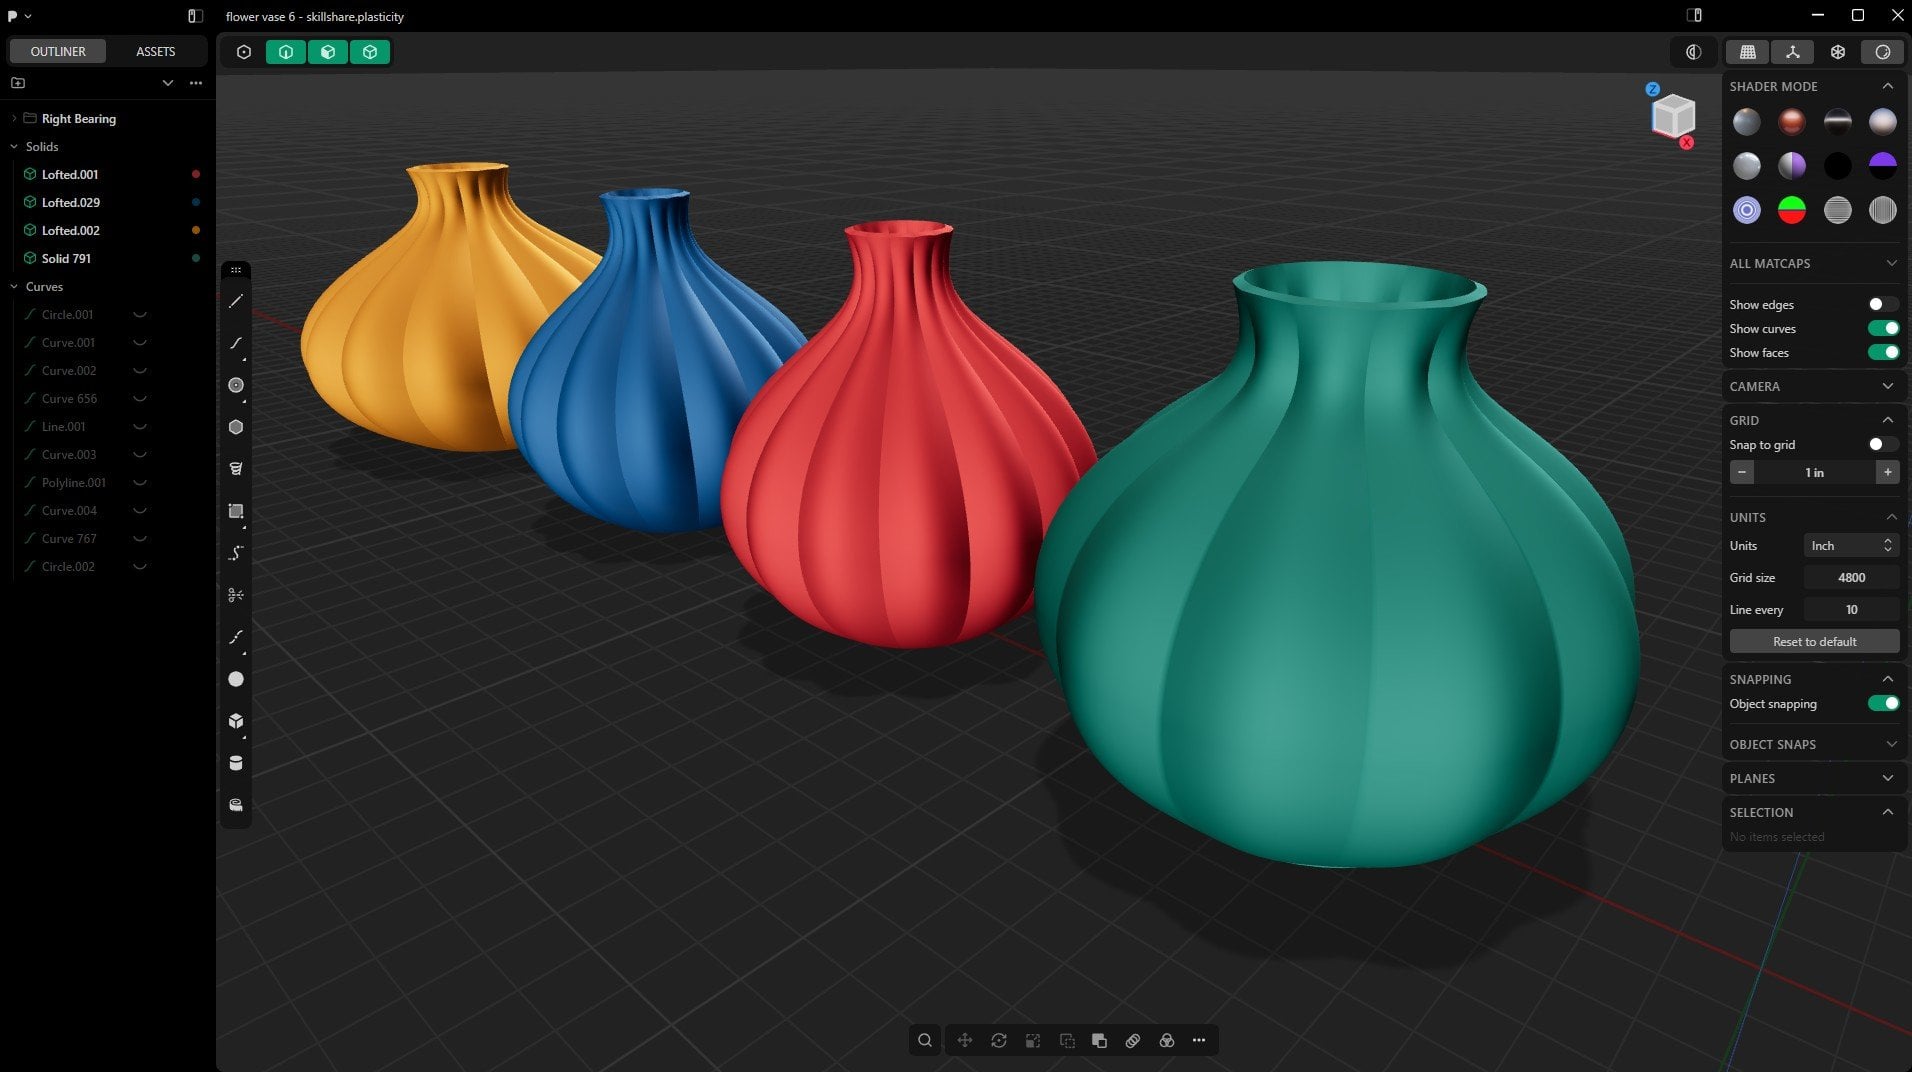
this file as well. And as you can see, we
have several flower vases. If I zoom out and hide the
one I've already done, I'm going to leave
this in here for you to look at and investigate. So I'm going to
hide that then and hide another one identical, which is the one you're going to UV unwrap and then texture-paint,
going back to layout. In addition to that,
I've also added some extra flower vases
here that you can and hide. Okay, they are hidden
by the floor here, JZ. As you can see, this
plane is too high. So environment, hide the plane. In fact, let me go to this view. So as you can see, I made some
extra flower vases for you to try and texture-paint.
Choose any of them. If you want to
texture-paint, all of them, or you can just choose
one and do your thing. Now, the final thing I
wanted to show you is, let me just hide
these go back here, and now we're left with this. Now, remember, the way to approach texture-paint is
now that you have the model, go to UV Editing. As usual, it will automatically open the model in
edit mode here. If it's not just change
it to edit mode. Now let me look for a nice
place I can create scenes. I'm just doing
this very quickly. Right Markem. I want to select this entire
remark SM, select this. Mark, the top rims,
and finally this. Maxim and at the bottom. A, to select them all, then U and unwrap like that. Now with that unwrap, let's go to texture-paint. I just wanted to
remind you of some of the most important things
you need to keep in mind. Now in here in texture-paint,
as you can see, it's purple, pinkish because
it does not have a material. So let's go ahead
and add a material. Now, if you look at
the flower vase I created for inspiration here, let's just switch to this, hide that for a
second, and hide this. It has a black base color. If you want your flower
vase to be white, give it a white base color. If you want it to be pink, give it a pink base color, then paint on top
of that base color. Going back in here, let me and hide that
and hide vase zero. Make sure this is selected, change back to
texture-paint mode. Going to the slots. I'm going to create a
base color that's black. Vase one base color. Black. I'll make it two k, and I'll choose a dark color. Maybe not completely black, but very dark somewhere there. Then say add. Immediately, you give
it a dark color. Then finally, let's
go down here. To texture, let's
create a new texture. And to pick an image, of course, we need to
go inside texture. We're currently inside
the active tool, and that's why I always just like splitting this into two. Always. So select texture here. I can select an image. I'll provide this
graffiti folder below. You can download it with
all these graphics, including these others. Let me just choose this
bulldog. There we go. Now I'll choose Stencil
here, right, leak, hold down shift, right leak, drag to scale down, right leak to drag. Now, if this is
dark and you paint, it's not going to be
visible because it's dark. If you want it to be bright, make sure this is also bright. So now if I paint, it's visible. The darker you make it, and this is good for
artistic purposes. The less visible it becomes, the more it blends
with the dark color. So that's just for
artistic purposes. Now, I just wanted to
show you that part on how to place your base
color because I did not really emphasize it in
the previous lessons. I wanted to make
sure you know why you need to have a
base color because you might want your model to have a specific base color and
then paint on top of it. Now, another thing you should never forget is
to save your image. So go here, save vase texture. Going to give it a new
name here, save that. Always save your texture
inside this image editor. If you don't, you will
have to redo your texture again because if you toggle some other workspaces
here and there, without saving
your image texture here, you might lose it. That's all about the project. Like I said, I'm going to
provide all these files. You're going to find flower
vase zero as the example. You're going to be
able to look at it. All these images
are available in the Assets folder that I've provided below
this video player. So let's see what
you'll be able to create and see you
in the next lesson.
8. Next Steps: And that's it. You
now know how to use stencil texture-paint
in Blender to place your artwork anywhere
on your three D models. With these techniques, you
can easily add logos, decals, graffiti or any artwork
you've drawn to your three D models and export
them as beautiful renders. If you haven't already, now is the perfect time to
complete the class project. If you have something
you painted or something downloaded,
you can use that. Feel free to experiment
with different images, graphics, or artwork and see what kind of unique
style you can create. Remember, this is all
about your imagination. And once you're done, upload your project by going to
the projects and resources tab right below
this video player so we can all see what
you've been able to create. I'd love to check out your
work and give feedback. And if you enjoy this
class, as always, please consider leaving
a review because it really helps other
students discover the class. Take a moment and go to the review tab and let me know what you thought
about this class. Did you enjoy it? Did you learn something
new? Let me know. And once again, as always, I want to say thank you
for sticking with me from the beginning up to the
end. You've come this far. That means you really
take this seriously, and I just want
to say thank you. I'm in the kitchen cooking
up the next class. So make sure you follow me
if you're not following me yet to be notified as soon
as I publish my next class. Till next time, stay creative. Peace.
 Ken Mbesa, Web Designer | 3D Artist