Transcripts
1. introduction: Hello students, welcome to the premium add-on
series of Blender. In this class, we will
see the most popular add-on used in 3D
modeling in blender. That is, KitOps is the bid and the free add-on available in the
blender market.com. I don't basically is the asset browser with the
extremely useful features. It comes with the loaded
ethics which can be easily applied on the
object in the viewport. In the very precise, vague cutoffs include assets like machine parts, material, and many complex design shape, which may be difficult if we
try to model in manually. kitops include the small
parts of machines, material, and many other
complex design shape, which may be difficult if we
tried to model it manually. But these add-ons
simplify the process and fast forward our
3D modeling process. So students join this class to know more about
the kitOps add-on and enhance your
creativity level in the 3D modeling
work using Blender.
2. kitopps addon download and installation : In this class, we will
all look the cutoffs too. I Have purchased
blender market.com, after purchase and download, we get this bunch of files. Among these all files. First,kitops pro 2.2 . The file is the main add-on. Don't unzip it. Second step to install add-on. Send regular process, Edit, Preferences, install,
and find the same zip file Then back to viewport. Press N. Kitops located to the right
side of a vertical menu. Yes, the Kitops menu is big
with many options and features. Let's see the first
basic function of add-on. The viewport. We have a default cube, select it and press
N. The cutoffs menu. On the top, you will find the image thumbnail
preview, click on it. Here is a set-top extra
object available, or we can call them assets. Select any of them, and click on Insert. As we move most
cursor on the object, the selected object
gets snap on the cube. Fifth, try on to the
all sides of the cube. In this way, we can
add different assets from treetops to the object
available in the viewport. kitops is the collection of machine part or a
small accessory part, which can easily step to
the object in the Viewport. Next is the two important
part of kitops The first is the
add-on setting menu, and second is the
functional cutoffs menu in the viewport. Let's see how these
both are connected. Does now, we have
seen that kitops has some assets library which we can add on our viewport objects. Now, this preset assets
here is already filled in the master folder that
comes with kitops settings. To locate it, go to
add-on setting options. I will label gender
and file path. Click on file path. Here you will find the
master folded address, which is mentioned as KPack Copy the address, and paste
the link to the address bar. You will be redirected
to the master folder, where all the default
assets are stored in the Spatial Blend file
with thumbnail images. Now, back to the viewport. This asset in kitops is
also called as inserts. We also get the
different type of assets or insert with
the purchase of cutoffs. Go to your download page. Here are the few free assets
available for download. Download it all and extract
the zip file to the folder. Now, go to the atom
sitting in the file path. Click here the plus icon, and choose the expected
file location. Now, this asset is added
to the kitops, add-on. Back to viewport and
check the cutoffs. The newly added
assets are available. And we can use it in our octets. In this way, we can increase our assets library in GitHub. Let's add some more
assets, unzip the file, and add them to the add-on from kitops setting by
location folder.
3. How to use kitops: How to use GitHub. Now the important
part of kitops how to use the
Insert in kitops First step, we need the main
object in the viewport. Then select bit and
look at the cutoffs. Now. Choose the asset you want
to use from the library. Now, it just keep the mouse cursor on
the face you wanted. It will get snap automatically. Add the center of the face. If you do not select the object. Before applying the assets, directly, click on
insert the object. It will get slab to the middle of the object in the viewport. Make sure to select
the main object. Then added. By default, phase snapping is
on from the add-on itself. You can change the snapping
preference test by selecting what is step or snap. The object will get slapped to those vertex are
very conveniently. You do not need any
snapping setting. Just clicking here, you can
manage their preferences. By default, it's alignment is
at the center of the face. If you select the assets in the viewport and look
at the cutoffs menu, the alignment adjustment is also presented by selecting the
different alignment position. You can precisely place
the object position. The object will not stop the position and scale
geometrically correct. Up till now, we are using
the kitops in object mode. Let's try on Edit Mode. Object slapping, the same
in edit mode on the face. Let's divide the face into the four-part and
kitops. Inserts Now, insert
added on the cube. Then it will snap to the
face of the object separately. You can select the
Inuit will face also and apply the inside. This kitops work on the
selected fifth separately. Useful in the precise
working design. Meter function also
works perfectly. Select one insert,
and in the cutoffs, click suitable meter axis, x, y, or z. Then the insert will emitter
to its position axis. You can also select the
both and apply meter. It is easy and convenient. The assets or the insert
we use in the cutoffs. If you notice that the
old material included, for example,
disconnected is perfect, metallic and other parts
setting materials. kitops allow us to modify
or change materials. Selecting said. Look at the scene
collection. From here. You can choose the
individual material and make changes in the material
menu in the shader editor. Parent Insert option. If we add an insert normally, Moodle main object, the insert
will be at the same place. If you enable this
option, parent insert, then the boat main object
and insert will be together. In many inserts. You can see this wire-frame
geometry on the main object. This virus are actually support the design to the
Boolean modification on the main object. Remove this wire up periods. First select the main object. And in the kitops
00:04:58.610 --> 00:05:02.105
click on Convert to mesh. Now switch to edit mode. Here you can see that object
and insert get joined. Form the one object. And this visible wireframe
can now move easily. Then click on cutoffs. Select, Remove Unused
wire in the inserts. This step will clean the, all the wire which
are not useful. Now in the desire.
4. Facts about kit-ops: Facts about kitops Let's see some theoretical
facts about kitops. First, we have already
seen that we get an asset or an insert for a free with the
add-on purchase, which consists of the
number of element. And it is sufficient library for practice and use
add-on in practical. But kitops is not
limited to this only by clicking
here on this icon. We redirected to the
kitops official page. And from here, the full list of extended asset or an insert library
available to purchase. Here you will find the
variety of assets or insert which may be useful
in many of our project. Available for free. Or we can get some of
the premium assets. So if you are ready
to use the cut-offs, then bookmark this page to get the future reference for any of the Blender
3D modeling work. Creating your own insert. Most interesting feature
of the kitops is that you can create your
own insert or assets. Can be sealed in the laboratory
and reuse to very easily. So if you are a creator
excellent in 3D modelling, then what this video on the
YouTube to create an insect. The process of
creating an insert for a kitops is a
little complicated. So I found it
difficult to explain. So visit the
official radio link, I hope provided in the
document attached to the class resource section is available for both free
version and a paid version. And here is the difference
between the free. And so if you want to use
it for the first time, just like free, and
if found useful, then go for a paid version.
5. KITOPS PRACTICE : So friends up till now, we have come across
the basic knowledge of KitOps add-on and its features. Now it's time to
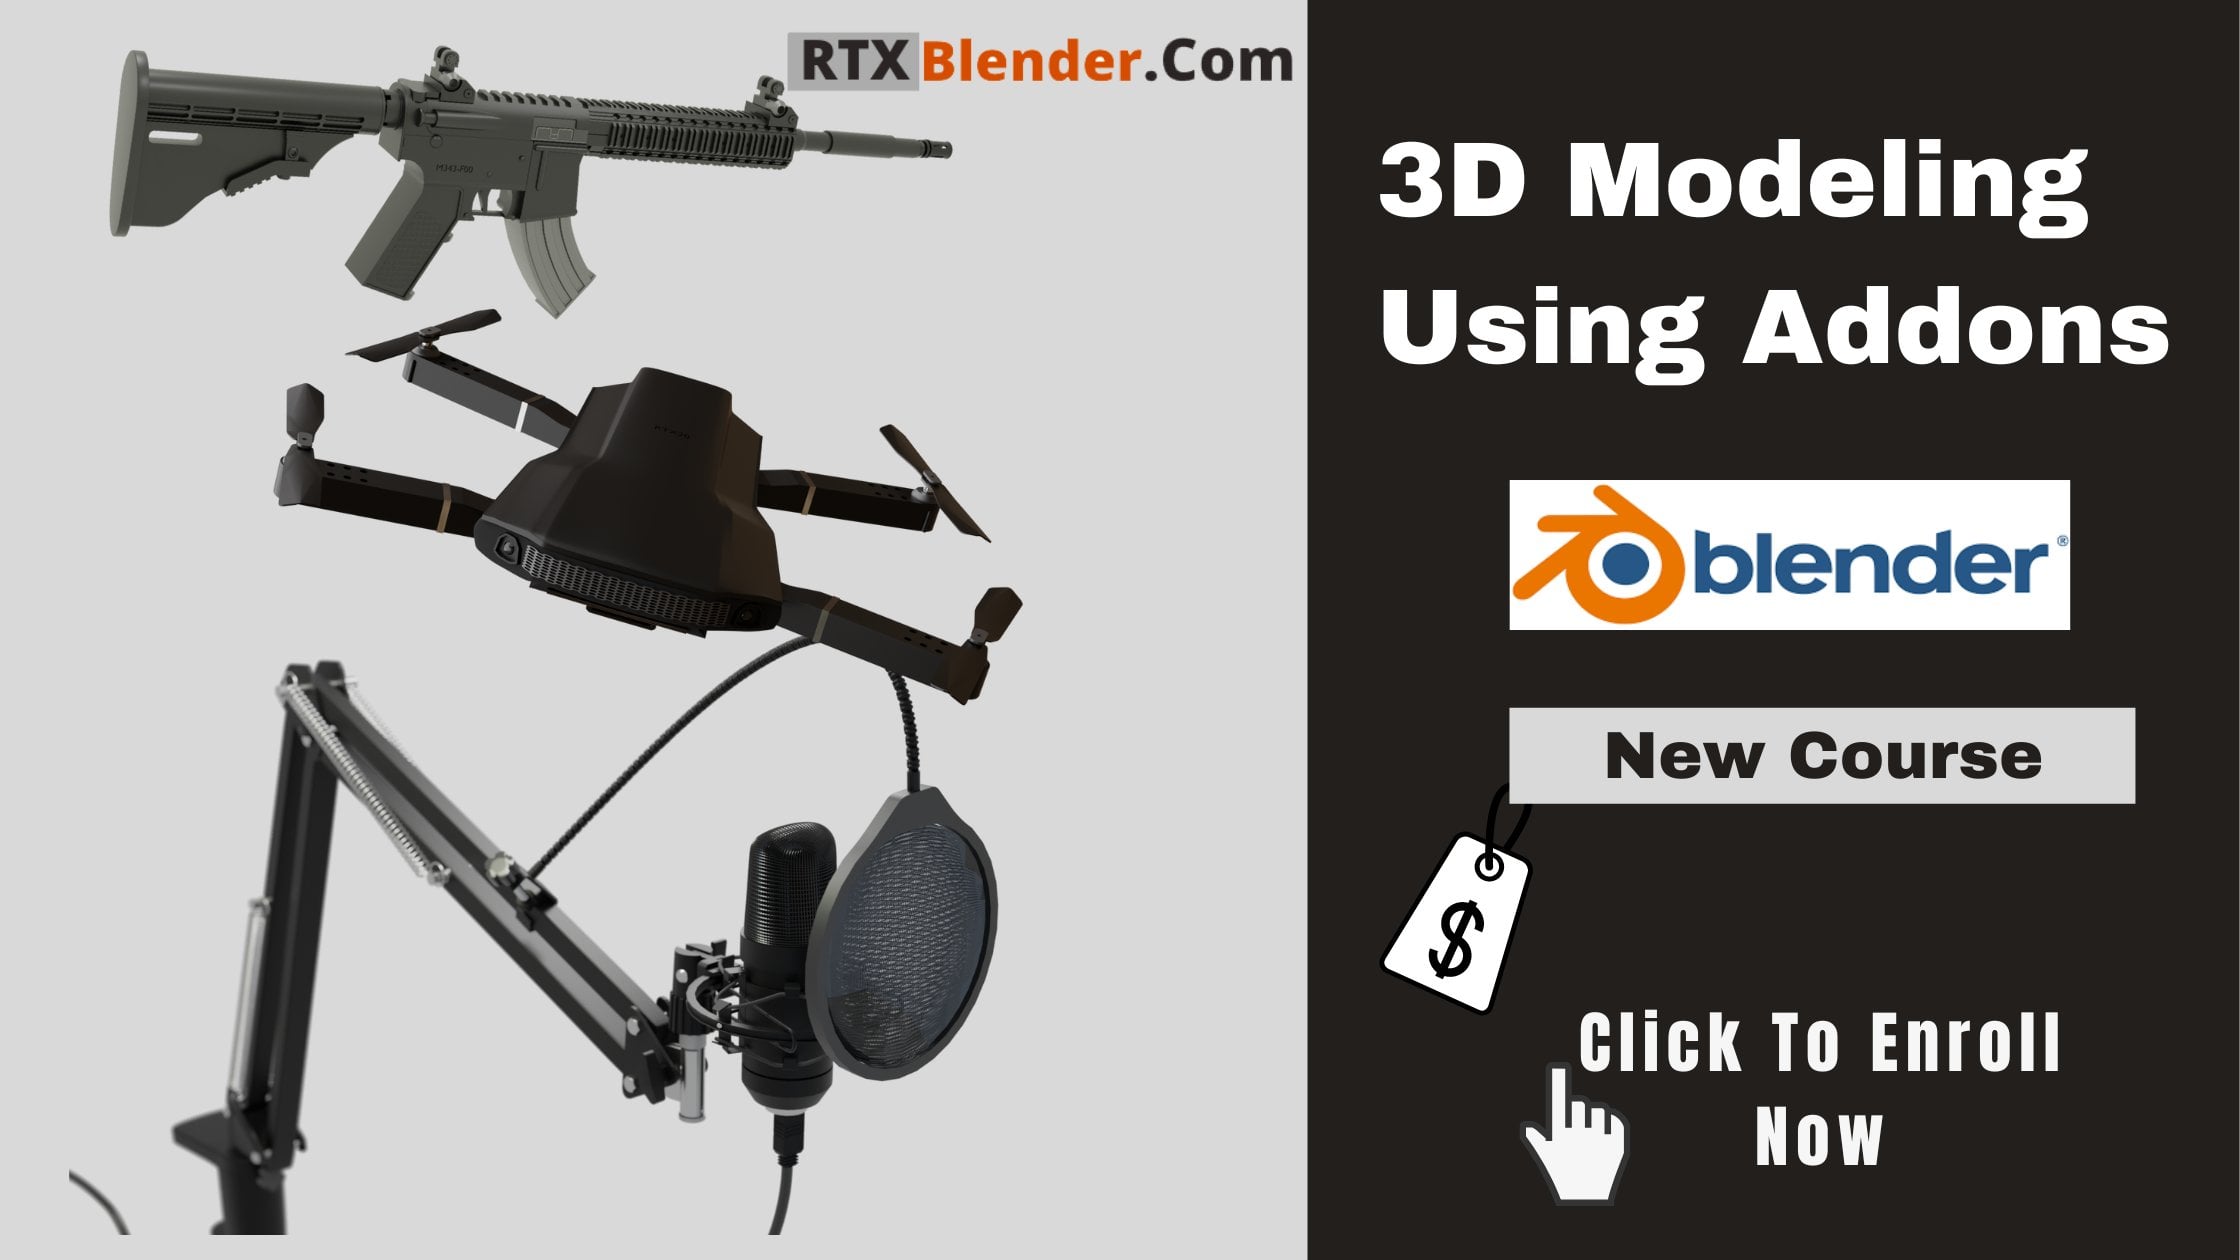
utilize the power of KitOps add-on in 3D modeling. In this add-on,
after installing, you've ever seen that we have
got many assets are insert, which are difficult
to remember visually. So I have prepared the PDF, including the preview of assets available
with the KitOps. You can download this PDF
from the resource section, which will be useful
for the selection of the assets while working
on 3D modelling project. In the kitops first
millbox example is shown with a separate assets. It also has a full assembly unit where all the inserts are used. You can really move
the, each one up there. With reference to this, we can use all this, insert in a creative way to
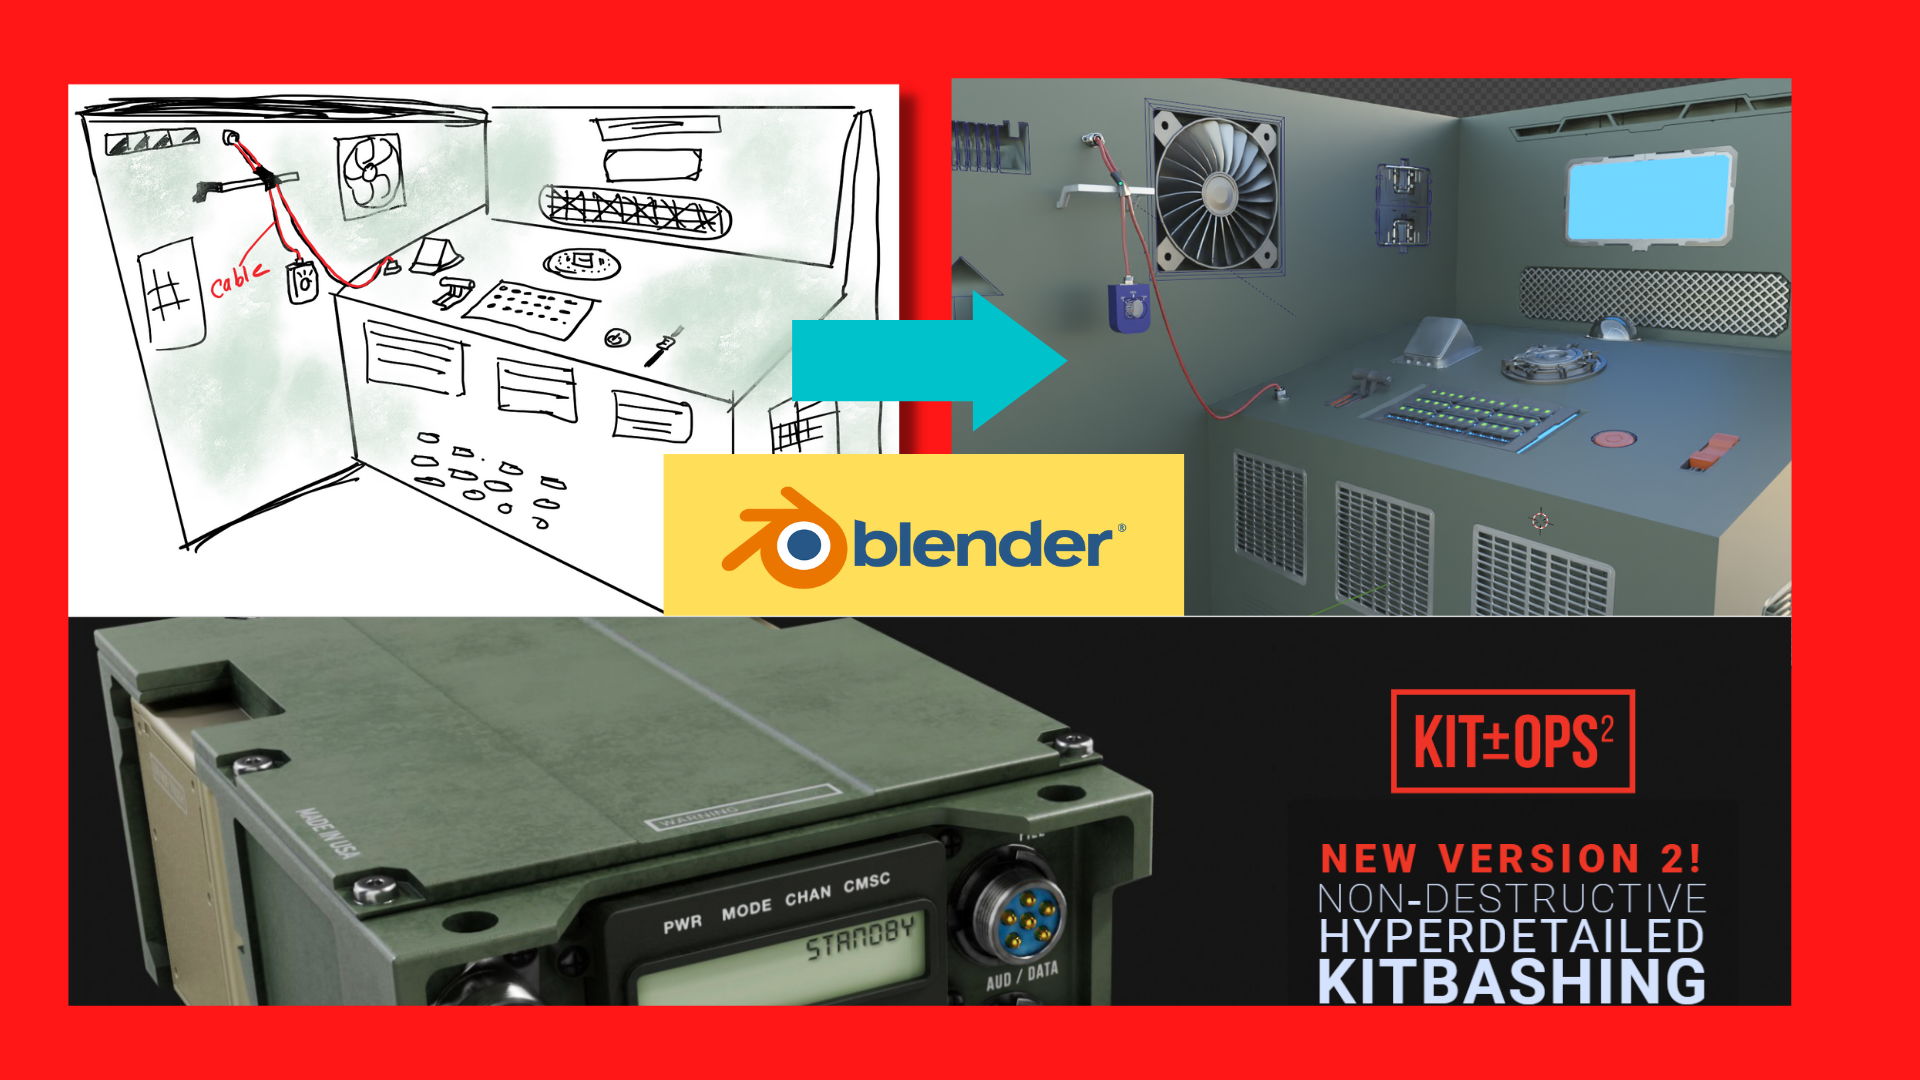
fill our 3D model object. So let's start. Now. First we need the
concept drawing. To start 3D modeling. I made this simple sketch showing some digital
equipment room. The concept is very clear. We need to make
some walls, tables, and just add extra
elements from KitOps. Start modeling. It is just a simple design, so it doesn't need
much explanation. Once it appears stable, then according to skate, start adding, insert or
assets to the main object. It will snap perfectly
and you can scale. And at the position to the match the C-N
ratio of each element. You can try multiple
assets to make it visually bitter according
to your creativity level. And if you try to create
such object manually, it will take lots of time. So this add-on is perfect for a small detail which may
be hard to get perfect. Launched for this
table Assembly. First create a control box, add a regulator, insert
connected at the, both the end. Now for the cable, I'm going to use the
cable rater add-on. It is very useful
add-on to create cable. If you want to learn more
about the table later, check my previous
course profile. It create cable easily
between the two points. Also, it has a physics
feature that will allow the cable to how
natural fall, uh, periods. And also we can insulate
to cable perfectly. Finally, that
digital equipment is ready just by adding some light. It's a good thing
for a practice. In this way, you can be more
clear to and use kitops.
 SUNNY K., Blender 3D animation