Transcripts
1. Introduction: Hi. I'm Elizabeth, and
welcome to my class, Bite Sized Keith
Herring Inspired Art. I'm a professionally trained
artist and art educator, as well as a published
author Illustrator, and I recently added
to my publications by adding an F A
Ages coloring book, featuring the Dynasty
Illustrations from my C children's book. I've been teaching on
Skillshare since 2020, sharing art techniques
that I love, different artistic practices,
creative approaches, and really kind of anything
that's getting me excited in the art making world that
I can then turn into a class to hopefully excite
my students as well. In this class, we're
going to get inspired by the graphic bold imagery of
the pop artist Keith Haring, as we create our own fun figures that mirror his style
and then kind of explore different line quality
that we can add to our figures in the
negative space to really make our
artworks pop and just kind of get ourselves creating
in a really loose way. As we looked for inspiration
toward artist Keith Herring. This class is intended for
creatives of all skill levels. I hope you'll join me in
this really fun class as we get inspired by
artist Keith Herring.
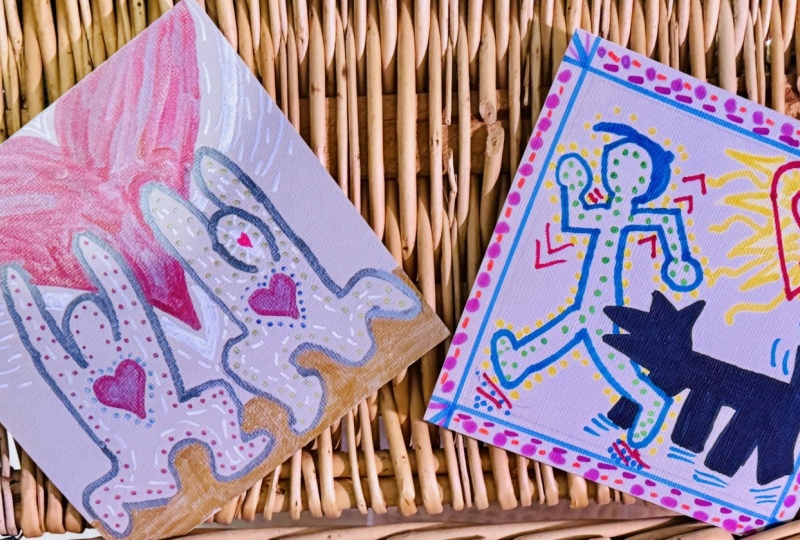
2. Class Project / Demonstration: So the first step
for a class project is to create a border. You can measure it out
or you can free hand it. I decided to measure
it because I wanted to kind of keep the
imagery very crisp, and this also is pretty easy to quickly do a border
around your page. The nice thing about a border is kind of gives it a cleanness to the edges and gives it a little bit more
finished feeling to it. The next step is to start
to draw out your images. So it might be helpful to kind of look at some
different resources for Keith Herring own figures to get some ideas for the type of
imagery we're going for. But this class is intended
to be an inspiration. From Keith hearing and not a recreation of a
Keith hearing piece. Feel free to take whatever
liberties you want to for how you want to create your figures, the basic shapes that you
want to use to design them, and the positions
that you put them in. I'm just kind of
going for really fun, energetic figures that kind of look like they're
dancing, they're excited. And then with the lines that we're going to add
later with the marker, that allows us to
kind of really add some extra movement and
visual interest to the piece. So I would fill up your space. You can think about
different scales. I decided to make this
last figure a little bit bigger to fill up my
negative space and was really kind of playing
around with how I could position them within the composition to
make it interesting. Keith has pieces
where, you know, the figures are kind of spaced
out all over the place. He's got them where
they're lined up. He's got some where
he indicated, you know, a horizon line. So really, you can do anything you want
to for this stage. After you get your figures
drawn in with pencil, they're going to go
in with a Sharpie, and you're going
to fill them in. There's two ways to do it. One way I did it, I
outlined them with black, and then I filled them
in with a solid color. In this one, I decided to do it all a solid black and just
keep it very silhouette style. Think about how you want
to approach this step and what is going to
be a way for you to put your own spin on this project so that
it's your piece, your style inspired
by Keith Haring, do a mix of Keith
and a mix of you. Then after I finished putting
in all of my figures, I went in with my pencil and just erased anywhere where the pencil line kind
of escaped where the marker was just to give
it a nice cleanup job. And then I felt like I needed something
else in this piece. In the other one, I added music notes. I go to fill the frame. This one I was really
loving the fact that Keith has some dog
imagery in his work. So I decided to create
a silhouette of a dog. Then I decided to go ahead and
ink around the border just giving a nice clean
bold edge to my frame. If you wanted to get the ruler out for this step,
you absolutely could. I decided to embrace
whatever was going to happen and just get
as clean a line as I could. Then I decided to add
some action lines to my dog because
his mouth is open, I wanted it to look like he had some barking noise
coming out of it, especially since we're going for a cartoon graphic imagery here. And then it's time to get
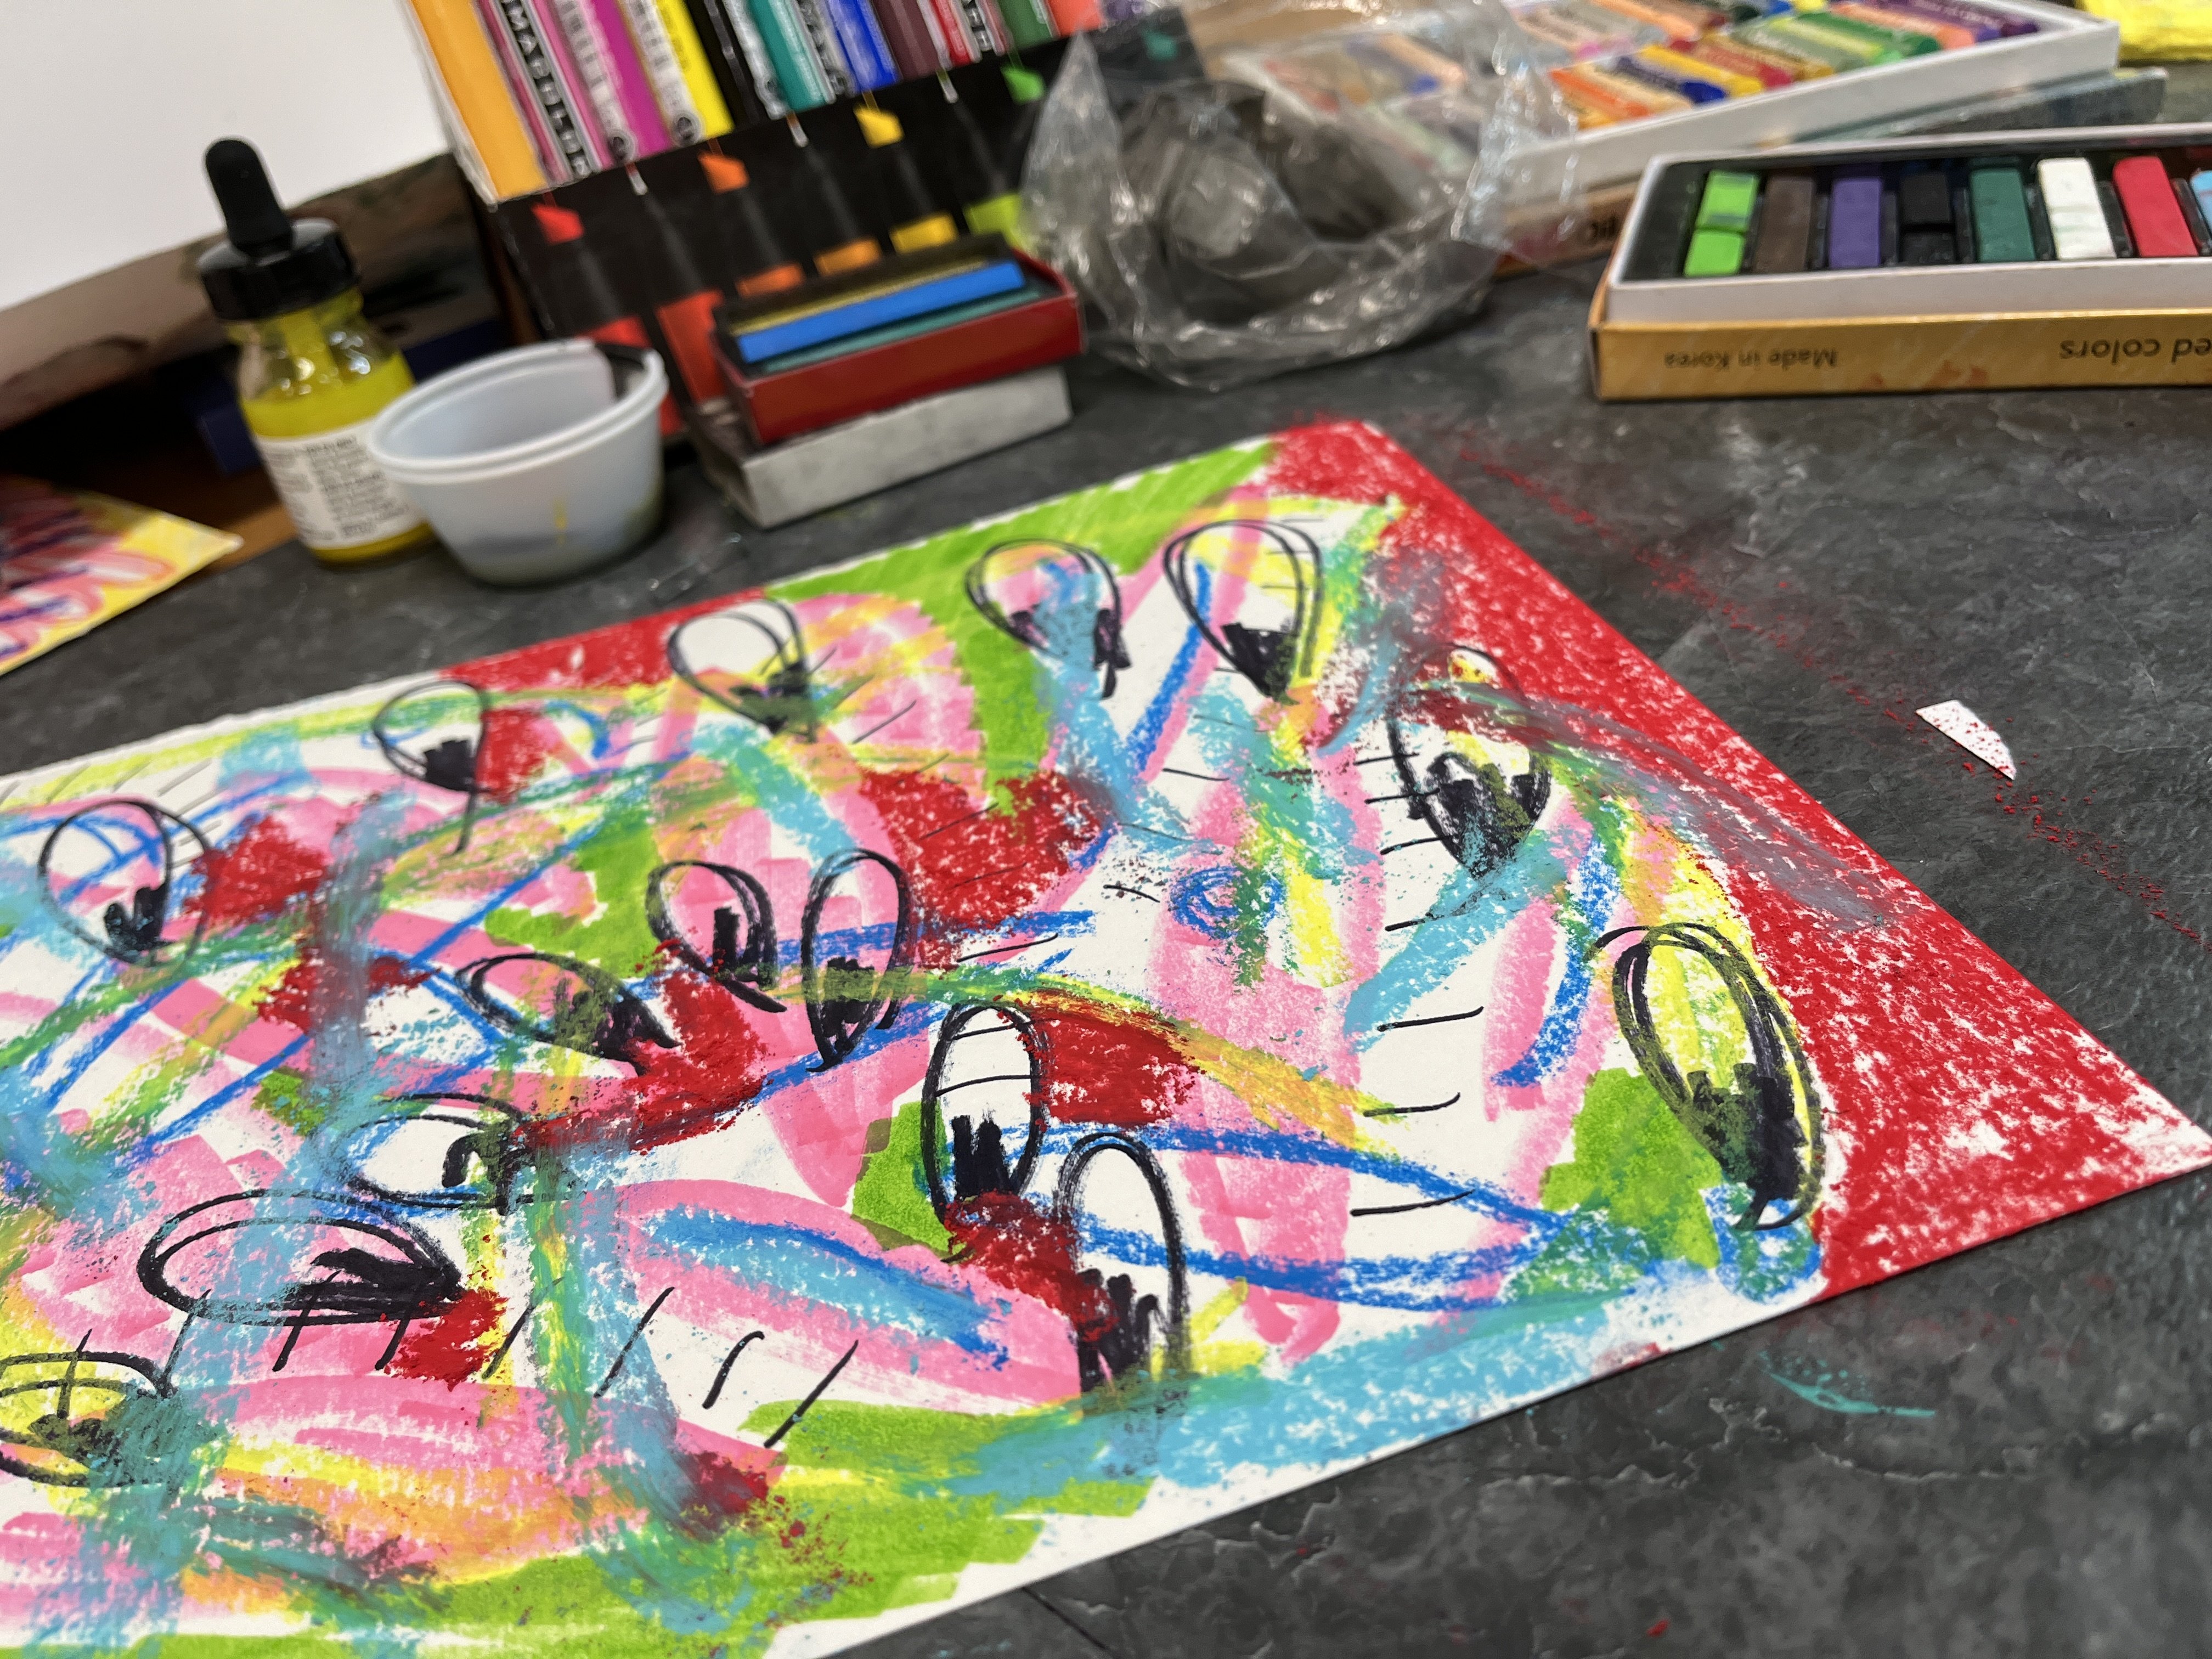
all the really fun markers. For this step, you can use whatever markers
you have on hand. So if you've got
different color sharpies, if you've got brush pens,
if you've got fine liners, these happen to be
acrylic paint markers that I really love because
they've got a dual tip, so I can do a nice big tip, or I can do a fine
liner side of it. So it's great because
it gives me a lot of different line quality variety, which is really perfect for the next step of this project. I also chose colors that were just kind of big
bold rainbow colors, kind of mimicking the bright fun colors in Keith
Hering's work, as well as choosing colors that I myself gravitate towards. So for this next step, you can do any type of lines
that you want to. But the idea is we're
doing these radiating, varying lines coming out
from our silhouettes. So we're kind of
spacing them out, playing around with
different colors, playing around with
different ways that we can create a silhouetted line
outlining our figures, and then just kind
of keep going. So in the first
piece that I did, I changed up each of the
figures was a different color, so I outlined them and did the line qualities
in different colors. This one, because I have the black figures, so
just silhouetted, I decided to go with two
different color options for the initial bold outline. And I think for both pieces, I decided to do a bold line for my first outline so that I
had something really strong and colored graphic wise
before I started going into different dotted lines and dash lines and zigzag
lines and swirl lines. And I've created a line
brainstorming sheet for you that is on the projects and resources section of class. So you can just intuitively
go for this and just see what happens and let each
line inspire the next one. Or you could fill up the
line brainstormer sheet and have some ideas ahead of time before you
tackle this step. So you'll notice as I'm going, my negative space is shrinking. So the line, as far as what
it goes around, changes. So this purple line, it's only going around
the open spaces. So it's going from end to end
as far as the frame goes, or it's kind of going
with the section here, it's the circles here. It's just kind of going within
whatever open spaces left. And you go and go and go with different lines and shapes
and anyway that you want to get creative and fun with your lines until you
run out of negative space. And then you notice here I started playing
with line weight. I really felt like I had done all of these
kind of delicate, fine line variety of line, but still delicate
similarish lines. So for the last couple,
I wanted to go on with something really
nice and bold to kind of bring it all together and add some
nice variety in there. Now I needed to figure out
what to do with my frame. So since I had those overlapping lines
at the corners where I originally penciled
in my frame edges, I decided to create those as bold kind of checkerboard
corner sections. And then I just decided to
kind of free hand some kind of wobbly lines radiating
out from the side. So just all the way around, I kind of filled the
whole section with line and then spun it
and did the same thing. It kind of mirred
the actual lines that were happening
within the piece, but because it was
just the black, it added a nice contrast to
the color that was going in, but it also mirrored the silhouetted black
shapes that I had, and it kind of kept the movement of the lines going
to the outside.
3. Final Thoughts: Thank you so much for joining me in class as we learn about the life and art of pop
artist Keith Herring. I hope you are feeling excited. I hope you had so much fun
creating your class project, and I can't wait
to see it over on the Projects and
Resources section of class up in the
student gallery. Be sure to check out the
work that others create. It is amazing to get inspired by the artists that
we are focusing on, but it is wonderful to
also get inspired by the artwork that you and your fellow
classmates are creating. I also really appreciate it if you took the time
to leave a review. Your feedback helps
me grow as a teacher, and I really take it to heart and make improvements
from class to class and when possible
circle back and add those ideas and inspirations
to previously made classes. It's also the best way for students to find
out about the class and for them to join us on our artist inspired
series Adventures. Thank you so much for taking
the time to take the class, to share your project,
and to leave a review. I'd love to stay
connected so make sure that you click the
Follow button below, so we're connected
here on Skillshare. You can also follow
my art Adventures over on Instagram and
on my YouTube channel. And I can't wait to see you in another class real
soon till next time.
 Elisabeth Wellfare, Artist, Art Educator