Transcripts
1. Introduction: Hi there. In this class, I'll demonstrate my
process for how to paint with acrylics in a
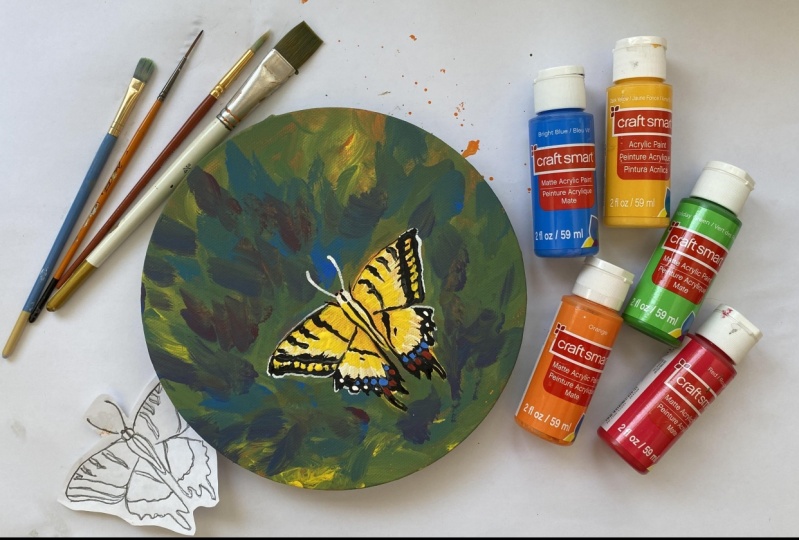
step by step method. We'll paint this
swallowtail butterfly as the class project to
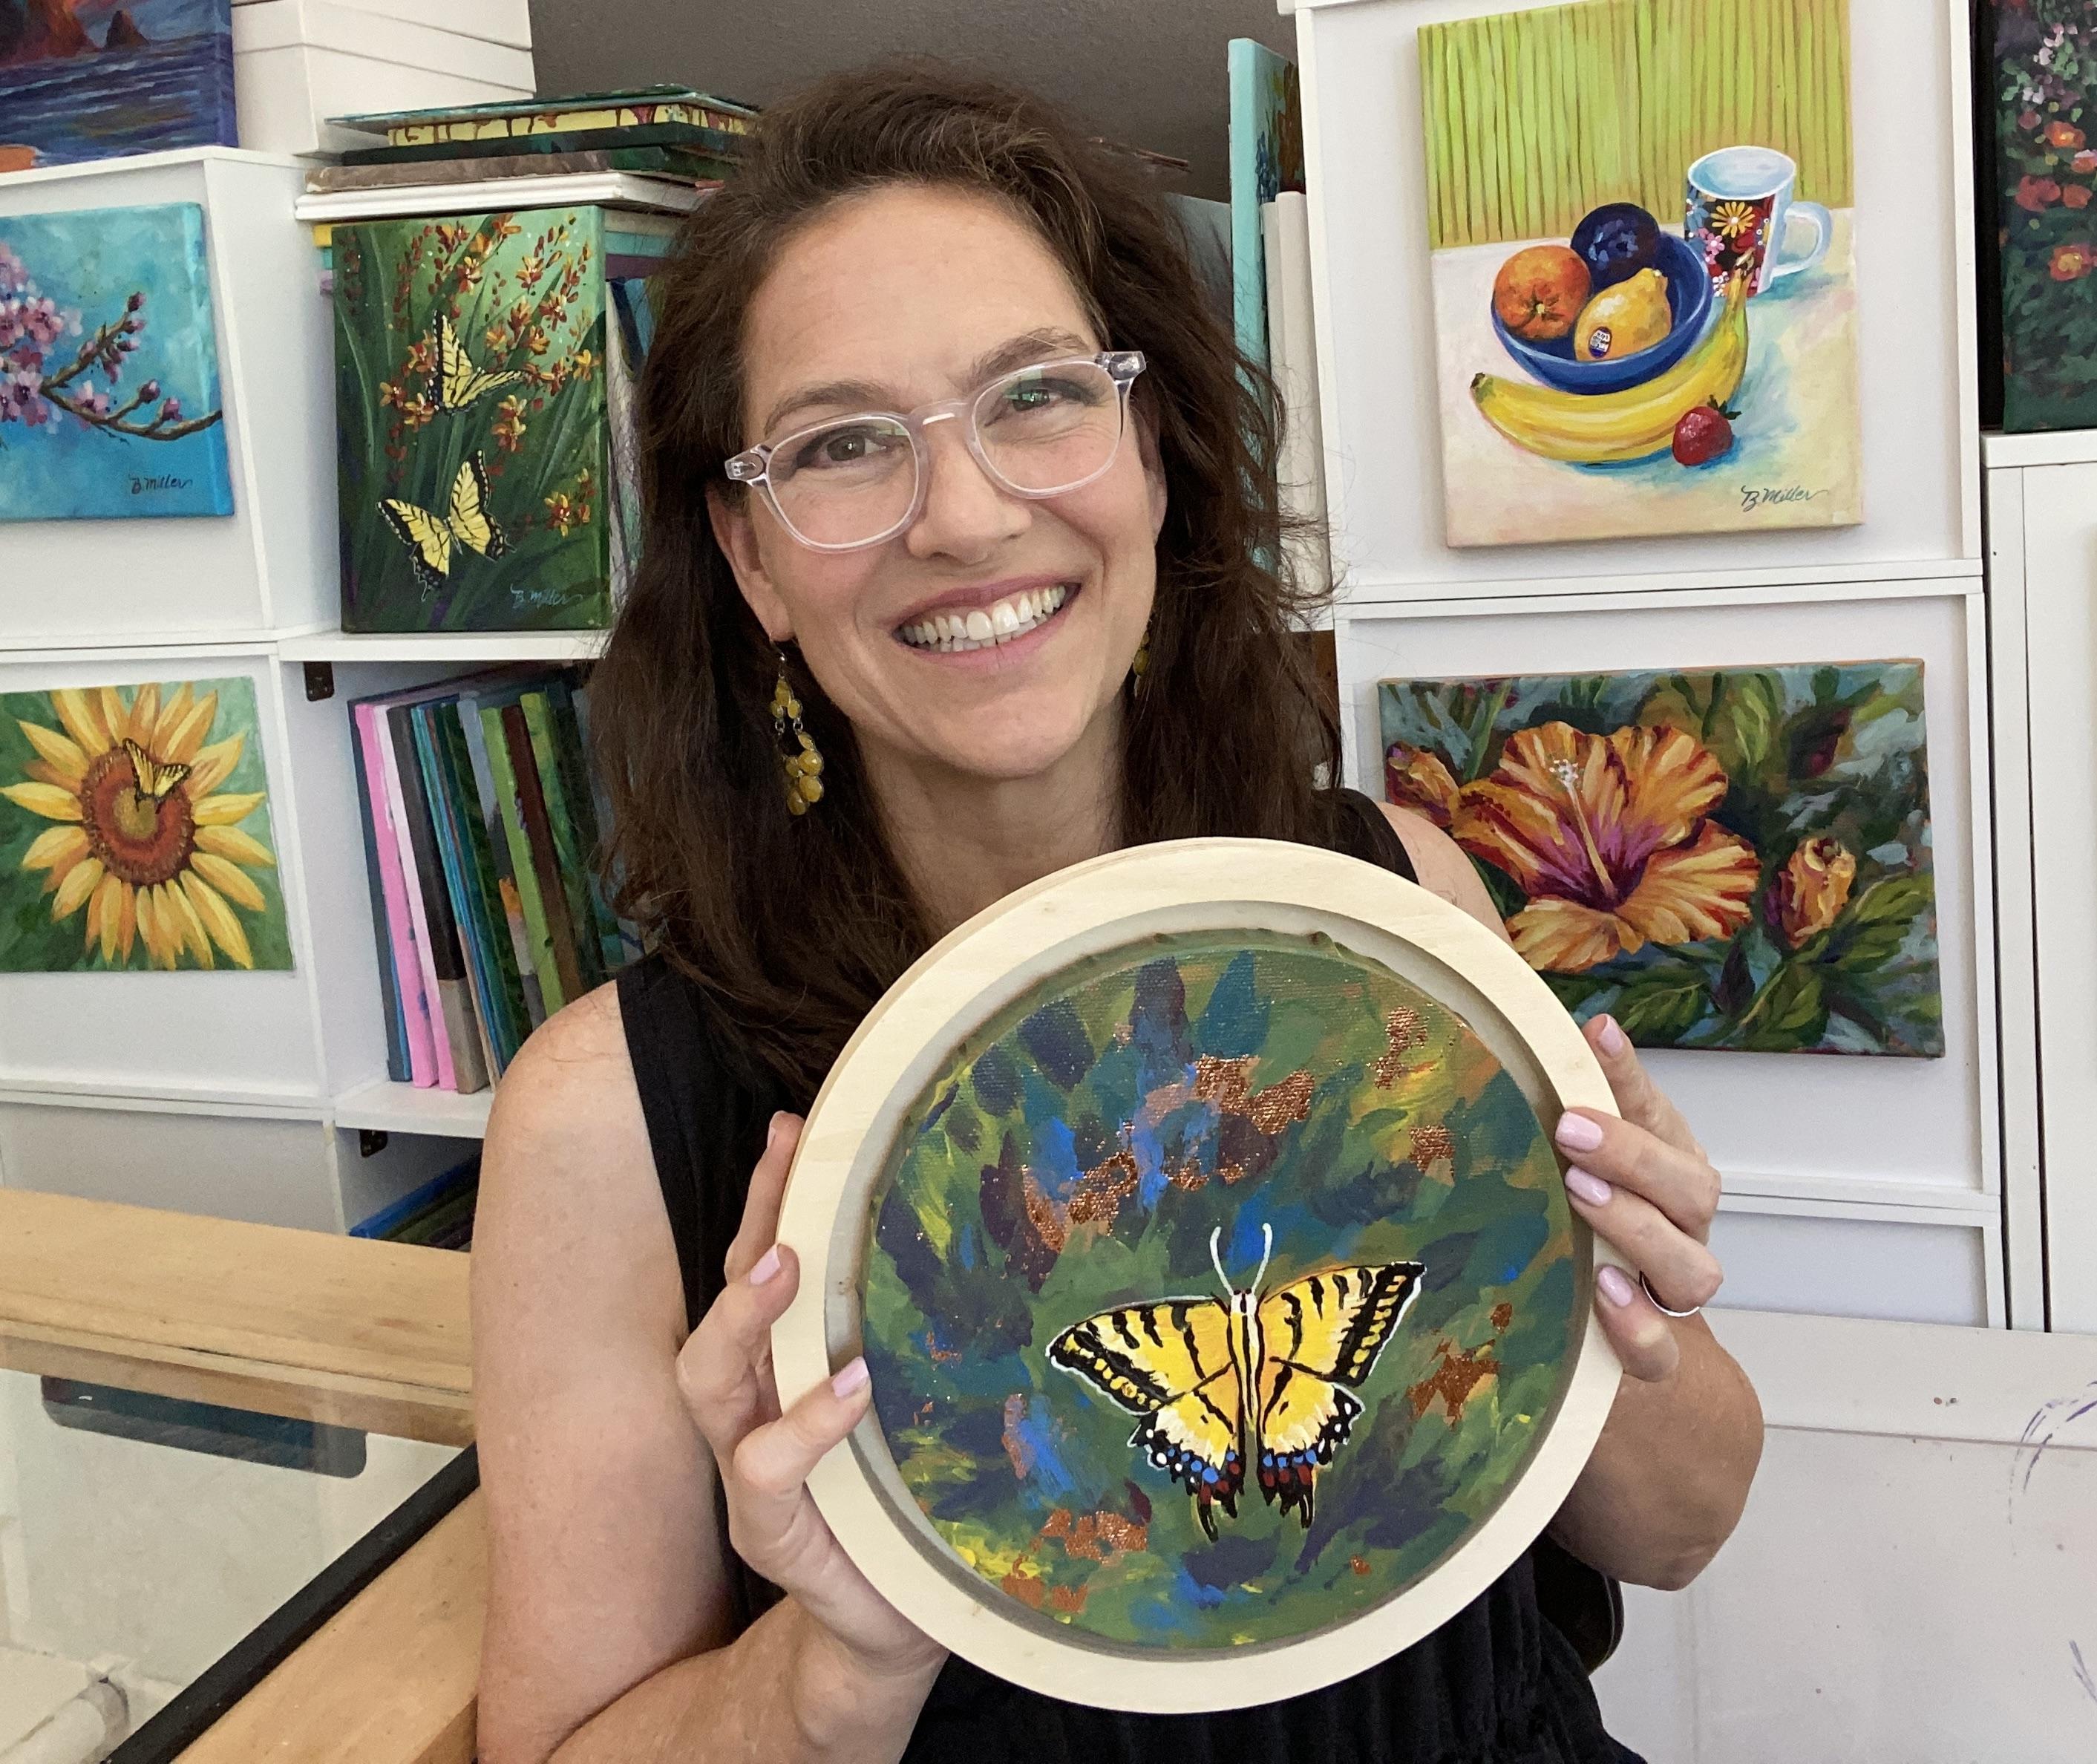
get hands on practice. Hi, my name is Bridget Miller, and I'm a professional
decorative painter with over 30 years painting
as a freelancer. I started out painting
window front advertising, and through the years, evolved into painting elaborate Trumpy
murals and fine art. Painting and teaching others
to paint is my passion. And I'd love for
you to join me in this class and this
beginning painting series, so you too can learn
this rewarding skill. I created this class for
beginners just starting out, as well as anyone who would like to learn my
painting process. So whatever level you're at, I hope you join me in painting this beautiful
swallowtail butterfly.
2. Class Project: For the class project, I'd like you to follow along with me step by step as I demonstrate my
process in acrylic painting. From underpainting to
adding a clear code, you'll learn and
see for yourself how fun and easy acrylic
painting can be. Plus, after you
complete this class, you'll have a
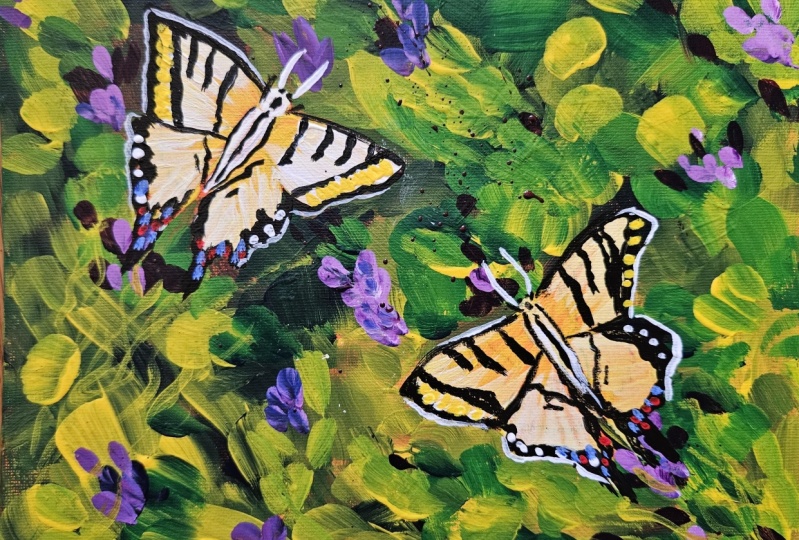
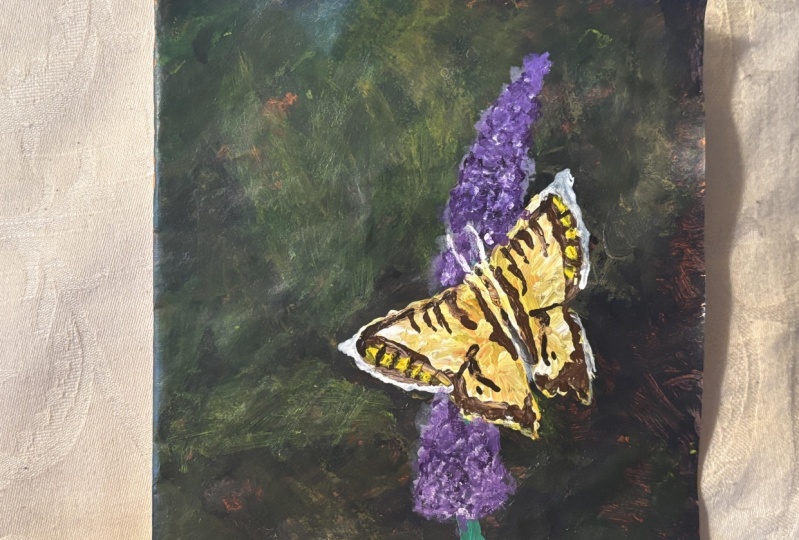
beautiful project to hang on your wall
or give as a gift. To get feedback from me and
others taking the class, be sure to upload your
project to the gallery. Just click on the
Project and Resources tab below this video. And to the right, click on
the Create project area, and you'll see the
prompts to add a photo of your work and
write a blurb if you'd like. This is a great way to keep
track of your progress. So I hope you take advantage
of this great feature. Plus, you can earn
certificates and badges, too. It's super fun. I'm excited to see what
you'll do for this class. So without further ado, gather all your materials and
meet me in the next lesson, and I'll get you
started. See you soon.
3. Materials: In this section, I'll go over in detail the materials
for the class. And if you'd like,
you're welcome to download a
materials checklist. I've included in the
resources for this class. You can find that
under the projects and resources tab
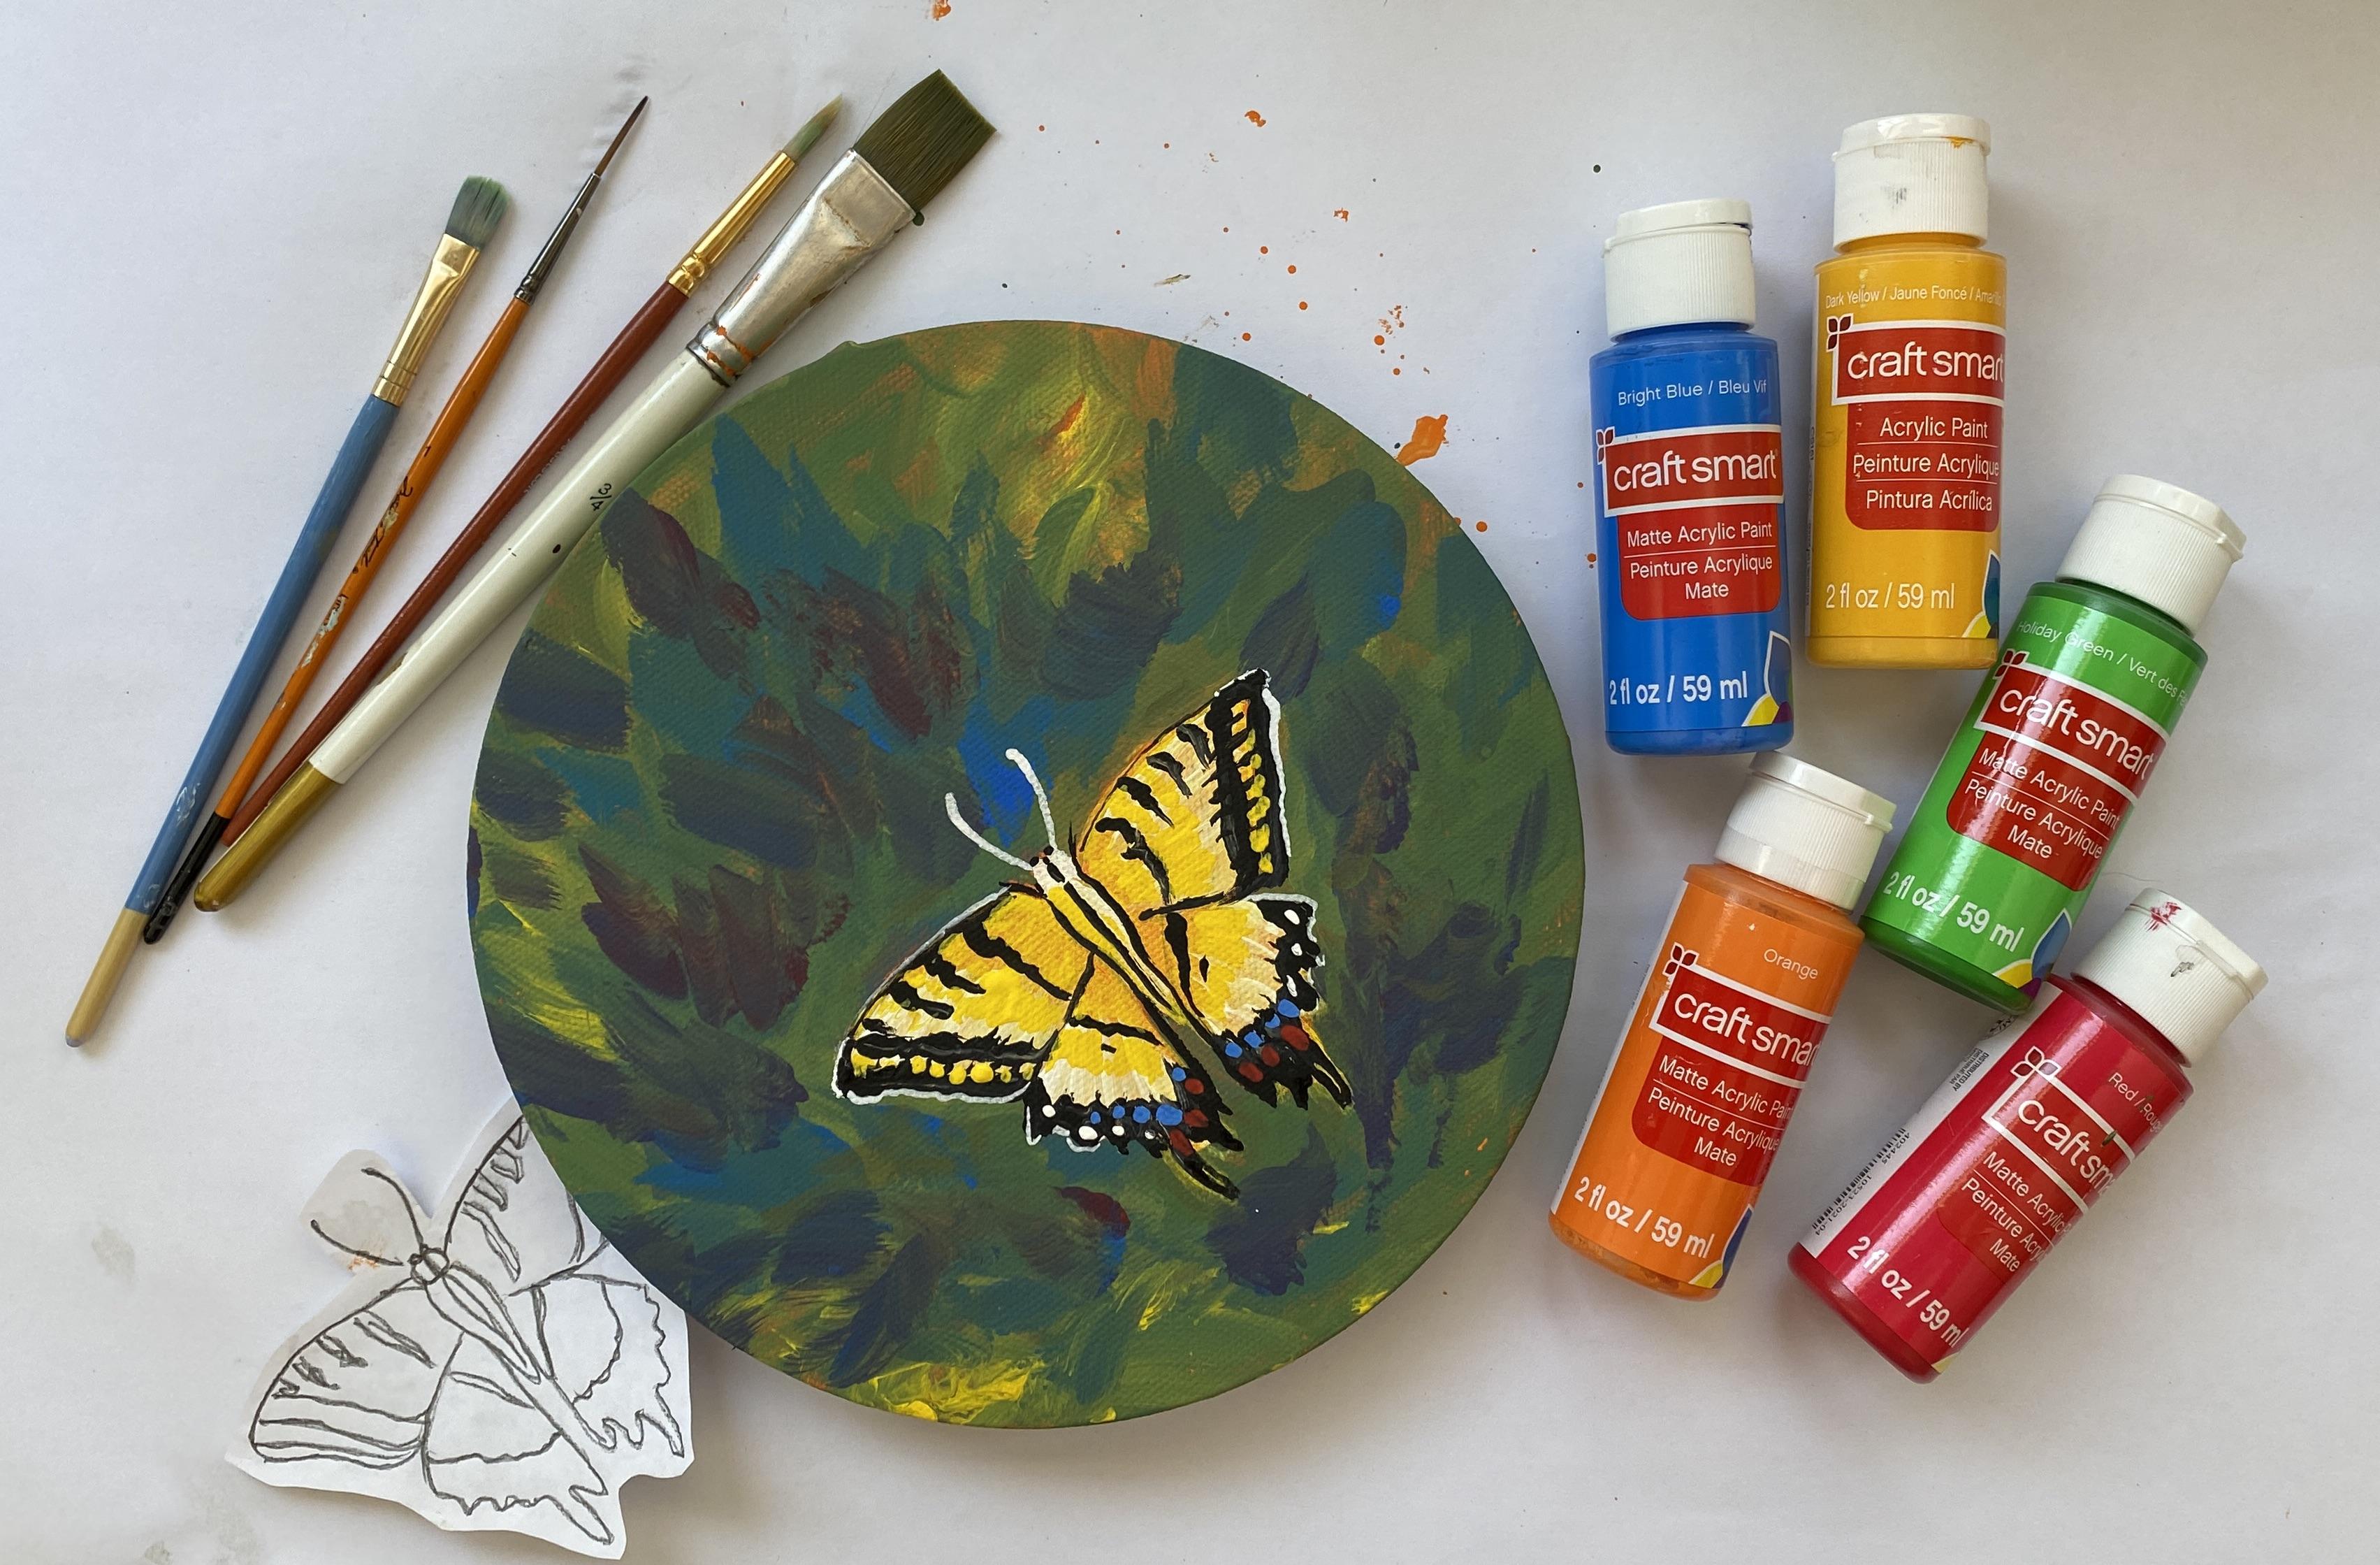
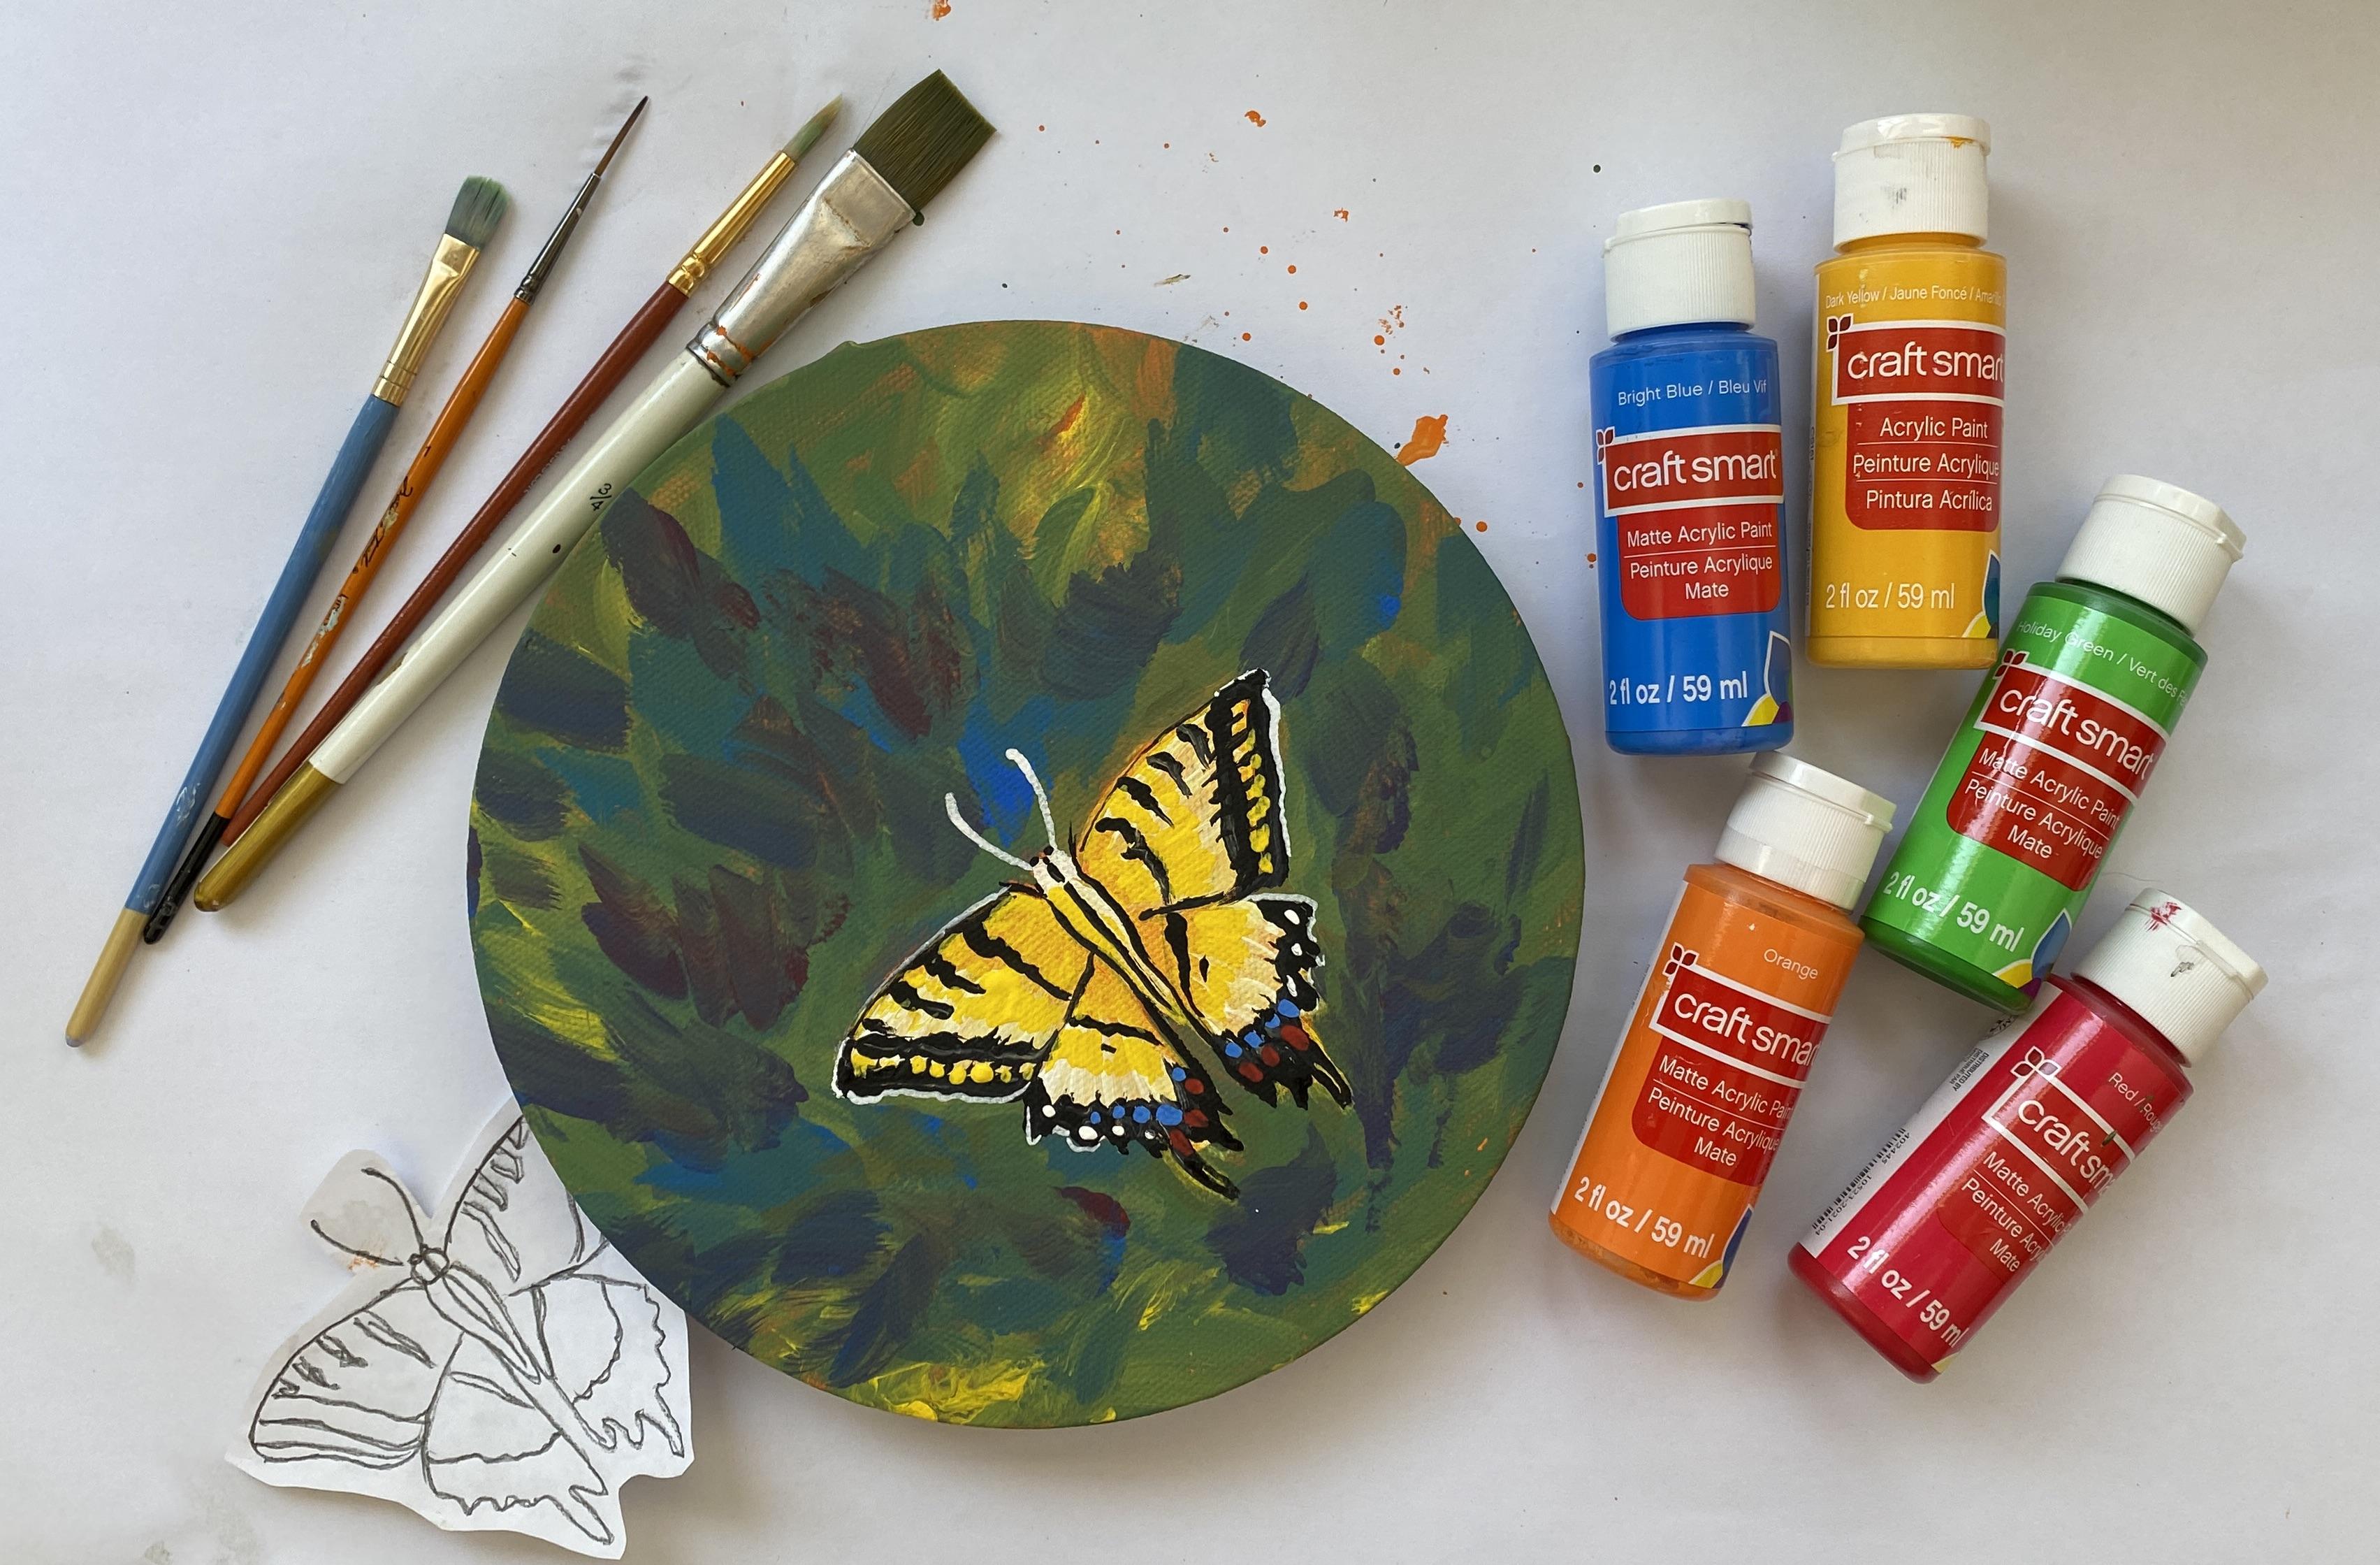
below this video. You'll need 18 inch
round pre primed, stretched canvas,
but any shape or size you already have on
hand will also be fine. I often paint on wood, paper made for acrylic painting, or even watercolor paper.
I'll leave that up to you. You'll need craft paint
in orange, green, yellow, blue, red,
black and white. Or you're welcome to use professional grade
acrylic paints, also found at most
art supply stores. You'll also need some brushes. Synthetic brushes are
best for acrylics. I'll be using 23 quarter
inch flat brushes, a number four filbert brush, a number three round brush, and a number one liner brush. You'll also need a palette. I'll be just using
a paper plate. You'll need water for rinsing your brushes and
thinning your paint. And if you'd like to
transfer my design, I have a downloadable
sketch of a butterfly. Also found under the
project and Resources tab. I'll show you a nifty
way to transfer your sketch to your canvas. But if you have
carbon paper on hand, you might want to
use that instead. You'll need a sharp
number two pencil, a pair of scissors, a hair dryer to speed
the drying time, and some sheets
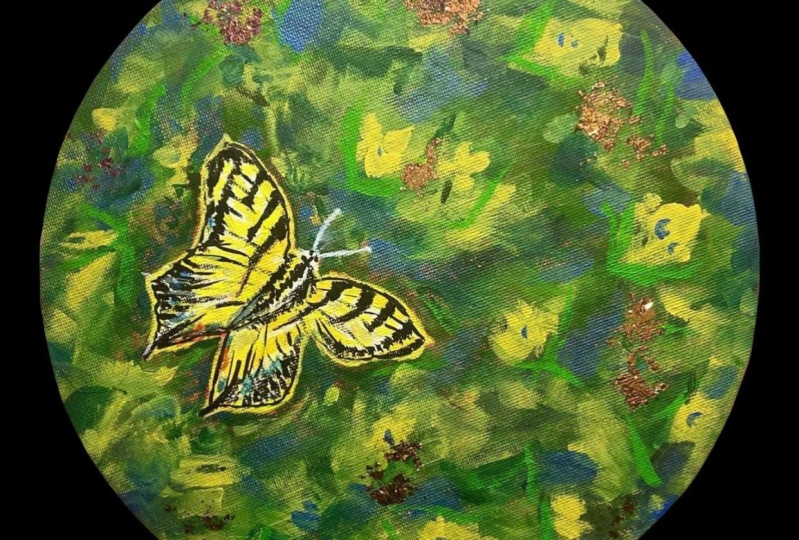
of rose gold foil to add some shimmer to
the piece as an option. To apply the foil,
I'll use a varnished, which also doubles as a handy clear coat to
protect your artwork. Do you choose to finish
your project with a frame, I used a wood tray I
purchased at Hobby lobby and a fixed my painting with
removable mounting putty, so I could switch it out easily. You'll also need to nail a metal comb for hanging
onto the back of the tray. Once you've collected your
supplies and purchased anything you don't have on
hand, you're ready to start. Met me in the next
lesson to begin the class project. See there.
4. Underpainting: Most canvas you purchase in craft outlets are already
primed with Gesso, which is a chalky white primer used especially for
fine art painting. In addition to that
step, some artists, myself included, also underpaint the surface with
a midtone color. I have my reasons
for underpainting. One, it takes out the white
of the canvas immediately. So if you miss a spot
upon completion, the white canvas
won't show through. Instead, you'll
have a beautiful, complimentary color
peeking through to add a cohesive color and
feel to the piece. So it will also help
you gauge your values, how light and dark your colors are as you build your
layers of paint. Values are so important for creating depth and
form and contrast. Lastly, it aids in smoothing
out the canvas surface, and this is helpful if
you like fine detail. When I underpaint,
I choose a color that's not too dark
and not too light, a midtone, and I cover
the entire canvas. If I have a lot of cool
colors in my final design, I usually choose warm colors for my underpainting
color and vice versa. Sometimes I use multiple
colors in my underpainting. Or sometimes my underpainting is just a general
outline of my design. How you choose to
underpaint is up to you, but this is just my process. I spend the time to paint
the edges carefully because many times these edges show with the newer
methods of framing, and I think it looks
much more finished. For this class project, after your canvas is completely covered, dry it completely. Using your dryer to speed
the drying time, if needed. When you're finished, meet
me in the next lesson, where I'll show you
how to transfer the design. See you soon.
5. Tracing: Welcome back. If
you're not comfortable with sketching out the butterfly from the reference photo, you're welcome to use my sketch. Just download it from
the resources section, using the project in Resources
tab below the video. Using your own sketch or mine, cut it out to size and
then flip it over. Then cover the
entire backside with graphite using your
number two pencil. If you have carbon paper
or graphite paper, you can use this instead. Just put it in between your sketch and the
Canvas and trace away. Next, position it onto your canvas with the graphite
side facing the surface. I place it off. For me, that makes for a more
interesting composition and visually gives the
butterfly room to fly into the larger area. Once positioned,
trace the outline, careful not to move the design until it's completely
transferred. Periodically check to
make sure you're using ample pressure to transfer the graphite or carbon
to your surface. After it's completely traced, meet me in the next section, and we'll add the
background. See as soon.
6. Background: Now that your surface is dry, load your palette with
green and yellow first, and then also blue
and red eventually. Using your three quarter
inch flat brush, add green and yellow
to the canvas, avoiding the sketch
of the butterfly. Blend and mix as much as
you like on the canvas, wet on wet, cutting in with your brush to avoid
the butterfly area. I paint the edges,
and I also let a little of that orange
underpainting peek through, like I talked about in the
underpainting section. You decide how much you want
to have it peek through. That's entirely up to
you as the artist. A Working quickly
while it's still wet, add a little blue to your green and then add that to
the canvas as well. The advantage of working
wet on wet will allow your paint colors to mix a little with other
colors on the surface, making even more hues. It adds interest and texture. And if you stay in the
same color family, it will blend well. If you start adding in warm
colors with your cool colors, you'll tend to get a muddy look, so experiment with this, and you'll get the hang of it. Remember, the more you paint, the more discoveries
you'll make, and that's the
best way to learn. If you want purples,
pinks, and blues, instead, feel free to do that for your background
colors. You do. You'll be more
motivated to learn if the project is more
suited to your tastes. Use your brush on
the edge to get into the tighter areas
around the butterfly sketch. Mix as much as you
like on the canvas. I like to keep it as loose
and painterly as I can, with a little suggestion
of maybe some foliage. I then mix blue with red to make a purple and add that color too. I use the brush on its edge
to make marks that can give the look of greenery
without being obviously leaves. If you would like to
be more spelled out, feel free to add more leaf
like shapes if you prefer. In my beginning acrylic series floral class
in lesson nine, I have an exercise that delves into foliage and
greenery more in depth. If you would like
more practice in adding more obvious
leafy structures. This might be a good
thing to check out. My background is painterly and purposefully created
with very little detail, which will keep it
as the background, making the butterfly
pop out from the painting as the
main subject even more. When you're happy
with your background, dry it completely and meet me in the next section to paint
in the focal point, which is the swallowtail
butterfly. See as.
7. Painting the Butterfly: Welcome back. For the butterfly, I start with my filbert
brush and yellow paint. I fill in or block in the entire butterfly
sketch with yellow. Craft paint is a
little transparent, so you'll still be able to
see your sketched lines. In the US, some of
the states designate butterflies as a symbol
to represent their state. And here in Oregon, ours is a swallow tail. They're excellent
for pollination. However, they only have a
lifespan of about one month. Then I add a little
white while this is wet to the edges of the
wings and the body, using the side of the brush and pulling into the middle
area of the butterfly. Depending on what type
of paint you're using, you may need a couple of coats before you can get this
light enough on the wings. Using the edge of
my filler brush, I also paint in the
middle of the butterfly, the body, tapering it
toward the lower wings. I then switch to my
round brush and add the eyes and head of
the butterfly in white. Add black tar palette
if you haven't already, and with the round or liner
brush, add jagged stripes. Four on each wing, graduating in size as they move closer to the
outer edge of the wing. After that, add two
outlines next to each other on the outermost
part of the main wings. And then a little heavier
or more jagged line to define the lower wings. Refer to your reference
photo to make your edges as accurate to this type of butterfly
as possible. Also compare each wing and adjust so that they match each other and
the reference photo. I also add three distinct
lines to the body, and wherever I see
black on the reference, I add as closely as I
can to my butterfly. Then I switch to my liner brush, and with white paint
slightly thinned with water. I add the antenna. I start at the top and pull down into where the head
of the butterfly is. And then if I need to, I go over the line to make
sure it's completely opaque. With the same brush and white, I also add any spots I see
on the edge of the wings. Then I rinse my
brush out well and add the red spots where I see them in the
reference photo. If you like a lot of detail, rinse out your
brush and dip into black and add small
dots for eyes. Next, to make the blue spots, I mix a little white with the
blue to lighten the value, which will make it stand
out more against the black. Rinse out your brush well again. Then switch to yellow and add yellow spots to the
main wings outer edges. And while I have that
color on my brush, I add it to the body and the wings to enhance
them a little more. You may not need that on yours, but I'll let you
make that judgment. Now, to get my butterfly to stand out from the
background even more. I use my liner brush with a
little bit of thin white, and I outline the
wings a little. Now, again, you
may not need this, but if you want to make
it stand out more, this might be a
good way to do it. Now, it's finished. And in the next lesson,
I'll go over a couple of optional details that you could do and a framing idea, as well. And then I'll wrap
up everything in the conclusion. See
you again soon.
8. Optional Details: In this section, you'll
need some gloss varnish, the rose cold foil, if you want to add a little
shimmer to your piece, and two, three quarter
inch flat brushes. When your class
project is complete, if you choose to frame it, you'll also need a wood tray, a metal saw tooth comb for hanging, and
removable mounting. I like to protect my art with a couple of
coats of varnish. But in this piece,
before I do this, I'm going to add a little of the rose gold to
add a little glitz. If you'd like to do the same, grab your three quarter
inch flat brush and everywhere you
want some of the foil, brush on a little of the varnish first and then lay
the foil on top. It will only stick to
the areas with varnish. Then with another dry three
quarter inch flap brush, sweep off the excess boil that isn't adhering
to the surface. This stuff is not the
easiest to work with, but it looks really. And I think it's
worth the effort. Repeat these steps for everywhere you want more
of the gold foil look. Try not to sneeze while
using this stuff. It's so thin, it just
goes everywhere. When you have the desired
amount that tickles your fancy, then add a thin coat of varnish
over the entire surface. When that's stride to the touch, an additional coat
is recommended, and then your piece will
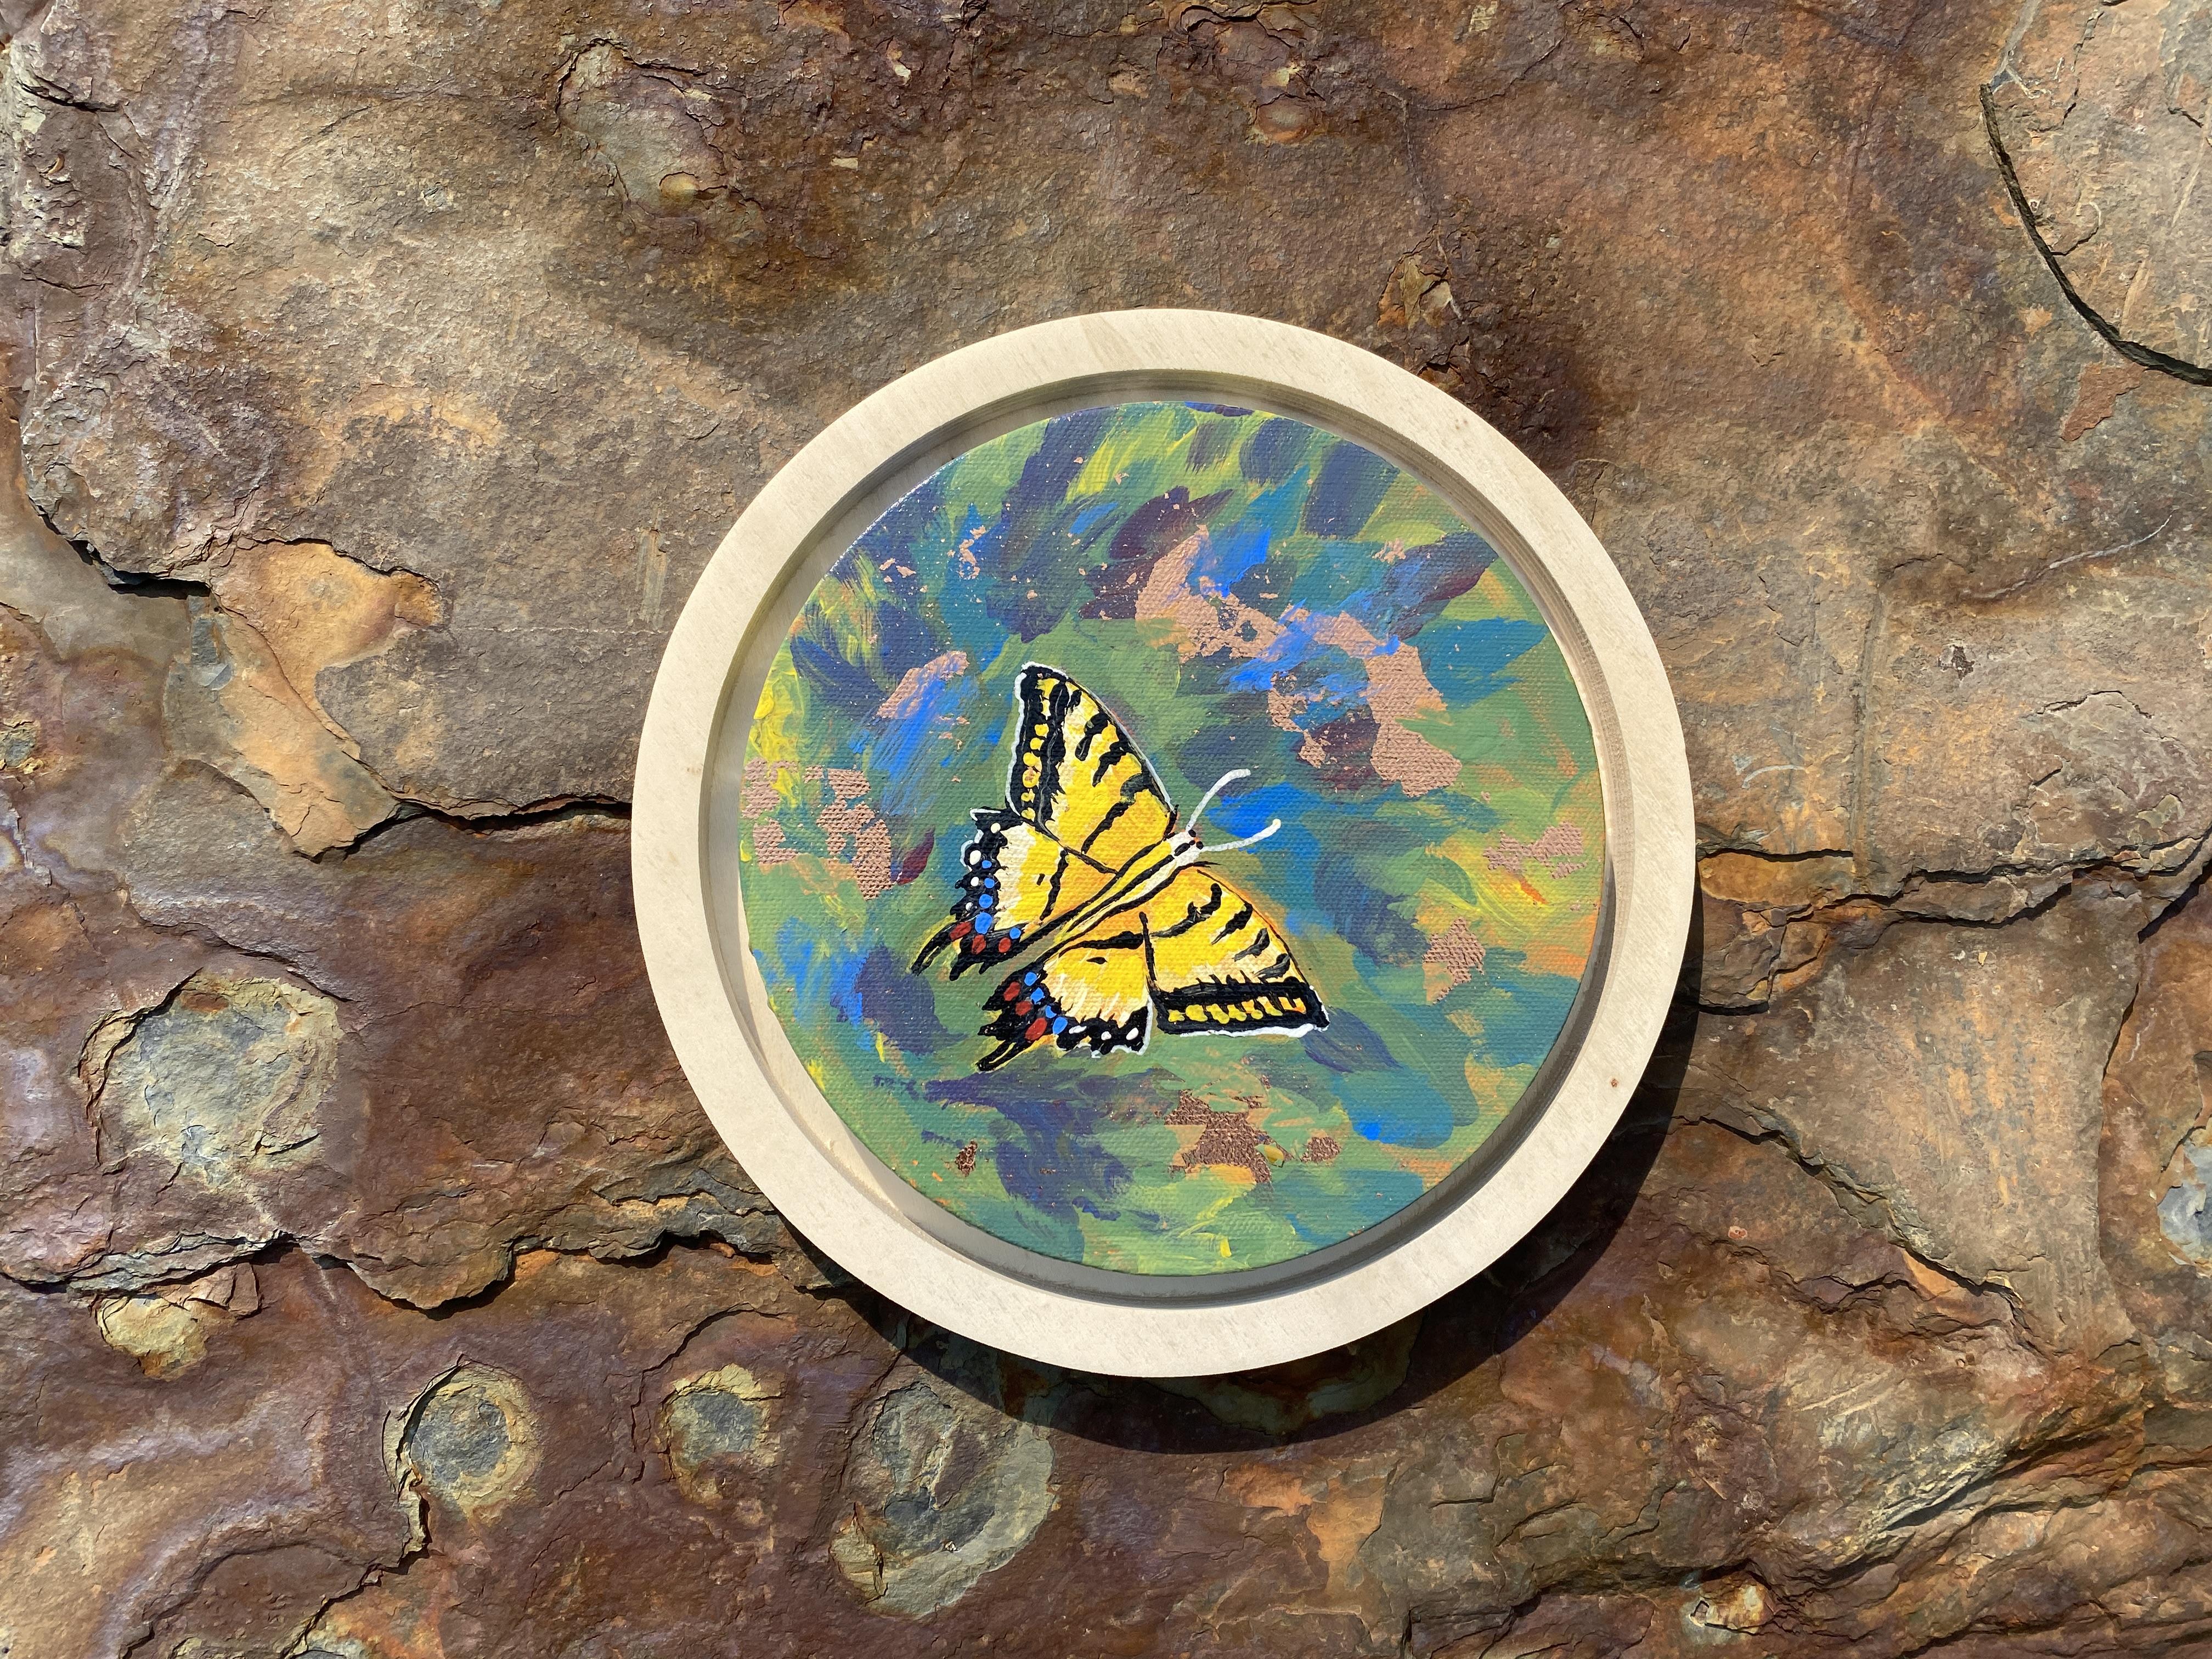
be protected very well. If you choose to display
your artwork with a frame, these wood trays look great
and are much more affordable than having it custom framed
at a dedicated framing shop. You'll need to nail a metal
comb to the back for hanging. Then, as long as your art
piece is completely dry, flip it over and add mounting
generously to the back. I find that if I warm it
up in my hands very well, it makes it much more tacky. Flip it back over
and press firmly. Once you have it in
the desired position, taking into account
where the comb is. Vo, an easy peasy framing idea. What a great way to
bring the outdoors in. And if you choose to
create another painting later for the change of
the seasons or decor, it's easy to remove and
change to a different piece. You're officially finished. Join me in the
conclusion where I wrap up the class.
See you there.
9. Conclusion: I hope you found this
class enjoyable, and you learned a lot. Upload your project. I'd love
to see your interpretation. If you have any questions, you can let me know when
you upload your project, or you can click the
discussions to have below this video and type
your questions there. I checked for questions daily, and I will get back
to you promptly. Also, if you're interested in taking more of my classes
here on Skillshare. Be sure to follow
me, and you'll be notified every time I
upload a new class. If you're interested in a
more personalized lesson, critique, or help with a
specific project or class. You're welcome to book
a one on one with me. Just go to my profile page
and click where it says, Book now, and you'll see the offerings and times
I have available. I look forward to
seeing your art and getting to know you
better as you learn this wonderful skill
of painting with acrylics. Let's paint again, so.
 Brigitte Miller, Artist | Creatively B