Transcripts
1. Introduction: It's time to put the
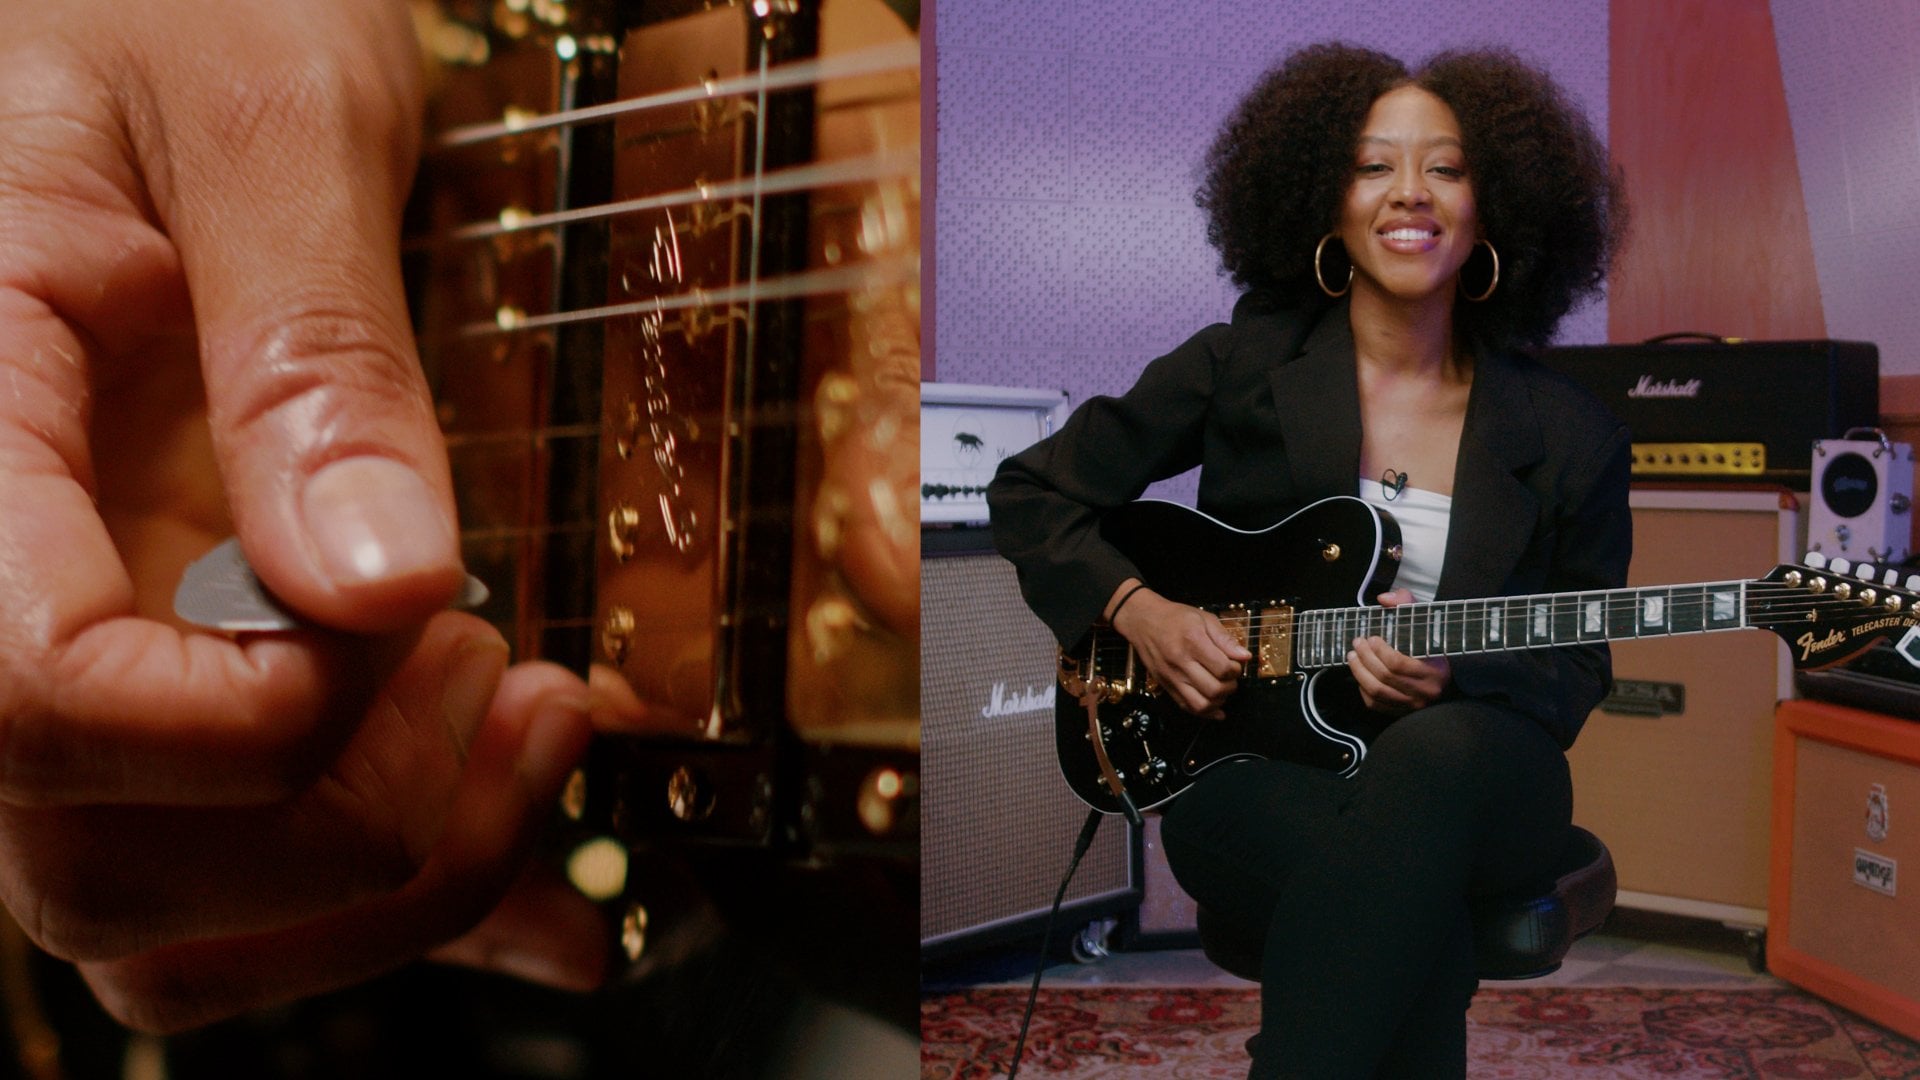
air guitar down and learn the basics of the guitar. My name is Taylor G, and I am a
professional guitarist endorsed with vendor
musical instruments. My love were guitar
began at the age of 11 and has brought meets as
screens and stages alike, performing with artists
such as Stevie Wonder, RT, Linux, Victoria
Monet, and more. I'll be showing you where
to start with your guitar, as well as provide
materials that will help you get straight to
the point and fast. During this class,
we will begin with the parts of the guitar
and what they are. We will then move on to learning our string names
in order to Tim. Next, I will discuss
the terminology to communicate where I
would like you to place your fingers
on the guitar. To help with this,
I will teach you how to read guitar charts as well as tablature to access course and melody
lines on your own. We'll finish up the
class by learning a simple melody to courts and
three strumming patterns. You'll need an
electric guitar and amp tuner and a
quarter-inch cable. If you've ever wanted to
learn to play guitar, but felt too overwhelmed by the plethora of
information available. This class is for you. By the end of this class, you will know how to
hold your guitar, the parts of the
guitar, your strings, fingers, and friends, as
well as how to fret notes. Let's begin.
2. Getting Started: Hey, congratulations,
you finally decided to sit down and learn
how to play the guitar. Now I know it can
be a little bit stressful, but no worries. I'm here to teach you all the fundamentals
that you need to know to ensure great playing. Now in this class
you're going to learn how to hold the guitar, how to hold a pic, how
to read tablature, how to play melody lines. And I'll even show you some
course to get you started. So grab your guitar or pick quarter-inch cable
and they're good old ampere yours. And
let's get into it.
3. Guitar Anatomy: Let's get started with
the parts of the guitar. First we have our body, then we're gonna move to
the parts on the neck. And then I'm going to talk about the parts on the headstock. So let's get started
on the body. So these are our pickups. They transmit a current to
the AMP and give you sound. This bad boy is our bridge. It transmits the
strings vibrations into another part of the guitar, also giving you sound. So let's move on to these knobs. We have two tone knobs which control the frequency in
which you're hearing. And the guitar, we have
a higher pitched one, a lower pitched one. So if I were to turn one down, then I lose my high-frequency. Now if I turn this back up
and I turn this one down, then I lose more low-frequency. So you wanna make
sure that it's set in a way where you're comfortable with what
you hear tone wise. Okay? And of course, we have our volume knob in which that
of course gives us volume. If I turn it down, nothing. Is there anybody that sound? This is our toggle switch, which activates one or two of the pickups depending
on where it's placed. We have it in first position, which is our bridge pickup. So let's hear how that sounds. Right? That's back here. Now put it in a second position. Third position, fourth
position, fifth position. Notice how it got
brighter and brighter. So we started here and then
we're left with this one. Now we're gonna go to
the neck of the guitar. Now this is the
long thin piece of wood between the
headstock in the body. Let's go over its parts. We have the strings, of course. Now the strings is what we
use to actually emit sound. The wires from the
string vibrate in such a way that they give
you what's called a pitch. So technically, each string
has a different sound. Now I know you're
wondering, what are these metal wirings
dividing the neck. These are called our frets. And what they do is
they divide the neck in such a way that we're able
to play different notes. So when I put my finger down on the first fret,
I get OneNote. If I put it down
on another for it, I get a different note. And so on. These little dots here are
called Design markers. And what they do is
they help you to know what position you're
placing your fingers in. So for example, if I were
to place my finger here, this will be on the third fret. This is our fifth fret. Seventh or ninth,
or 12th, and so on. So I'm never lost. This here is the nut. And what it is is a hard
piece of material that helps support the strings
right before the headstock. All right, Now let's move
on to the headstock. We have our tuning pegs, and basically what
these do is they loosen and tightened
the strings to help us be able to keep the strings into this right here
is our string tree. And basically what it does
is it holds the strings and a downward position to be able to provide us with
accurate tuning. So now that we know the
parts of the guitar, join me in the next lesson where we'll learn how
to hold the guitar, as well as how to hold our pig.
4. Holding Your Guitar & Pick: Now we know the
parts of the guitar, but what about how to hold it
here to show you that too? So let's jump into it. Here we go. We've
got the strap here. We want to take it,
hold it up like so. It's going to place
it over your head. If you're writing, make
sure that the strap is coming over your
left shoulder. Now we're going to take
our dominant hand, which is the hand that
we write with and we're gonna place it over the guitar. Just like so, hugging it
kinda like as a baby. So we're going to take
our elbow and make sure that it is resting on
the body of the guitar, just like this, is to secure it to make sure that it doesn't move too much while
you're playing. Now we're going to take
our non-dominant hand, also known as our fretting hand. And we're gonna place it
under the neck of the guitar. Like so, almost like
you're serving your plate. You just want to
take your thumb, place it on the back
of the neck like that, and then rest the rest of
your fingers on the neck. So now that you've
got that down, take some time to become
more comfortable, but be patient with
yourself as this can take some time
to get used to. So now let's go over
how to hold the pig. Alright, this is a pig. Alright? It is a small triangular device used to pluck or
strum the strings. Okay? So in order
to hold the pick, what I want you to do is make an ALK sign with
your dominant hand. For me, That's my right hand. All right. So all I want you to
do is take your pick on the wider part and place it in between your index and your
thumb, just like that. Now naturally when
you're strumming, your fingers might want to
curl, they might stay out. That's fine. Just take a couple of seconds and
try to strum the strings. Make sure it's secure in a way where you don't feel
like it's going to fall. You don't want to hold
it too tight just enough to where you feel like
you've got a secure grip. Now, if you want
to use your thumb, this is totally fine as I spent the first three years of my playing, playing
classical guitar. So I didn't even touch a pig. I played with
strictly my fingers. However, a pig allows
you to be able to do more and you're strong hand
than just using your fingers. So let's go ahead and end this
lesson with a nice strum. Ready, One, 23. Great job. See you in the next lesson.
5. Tuning Your Guitar: In the last lesson, we learned how to
hold the guitar as well as how to hold a pig. Now before we actually
start playing, There's one more
thing we must do, and this is something
you have to do every single time you
pick up your guitar. And that is to, what do I mean by tuning? Tuning is the process by
which we take each string and put them in their correct
pitch. Now, how do we do this? We use these pegs right here. We turn them left or
right in order to get them to be in
what we call two. Now before we tool, we have to know
what string name or what note name we're
tuning our strings too. Let's go over those real quick. Are thickest string is
known as our E string. Next we have our a string. After that, we
have our D string. After that we have our G string. Then we have our B string. And then we finally end
it with another E string. Now notice that there are two
0s in our set of strings. They are differentiated by
what's called an octave. Now an octave is
literally the same note, but it's just at a
different frequency. So our low E, of course is going to be
lower than our hierarchy. Now remember the objective is
to get the meter to read E, a, D, G, B, and E. Now here's a fun acronym to be able
to remember that we have, everybody always does good. But Erica, everybody e, always a does D, Good G. But the Erica E. And you can replace
that with your own name. It could be Elliot,
it could be Aaron. It can be any name
that you can think of that it's easy
for you to remember. So let's begin
tuning our guitars. First things first, we're
gonna take our tuner and we're gonna place it on the
headstock of our guitar. There's a couple
of things you need to know about your tuner. There's gonna be some lines
that are going to indicate whether your note
is flat or sharp. Now I want to know is flat, that mean is below the
pitch that we needed to be. When a note is sharp, above the pitch that
we needed to be. In some cases, it
might show up as green and some cases there
might show up as blue. But what you want is
you want the needle or the meter to stay in the center. So let me show you what
that actually means. Here we go. When I plug my low E string, notice that the meter
goes below the E. It goes to the left, meaning that my string is flat. If my string is flat,
what does that mean? I have to bring it up. So
we're going to twist this peg. Not too hard, but gradually until it lights up
in the center blue. Alright, now we're gonna
move on to our next string, which is our astray. Well, that sharp. Now my meter width to the right, meaning is too high.
What do we have to do? Come on and bring it on down. Here we go. Gradually, slowly, slowly. Alright, it's in tune. Let's try a D-string. It's flat, so we've got to bring it out and
let's bring it up. Bring it out, bring it up. Here we go. G string. Bring it down, down. So it stays in the center. There you go. Good. B string. Okay? And are eStream flat, so we've
got to bring it up. All right. When you
strum all your strings, you're now into, Wow,
congratulations. So a quick tip. What if
you strum your string? I'm going to take my low
E string out of tune. And it shows a different note. Okay, D is showing D.
How would I get to eat? Well, just follow the alphabet. What comes after d? E, which means that we
have to raise it up to E. So all you would do assembly, twist it until it reads as. Also the blue marker
is in the center. Whenever you see a different
note name than E, a, D, G, B, or E, just follow the alphabet. Now the musical
alphabet consists of a, B, C, D, E, F, and G. And it starts over, okay, there are notes in between, but we're not gonna go that far. Just practice
tuning your guitar. And remember, this is the
first thing I want you to do before you play anything. Keep practicing and I'll
see you in the next lesson.
6. Strings, Frets, & Finger Names: Now we're getting
into the good stuff. This is where we're
going to learn what I like to call guitar talk. And it's just simply me
being able to communicate to you where I would like
you to place your fingers. And that's just simply
learning your string numbers, your numbers, and
your finger names. So we know our string names, E, a, D, G, B, and E. Now what you don't
know is that there's actually a number that is
associated with each string. So starting with our
thickest string, which is our low E, this will be referred to
also as our sixth string. Next we have our a, which is also known as our fifth string. R. D, which is known as our fourth. G is known as our third. And I think you know
where I'm going with this B is our second. Then of course we
have a high E string, which is our number one. We have 654321. Now let's move on
to our fingernails, which will be helpful once we move on to our fret numbers. So here we go. So we've got our index finger, which is known as
our first finger. Middle finger will be
our second finger. Ring finger is our third finger, and then of course our
pinky is our fourth finger. Now I will be referring
to these as index, middle ring, and pinky. However, in other settings you might hear this terminology. Again, I want you
to be well-prepared going out there into the
world as a guitarist. Okay, so now let's move
on to our threat numbers. It's pretty self-explanatory
as you're just gonna be following the
order of the frets. Okay, so what I
want you to do is I wanted you to take
your first finger or your index finger
and place it on the first fret of
the high E string. So what does that mean? Just taking your index
finger and literally placing it on the very first fret
of the high E string. Okay, This is our second fret. Third fret, fourth
fret, and so on. Don't forget, you can use
these design markers. Are these little black
dots that you see on my guitar as a means to be able to know
exactly where you are. So if I told you the third fret, obviously that would
mean the first dot. So let's try a
couple on our own. Okay, so what I want
you to do is I want you to take your second finger or your middle finger
and place it on the second fret of the B string. So here we go. We're taking our middle finger. We're going to find
the second fret, 12. Then we're placing
it on the B string. Great job. See you're
getting it already. See how simple that is, R. Let's do another
one. Here we go. Take your middle finger
and place it on the, let's see, the second
fret of the a string, or the fifth string. So let's take our middle finger. Second fret, one to place
it on the a string. Boom, you got it. Now that we know
how to communicate, Let's talk about
finger placement. It is so important
as the clarity of your notes can really make a
difference in your playing. Now when you hear
the buzzing noise, that's an indicator that maybe your finger might be
in the wrong position. Alright, so all I want you to do is when you place your
finger on a fret, and in this case, I have my index finger on
the first fret. You want your finger to
be right behind the fret, not on the fret. Like this. You hear that
doesn't sound good. And not too far behind. Sounds a little harsh. But right next to it. Another tip for no clarity as you want to make
sure that you're applying enough pressure between your thumb and
your index finger. Okay. They're working
together to help you be able to squeeze that know
enough to get it clear. Okay, So let's try it. We got our thumb behind here and we're going to
apply enough pressure, not too much, but just enough
to where we get it clear. No, here we go. So again, my fingers
are right behind the fret now on not too far back and my thumb is applying
enough pressure between my index finger to
be able to give me clear sounding notes. Now that we know Guitar talk and we know how to
place our fingers, Let's move on to a little
exercise and I want to try with you all in order
to get your fingers moving. Now we're just gonna
do the high E string, the G string, the D string, as well as the E string. And I picked these strings
due to their thickness. As you may have to apply a little bit more pressure
on the thicker strings. So we're going to start off easy and then it's going to
get a little bit harder. You're ready. So what I want you to do is I want you to take your
index finger and place it on the first fret of the high E string and
go ahead and plug it. Then you're gonna take
your middle finger, place it on the second
fret of the high E string. Ring finger on the third, and pinky on the fourth. Alright, so let's try that. Remember we're doing that
on the high E string, the G string, the D string, and the low E string. Ready? Let's try C string. The string and the low E string. So what we just did here is
called fretting are nodes. And basically it just means that we are playing are
nodes with our fingers. Now, the exercise that I just gave you is to help
build finger strength. Of course, you can do this
over all of the strings, but you want to make sure that you're consistently playing as you will begin to build
what's called calyces. Now in the beginning you might experience some finger pain, but it's okay because over
time you begin to not feel it. So take some time, practice reading your notes and join me in the next lesson.
7. Reading Guitar Tabs: So we know guitar attack, we know how to communicate, but how about how to read it? Well, there's something
called guitar tablature, which helps me be able
to communicate to you on paper what it is that
I want you to play. Guitar tabs is pretty much a method of writing that allows guitars to be able to read what it is that
they're going to play. This is a blank guitar tab. The six lines going
horizontally are, you guessed it? The
guitar strings. The bottom line is
the low E string. And then the top line
is our high Eastern. I'm going to put up an example. And basically I want
you to follow the tab. Alright, so the OH, on the top line represents
an open string. That means we are not
using any fingers. Just simply strike
the high E string. Okay? Now the one, of course
represents the first fret. So I'm just going to simply
take my index finger, place it on the first read. Okay, So what comes after that? Another open. Then we have another one
which is our first frame. Okay? Now we're gonna move on and then we
have another open. This time there's a two, which represents
the second fret. Play another open,
another to another open. Then we have a three. Another open. Three. I. So let's continue
on. As you can see, now we have another 0 and then we're going to
display the four. Okay? So it's pretty
self-explanatory, right? You see the number
and the number corresponds with the fret number that you're going to press down. Now let's try another example. Now this time I'm
going to pull up the tab and we're not starting
with the open string, we're going to start
with our second fret. Here we go. We got a second. Then you see a three, which means the third. Then we're going to come
back to the second. And then we're going
to play an open. And then we're going
to play the third fret of the B shrinks, so we're going to go
backwards to the B string. Okay, So let's try
that one more time. We've got our second fret.
We've got our third fret. Second again, open. And we've got our third
fret of the B string. Great job. If you want to, you can
finish that tab out, but we're going to move on
to another one that's a little bit harder this time. What I want you to do is I
want you to go ahead and we're going to just try something
a little bit different. This one maybe a little bit
harder because we want to do something called
string skipping. And basically what that means
is that we're going to skip over a string to get
to another note. We're going to start
on the fourth string or the D string. Third fret. This time we're going to string skip to
the B string, second fret. And then we're going to play
the note right next to it, which is our third fret. Then we're going to come
back to the second fret. And we're going to
screen skip back to the D string, third fret. You can find this, that
one on your own as well. You see it's very easy. It's not that hard, is
a pretty simple thing. So now we know how to read
and write and guitar. Now we're going to jump into
another guitar tab exercise. But this time we're
going to implement a little bit of theory into it. So this is what's called
the chromatic scale. You're going to be
going up the fretboard, kind of similar
to what we did in the last exercise when we went
to frets one through four, except for we're gonna be doing this on all of the strings, and we're starting
on the low E string. We're also going to
be playing are open string first with every
string that comes up. So what do I mean? Here we go, we're going
to play an open low E. Then we're going
to play the first fret of the low E string. Second fret, third
fret, fourth fret. Then we're going to jump
down to the open, a string. First. Second,
third, keep going. Oh man. You notice the fourth fret of
the G string is the same pitch as the B string. That's okay. We're
gonna keep going. Okay? Second, third, fourth. Open all the way up. All right, and that's it. That is the chromatic
scale on the guitar. This is a great warm up to get your fingers
moving on to guitar. And if you want to, we can
try it backwards as this also helps with finger
dexterity and movement. Okay, so let's try
going backwards. Going same node. Now. Very nice. Almost there. And ben, Very nice. So let's move on to the half
step, whole step exercise. So what do I mean when I say a half-step and a whole step? Half step is when you move up a semitone or half
tone to the next node. So what does that look
like on the guitar, all you're doing is moving
from one frame to the next. So this is your first. You're simply moving a half-step
up to the second fret. So you're literally
going one fret away from the fret
that you were at. This also can work backwards. A half-step back from the first Brett will
be an open string. Okay, If I were on
the third fret, a half-step back
will literally be the second fret. Simple, right? So a whole step, you literally moving
to Fred's up or two semitones away from
where you started. Okay, so here we go. We've got first fret. Literally go into
the third friend. Okay. If I were on the
fifth fret and I wanted to go back a whole step. I will literally count
back to friends. So we got the fifth fret. Go back to France, and that's the third fret. Now what if I were
on the first fret, I would literally just
go to the fourth fret. In class resources,
there is a PDF file attached labeled half
step, whole step exercise. I want you to
practice that on your own when you get some time. But for now we're going
to move on to what's called the anchor exercise. What is an anchor? An anchor is a heavy object that keeps
a boat in place, right? In this case, our
anchor is going to be our index finger or
our first finger. Now in this exercise you're
simply going to keep your first finger down, right? Plan the first frame. And you're gonna play
the second fret. But you're going to keep
your first finger down. Come back to the first fret. You're going to play
the third fret. Come back to the first
frame. Play the fourth fret. This is a great exercise to get you warmed up
to be able to play chords and also to keep you anchored where you
are in a position. There's also an anchor exercise that is attached in
class resources. I want you to take some time, practice all of these
exercises on your own and join me in
the next lesson. Okay, Have fun.
8. Working with Time: We've learned the basics and how to read guitar tabs, right? So now let's take it a step further and put it to some time. Musicians use a metronome
to measure time audibly. Now a metronome as a
device that's used to mark time by giving
a regular tick, you can find a metronome at your local music
store or online. Now for this lesson, I
will be using an app called pulse on my
phone and music, we measure time in
beats per minute, just like your heart
to use a metronome, we're simply going
to input a number. And based on that number, that's how many times your metronome is going
to click per minute. Now, if you have
a higher number, that means that it's
going to click faster. If you have a lower number, that means it's going
to click slower. The pace of the click is what is referred to as the tempo. In this lesson,
we're going to be playing at 50 beats per minute. Okay, so let's try playing
to the metronome using our middle finger on the
high E string, second fret. So all I'm going to
want you to do is every time the metronome clicks, you're going to play a note. Alright, so let's listen in as get a feel for how
the tempo is going. Here we go. 234.
One, two, ready? Play. Good job. Now let's play a
short version of the chromatic scale
using the metronome. We're gonna go from the low E string all the
way to the D string. Remember frets one through four using the open
strings in-between. Ready, One, two, ready? Play and open a second there. And stop. Great job guys. Because we're human, we have
a tendency to sometimes misconceive when we're doing
things too fast or too slow, the metronome keeps us
all on the same pace. And when you're on
a band setting, that is so important. It's not just for beginners, is also for advanced players
to, as a professional, we have an in-ear monitor
system that helps all of us stay on the same track by
feeding us a regular click. And it keeps all of
the musicians in time. What I want you to do
is I want you to play around with different
BPM settings. See how fast you
can play something. But the real challenge is how slow can you play something? Ballads are always the hardest. But with that being said, practice up and I'll see
you in the next lesson.
9. Rhythmic Notation: We hear music, but what
about writing it down? Well, consider this your
intro to rhythmic notation. Now, all rhythmic notation does, is allows the player
or the musician to be able to read the music
that's being played. So let's do some math. I want you to imagine a pie. I want you to cut that
pie into four pieces. I want you to take one
piece of that pie, which is literally a
quarter of the pie, and I want you to give
it a value of one. Now, in music, when you
have OneNote or one beat, that is the equivalent to
what's called a quarter note. You took a quarter of the pie. So you have a quarter note. This in music is represented by a circle that's filled
in with a plane stem. Now, I want you to take
two pieces of the pie. We've literally
taken half the pie. So what does that mean? That means that if I
take two pieces of pie, then I have what's
called a half-note. Now I have no, has a
time value of two beats. Now a half-note looks
like a quarter note, except for the circle is hollow. You get me. Now want you to
take the whole pie. I want you to guess what this
node is going to be called. That's right. A whole note. We have four pieces, which is the whole pie. So we have a whole note. And a whole note is represented by a hollow circle with no stem. Now I'm gonna give
you an example of what these notes sound like. Okay, let's pull up an
imaginary click in our minds. 12341234. This is corner nodes 34 On 34. Okay? Now, if I told you
to play a half-note, this is what it
would sound like. 1234124. So it's getting
to count to four. Now if I told you to
play whole notes, it would literally
sound like this. 12341234. So what happens with those
missing pieces of the pie? Well, they still do count two, and we represent those by
using what's called a rest. Now we have a quarter note rest, a half note rest, a
whole note wrist. What do those look like? A quarter note rest looks like a little squiggly line
on your guitar tab. A half-note rest is represented by a little short black
bar that you're going to see a whole note rest is the same black bar
except for it's going to hang down on the
bottom of your string. All of these get
this same time value as our regular notes, except for, with these, we're not going to play. I'm going to show you an
example of a quarter note rest. I'm going to play my
second fret E string with my middle finger. So I would play too. Two. Two, right? So we're silencing it. This is a half-note risks. Here we go, 1234234. And of course, whole
note rest means we're not playing at all in that bar. Now on the guitar tab, you're not literally
going to see these notes, as I've explained before, they're gonna be represented by these little lines that you see. The long lines represent
quarter notes. The short lines
represent a half note. And if there's no line
under the number, then that means
it's a whole note. Now let's talk a little bit
further about guitar tabs. Now I'm sure you're
wondering what do those vertical lines represent? Those vertical lines
are referred to what we call bars or measures. A bar or measure as a single
unit of time that features a specific number of beats that's played at a
particular tempo. In this case, each bar or
measure will get four beats. So this is all measured by
what we call a time signature. If you look to the far left, you'll see a fraction. This is four over four. The top number represents the count that
each measure gets, which will be for the
bottom note measure represents the value or
the length of each node, which will be four. Again, if we have four nodes, we have four quarter notes. That means that
each beat will be equivalent to a quarter note. Now if you saw three over four, that will mean that each
measure gets three counts. But each beat is equivalent
to a quarter note. Here are some examples of notes that when played together, equal up to a value
of four beats. We can have four quarter notes. We go to half notes. Two plus two equals four. We can have two quarter
notes and a half-note, which one plus one
plus two equals four. Of course, we have a
whole note which equals four at the end of
the measure you might encounter assemble that
has two bars in two dots. This is a repeat sign, which lets the musician
know to go back to the beginning and play it
again in class resources. I have made some
examples that you can practice on your own
with rhythmic notation. Get used to this as this
will appear and be a very, very critical part of how
you're able to play in time, as always, practice up and I'll see you in
the next lesson.
10. Playing Your First Chords: You know your string
and fret numbers. You know your finger names, you know how to read
guitar tabs about time, and you also can read
rhythmic notation. Wow, that's a lot. Now let's learn
your first chord. A chord is defined
as a group of nodes, typically three or more, that come together
to make a harmony. Now your cord is gonna be
defined by its root node. And all a root node is, is just a note that
the harmony is built on the foundation of
the entire chord. An example of this
would be E major. This is E major. The foundational note of
this chord would be the low E. It is the defining point of the
entire chord and the main chord that makes up the sound that you hear when
you hear E major. Now you don't have
to know exactly what notes you're playing
when you play a chord. However, you do have to
know the chord shape. A course shave is
simply the shape that your fingers make when you
place them on the fretboard. Now remember knowing
your string names and your fretting numbers
is very important as I'll be calling
out to you where to place your fingers in
order to form a chord. So before I played
an E major chord, which looks like this. Okay? Now all you're
gonna do is you're going to play an open low E. You're going to take your middle finger
and place it on the a string second fret. Take your ring
finger and place it on the D string second fret. So right up under
your middle finger. You're going to take your
index finger and place it on the G string.
First for it. You're going to play the
open B, open high E. Now we're going to press
all those nodes down. And we're simply
going to strum from the low E string
all the way down. Keep in mind your
finger placement. Remember we're not on the fret, we're not too far behind, but we're right next to it. We're applying enough pressure with our thumbs so that all of our fingers can make those
chords sound nice and pretty. Let's try that one more time. Strumming from the
low E string on down. Now that we know what
a chord shape is, let's talk about
a chord quality. All the core quality is, is how you feel when
the cord is played. So we just played
the E major chord. What's the opposite of major? Minor? Here's what
it sounds like. The only thing that I
did differently between the E major chord and the E
minor chord is just removed. My first finger, we're going to make the
same shape as before. And we're simply just going
to remove our first finger. Notice the difference
between these two chords. One sounded more
happy and majestic, and the other ones sounded
a little more sad. Notice how these two
chords sound differently. This is due to their quality. And all that is is
just how the court resonates emotionally and
functionally when play, I want you to practice, train your ear to
be able to hear the difference between a
major and a minor chord.
11. Strumming and Picking: We dealt with the Fred hands and now let's get to this drum hand. Most people are inspired
by how others look. When I show my guitar. They're just going
ham and rocket out. In this lesson, we're
going to talk about the strum hand or
are picking hand. Now there are three variations
of patterns that can invigorate more
creative expression while playing the guitar. One is down strumming. We're going to play E major and we're going to downstream, meaning we're just going to
be strumming and a downward motion consistently
just like that. Ready? Very nice. Next we have
alternate strumming. And all you're gonna do
when you alternate strum is alternate between a downward and
upward motion like this. Now, very nice. Next we're going to move
into syncopated strumming. It all syncopated strumming is, is when there's a disruption in the pattern in
which your plane. So let me show you an example. Now in syncopated strumming, there's simply a disruption or an alteration that
happens when you strum. Like in the example I just gave, I strummed once, gave it a couple of seconds and then I came up with something else. I can do this. This happens a lot
in rock and roll. So if you ever wanted
to play rock and roll, make sure you get that
syncopated strong down. Now that we've got these
three variations down, let's move on to picking. All I'm going to teach you is
too simple methods and it's just downward picking and then getting used
to those upstrokes. Okay. It's pretty
self-explanatory. We're simply going to down
pick our high E string. And that's all you're doing. Now of course, when
you want to come up, just simply gone the
other direction. And you can even try something that's a little
bit more advanced, but it's called
alternate picking. In an alternate picking, all you're doing
is you guessed it, alternating between
going down and up. So you're gonna go down, down. Now that you know
these variations of strumming and picking, keep practicing and
before you know it, you'll probably be impressing somebody to with your strumming.
12. Final Thoughts: Congratulations, You
made it to the end. I'm so proud of you. I want you to study up
everything that we learned is an essential part of playing the guitar and just
music in general. More importantly, I really
want you to take the time, experiment and enjoy yourself. Music is supposed
to be expressive. It's fun. It's a creative
outlet for you to be able to express yourself. Why not just rock out for
your class assignment? I want you to go into
class resources and click on the guitar tab labeled class assignment number one. I want you to record
yourself playing that assignment and then submit it in the
project gallery. Keep rocking on and
I'll see you later.
 Taylor Gamble, Professional Guitarist