Transcripts
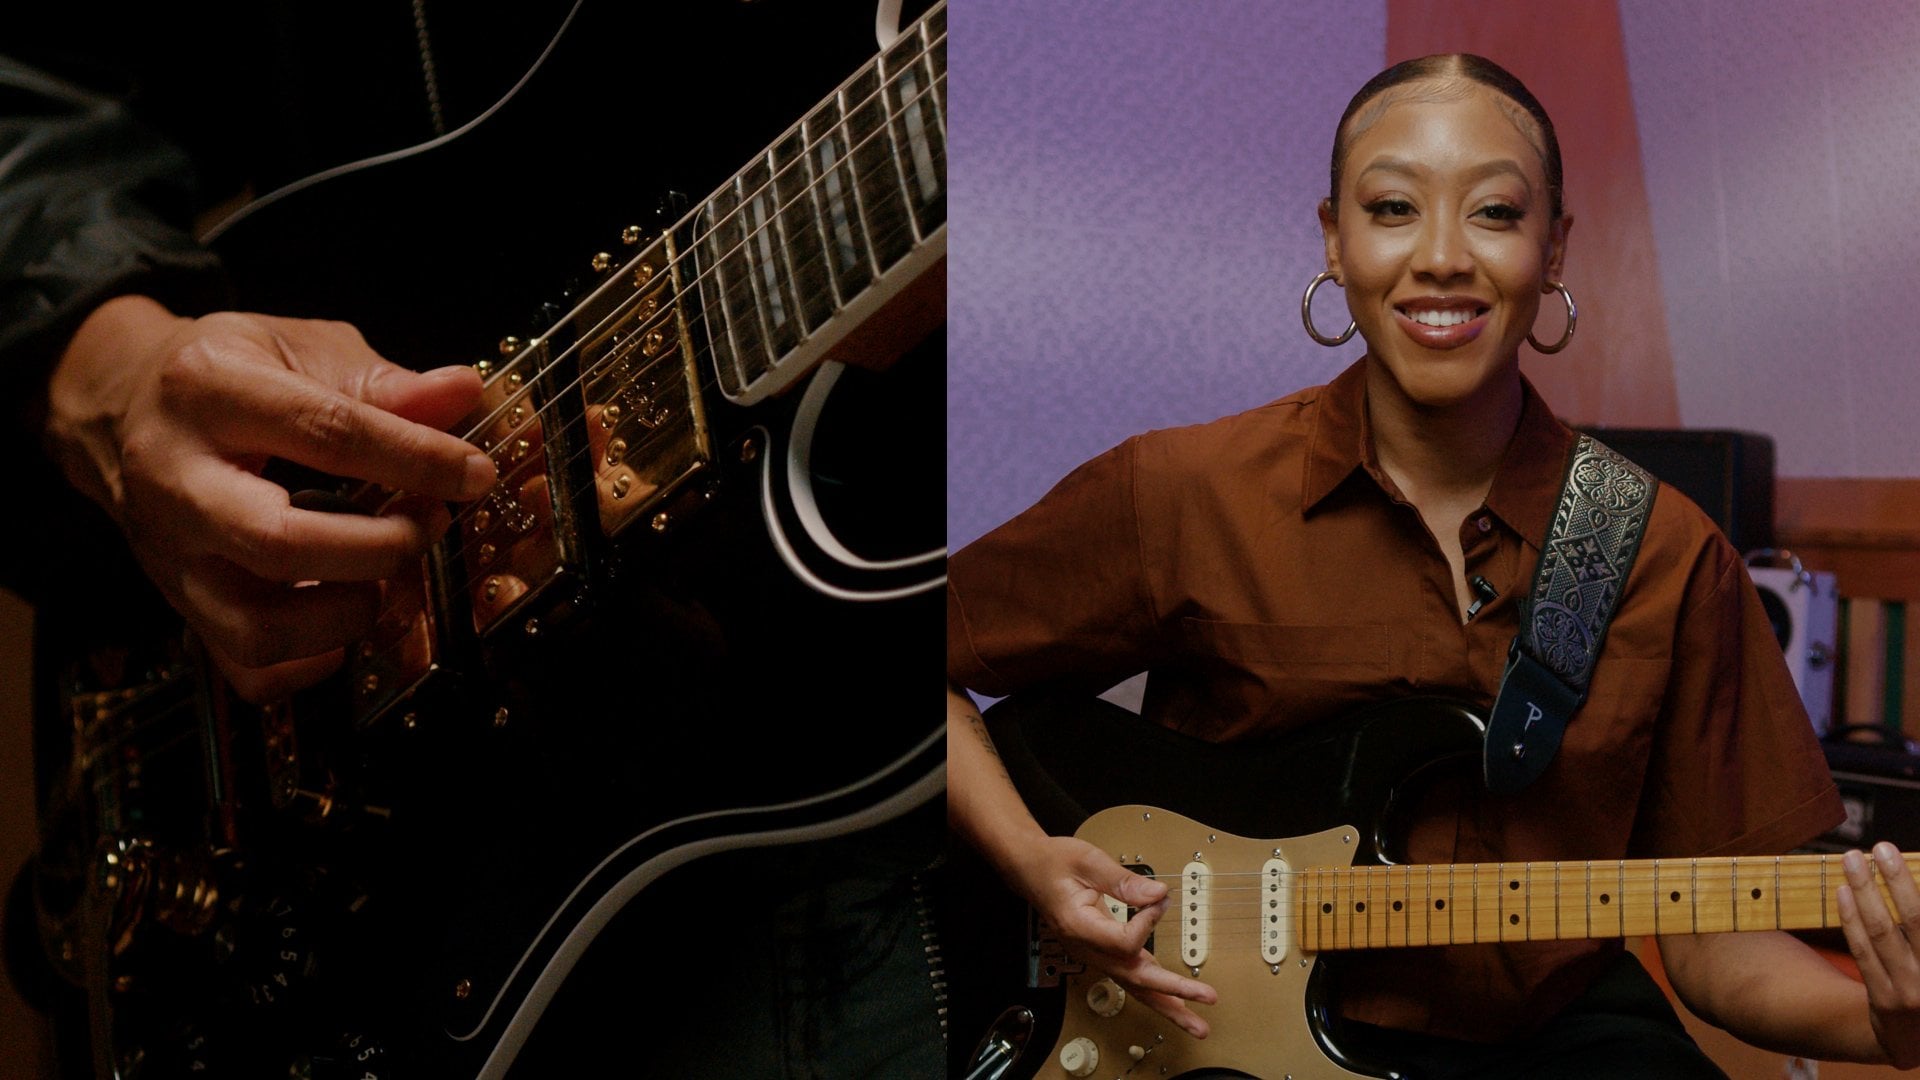
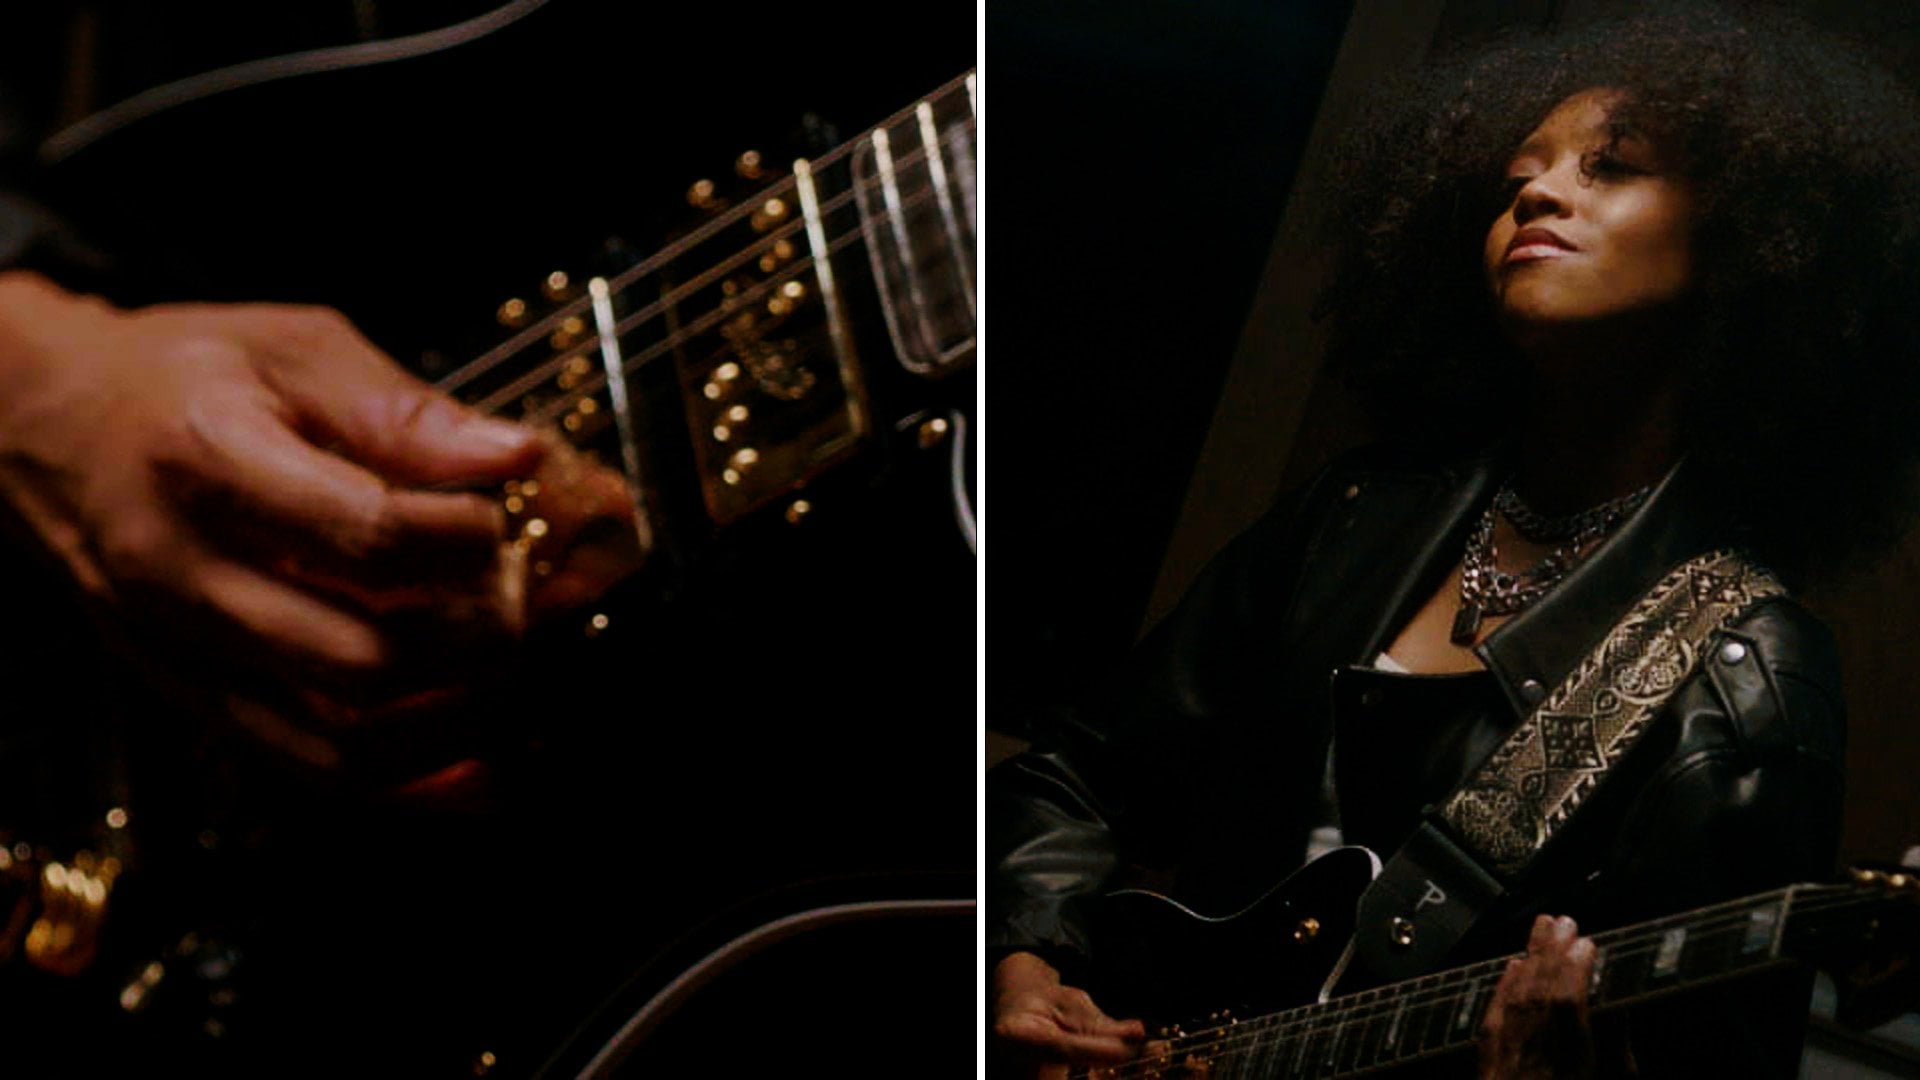
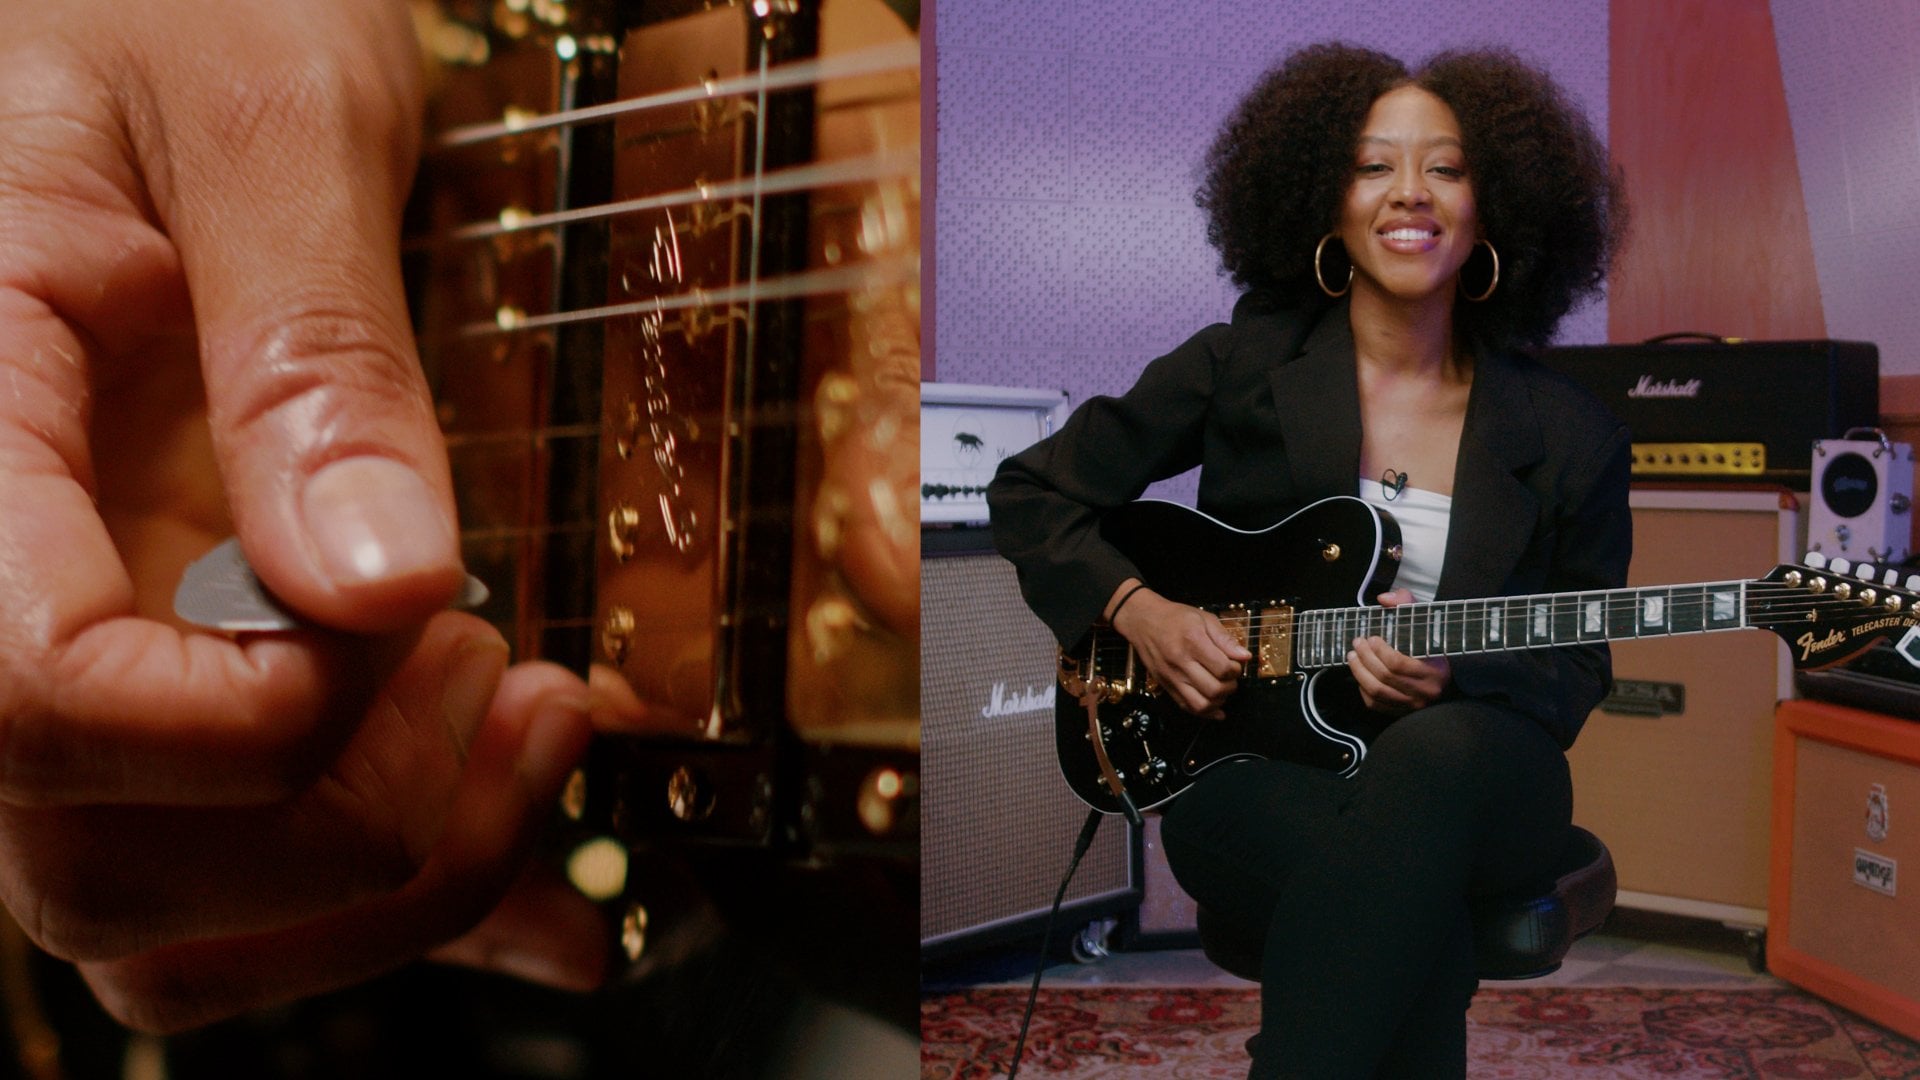
1. Introduction: It's not what you play, but how you play it. My name is Taylor G, and I am a
professional guitarist endorsement vendor
musical instrument. My love for guitar began at the age of 11 and
has brought me to screens and stages of life for forming with artists
such as Stevie Wonder, our Linux, Victoria
Monet, and more. In this class, we
will be discussing some ways to spice
up your core again. Well, we putting
everything we've learned together and adding
some flair to it. During this class, we
will learn hammer on and pull off how to
properly slide notes, as well as the use
of a tremolo bar, will then go over some rhythm
and picking technique to help enhance the speed and accuracy of what you're playing. This class can be shared
amongst any place, but particularly
intermediate where this concept will also
be broken down further. For those who are beginners, you'll need an electric guitar, the terminal arm and amp, K pole, and a
quarter-inch cable. By the end of this class, you'll be able to incorporate new skills that'll add
more flair to your claim. So let's get into it.
2. Getting Started: Wow, I don't know about you, but that core just
gave me chills. Now we've talked
about all the theory. We've gone through our
case cords, AB bar chords. We even know how to
play our scales. What's better than to
start off with some fun. This time we're gonna be
learning about dynamics and all dynamics are
other variations of ways to play on your guitar. Now you're becoming
a real guitarist. These things that I'm
about to teach you are what make the guitar, the guitar, it makes it
stand out from a piano, from the drums, from
everything else. If you can just do these things, I promise you will be
a bonafide guitarist. So grab your pick, your guitar, a quarter-inch
cable as well as your App. Tune your guitar up, and let's get started.
3. Hammer-Ons & Pull-Offs: Let's jump straight
into it and start off with what's called a
hammer on and pull offs. What is the hammer on? It is exactly how
the name sounds. It's literally when you hammer on to a note from another note. So let me show you an example,
playing single notes. If I were to play the fifth
fret of the high E string, an hour to hammer on to the six. It would sound like this. I'm literally plucking the fifth fret on
the high E string. And then as that
note is sounding, I'm hammering my second
finger onto the next note, is creating this effect
as if the note just went to another place without me
having to pluck it. Again. This is a great way for you to establish some type of human
feel to what your plane, rather than playing the note
individually like this, I create more of a lively
effect when I just hammer on. The opposite of a hammer
on is a pull off. I'm gonna be doing exactly
what the name is and taking that same finger and
I'm going to pull it off of the sixth fret like this. So again, I'm on the sixth fret and I'm going to pluck
the high E string. And while it's sounding, pull my finger off
right away and more aggressively to be
able to emit a sound. And that is how you
perform a polar. So one more time. Okay? So hammer on, pull off. You can do the same thing with
a whole step. Here we go. Hammer on, pull off. Very nice. Can I
use that in cords? Absolutely. I love to use hammer on and pull off
while I'm playing chords. Now this requires you to be able to play your bar chords and open position chords fluidly and have a lot of freedom
with your fingers. So remember, always
practice those chords, but let me show you an example. So a D major chord, I can play it regularly, or I can play a hammer
on in which I'm going to take my middle finger. And I'm going to accident
more cell by adding my pinky finger and hammering on to the
third fret like this. And then if I want to do it
in reverse, just pull off. Does like that. One more time. Again. Try with our E major. Hammer on the G string. Pull out. You want to get really fancy
whether we can try it in a minor seventh
chord is like this. Now of course, that requires more than two fingers to
be able to perform that. But again, sounds
way more lively. Regular D minor, that's barn. See it sounds way more fluid. And prettier to me. Hammer ons and pull laws are a great way to get
your fingers moving when it comes to adding some spice into your
course and your lines. Join me in the next lesson, we're gonna be
talking about sliding notes up and down
the fret board. Alright, practice up,
and I'll see you then.
4. Practicing Sliding Notes: Here's another way to
make transitioning between notes and chords
more interesting, and that's by
sliding your notes. Let me show you an
example of what I mean by sliding your notes. Again, we're on the fifth fret. And all you're gonna do
is slide your finger to the desired fret
of your choice. Okay, So we're gonna go from the fifth fret to the
seventh fret, okay? And then we can slide back. Now the beauty of
sliding nodes is such a simple concept
that anybody can do it. Just know exactly where you're going and practice being able to stop exactly at the desired
note of your choice. Okay, now we're going to
try it with two strings. I want you to bar the B and E strings and slot it up
to the seventh fret, then back to the fifth
fret. Here we go. Wow, that's a really cool
playing there, isn't it? Now, what if we did
it with a chord? What would that sound like? All I have to do is take that core shape and slide
it up a whole step, and slide it back a whole step. Let's hear what that
would sound like using C minor to D minor and back. Ready? Okay, C minor. We will go back. One more time. Go back. Sounds really good, doesn't it? Yes, it does. Now what if I wanted to do
that with a major chord? What would that sound like? Here we are on C
major and D major. Slanted bad. Very nice. Yeah, I see. You're already sounding
like a real guitar is just these little techniques
and you're playing can make a world
of a difference. Join me in the next
lesson where we're going to talk about
the tremolo bar.
5. Using Your Tremolo Bar: You hear that That
is me utilizing what is called the tremolo bar. Now the tremolo bar
is a device that uses the bridge to
move the strings back and forth by applying tension when you press down
on it or you pull up on it, it's going to change
the pitch of a string. However, if you lightly use it, it'll add a nice little
tremolo effect or knife-like, almost vibrating or wavy
effect to watch your plane. So let's try using
the tremolo bar. First, we're gonna do
it with a single note. This time we're going to play
the B string third fret. And all I want you to do is take the tremolo bar and bend
it down if you can. And then I want you to
slightly bring it up depending on how your
tremolo bar is set up. Some may allow you
to do more than others going in
either direction. However, go in the
direction that your tremolo bar
wants to go the most. If you find yourself having
issues with your tremolo bar, take it to your nearest
guitar mechanic or someone who can
repair your guitar. In other words, or you can
take it to a guitar shop. Typically, guitar shops have
mechanics there to help you be able to fix
your instrument. So B string, third
fret with our index. And naturally minds
wants to go down. So I want to take mine down. Now when bring it back up. I was pretty cool, wasn't it? Now, depending on how
your tremolo is set up, you'll be able to
do this nice effect that you kinda wave
it up and down, put a little bit of tension on it back and forth like this. And that is what gives
it the tremolo effect. Let's try to strings. We're going to bar the B and
E strings on the third fret. And we're going to play
our terminal about, we're going to bend it down, we're going to bring it back up. And then we're going to try
waving it a little bit. Give you notes, a
little bit of attitude. Okay, So let's bend it. Bring it back up. Let's try waving it. Very nice. Now, earlier when I was doing, was playing chords
using the tremolo bar. So let's try one of our open position chords
using the tremolo bar. Let's play in a major. It's bended. Bring it back. I was pretty cool, wasn't it? Let's try waving it. It gave it a little
bit of flavor, a little bit of spice. Okay, now, this is commonly used when people are
soloing as well. I don't know if you've ever
seen people do like this. That's a tremolo bar
that's doing that. What they're doing is
they're hammering on and off and bending their tremolo
bar at the same time. This is a classic
rock technique. It's pretty cool, isn't it? Yes, it is. Okay. It does add a little bit of distortion and you'll be able to achieve that sound to practice your hammer
ons and pull offs. And you'll be sounding
like a rockstar in no time to practice that technique with some
chords or even use it. Just playing a single note, play a couple of
nodes and then add the tremolo bar here
and their practice up. But remember you wanna
be tasteful with it. Okay. See you next time.
6. Strumming & Picking: We talked about sliding notes, hammer ons and pull out, and we even learned how
to use the tremolo bar. What about our strum
hand is so special? Well, your strum hand can add a lot of possess
to your chords as how you play something
is almost just as important as what you play. Remember, we talked about the
different strumming styles that you can use when you're
playing chords, right? So we talked about
the downstream and we use the g
in this example. You can also use the
alternate straw down, down, or even syncopated
strumming when there's a disruption or an alteration and
the way you strum. So let's use that in an example. Here we go. You didn't know
where I was drumming next, did you got two. Another way to add
some dynamic to your playing is by picking, being able to pick certain
nodes in-between froms will help to enhance
your chords and lines. So let's take the G-Major
again as an example. So we've got, we're going
to strum down strong. Now what will happen
if I started picking random individual nodes
in-between those drums? What would that sound like? Let's see. That sounded way more
beautiful than just strumming down and down and switching
it up, getting imaginative. Now the different
types of picking, remember I talked about there's just straight down picking where you're just picking each note. There's the alternate
picking technique in which you're going to be alternating between picking
downward and picking upwards, picking down and picking
up in a consistent manner. Okay. So what I want you
to do is I want you to pick a strumming style, any picking style and try it while you're
playing your chords. You can stay on one chord or you can try it with an
entire progression, whatever you're
comfortable with. Remember this is your journey. Practice this technique, and
meet me in the next lesson, we'll learn about power chords.
7. Playing Power Chords: We've talked about all of our open position chords
and even bar chords. But there's one more type of chord that I want you to know. And the reason I didn't
want you to know this earlier is because I
didn't want you to cheat, and that's called a power chord. Power chords are used
a lot in rock music as well as any distorted
type of genre. So metal, punk, anything
that you hear that is rock based is gonna be
using probably power cords. Let me show you what a
power cord consists of. A power cord literally consists of the first
note of the scale, as well as the fifth
note of the scale. And that's so easy to
find on your fretboard. So I want you to play your C, which is the a
string third fret. Then I want you to go over to Fred's income down one string. This is the fifth note
of your C major scale, and this works all
over the fretboard using the a and D strings. Now, I want you to find the octave of C,
and that's simple. It's right under the fifth note, which is the G
string fifth fret. And you're just going to
play these three notes. That is what's
called a power cord. They work anywhere on the
fretboard and they're a cheat code in
the event that you don't know what a chord is. In rock music, you'll
typically hear this. Those are power chords. All you gotta do is just flip on some distortion and
you're ready to rock out. So go ahead and take some time and get used to
power coordinate. Remember is a great
way to be able to substitute a core
that she may not know. All you have to note is the
root and be able to find the fifth and the octave
and you've got it. Join me in the next lesson, we'll be talking
about Paul muting.
8. Palm Muting Your Strings: You heard that a couple of those notes were slightly muted. And that's because I was doing something called palm muting. And unmuting is, is taking
the side of your strum hand, which is here, your palm, and resting it right in
front of the bridge. To give you a muted
string effect Sounds great with chords. And it sounds more human-like when you're
able to apply it properly. Let's start with a C chord, but we're going to
play a power chord, which is the first fifth, and then the octave of C. So we've got a string, third fret with our index, we've got D string fifth
fret with our ring. And then we've got the G string fifth fret with our pinky. Now we're going to take
our strum hand and rest the side of the
poem right here. Almost like you're
relaxing a little bit. Not forced, just chilling
with that same hand. Work on a strum using our pick. Here we go. That's Paul muting,
literally taking your palm and
muting the strings. Again, this sounds great
while you're playing cores. When you become more advanced, you'll be able to
pick and choose which nodes and where you
want to place your palm. You practice palm muting. Your strings don't
always have to be vibrating all the time just
because you pluck them. Remember, we're trying to add
some possess to the plane. Practice that and
we're gonna get into bending notes in
our next lesson.
9. Bending Notes: In this lesson, we're going to be disgusting bending notes. Now what is the point
of bending a note? Well, it's simple. Bending notes on your
guitar helps create more of a human-like feel
while you're playing. The tension behind when you bend allows the listener
to be able to feel what it is that you're trying to play or what
you're trying to say. So let's try bending our
notes with the G string, fifth fret, Okay, we're
using our ring finger. So get set. We're going
to pluck our note. And we're going to bend it
upward and come back down. Now as you notice,
my thumb kinda came over the neck as I was bending to give me more
strength to be able to bend. Okay. Let's try one more time. Sounds pretty cool, right? And an example if our soloing, you see how I put a
little bit more tension on it rather than just going. Or, or. This technique is
classically used when playing solos or
melody lines as again, at evokes more
emotion and gives the listener more tension
when you're playing, they're better able
to feel it. Why? Because they're feeling that string being bent, Oh my god, is taken out of its original pitch and then
it's coming back down. That is what I call
musical expression. And that's what makes
the guitar so unique. I hope you learned
a lot with this. Take it, have fun and run with it because you're gonna be
using this technique a lot.
10. Final Thoughts: That was a lot to consume in
such a short amount of time. But I'm confident in you
that she'll be able to take these techniques
and really start to sound like a real guitarist. All of these techniques are techniques that I
personally like to use to make my playing more
expressive and to have fun. Again, we're trying
to communicate what it is that we
will say in words. But on our instrument. And these are great
ways in order to achieve that for your
class assignment, I want you to take two of these techniques and make
up a chord progression. Or you're more than
welcome to take one of the songs that's in
class resources. And try to apply at least two
techniques to your plane. Record yourself and upload
it into the project gallery. I am so excited for
you on your journey. You've come so far. Don't stop now, meet
me in the next class. Will you officially receive
your stamp as a guitarist?
 Taylor Gamble, Professional Guitarist