Transcripts
1. 1 Intro + Ingredients: Hi, everyone. Today we're
going to make this bread, which is a sourdough bread at home without equipment at all. Let's see the ingredients. So let's start the
video right now. You just want to do four bread exactly of 700 gram
each totally by hand. But to start this recipe, you will need 550
gram of sourdough. So to make this one, it's going
to be 50 gram of starter, 250 gram of flour, white flour, and 250 gram of water, maybe 25 degree water. I mixed it last night and I left it all night at
room temperature, and this morning is ready. So now we're going to mix
the ingredients. Need. White flour? For me,
I use basic one. I bought in supermarket, white flour in general. We're going to use
some whole mial flour, Wolemal from the wheat
grain for extra fibers. So for the equipment,
like I said, we don't need nothing,
but you need a container. At least, Mia use this, which is a plastic
container for food. The only thing you
really need is the scale, but you
should have a scale. Everybody have a
scale in general. To make this bread, we're going to start
with the fermentols. That means we're going to
mix together those flour, this sourdough and some water. Now we are still in winter. And like I explained also
in the previous video, the temperature inside
is quite fresh, okay? So I'm going to put
some warm water because my flour is
at room temperature. My sourdough was at room
temperature all night. It's quite fresh,
maybe 20 degrees. Yeah, 19 degrees. So I want my dough
to be at 25 degrees, 24 degrees, Celsius, of course. So I'm going to put
some warm water. I'm going to try to have
like 30 degree water. So if you have a thermometer,
it's much better. If you don't have, well,
just try to take some water. If it burn, it's warm. You will need 1,120
grams of white flour. 125 gram of wholemal flour, 850 gram of warm water, if it's winter, if
it's put cold water. And finally, you will
need 26 grams of salt. So now you have all
the ingredients, and we're going to start
with mixing everything.
2. 2 Mixing: I'm going to start
to put the water. So first, I tar my
container. Here is my water. As you can see,
34 degree almost. So I'm going to put
my 850 gram in here. Then you can put the whole
sourdough in the container. This sourdough is very smelly. So one thing very important, I'll just put the whole
sourdough I need it. And you see inside, there's still a little bit of leftover. So this, you're
going to scrap it, and you're going to refresh
it for your next sourdough. Don't clean it
without refreshing. If you clean it, a ****. Then unless you already have some sourdough in your fridge or somewhere else, it's right. Otherwise, if you forget, you're going to be ****** up for the next recipe and
you don't want. I put 125 gram of wholeml flour. Extra clear one kilo, 120 of white flour. So if you want to use other type of flour,
you're free to do it. But then maybe you
need to adjust your recipe because it's not going to be
the same exactly. And separately, you're going
to weigh the salt for later. So I said 26, M, I'm
going to put 18. Finish. We don't need
a scale anymore. And now you just going to mix all this thing
together very well. Be careful when mixing because
if you don't mix enough, then you might have
some big lump of flour, and this is going to be
very annoying after. So make sure you go with
your spoon everywhere. So you see it takes
pretty much one, two minute and a
three minute maximum. And mix very well. So it might be a
little bit hard. I think this is more than
enough. We don't have a mixer. If I want it to mix by
hand, I can't break. You take it, it break. But it's impossible.
It just break. I mean, it's possible, but
it's going to take ages. So now, I suggest
to you to clean this spoon or whatever you used straight
because if you wait, it's gonna dry and it's gonna
be very annoying to clean. Anyway, now we just
mixed. You see? Flour, water, sourdough. Just the time to
make a proper dough. My temperature is 26 degree because we can't mix by hand because we don't
want to mix by hand. We just gonna let
it rest 40 minutes. You cover your container. You see, it's 26 degree. We want to keep it at this
temperature, more or less. If it's cold in your house, if it's too warm in your house, the dough is gonna also
change. Me, it's 19. If I leave it here for the
whole time we're gonna leave it slowly it's going to cool down. I don't want this. Just put it in a place
where it's not going to be too much influenced
by the room temperature. So mean generally, I'll
use just this bag, so isolation inside.
I put it here. I close it. And I leave it. The salt is here, okay. We will put it later. 40 1 minute. Put it
here. See you there.
3. 3 Third Part S&fold: Whoo. Who. So it's
been 40 minute. First thing I do in general, I just clean all around. So for this, I use my scrapper. It's better if you
have a scrapper. Put some water,
and I just scrap. You remember just before I did this with the finger
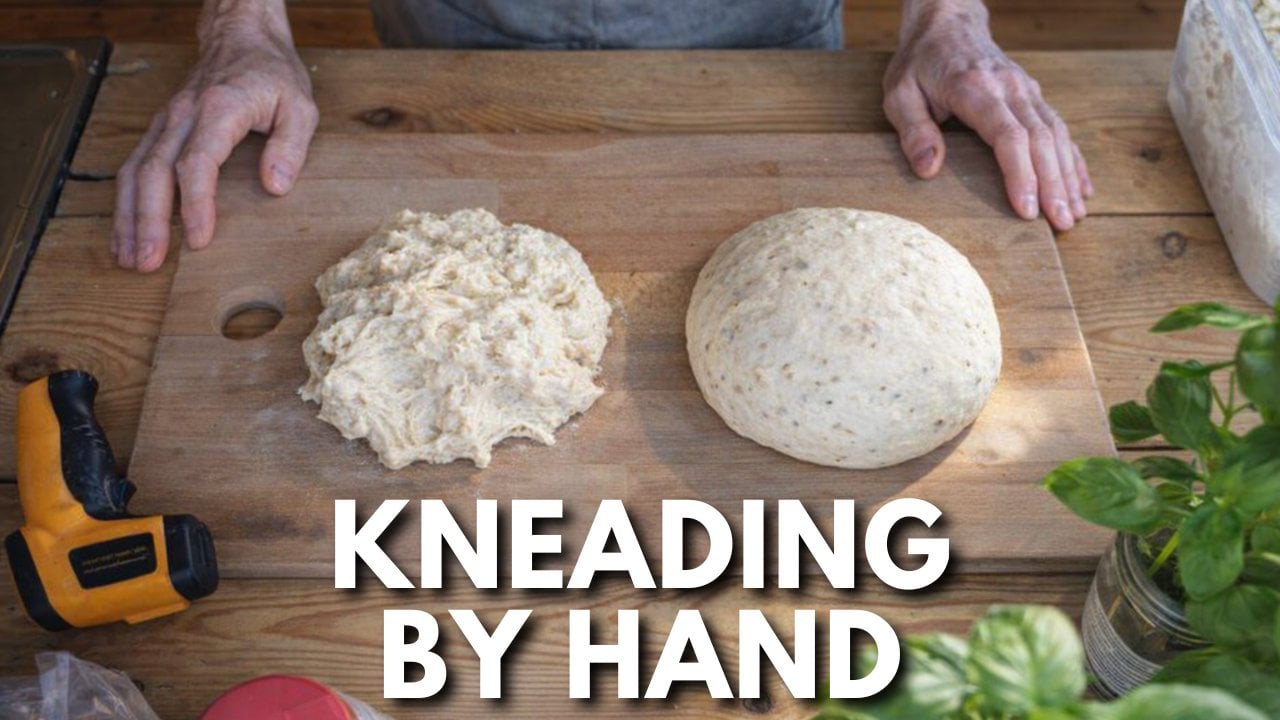
and it was just broke. And now you can stretch it. Look, you see? So, of
course, you break still. But you can stretch it. It's 24, so we lost
one degree 0.8. And now I'm just going to
stretch and fold this dough. We're just going to
do it together to make it a little bit
better, more efficient. I scrap under also in general. So like this, each side. Hey va you stretch, and you fold, stretch, fold, stretch and fold. This dough is a little bit soft. Maybe yours if you put
less water than mine, it's gonna be a little
bit harder, so easier. And now I just stop
the stretch enfold because it starts to
break on the top. That's the time now
where we're going to spread the salt everywhere
on top of your dough, and we're going to let it
rest 40 minutes again, and the salt is going to start melting a little bit
inside the dough. So once you give
your stretchenfold, you just put your
salt everywhere. And that's all. First,
we scrap all around. We scrap a little bit under
also with scrapper and water. Then we gave the
stretch and fold. And once it's done, you just
spread the salt on the top. And if I look at
my dough already, I can see the salt
is kind of melting. Once this is done, you
close your container and you put it back
where you put just before for another 40 minute. Now it's been another 40 minute. We're going to do the same,
another stretch and fold. I'm going to clean the side. And stretch and fool. So this time, we're going to try to give a few stretch and fold, a little bit like a
mixing because we have the salt and we want to
pread the salt everywhere. So it's alright. If it
cracks a little bit. Easy to do. It's quite right. We're not going to
need by hand too much. We just want to spread the
salt evenly in the dough. So now we're gonna leave
it 40 extra minutes. Then we will give
another stretch fold. It's just a long process,
but it's easy to do. See you in 40 minutes. So this is our third
stretch and fold. It's the time where it's gonna
be at your appreciation. What I mean by that is that we're gonna give
the stretch and fall, and you have to judge if your
dough has enough strength. If your dough has proved
enough, you should feel it. I can tell that my dough
double up in size. When you do the stretch
and fall like now, you have to feel the
strength already. You have to feel that
you can stretch it, and it comes back a little bit. The elasticity. I
have some already. And my dough is quite
smooth on the top. I'm gonna let it another
40 minutes outside, just to let it prove even more, gain a little bit more strength. Give another stretching fold,
so it's going to be four. You see, there's
the bubble here. The dough is quite smooth. You can tell it has a
little bit of strength, but you have to be really
careful with what you're doing, and you have to judge
the dough all the time, make sure everything is right, like the temperature,
the texture, the touching, the
dough. Don't forget. I forgot the seeds. So because I forgot the seeds, I should have put them just before on the stretch and fold, but it's alright
because I'm going to give another stretch
and fold, okay? I'm going to put Pumpa. This one. I forgot the name
in English and linseed. In general, you put 10% of
the weight of the dough. So you just put your
seeds everywhere. You see, everything is in there. I'm just going to give
you a quick stretch and fold to put some seed at least under
and a little bit inside. 23.6, so it's still fine. Another 40 minutes. And then stretch and fold. And after that, it will go in the fridge until
tomorrow morning. 40 last minute of my dough, the dough is very good. Very good, very smooth. Resting time between
the stretch and fold, I give 40 minutes,
like I told you. You can adjust it depending on the temperature in your room. For example, it's very warm, then you can do 30
minutes, maybe 25 minutes. If it's very cold or
your dough is cold, then you're gonna
give it more time. The temperature is the most important when
you make bread. And now let's do the
last stretch and fold. I water my hands. It will be much easier. I tried to grab the seeds. Yeah, the dough is really nice. Look at this beautiful dough. See? Perfect. You
can see the bubble. The seeds are pretty
much everywhere. So now you have three options. If you want, you can divide, shape, and bake
your bread today. But I wouldn't
recommend it because it's always better with
24 hour in the fridge? Because it's going to
develop all the flavors, the seeds, also, they're gonna start absorbing a
little bit of water. They're gonna start building
some super vitamins. Other option is you
can divide, shape, put in a form, and then you can put in the fridge
and bake tomorrow. Or you can do the way I do. Put it like this in the fridge. Tomorrow morning, I will
just take out this, divide, shape, put it in a form, final proofing, and I will bake. Now, this goes in the fridge. So just like that and
see you tomorrow.
4. 4 Dividing: So we are tomorrow the next day. But first, what
we're going to do is choose the type of
form we want to use. Me, I'm going to
use the metal form because that's what I have. You can have some baskets also
where you're going to put your dough inside and then
flip it into your oven later. Plastic form, plastic baskets. Me, it's going to be metal form. And for this, I'm going to spray them with oil just to avoid that the dough is going
to stick after baking and stay
stuck in the form. So here they are. I have
four, four of these forms. I bought them on Aalxpress. It's been three years. Still use them every
week. They're very good. Old spray, you see. So now it's time to
divide the dough. So you need your scale. You need a cutter.
It can be metal one. Plastic one. I use the
plastic one, my favorite. A little bit of flour also
to put here because, yes, I'm going to work on this, and I'm going to divide.
So what's dividing? Dividing is going to
be the process just to cut the dough into
pieces the way you want. For this one, I said we have four bread of pretty
much 700 gram. If you want to do
2.8 kilo bread, it's your choice, you can
do whatever you want. So here, nothing
complicated really. Turn on my scale, and you have to just divide
so you cut the dough. I guess this one is 650 gram. 649. I don't know if you see. I'll show you. I call it skills. So I add a little bit extra. I cut another one. 690. Then the stard one? 670. So the last one, it must be a little bit heavier. Oh, 700. So I have four. I don't
need the scale anymore. So now, once you
divide your dough, we have to round each dough,
make a beautiful round. It's gonna give a little
bit extra strength. Digas a little bit the dough, and we're gonna allow
the dough to have another 20 minute,
30 minute rest. Because if we shape the
bread straight like this, we have every type of shape.
It's gonna be difficult. Also, rounding will
make it much easier to form the bread into
the desired shape.
5. 5 Shaping: Going to do this pre
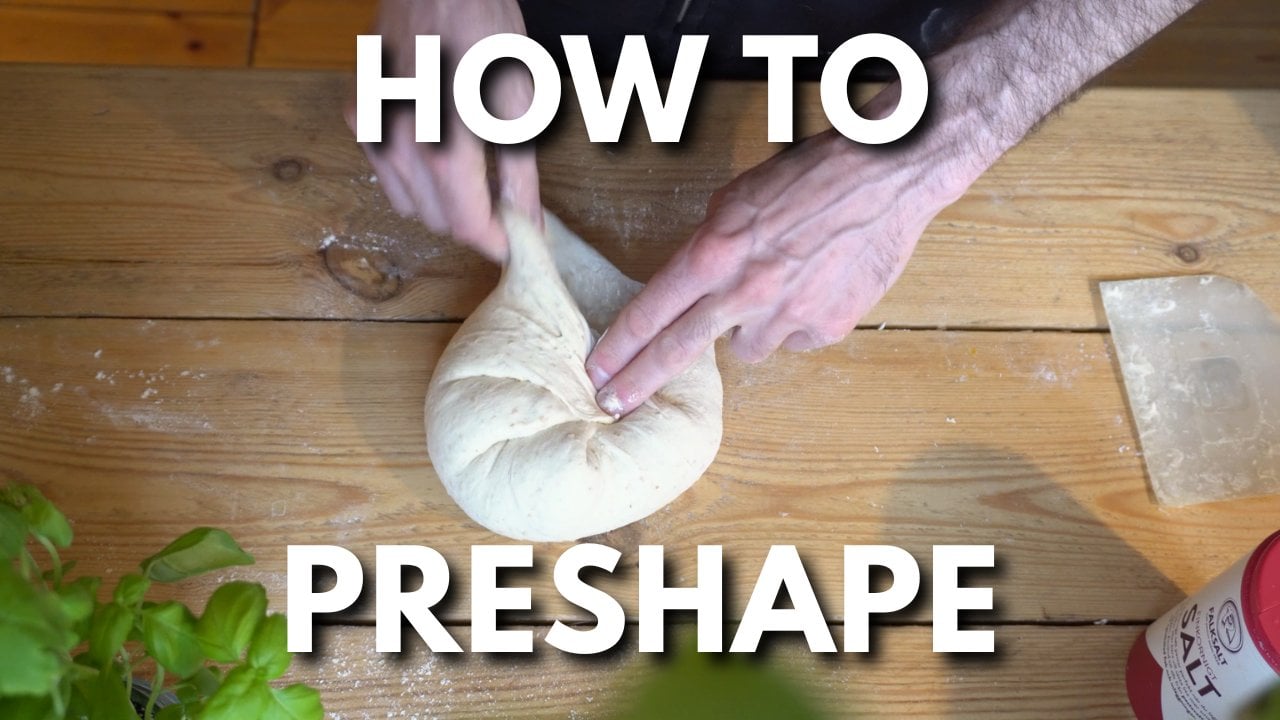
shaping in a round shape. It's quite simple.
There's a few techniques. First one, flip it over. You can bring one side, the
other side in the center. Each side in the center, and then you turn it, and then you have to pull the
door towards you, okay? You have to bring those parts, the part in contact
with the surface. You have to bring
it in the center. So you have to pull,
but in the same time, you have a little bit
to turn like this. Let this is going
to just turn and bring everything in the
center slowly by slowly. You're going to have
a beautiful round. So you do it. It can
be sticky. You do it. Once you did it, you bring it up because otherwise you're
going to end up on the floor. You see? You just pull and turn. Pull and turn. Very simple. And you can feel every time that your dog is getting stronger,
it's getting harder. And you have to stop just
before you start to break. Another technique you
can use your scrapper, and it's going to be pretty
much the same process, maybe a little bit cleaner. And the movement you take on one side and
you try to do the same. You bring like a circle, you know, up circle. Then you move your dough,
circle and you pull, circle and you pull. It's very also
efficient technique, circle and you pull. And slowly, you have a
beautiful round, very smooth. And getting harder. You can see the bubble even. So it depends the
technique you want. My do is a little bit sticky. So this one, I would
say is a bit better, and you stop before
it's getting too much. You can do like
this fall and turn. Try to do it slowly,
and like this, you can see what's happening. You see, and you try to
bring everything under. And you stop before it starts to break too much on the top. Basically, you just
put your dough and you can do with one
hand, even if you want. I'll put it here. This
is the pre shaping. Now we're going to give
it a 20 minute rest, just to allow the gluten
to relax a little bit. Also, the pre shaping,
you can do other type. If you're going to
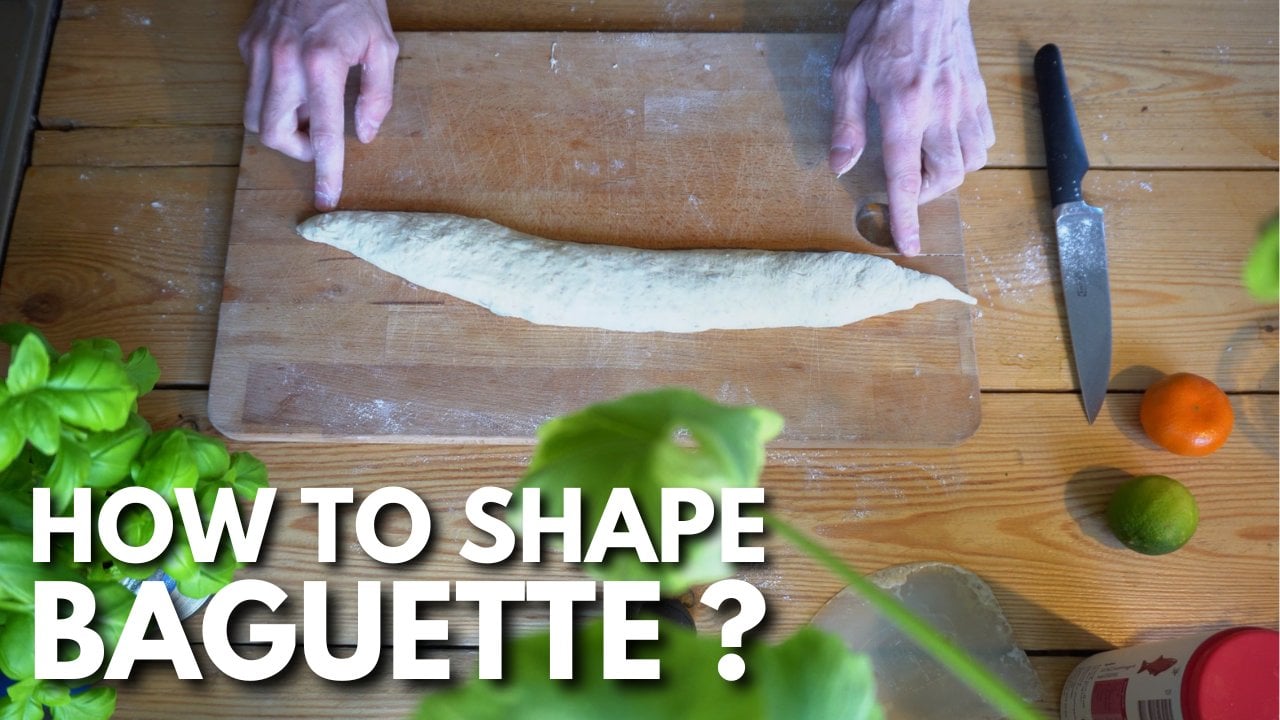
do, for example, a baguette so long, you don't really need
to make a round. You can make
something more oval. So same process you're going to bring under to make it tighter. I want to remind you that we are making bread without king. Don't use a mixer, and we didn't need
the dough by hand. So obviously, the
dough is going to have a little bit lack of
strength. This is normal. This is how we make bread easily without kneading for
half an hour manually. Expect your bread not
to be too strong. And I can see my bread. In general, it would
stay very round, you know, and it wouldn't
break so easily. It's absolutely normal.
So don't worry, it's going to be a
nice bread anyway. So now we leave it
for 20 minutes. I'm just going to cover it. I personally use a plastic sheet like this and put it on top. It's gonna be a
little bit sticky. I prefer this because if the ambient air of your
house is very dry, your dough is gonna get dry, and you will see it's
gonna be very annoying. With the plastic, it
keeps the moisture. Maybe you can hear
the swans flying. So 20 minutes like this, and then we're going to shape our bread into the form.
See you in 20 minutes.
6. 6 Next Shaping: So first, you take
out the cover. It's a little bit sticky,
actually, but not too much. And I'm going to do the
four same loaves, okay? But I'm going to show you
two different technique. First, you're gonna
need a little bit of flour. It's going to be sticky. Use the scrapper
because the dough is stuck to the surface. And you flip it over.
First thing to do. So you try to make
this type of shape, pretty much round dish, oval. You're going to take
the part on your side, bring it to the middle. This is what I call
the Instagram shaping because that's what we see
everywhere on the Internet. Not a professional
one, I would say, it's more like amateur and
more like instagramable, because in a
professional bakery, you don't see this. But
it works very well. Then you bring one
side to the middle, the right side on the left, then a little bit left in the middle and the right
again in the middle. Then you take the left
one to the middle. You just push should stick
the right side here, okay, don't pull too much. Then you take this
part to the middle. And then we're going to finish with the part in front of you. You put it back to the middle. You just push on the side
also to improve the shape. Okay. Then you're
going to take again this part on your side and
fold it again in the middle. And you push, and
you take this part. Here. From here, you have
many different options. Fold again like this,
put it back there, or you can do this. Fold, fold, fold.
And now from here, you need to press and
pull towards you. Eva and then you put
it in your form. I'm going to show you
another technique. You flip it over. This
is the technique, the academic technique, the
one you learn at school. It's pretty much the same
you're going to do here, this side, this side, this side, this side, okay? Here, you're going
to fold and push, and then you're going to use your hand, right
hand or left hand, fold in two and press
with your palm of the hand to close the
seam and you roll it. You see the seam is here.
Ebola. You have your bread. So one thing you
need to know also, when you shave bread,
you need to be fast. The longer you go, stickier
your dough is going to be. So same as the first one, okay? Middle, left, right, left, right, left to the middle, right corner to the middle, center. You fold here. In general, you can fold again, like I said, and finish it. But I remind you that I remind you that we didn't actually,
I did something else. We're gonna do the
school way in a fast way to show you how
it is. Fold here. So now we finish to
shape our dough. I will make a video
exclusively about shaping, so you will see every
type of shaping. At least you saw the
rounding, the pre shaping. Now we put the whole breads, do the final proofing. You see the dough now
is pretty much half. We want it to be like
almost on the top, pretty much before putting in the oven. You have
a few techniques. The best I would say is
to put inside your oven, you don't turn on
your oven, of course. You just put inside
and you just put a bowl with boiled water inside. It's going to bring
humidity and heat, and after 1 hour or 2 hours, it should be at the right size. You can use this type of
thing that I have also. In general, it's going to
take 1 hour to 2 hours to get the size that we want. If you're professional,
you have a prover and you push the button
and everything is fine. But we don't have anything.
So we do like this. You have to check
every 40 minutes, I would say, and the more you get close, the more you check. Don't forget to
preheat your oven. 230 degrees. Don't forget to preheat
before it gets ready. Use a ball or something to
put the steam in your oven. So think about it before.
I said, I use this. I bought it one euro in a second hand chop.
I made of metal. I put some water when
I put the bread. I make some steam, and we
have a cool a nice bread. Let's go for final proofing. And yeah, see you.
7. 7 Baking: So it's been a few hours now. Maybe two to 3 hours. I took out the bread. I'm going to show you in
a second how it is there. But I put my oven to preheat, like I told you, top
and bottom, 230 degree. So the bread is not
completely on the top. I want it to be a little
bit more like 1 centimeter. I don't really have
that much time now. I have things to do. I put
it in the oven anyway. But there are still one
important things to do before putting in the oven, it's to scour the bread.
So I'm going to score it. Then I will open the oven, put all this bread inside, and put some water for the
steam inside the oven. So let's score the bread. For this, I use
this type of blade, which is blade for shaving
bird or man, maybe woman. I don't recommend you to use it because you can cut yourself. I'm just going to do
one line like this. Try to do quite deep,
but not too deep, not like 1 centimeter, but more like 2 millimeters. If you have a spray,
put some water inside and spray a little bit just
before putting in the oven. Me, I'm going to just pour a little bit of water,
and with my finger, I'm just going to touch
like this because I let it outside for
like 20 minutes. So now the top is dry and I
want it to be more humid, beef just before the oven. Don't push too much
when you do this, because if you push too much, there's some chance that the
dough is gonna collapse. Your dough is very
soft also like mine. And now it's time
to put in the oven. So at this time, you
need to be very fast. One bread one bread, another one, and the water. So now I have my bread inside. I let it for 25 minutes. 25 minute. I take out
the form, put them back. And then at this time, I just put the heat from the bottom, simply because in general, it's going to be baked more on the top than on the bottom, and I want it to be baked
on the bottom, of course. So if you leave it like
this for 35 minute, you're going to have
a very dark bread on the top and white on the bottom. So I won't film when I'm
going to do this because, well, it's not very interesting. And it should be ready, so we will see the result together.
8. 8 Final: So I think it's gonna be
enough for the baking. Well, it could be even
maybe 5 minutes more, but yeah, it should be alright. So the bread is slightly white. So you can bake it
longer, for sure. So we have a super nice bread. The smell is is
absolutely lovely. A little bit white here on
the side, and it is right. On this side, it is right. This side is right. It's just, yeah, here. This bread open up
here in the middle. Those two didn't I took out another one
over there just before. So just this one
open up properly. But it's not too much of a big deal. It
doesn't change much. It's just more pretty
and slightly bigger. But I mean, it's totally right. And one thing I forgot to
mention is my sourdough, I made it with some ry flour. So it's 250 gram of ride
flour in the recipe. So my bread is a little
bit more compact. But look, it's totally right. I mean, me, I like the bread
when it's dense like this. You can still see some hold, and it's quite dense. It's perfect for to put some butter on the top
and anything you want. I'm quite happy. So, you see, you can make bread at
home without equipment. It's totally doable,
very, very easy. It doesn't ask you
so much much time. The only thing is
when you're going to make bread without
kneading the dough, without having proper equipment, it's just going to make
bread slightly uglier, I would say that it should be. What matters here
is the flavors, the taste, and the
nutrients inside. So we have really a product of super quality. So this
is not the problem. You can see the seeds,
also, of course, because there was lean
seed and pompa seeds. It's going to be very difficult to have something regular, something beautiful
without needing a dough. And you'll see it's
really delicious. So I hope you enjoy this recipe. You enjoy your bread and see
you in the next one. How,
 Vincent Baker, Artisan Baker & Home Bakery Mentor