Transcripts
1. Introduction: Hi, I'm Elizabeth, and welcome to my Edward Monk
Inspired class, where we will be looking at his really kind of moody and
expressive color paintings and all of the ways
that Edward Monk was putting his own feelings
and kind of processing the different psychological
elements of his own life into his art as we create
moody soft festal drawings. We can look to our own emotions, whatever those emotions may be to get inspired for
our class project, or we can kind of
go down the road of Edward Monk and kind of use some of the color
combinations that he worked with and really
explore ways that we can very loosely work
with soft pastels to create some
expressive landscapes that reflect feelings
and emotions. They do not have to be dark and kind of exploring you know, the sadder, more tragic pieces of life like
Edward Monk did. Art was very much
a therapy for him, and he really kind of went deep into his emotions and his
psychological troubles that he had and different
sadnesses and tragedies he experienced in his life and
used his art to express that. I tend to be a very happy
bubbly person who's looking for the glimmers in life and finding ways to really celebrate the joy, be it big or small. My art tends to be very
bright, bold and colorful. But it's often fun to explore an art making mode that
isn't your normal go to. And we all have tons of experiences that
we can draw from, and we can make this a
very personal project, or we can just have fun playing with expressive
color and value in soft pastels to create some really beautiful
moody landscapes. However you want to take
on the class project, it's going to be a
really fun class as we get inspired and learn about
the history of Edward Monk and the way that wove itself into the art that
he created as we consider how we want
to weave ourselves into our art project
for this class. I hope to see you
in class real soon.
2. Class Project: The Thanks for joining me.
In our class project, we're going to be
looking at the work of Edward Monk to get inspired for how we can create our
own moody landscapes. We are going to be
playing with color and value and the kind of dreaminess that soft pastel lends itself to art to create some really
fun expressive pieces. The materials for class are
very basic, soft pastel. You can even use
construction paper or pastel paper if you
have some on hand. We have some great
resources over on the projects and resource
section of class where you can explore a little
bit more about the life and art of Edward
Monk and how what he was experiencing
in his life wove itself into the art and how he expressed himself
through paint. We're going to be
using soft pastels as a really relaxed way to get at landscape pieces and really
how we can manipulate the color and the
value to create some really bold, expressive pieces. You can decide to explore whatever side of your
emotions you would like to. This could become a
very personal project, or it could be an
artistic exploration. You could do a little bit of mirroring of Edward Monk's work, or you can completely lean
into your own aesthetic. Either way, you're going to have a really fun time exploring the way that we can manipulate color to create some dynamic moody, whatever mood
you want to go with, landscapes for our
class project. So let's head over to the
next lesson to talk about what materials we're
going to have on hand for class. See you there.
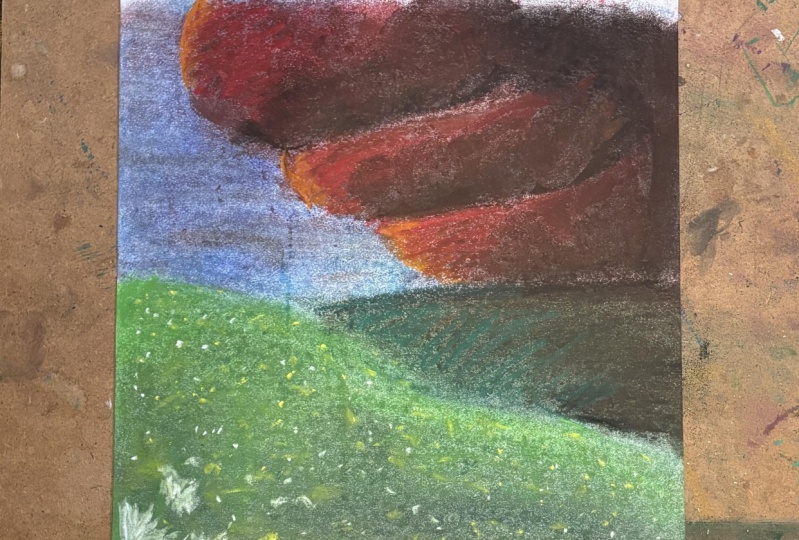
3. Materials: The materials for our past
project are incredibly simple. We're going to be
using some paper and some soft pastels to create our moody Edward Monk
inspired landscapes. This could lean
towards the abstract, I could lean towards
representational. It's completely up to you. For my project, I've decided to go with a gray
construction paper. If you have pastel paper, great. I find the construction paper
works just as wonderfully, and what I really want to
achieve in my class project is capturing my own take
on how Edward Monk played with colors and value
so masterfully to create these atmospheric
scenes expressed some really deep emotion, and you wouldn't have
to go down the dark, agonized traumatic route
if you don't want to. But it's for someone
like me who tends to go with really bright colors, happy and just kind of
bubbling with positivity, this is a fun challenge for me to go dark and moody and
there is that side to me too, so that's cool too. I've got my pastels, I've
got my construction paper, and I am ready to get
started on my class project. Let's head on over
to the next lesson where we will do just
that see us soon. Oh
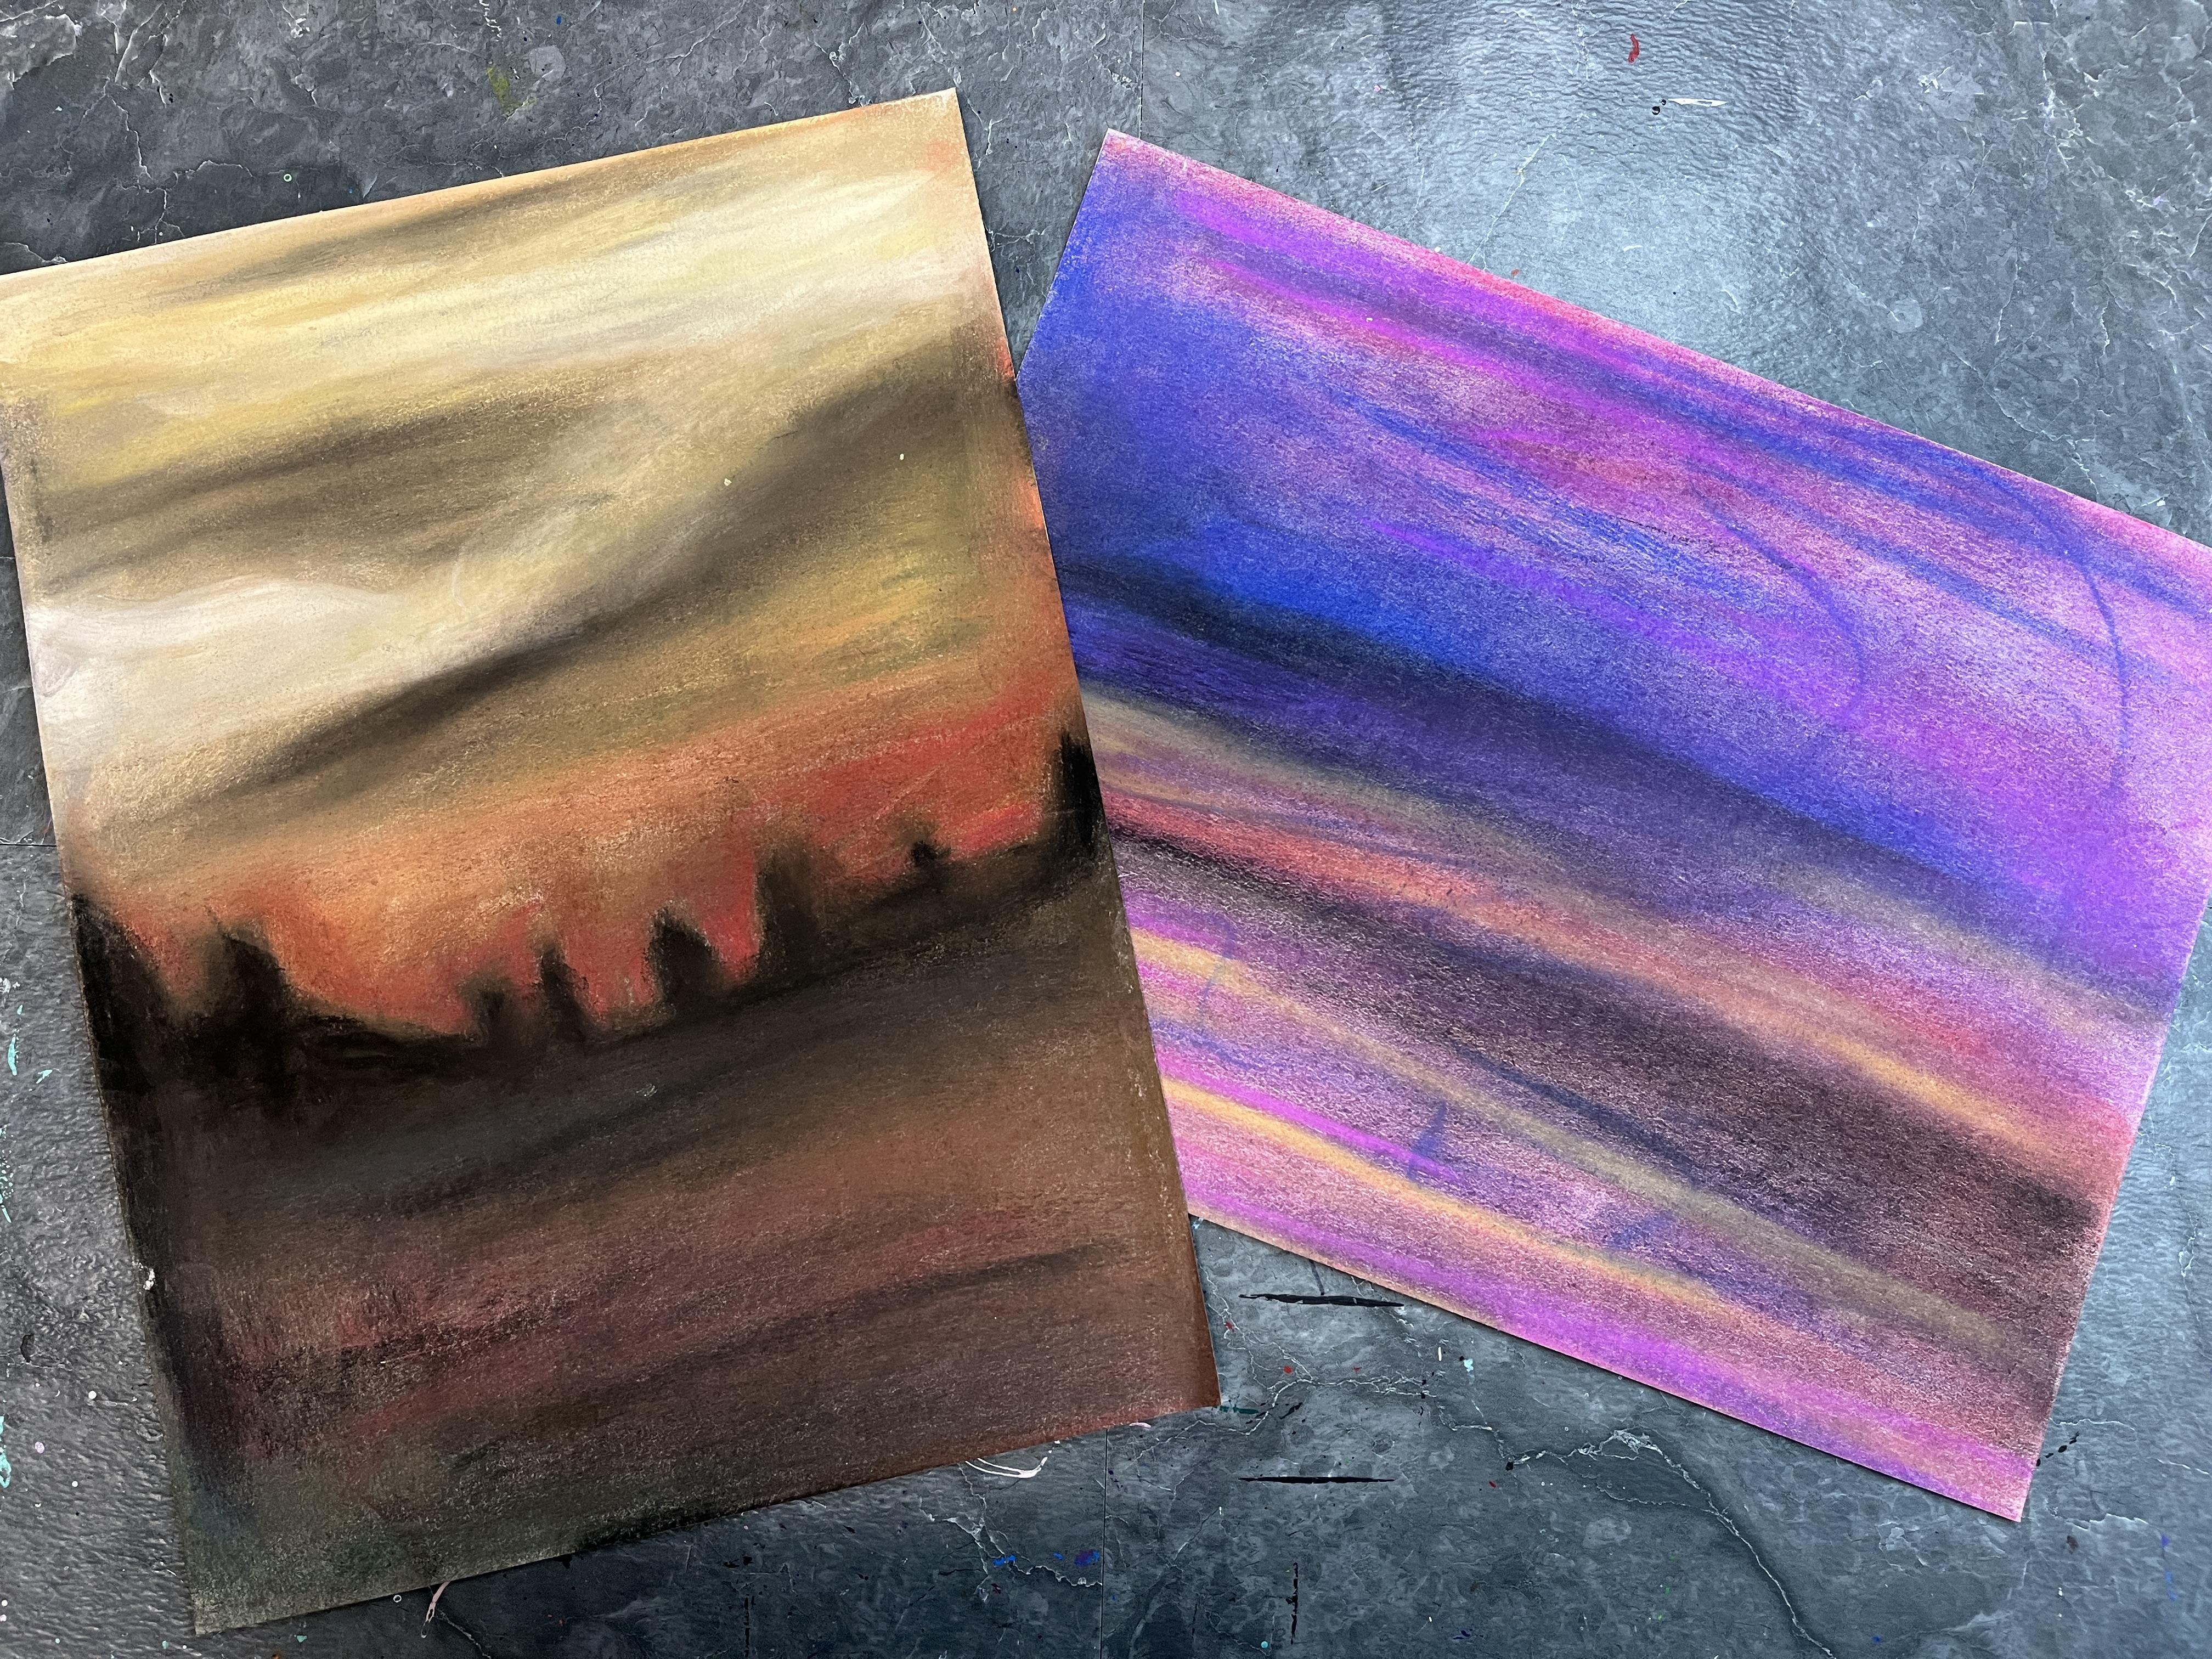
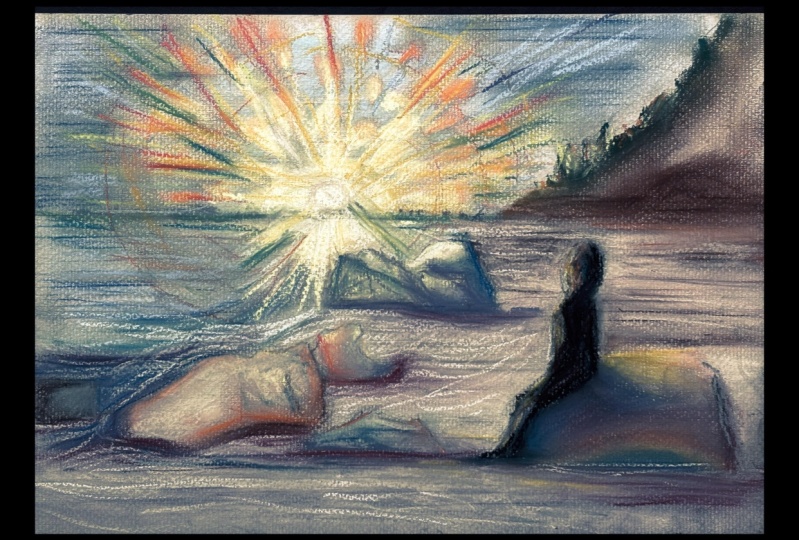
4. Class Project Demonstration: Alright, I am ready to
start my class project. So what I did ahead
of this class project was I went over to the
projects and resources section of class where I
took a look at some of the different artwork
created by Edvard Monk and kind of got a sense of who he was
as an artist and kind of his history and
some of the things that inspired him to create
the work that he did. And now I kind of
have a sense of his use of color
and composition, and I'm going to use that
to inform my art making, as well as kind of putting
my own take on things. So the fun thing
about soft pastel, if you've never worked
with it before, it does some gorgeous things and you can do all sorts
of great blending. It is a very messy medium.
We are going to get messy. If you don't want to
get the pastel on you, you could wear plastic gloves. You could do the blending
part of this with a tissue, just like a Kleenex, so that you're minimizing how
much mess you make. But I really like embracing my art media and just going for it. So that's what
I'm going to do here. So I want to do a landscape and I kind of want to
think about the colors and the feeling that Edward
Monk's screen landscape gives me a little bit. You could absolutely
recreate or give kind of an homage to a specific
piece if you wanted to. I really want to play with
kind of creating whoops. I want to kind of play with
just alluding to things and then kind of see how much
how specific I want to get. I'm just mapping in
some colors here, defining where the ground
is, what's the sky. You'll notice I've got
a seam showing up here. That is because on my art table, I've used some sticky fo tiles. So what I'm actually going to do is I'm going to
stop for a second, and I'm going to get
another piece of paper to put underneath this
to give a buffer. If you have anything like
that on your work surface, normally these seams
don't cause a problem, but that is a very
clear line there. I'm going to remedy
that really quickly. I'm just going to take
this empty sketchbook pad. Then put that
underneath it because it's the same size as
what we're working. Now, when I go back
in with these colors, it's going to fill in those
seams for me really well. That's a nice trick if
you're working on a surface and the surface texture
is coming through, especially when we're
working with something so light as this. Like I said, I'm defining where is the ground,
where is the sky. Then just playing around
with what I want to do here. I'm not 100% sure. I'm letting the pastel
guide things a little bit. You can always blend
at any point in time and start seeing what
you've got going on. I do want to play around
with some colors. I don't want it to
all be earth tones, but he did use a
lot of earth tones, a lot of warm colors. I do want to play with
that a little bit. Add in some of the
ominous feelings. I can even go in
with a darker gray. You can use the
pastel on its side, or you can lay it flat if
you're covering a larger area. Whatever works best for the piece that
you're creating and how you want to
build up your color. Don't ever just blow the pastel because then you're going to get just a ton of dust. I'll show you how
to handle all this. Actually, you can
just take it off to the side tap it
down a little bit, and then I'll get
the excess dust off. Now, I could have absolutely
done the smearing first and then done
that and then I would be able to smear
the dust into it. I notice now it's a
little bit later, but I can just go back in
and add some more to it. I'm going to go ahead and
not be afraid to go dark. I'm going to allude to
maybe a city scene here. The silhouette of some buildings and some structure down here, not being afraid to play with my darks and bring my
black up into the sky. Why not? I need
some more pastel. I'm going to go ahead and
top in some bolder yellows. Let's see. Oranges
maybe. I'm just playing. I'm just playing and
having a ton of fun, which is kind of a funny thing to say when we're talking about making moody landscapes.
But it's true. That's what's happening. I'm
playing and I'm having fun. Then you can decide how much
of your marks you want to let stay and what marks
you want to have go away. I haven't quite decided yet. So I'm just kind of going for it until I get what
I want out of this. Go back and unify some
of my ground work. I can kind of use my smudging
to help define some things, but also to kind of let
them disappear too, which is always super fun. I know, things are
a little muddled. I'm gonna kind of try to
crispen some things up. Let's see. I'm going to do some smudging and
then I'm going to tap off the excess to kind
of see where I am. Like I said, I
mean, the materials for this are really simple. The class project is really
simple and it's fast. Soapstel can be very, very fast. Which is the fun thing about it. All right. Let's dump off the extra. All right. I love
this. I kind of like that there's a little
bit of illusion going on. I want to kind of tie
together the bottom and the top with some of
these jark values. Just kind of going for it. What do I need here? Just
more of that fiery yellow. Let's see. Sometimes it's fun in the southwest to have that play of crisp and softness. Let's top off the extra. Now, my fingers are going
to leave marks on this, so I do need to be
I can embrace it. It's the wax in my fingers. I look at my skin
and that's okay. Let's see. What else? Why I throw some blue down here. It helps create a darkness that breaks things
up a little bit, has a little bit
more of a dimension to our darkness, which
is pretty great. So I want to kind of it up and crisping up this a
little bit. Smudge that up. So Edward Muck was painting, the bulk of his work is paint. You could do this with paint. What I love about
using the pastel is it helps me get there faster. And, you know, using
pastel in this way, creating these moody
pastel landscapes, pictures, abstracts, however you want
to approach it is something that when
you do it in pastel, it makes it very approachable for everyone regardless of
their background level. Whereas if you're trying
to create atmospheric, moody acrylics or oils
or even watercolors, you really have to have
a bit more background. And in the artist
inspired series, I really want to find ways
for people to kind of get into it and explore things at a level that they
feel comfortable with. Then if you have
more experience, you can absolutely dive deeper, but I don't want the media that we work with to
be something that causes folks to not be able to get out of the class
what the goal is. The goal is playing around
with this understanding of how Edwardbunk used color to
create these emotional, really dynamic
compositions and they're all just showing so much feeling and how can we put that
into our own work? By exploring that
in a medium like soft pastel where we
can get into it easily, that can then trickle over into the other mediums in
art that we play with. I mean, that could trick
over into digital. It could trickle over
into your painting into your colored pencil
or oil pastel or, you know, charcoal work, even. I really can find a lot of
places to play and exist. That's the goal. That's why
we're doing it this way. Then the only other thing
you can think about is the harder you
push with the pastel, the darker it's going
to go onto the paper. Just like every other
drawing medium, you have some control there
and you can play with that in a lot of different ways to get even more interesting
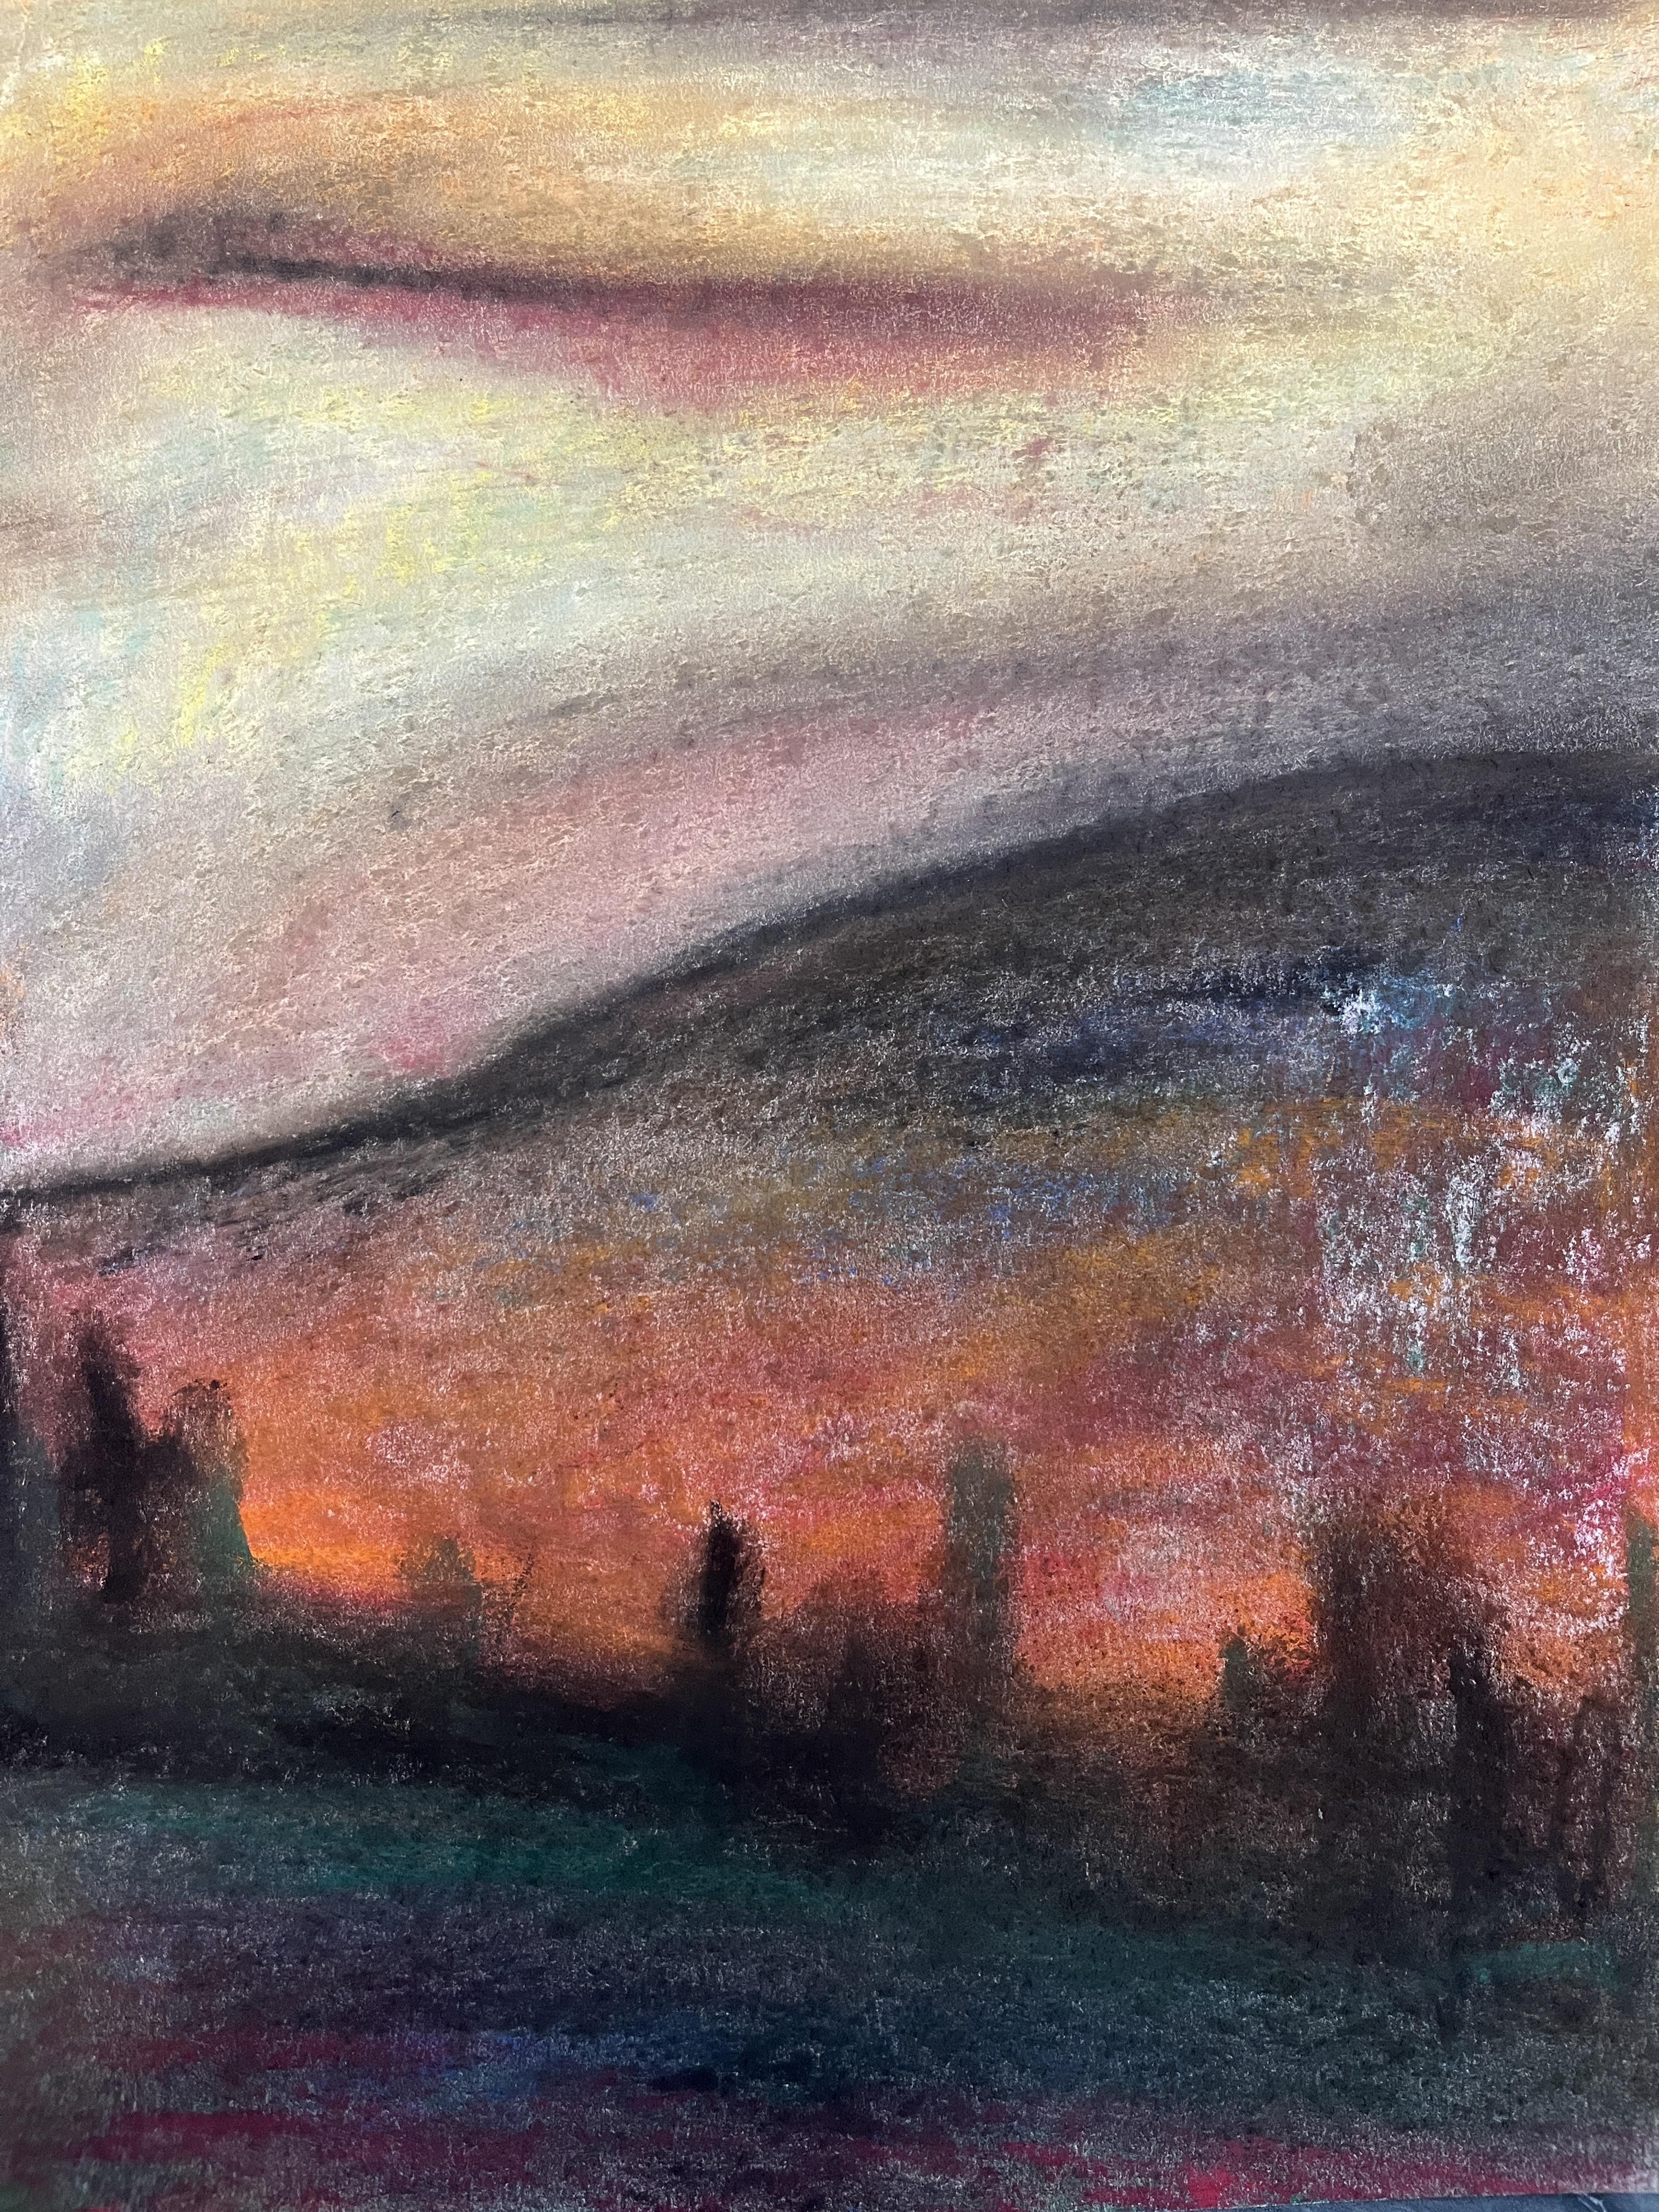
effects. Let's see. I think what I want to do is I need to add in some lights. I'm going to get some of
these colors out of my way. And then I'm going
to take my white, even though it's dirty. It's got a lot of
other color on that, but that's okay because
we're using so much color. Adding this pop of
white just extends our value range between our darkest dark and
our lightest light and really helps add more drama and some more dynamic qualities
to this. Let's see. Yeah, that's what it needed. I needed the white. I love this. This is great. I feel
like I've captured the atmospheric feeling
that I wanted to. It's the fiery sky and the soft horizontal
feeling of the movement across the sky with whatever
this might be down here, maybe this is buildings, maybe this is trees, maybe this is rocks, who knows? Then mirroring
having the friness up here mimic down
here a little bit, but then also having that play of the blue and the green
being very different, have the coolness being an opposite to the
worms in the sky. I love this so much.
This turned out great. I'm going to go ahead and
clean up my art space, and I will meet you over in the last lesson where we
will wrap up the class. See you soon. Okay.
5. Final Thoughts: Thank you so much
for joining me in this Edward Monk inspired class. I hope you had a lot
of fun exploring different ways that you can
look to different emotions to play with color
and value to create some dynamic moody
landscapes and some of the simple ways that
you can capture quite a lot with very
little on the page. I hope you're rethinking
about the way that color can express emotions and the ways that we can weave our own personal journeys
into our artworks, whatever part of that journey is that you want to explore. Be sure to head it over to the Projects and Resources
section of class to upload your project to the
student gallery and take some time to check out the
projects of your classmates. It's really interesting to see how everyone
approaches this, especially since there's so
many different ways that everyone can kind of go depending on what colors
they worked with, what landscape they create. How much they drew from
Edward Monk's work and how much they
leaned into themselves. So I can't wait
to check out what you and the rest of the
students made in class. Also really appreciate it if you take the time
to leave a review. This is great feedback
for me as a teacher. It is a great chance
for you to kind of reflect on what you've
learned and how you might incorporate that into your future art making
practice or how it wove itself into the project that you
created for class. It is also a great way for
others to learn a little bit about the class if they
may be considering joining us on this
Edward Monk journey. It's a really
fantastic element to the Skillshare classes that I hope you'll take advantage of. I would love to stay
connected here on Skillshare, so be sure to click
the Follow button. Don't forget to pop on over
to my YouTube channel and subscribe there so that you can stay connected with
me and I with you, and we can kind of continue to share artistic journeys and thoughts about the
creative process. I take my YouTube subscribers on various art adventures that I have throughout the year, show you processes
that I'm working on, things I'm exploring
in my own practice, ways that I incorporate
the class projects and those techniques into
my artistic practice, and just kind of anything that's going on that's art related, that's fun to share
with my subscribers. I would also love to
connect over on Instagram, so feel free to pop on over
there and click Follow. I hope to see you
in another class real soon. Till next time.
 Elisabeth Wellfare, Artist, Art Educator