Transcripts
1. Intro: Hey, guys. My name is Maria. I'm a professional illustrator
living in Turin, Italy. You may have taken some of
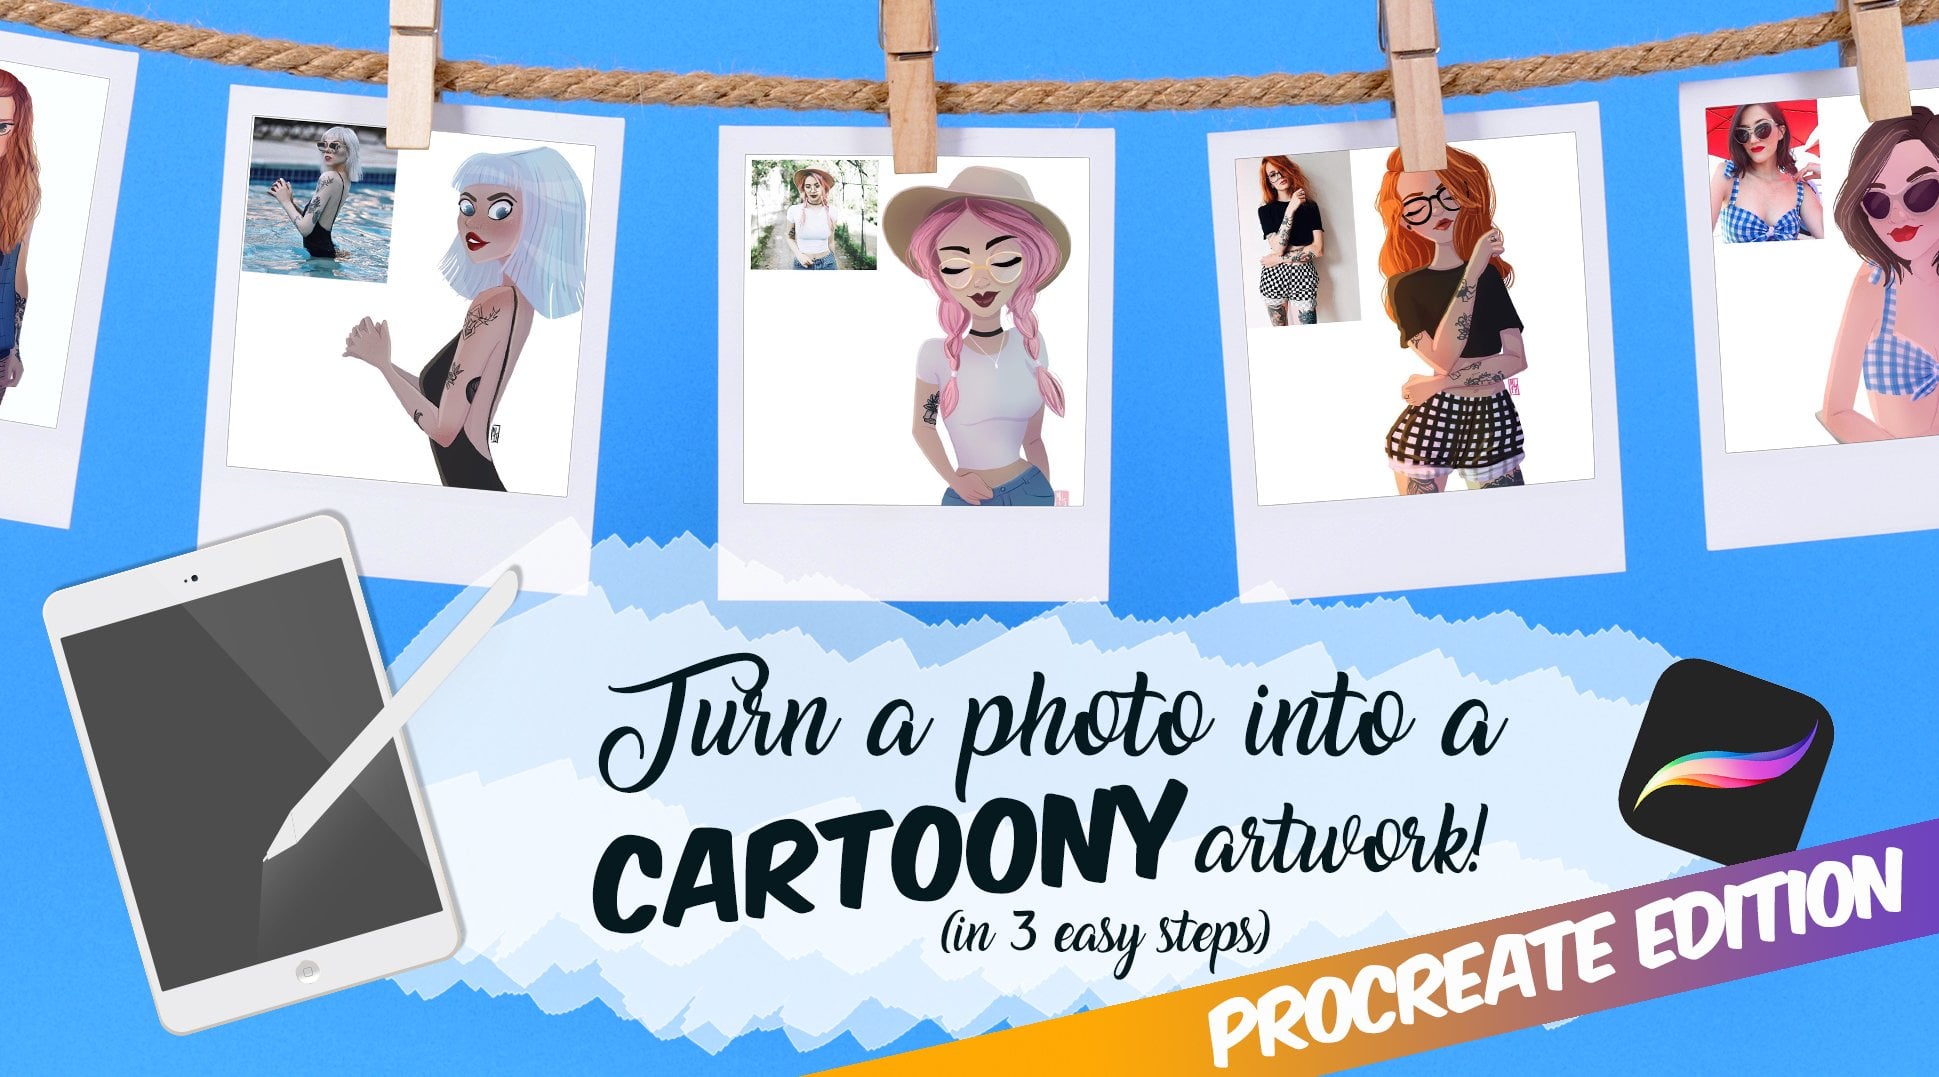
my previous courses, like, how to turn a reference photo
into a cartoony portrait, or how to use Reels to improve
your social media account. These courses have already
helped literally thousands of students improve
their art skills and their social media accounts. Today, I'm going to do
something a little different. I recently had a baby
and I was, of course, frown into Googling
everything about babies that I didn't know
before, which was everything. One thing that I
discovered is that baby's vision is really poor. When they are born and
for the first few months, they can only see at about
30 centimeters distance. When you give them a book or you show them
images or cards, they can't see them very well. That's why if you have
Googled cards for newborns, you may have found cards
that were high contrast, black and white cards or cards with very
contrasting colors, because those are the only ones that newborns can actually see. In this class, I'm going
to show you how to create a set of cards that
you can additionally, also use as a book, maybe if you just
put them together. It's going to be super
easy, I promise. The great thing about these developmental
stage in newborns is that the simpler
the shape, the better. Even if you can't draw, [LAUGHTER] even if
you feel like you can't even draw a stick figure, I promise you, you
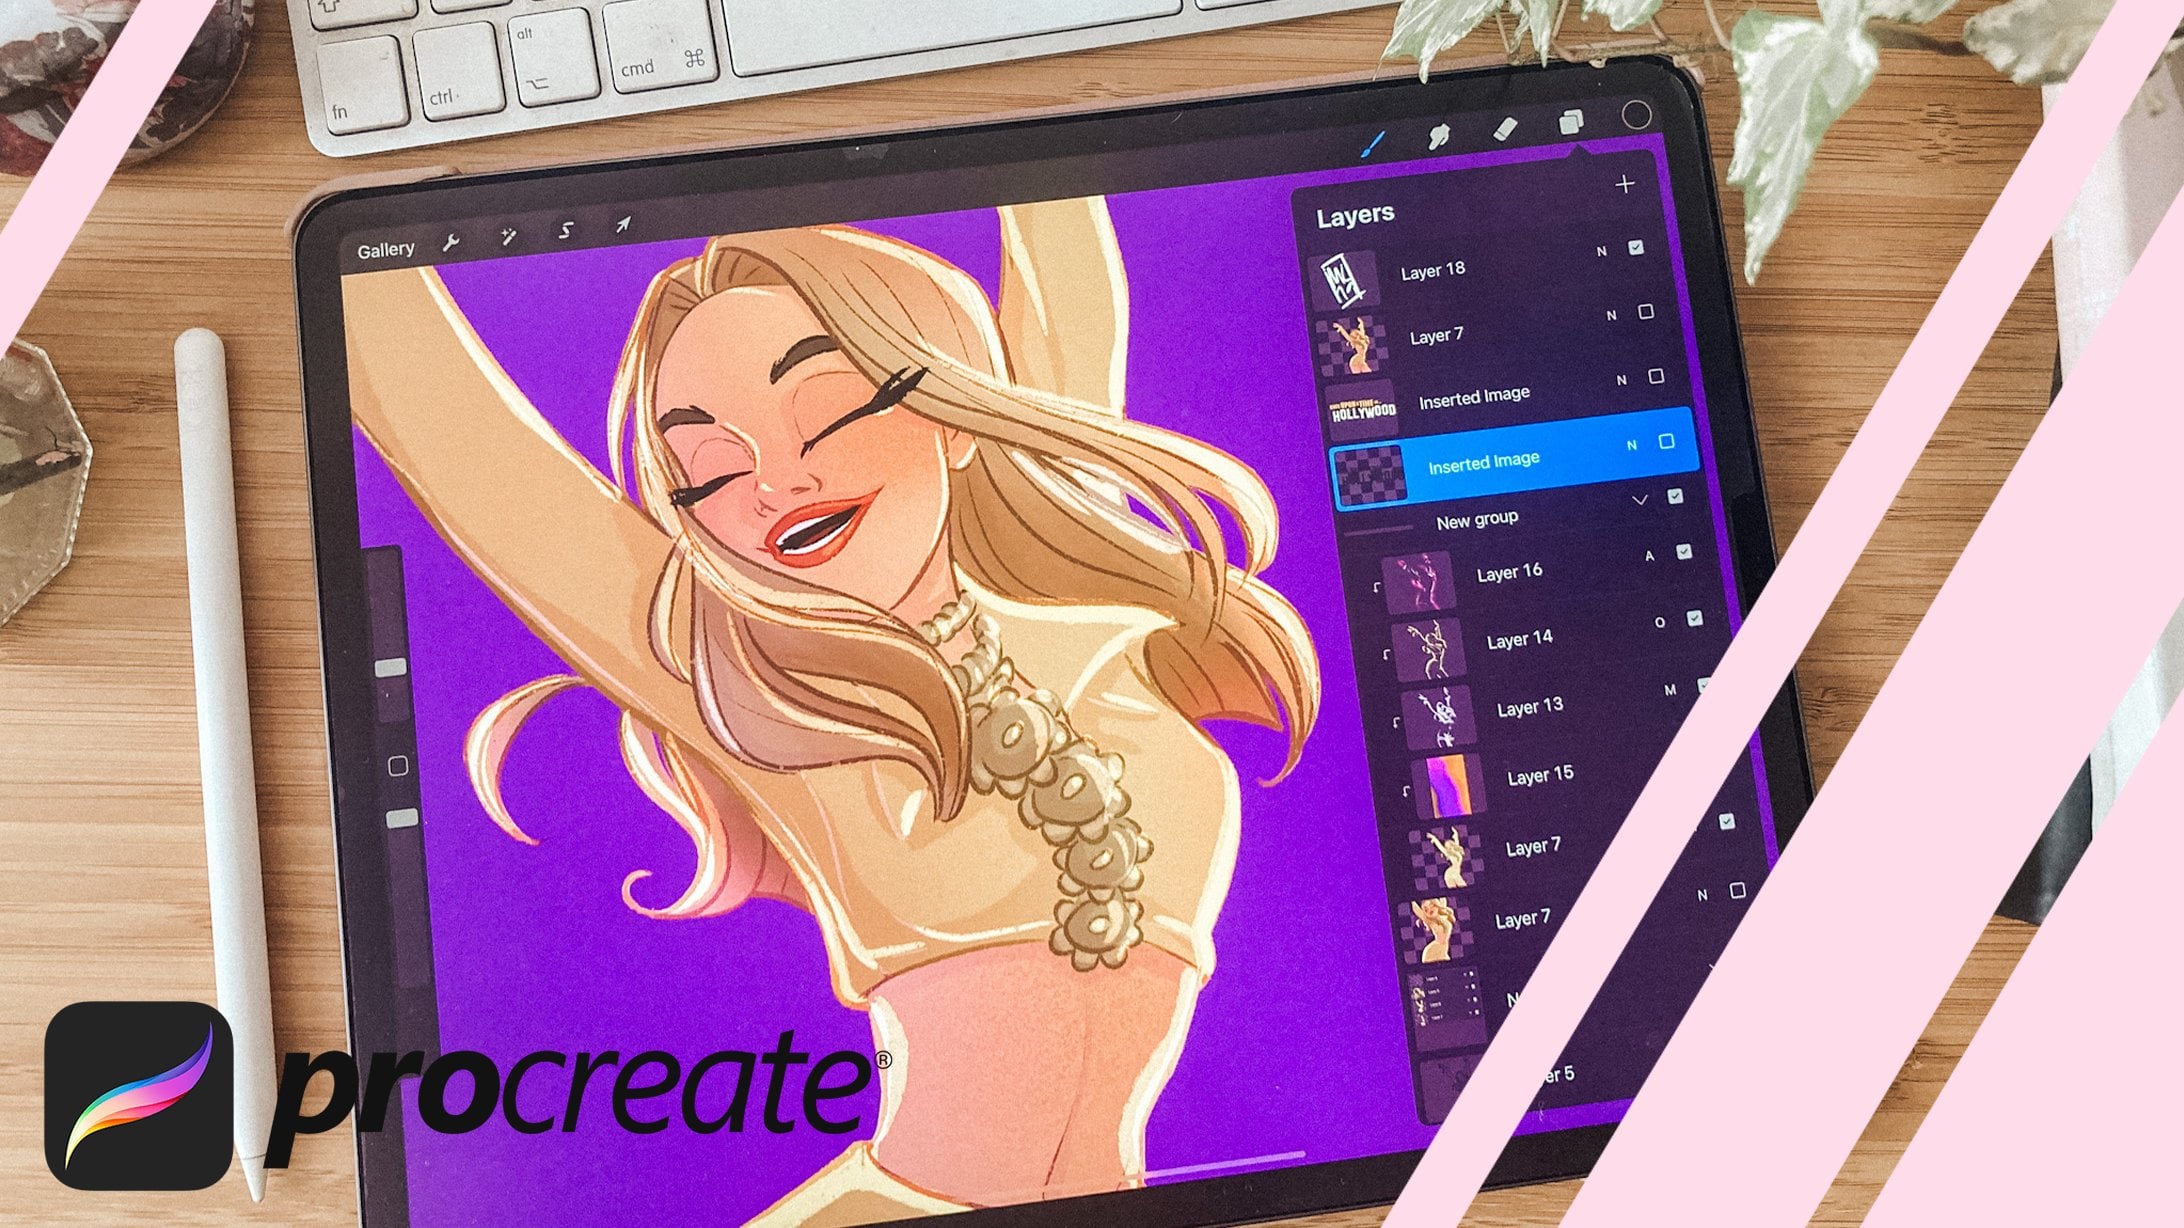
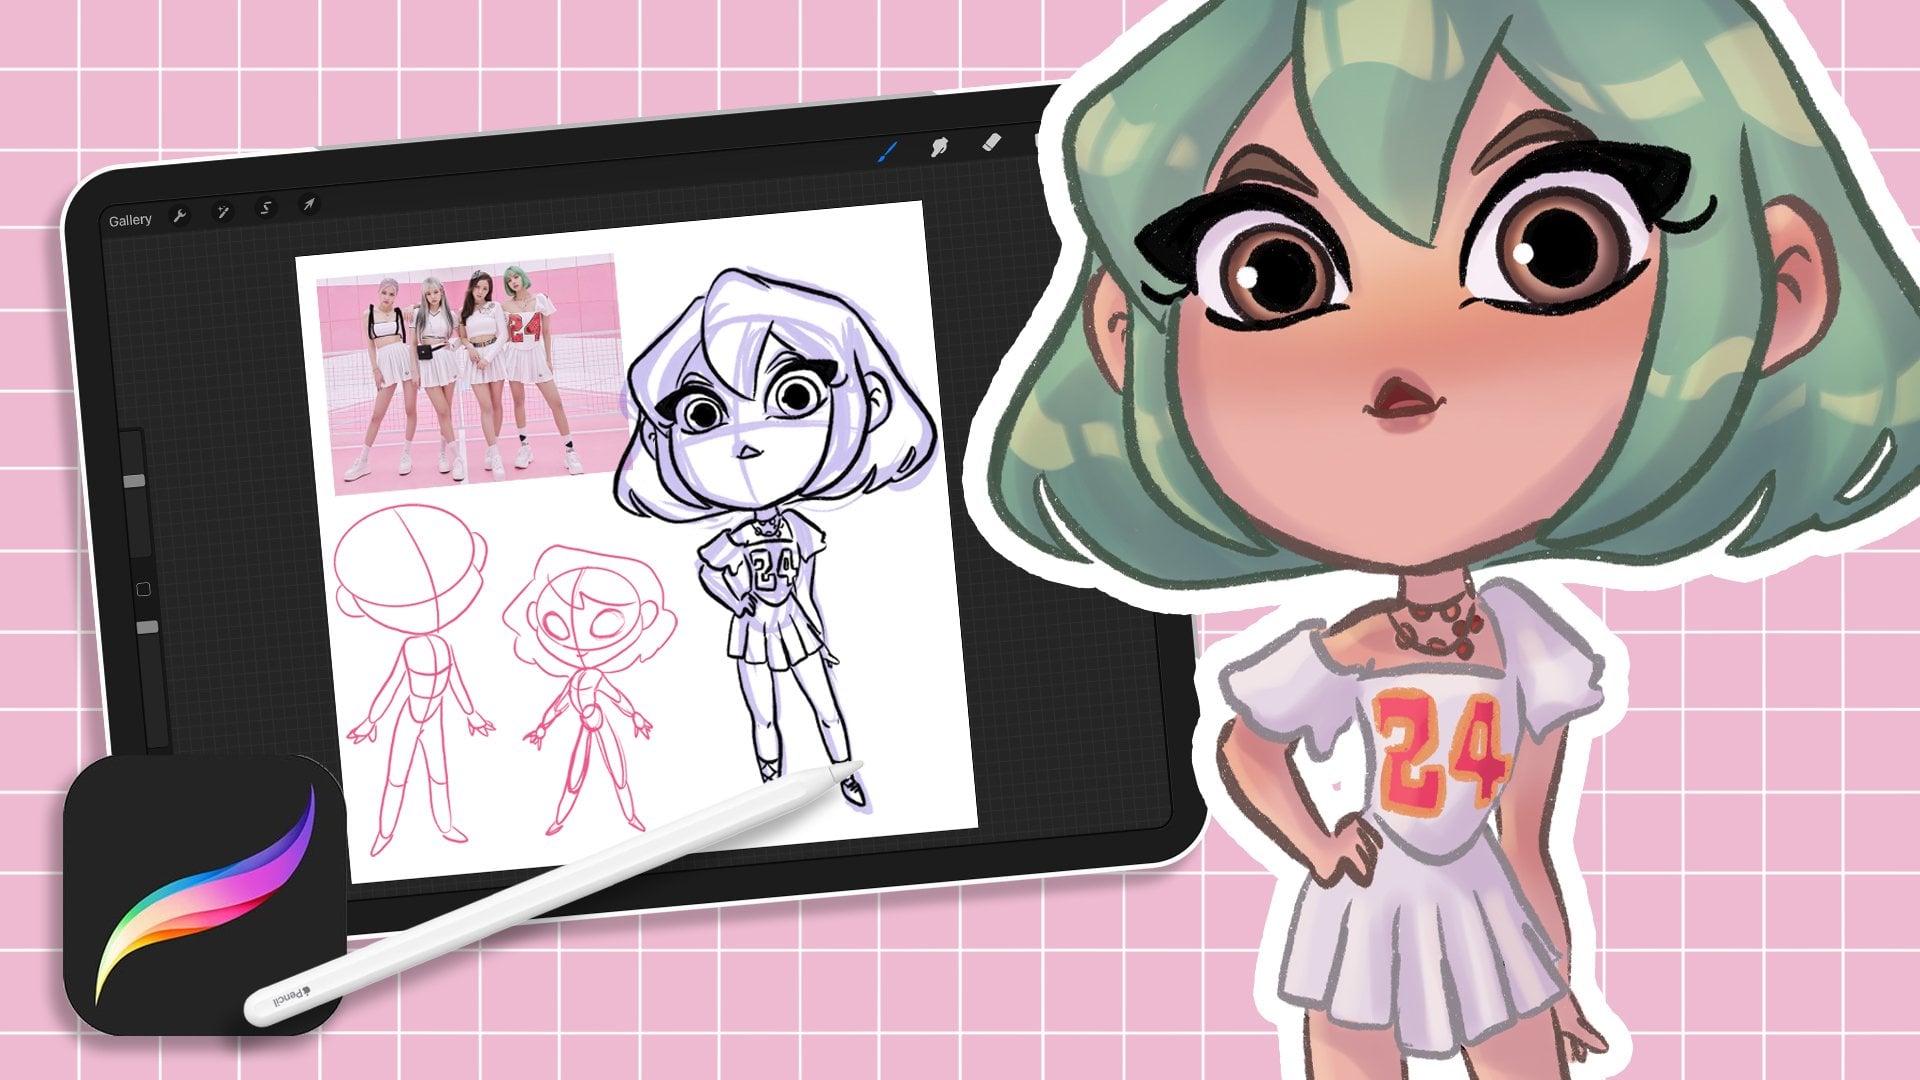
can do this one. I'm going to be using my
iPad using Procreate, but you can use Photoshop, or Affinity, or any free
digital drawing software, or even just do them by hand. Just do them traditionally, but I'm going to be
using Procreate. If you have Procreate, that's the best thing. If you want me to do this class
using different software, please do let me know in the
comments and I will provide. In this last, I'm going
to go through the basics of how to thumbnail and
plan the set of cards, which is the same
method that I use to thumbnail for children's books. Then we're going to move on to the digital part of the class. I'm going to show
you how to set up a canvas in Procreate
and how to use several different tools
in Procreate to make this process even
easier and faster. I'm going to show you how
to use the symmetry tool. I'm going to show you
how to create patterns, and I'm going to show you how
to create pattern brushes. It might sound difficult, but it's not, it's super easy. It's going to make creating these cards child's
play, literally. [LAUGHTER] It's
really at the end, I'm also going to talk a little bit about your printing options, the way that you can
print them at home, or some online services that I have tried in the
past and then I liked. I'm going to take you from
the very beginning of planning to printing
out your cards. You need no previous experience, just a sketch book, and an iPad, and Procreate. If you want to create a
beautiful gift that will hold your baby's attention and
boost their cognitive skills, press Play, and
let's get started.
2. Materials: Welcome back. In this video, I'm just quickly
going to catch up on the materials that
I'm going to be using, so as you can see here, I've got a few things. here I have a set
of cards that I've been using so far
which I'm going to replace with my own cards and these are just downloaded
from the internet. They are super simple and my child actually
really likes them, but I'm going to create
more personal sets, so I'm sure that they're
going to like them even more. Here I have my sketchbook. I have a pencil and a pen. I'm going to be using the sketchbook for
the planning part. You can still plan using the digital medium
that you're using, so appropriate for example. I like to sketch on a
physical sketchbook, but it's up to you. Finally, I have here my iPad. I'm going to be
using Pro Create, but again you could be using
Photoshop or Print app, Affinity, basically any
other software that is free. Pro Create actually has a
one-time download cost, so if better than other digital drawing software like other Photoshop that have a subscription for example. I would recommend downloading
Pro Create if you feel like you want to make
a drawing a regular thing, mostly because it's
quite cheap and it's in my opinion top of the line for visual drawing software
and apps on tablets, but again it's up to you. In Pro Create, I'm
going to be using just one brush
which is called the studio pen and it's one of the native brushes
of Pro Create, so no need to download any extra
packages, and of course, I'm going to be
teaching you how to create your own brushes so
that will also come in handy. That's it for
literally. These are the only two things that
we're going to be using. As I said before, if you would like to
learn this tutorial using a different digital
drawing program like for example
Photoshop or Affinity, please do let me know in the comments or in
the class board so that I can address it
and create a new video.
3. Why high-contrast cards work: Hi guys and welcome back. In this video, I just wanted to quickly touch upon the reasons why you would want to create a high-contrast
set of cards. As I mentioned before, when babies are born, their vision is really limited to about 20 centimeters
away from them. They can see basically nothing. As they grow older, as in days, weeks, and the first few months, their vision improves a little, but things are still
blurry and they can still see to a
very limited amount. What they can see best is
very contrasting colors. So black and white,
white and black, and contrasting colors like
red and green together, or yellow and blue together. Basically, complimentary
colors that are very different
from one another. Shades of the same color will
not be registered by them. If you couple this
with the fact that newborns have a very
short attention span, probably about five
minutes if you're lucky, then when you show
them a set of cards, they're probably
not going to care unless you make them very, very contrasting and very
simple in terms of shapes. The question would be, why would you be using
a set of cards anyway? Is it even important for their cognitive skills at this stage in their development? Well, of course, you can just wait until they're a bit older. But I found that using
a set of cards can actually help with a
series of other things. For example, I have
typed a couple of cards near my daughter's
changing station. I just take them
on the diaper bin [LAUGHTER] That means that
when I'm changing her, which is usually a bit of a tricky time because
sometimes she's in a good mood and sometimes she's just going to my
head off basically. She just turns and
looks at the cards on the diaper bin and she's
very attracted to them, so she forgets that I'm
changing her at that moment. Also, I'll be using
the cards when we do tummy time when we play
together on the floor to hold their attention to
help the exercise moving her neck because
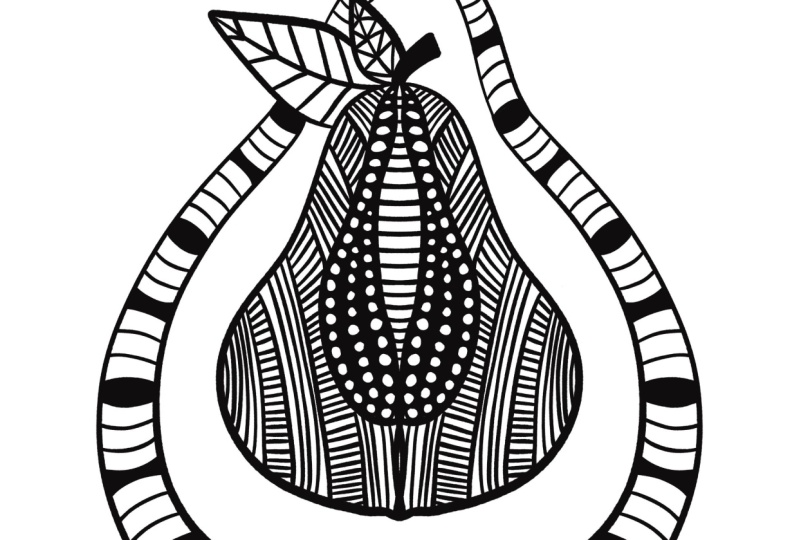
especially certain cards like for example, out of these ones, I think this one is one
of her favorites. Maybe because the two
circles look like eyes. So she's focusing on them more. But if I show it
to her and then I move the card sideways, sometimes not all the
time but sometimes, she will follow it with her head and that helps
her move her neck. You might know that getting a newborn to do anything
is very hard. You need to have some
incentive-based. Why does she need
to move her neck? Well, the better that she
can control her neck, the batter is going
to be for all of her motor skills and starting to develop
around movements. Using high-contrast
cards can help during moments where you need your baby can be a little bit distracting, can help during play, and can also help develop in cognitive skills in general
because it helps them focus on something and hold their attention on
something for maybe one minute, two minutes, three minutes. Even just that short amount for a baby, it's a
big achievement. High contrast cards
are super helpful. You don't need to work
in black and white. You can also use very
contrasting colors. But for the sake of this class, I'm actually going to work
with black and white. Also because that's the pairing that the Montessori method use, and I am trying to follow
Montessori a little bit. That's enough for theory. In the next video, we're going to start actually planning our set and getting
down to business.
4. Plan the set: When you want to plan
your set of cards, I usually do it by using
my traditional sketchbook. I feel like I can make more mistakes, if
you know what I mean. Usually I would prepare just very roughly some rectangles of roughly the shape
of the cards or the page that I'm going
to thumbnail for. When we talk about thumbnails, we mean really super
rough sketches. In this case, I want to
create three main cards, and the theme is
going to be family. One is going to be monkey, one is going to be a tree, and one is going to be a dog, because there is
this running joke in my family that I am
a little monkey, my partner is a tree because he's super
calm and grounded, and then we also
have a little dog. I'm going to have a big card, and these are going to
be my three main cards. You just really
roughly sketch out, I guess, this is a monkey. Looks something
more like a bear, but is going to be
more like a monkey when I am done with it, monkey with like some grass, and then I'm going to have the same design
repeated on both sides. Just on one side in the background is going
to be black on white and instead on the other side is going to be white on black. So where is going to be black, here is going to be white, etc. The two sides are
inverted to make sure that we try and give as
much contrast as possible. I would recommend to mark out the areas that you want to be black and the areas that
are going to be white, just so that there's enough of an alternance of black
and white in the card. Then we're going
to have the tree. Here on the tree perhaps
we can have one side with the moon and one
side with the sun, so that we can then have this area light and this area instead is going to be dark, given a lot of
contrast to the image. The trunk of the tree is going to be black on this
side and white on this side, and then here I'm going
to have some clouds, and here instead
there's going to be the stars are going to be white. Then we have the dog. Our dog has pointy ears. So it looks a bit like a cat,
but it's actually a dog. Our dog has a spot
of white here, but then the rest is black, and it also has a
little piggy tail. I'm going to have a little
cushion behind him, as if he's sitting
on a little rag, so that then there's
enough geometrical shapes. Maybe behind him
there's like a door, just so that you have, again, enough elements to have an alternance of black
and white areas. This can be black, this can be black, and this can be black. The most important
things when planning your main cards are to have the two sides
with enough elements, with enough detail,
and this needle should be geometric shapes. Have enough elements that contrast with each other
in your thumbnail, as rough as the thumbnails are, you can plan already where it's going to be black and where it's
going to be white. Also, make sure that your
shapes are simple enough, big enough so that
the newborn doesn't get too overwhelmed by
looking at all the detail. Really, it's like a toeing the line between too much
detail and not enough detail, so that you can have your newborn being interested in them, but not overwhelmed. Bear in mind that
newborns' attention span is probably like five
minutes, if you're lucky. You want to introduce these cards slowly
over several days. When you have your
three main cards, then you can develop
your secondary cards, like your companion
cards if you want. I'm saying like companion cards, because the way that I
use these cards is that I create little stories
when I show them to Yana. What I'm going to do is that I'm going to create two mini cards, half of the card layer, and these two mini cards
are actually going to be doubled up by the fact
that they can be inverted. So even if you create two
mini cards for each set, then actually you're going
to have four, eight, 12, 12 companion cards
for a total of 15. Which is actually a fair number. It's going to be already quite a lot of cards
that you can use. For each one of
these main cards, I'm going to create
two companion cards that relate to the
subject of the main card. For the monkey I'm
going to have bananas, and I'm going to have two big eyes with
glasses that look out, just because I wear
glasses, basically. Instead, for the tree, I'm going to have some
nuts and some leaves. Instead, for the dog, I'm going to have bones
and a path of footprints, like paw prints, basically, with some just geometric
design to the side. These elements are
going to be inverted, as I was saying, so for example, here the paws are black
on a white background, and instead, when I invert them, that's going to be white
paws on a black background. Cool. Now that I have
planned my elements, I can start actually
creating them on Procreate. Of course, you can plan
more than just 15. I think 15 again
is a fair number. I'm going to start on the actual creation of these cards by recreating
them digitally.
5. Set up the canvas in Procreate: In this video, I'm going
to start digitalizing my rough thumbnails using
Procreate on my iPad. First things first,
I actually need to create the card size, I was doing some tests earlier
on with my monkey card, and I just used the same
size as the iPad screen. But actually, if you
want to print this out, it's best to set up a Canvas
with some printing sizes. The big cards are going
to be in A4 format, which is a standard format
in Europe for a paper, so that you can easily print
it out at home as well, so you know it's going
to be this size, and then you just
flip it around. Instead, I'm going to create
a new Canvas size for A5, which is half of that A4
for the companion cards. The size is going to
be in millimeters, and the height needs to be
half the size of the A4. If the size is 297, it's going to be divided in
half, 148.5*210 millimeters. Here the width is 148.5
and the height is 210, 300 DPI to make sure
that you can print it out and we put on create. This is going to be
the size of the A5.
6. Draw the main card with the Symmetry Tool: Let's start with one
on the main cards. You could take a picture of these thumbnails and then
just import it in your iPad. Or you can just go
on the little wrench and go on Add, Take a photo. You can just take a photo of
the thumbnail. Use photo. This one, you can
put it to the side. By selecting Uniform, just make this a
little bit bigger, just so that it fits
the whole page. Then I usually turn the
opacity down a little bit. Since the image of the tree is basically
the same on both sides, we are going to be using
the symmetry tools. Create a new layer on top. Go on a little wrench again, Canvas, Drawing Guide, and then Edit Drawing Guide. Here you have different
drawing guides that you can use like 2D grid,
Isometric, Perspective. We're going to go on Symmetry. As you can see, there's
a little thing in the middle that you
can change the color of and the thickness so that you can see it
better and your opacity. Done. By the way, you can also have it not just symmetrical
on the two sides, but you can have
it with quadrants. I'm going to show you quickly. If you have the symmetry, you can have it vertical, horizontal, quadrant, or radial. For example here, if you have it
with the quadrant, it means that if you draw
something in one quadrant, it's going to be
repeated on all, an even easier method to make these cards and
repeat the design. Here you can see that this
layer has the symmetry on because it's free and
assisted underneath. In my case, I'm going to edit the drawing guide and
go Options, Vertical. Done. Then you need to pick
a brush that is going to be easy to control and
have a vector look to it. I usually go into the inking native
brushes and either use the Studio Pen or
the Technical Pen. You can adapt the Studio Pen. If you're not used
to drawing that much and you want to
have a steadier hand, you can toggle the amount of
streamline stabilization. If you can see here, if the amount is very low, then a really old bend
that you make is going to be recorded exactly
as you have drawn it. But instead, if the amount of streamline and
stabilization is higher, then look, the line
is getting changed. The algorithm of Procreate is going to make sure
that your line is modified as you draw
it to make sure that it looks smoother
than it actually is. Let's clear again. You can have very
geometrical shapes like this or you can have a
little bit more pictorial, following more closely to
the actual shape of a tree. It's up to you. I'm going
to go with somewhere in between pictorial
and geometrical. At the end of the day, don't
think too much about it. Your newborn is probably
not going to judge you on the basis of
your drawing skills. Make sure that your lines are all closing though,
because that's important. If the lines don't close, then there's going
to be a problem in the next part, this tutorial. Make sure that they
are all closing. Then you can create
another layer underneath for the background. I'm going to trace a
line in the middle for the separation of the
two halves that are going to be inverted. In this case, we don't want the layers to be
assisted because we're going to have the moon on one side and the
sun on the other. As you can see, I am using
a trick of Procreate, which is very useful. If you draw two
lines and then you keep pressing on the page, you can make your lines become more geometrical
and then move them around as if they were
vector lines basically. Going to make this a little
bit smaller because there was [inaudible] On this side, I'm going to add cloud and on
this side I'm going to add little dots that
are like the stars. Again, I'm going to
keep pressing on the page after I have
drawn my circle. This is going to make the
circles perfect circles. If I turn this off, I now have a very
clean looking line.
7. Colour the main card using Colour Fill: In order to color this quickly, we're going to
create a new layer underneath the main object. I'm going to turn this
into a reference. This means that if I
color on any other layer, it's going to color
inside these lines, so I'm going to
show you quickly. If I color here, it's sticking inside the line, and if instead I color in white, there you go, it's
colored the whole area. I need to add a little area
in the middle here so that on one side I'm going
to color first black then white then black, and inside here I'm
going to go white, white, and black. You can add stuff halfway
through it, it's okay. I'm going to add some
leaves just so that I have a little bit more
variance inside the shape, more detail to make it
interesting for a kid. Then I'm just going to color it. If you're tired of
always doing that, then click here
continue filling, and then if you just press inside the various shapes
is going to fill for you. Then we're going to create another layer underneath
the background. I'm now going to make the
background the reference layer. On this side, the
moon is going to be the white area and the stars, and instead on the other side, the sun is going to be the black area and
the little cloud. Here, the only issue
is that this side of the tree is getting
lost between these two. What I can do is that I can
go back to the layer here, toggle off the Drawing Assist, swipe two fingers, so that it's in Pixel lock, and recolor this
area of the tree. The outline here. I can just recolor it in white, so that I can actually
see the part of the tree. I'm just recolor
this part in white. As you can see, it took me probably 10 minutes
to do this card, to completely color it. This is how you can
create your main card. Just have the main
area of the card on one layer and then
the background on the other layer. That's it.
8. Create a tiled pattern for the companion cards: Now let's move on to one
of the secondary cards. I'm going to show you guys
two different methods to create patterns and make the secondary cards
really super easy to make. First thing, I'm going
to show you how to create a pattern and I'm going to use the leaves to
create this pattern. First, I'm going to again use the drawing guide symmetry to create the object that is going to be repeated
in the pattern. I'm drawing a very
simplified version of a leaf. There you go. I'm going to add a new layer, make this into a
reference layer so that I can recall inside its outlines, and then just color the
inside of the leaf. I could also just color for
example on one side here, on the other side
here like this. Just to add some more
color variance basically, then you can group
it and duplicate it. I always like to keep one group just for
back up basically, if you want to go in and reuse this shape
in a different way. Otherwise, then you can
flatten this and using the select and rescale tools
by keeping it uniform, I'm going to place it
to the side here and created a tile here, and then duplicate it here. Duplicate it here
and then again here. This is going to be our tile and you can then flatten
it all together. Then you can duplicate it and just place it again
roughly over there. Then duplicate the main tiles
and put it underneath here. Duplicate main tile
and go over there. Then there's only like you probably need to have
some underneath here. Always follow the
line over there. I feel like maybe here and here, we could have
another repetition. Just very small there
and then finally, on this side here I need to follow that over
there. There you go. In just a few moves, you have your full pattern. What you can do as
well is to create a stamp brush and just use that brush to go
all over the page. I'm going to show you
that in the next video.
9. Create a custom pattern brush: I'm going to show you
another way that you can create your patterns. I'm going to do it
for the bones card. It always starts with creating the object that you want to
have repeated on the card, especially if you don't want this card it to be
like a fixed pattern, but you want the bones to
be all scattered around. To create a brush, because first we need
to create the brush, you need to have a square. A standard square is, for example, 3,000
by 3,000 pixels. You can also just use the
standard square that comes with Procreate which I
think is 2,048 by 2,048. But I prefer to have it
a little bit bigger, so 3,000 by 3,000. I'm going to have
the Drawing Guide, Edit Drawing Guide, Symmetry, done, just so that you
have the bone as big as possible and as
straight as possible. You have it in the
middle here, like that. That is an approximation
of a bone, I feel. You can just keep it
as simple as this, just as big as possible. Just fit it in the page. Or you can have it colored
as well. There you go. It's really up to you. I would probably go
with the outline. At this point, what you
need to do is to go into the layer with the bone, double swipe and re-color
this in white, Fill Layer. If you turn off the
background color, you can see the
outline in white. There's a complicated
explanation, but take it from me when I
say it needs to be white for it to be visible when
you create the brush. You go into the
little branch again, Add and Copy canvas. Then you go into the brushes. You can create a new
category for your brushes. For example, here I
have my custom brushes and then go into the plus, and that allows you to
create a new brush. You go into the Shape, and in terms of the shape, you go into Edit Shape, Shape Editor, Import,
and then Paste. You paste in the Canvas
that you have drawn. Done. Now, of course, it looks like there's a
ton of bumps in the line. But actually, what you
need to do is to go into Properties and go into
Use stamp preview. There you go. This is the stamp. If you go into the Spacing, with no spacing, you're
going to have this. But if you have the
spacing at the maximum, then you can easily
stamp around, and when you draw it's
going to be each bone, it's going to have some space between one
bone and the next. Then you go into the Scatter. As you can see, when you draw, it's going to scatter
the direction of the bones as much as possible. If you only touch once, then you stamp just one bone, and if you just go around, it will have the bones
all scattered around in different
rotations basically. You can see you can enhance
the different rotations. The maximum size can
be augmented here. I'm probably going to have to increase the size on the page. If you increase the maximum
size and the minimum size, it will make your brush bigger, basically, which is what I want. Done. Then I go back into
my bones page, go on black. I don't want the
drawing guide anymore. I'm going to go around the page. To avoid the bones
to touch each other, you can just stamp them. Then you can create a new layer. Go into Reference, and on that layer, you can just continue
filling and you can just color inside all these bones. Then you can just, these two, mix them together and then
maybe make it a little bit bigger so that it covers
all the page. Layer.
10. Double up your set with the Invert Tool: Now that you have
these two methods to create your companion cards, what you can do is that you
can double up the amount of cards that you have by
simply inverting them, so, for example, here, I'm going to duplicate these leaves. I'm going to go to
Leaves Inverted. You're going to have to export. Just save image in your
camera always fine. Then you're going
to insert a photo, there you go, and then tap
on the Layer and go Invert. As you can see now, you have white leaves on a
black background. As you can see, you
have two cards. Super easy, took you 30 seconds. You can have the
double the amount of the cards that you thought
you're going to have.
11. Printing options: Hey guys, and welcome back. Now that we have all of
our cards, the main cards, the secondary companion cards, and we're basically
ready to print them off. What are our options? I think I'm going to be
printing mine at home using just a simple
printer basically. You might want to buy
so that if thicker card just so that it's not as then the wall is normal
printing paper is, so I'm talking something
around 250, 300. And once you have your
cards printed out, you can even laminate
them if you have a laminating machine hand
if you don't have one, it might be a good idea
to buy one just because I feel like with
kids in the house, laminating paper is
probably a good idea, it will definitely last
longer [LAUGHTER]. These types of cards that I
printed off the Internet, I printed them on this
slightly heavier paper. I printed them out probably
like six weeks ago when my child was a week old
and they're still intact. It's true that my child at
the moment cannot grab or basically just hold
anything in their hands because she's seven weeks old. If she were a toddler
and these are really be destroyed quite quickly. You can also have them
printed out for you with several online
services or just by going in a printing
shop in your area. If you go somewhere local, of course, that's better
for the environment, and you can just export
your files from Procreate, you can export them as JPEGS
or you can export them as a PDF and just have all of the cards
together in one PDF. Otherwise, you can use
some online services. I usually use a website that
is called the Sampling. It's a website that is
economy based, Europe based. I found that their prices are very competitive and
they are very good with deliveries so that
would be a good idea. Or there is another website
that I think is the UK, which is called Visaprint, and they also have
pretty good race. Otherwise, what you
can do as well is that you can take the
cards that you've made and collect them all together and actually
make a book out of it. One thing that might be
nice is to make one of those cloth looks like the software books that kids can actually
put in their mouth, and that's a whole
other process. If you would like me to try and make a softbook which is something that I actually
really wanted to do, please do, let me know
and I shall provide. But otherwise you
can just export all of your cards as JPEGS and upload them on some websites that can make books
for you on the month. So you don't need to
print a million books, you can just print just one
copy or a couple copies. Maybe you want to
gift the same book, not just to your kid but to some of your
friend's kids as well, so maybe you can make
five or 10 copies. There's some websites
that I looked up. There's a website called Bookbaby Children's
Books Printing Services. The only problem
is that they only do a minimum of 24 pages. There's another one
called PrintNinja.com that can help you printing
your own custom book. There's children's books
printing in the UK, and children's book
printing in the USA. Usually what you have to do
in this websites is that you need to take your JPEGS and fit them to the templates
that they offer you and then they'll
print it for you and ship it to your home. You can use them as
cards or you can collect them together and
use them for a book. I personally like the
cards because I'm going yo interested plaster
the house with them they double up as a tool for
playing and also as just like a nice thing to have
around and something that the child can look at and
they can actually recognize. So I prefer the cards.
12. Wrap-up: Hey guys, and welcome to the
last video in this class. First and foremost, I hope
that you enjoyed the class, that it was everything
you expected, and that it wasn't too hard especially if
you're a beginner. Because my claim was
that you could take his class with no
previous experience. I do think that you can
really do it without any experience as
an artist or even as someone who has drawn
in the past few years. But please do let me know if
you could leave a review or just post your comments on
the class conversation board. That would really, really
help me as well as if you want to share the
class with your friends, if you think that they would
find it useful, again, that would really be super helpful and you have my thanks. Don't forget to document your progress in the
class project section. I would like to see how you get on and give you some
feedback as well as your fellow students can also [LAUGHTER] give
you feedback and also have a look around the projects and try and give
feedback yourself. It's nice that we
can all look at each other's work and grow
together so let's do it. If you finish your
project and printed out your cards and are
having a great time with your newborn or if
your newborn is looking at the cards and
being entertained by them, don't hesitate to take a picture and post it on
your social media accounts and tag me as well or just write to me and
DM on social media. These are my social
media handles. I always like to keep a post, re-share, and in
general basically connect with you guys
over social media. If you have any suggestions for future classes or you like any of the potential classes that I mentioned before,
like for example, how to make a soft
book for newborns, or how to make a novelty, which is also something really useful to do for your baby, please do let me know and write your suggestions on the
class conversation board. Also if you want me to go
back to classes that are more about procreate and art in
general or social media, please do let me know as well. Basically, I just want
to hear from you, so don't be a
stranger. Bye, guys.
 Maria Lia Malandrino, Story / Illustration / Animation