Art Class for Kids: How to Draw & Watercolor Paint a Little Hoot Owl Painting Project Step-By-Step!
 Em Winn, Teacher, Art Instructor, Artist
Watch this class and thousands more
Watch this class and thousands more
Lessons in This Class
-
-
1.
Introduction and Supplies You Will Need
1:13
-
2.
Step 1: Draw an Owl Design
7:00
-
3.
Step 2: Paint the Design
3:03
-
4.
Step 3: Paint the Background
1:51
-
-
- --
- Beginner level
- Intermediate level
- Advanced level
- All levels
Community Generated
The level is determined by a majority opinion of students who have reviewed this class. The teacher's recommendation is shown until at least 5 student responses are collected.
78
Students
1
Project
About This Class
Are you looking for a fun and unique watercolor painting project for your child?
Are you searching for an art project that will ensure artistic success and confidence?
Would you like an experienced art teacher guiding your child through the creative process?
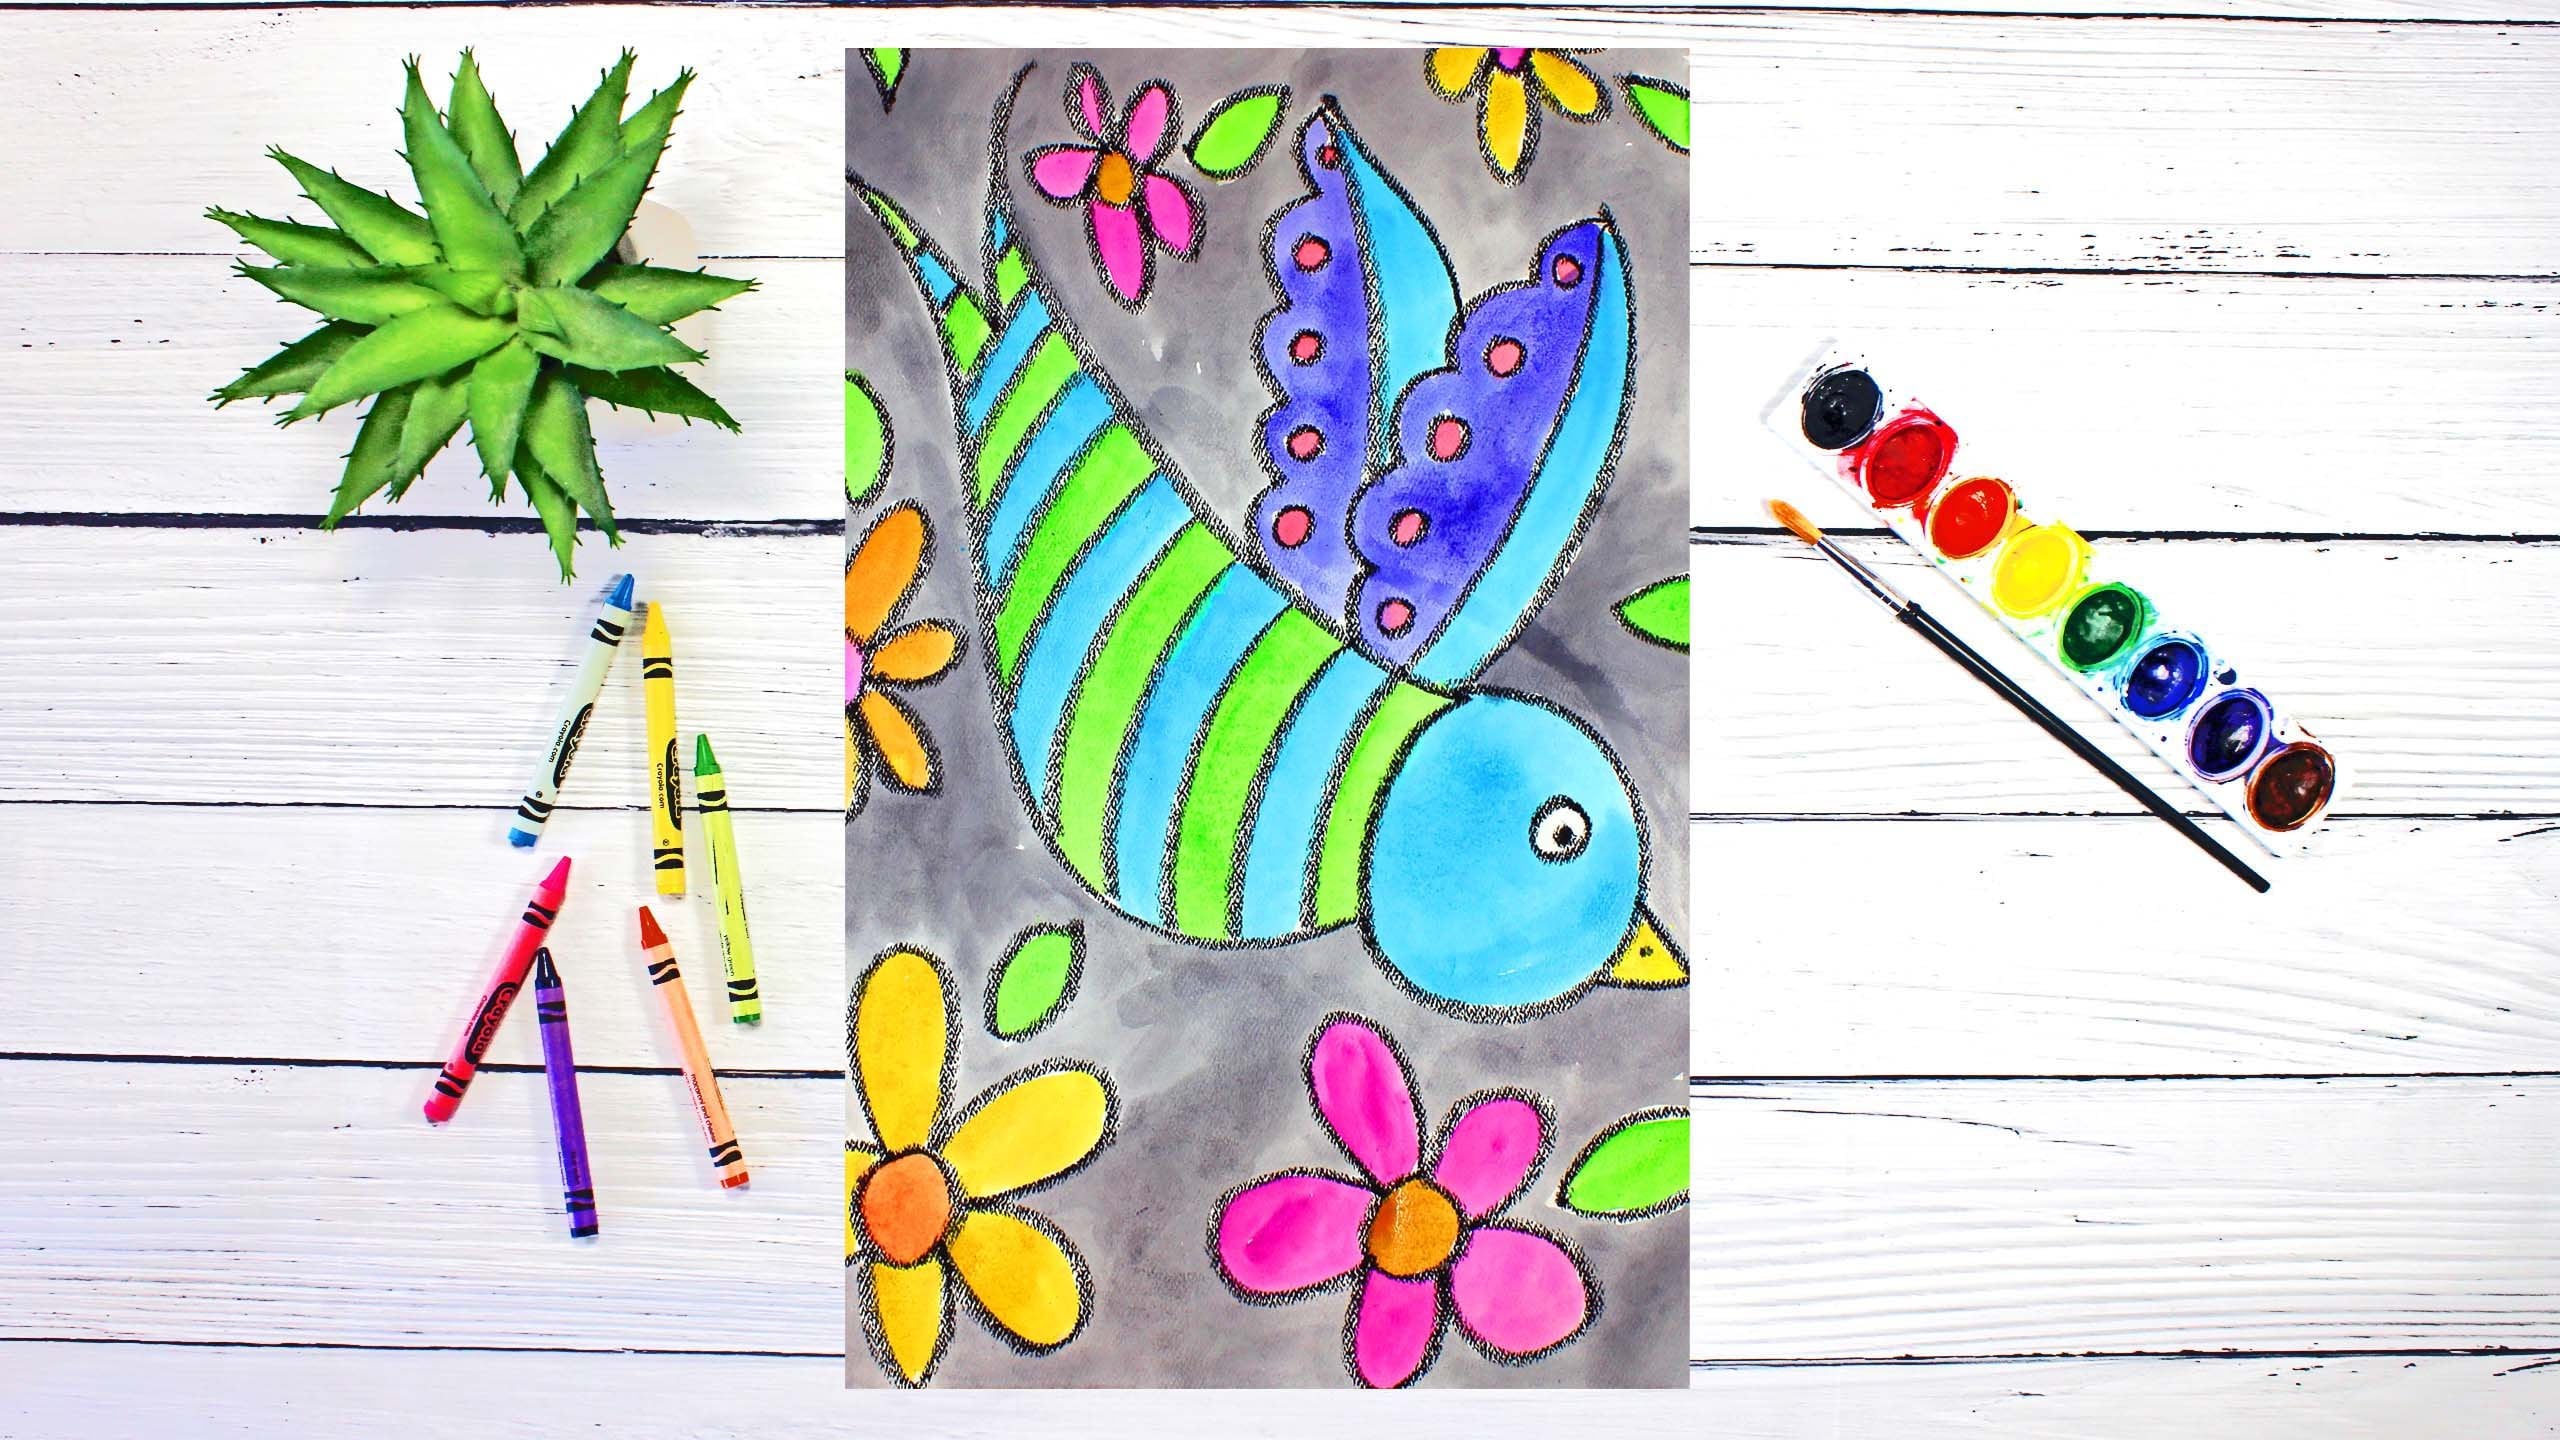
This Hoot Owl drawing and watercolor painting project may be just what you are looking for! Designed with beginners in mind, this project is perfect for first-time painters and children ages 5+. By following along with me, step-by-step, the beginner artist will learn the skills to create masterpieces of their own long after the project is complete.
There are two steps in this art project:
- Step 1: Draw and Outline a Hoot Owl Design
- Step 2: Paint the Design with Watercolor Paints
The process used to teach this project is a step-by-step method that will inspire and delight the beginner artist into drawing and painting action! This process involves observing, following instructions, and creating until the student is happy with the outcome.
Students will learn basic drawing and watercolor painting techniques and apply these techniques to complete this project. This Hoot Owl drawing and painting project is designed to give beginners the skills they need to begin their artistic journey into self-expression, reflection, and creative thinking.
Supplies and materials needed for this project:
- Watercolor Paint Set
- Watercolor Paper
- Paint Brush
- Crayons or Oil Pastels (Black and Yellow)
- paper towels
- bowl of water
- mat to protect work area
Let the creative fun begin!
Meet Your Teacher

Hi. My name is Em Winn and teaching art to children is what I love to do! I pride myself on creating dynamic, meaningful, and engaging art lessons that are taught in a relaxing and joyful way. I have over 20 years teaching experience in the elementary classroom and in the art studio, and I feel that I have a good grasp on how to create a learning environment that makes children feel happy, motivated, confident, and successful. Let the creative fun begin!
See full profileHands-on Class Project
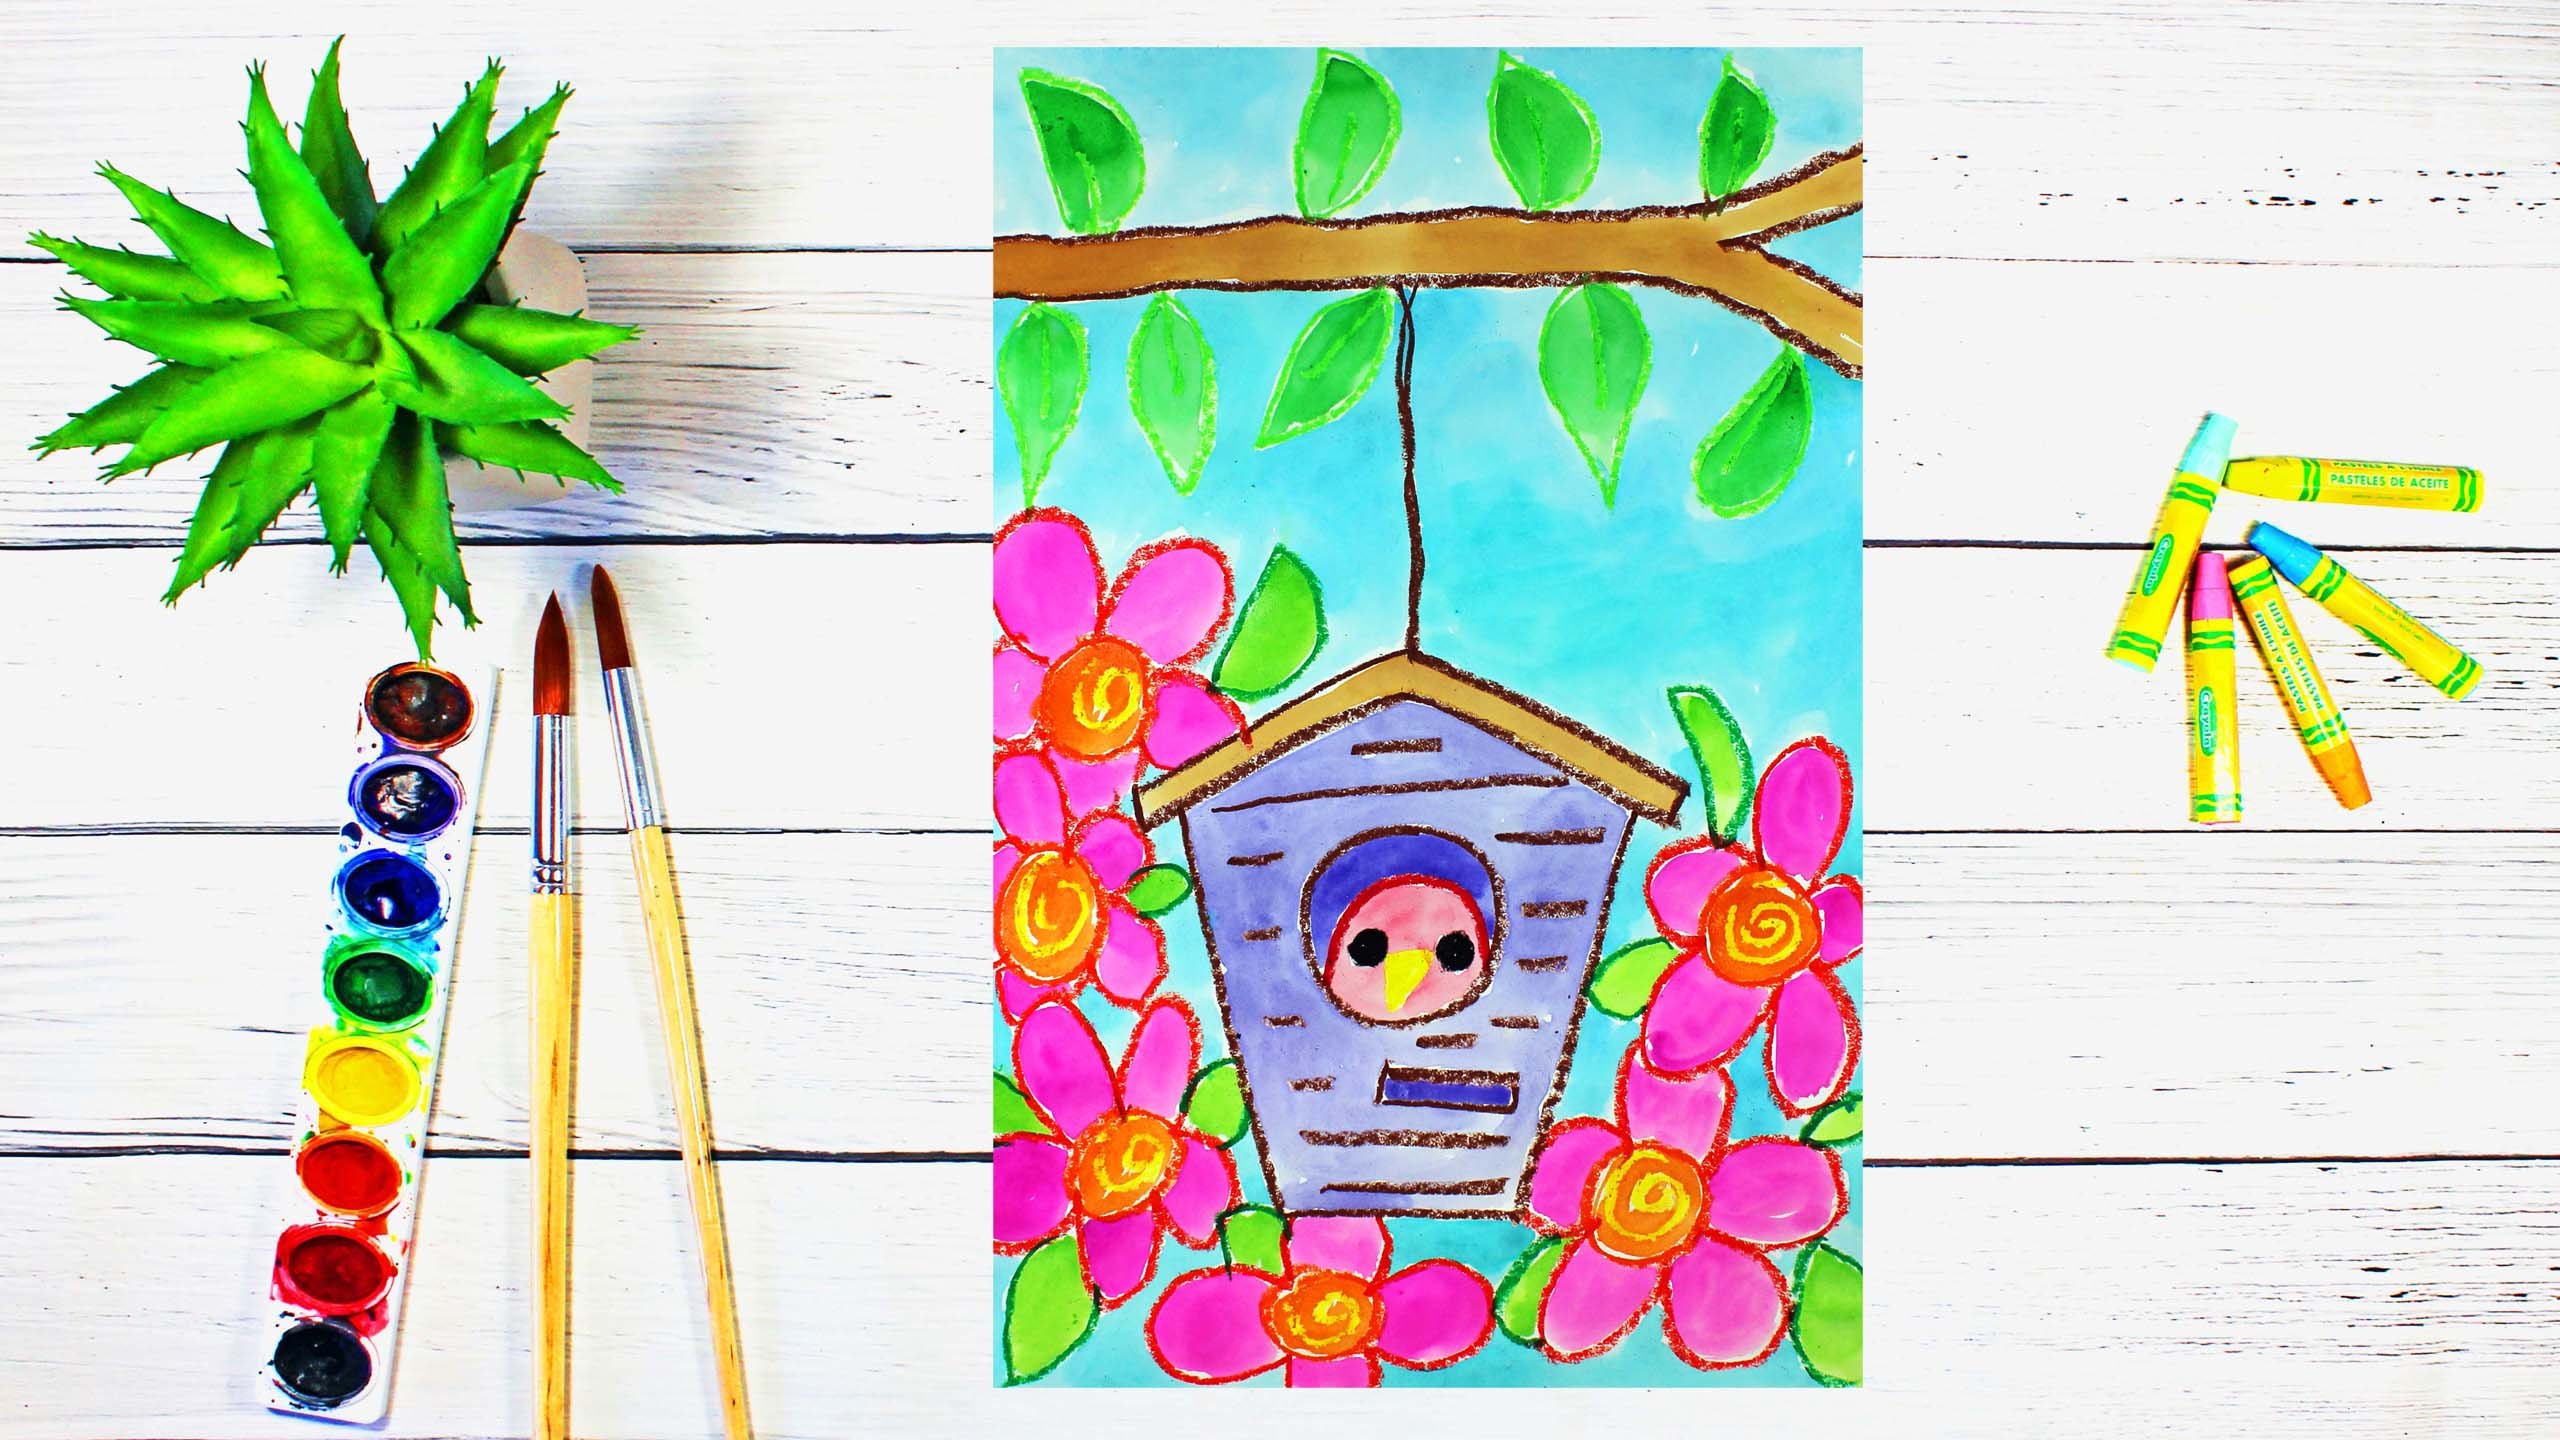
Are You Ready to Create a Hoot Owl Painting?
Assignment:
Your class project is to create a Hoot Owl painting! Follow along with me, step-by-step, as I guide you through the drawing and painting process. I encourage you to add your own details to your artwork!
Supplies and Materials Needed for This Project:
- Watercolor Paper
- Watercolor Paints
- Paint Brush
- Crayons or Oil Pastels (Black and Yellow)
- Paper Towel
- Bowl of Water
- Mat to Protect Work Area
Steps to Create a Hoot Owl Painting:
- Draw the Design
- Apply Watercolor Paint to the Design
Sharing Your Work:
After completing your project, please share it with the class! Simply upload photos of your project into the "Your Project" section.
If you have questions or need additional suggestions about this project, please let me know. I am here to help :)
Here is an example of a Hoot Owl painting from my class:


Class Ratings
Why Join Skillshare?
Take award-winning Skillshare Original Classes
Each class has short lessons, hands-on projects
Your membership supports Skillshare teachers
Learn From Anywhere
Take classes on the go with the Skillshare app. Stream or download to watch on the plane, the subway, or wherever you learn best.