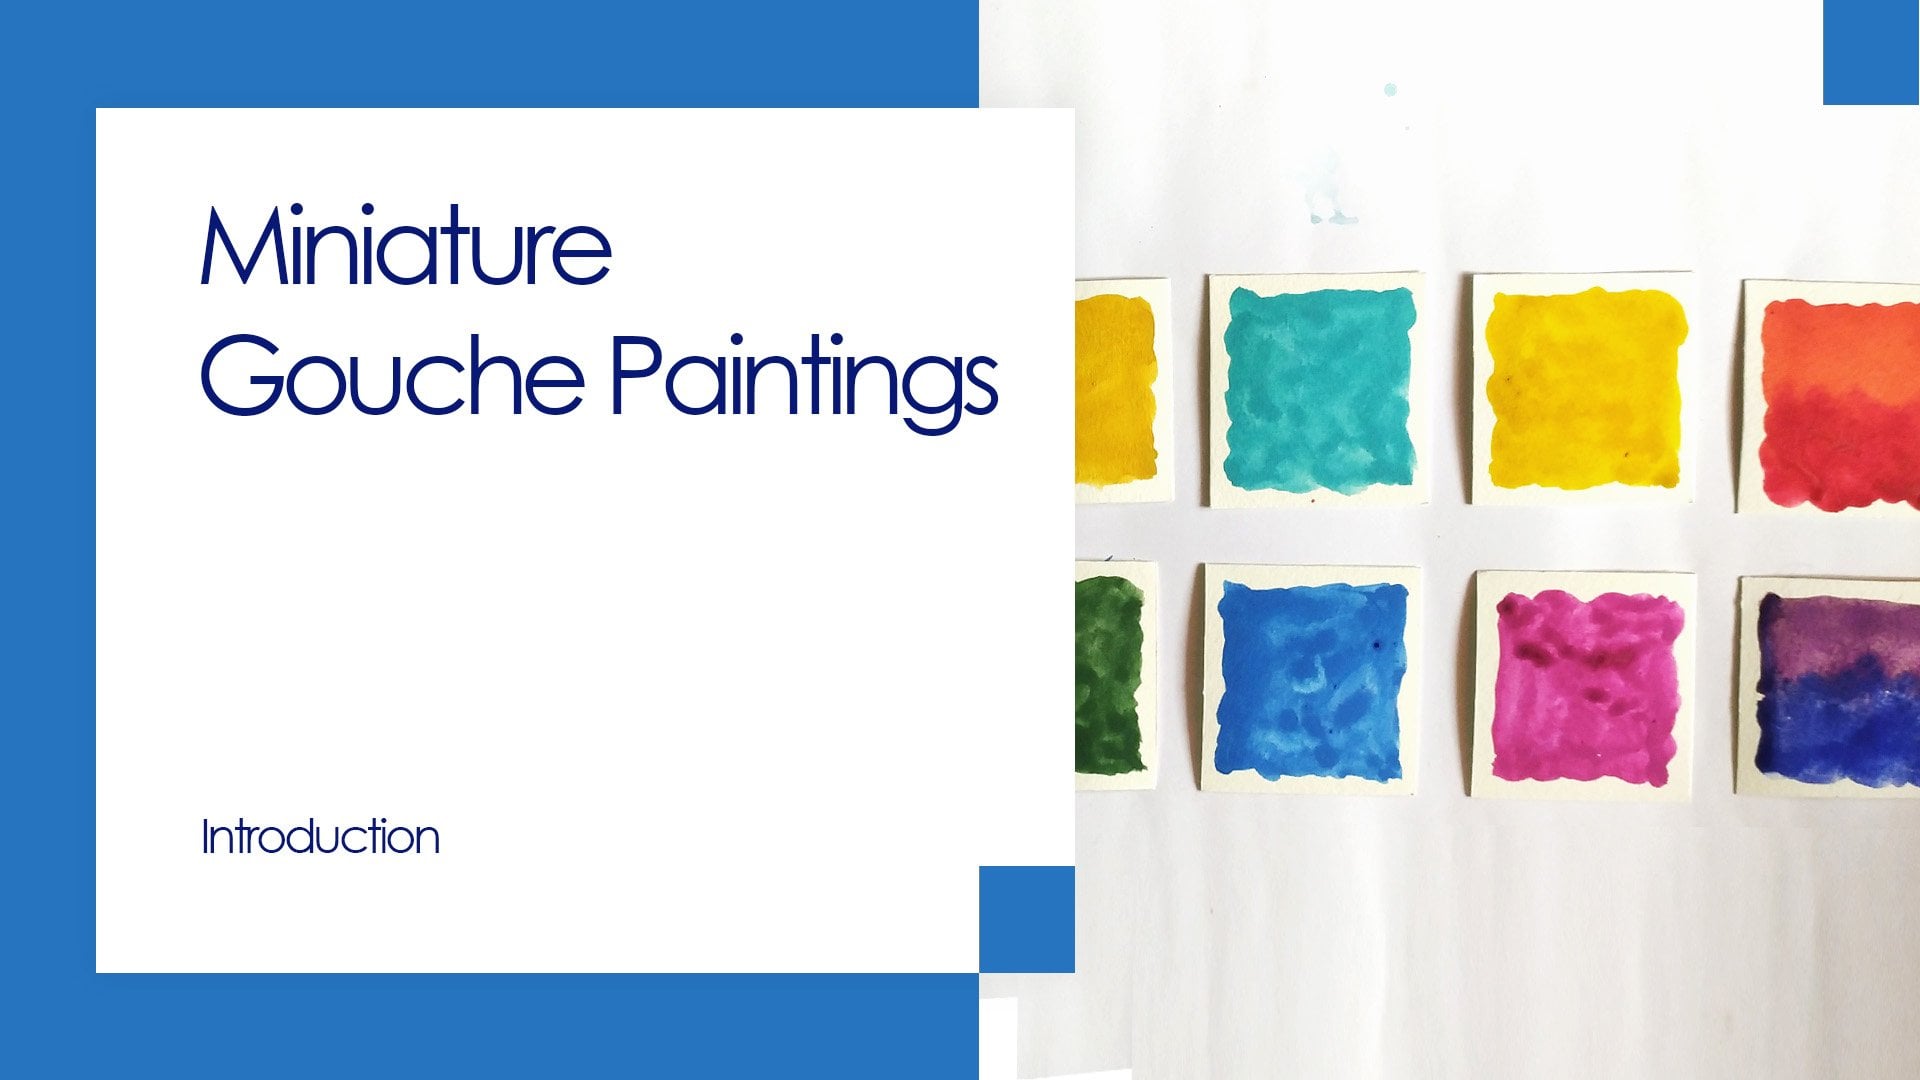
Transcripts
1. Introduction: When I was a child, I wanted to be an ornithologist. Last spring, I started painting birds I saw during my walks and my hikes. I was focusing on birds I was seeing for the first time. If like me, you want to channel your passion for nature in your creations, join me in this class. My name is Valerie Mercier, I'm an artist and educator from Ottawa, Canada. I've been teaching art and art history to people of all ages in classrooms and art galleries, including the National Gallery of Canada. This class is for anyone who likes nature and likes to paint. If you're looking to develop your ease with gouache, this class is for you. I will show you how to make a sketch and transfer it onto mixed media paper. How to mix your paint, creep textures and layers, and an imitation of feathers. Like if you were bird watching, you will develop your sense of observation and you'll build the color palette that is accurate to the bird you want to paint. But it wouldn't be a class with me if there wasn't a little bit of art history. Nature has been a muse to artists since time immemorial. That means I will show you a few artists who decided to make bird their main subject matter. If you feel inspired and you're ready to start, join me in this class.
2. Project Overview: Welcome to the class. Today, you can follow along. I will show you how to paint a black-capped chickadee. You can choose whatever bird you like. But I choose this bird for two reasons. The first one, it's widespread throughout North America, so there's a big chance you might already know this bird. The second reason, it's because it has white, brown, and black feathers that gives you a chance to learn how to make textures and feathers in paints of many colors. This class is divided in a few chapters. First thing, we're going to get inspired and learn a little bit more about some artists in history who made birds their main subject matter. After that, it's going to be all about sketching, tracing, and transferring your bird onto your mixed media paper. Then I will show you how to make your color palette and we'll practice some little exercise that will help you learn more about textures and making feathers in gouache. Lastly, we're going to apply everything that we've learned today and make our own bird together out of gouache. Before we start the class, I want to tell you more about the material you're going to need. The first thing you're going to need is a palette. I personally like a ceramic or enamel palette because when you put paint in it and you let it dry, it won't chip. So there's a way you can just leave your paint there, reactivate it the day after with a little bit of water, and it's going to work out great. But if you have a plastic palette, that is fine too. I choose this Strathmore 400 mixed media paper, it's a nice thick paper on which you can paint with many different medias like pastels, pencils, but you can also go with gouache. I like to use a toned paper. In this case, I'm using a blue paper because the gouache is opaque, so even the lighter tones like white or beige or gray will really show up and be bright and pop on a paper that is tone. You can go with a dark paper like a black toned paper or something like gray, beige. I go for blue this time. Today you're going to need some water-soluble gouache. We are not going to be using acrylic gouache for this project, so get something that is water-soluble. You're going to need some tape. You're going to need at least a pencil to draw, to sketch with. I have this little thing here. Works very fine. You're going to need either carbon paper or a pencil that has a darker graphite in it. I've been using these graphite sticks, that's going to be for transferring your image onto the mixed media cardboard later. You're going to need a few brushes. If you only have a few brushes to pick, pick at least a number six or eight round brush. I use these ones. They are either for watercolor and mixed media. The work perfectly fine for this project. You're going to need a zero, at least or a double zero, little tiniest little brush you can find. That's the brush you want to use. This is going to be helpful for all the feather texture, little details you're going to put in your bird later in the final touches. If you want a few more brushes with you around for this project, I would recommend having something may be larger with a stiffer hair on your brush and something that has a bit more of a rounder edge. This is good for steepling when we do a bit more textures in the final details at the end. But if you don't have it, it's not the end of the world. Another good brush to have is a small, I think this is a number two square brush, so it's very small and the fact that it's square allows you to put very straight lines. But like I said, this one is optional if you have either a number six or eight round with a pointy tip and a double zero or a zero brush like this, you're good to go. If you want more details about the material I use for this class, check out the resources of the class. There is a document that gives you a list of materials.
3. Birds in Art: Many artists in art history have been fascinated with the natural world, so today I will show you a few artists who made bird their main subject matter. The first one you might have heard of, Jean-Jacques Audubon was born in Haiti on his father's sugar plantation. He was the illegitimate son of Lieutenant Jacques Audubon, a French naval officer and his mistress, Jeanne Rabine, a French chambermaid. In 1791, he left Haiti for France. In 1803, his father obtained a false passport so that Audubon could go to the United States to avoid conscription in the Napoleonic Wars. He changed his name to an anglicized form, John James Audubon, and arrived in the United States at 18 years old. John James Audubon was obsessed with birds since a young age, and was actually a self-thought artist. His desire to depict birds as he saw them flying, perching, feeding their youngs in their natural habitat, made his art standout. He traveled through the United States and Canada, studying and hunting birds. In order to accurately draw their proportion, he used a grid-like system to which birds were wired onto. In doing so, he created a precedent where no artist could go back to the tradition of painting taxidermied specimen in museums. Audubon's motivation were both scientific and artistic. These two values were indivisible. All at once, he captured the personality of the birds, created remarkable composition, and highlighted the uniqueness of each species. A little bit later in life, Audubon wanted to transform his passion into commercial work, so he ventured on an ambitious endeavor. He would try to paint every species of bird in North America and to publish each bird in its natural size, from gold finches to flamingos. This ambitious project brought him to travel to England to find a paper maker willing to produce such work. In 1827, The Birds of America began to appear, produced on paper measuring close to 30 by 40 inches in size. No one had seen anything like this before. The birds were life-size, their poses where lively, their colors vivid. Because of the complexity of the work and the cost of production, The Birds of America was sold by subscription and produced over many years. With The Birds of America, John James Audubon contributed both artistically and scientifically to the field of ornithology. This book comprised of 435 prints and seven volume was completely unprecedented. With this next artist, we're going to fast forward a little bit in time, and we're going to travel to the other side of the world.
4. Sketch, Trace, Transfer: It's now time to sketch, trace, and transfer your drawing onto your mixed media paper. For me, sketching is a really fun part of the process. It's all about taking the time and observing all the little details in the bird. I think the most important part is to simply get the proportions of your bird right or somewhat accurate. I understand how sketching a bird can be a little bit challenging, especially if you don't sketch every day. I think it's okay if you print your reference image and trace it or use a light source like an iPad and put your paper on it to trace the proportions to have accurate proportions. Sketching allows you to get the proportion of the bird right, but it's also a way to almost note on paper where is going to land darker shades and where you have an important texture. That's mostly what I'm doing here. I'm either putting little cross hatches or texture mark that will help me and guide me when I'll be painting later. When it comes to tracing, I use a graphite stick and I'm going to apply it at the back of my sketch. This is going to create a layer of graphite, and my sketch also becomes a carbon paper in a way. But nothing stop you from using a carbon paper if you prefer that. I do this little trick of applying the tape first to my sweater before applying it onto my mixed media paper just because I don't want to rip the paper when I'm removing my sketch. The table help you secure your sketch in place so it doesn't move as you trace it down onto the mixed media paper. All I have to do is apply my sketch on the mixed media paper and simply go back and retrace the lines. After all, this sketch is there to guide us and to help us know where to put the different colors when we start applying the paint. You have sketched, traced, and transferred your bird onto mixed media paper. Now it's time for a little practice run before we paint our bird.
5. Learn to Layer Gouache: I'm going to show you a few techniques that you will be applying later on when you paint your bird. The first little thing I want to show you is how to create a gradient between two contrasting colors in gouache. Gouache dries quickly. You want to do this while your paint is freshly applied onto the cardboard. All you have to do to create a gradient, is to apply two contrasting colors together quite close, and to simply blend them gently with your brush, by brushing up and down, or left to right with your brush. When I create a gradient, I often clean my brush in the paper towel to make sure I don't have too much paint on the surface, and to control the blending a little bit more easily. Gouache has the quality of being opaque, which means it's very easy to layer a color onto another. All you have to do is make sure that the first layer is completely dry before you add another color on top. It's possible to make little details in white on top of a black background when you are doing finishing touches. Blending can be done in many ways. Try to experiment, of course, you can go in and up and down motion or left to right motion. But try to see if you can blend by dabbing little dots of colors together, or by creating a cross hatching motion onto the paper. The result of your gradient might look different and will create more texture. Another good thing to try is to get to know the different brushes you have on hand. I like to test the capacity of a brush by practicing with it, seeing if it can create really thick or really thin lines. Practice makes perfect. The best thing to do is to practice these little gradients and these little brushstrokes, until you're very comfortable with them before you start your bird. If you took the time to cover your sheet with many practice brushstrokes, ingredients, and textures, follow me in the next chapter, I'm going to show you how to make the color palette for your bird.
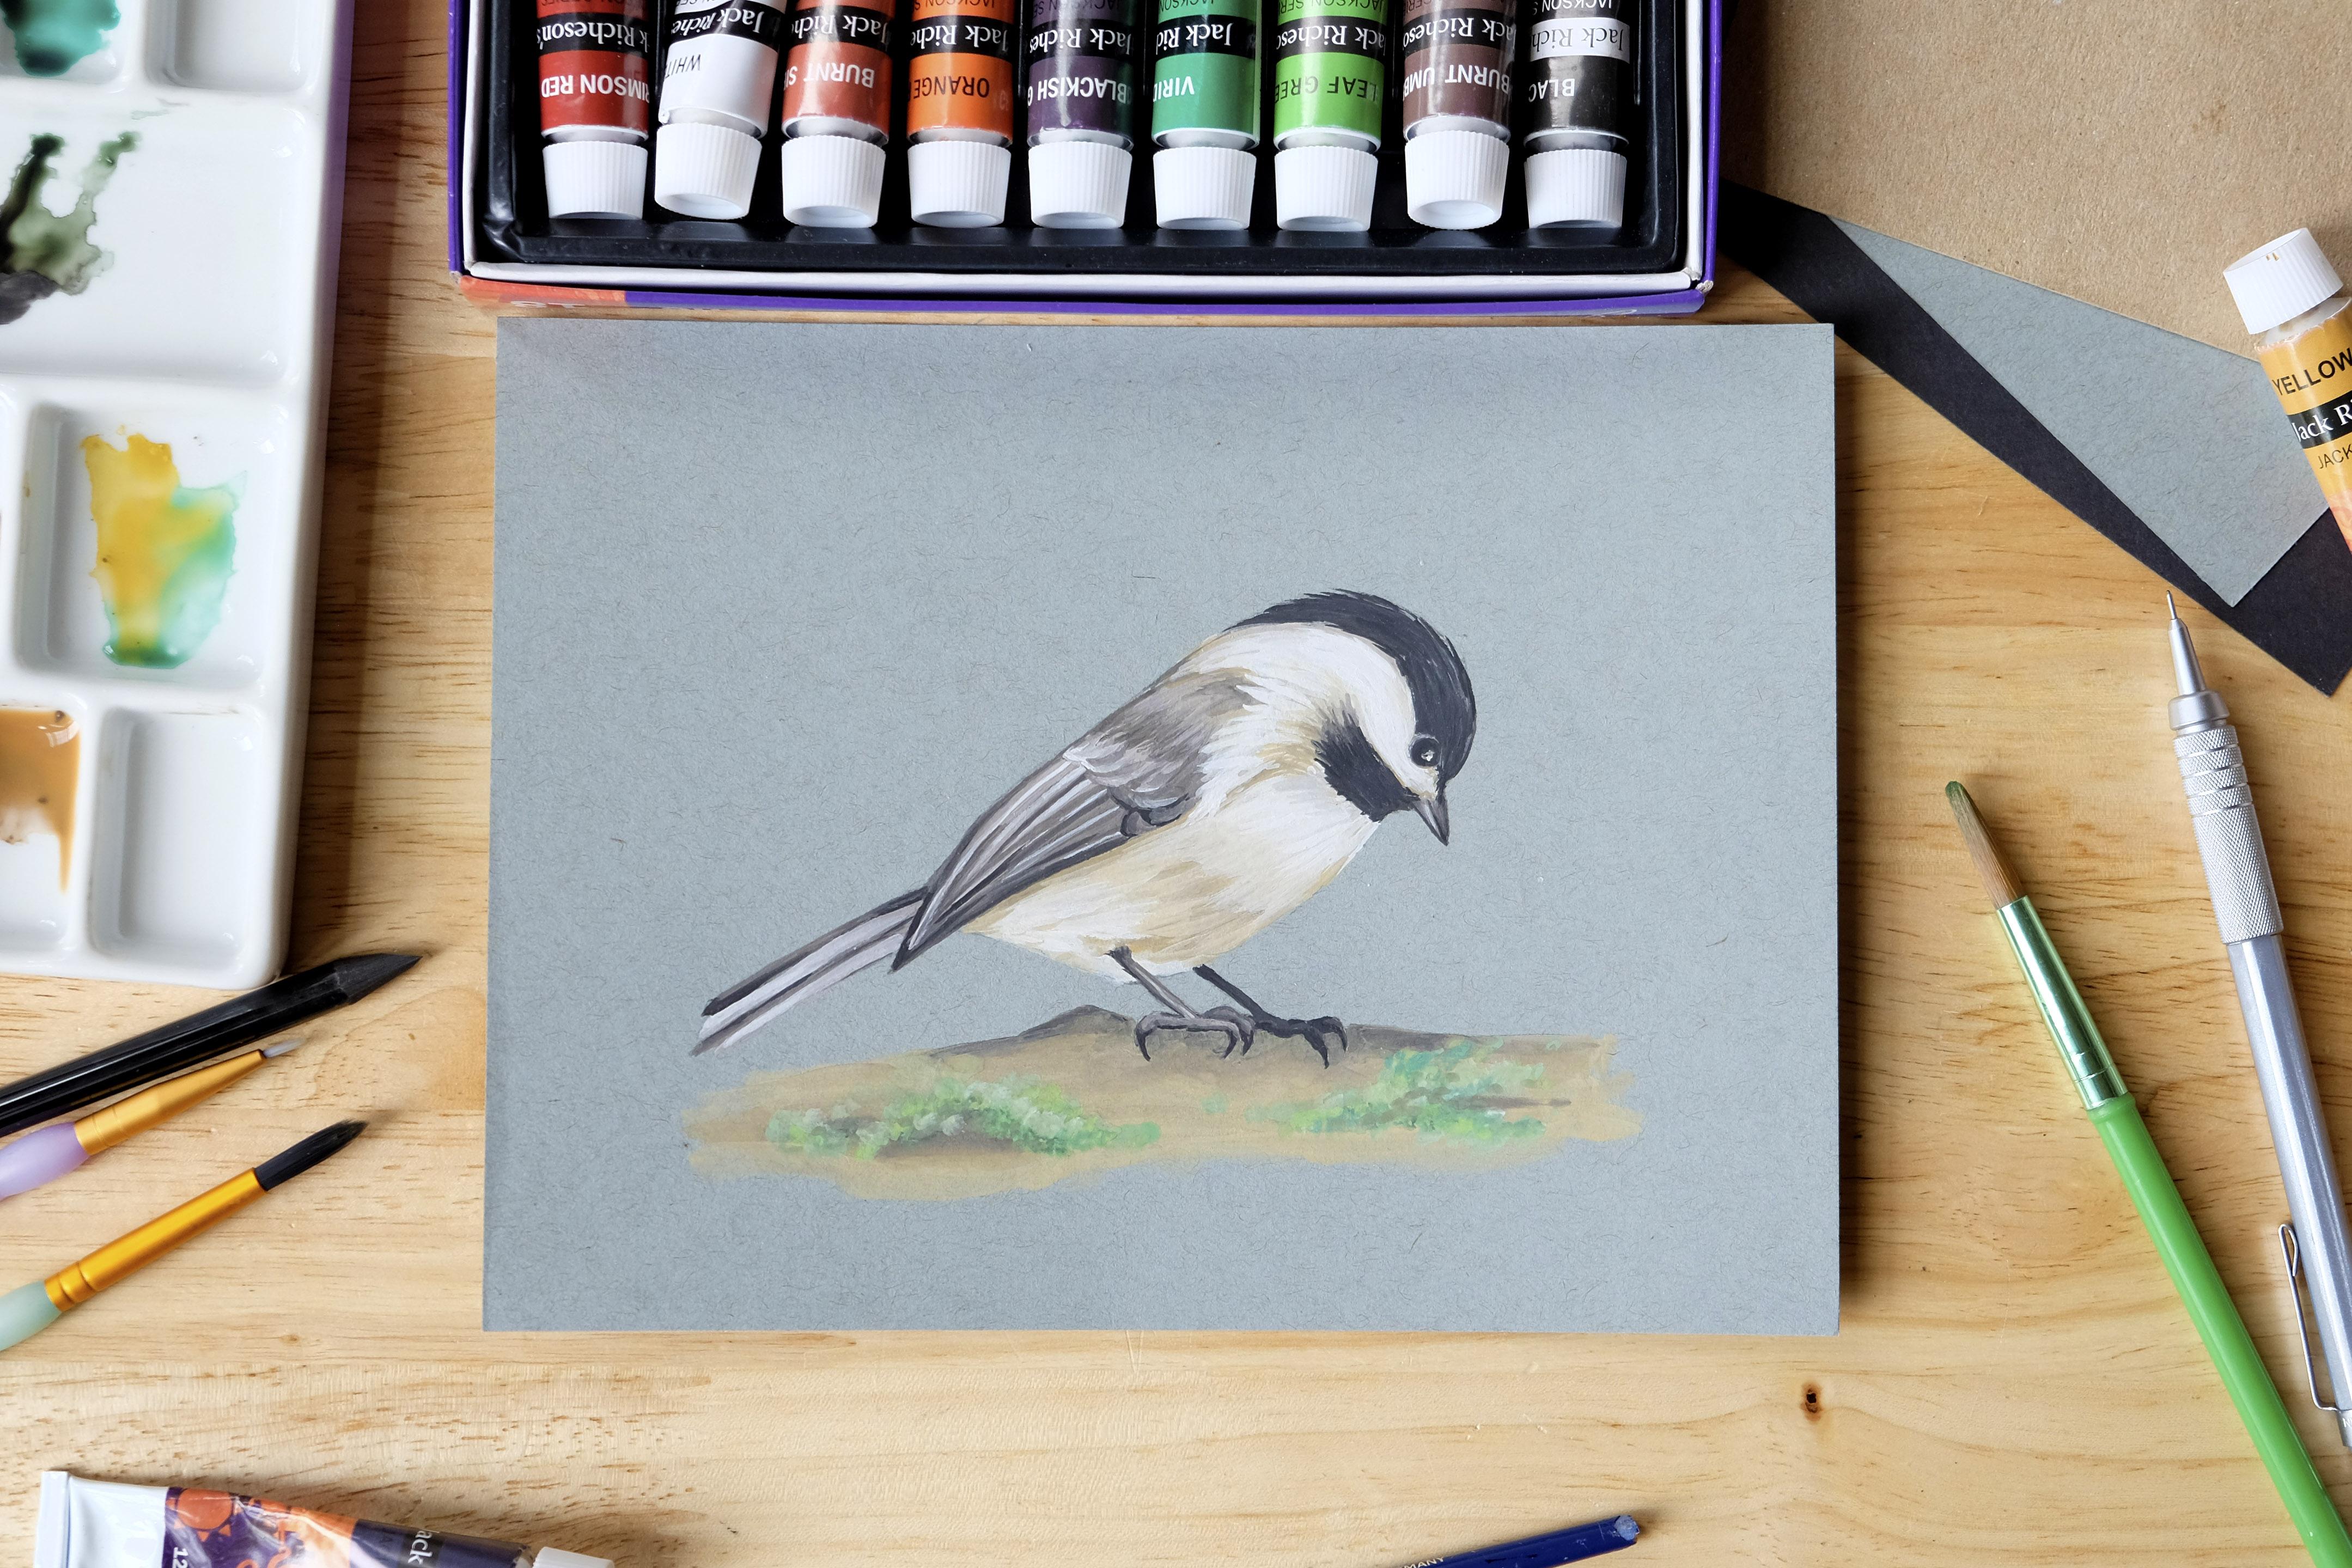
6. Make your Colour Palette: For the black-capped chickadee, I'm going to need a few colors. I'm going to need black, white, but also beige and a grayish-brown for the wing. I want to make sure I'll be able to create textures and shadows. Usually, the way I build a color palette for a bird is to mix my color in three different tone. So I'm going to have to prepare three different tones of beige for this bird: white, black, obviously, and I'm going to create at least three tones of this grayish-brown for the wing: a dark, a medium tone, and a lighter tone. If you're a bird is yellow, you want to do the same thing. Think of having a dark yellow, a medium tone, and also a lighter tone of yellow. This is where it's important to have a water-based gouache for this project. Because we want to make little details later on, I find it very important to mix every single color I have on my palette with a few drops of water. I want my paint to have a bit of a muddy puddle texture. I'm not looking to have something completely watered down, but I also don't want to paint with a thick paint. I want the paint to spread easily if I have to do details, or textures, or cover an area quickly before it dries. Here is my color palette. If you've got all the colors you need for your bird, let's get painting.
7. Let's Get Painting!: Let's get painting. The first layer will help you have the colors accurately placed on your bird. You'll create gradient for the first layer. It's really in the second layer that we are going to put more details and more texture. I'm going to apply the first layer of paint by zones. I'm starting with white and I'm going to create a bit of a gradient between the white and the beige on the bird. I fast forwarded the footage because in reality, when I paint, I take my time. It's a moment where I can relax and be a little bit in my bubble. I decided to fast-forward the footage just so you don't have to wait for minutes and minutes on for me to finish the section of the bird. Because it's the first layer, the paper then to drink up the moisture more quickly I find. I tend to make the first layer of paint with a bigger brush so I can paint and cover more ground a little bit faster. One thing I want you to do in the first layer is to keep the eye of the bird a bit paler than what it probably is. In the case of the black-capped chickadee, the eye is black. I will actually paint the first layer in a medium gray. I find the trickiest part of the bird is to paint the wing. What I do during the first layer is to cover the wing with a gradient. Later on, it will help me blend all the details and make the wing more textured and more realistic. If you covered the bird with the first layer of paint and create a gradient between the different colors in different tones, then you are ready to move on to the second layer
8. Textures & Contrasts: All right. I hope you let the paint dry a little bit, that is important before you start your second layer. The second layer is all about textures and creating more contrast. You'll see me use the tiniest brush I have with me a lot more during this segment. The gradient I made in the wing during the first layer comes in handy here because now I'm going to create a lot of contrasting little lines with white and a really dark gray, and even some black with my tiny brush to create the texture of the overlapping feather. The tail is similar to the wing, where you have to paint some darker brush strokes next to some paler brush strokes to create a bit of an effect of volume in contrast between the feathers. The lower part of the wing is a bit more stripy, but when you paint the upper part of the wing, you'll probably want to create more of a gradient in texture. So that little steepling motion to blend the colors become very useful here. To create more volume, textures, and feathers on the chest and the belly of the bird, I'm going to apply different stripes of colors similar to what I've used in the first layer. In this case, it's little stripes of white next to some little stripes of beige and maybe I'll have to use my darker ocher beige to create even more contrast. When I have to paint black feathers, I of course will do the first layer in black, but the second layer is many little brushstrokes of a medium or a lighter gray, so that I can create a contrast and almost an effect of reflection of light on the black feathers. Like I said, the second layer is all about creating little brushstrokes and little stripes of contrasting colors onto your bird to create more volume and to create more textures, and this will give you an effect of feathers. If you have done that, let the paint dry a little bit for a few minute, grab yourself a coffee, and we're going to move on to the next step.
9. Adding the Details: We're now adding the last few details onto the bird. Did you let the paint dry a little bit? Did you grab a little coffee or a tea? Then you're ready to go. This is the moment where we're going to paint also the eye of the bird. That's why I wanted you to paint with a paler color because now we are going to paint with a darker color. In my case, I'm painting the eye in black. You'll see often birds have a bit of a paler skin around the eye. So that is why I made my first layer in gray instead of black, so that I can leave a little bit of space with my tiny brush and leave that detail up here, and the eye is going to look a little more realistic. I don't do too many details in the feet at this point because I'd rather paint the background. When I paint the background, I water down my paint a little bit more to create a gradient effect even more quickly. Don't water your paint down to the point of creating a watercolor. We're using Mixed Media paper and it might not hold that amount of moisture. To create bark, I simply go with my brush with a few different contrasting browns and I'll create wavy lines onto the paper. It doesn't have to be perfect. But to create a little bit of bark, a branch, or some leaves, we'll give a bit of a context for your bird. I decided this time to create a little bit of moss, so adding even more texture onto the bark of the tree. What I'm going to do is to use a paint that is thicker, that is not as watered down, and I'll be stippling some green paint onto the bark of the tree. One tone is very pale and one is much darker to create again, more volume and contrast. Once I'm done and satisfied with the texture I created for the branch in this case, then I really concentrate on putting the last detail on the beak and especially the feet. Remember it's all about tiny brush strokes to create a bit more volume and a bit more contrast. To make sure I have all the volumes and the detail covered on the black feather part of my bird, I'll go back one more time with my tiny brush and paint little strokes of black paint. But I want to leave a little bit of space for the layer I did just before, just to create that little bit of contrast in the black feathers. It'll look like there's a highlight and a reflection of light onto the head of my chickadee. There you have it, your own little bird made in gouache.
10. Conclusion PaintingBird: Congratulations. You just finished your very first bird in gouache. Well, I'm pretty happy with the results. I hope you enjoy the process as well. Did you made a black cap chickadee like me? Did you follow along and made this bird or you decided to draw a different bird? I want to know, share your artwork in the project gallery and let me know which bird you choose and why you choose it. Let me know what is the story around the artwork you made today. I'm very curious to know. If you want to follow more of my classes, make sure you follow me on Skillshare or on Instagram. All the links will be in the description. Thank you so much for following this class and I hope you enjoyed it and keep on painting. Goodbye.
 Valerie Mercier, I make stuff, and love arts.