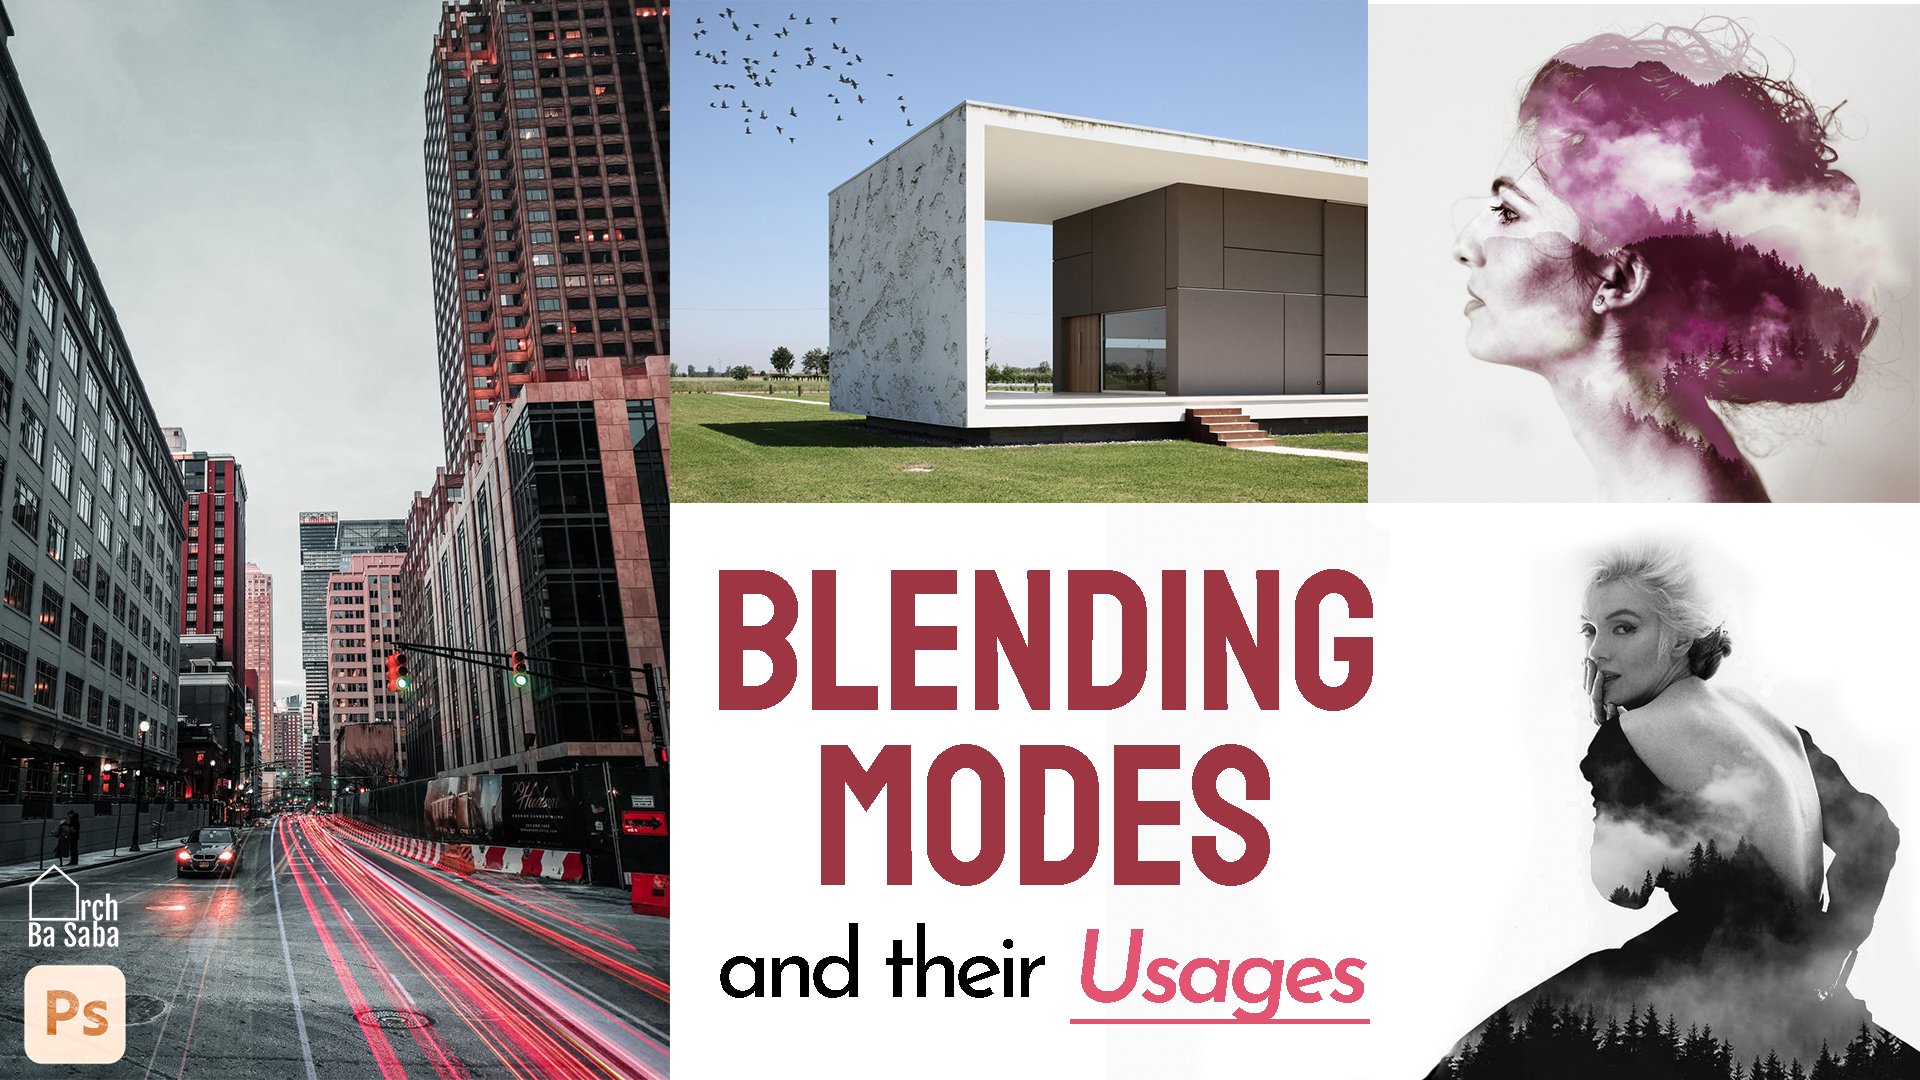
Transcripts
1. Trailer: Hello, everyone.
This is our sale. Today, I'm going to
teach you how to convert day photos into night
photos with AV photo shop. I'm going to show that to you with two different examples. The first one is
this iron picture, and the second one
is this portrait. At the end of this video, you will know how to
use level adjustments. So excellent shortcuts on
blending modes and how to mask. Before doing anything,
I want you to know. We are going to do two things. First, we make the photo
dark like night times. Second, we have to make it
more natural and beautiful. Let's jump into it. Okay.
2. Darkening: In. Now, for the first step to make it easier
for you to remember, start with night
from day effect. But do you know where it is? Well. You should find it
between adjustment layers, which is down here in the
color lookup section. Click on the small black
and white circle button and click on Color Loop. Here, we can see
about 20 filters. I suggest trying all of them
if you're new to photoshop. Once you click on the first one, you can change it to
the next one by pushing the right and left
button on your keyboard. But for now, we just want
this one night from day. If you think your picture
became too dark or too bluish, you can always decrease
the opacity of this adjustment layer from
this slider right here. The next step is to
make our photo darker. In this case, you should use
another adjustment layer. You can do it with curves
levels or even gradient maps. You should know that. Levels and curves are almost the same. Curves do a little more, just a bit more advanced. Today, I'm going to show
you with levels because I think it's more
straightforward and honestly, there's no difference
in the results. I will show you Cs
and gradient maps in my future classes. Okay, I click on the
adjustment layers, and from here, I choose levels. What is level? What does it do? As you see, we have two parts
which are somehow the same. About the first one, which has three triangle shaped buttons. If you move the right
one to the left, you will have a brighter image. If you move the left
one to the right, you will have a darker image, and by moving this middle one, you can expand the
dark color range or bright color
range of the image. You see the middle point
represents mid tones, grays. The left part represents
blacks and the right side. Whites. You can easily find it out by looking
at the second bar. It's a range from
black to white. You can also play with the second bar to make your
photo darker or brighter. Moving this one makes it lighter and moving this one
makes it darker. The difference is the
first bar doesn't affect 100% white
or black areas, but the second one does
affect everywhere. Let me show you in
this photo that I made before to show
you the concept. If I move the first bar, you see that the
white area remains. If I make it brighter, you see the black
area is a seal there. But with the second bar, I can totally make
it black like this. Or white. It has effects on blacks and
whites of any photo. Back to our scene, I want
everything to be dark. I use the second bar and
make it a little darker, just like this.
But you know what? This is a street. A street
has lights and cars. It should be brighter than other places like the
sky. How to do that? You see every
adjustment layer has this white thumbnail
just next to it. It is its mask layer. If you click on it, you
can paint it with a brush. But remember, mask
layers are just sensitive to the range of darkness and
brightness, not colors. If I paint here black, that adjustment layer
doesn't work on this spot. If I paint it gray, it affects like 50%
and white is 100%. So whites in mass layers mean the layer is shown
in these areas. Try to remember it this way. Light exists, but darkness is the lack of light,
whites are visible. Therefore, blacks will
be removed and we cannot see these spots anymore. To make it natural, I select the mass layer
by just clicking on it. I want to paint it with a
gradient of black to white. In this way, the street
remains brighter. I just right click
on the paint bucket, and then I choose
the gradient tool. Choose your color black
and white from up here. Make sure you have already
selected the mask and then click here on image and drag
upward with your mouse. You can hold shift to
make a straight line. You can do it again to
make more contrast. Now we are done with
the first step. I mean, the darkening part. Look at the difference
by holding Alt and clicking on your first
layer. Isn't it cool.
3. Adding Lights: Now, I want to add some
lights to this building, and of course, this
is stretch of lights. To do this, if you have a
few windows in your picture, you can start by simply painting inside them by brush
with yellow color. But for this tower, that would be so hard. I want to show you the
easier way, blending modes. I have a picture of the
building in the night here. I choose it. You can easily
drag it on your photo shop. But if you open it in
new table like me, you can select it by
control A and copy it with control C and paste
it on your photo by holding control and V.
Now we should resize it, click on this button
to be able to move it. For making any changes in the size of the image,
press Control T. T stands for transformation. Now we can resize it. If you hold sheet you
can preserve the ratio, and you can change
the perspective by right clicking on the image and select this option Distort. You can move the corners freely now and make a great
natural perspective. You can use these windows
and floors as a guideline. When you are done with
resizing, press inter. And now it's time for blending
modes. They're all here. There are about 27
different blending modes that are divided
into six groups. They determine how the colors of the front image and back
image would be seen together. Because lights are bright and we want to see
their brightness here, we choose lighting or
screen in blending modes. This group of blending modes compares both layers
brightness pixel by pixel, and eventually chooses the
brighter pixel to be shown. You only see the
brighter pixels, whether they're in
front or back image. In this group, they all do this. But the difference is
just about two things, their power and their effect
on 100% black or 100% white. Some of them are more intense. Some of them do not affect whites and blacks, and some do. For better understanding, I will show you some
more examples. But for now, let's
leave it enlightened. Let's add some stars to the sky. I have chosen this
beautiful night sky and I open it on my photo just
like before, Ctrl A, Ctrl C, Ctrl, select it, press this button,
Ctrl T to resize it. Press inter. Just change the blending mode
to lighten again. But we don't want starts
to be on the building. As you already guessed, I want to make them
disappear by mask. I select my layer and by
clicking this mask layer, I add a new layer mask. I click on this white rectangle, I choose the brush
and start to paint. It's better to be patient
and do it slowly. Okay. Now you can see the
dark sky, bright stars. Maybe this is too sharp for you. Again, we can
decrease the opacity. Now it's time for the streets. I already found a similar
street for you, open it. You know what to do
this time, don't you? Control A, Control C, Control. Click here. Control T, move it. Change the size. Right click and the stored
for a better perspective. There you go. Press inter. Change the blending mode to
lighten and the last step, add a mask and erase the areas that you don't
want by clicking and create layer mask and you remove all these extra stuff
with the black brush. But remember, by refitting
these easier steps, control T, distort mask and blending mode, you can add tons of
lights to buildings, the sidewalk, and shop windows. To make it even better, we can choose one
of your lights. For example, these windows. Select the layer
and press control. Now go to this tab, filters, B Goss and Blair and
put the number on four. Click on. Now it seems some lights are brightening
outside of the window. You can do this with
all the other lights. Both. Both o. Toss
4. Portrait Hack: And now for the portraits, I don't want to tell
you everything again. Just remember,
after color lookup, night from day after adding
levels and make it darker. It's nice to add another stronger level adjustment
layer like this. And mask it to make a face
in the center of attention. Choose the layer mask and paint the face with black brush. You should use a big brush with low opacity with soft edges. Let me tell you this too. By holding three keys of control alt and right button of the mouse and moving the
mouse left and right, you can make the brush bigger or smaller by moving
it up and down, you can change the
sharpness of edges. Now, the mask layer is selected. Just paint, click click click. And we are done with this class. Thank you for watching. See
you soon in the next class.
 Arch Ba Saba, Interior designer