Transcripts
1. Introduction: Have you ever wondered
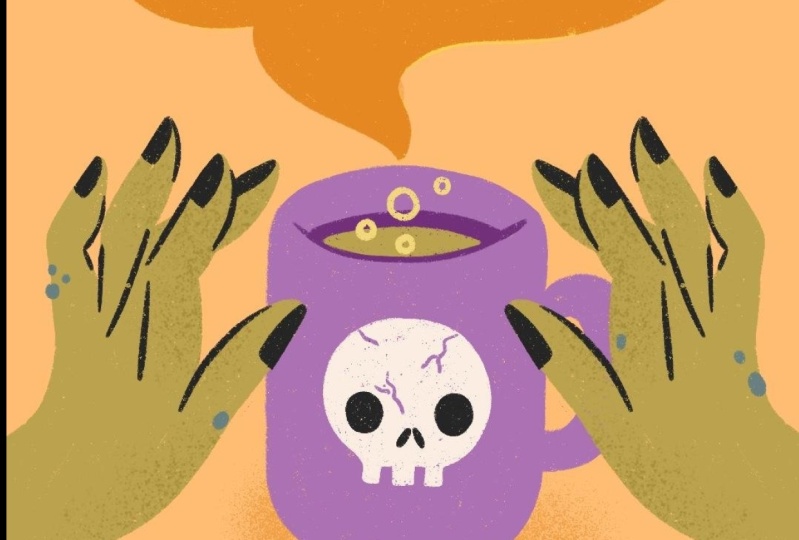
how complex animations like these could look
so fluid and smooth? Perhaps you thought
this technique could take years to learn. But what if I told you, that animations like these use a technique that is
simple and easy to learn? In this class, I will
teach you the step by step process of how to create seamless
looping animations. So you can add flare
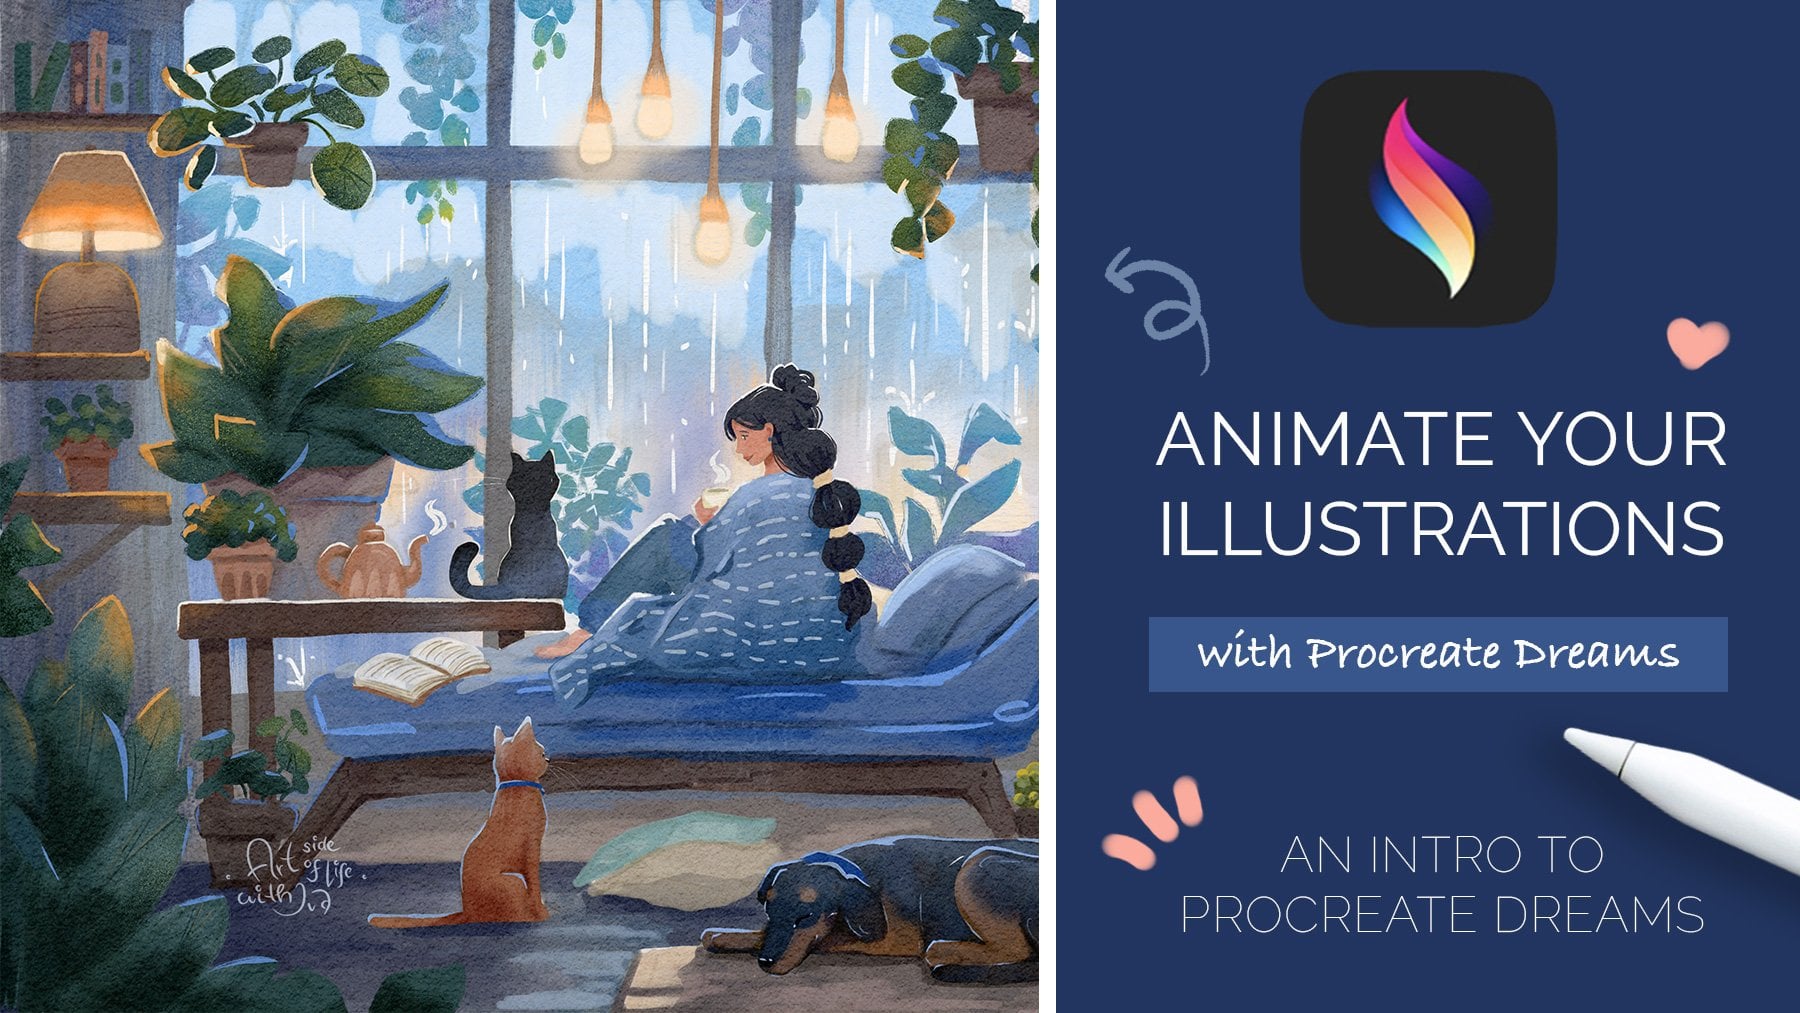
to your own art. Hi. I'm Bla, the Illustrator and
animator behind B Creates. I have made hundreds of
animations over the years, and have been able
to partner with some amazing brands like Adobe. I have been animating and
procreate for over six years, long before Procreate dreams
or animation assist existed. And in that time, I
have learned so much. I'm excited to share all my tips and insights with
you in this class. This class will
cover coming up with ideas that can be
turned into animations. How to set up your Canvas
for animation and procreate, utilizing the foreground
and background layers. Ways you can incorporate personal style and flare
into your animation. Tips and techniques for
making smooth animation, transitioning from
steam to text, speed and length
recommendations, how to make animations
loop seamlessly, and various export options based on what the animation
will be used for. This class is for anyone looking to get started with
simple animation, Illustrators of all levels wanting to add
motion to their art, and animators looking to expand their toolkit
with a new skill set. Throughout this class, you will learn fundamentals of frame by frame animation and emerge with confidence in your own
animation abilities. This skill can be
used to bring all of your ideas to life and further
your own illustrations. There is something so
satisfying about watching the finished product
and the end result is perfectly designed
to be shared. Developing my animation skills opened up a whole new
world for my own artwork, and I know it will
do the same for you. I am so excited for you
to take this class, and I can't wait to
see what you create. Join me in the next lesson, where I go into greater
detail on the class project. Animating a mug with your own phrase appearing
from the steam.
2. Getting Started: I'm so glad you decided to
jump in and join my class. Throughout each lesson,
we will take steps to animate a phrase appearing
from a steaming mug. I specifically
chose this project because it's perfect
for beginners. Even if you have no
rooscoping experience at all, I think you'll find that it's
much simpler than it looks. I also love that you can personalize this to
your very own style. The supplies for this
class are simple. All you need is an iPad with Procreate and some
paper to sketch on. Procreate is an
excellent tool and I love that it is very
affordable to use. I do also want to call out
that we are using procreate, not Procreate dreams
for this class. One resource I have provided for this class is a mug
and lettering stencil, along with some sample letters. We will go more into depth on how to use this
in future lessons. But essentially, this is the perfect shape for the
base of your animation. You can trace this template and personalize it how you see fit. I also provided a
step by step guide that outlines everything we
will cover in this class. No need to take notes as I've
written it all out for you. The technique we are using for this animation is
called rotoscoping. Rotoscoping could mean a
couple of different things, but when I talk about it, I'm referring to hand drawn
frame by frame animation. Our end video will be created by stringing
together a series of dozens of illustrations to create a smooth
looping animation. Kind of like a
virtual foot book. My biggest tip for
success is to be patient. Rotoscoping is a process
that takes some time. I personally love the
character and visual interest, it adds to an animation. But if you're trying to animate something as fast as possible, this is not the way to go. And while it does take time drawing out each frame by frame, I find the whole process
meditative and relaxing. Don't stress about
speed, enjoy creation. I hope your creative juices are flowing because in
the next lesson, we're pulling out our iPads and brainstorming for our animation.
3. Brainstorming: In this lesson, we'll brainstorm and sketch
ideas for our animation. By the end, you'll
have a better vision of what your own
project will look like. At this point,
hopefully you have an idea of a phrase you're
wanting to animate. For your first project, I
recommend something short, five or fewer words. Longer phrases will work to, but you have to trace over
every word many times. The more words you have equals the more time spent tracing. In the past, I have
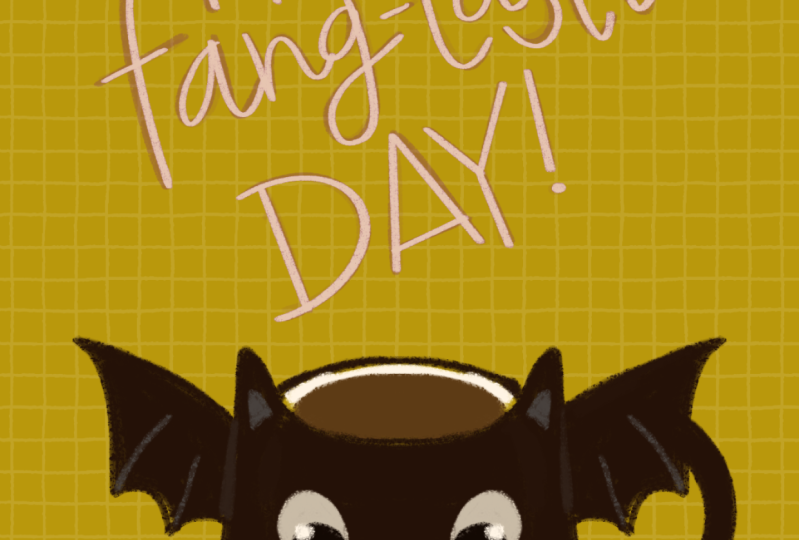
used phrases such as, I love you, or you got this. You can also go with
something seasonal such as happy spooky season
or B my Valentine. I also want you to get an idea for what you want your
mug to look like. Feel free to do
this part on paper or sketch out ideas
right on your iPad. If you don't feel
confident in your mug drawing abilities, don't worry. I have provided a
template for you, which I will show you how to insert and trace
in future lessons. The mug template is
blank on the front, so you can add your own
design if you choose. It can be fun to go with a theme and have a mug match the words. For example, if the
phrase you choose is, I love you, it could be fun to draw some hearts on the mug. If you are confident in
your illustration abilities and want to make your animation
even more personalized, you can draw your own mug shape, coffee cup or other
beverage holder. You can also draw pastry next to your mug or a plant
or a pair of glasses. The sky is the limit
and you can set up the scene as simple or as
complicated as you would like. Just make sure to
leave room above the mug for the steam animating. One more thing I want
you to think about is what you want the end
video to be used for. This will give you an idea of the size and ratio
of your canvas. Usually, I post my animations
as Instagram reels. I use specs for that. Now you have a basic idea of
what you want to animate. Feel free to upload a photo of your sketch to
the projects tab. It's so fun to see everyone's
various interpretations and where you're starting out. The next lesson will
cover setting up your canvas and preparing
procreate for animation.
4. Setting Up Your Canvas: We already have a basic idea of what we want our
animation to look like. With that in mind, we're
going to set up our canvas. By the end of this lesson, our canvas will be ready to
start adding more layers. First, open up procreate. In the top right corner, you're going to
create a new canvas. I want to post my animation
as an Instagram reel. I'm going to type in
1080 by 1920 pixels. You can choose whatever
size or ratio you want. But know that the size directly affects how many layers
you have to work with. If you make the
canvas too large, you won't have enough layers to create a smooth animation. I recommend making sure you
have at least 100 layers. The other setting that matters
here is the color profile. You can choose
whatever you want. But since this animation
will live online, as opposed to imprint,
RGB is appropriate. I usually use SRGB
preference display class because I feel like that gives
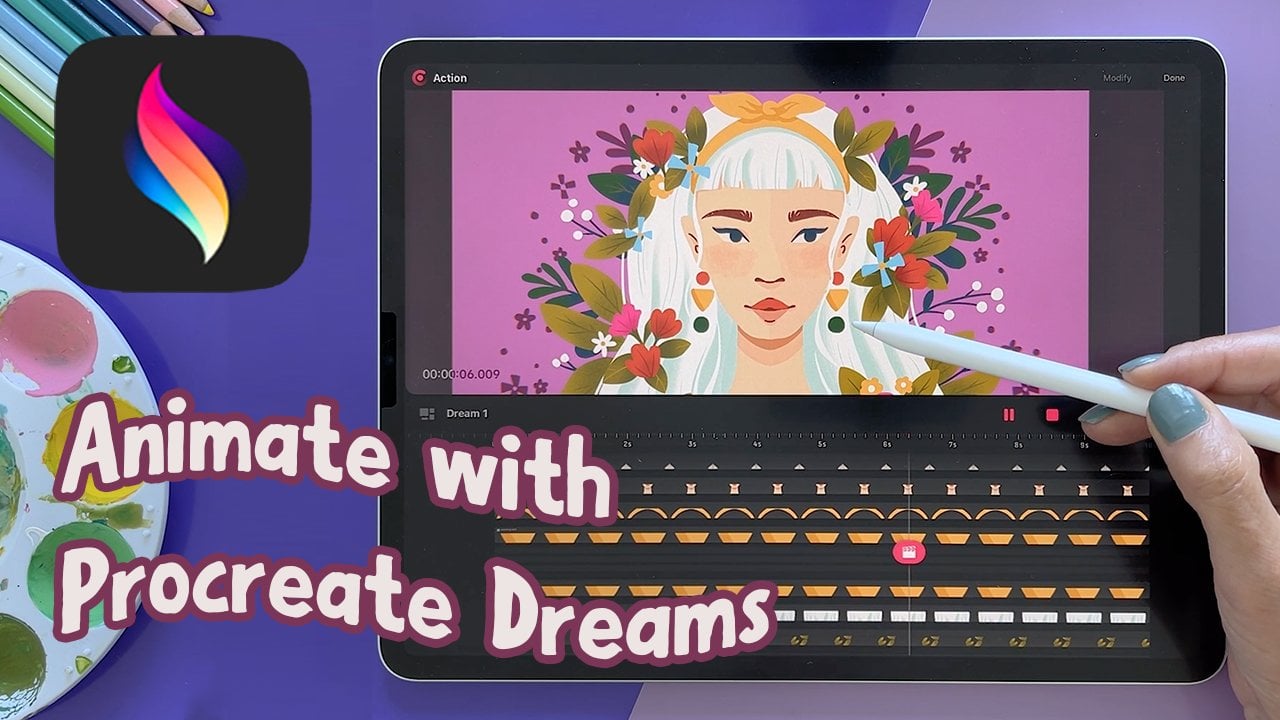
me the brightest colors. Once you have your Canvas, you are going to go
to the actions menu. The little wrench
on the top left, then under the Canvas settings, you are going to switch
animation assist on. This will automatically
string all of our frames together
into one animation. On the bottom of your screen, you now have your timeline showing all of your
layers or frames. For now, I'm going to give you the basics of these settings. We will touch on them more
throughout the course. At the top, we have the
option to choose loop, ping pong, or one shot. This is the order in which the frames are played
in the animation. You can play with various
options to see what they do. But since for this project, we are making a looping
animation, we will select loop. Frames per second
is the speed at how many frames will be
played in a single second. We will experiment
with this later to see what effect it
has on our animation. But I typically choose 12-15. Onion skin frames,
opacity, and colors, have to do with
seeing the frames before and after
your current frame. These tools help make the illustration process
easy and smooth. We will see how these settings can be used and adjusted in the lesson that talks about tips for making a smooth animation. Blend primary frame lowers the opacity of the
current frame you're on, making it easier to see what is in front of and behind
your current layer. I personally don't
like the setting, so I just leave it off. The next thing we
are going to do is add in our Mug
sketch and template. Download the mug and
Word template from the class resources and
put it on your iPad. Then go to Actions, Add Insert a photo. This will give us
a guide when we start drawing all of
our animation layers. If you have a mug sketch from a notebook or another
procreate file, feel free to take a photo of
that and add it in as well. Now that we have our
Canvas ready to go, join me in the next
lesson where we utilize background and
foreground layers. T.
5. Background and Foreground: Now that you have
your animation assist on and your template in place. Let's talk about background
and foreground layers. By the end of this lesson, you'll have these
layers in place and we'll be ready to add
some color and flare. The background and
foreground layers are always present
in your animation. The background is underneath the moving frames and the foreground is on
top of everything. These layers are easy
to turn on and off. You simply go down to the bottom timeline
and tap on the frame. From here, you can turn on the background or
foreground option. This setting is not available
for all the frames. Only the very
bottom layer can be the background and the very top layer can be the foreground. You can see the order
of all the layers and the top right corner. You can also drag around
layers to change the order. Another thing you can
do is group layers. You simply select all the layers that you want and top
on the group button. This group can then be the
background or foreground, and all of these layers
will appear as one. Now that you know the basics, we are going to set up
our own background. You should already
have the template or sketch layer
in your document. Select these layers and
group them together. Then go down to the timeline and make this group
your background. Now I add a blank layer on top of the template
inside the group. On your new blank layer, you will add the phrase
you want to appear. The template includes some lines as a guide for you to
write your phrase in. You can use your own
handwriting or you can add in a textbox with
any font you would like. Feel free to move things around to get the
words looking right. Ideally, the words stacked above the mug fill
the space equally. I also have provided a
font template for you. Simply add in the layer, trace the letters
for your own phrase and then move it all around. You can use any font or
handwriting you like, but keep in mind that the
more complex the type design, the longer it will
take to draw out your animation.
Also, don't worry. The final animation won't show the sample text or
template layers. But we need something
to trace as we draw out our many
animation layers. Make sure the opacity on each of these layers is
only partially on, so you can see all of
your guides at once, while you draw your Mg
and animation layers. Your background is ready to go. Now we will make a
quick foreground. I mainly use this layer to
add my tag to the animation. This part is optional, but I
will show you how I do it. I create a new
layer, add my tag. Feel free to handwrite this
part or insert your logo, and then go down to the bottom and turn on the
foreground option. Now that we have our background and foreground layers in place, it's time to start drawing. Join me in the next
lesson where we start adding style
to our animation.
6. Adding Style: In our last lesson, we set up our background and
foreground layers. Now we are going to
start illustrating and finding ways to
stylize this piece. By the end of this lesson, your mug will be
drawn, and you'll start to see your
project take shape. First, let's talk about color. Color is an easy
and important way you can make this piece
look like your own. Go on in and change
the background color. Make sure it is
something that will contrast with the
mug and the steam. Here, I'm choosing blue. Now we are going to
draw out our mug. We have our template in place, so all we need to do is
trace and sharpen it up. Add a layer on top
of the sketch, but still in the
background group, then draw out your mug. Use whatever brush you like. This is another great way to make the
illustration your own. At this point, you will also add any other little details like a design on the mug
or a simple shadow. After the mug is done, it's
time to focus on the words. You already have your frage sketched out in the
background layer. Now in a new layer,
we are going to trace the words in the
color of the steam. I like to use this step
to clean up my writing. These are the basics and adding style and personalizing
your illustration, and you're welcome to
continue on from here. But if you're audio
procreate pro or want some more ways to
add fun to your animation, check out the bonus lesson,
adding extra flare. This is also a great time
to share your progress. Upload a photo J
peg to the projects tab so others can see
your illustration. Then join me in the
next lesson where we add more layers and I teach you how to make
a smooth animation.
7. Making A Smooth Animation: In our last lesson, we
draw out our mug and type. Now we're going to start
adding animation layers. By the end of this lesson, you'll start to see your
animation come to life. We're going to add
one more layer into our background group. This will be a guide to help us know where to draw the steam. Add a layer on top of your steam text and in a color
contrasting to the steam, a squiggle line coming out of the mug and
following the type. Try and draw the line through
the center of the words, almost like you're
crossing them out. Lower the opacity of
the type to about 40%. Now we're going to start
drawing our steam. Make a new layer, not
part of the group. This layer will be left blank
to start out our animation. Now create another layer. Draw a tiny little bit
of steam following the path of the line,
add another layer, and draw steam on top of your previous drawing and a little bit further
along the line. At this point, you can adjust your animation settings to help you see your frames better. The onion skin
frames show what is behind and in front of
your current frame. Typically change my
onion skin frames to two to limit confusion. I also turn on my onion
skin opacity to about 50%. At the bottom of the settings, you have the option to change
the onion skin colors. This changes the color of the previous and
upcoming frames. I typically change
these colors to bright colors that contrast
with my illustration, so I don't get confused. As you're drying, you
can play with all of these settings and choose
whatever is easiest for you. Now we are going to
go through and keep adding new layers and drawing
more frames of the steam. Each layer should have more
steam than the one before. Look at how I'm drawing
a little bit more, but not too much
more on each layer. I'm also trying to increase the steam by the same
amount on each layer. Finding the proper balance
of how much to increase the steam is essential
to a smooth animation. If the size increase between each layer is extremely tiny, it will take forever to make the animation and it might be slow. If the size increase between
each layer is quite large, then the animation
will be choppy. As you're going along and drawing all of
these steam layers, start to increase the width
of the steam as well. By the time you get to the top, your steam should cover
the text layer completely. Go through and draw all the
layers until this point. You have now drawn the steam. Go to the timeline at the
bottom and play your video. This will give you
a sneak preview of how your animation is going. You can watch this video
and go in and tweak any layers that don't feel
smooth enough or out of place. You can redraw or even add more layers in between to
get this part how you like. Here are two layers where I feel like there was
a bit of a jump. I added a layer in
between and drew the steam right in the middle of the before and after frames. Well, it is important to
make the animation smooth. I also want to remind you that not every frame
should be perfect. Only see the frames for
a fraction of a second, so stressing over tiny
details is unnecessary. Also, the whole process and art of frame by frame animation
is to look handmade. The nature of this video is imperfect and because of
that it has character, don't stress and have
fun with this part. I find it quite relaxing. Now that you have drawn the
steam coming from the mug, it's time to
transition to words. Join me in the next lesson where we turn the steam to text.
8. Transitioning To Text: In our last lesson, we started drawing the steam
coming out of the mug. Now we're going to have
that transition into text. By the end of this lesson, you will see a smooth transition between steam and
your very own phrase. For this next part, the steam is going to start
doing two things. The tail part here
will begin to come away from the mug as
the steam dissipates, and the words will
start to take shape. Add another layer on top
of your last steam layer. You're going to trace
over the steam, but start drawing a little dense where the words
are going to be. Thing too big, make it gradual. Also make sure that your steam tail is getting shorter and shrinking
towards the words. Do this again and start adding little holes where the inside
of the letters will be. The goal is to make it look like the steam is shrinking
around the letters. Keep drawing layers
until you are at a layer that is only the
words floating above the mug. This step usually
takes me 4-8 layers. Watch your illustration
from this point and make sure you're happy with the
way everything is looking. Feel free to go in, edit
and tweak as you need. Now that you have
transitioned into your text, we're going to adjust
the timing of our video. Join me in the next
lesson where I talk about speed and length
recommendations.
9. Speed And Length Recommendations: In our last lesson, we
transition the steam to words. Now we're going to adjust
the speed and length. By the end of this lesson, our animation will be properly timed so that the words
will be easily read. Now that the words
have appeared, we want to make sure there
is time to read them. Add a new layer and
trace over the words. Don't make this too perfect. Slight variation is
part of the animation. Repeat this step
seven more times. You should have eight frames
that contain only the words. Now duplicate the first frame
and drag it to the top. Duplicate the second text
frame and add it to the top. Repeat this process until you have 16 full frames of type. This part is
important because it helps continue the
style of the animation. I find that if you use
fewer than eight frames, your animation looks repetitive
and starts to bounce. Watch your animation. Ask
yourself these questions. How is it looking overall? Is it too slow, too fast? Is the steam coming
out at the right pace? Maybe the words
disappear too fast. Go into your settings and play with the frames per second. Adjust to various options until you find what feels right
for your animation. I typically have this setting
12-17 frames per second. If you have a
particularly long phrase, you might need more
time to read it. You could duplicate and reorder the layers as many
times as you need. Just make sure you
retain the order of the layers to keep the
animation from bouncing odd. You can also just turn
the visibility of these layers off if you want to test how
the length is looking. You can go back and adjust the frames per second
again if you need to. Another important thing to know is how long your video is. If your animation feels like it drags on, speed things up. If it's over in the blink of
an eye, slow things down. There is no exact
formula for this part. You have to test out
different options until you find something
that feels right. Now that we have
adjusted the speed and made sure our
phrase is legible, it's time to fade out the text. Join me for the next
lesson where we love our animation seamlessly
back to the beginning.
10. Seamless Looping: In our last lesson, we adjusted the speed and
length of our animation. Now we're going to
make sure the text fades out as the
steam dissipates. By the end of this video, you will be able to see your
animation loop seamlessly. Now, create another layer on
top of your last word layer. Trace the words, but
make them just a tiny bit skinnier than
the layer underneath. Your layer should
look like this. Keep drawing layers and making each one skinnier than before. At this point, I
turn off my words on the background layer
because I think it's easier to see this way. Make your brush size
smaller if you need to. Finally, you will
draw some tiny, wispy lines, not even
decipherable as letters. All of the shrinking text
usually takes me 4-8 layers. Go into your background group. Turn off any other layers you have been using
for reference. Now, make sure your
animation setting is set to loop and watch your
animation come to life. It always feels so satisfying to see the whole
thing come together. Now that you've finished
your animation, we can export your video. Join me in the next
lesson where we discuss the best export options.
11. Export Options: In our last lesson, we put the finishing touches
on our animation. Now we're going to export it. By the end of this lesson, you will understand the various
options Procreate has to offer and be able to choose the best one
for your project. On the top left, you will
select actions, then share. There are two main ways you
can export this animation. The first, we'll export
the animation as an image. This will save whatever
frame you are currently on. If for any reason
you are wanting a still image of your
animation, you can do this. The second way you can export
is by sharing your layers. There are many options and
they all do different things, but the two options I use are animated MP four
and animated gift. Animated MP four is typically
my preferred file type. It retains a higher
quality and is what I use when I'm sharing my
videos on social media. The main downside
is that the file does not automatically
play or loop. If you choose to
export this way, the export screen
lets you change the speed or change
the resolution. Under the name of the artwork, you can see the file size for Max resolution versus web ready. The other option
is animated gift. Gifts will automatically
play and can even be exported on a
transparent background. I typically use
these to display on my portfolio website since they play and loop
automatically. There are a few main
downsides of a gift. Technically, a gift
is an image file. Depending on where you use it, it will display
as a still frame. Social posts, for example, show the gift as a still image. Another downside is that it reduces the quality quite a bit. Perhaps the biggest
downside is that the file size of a
gift is much larger. If you export as a gift, you have a few more options in addition to speed
and resolution. Dithering is a bit
complicated, but essentially, it has to do with the depth of colors in your gift.
I leave this on. Per frame color
palette applies to a new limited palette to each
frame of your video export, instead of across
the entire video. Can improve the image
quality of your video, but will also increase
the file size of your final export.
I leave this off. Transparent background
is exactly as it sounds. Since we have a background in this video, we will
leave this off. If you want to know more
about any of these settings, Procreate has an excellent
explanation on their website. I will link it in
the class resources. Now that you have
exported your video, it's time to share
it with the world. Upload it to the projects
page and share it on socials. Then join me in the final lesson where we celebrate
your completion.
13. Key Takeaways: You did it. Congratulations on animating Steaming Moth
with your very own phrase. Throughout this class,
you were able to set up your Canvas for
animation and Procreate, incorporate personal
style into your piece. Create seamlessly looping steam and export into the
perfect sharable video. I hope this demystified the process of frame
by frame animation, and now you feel
comfortable enough to use it in your
own illustrations. Don't forget to upload your
projects to the class page, so I can give you feedback,
and others can see it. If you post it on Instagram, tag me at B E E Underscore Creates and follow along to see more of
my own animations. One last thing, if you like
this class, please share it. Share it on social media, write a review, or
send it to a friend. Thank you so much
for being here. Have a coful day. D'.
 Bella Boss, Illustrator & Animator