Transcripts
1. Introduction: Hi, I'm Jake. This class
will teach you how to use a glass text animation template without using any plugins. You don't need any experience working with Adobe
after effects. To learn this effect, you can even download
the pre trial version, and it will work fine. In just 10 minutes, you learn all you need to
know to use this template, which is provided for free in resource step to this class. You can always write
your questions in discussion
section under any of my classes to get help from me while creating cool effects. I think it's the best way
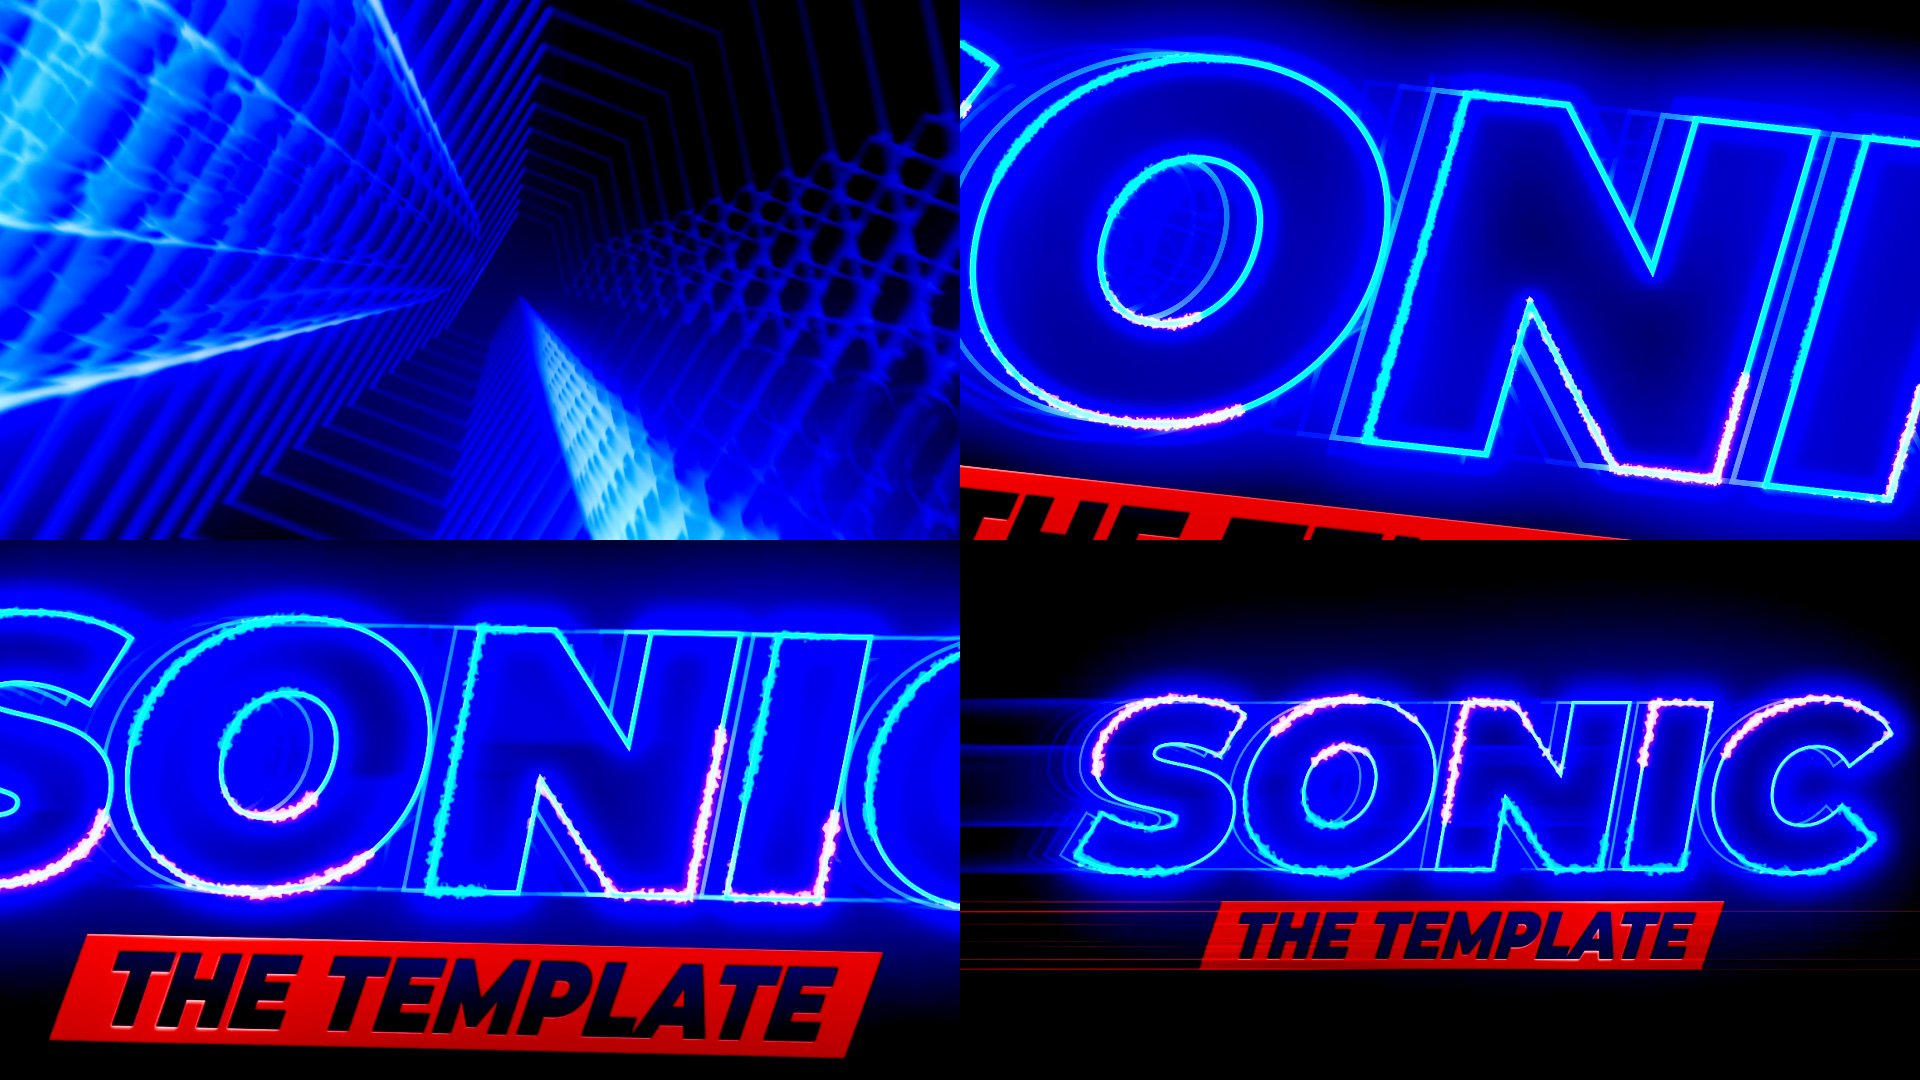
to learn the software while creating interesting effects for fun and to complete this class. Goal is to create this
glass text animation. I'll be happy to
see in my class as also your result after
following all the steps, so let's get started.
2. How to change text: Okay, so I'm using Adobe
After Effects 2024. So let me show you how
to use this template. In case if you would want to learn how to create
this project by yourself completely from scratch without using any plugins, you can go to Resource step
to this class and you can download this folder with
glass text template, download it, open it. And also, you can find
this text document. Leftmost lob click on it, you can see this link to the full class from
start to finish. Basically, it's going
to go to this class, which takes only 40 minutes. And in this class, you're
going to see how you can create this template
completely from scratch. You're going to
all every step you need to take to
create this template. But in this short class, I want to show you
how to use this. Open this less logo reveal, which is available
in resource step to this slash and you're going
to see this template. If you don't have Roboto font, it may open with different font. Basically what you
need to do is to open this three D animation and select this MJ text and
go to Character panel. If you can see this
character panel, you can go to Window and enable
it from here, character. Just simply change to
wherever font you want, so it would work fine. In my case, I use Rabota font, which is available
for free on Google. As well as here, you're
going to need to change this font so they would match this composition
and this composition. And this is basically how you can work with this template. You need to leftmost
double click on this text and
type any other text. So, for example, class, make sure to go here and
also double click on it and type class and
then go to final. So as you can see it
automatically changed, and we have this
really nice animation. So what we can do is to
disable this visibility, increased visibility or enable
it and change the color, here Naft and controls. So you can basically change the second color to
wherever you want. Just like this, I'm going to leave because I like
these kind of colors, and you can increase it even
more by changing this curve. And also, you can change to any kind of photo
in the background, just like this and get this
effect and also video. So I'm going to disable this photo change it to the video, and as you can see, we
already getting this text, this animation onto your video. So this is how you can basically
easily change any text. Just make sure that you're not move this text at all and not changing this kind
of stuff because it will mess up the animation.
Just press Control Z. If you did this mistake and make sure just
to change the text, the font and use exactly
the same text here. If you are not using
this phase composition, you're going to need to change only this text in
this composition, and this composition will
not matter because basically this composition is responsible to make this increased
visibility of your text. What is cool about this
class is that you'll be able not use only
text, but also the logo. You'll be able to
trace your logo, and it will teach you how to create this kind of animation from any logo which you have or any shape, including text. So make sure to click here
to link to full class. Follow this link to learn how to create this kind of
animation on your logo. And the next video,
I'm going to show you a bunch of more
settings which you can change to use this template at the fullest. See
you in the next video.
3. More Settings: Okay, so now we know
how to change the text and change the color of
this face animation. But you can also change
this soft light or add subtle colors by clicking here along
the subtle colors. And you can change
these colors as well to any colors
which you like, which may work better
on your footage in case if you would want to add
more subtle kind of colors, and you can even disable the soft light to
make it even darker. Also enable this front
increase visibility. So basically, you can combine these kind of styles and get the colors which you like and create really nice animations. So basically, just by clicking
and changing these colors, you can get really the look
which you could looking for. Also, you can press T on this face and
decrease the opacity. So it would be not that
noticeable the stop layer. So here you have a
bunch to play around. And next thing which
I want to show you that you can disable
these colors, and you can even play around with the chromatic aberrations. So I'm going to
increase the light so you can see it better. Here, you can change this to
minus ten and here to ten, and these chromatic aberrations
will be more visible. I'm going to press Control Z because I liked the subtle one, or you can just
basically disable it if you don't want to have these
chromatic aberrations. And finally, in the next video, I'm going to show you
how you can create different kind of
animation in case if you don't want to
have only this kind of animation. See
you next video.
4. Changing Animation: Know how to use this template and how to change a
bunch of settings. But let's say that
you would want to have different
kind of animation. For this, once again, you're going to need to
change the animation for this text layer
and this text layer. So let's start with this one. If you're going to
press on keyboard, you're going to see these
animated properties. In our case, scale, we don't want to change because the scale animation
is pretty good. But you would want to change, for example, this tation. So let's press R, simply remove these keyframes
just by selecting them and press
delete on keyboard. Let's experiment
with this rotation. So for example, here by the end, we can create a keyframe
for Y rotation. Keyframe is basically
a point in time which remembers the value
of certain property. So in our case, this keyframe remembers this point in time, which is 3 seconds
and seven frames, and it remembered that this property of Y
rotation is set to zero. So basically, here
at the beginning, if I'm going to
change this to -250, it will remember this value, and it will go from
this value to zero, just across time,
just like this. Let's also select the
ski frame and go to this graph editor and make sure that you've changed this
to edit speed graph, and then just jaguy
this handle to the left and to the down so you would get
this kind of animation. So now we are getting
new kind of animation. And as you remember, we need
to have this animation, not only on this layer, but also on this layer as well because here it
stayed as it was. So basically, if now I'm
going to go to final, you're going to see
that we already getting this new animation,
which is pretty cool. But if we will
enable this phase, it will follow the
older animation. So that's why we need to go to this animation,
which we just created, select our keyframes
and press Control C, and then go to this
three D animation phase. Then press R on keyboard. Delete the previous animation. Let's make sure that it's set to zero and just basically select our witation for new animation and press Control V to paste. Now we get this same kind of animation in
this composition. So now if I'm going
to go to final, you're going to see that we get this animation on
both of these layers. And cool trick is
to make this appear just about here where
we cannot see it. Here we don't want to
see this face animation. So I'm going to go to preview
panel and just jump next frame and make sure that it
will appear just right here. So basically, here it's
completely see through. And here it will appear, which may look prequel. So let's press zero nape
it to see how it looks. And now, as you can
see, we're getting new kind of animation
in no time. So basically, what
you want to do is to go to each of these
compositions and create any kind of
animation which you like on this
layer and this layer, just make sure to not delete it because everything is
linked to this text layer. So if you accidentally
delete it, just rewload this template
from resource step to this class and start over applying animation
on this layer, which is already provided here. You can always change
the scale of it and change the font to any
kind of font you would like, and also you're going to
need to do the same here. So it would work fine. And you're going
to get new kind of animation with new font as
well, which is pretty cool. So I'm going to
press Kin ChelZe and just make sure that they
are completely the same, and then this template
would work fine. Really recommend you to
check this link with Link to full class and learn how
to create this template. It only takes 40 minutes, and you'll learn
a lot about after effects just by
following this class. Also, make sure to follow
me here on Skillshare. I have a lot of classes on VFX. You can click here
on SemorT Semor. Also new classes every week, fundamentals of Adobe After
effects, log animation, and you can click SMO, even free AI tools classes, Complex VfXs, DaventyRsolve
class, and even more. And consider to share
your class project here by submitting your
project in this panel. Watching all of them and
give you tips if you want. Follow me here on Skillshare, and I'll be happy to see you in my next class. Thank
you for watching.
 M Jake, Lets Create VFX & Cool Stuff Together