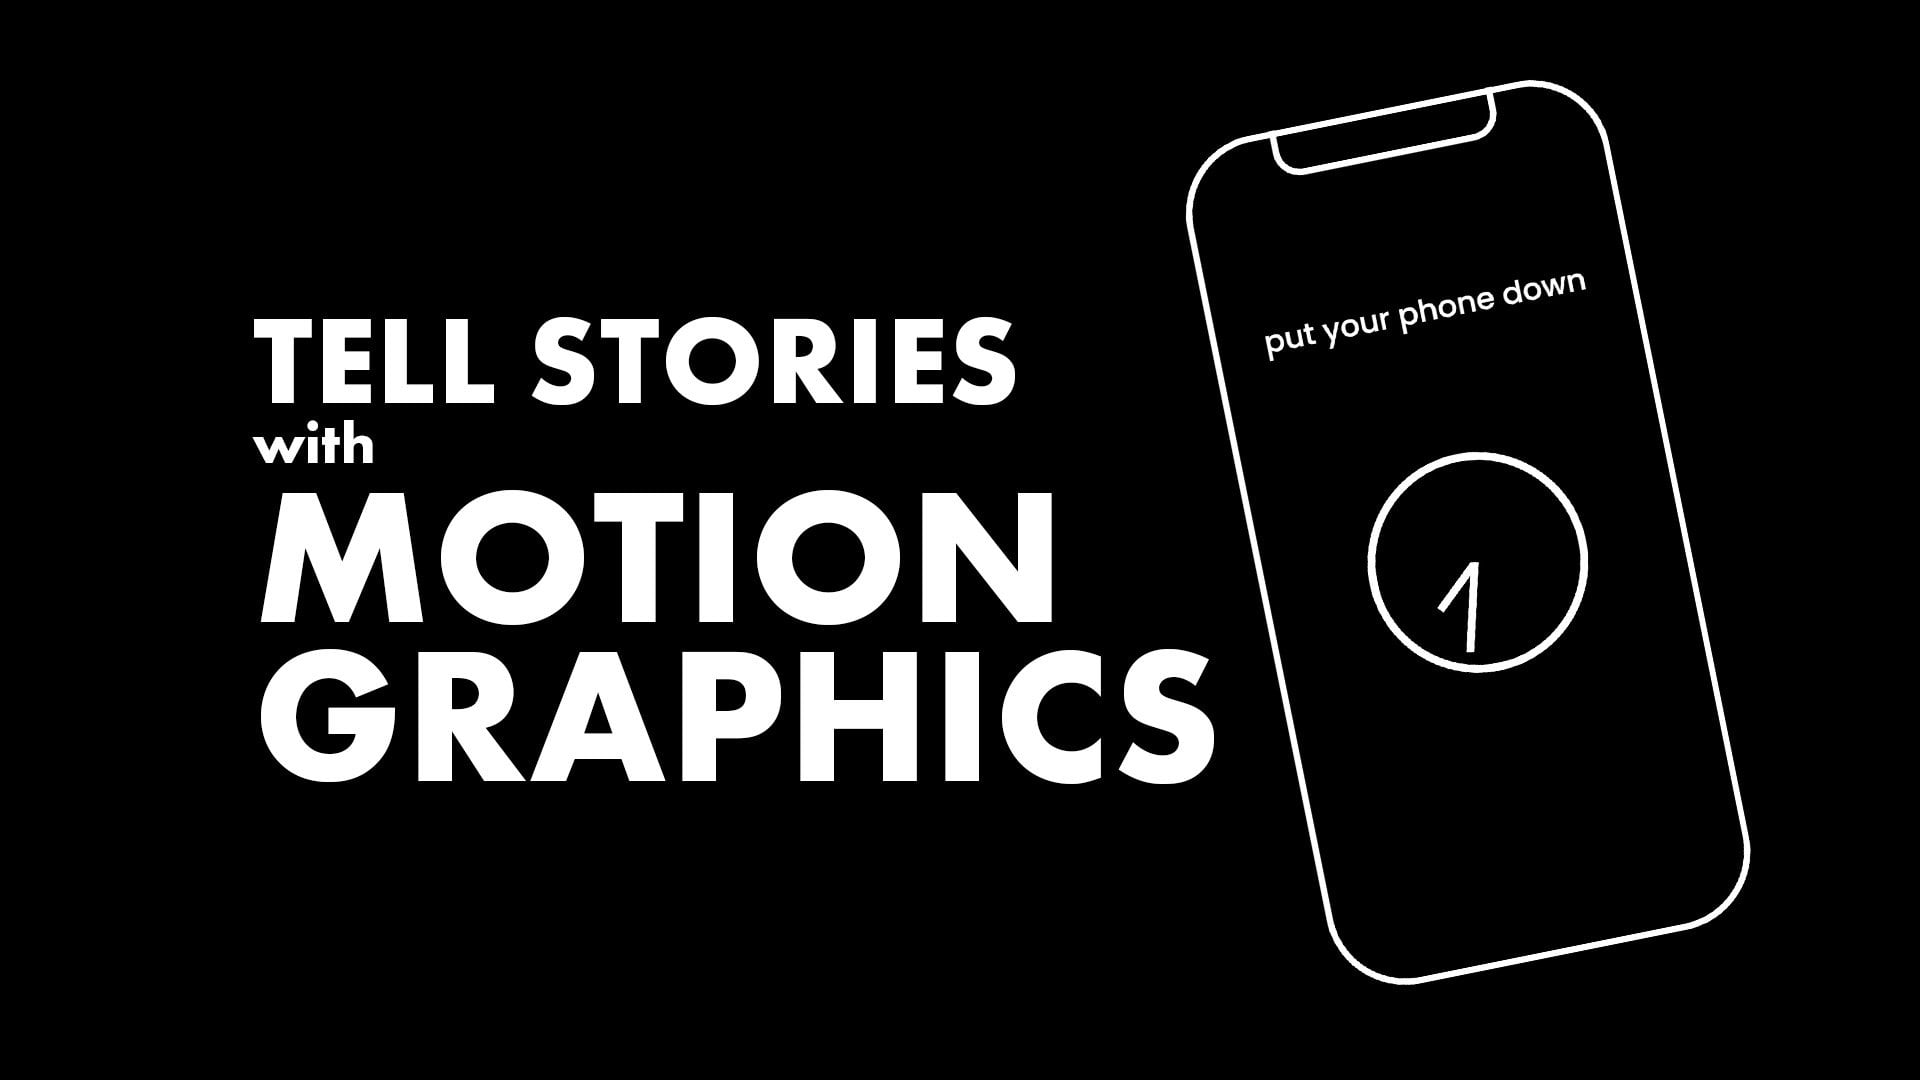
Transcripts
1. Intro: Hi, I'm good. This, I'm mostly working with musicians and I'm creating videos for their music. This was inspired by dually, by lyric video. So I decided to recreate VCM from it and to show how emitted. In this course, I will teach you how to make an animated neon cyan in aftereffects. In the beginning, we will create the brick wall background. Then we will create neon visuals. We will make them glow, and we will animate with blinking neon effect. At the end, we will add some smoke and some wiring to make the scene look even better. Don't worry if you use After Effects for the first time, I will show you how to make everything step-by-step. At the end of the course, you will have a good knowledge on how to create neon FX for images or text. Now, you need to start After Effects and join me in the class.
2. Create the background: They really liked those lyrics. Practice makes perfect. I'm still trying to learn it. So I think that fit. What we are doing here. We are going to create something like that today. So let's create a new composition and start working on it. I will create then ADP 25 frames per second. And I will change the duration to something like 20 seconds. So we have a composition. Let's create a background. Bad brick background. For that we need is some kind of brick background footage. Actually, I've found one very nice footage on Pexels. You can download it for free. And I will leave a link for this footage that I used. So let's download it and add it to our composition. I will rename my composition to main comp. So we have this background. I will press S to scale as, and I'll press this button to see the borders and I will scale it down. Okay, Now what I want to do, I would like to change this scene into a dark scene. First of all, maybe I will create a vignette. So I'll create a new solid. Everything goes into our screen. I hope I spelled correctly, if you press and hold on this, you can choose different tools. I will choose the Ellipse tool, and I will double-click on it and it will draw a perfect ellipse. As you can see, Mask option opened. I would like to make dark borders not the center of my scene, so I can invert it or I can subtract it. Any option you choose. That's perfectly fine. Okay. Let's press F. And that will open mask fever. Let's increase it by a lot. Something like that. I think that looks good. Now let's go to our main image and go to effects and presets and search for tint. And map wij to some kind of bluish greenish color. Okay, Now search for brightness and contrast. Rightness and contrast math what we need and increase contrast by a lot. Maybe to a max 100. Those bricks, way bigger van, I would like them to be. So I would like to make them smaller to something like maybe like that. I think that would look way, way, way better. But now we have is bought at which we can fill with reputable effect. So let's search for rebuttal, rebuttal. And so we can expand this background. For example, expand right? And as you can see, it's expanding. It doesn't look very good right now because dialing is set on rebuild. But if we will change on, unfold, it will unfold like, just like a book. It's the same. It's just mirrored and unfolded. So we can do the same to the left and down and up. We easily expanded and changed the picture by a lot. It's not perfect. It's unfolded in where they weigh at, at this point, but in this point, but it doesn't matter for me that much. It's not that notice more. And those small issues I can deal with that. Our background looks quite good. I think.
3. Drawing the dartboard: And now we can start drawing the shapes that we would like to use. As in my example, I would like to draw dartboard and three darts and animate them by just by changing the opacity. So let's do that. Dartboard is not very difficult to draw vats basically, 1, 2, 3, 4, four circles, even I can draw that and I already have drawn those darts. I will leave links for those in the description. I'm not going to draw those in this tutorial. So let's create a circle. Let's choose the Ellipse tool and hold, Shift and draw a circle so you can see it. I will change the stroke for now to the red. It will be more visible. And I will rename the layer to dark bars, not board. And we'll press V and I will move it. I will change the anchor point to the center of my shape. The reason for that, I would like to create more shapes and scale them up. I would like them to stay in the same position because now if I will, for example, duplicate it and I will scale it. It scales from here. So that's not very good to change the anchor point. Just select the V-shape. Press Y. And you have this this option to move it. Alternatively, you can select this band behind or anchor point tool. As you can see already it has why? Shortcut. So you can select it and move it to the center. To move it exactly to the center. You can press control. It did and it snaps, for example, as you can see, it snaps to a, to the borders here to the center. And it snaps exactly in the center of my shapes. So that's very helpful. I will go to the to my shape to contents and I will rename this ellipse to the center. And I will go to transform and we'll scale it down a little bit. I need vCenter to be quite tiny. Now, I can duplicate vCenter by pressing Control D, and I will have another shape. If I will scale it up, you will be able to see it. So yeah, we have another ship in the same shape layer. I think this way is easier to work. The problem is when we scale our Stroke Scales also. So we can close both, select contents and add a stroke. Let's remove the stroke. Let's just delete with stroke from other shapes. And now we will control our stroke of alliance by this stroke that we created. So I will change it to red again, and I will increase the stroke. Now, I can duplicate this circle by pressing Control D again, and we'll scale it up once more. And I will do the same. Once again. Control D and go to transform and scale it up. Doesn't look good. I probably need to change the scale of, well, not skew scale of this and circle. And probably will change the scale of the center. I will make this bulls-eye little bit smaller. And it's not very difficult to draw a dartboard.
4. Import the dart: So now let's import with darts, which, which I draw and I will leave links for it. So sorry, yeah, I will just drag and drop it into my composition and I will import just as footage. I'll drag it to my, to my composition. I will change the color of it. I can do that by adding a fill effect. Maybe let's change this to some kind of blue color for now and scale it down. Let's try two, search for right proportions, and let's rotate it a little bit. And I need three of those. So one here, one here, and one here. Let's suggested a little bit. Maybe it's a little bit too small. I will scale and up everything. And now I think that looks good.
5. Create the text: So let's create a text and then we will start to creating neon ethics and other cool stuff. Now, I would like to lay everything in and then we will start to work on on the magic. So new text. And the lyrics is practice. Practice makes perfect. I'm still trying to learn it. I'll just type it. Okay. We'll use a different font, Pacific or might be interesting. And it might work just fine, but maybe I will use the same form from my example, beds transmute. You can find it on Adobe Fonts. If you are using After Effects, you should have access to Adobe fonts. And it's really easy to enable and disable it. And I will duplicate it by Control D.
6. Neon look technique: So I adjusted position and VCM quite a bit. As you can see, I moved everything more to the center. So it looks like, like that. And let's create that neon look that I promised. Let's start from the dartboard. My neon look technique is quite simple. I will duplicate that two times, just to have freely Eris. So the first layer is the shadow. You can edit the name of the layer by pressing Enter so that it's more shadow. The second layer, it gives some kind of neon look lower, and the third is global. So I will disable those two layers and let's work on the shadow. I would like to make the shadow black. And this shadow is not a shadow actually, it's a base of neon light. When it is turned off, I will add a fill effect and I will make it black. We can just change the stroke to black. It's the same. It doesn't matter. I will disable this. So I could see it better. And go to layer styles and have add, Bevel and Emboss. And that gives me some kind of metallic look, which looks really cool. It fits with scene there. Well, I would like to add a shadow with drop shadow effect. But as you can see, my drop shadow effect also have this bevel and emboss effect which we created before. So let's delete this and add shadow, my vSim that we add both Bevel and Emboss, right mouse button, Layer Styles, drop shadow. It's the same effect. It's just works a little bit different with another layer styles added. So let's go to Drop Shadow, increase the distance a little bit. And it already looks way better. I would like to increase the size a little bit to make it blurrier. And maybe I'll increase the opacity and increase besides a little bit more. Now, it looks a little bit dimensional. We can clearly see that a metal thing here and it has a shadow on the wall. We can move to the second layer which is blurred. So I will enable it. I will change the stroke to the actual color, which I'm going to use. So it's B, it's going to be something like that. Yeah, that color might work well in this situation. So this color and I will add Gaussian blur. And I will increase blurriness by a lot. And as you can see, if we have a lot of blurriness, it has some kind of the glowing effect. So let's increase the, another one. Let's change the color to the same as our Blur. And add a glow effect. Glow. And it's already glowing. I probably increase in intensity by a lot and radius by a little bit. Something like that. Yep. So we created the dartboard and in the same way we are going to create all the other shapes. I'm going to rename those layers to a first, second, third dot. Now I'm going to duplicate first out by two times. And I will rename those layers to first dark, shadow, blur and globe. I will do the same with second out and further out. Now I have the bright names on those layers. And I can create both effects. I will go to this. We'll copy the fill effect and I will base it on the shadow parts. Now I can go to dartboard shadow, expanded, go to layer styles and copy blending options and drop shadow. I want to see if it's changing, so I will disable those layers. And I see that something is not right. I don't have bevel and emboss effect, so I will copy this one. And that looks good. So I copied the wrong wrong ethics and select Close. And this time I will copy the right ones. Probably we need to adjust it a little bit. And we'll disable this. Here. I think it looks good because it's has a lot of light dropping on, on the surface. But here I would like to decrease it a little bit. So I will go to bivalent emboss and will to do to decrease the depth. Something like 40. And now I will copy those effects and I will paste it to my other layers. And shadow layers looks quite good. Now, let's enable blur layers. I really like to work with fill effect because I can copy it very easy. Let's make the color of a dart, something like that. Maybe. Let's try this color. And I will copy it. Easiest that. Again. We'll search for Guassian blur. And we'll increase it by a lot. Maybe just something like that. And I will copy it and paste this effect on other layers. Now, I will enable the low layers. And I probably just go back to the dartboard glow and copy this effort by Control C. And of course, glow looks so much better, right? That looks good. Now let's work with the text.
7. Glow the text: So we have eight probably, yeah, we have eight texts layers. And to do the same as we did before, just duplicate each layer three times and apply an effect on each layer. That would be a really, really painful process. So I think it would be better to precompose both by pressing right mouse button and pre-compose. I will name it text. And okay, and now we have a text composition. We can go inside, select all, and change the text color. At first I will disable stroke because we have a slight one pixel stroke. I don't know why. I used it probably in the last project. So we can select this and press vis to disable it. If you have, is if you don't bet, perfectly fine. So now we can change the text color, will try to make it orange or something like that. Yeah, Something like that. Let's see how it looks. I think maybe a little bit lighter. Orange would look better. Maybe something like that. Let's try to do that. Okay. It doesn't matter. Okay, Let's go to text. And we did every thing here. So we can do the same as we did the last time. Duplicate this two times, rename it. I want to know which layer is which shadow, blur. And low. Again, I will disable those. I want to see the result. I will go mill. It's added by hand again, write mode, button, Layer Style, Bevel and Emboss. And I would like to make this text black by Phil with Phil effect just like that touched. And we have lack text which looks quite good. Maybe I will decrease the depth a little bit to something like that. Again, we need the drop shadow and Layer Styles drop shadow. I'm going past it to maximum distance. I don't know 15. And remember the numbers I used before and spread. No less bright. Size. Yeah. Something like that. And I really, I really like it. Okay. Let's go to blur, enable this. And gosh Mura. Increase it by something like fat. Low, boom, and below. Do I still have no? That's good. So let's increasing density to something like five and radius little bit. So we have our scene and now we can animate it. Let's start with the text.
8. Animate the text: Let's make this composition 4 second long. I will set my time indicator on four seconds and press N. And now I will have a section for second looping, pink. So Let's start to animate with text. Here. I also set with four seconds. Gentlemen, text is, it's the easiest part. I'll just animate it like fat. Vary randomly. And in just appears. Practice makes perfect. Name it. I'll animate with practice also. From the point 0, 1 palm, palm, palm, palm, palm. Awesome. So let's see how it looks here. Bump, bump, bump, bump, bump, bump. Good. Let's get back to the text and we will add some opacity, blinking effects. So press T, met will enable opacity. All the shortcuts has the similar lattice to the first letter of the effect. For example, S scale, people position, but audacity is D. It's easier to remember if you call opacity transparency. So D transparency, it's the same as opacity. So, so yeah, Let's go to the second frame of this layer and insert a keyframe. Let's get back to the first frame and change the opacity to 0. Or maybe not. We can enable at first frame. Then let's go to the 0, then to something like 50. Next frame, again to be 0 and 100. And this animation looks like that too. Some kind of blinking animation. We can copy this and add to all our layers at the beginning. By Control C, I will enable a basicity for all the layers. And you will see that I will enable it. So I copied this by Control-C and I go to this layer selected Control V. And I have a layer, Control V nano layer. And ever, and the same thing to all the layers. And now it looks, whereas four seconds looks like that. It's I like this because it looks like blinking neon thing. We can add more of it in the middle somewhere randomly. That's very berry random thing. And let's see how it looks. So let's see how it looks here. We want our shadow layer to be visible at all times. So what can I do? I will enable time remapping. So right mouse button and time enable time remapping or Alt Control T. I was shortcuts. Let's delete the first frame. And now at all times of of the composition, we have the last frame of this layer is difficult to explain for me, but at all times it will be enabled. Because at this, this time we have all the layers enabled. So that looks quite good. If we want, we can change the text color. And that will be visible in the composition. And our original composition.
9. Animate other visuals: We've already animated with text, and I'm pretty happy about it. Now let's animate with dartboard. We will use the same thing. Let's go to the text. I will copy those keyframes which we already created. I will go to dartboard glow. I'm probably started from here. I will enable best Debye by pressing T n. I will base my keyframes here. Don't belong. Boom, boom, boom, Awesome. The thing is that when this layer is disabled, this is still enabled. We can do the same and basically keyframes, the same keyframes here. And that works perfectly. But it's not the easiest thing to do if we will, create a lot of animations here, for example, we add more and more blinking effects throughout will be hard to match those. I have another solution. We have opacity and we have this pick whip. If we will, pick whip, best D from the glow, votes will be matched. And as you can see, now, when 50% of best is on the glow, it's the same 50 percent opacity on the blower layer. It's a better way to work. And now if I will add another blinking effect here, ppm, ppb, it works. It works very well. I don't need to add it again and again. So I led a couple of those, maybe here. And it looks like that. Bb, BB, very awesome. And let's do the same to the, to the darts. Again. I will go to the glow layer and I will make it in different color. I will make it orange. And I will make all glow layers orange. In that way I will know which is the main layer because I'm going to make the same thing as I just did. I will match blur opacity to the glow capacity. That's easier for me to know at which layer I need to add keyframes. So let's go to the first dart, which is this. Oh, maybe let's start from the third. Okay, so I will move those two a little bit to here, and I will copy this. And I will basically here. We'll enable transparency, pin beam, beam, beam, beam, right? I will match this, my t voter BST, and match that one. And now we have the same settings. And here I will move and 123456, maybe seven frames. I will add another keyframe and I will blink it out slowly. 0, again, some 40, 0. How does look what to do? And I will add the same animation to the second dot here. But I will start when this fades out. We'll fit it in at the same time. So when this ding, ding, ding, good. Again, it does go to a BST. Match this one with this. And the third one. It will start here. Again, T V T and match to our best. And we'll end this week by n in here. And let's see how this animation looks like. Third isn't looking right because now it should. Oh, yeah, I made a mistake here. I should do it like that. Let me fix it real quick. Like that. Let's see how it looks. Now. I need to loop it out for four seconds. We can base it again and again and again. Or we can, for example, select, select all layers, press Alt and right brackets. Let's move it to here. To the last keyframe. Here, the last dart do not respond to the keyframes. And I guess it is because as my last mistake, I forgot to disable the expression. So I will disable it now, and it should work perfectly. Now. I probably need to add this keyframe here to loop it out correctly. Let's try to pre-compose all dharmas layers. Darts. Ok. And it looks like that. And we can go to time, enable time remapping, press Alt, and select the stopwatch and write loop, loop out and see how it looks. Now it doesn't look right. Okay. So I need Bezier over time. Okay? This is bad because we need to change this frame to 0, and now it will look better. Let's see how it looks. So to explain what we did, we created this animation. We get it at the end and we just loop. To doubt, as you can see, loopOut has a tiny bug. We can go to the one frame before the last frame, enable the keyframe and replaced the last Graeme with that key frame.
10. Background lights: Now we can add the background lights, which will give us a little bit more of glowing visuals to the wall. Because when this glowing wall also should look like the light is glowing it just, just like that. So let's create a new solid and name it bg light. Okay. We'll drag down and select a pencil and draw a mask on it. Just be sure that you select it with layer because it will draw a shape. If you draw a drawing a mask, you should see that square near, near VIP m. So if I will draw a mask around this, it will look like that. Let's press F2 to at whatever. Now add four color gradient effect to it. And you already see that things are changing. We have those points. For example, this one is a green point, and I will change the green point to this color. So just those points based on the colors of your animations of your pictures. Okay, that looks quite okay. So change the blend, blending mode. If you don't see the blending mode, you can press F4 and that will enable and disable it to Vivid Lights and go to a BST. We already know the shortcut, It's D and decrease it to something like 30. Yeah. So this is how it looks without the background light and with it, I think it looks good. It looks quite good.
11. Smoke: Last defect that I would like to add, the smoke affect this scene is very clear and I would like to have a little bit of smoke at the bottom of the screen. We can do that by creating new. Again solid. And let's name it Smoke. Let's add fractional noise effect to this layer. And we have this noise. We can increase the contrast by a lot. What about the brightness? Maybe decrease it a little bit. And let's invert it. It doesn't look like a smoke. Yet. We can decrease the opacity a little bit. And let's draw a mask. Again. With mental. I will draw a mask. I would like to smoke to be on the bottom of screen. So something like that. Bad, bad, bad, bad, bad. We would like to increase the complexity again by a to something like 20. And you already see some kind of the clouds. If we want to move this, we need to change the evolution. And it moves a little bit. So we can do that with keyframes are we can do that with expression. Both options are fine. I will do this time with the key frames. I'll set the first keyframe at the beginning and the second keyframe at the end. I will change by evolution to something like free I tested before and I really liked it. The next thing that I would like to do, I would like to change with fever. Fever. Probably that's forever. And yeah, something like that. I don't want that AG edgy look. Something like that is better. Again, I would like the smoke to move a little bit. I would like to move it to the right side, may be a little bit up. So to we can go to Transform and we can set key frames to offset turbulence. Right? We have one key frame here. And the second one, you can see that it's moving and it's moving up. So it looks like that. And it doesn't look good yet. I would like to decrease the opacity of the effect by a lot to something like 30 probably. And I will change the blending mode to add. That's already looking like a little bit of smoke. I will also decrease the opacity here. And I will add a fill effect with the color of some kind of a gray. And maybe decrease been a little bit more. I don't want it to be very visible to visible.
12. Wiring: So this is how it looks. And another thing that I would like to add is wiring. It gives a little bit of depth to the scene, and it's quite easy to do. So select on empty place on your timeline, select the Pen tool. And let's draw a stroke. And I will draw a stroke with darts on the dart board. And in mid-deck something like vat. Okay, it doesn't look too good. I will make lack we'll make the stroke less visible to some black. No, to something like two pixels, probably of three pixels, maybe two. Do is maybe just small I will make is free. Okay? I want to name It's wire. And I will move it below visits, smoke and below. Actually blow everything. I will add VCM effect from vSim shadow ethic basically. So Bevel and Emboss and drop shadow. Let's have a look. Drop shadow, not very visible. Not very visible because distance is too far and size is too big. Yes, something like that might be might be better. So I'll go to the first frame when it's not lighted at all. And we can adjust it a little bit. Shouldn't be perfect. Let's see how it looks. We have the wires which goes based on our picture. And the last thing that I would like to add to those wires, I don't know how to name it, but probably clippings. I will draw another shape like that. I will increase the stroke a lot. So this is, I'll name this wire. This one. Clipping. I don't know that's the right word for in this context, but I don't know about awards. So let's go to Stroke. And from no change Milton john to Brown join. And nothing had been from butt cap to round cap. And that looks like This thing is a holding the wire, which I like. And now we can duplicate it. And more. Whoa. And move to other parts. Whoops. That's going back to condense and set it up the places that you want. Maybe here. Whoops. And I think stroke might be a little bit too wide. Maybe 10 points. Maybe it's still a little bit too wide. Let's try. I will add a couple of those. I like to add.
13. Final Result: Congratulations, You made it to the end of this course. I hope you get a real grasp on how to create a neon sign. And I hope you created one in the wave at you like If this course helped you to create a neon sign, make sure to post it on the class project. And if you posted it on social media, please tag me as, as Belgium so I can see it like it and leave you a comment. I really enjoy seeing my students work online. Thank you so much for taking this class. Stay creative and see you in the next course.
 Gytis A., Motion designer