AI-Powered Portrait Editing: Quick and Easy Tools in Lightroom Classic
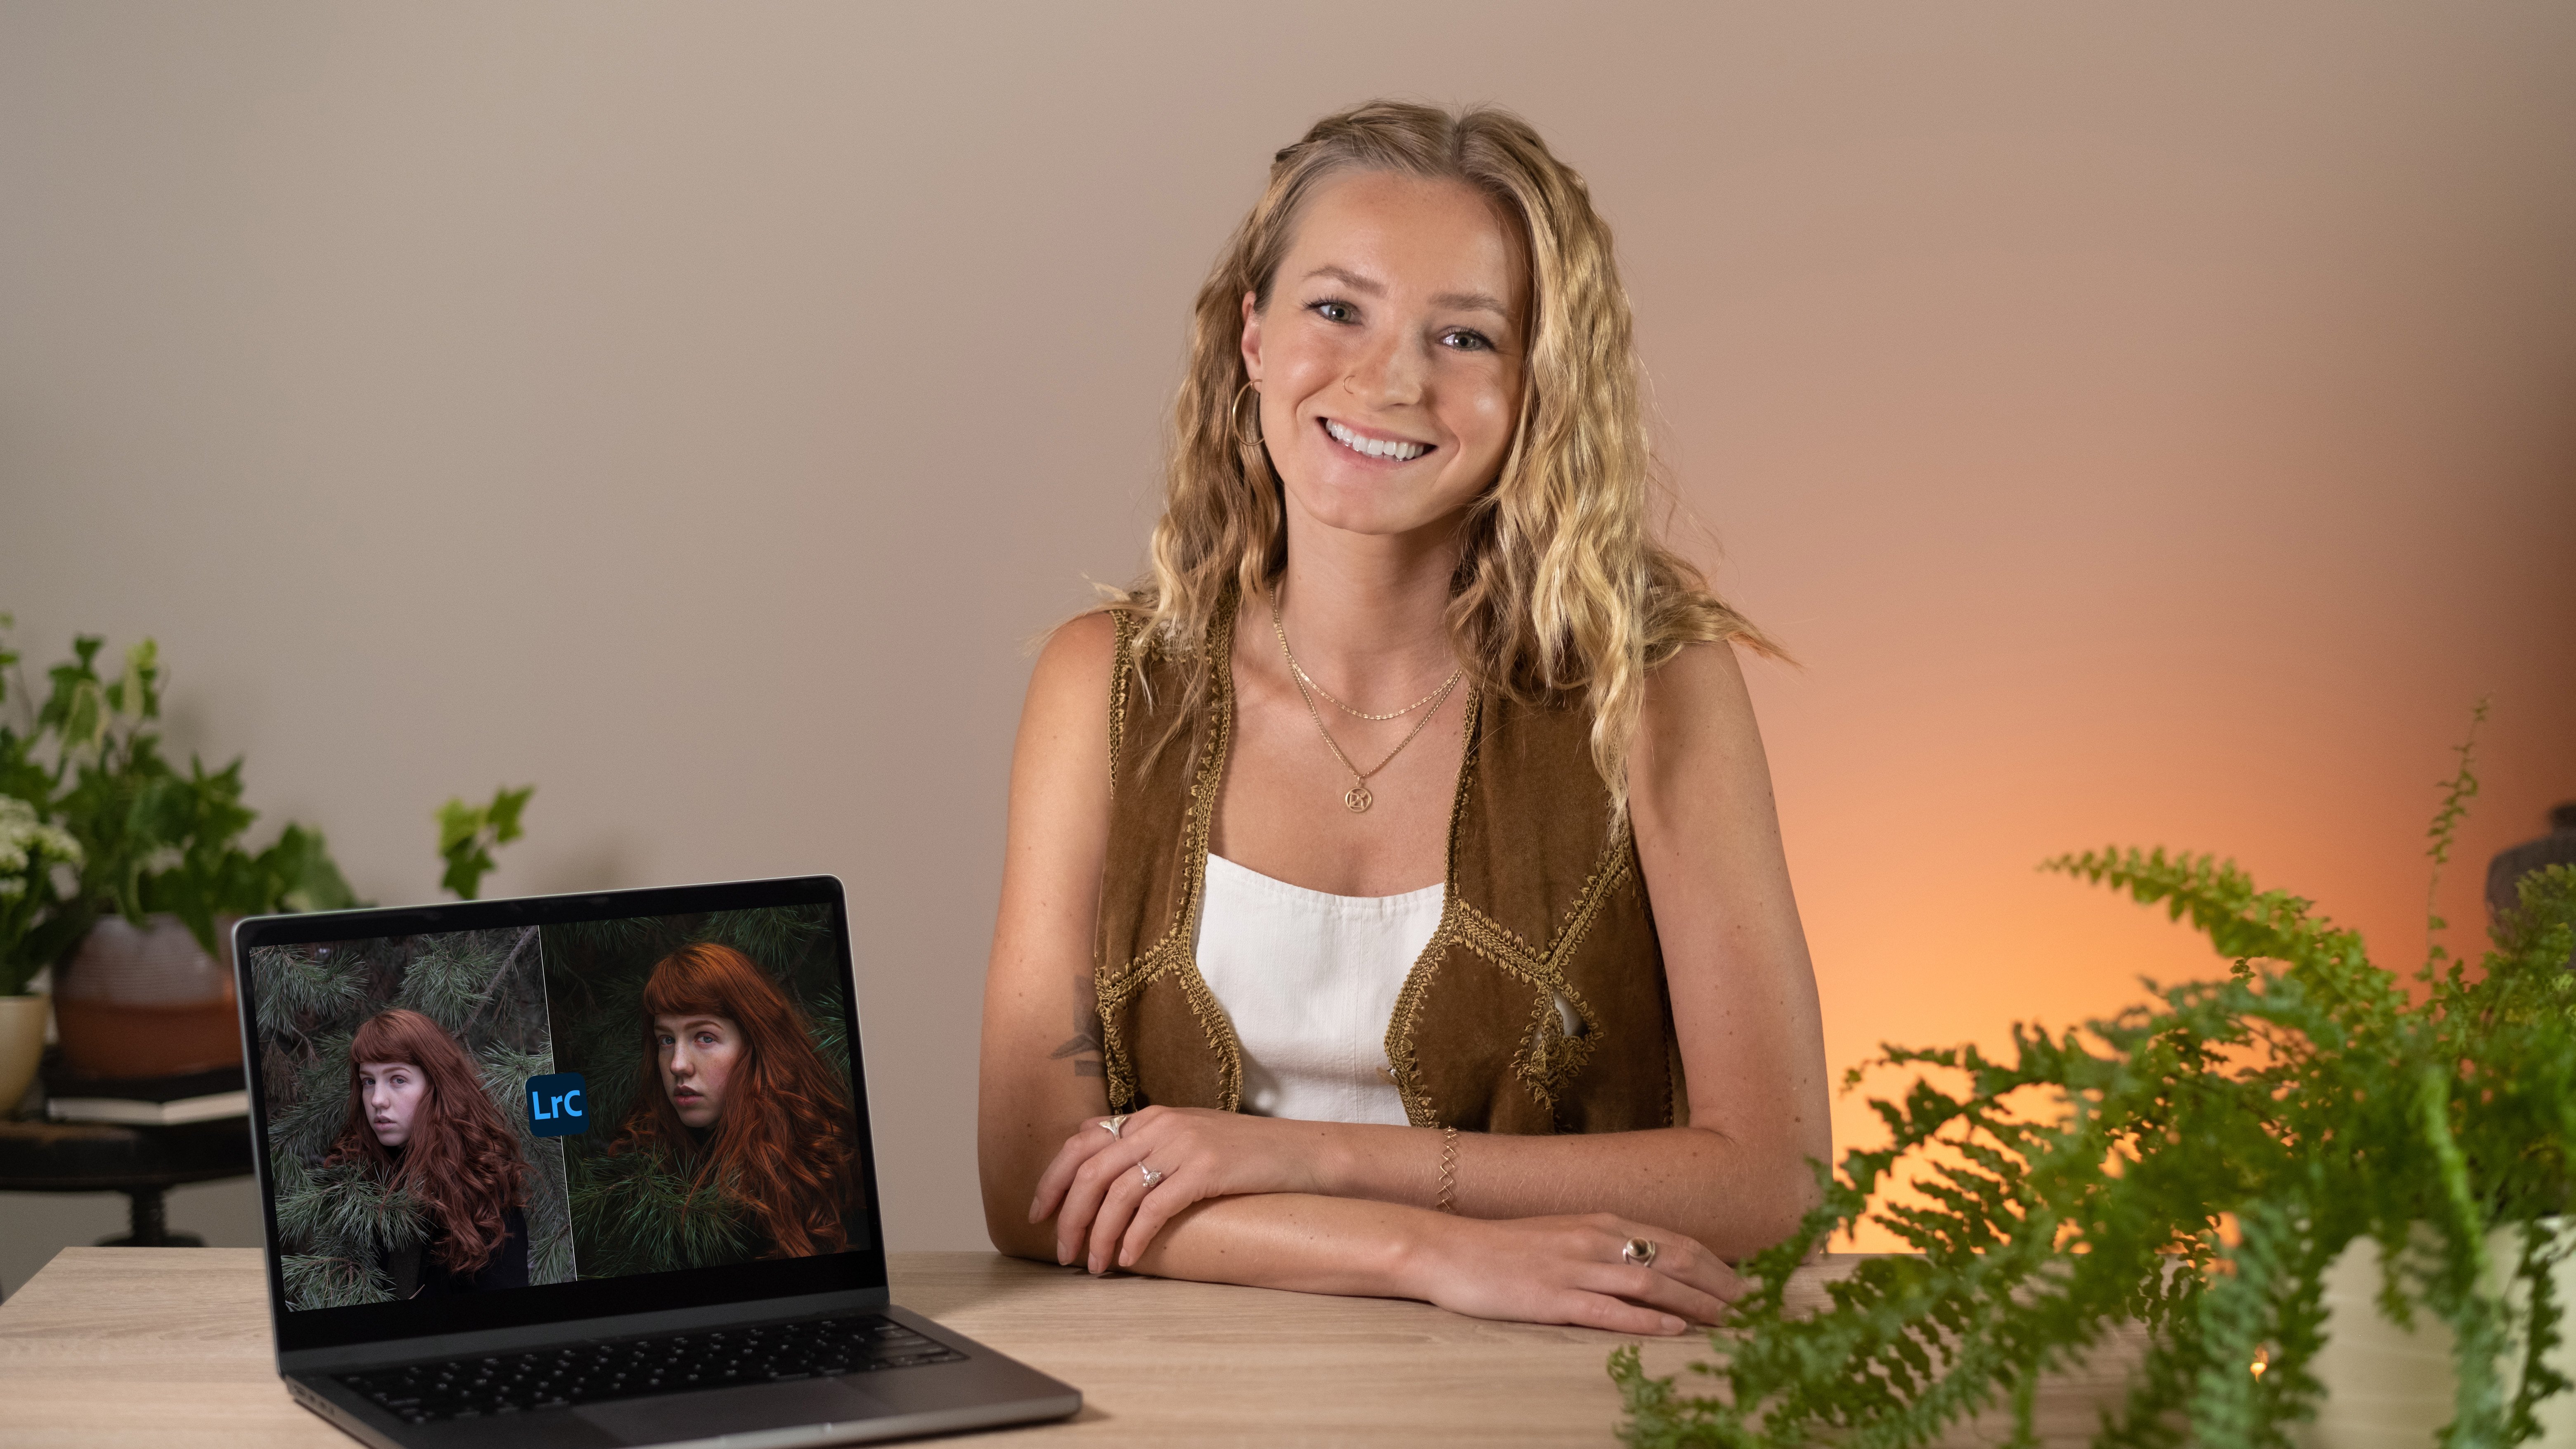
 Klara Zamourilova, Photographer/Videographer
Watch this class and thousands more
Watch this class and thousands more
Lessons in This Class
-
-
1.
Introduction
0:27
-
2.
Project
1:16
-
3.
AI-Powered People Masking for Targeted Edits
1:40
-
4.
AI Select Subject: Quick Background Adjustments
1:30
-
5.
AI Noise Reduction
1:38
-
6.
Gradient Mask with AI Refinement: Natural Lighting Effects
1:37
-
7.
Thank You for Watching
0:27
-
-
- --
- Beginner level
- Intermediate level
- Advanced level
- All levels
Community Generated
The level is determined by a majority opinion of students who have reviewed this class. The teacher's recommendation is shown until at least 5 student responses are collected.
137
Students
3
Projects
About This Class
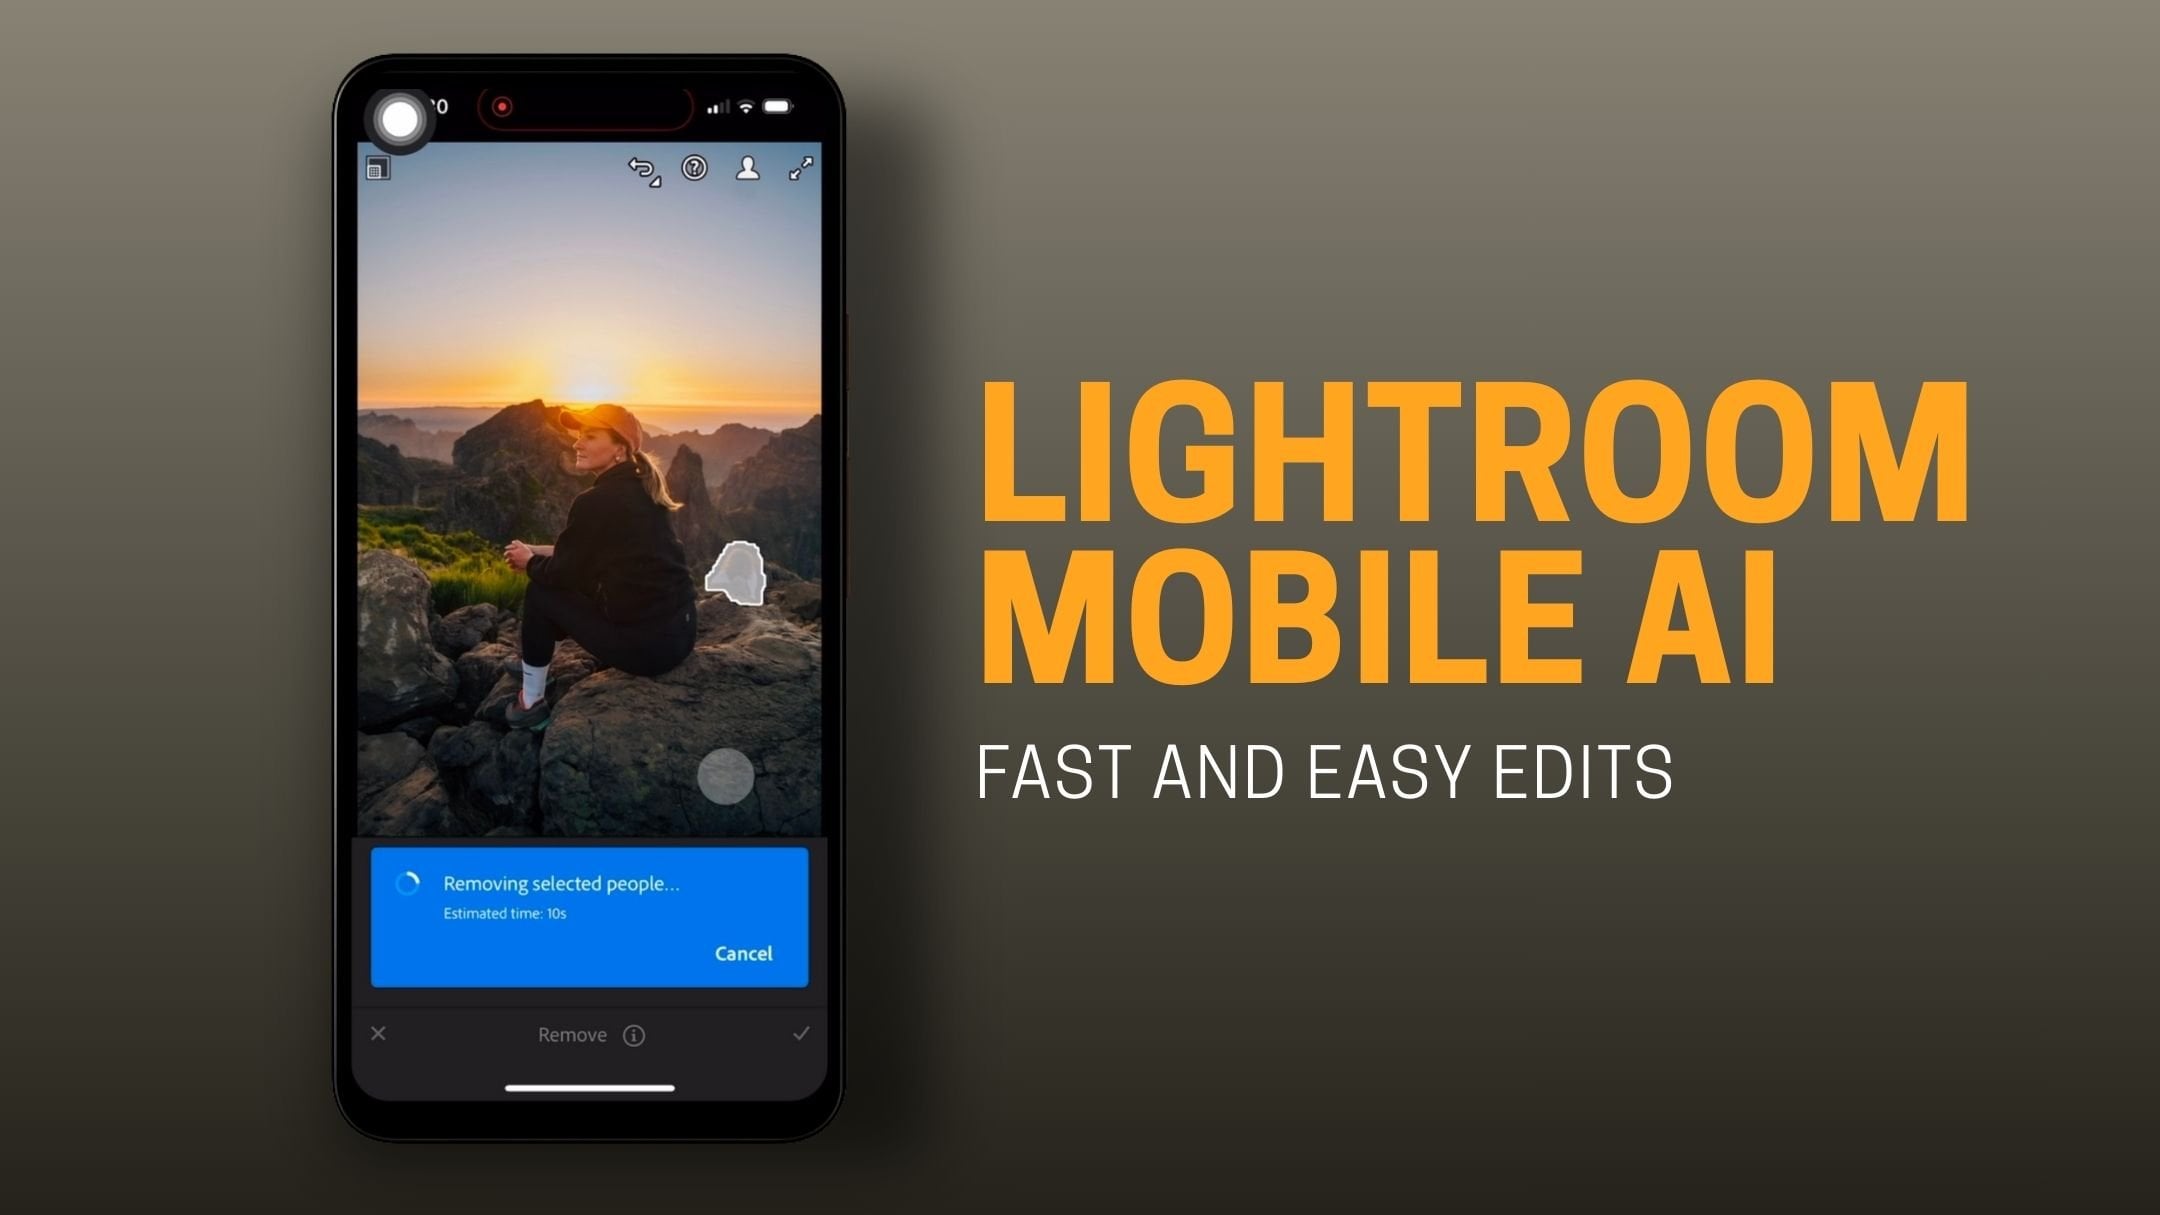
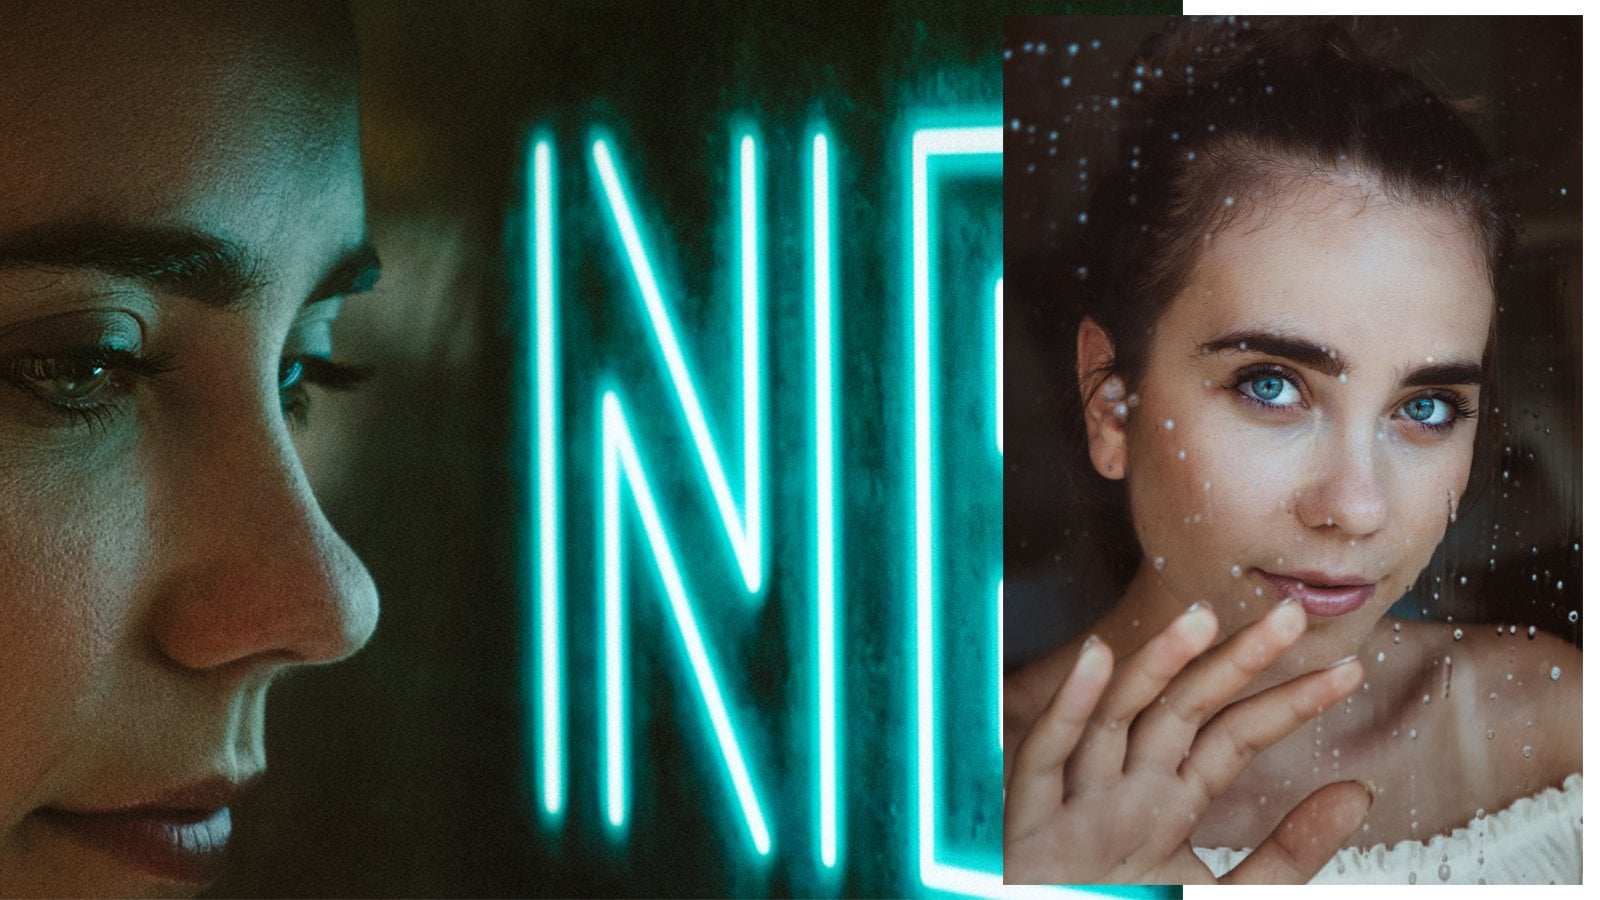
In this class, you’ll learn how to quickly and efficiently enhance your portrait photos using Adobe Lightroom's powerful AI tools. Whether you're a beginner or a seasoned photographer, these tools will help you edit portraits faster, smoother, and with professional results. We’ll cover everything from skin retouching to background adjustments and natural lighting effects—all in a way that saves you time and effort.
What You Will Learn
By the end of this class, you’ll know how to:
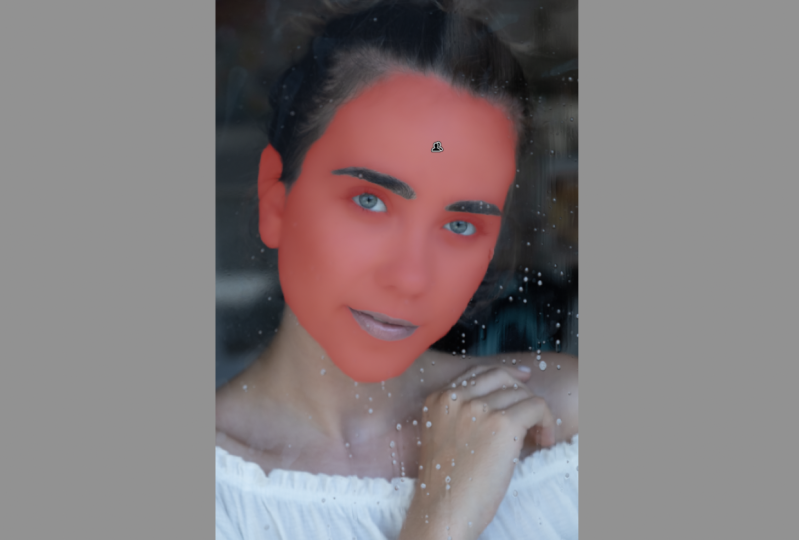
- Use the AI People Masking Tool to enhance skin, eyes, and hair with precision.
- Adjust backgrounds using the Select Subject feature to make your subject stand out.
- Apply AI Denoise to improve image quality and reduce graininess in low-light portraits.
- Create lighting effects with Gradient Masks and AI Refinement.
Why You Should Take This Class
Portrait editing doesn’t have to be overwhelming or time-consuming. With Lightroom’s AI-powered tools, you can simplify your workflow while achieving incredible results. Whether you’re a beginner exploring Lightroom or an experienced photographer looking to speed up your editing process, this class will equip you with valuable skills.
Who This Class is For
This class is designed for photographers, content creators, and anyone interested in learning how to edit portraits effectively in Lightroom. No advanced experience is required—just basic familiarity with Lightroom Classic is helpful.
Materials/Resources
To complete this class, you’ll need:
- Adobe Lightroom Classic (latest version preferred).
- A portrait photo to edit (you can download one from the Class Resources or use your own).
Share your finished photo in the Project section to receive feedback and connect with other students!
Meet Your Teacher

I'm Klara and I teach photography and videography classes.
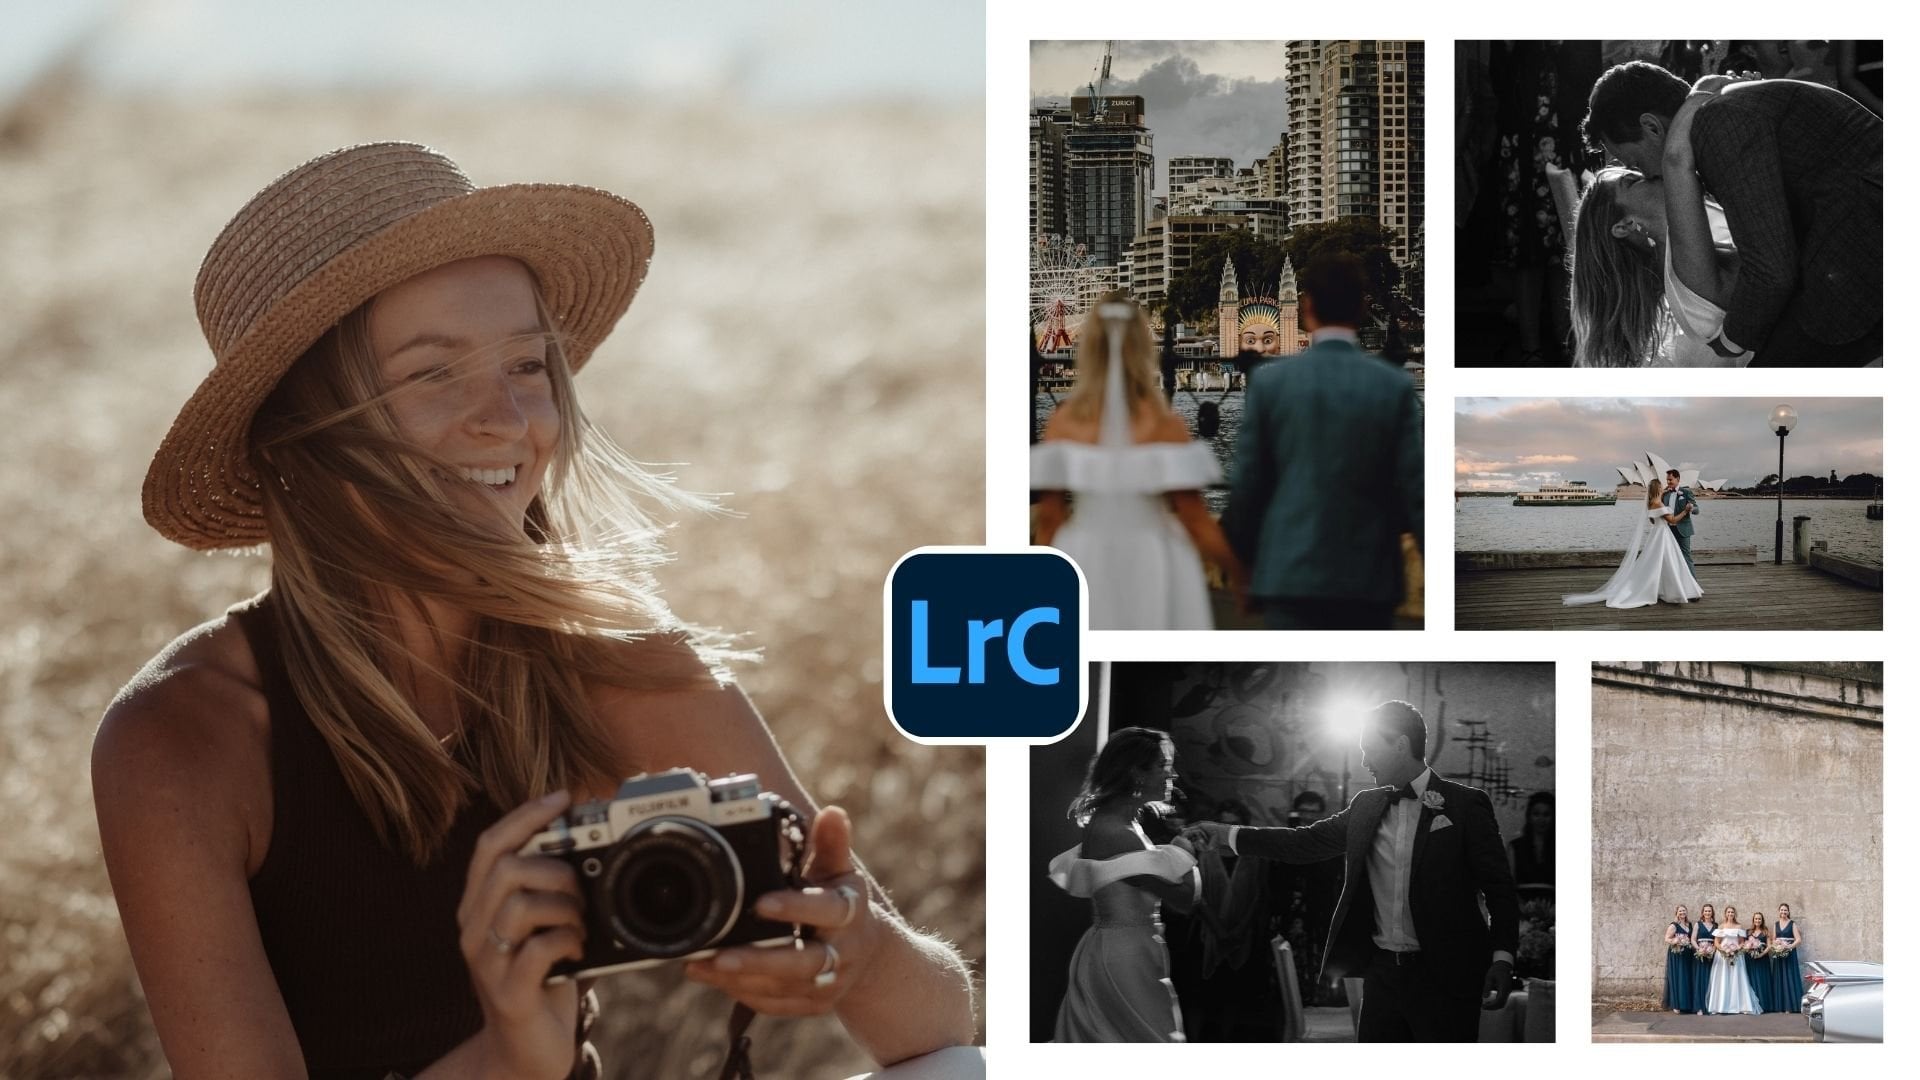
After almost a decade of being a photographer, I still haven't decided what I love shooting the most. So I'm like a chameleon, enjoying every photo job, shooting anything from Weddings, Couples to Landscapes and Documentary photography.
I've been documenting WEDDINGS, ELOPEMENTS and happy family moments all over the world for the past 8 years. And it have been absolutely incredible years! After moving through different countries, I ended up living my dream in the land down under, Sydney (Australia).
I knew I wanted to be a photographer since I was a kid. I grew up in a small village in the Czech republic, surrounded by forests and fields of corn, so my first focu... See full profile
Hands-on Class Project
Your project for the class is to apply the AI tools and techniques you’ve learned to create a stunningly edited portrait. This hands-on project is designed to help you practice and solidify your skills while showcasing your creativity.
Steps to Complete the Project:
-
Choose Your Photo: Download one of the sample images provided in the Class Resources section, or select a portrait you’ve taken yourself.
-
Import and Plan: Bring your chosen photo into Lightroom Classic. Take a moment to assess the image and decide which areas you want to focus on, such as skin smoothing, enhancing the eyes, adjusting the background, or refining lighting.
-
Edit with AI Tools:
- Start with AI People Masking to target and edit specific areas like skin, eyes, and hair.
- Use the Select Subject tool to modify the background while keeping your subject sharp.
- Experiment with Gradient Masks to create professional lighting effects.
- If your image has noise, apply the AI Noise Reduction tool to achieve a cleaner and smoother look.
-
Share Your Work: Upload your finished portrait to the Project Gallery to share with the class. Include a brief description of your editing process and the tools you used.
Project Deliverable:
Your final deliverable will be a beautifully edited portrait, uploaded to the Project Gallery. This can include:
- A brief description of the photo and the specific edits you made.
- Before-and-after comparisons (optional, but highly encouraged!).
Why This Project Matters:
This project will help you gain confidence in using Lightroom’s AI features, enabling you to edit portraits more effectively and efficiently. Sharing your project in the gallery will allow you to receive valuable feedback from your peers and learn from their creative approaches.
What You’ll Need:
- Adobe Lightroom Classic.
- A sample image from the Class Resources or your own photo.
Get Creative and Have Fun!
This is your opportunity to explore the tools, experiment with techniques, and make the edits your own. Don’t hesitate to ask questions or share your process along the way. I’m here to help, and your classmates are a great resource for feedback and inspiration.
I can’t wait to see your amazing edits in the Project Gallery!

Class Ratings
Why Join Skillshare?
Take award-winning Skillshare Original Classes
Each class has short lessons, hands-on projects
Your membership supports Skillshare teachers
Learn From Anywhere
Take classes on the go with the Skillshare app. Stream or download to watch on the plane, the subway, or wherever you learn best.