Transcripts
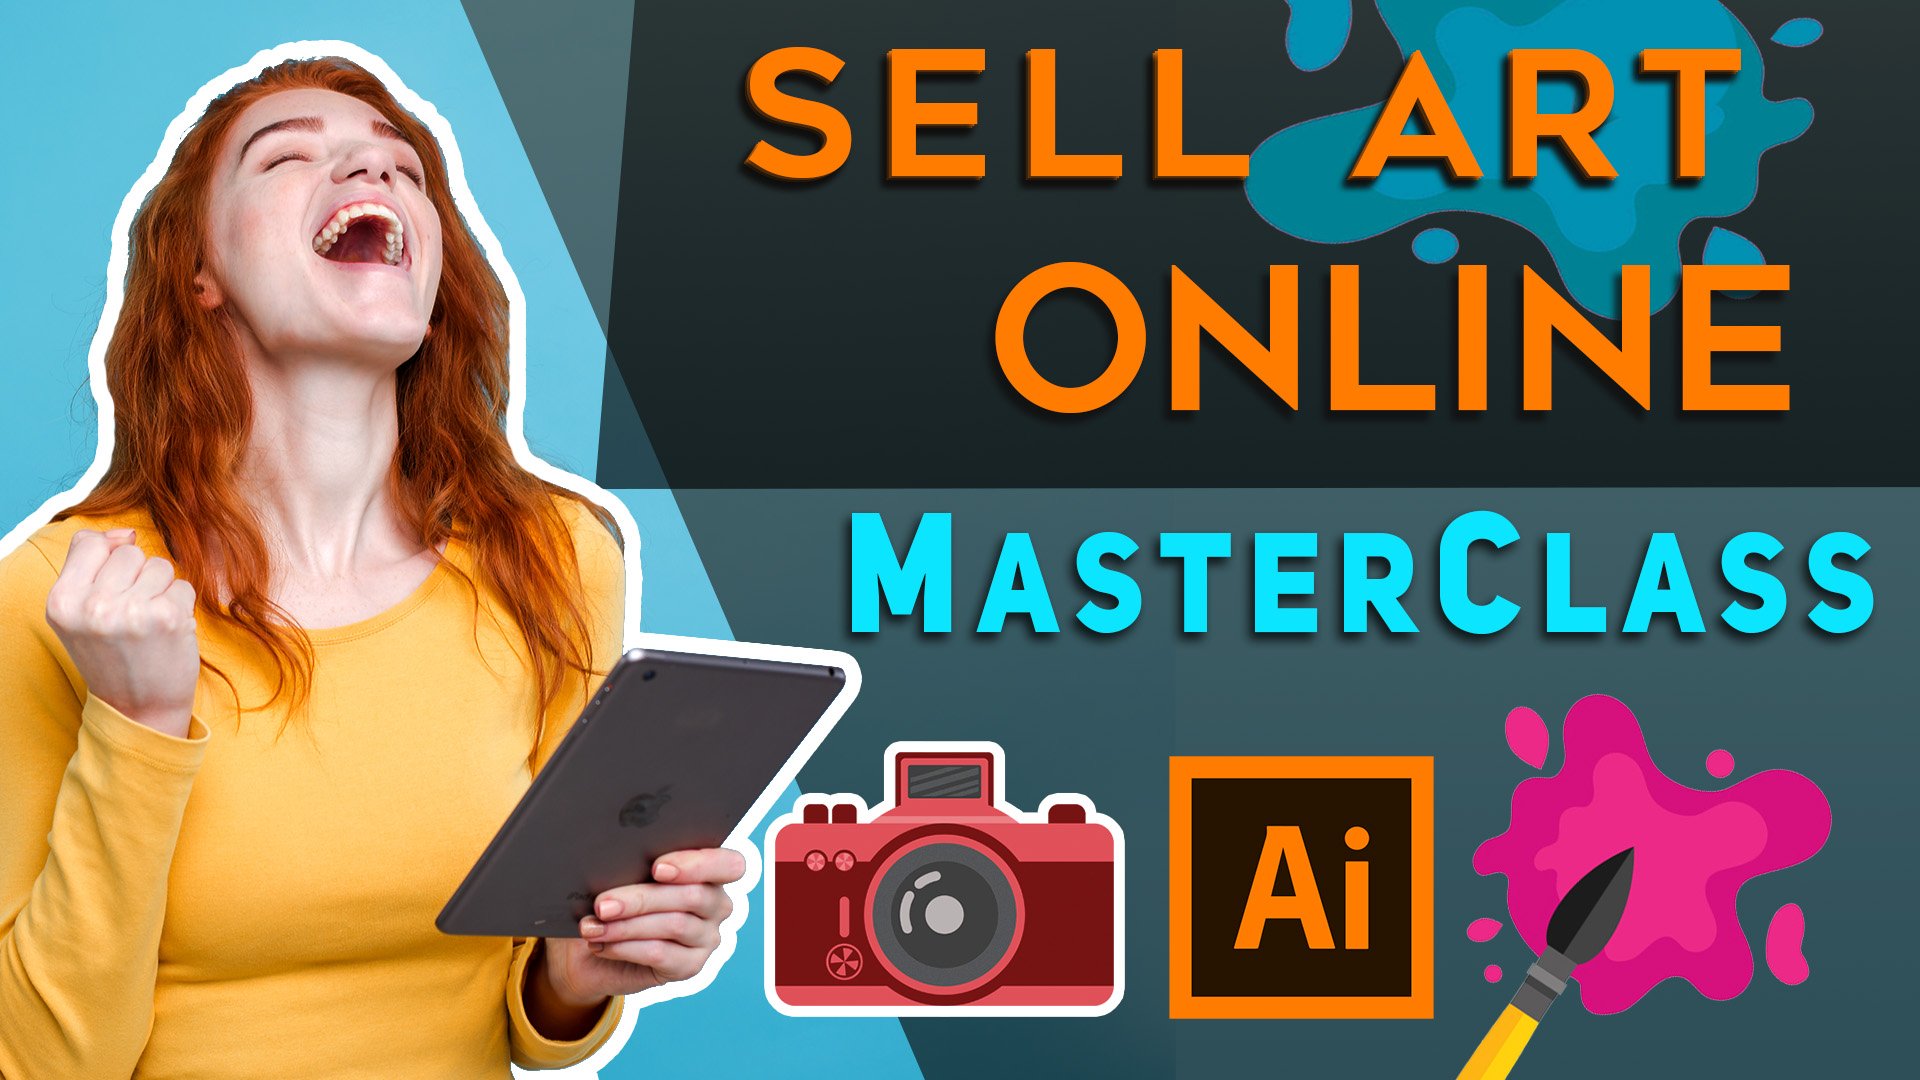
1. Intro: Today we're going to
learn how to use chat GPT and custom GBT's to generate both images and
metadata at the same time, making it so easy to
sell our art online. I'm going to give
you practical tips, tools and procedures to bridge the gaps as you create
your own custom GBT, master the meta data and upscale the images to make them
big enough to sell. Why do you need to
take this class? Well, we know it's super
easy to make images with AI, but it takes a
specific knowledge to create images that
are both large enough to sell and have the right text
attached to attract eyes and interest as somebody
who's rendered thousands of images one by one in
Illustrator and Photoshop, as well as taught
tens of thousands of people how to sell
their art online. I am excited for the next generation of art
and I want to show you first so that you have the greatest opportunity to benefit from this
new technology. I do want to say before
we get started that my sell art online master class is more relevant than ever. I've sold tens of
thousands of products and spent exactly
$0 on advertising. That class will show you how to sell this art once
you've created it here and save you tons of
time, and I'm proud of that. Then in this class
and the master class, you'll learn how to
create an infinite amount of content that you can
monetize right away. And start bringing in really
truly passive income. Let's get started.
2. Overview: Let's go through quickly what we're going to create
in this class. The final goal is to create or really just
modify this because I'm going to give it to
you this custom GPT that will generate
not only the images, but also all of the texts
that we need to sell it. Now as this is generating, I want to mention that there
are other methods like mid journey stable
difusion as well as Paso. There's like 1 million of these
AI art things popping up, but it's kind of hard to get one that will also do a good job generating
text as well. So what we're doing with this
GPT is we're trying to get one or more images along with the actual text that we're going to
need to sell this. So what we're looking
at on the screen is a simple request to
this GPT saying, okay, well, I want to make
some trust shirts for Lago Alan which I'm looking at right behind
my computer right now. Here we can see our first image just came out. This
is very interesting. This actually looks similar to the street just outside
of where I'm living. It is doing a fairly good job
to generate these images. These do give me the
general vibe of the area. What is actually going on here, if you've never made
a custom GPT before, this is the interface
and we have this prompt here which is what is running to generate
these images. We're going to take a look at this prompt later in the course, but for now you just need to know that this is
what's happening. We also have the option
to add other data, which if you want to
get better keywords, you could create a document
with a bunch of keywords that are working well and
you can add those as data. You can also add some, a brand document or
something that shows your voice if you want the
text to be more textured. If we jump back, we see that most of our images
generated and we've got all these keywords as well as a title description
for each image. This is why you're
here. This is why you took the class
because you want this, I'm going to give it
to you right now. If you go to the resources, you're going to find a link. Use this exact GPT. Also, in the resources, you'll find this
document which I wrote, which talks all about
modifiers that you can use to get back better images as we go through in the
rest of the course. And we start to modify
this reference, this document to see how you can change what images
you're getting out. Now that we've had a look at how this works, we're
getting images, we're getting tags, and we're
getting network errors, but we still got it. Now it's time to
make it even better.
3. Mastering Metadata: Next up, we're going to
talk a little bit about keywords and then we're going to dive into
something super practical. And that is how to
upscale your images, making them bigger
without losing quality. So 1,000 by 1,000
pixel images can be sold on products that need
10,000 by 10,000 pixel images. So we saw what kind of keywords that we
were getting out by default using the prompt and the GPT that is provided
with this class. But what if this isn't
really working for us? Well, guess what? Seo is one
of the hottest topics in AI. So there's all kinds of articles with little
snippets that you can add or incorporate into your GPT to
get better results. If we go back to our GPT wizard, we can see that we did change to write 15 tags,
but that's all we did. Why not give it a little
bit more instruction, like top performing keywords for the blank industry in 2020? And ironically, it's actually
the same industry that we need for this
particular thing, this art about Lago Atitlan. But you can change
this as well as you don't have to make it
for a specific industry. For the last part
of this lesson, I'm going to include
some of the lesson of the keyword research from the cell art online
master class. Enjoy that and I'll
catch you back to talk about how to make
these images bigger. Mastering Metadata. Metadata includes all of the
information you'll provide the print on demand and stock sites when you're
uploading your images. To make our lives easier, we're going to
prepare a document containing a set of
effective metadata, including keywords, descriptions,
and title fragments. We can use for every
image we upload. Once we have our
metadata prepared, we will just copy and
paste the data to make uploading fast,
easy, and mindless. Our goals with meta data, we're targeting search engines with text and links while also showcasing our personality and informing potential
buyers about ourselves, our images, and anything
else we want them to know. Organizing metadata, Get
together a document, whether it be in Google Docs, Word or anywhere else that will house all
of your information. Don't need one set of
tags, title, fragments, and descriptions for each type or subject matter
of art you create. You can choose to organize
one document for each type of art or keep them all together
in one master document. Here is an example of one
document for each type of art. This is a description,
title, fragments, and keywords, four
sacred geometry images. Let's talk about each
part of these for both stock photocites
and print on demand titles and
title fragments. When selling on
stock sites, titles, sometimes called captions, function as an
extension of your tags. They're an attempt to grab
traffic by matching what users are searching while still providing accurate
information about the image. For print on demand sites, your titles are a little
bit more personable, related to the exact art, but there's still some room for part of the title that
people will search. And that's what I call
a title fragment. A title fragment is a
section of the title which may include the
type of the image named, collection of images,
photoshoot information, how it is used, or other
useful information. This should ideally connect with what a potential buyer
may be searching for. Here are some examples of title fragments for
print on demand sites. You can tell about what type
of art you're making with anime fan art or sacred geometry patterns added
to the end of the title. Or you can just
title a collection of art like the Summer in Rio collection or just Summer
in Rio for stock sites. We're thinking mostly about
what people are searching. Try things like high
definition fractal art for backgrounds and backdrops. On white background
vector illustration, man face portrait outdoors,
natural background. Adding a title fragment, a title fragment usually goes
on the end of the title. For each image, you
may choose to use a separator character
to separate the name of the work from the title
fragment if you wish. Here are some examples of some separator
characters you can use. Remove meaningless
words such as and add descriptive words such as
bright outdoors looking away, or phrases such as natural
background for your titles. Tags include as many relevant
and descriptive words about the actual photograph
or piece of art as you can. Don't spam with words that are unrelated to the photo
to try to get views. Instead, cover every aspect
of the work as it could be viewed by different observers
or different consumers. Using unrelated titles
and tags can lead to image rejection and
if you continue account suspension
or termination. Writing effective descriptions, effective descriptions work for both search engines and people. Descriptions are
more prominent on print on demand sites
than stock photocyites, where you often just have
a caption that serves as your title and your
description descriptions or captions for stock
photocyites usually have a max character link and are
not meant to be personable. Use a description to list
information and use cases for the art in a way that might match what a
user is searching. I want to show you an example
of this on Shutterstock. Now this is the
second image that shows up whenever
you search fractals. And you can see down
here in the caption, they've got a lot of stuff. The first sentence
says, abstract computer generated
fractal design. That's thrown in a
lot of keywords as well as telling you
exactly what it is. Then it goes on to say, a fractal is a never
ending pattern. Fractals are infinitely
complex patterns that are self similar
across different scales. That's like the
story of fractals. That's getting you interested if maybe heard of fractals before. And then check out
this last sentence. Great. For cell phone wallpaper. That's giving you a use
case for this art overall. It's a potent caption and certainly part of the
reason why it's showing up. Second, in the
marketplace search for fractals on print
out demand sites, you have more room to work with both in characters and
in expressing yourself. We want to foster an
emotional connection with our product description. Some potential
customers will have this connection just
by seeing the design. But those on the edge, or choosing between several
different products, can be swayed by a
personable description that gives them a
reason to choose you. Some printed demand sites have
shorter character limits, like Society 6,200.50
character limit. So make a full version of
your description and then compress it into a short
version for limits like this. Even for the long version, short and sweet is usually
best personality pitch. The first part of our
description will be some copy that gives the reader an
impression of us as an artist. This should be a few
sentences to a paragraph, but not long enough to be
intimidating at a glance. Remember, short and sweet? Use the first line to hook
the reader's attention. You can do this by
using a word or phrase that grabs attention or
by starting a story. The human brain loves
colorful stories. And anytime you can incorporate stories with imagery
into your description, you'll turn many
eyes into fans who feel they know you and
are a part of your story. This story can tell about
how you make your art, why you are inspired
to make art. The power of this type of art, your dreams, your
vision, etcetera, et cetera, jam the
most interesting parts into a few colorful sentences. It doesn't have to be about you, just be about the art or an
idea that the art represents. Let's look at some examples of descriptions that I have used. First off is a very short
description for fractal art, explaining that it's beautiful because we are also fractals. This is encouraging people
to think and create a relationship with this art by starting to expand
their imagination. Next up is a sacred
geometry description that may be a little bit long. It could probably
be shortened up, but it really explains
what sacred geometry is. This may convince somebody
who just stumbled upon the design that this is beneficial and something
that is worth purchasing. And finally, we
have the copy for Sir Douglas Fresh that
I use on my profile. This description leads
off with a question, why do we see the world in ourselves as separate
when we are one? This is an effective hook
because it gets users to think as well as makes
them create a response. It also helps to weed out the
customers which may not be aligned with the vibration
I want to put into my art. It's really important to be your full genuine self and let that shine
through your description. Never worry about
turning certain people away with a description
that is too raw. Nobody's not going
to buy your art just because they didn't like something in the description. If they like the design,
they're going to buy it. But the description can
help people that are on the edge or might not
even know who you are, to start to feel that
connection and really feel good about purchasing
something from you. It's just as important to
keep it real and genuine as it is to keep it short and sweet links in
your descriptions. The second part of our
descriptions will be our links. You can foster a relationship
with your viewers and with search engines simply by inviting the users to
check out your stuff, other places on the web, and providing links
for them to do.
4. Artistic Styles: Right now, take the time
to go to the resources, dig up this prompt, and create your own custom GPT. If you've never
done that before, all you have to do is come
down here to your name, go to my GPT's and create a GPT. Go to the resources,
get this prompt, come over here your own GPT
and paste in the prompt. If we go over here
to the prompt, we can see that it's pretty
basic and there's actually nothing telling us about the artistic style
that we're using. So I've included in
the resources this mastering image generation
playbook which I did write, and it's got a
list of modifiers. We also have modifiers for
all types of different arts. So here's a bunch of different modifiers that you can use your viral
T shirt design. You can either copy some of these and then you can further define what you need after it. Or you can try to
go on your own. We don't have to use
these modifiers, but they do make
it a lot easier. For example, let's say we want
to have some photography. By looking at these modifiers, we can know exactly
what we can change. Jumping back to a more
basic understanding, these are modifiers that you can use in pretty much any prompt. One that is getting
a lot of attention recently and it
should, is emotion. What I'm going to do
is I'm going to change this prompt a little
bit to have emotion. So I'm just going to
add another default and then put emotion,
happy, excited. Now I'm only going to use one, but feel free to use
as many as you can. And also keep in mind that
there are limitations of chat GPT you might find
if you use five to ten, you're getting better results. And if you try to
use 30 modifiers, that's how we adjust
the image style. But how about the keywords? Well, whenever we're adding
our work to red bubble, we'll notice that we have
a couple constraints. 50 character limit per tag separated by commas and
only up to 15 tags. So if I know I'm going to be creating something
for red bubble, I can just go ahead in here and include this as part
of the instructions, right up to 15 tags. But because it's
a language model, I'm going to say right, 15 tags because there's this whole concept of them trying to get out
of doing more work. So we want to avoid that by
giving the bare minimum, as you know, the
acceptable amount. We do want to be exact with the number of tags that we want. If we left up to 15 tags, it would probably
give us a lot less. That's something to keep
in mind whether you're generating keywords
or your descriptions. A final note in all of this is you may find
yourself struggling to actually get the GBT to give you four images every single time, which is how this
script is set up. There's a lot of
variables that go into what you actually get out. And it's not just the prompt, Open AI and other companies, they're constantly scaling
up and down their services. They're constantly spitting up new virtual environments to
run these types of queries. And they have
different constraints and different hardware, which then results in
a different response. And the general rule of thumb
is that you're going to get worse responses the more people that are trying
to use the service. So it's going to
be better to run your prompts at 03:00
A.M. Eastern Time than it will be to
run it at 03:00 P.M. on a Friday
eastern time, right? Because people are sleeping
at 03:00 A.M. and people are trying to get
their work done at 03:00 P.M. on a Friday.
5. Massive Images: Now is the final puzzle piece put together for
selling AI images. You may have already
tried this and ended up at red bubble
And you're like, oh, hey, this is actually a really small image and I don't want to sell
just phone cases. So what are we going
to do about that? First of all, let's
look at using AI, going to filter neural
filters and neural meaning. It is some artificial
intelligence modeled after the human brain. And one thing I
want to show you is this J Peg artifact removal. Now this will help to get
rid of some of those bumps and bruises that you may get from different
types of images, including AI, for
whatever reason. To make you aware that these are available to
you, that's fun. But we actually just want
to resize this image. We don't really need
to do anything else. All that we need to do is
make this image bigger. We do that by going to image size and then we can put in
whatever size we want. I said 10,000 why not do that? 10,000 pixels. Wow, that is a large image. Here's the very important part. Resample has to be checked. If not, it's going
to try to make you use the exact same
number of pixels. Not sure why that's useful, but this is exactly
what you need to know. Once you have the image
set to where you want it, you can change what algorithm
is used to up sample. This is going to be slightly
different per type of image, but what I found is that the newer preserved
details works really well as well as this
bicubic smoother, which is usually one of
my favorite options. But there's absolutely no reason you can't go through
every single option. And you're seeing right there in this preview what is happening. Nearest neighbor
is not a good one. Not a good one at all.
Bilinear, not bad. But this bicubic smoother, this bicubic sampler seems
to be the best thing. If you do want to take a look, you can move it because it's not rendering
while you're moving it. So you can get a sense of what you're getting
before and after. I do want to go back to preserve details enlargement because I want to show you that for
things like a mustache, sometimes you do
get a better result here as well as there's
an automatic option. If you want to just
trust the universe, then you can use
that option as well. Once we've chosen what we want, we just got to hit, okay? And now our image is
absolutely massive. This is a 10,000 by 10,000
image off the cuff. It seems pretty good, although maybe this is a
grungy image to begin with, just because it's filled
with so many elements. But this is what
we need. So we're going to go ahead and control S. Then I'm going to tell you something that's going
to blow your mind. Drum roll, please. Not
everybody wants to see an obvious AI
image all the time. So one thing that I did in
this image that I'm saving now is I included elements that
were not AI generated. I made a course a
long time ago about making patterns with
sacred geometry. And you'll see in
the background I actually have one
of these patterns. So if you want to stand
out in this industry, not only should you be creating the best AI images that you can, you should be including elements that cannot
be generated by AI. This background
cannot be generated by AI because AI hasn't
figured that out yet. This watermark thing maybe
could be generated by AI. But what I want to
say, this lesson, is not only about making
your image big enough, it's about making it stand out. To do this, you
can use patterns. You could even layer
AI images together, although that's
still an AI image. But anything that AI can't
do even like a hand, will help your stand apart from other
artificial intelligence. And you may even be able
to hide the fact that artificial intelligence was used at all after we did this. Now we can see that finally, we're getting
beautiful previews of these images and
it's ready to sell. And I am excited because I actually
really like this image. I think that this
little AA thing, maybe it doesn't fit in. I was actually making this
image for something else. But you can see that these are completely awesome shirts and I think that they're
going to sell. What I've seen is that we're
people, we love things, we don't really care what
was used to create it. And if we're a fan of Einstein, we're going to pick
up this shirt now. We know how to take a small
image and make it better, and what type of
elements that we can add to make our art
truly stand out. In the next lesson, we're going to review everything because we did go through things like
setting up the prompt fast. I want to make sure
that you really absorbed everything that
you need to know and you're ready to go To start generating your print
on demand keywords and descriptions at the same time with the click of a mouse
and the slap of a keyboard.
6. Review: This was a really quick class, so I want to go over everything again to make sure we're clear. We created a custom
GPT that will generate images for us that we can sell on print, on demand. We started with this prompt that I gave you as part
of the resources, and then we updated it to
add things like emotion or other keywords from
the other resource that was included in this class. We also looked for
some SEO prompts. And then we went to
the print on demand marketplace itself to figure out exactly what type of
format we would need. Next, we took our
new images into Photoshop where we
added a few elements, or I suggested we add some elements that AI
could not generate. After that, we went to
Image Image Size and chose a nice algorithm
to up sample that image. Once we had it, we uploaded
it back to red bubble. And look at this, we have all
of these beautiful images. The last step, which I don't think I need
to show you how to do, is to take these keywords and these descriptions
and add them. So copy paste,
throw it in there. And then click Upload. Don't forget to
download the resources, so you get this prompt
to make your own GPT. If you don't have GPT pro, you can also just generate the keywords and generate the images separately
if you like. You're welcome to
share your images and your journey on my discord and I'll see you in a future
or past lesson piece.
 Douglas Butner, 8 years a nomad. 11 a teacher. 17 a coder.