Transcripts
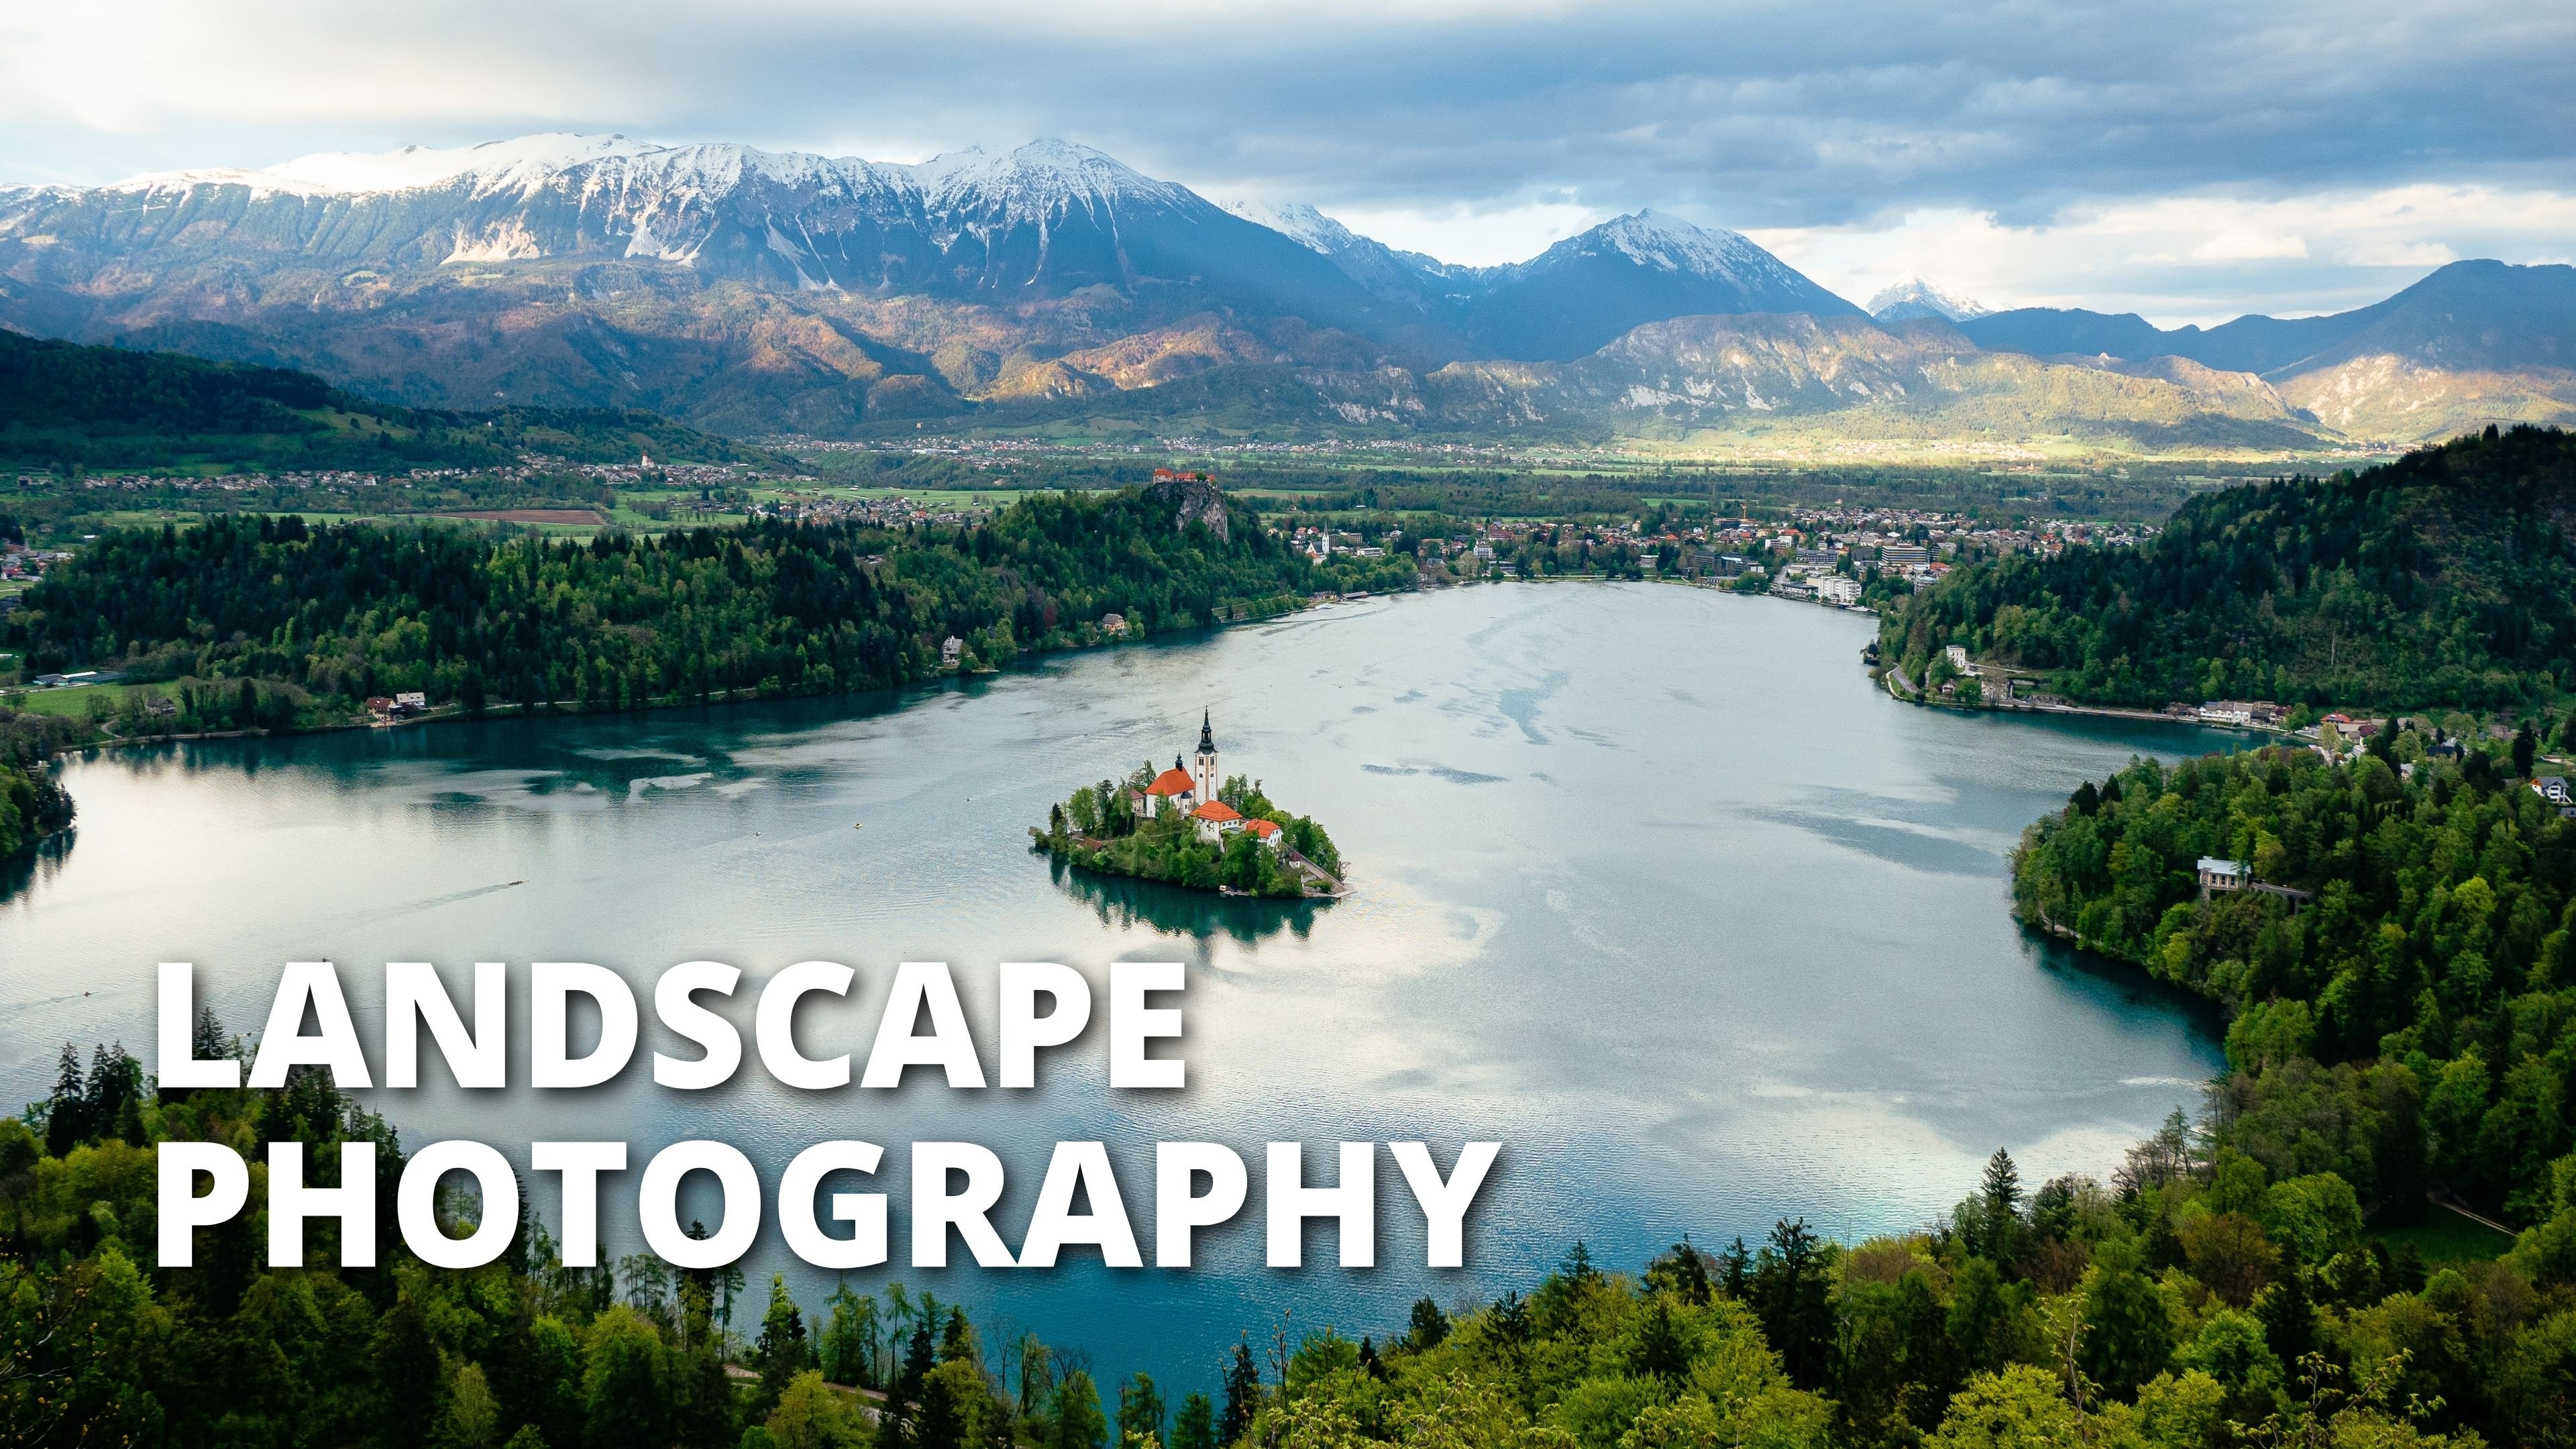
1. Introduction To The Course: In recent years,
photography has become very popular and a necessity
in our daily lives. And I'm not exaggerating. A great example of
this is that we all have a camera
in our pockets. Now all smartphones are taking amazing pictures,
very good quality. Now they said that everything is in the eye of the photographer, which is u, but this is just
50 per cent of the photo. The other 50% is in the editing. I'm not saying that you can take photos without editing them. It is possible, but editing adds a special touch
to photography. It allows you to be creative, allows you to stand
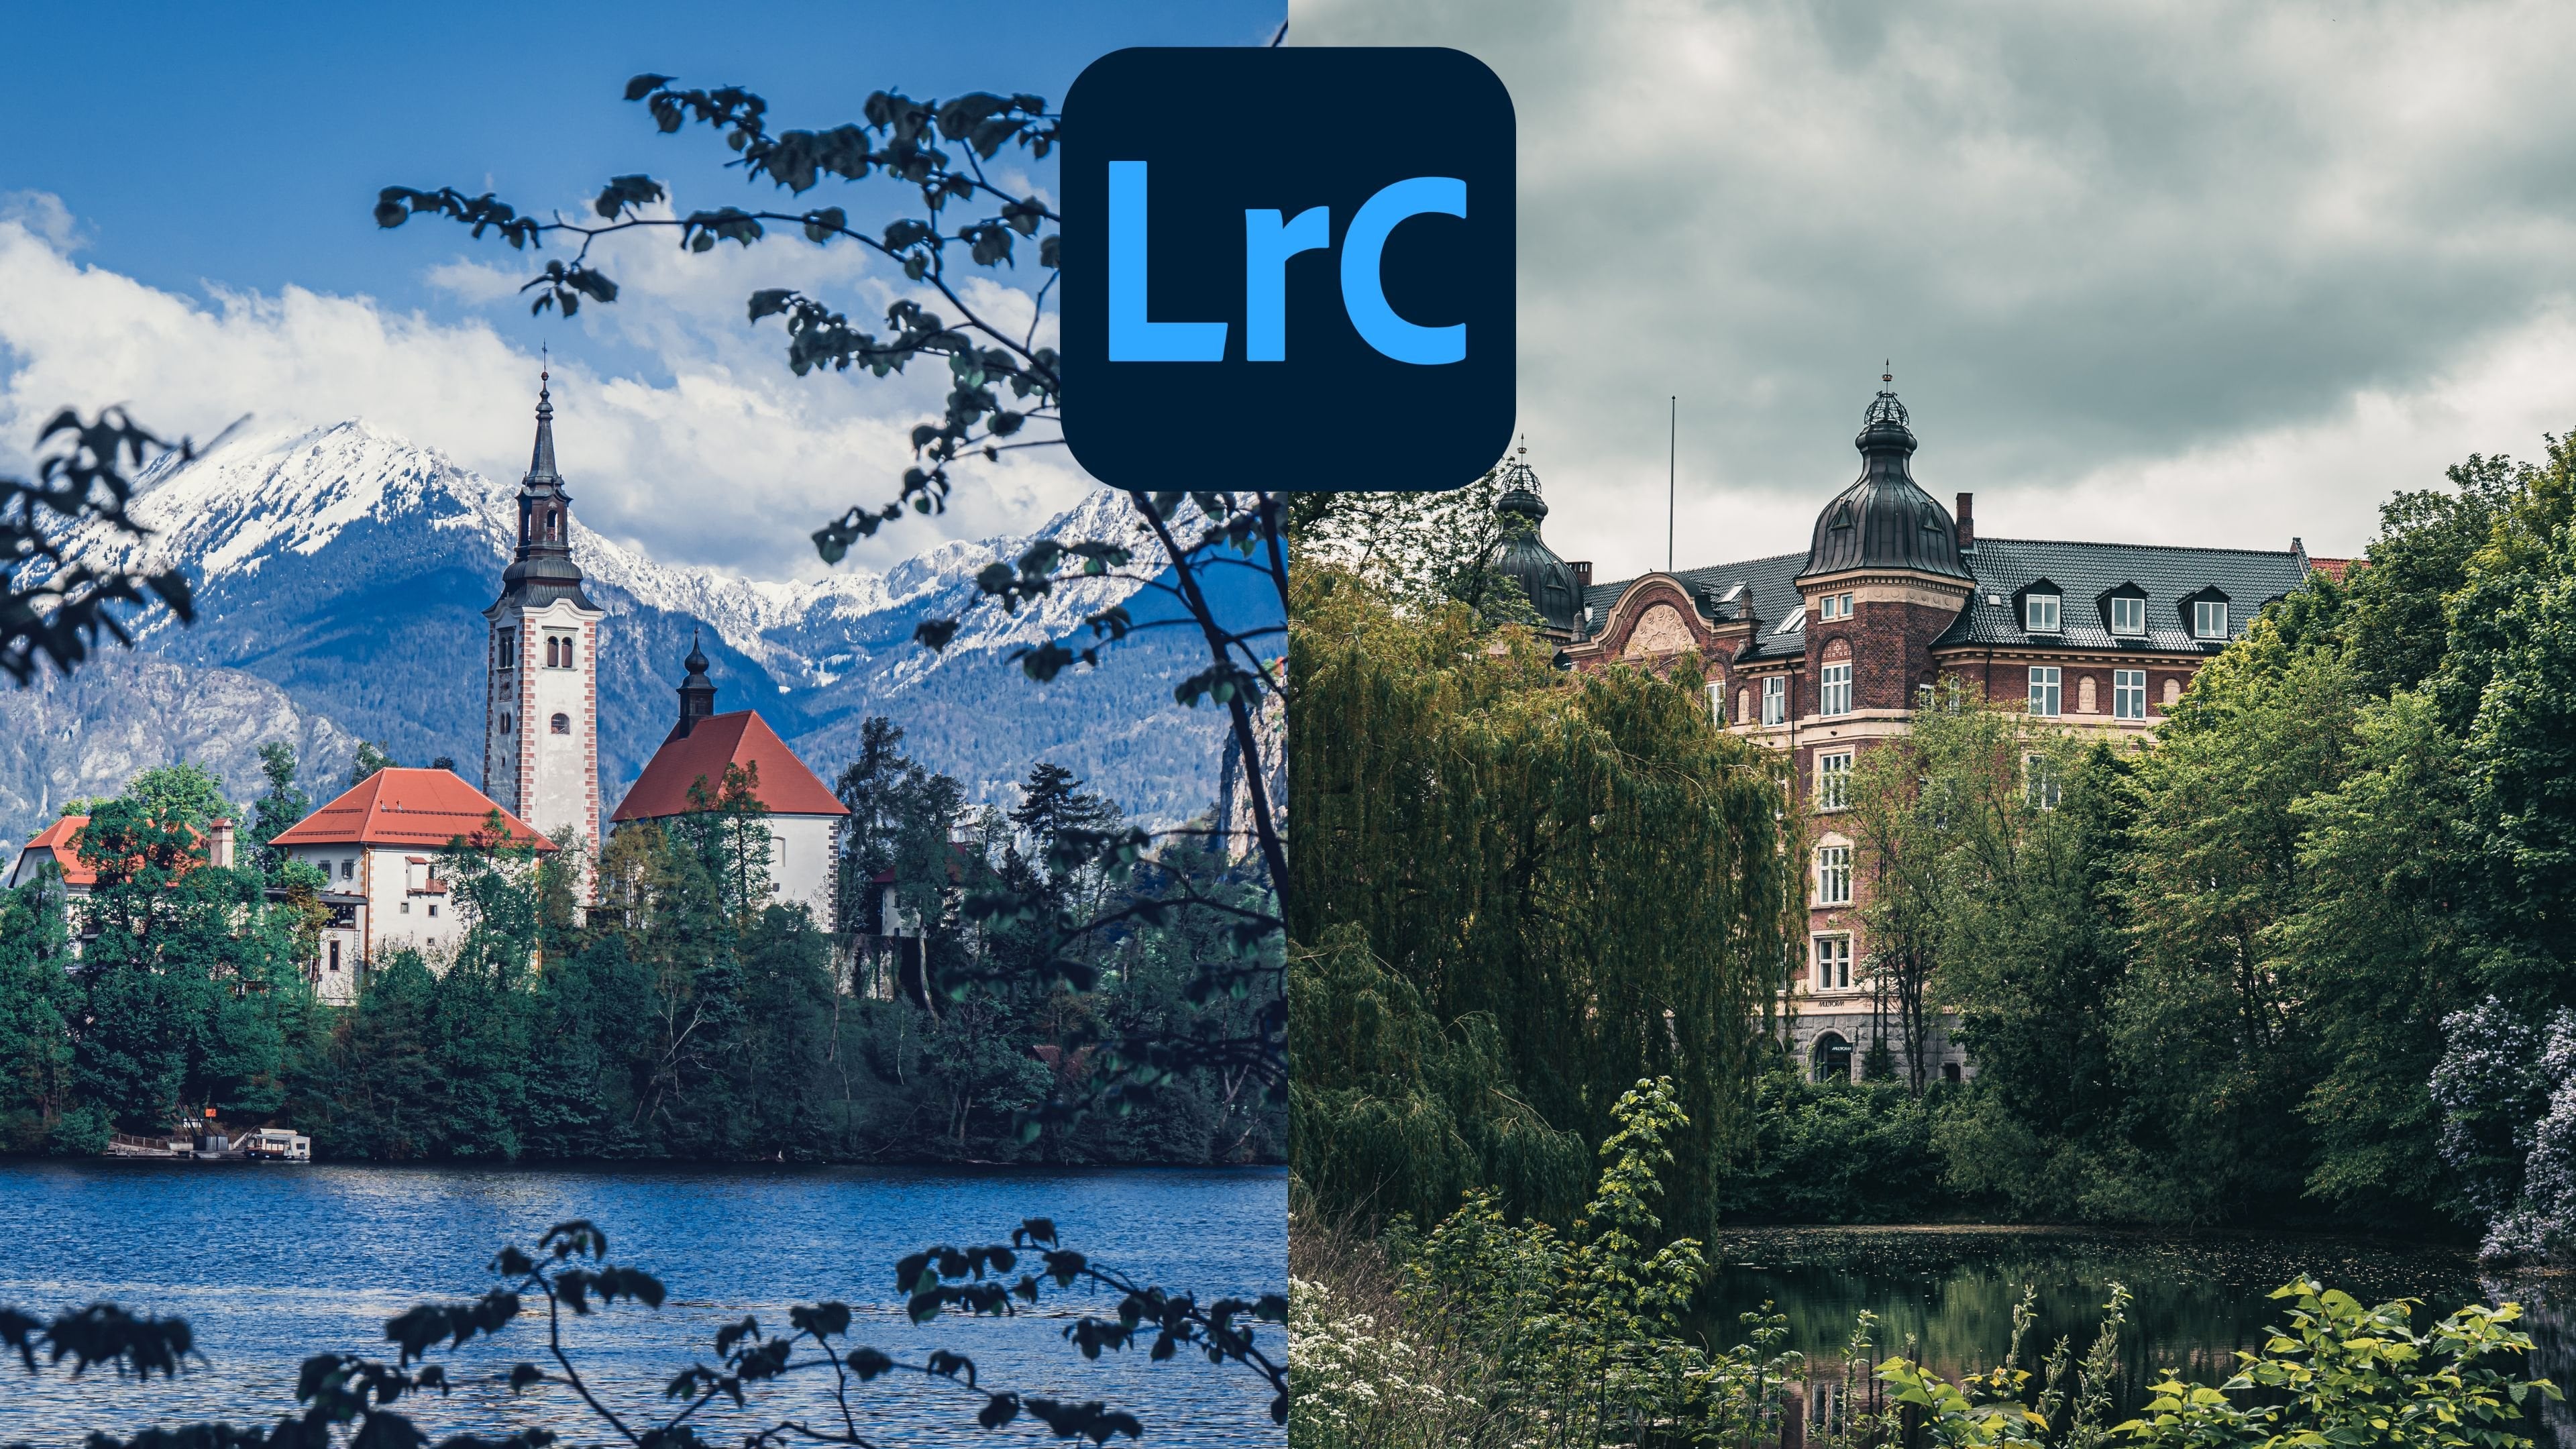
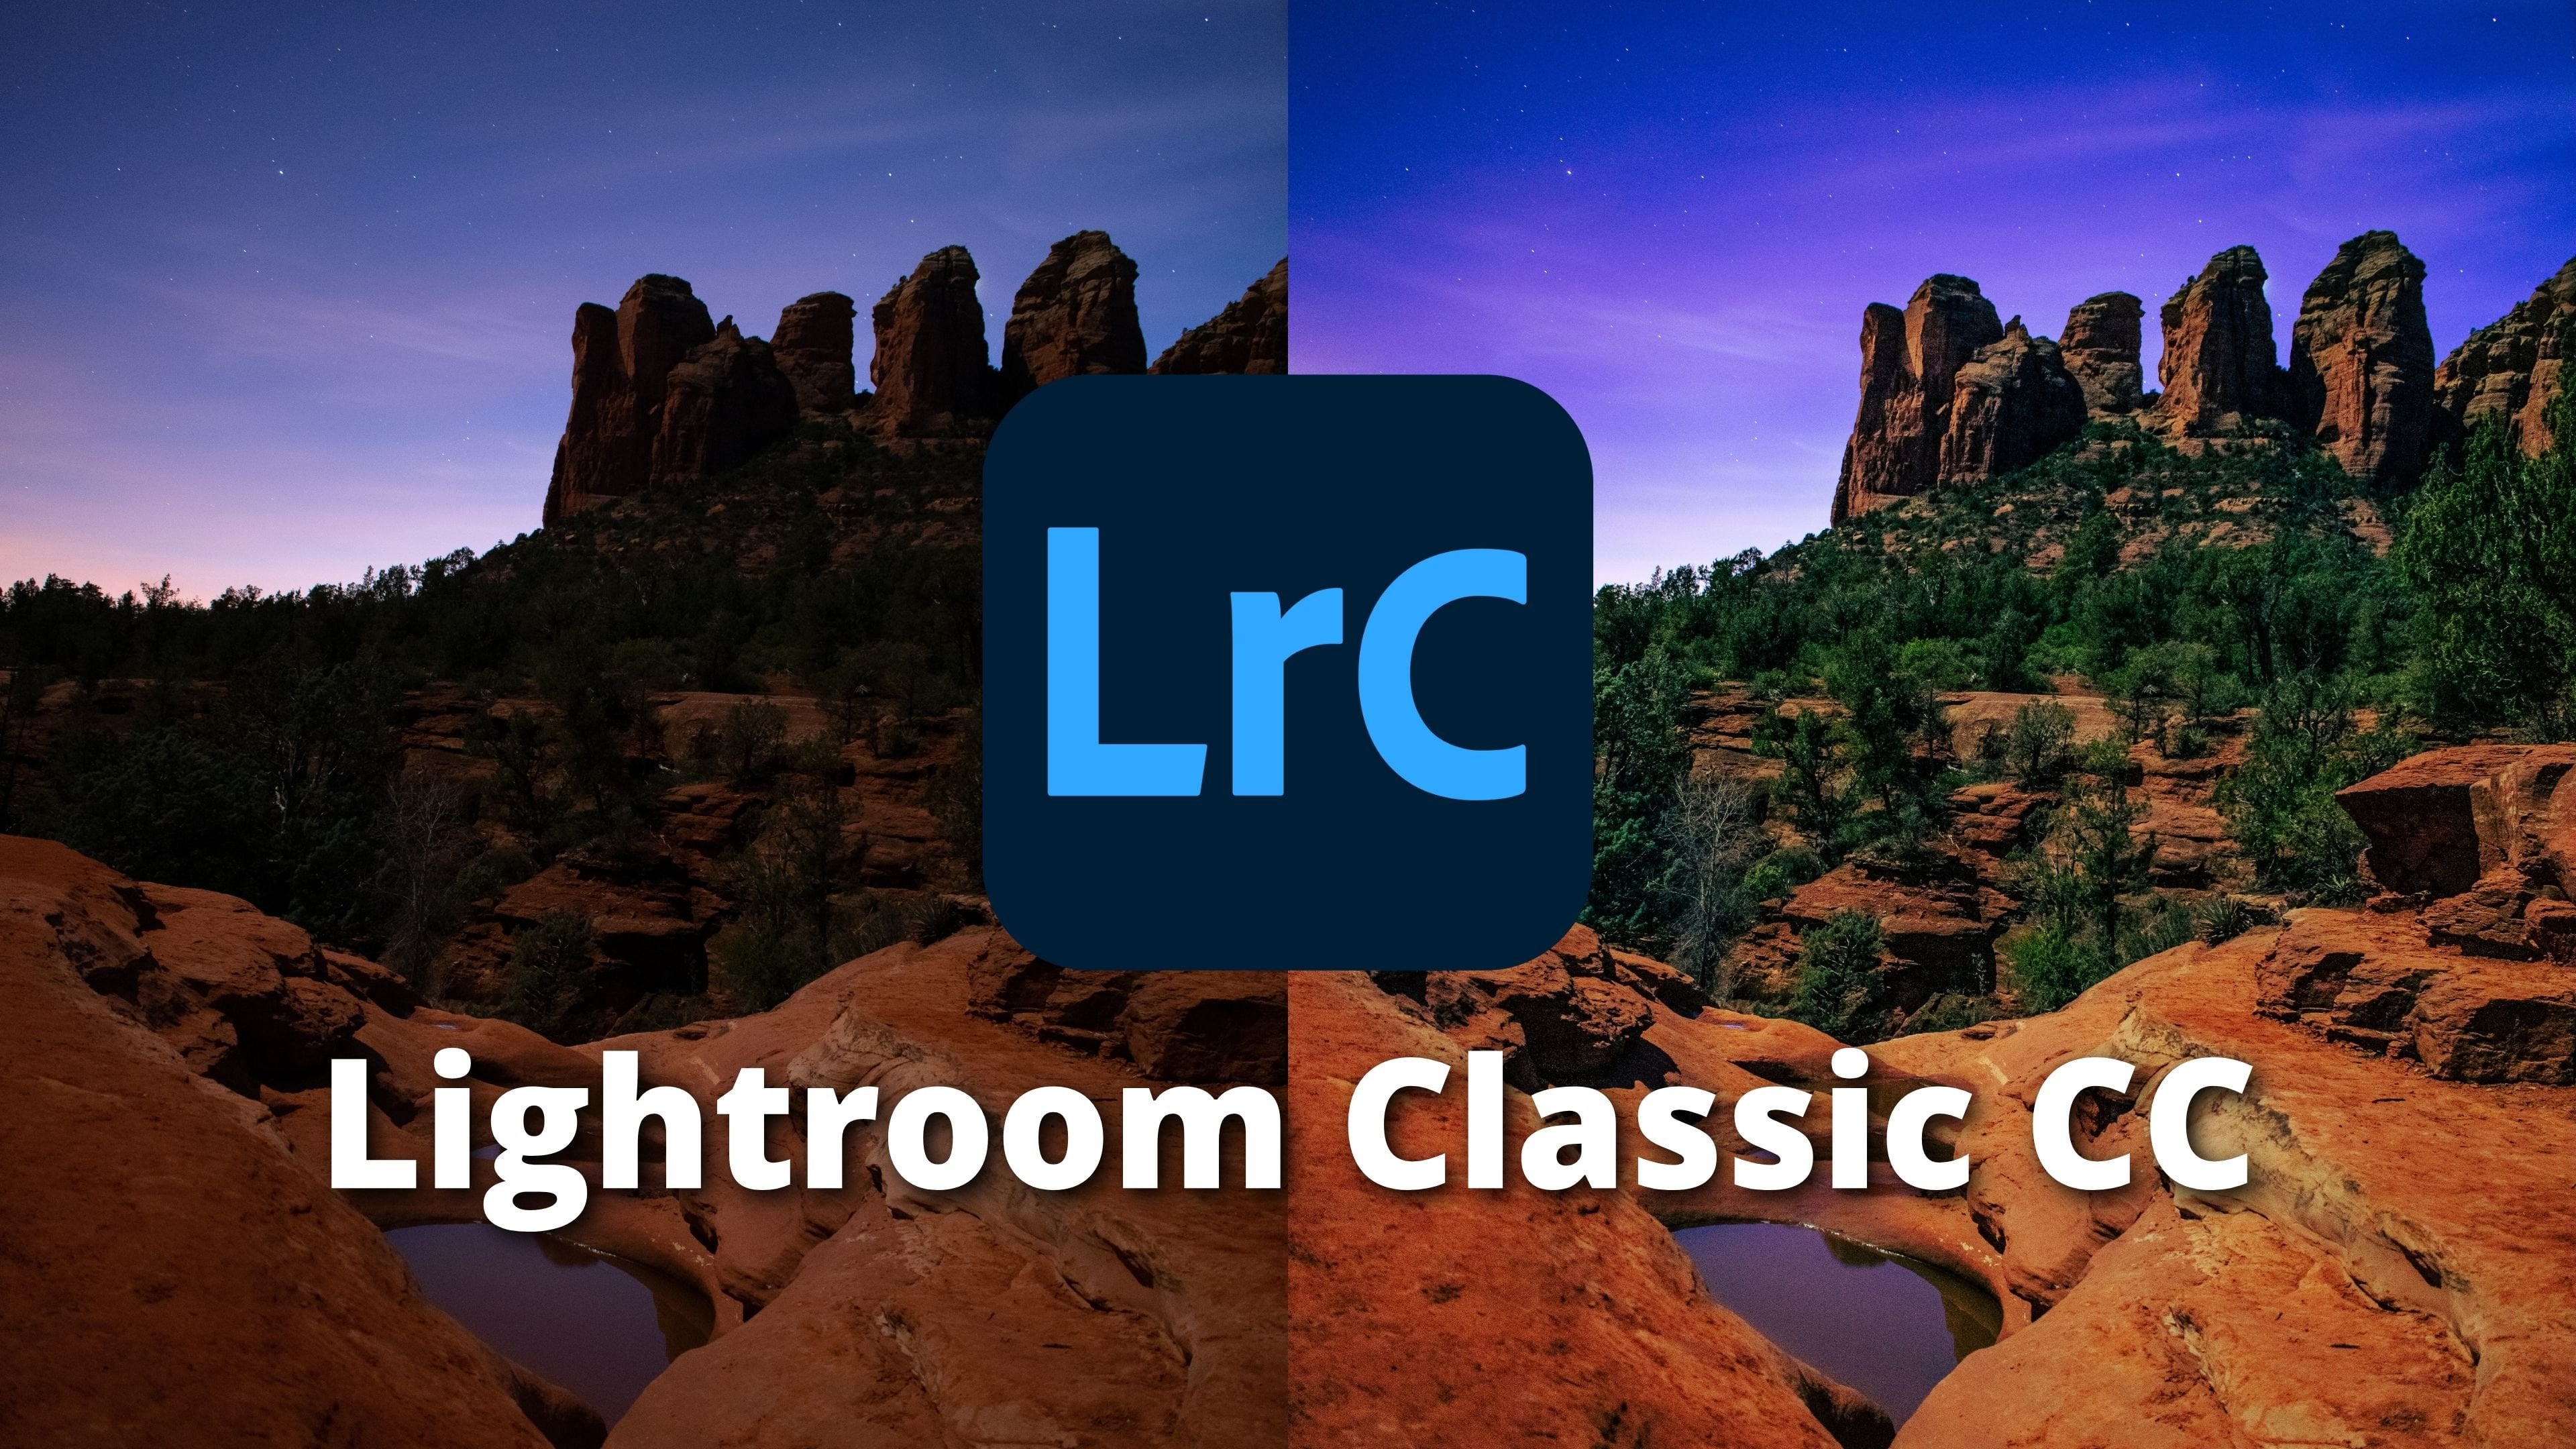
out from the rest. With editing, you can create your own style and be different. Lightroom Classic CC is one of the most used softwares by
professional photographers. It is not difficult at all in
this course for beginners, we will talk about the basic
tools that Lightroom has. We're going to edit together
so that you can see my workflow and I will explain
you everything in detail. It should be noted
that in this course we will not use advanced tools, since the idea of this
course is to be very simple and fast so that you
can start editing right away. We will start by learning
how to import our photos to Lightroom and how to
organize them by folders. Then we will talk
about the basic tools, stone curbs, color
grading and more. And the best of all is
that all of these will be, while we're editing together,
Practice makes perfection. Are you ready to start
creating amazing photos? I'll see you in class.
2. Important Information Before We Start: First I want to let you
know that I am using the last version of Lightroom at the time of filming this course. But if Lightroom
updates the program, I would also be
updating the course. So don't worry about
it if it's needed, I will be doing it all the time. Another thing I want
to tell you is that Lightroom doesn't save your
photos in the program. Lightroom stores only the
edits that you've made. So if you move the photo, you put it in another folder or you delete it from
your computer. Lightroom will not find it and you will lose
all your edits. That is why it's
always good to be organized as an editor. Lastly, if you have any
questions or suggestions, please let me know in
the discussion box. I will get back to you
as soon as possible. Now it's time to open
Lightroom and start this one.
3. Project For This Course: The project of this course, I would like you to
share with me and edited photo using everything you
have learned in this course. During the project
section, you can upload your photo and I promise I
will give you a feedback. And you can actually also comment on the
projects of others. So like this, we can
help each other. Good luck.
4. Importing Your Pictures: Okay guys, this is
basically what it opens when you open Lightroom
for the first time, it looks a little
overwhelming, but don't worry, this is very easy to use class we're going
to learn by doing. We're going to start editing. Check this on the top. It says Library. This is basically where
we have to start. We're going to import
our pictures here and then we're gonna go to develop where we're going
to start editing. So if we go to the left side, you will see navigator. You click here in the
R0 is going to open. There's nothing here because we didn't import any pictures yet. If we will have pictures here, then the picture
will appear here. So we'll see it in a second
when we start to import. Now we have the catalog. You have all photographs here. You will see the
pictures that you imported, not just today, tomorrow, day after tomorrow, even the ones from yesterday, you will see everything. Of course, for the
purpose of this course, I cleared all the
pictures that I used from before so that I can
show you everything, everything from zero, okay? You can see also here
quick collection. This is basically the way that you are going to
organize yourself. And as an editor, you have
to organize always yourself. Collections will
be like folders. You have folders here and in folders is basically
that you can look for the folders in your
desktop or in your computer. Collections is basically
where it's going to appear. All the collections
that you're creating that I like folders, like e.g. you go to New York, you
take a lot of pictures. You import the pictures
here and then you can create a collection
called New York, and then you add all
those pictures there. And then maybe tomorrow
you will go to Chicago or I don't
know, Slovenia, Sweden. So you just create
collections and this is the way to be organized. Let's import our pictures, as you can see here on
the bottom says import. So if you click here, this is what it's going
to open basically here you have the local
disk C where you can actually look in
your computer and then put the pictures
that you find over here. But I think I see it as this is the most
difficult way to import. Let's do it fast. So
we're gonna cancel this. The fastest way is if you know where your
pictures are and I will suggest you that
we organize always. So if you know where
your pictures are, you just go to the folder
where you have the pictures, you select them all, and then you just pull
them to Lightroom and then you just
really, um, boiler. Now you have here your pictures. What I'm going to do is
I'm gonna go here to the right side and you
see Add to collection. I'm going to do that,
Add to collection, but because I don't
have any collection yet is nothing appearing
here, just quick collection. This is not what I want. So I'm gonna come here in
the plus sign and I'm going to click it and I'm going
to create these collection. Let's put light room, one-on-one course and create. Now we come here down on the
bottom and we put in port. And as easy as that, we already
have our pictures here. You can see here it says
lighter than one-to-one. We created this collection
now that we have our pictures here in Lightroom waiting for us to edit them. What do you think
we're going to do? Let's go to the next lesson
to start editing them.
5. Let's Start Editing / Basic Corrections : Okay, Now we go to
the develop section. This is the part where
the magic happens. This is where we're going
to edit everything. As you can see on the left side. We also have the
navigator section. Look what's going to
happen if we just come here and select one
of the pictures immediately the
picture appear on the screen to edit and
also in the navigator. Now you have here the
presets and presets are basically things that are
going to help you to edit. Remember that
presets are not like final when you use
a preset, e.g. I'm going here and I'm trying to use other presets that I have. And this is a park
that I actually gave away in my YouTube channel. But you can see the
presets are really helping you get you select it. So now we are using the preset and here where you see a mount, you can actually go to
put more of the preset or take the present completely
out or add just a little. You will see in
basic corrections that all corrections
are already made. Now, hearing history now,
this is going to be nothing. Every time you do
something in this side, in the right side, they're going to
appear in history. So history you will
be able to see, oh, I did this, I did
that collections. Remember, we just have this collection that is
Lightroom one-on-one course. If you have more collections are gonna be here so you
don't need to go to library to select the
collection to start editing. Now we're going to come to
the right side and we're going to do the
basic corrections. The first thing I
always do when I start to edit is to
crop the picture. You can see here this icon, it says crop overlay or
you can press R as well. And he's going to
come to crop in. Now, if you come here
where it says original, you can choose how do you
want your picture to v? And I think I want four by 54 by five is good
for Instagram, but because the picture
is in landscape mode, then it goes like this. But if you press X is going to go for Instagram,
you know what? Let's make this
picture for Instagram. So let's just arrange a
little bit in the center, and I think that's okay. Now what you do is
you just press Enter. Now we're going to start
with the basic correction. Now, the first thing that
you will see here is the white balance
here you see on the top the temperature
and the tint. What you can do is you
can do it manually. If you go to the left side, you'll see that it's
getting colder. If you go to the right
side is getting warmer. And also you have here the white balance
selector that you can also press W and you
are going to have it. You see now the cursor is not an arrow anymore,
is that selector. So you can come into
picture and look for the part that you think
is the white part. This is how white
supposed to be. So light room can understand what is white and as
you can see it did the white balance out
automatically and now it's time to go to the tone exposure. I will not suggest you
to use it until the end. Sometimes I use it a
little bit like here, e.g. I think I could use, I will try to add just
a little bit, not much. When you start to make all these tweaks and
all these editings, the pictures can become
a little darker. So it's better to do it
later or to fix it later. I'm going to add a
little bit of contrast. This picture was taken in row, which makes it easier to edit. Now in the highlights, when you take out
the highlights, you can see how the sky and
start to have more details. You'll see. And I'm
going to exaggerate. This is like to edit. Moody style is very typical. You take out the highlights and you can paint the highlights
with the shadows. And this is where
we're going to do now. We're going to add shadows
to lie the image buck. But when you move the shadows, this guy is not going to be affected and this
is what we want. And still we're going
to fix this guy later. Don't worry, because yes, this guy is like
very highlighted. White's my suggestion. Every time you edit, the best way for you
to play with this, you see you go back, you go forward, you try
to look for the best. And I think that adding a little bit of white,
it would be fine. And the blocks, you
also do the same thing. And I think I'm going to take
out a little bit of blocks and it's going to make
it nicer in texture. I like to add texture when I have buildings and
when I have trees, and this is what we have here. So I'm going to add a
little bit of texture. And the good thing of editing
is that when you finish it, you can still come back
and do little tweaks. So it doesn't matter. Let's go with a little
bit of clarity. Sometimes I use the haze, sometimes I don't use the case, but in this case, if you add the haze, you can see that a little
bit more of contrast. So I'm going to add a
little bit of the haze. Now, look up here,
vibrance and saturation. Vibrance is a more
intelligent way to give color to the image. Vibrance understands all the
colors while saturation, you will take all the picture
and make it more saturated. So I'm gonna do like
this just around there. And then in saturation
just a little bit. And this is everything
we're going to do in the basic corrections. Now let's go to the
next lesson and we're going to talk
about the tone curve.
6. The tone Curves: Okay, Let's come here to
basic where you can see on the top this little
arrow and let's close it. These were more organized. You see this is the
best of Lightroom that you can manipulate everything
on the screen, e.g. if we come to the left side, we're not using these areas. So we can actually click
this little arrow here. We can close it
and now the image is bigger at the
same on the bottom, we're not using these
three pictures, so we can come on the
bottom and just close it. Also, if you come
to the right side, you can actually see that if
you come here to the edge, you can actually make it bigger
in case you want to play with this lighter so it
gives you longer slider, so it's easy to play for me. It's okay the sides here, but you have this option. That's what I was saying. You have a lot of
flexibility here. So now let's go to
the tone curves. Let's start with the things
around where it says, uh, just that it says
parametric curve. If we click at here, is they kinda halfway is Manuel and also
it's helping you, you see when you move
the cursor around, he's going to tell you what
area is going to be affected. And you can also do it here,
manipulating these slides. Now, let's do it on purpose. This light over here,
you see it in 40. If you come with the cursor on the top and you double-click, it goes back to zero. Everything in Lightroom
is gonna be the same. If you did it wrong or if
you want to change it, you just go into the slide, go into cursor and double-click
and it goes to zero. But I don't use
much these curves. I use more than wide one
that I will show you now. So let's go here like
I was showing you, double-click goes to zero, double-click goes to zero. Let's go to the white one. Now, with the white
ones selected, whatever we do here, it's going to affect
the whole picture. If we go to the red one
or the green or the blue, they're going to affect,
of course, these callers. But we want to affect
the whole picture for now before we start to
make the points here also, I want to show you that
on the bottom you have point curve and it says linear
because we have a line, We didn't do anything. If we move something
here is going to be your custom
because we did it. But if we click here, we will see that
they have presets, medium contracts than
strong contrast. So if you wanna do
a medium contrast, you just go here and
click it, and that's it. As you can see, the
curve is already done the same with
the strong contrast. And actually I liked
this contrast, but for the purpose
of the course, I will come back to linear and I will show you how it works normally and it's the
most famous curve is gonna be the S curve. Of course, there
are certain images that you will need to
do something different, but normally is the S curve
and I'm going to do it now. To start with the S curve, you're gonna do three points. And how it works is that this area over here
gonna be the highlights. In the middle you
have the mid tones, and on the bottom you
will have the shadows. All this area here
that is basically below the line is going to be the dark areas
in the picture. And above the line
is going to be the clear areas are
the highlights. Which means that if I take these little cursor and I put it in this point and I go
a little bit down here, I'm actually making the
image darker as you can see. And now I'm going
to come on the top and I'll do the opposite. I'm gonna go a little
bit higher and I'm creating the S curve,
as you can see, which makes it very
smooth contrast, It's just beautiful
every time you have a very nice contrast
in the picture. Still I see that is
a little contrasty. So what we can do, and I said from the beginning, we can always come
back to our editings. So we will come back to basic. Remember that we did
the contrast here, so we can take out the
contrast from here, double-click, Done,
it came back to zero. Now we can close basic and
come back to the curb. And you can see now that
the curves are very nice. If you want to mute
the dark colors, like mute the shadows. It's a very nice trick. Actually, you come here
and you go a little bit high over here
and it's muting, I'm going to exaggerate so you can see what's
going to happen. You see it's muting the shadows and making the
picture very, very weird. So let's don't exaggerate. I think there is
going to be okay. And if you want to do the same with the highlights,
you can mute them. Also, come in here a little bit, and I think this is okay. Now let's go to the
next lesson and we're going to talk about the HSL.
7. HSL: Okay, Were they just sell? We're going to play
with the colors. We're going to start
with the hue here. Whatever you do, you
will change the hue, not the saturation, but
the hue of the colors. E.g. if you see here
on the buildings, we have a lot of orange. If we go completely towards the other side in the
hue of the orange, they're gonna
become a yellowish, as you can see in the picture. If we exaggerate
to the orange and the other side, they
become reddish. But I do want to add a little bit of extra oranges
because it makes it nicer. Let's add a little bit, e.g. in the trees, these
trees are like greenish, yellowish. Let's
exaggerate here. Okay, so we can see
we go all the way to the greenish here
is like an alien tree. You see the green
is not natural. So let's go a little
bit like here still. I know I'm giving
a lot of color, but don't worry,
in the saturation, we will take it
out, the yellows, Let's make them a
little bit orangey. Now, here in the blue, if we move it up and down, you can see how the sky
is changing the colors. I don't want that, so I'm not gonna do
anything with the blue. I will try to leave
it like that. Now in aqua, I'm going to try to see what is going to
happen if I move it, e.g. if I move upward
to the left side, the sky becomes a
little lighter. I like that. So I'm gonna go here. Okay, Remember that I
like the color of aqua, so we're going to give
saturation to this color later. I don t think we have
purple and magenta, so we're gonna just
leave it there. Let's go to saturation now. Now in saturation,
whatever we did in hue, we can take it out
or we can add it. Remember that these greens
were like alien rings. So what are we going to
do is we're going to take all the saturation. Now. It's more yellowish, orange, the leaves in the trees. So what I'm gonna do
is I'm gonna take out a little bit because
he's very strong. I want the center of the image, the buildings and the sky to be clear than the
surrounding trees. Now in oranges, I will add saturation because I want
these buildings to pop up. And let's see the aqua. Remember, let's go all the way and let's move it a little
bit to see how it works. Yeah, it's not changing much, but it is giving these
light blue color. So I'm gonna go,
I'm gonna go all the way here. It's okay. It looks nice. Now in luminance is basically giving light to the colors, e.g. the trees, the greens. If I go all the way, it's gonna give light
like you see here, there's no much greens because
I change the hue is more yellowish but still
is lighting them up. I don't want that. I can take out actually
the light here. You see that if I take it out, it's going to be like shadowy. I go to the other
side, is all lined up. So I will take it out
because remember, I want to focus in the center, the same with the yellows. So I will just take out
a little bit of light, not much, because like I said, I want the center to be
the point of attraction. Now in the oranges, I don't want to move
anything here because it's a lot of
highlights already. So either want to
add more highlights, but like I told you
from the beginning, always move the slides to
check so we can check. We don't lose anything. If we check, you
see it's a lot of highlights and if we take
them out, it looks horrible. I will go to zero, double-click, we go to zero. In aqua is not much
of a coin this guy. But still, if I take
out the luminance, the color is going to
change a little bit. We can go here and I
think it's changing all ready if you want
to see what we eat, not with everything,
just with the HSL. You see here in this corner, we can click it and
we can turn it on. Let's turn it off. You see how it was the picture
and when we turn it on, this is how it is now. So most of the changes we did, where in the plants here, but still there are some
changes in the middle. And this guy, and I'll remember this backslash is
going to tell you how the picture was and you released the backslash and
you can see how it is now, the picture is much better. Come on, come on,
It's much better. Let's go to the next lesson
for the color grading.
8. Color Grading and More: Okay, color grading is actually
very self-explanatory. As you can see here, you have the color
wheel and it says mid-tone shadows and highlights. This is like the
color temperature and I will show you
if I exaggerate, you can see that
all the dark areas are becoming like bluish, which makes the
picture very nice. It's actually like
a cinematic color, but we don't want that. We want to be subtle. So let's go just a
little bit to the blue. Now, the highlights,
we're gonna go the opposite to the warm area. I will suggest you to try
everything because like this you will find your
own style, the mid-tones. I will maybe go a little bit also to the warm area,
not exaggerated. And you can see that the
changes are very, very subtle. But you know, little
tweaks and little things makes a big difference at the
end in the whole picture. Now everything we did here, we can blend them to
make them more natural. So we can go a little bit here. I always give like
just a little bit also to balance the
colors and what we did, we can go a little
bit here, I like it. Now, let's go to the next one
that is detailed in detail. You can see here on this little screen all the
noise that the picture has. Of course, this is
like a super zoom. You're looking at some of the buildings in the
middle of the picture. So of course it's going to
have a little bit of noise, but you can fix it. You can sharpen the image. Now it's in 40. You can even
give it a little bit more, but every time you sharpen, it's going to bring also noise. So I will suggest you to come to the noise reduction here
and take out the noise. And I will suggest you
not go more than 25, 26. So we'll leave it just there. Don't exaggerate because then
it doesn't look natural. I always leave it around
there if it's necessary. Sometimes I don't even use it. I stay in 1510 or zero. I don't like to touch much
this area of details, so I will leave it there in
lens correction as well. It depends on the camera you're using or if you are
using your phone. Sometimes Lightroom
is not going to understand the lens or
the camera you're using. In this case, I was using
a Panasonic Lumix five. So it recognize it and it recognized the lens that
I was using as well. And you can put then remove chromatic aberration and enable
the profile corrections. And it's going to understand it. Lightroom has a really
big collection of lenses and cameras and it's recognizing
basically everything. So just go with it, transform. We're going to use it
with another picture. I want to show you
exactly what to do with transform effects. We can give a little
bit of vignetting. I want to add a little bit, I wouldn't say exaggerate so you can see what he's
going to happen. I will add just a little
bit of vignetting. It makes your eyes go
more to the center. And I'll calibration is more
like an advanced technique, but I will explain you
more or less how it works. This is primary colors, so if you change the saturation or whatever
you change in here, you will not change
just the reds, but you will change
all the picture because most of the
colors have read, remember that these are the three primary colors
and they are all over. And now will show you e.g. if I move the hue of
the red to the right, you can see that there are certain changes in the picture. If I go to the other side, there's also some changes
tending into blue. Now the picture is
not, not too dull, but there are some
effects that are pretty cool that you
can use like e.g. with the blue. I remember back in the day there
was very popular these orange colors in the pictures and this is
what they were using. You can see the
orange field when you go to the left
side of the blue. So you have to be very
careful with these, play with them because
it's pretty cool to create your own style, to create different styles
you can play with this. Whatever you do here is going to change the complete picture. Let's go to the next lesson. To finish our picture, I will give you a bonus and
we're going to fix this guy and a little bit here
with a couple of masks.
9. Masks & Transform: Okay, We're going to try to fix this guy and the new
Lightroom comes with artificial intelligence
so we can come to masking and you will
have these options. And here it says subject, it says the sky and background. And I think we can try
to select this guy. Let's see what happened. Now, Lightroom is going to
try to detect this guy, and as you can see, it
did a pretty good job. So what do we need this
to make it bluish. So now it's red,
but don't worry, this is just the overlay so that we know
which is the mask, but it's not red. Okay, so now we will come here. This is basically what
the mask is about. We're going to add
this temperature. This is a trick
that I always use. We just go to the left
side and you see this guy, if I exaggerate, look, it's gonna be completely blue. But if we add just a
little bit of blue, it makes a difference. The sky now it's
more light blue, It's a little stronger. Other thing that we can use
to give more details in the clouds and in the sky is
to take out the highlights. So if we take completely
the highlights, you can see it gets darker. I don't want it to
be a not too dull. So I'm going to take
out a little bit, but not too much. And I think this is it. That's all I wanted
to do with this guy. Now, if we want to
add another mask, we just press here, Create Mask and we're
going to add now brush. And I want to brush
the city because I want to make it more vivid. Okay, Let's just brush it
up and I think it's okay, we're not going to
exaggerate because I don't want it to
look unnatural. It's just a little
bit okay, highlights. You can see that the city
is very highlighted, so we're going to
take out highlights. I can see that it's not
such a big difference, but there is a little different. Now, shadows, we're
going to go up and you see that the city is
lighting up a little bit. I remember that I told you
that at the end we can do a little bit of
exposure. Here. We can add a little bit of
exposure, and that's it. And now we can actually
come here down. We're still in the
mosque. This is the mask. And we can add sharpness
because it's a CT, their buildings and everything. So let's just add a
little bit of sharpness. And remember what I mentioned in the last lesson that
when you add sharpness, it comes with a
little bit of noise. So we have to denoise. So we're going to add
these like around here. And I think that is okay. I don't want to exaggerate. I don't want to go too
much with this picture. And now I'm gonna show you
a trick that I always use. Let's just click Enter. So we're done with the masks. Let's finish this picture. Coming back to basic, remember we can always come
back to the editing Always. And let's finish it,
fixing the exposure. Now we can do it. And let's put 0.50, 0.50. And as you can see, the
picture looks nice. It's lighter, is nice. If we press the backslash, we started with this
and we end up with these amazing, another tip. If you press L,
you will see that the picture is gonna
be like half isolated. If you press L again, completely isolated so you can see it properly with
no distractions. You press elegant
and you come back. Now let's close the basic here. Let's go here on
the arrow below, and then let's choose
another picture. Now you can see the picture. It's a little twisted,
leaning down. So now we're going
to use Transform. So what we're going to
do is you can see in transform There's a lot
of tools to use here, but we're going to come here. It says guided upright tool. So you press this and you're going to have this like a plus. And it's like assume
what we're going to do. We're going to come here, look at the zoom here. The plus has to be
exactly on the line. There you go. You're going to
click it and then you're going to pull it all the way down and try to again
exactly on the edge. There you go. Now we're
going to come here, we're going to
create another one. And then we're gonna
go all the way down and put the other
one exactly there. And as you can see now, the image is straight. But oh my God, look at this which is
broke the picture. What are we going to do? We come here and
we're going to press Constrain Crop and enter. And as you can see, it helped and now the picture
is a straight. Now let's go to the next lesson. I will show you another trick.
10. Presets and Export: Now I want to show you the
last thing. Last thing. Let's go to this
other picture here. Remember what I always
do when I'm going to start editing is I
cropped the picture, we're going to crop
it for Instagram. I'm before we click Enter, I think that the
picture is a little twisted to one site
so we can play with the angle here or we can press outdoor and
it's going to fix it. It was just a little bit but
the auto dealer proper job, I like it like this. And now we just press enter. Now what I want to
show you is here, let's use the preset. Okay? This is a pack of presets that I gave away in my YouTube channel. And actually there's
another pack of presence here that
I also gave away. So I think we can use
some of these ones. And in this case I want to use the moody landscapes three. But of course, remember that
every time you add a preset, Preset is not final. The preset is to start. It helps you to start the editing and it helps
you to do it faster, but it's not final. We're going to come now
to basic corrections. We're going to add
a little bit of exposure because the
picture is underexposed. I think there is
going to be fine. Now. The picture is very muted, as you can see here,
is very muted. So what I'm gonna do is remember that when
we pull this up, it mutes the dark colors. I'm gonna go a little bit down, so we don't do
that and the same, I'm going to do it here. Now, another trick
that I want to do with this picture is to come here to the masks and remember that we did something very
cool with this guy. I think this is what
we're going to do. Again, We're gonna
select this guy. There you go. And then we're going to add the temperature to
make it bluish. There is pretty cool. Let's take the highlights
out and it gives these like more details
into the clouds. I love it. Now we're going to
create another mask. Or what we can do actually is come here where
it says mosque, the one that we just did, and we're going to duplicate
an invert the mask. You see the option here. So it means it's going
to duplicate it. So select the sky and then
he's gonna invert it. So select whatever
is not this guy. Let's do this. And
as you can see, it's selected everything
but this guy, I love it. So now what we're
gonna do here is we're going to add shadows. So we're going to
light it up more. As you can see, there's
more light now in the buildings and because
they are building, so we're gonna do also a
little bit more of sharpness. And remember that when
we add sharpness, we have to add a little bit
of noise and maybe texture. And I think that's pretty cool. And then we press Enter
and we have our picture, and I will press
L so you can see the picture by itself,
pretty cooler. This is Stockholm in
Sweden by the way. Okay guys know to finish, we are going to export our picture and there's
few ways to do it. One of the ways is to come
here on the corner where it says File and Export, As you can see here. But as you can see also here, it is control plus shift plus e, which means that if
you press control plus shift plus E is going to
open the same window. And I think this is
the best way to edit. Tried to look for
all the shortcuts possible so that you
can save time editing. Now, let's export the picture. This is what it's going to open. On the top it says
Export Location. Of course you're going to look
for the place to save it. As you can see here
in export tool, you have few options, but I always choose in a specific folder for my
photos that are edited. And this is the way I do it. I like to be organized
and I can suggest you that every editor
has to be organized. And then here where
it says folder, you can choose the
folder that you want. I already did, as
you can see here. So I know exactly where the
picture is going to go. The rest, I will
leave it like that. Now here in file naming, of course you can put
the name on the file. If you already named your
files, That's no problem. You can leave it like it is. But I didn't name them. When you take a picture
with your camera. I normally as you can see
here, it says example, that's the name that the
camera adds to the picture. Yes, I want to change the name. So renamed to in here I'm
going to type, I don't know, Sweden, we go to File
Settings and image format. I will leave it as JPG. This is the most
common file format so that you can upload and put the picture in Instagram or social media or
wherever you want. Quality, I always
put it at 100%. If you asked me why
anybody will put it in less when it's just for
the size of the file. Now, image, image sizing here, I will leave it like it is. I don't want Lightroom to
change the size of my image, all the pixels, everything
that the camera captured, I want it to stay
exactly the same. So I will leave it the same, then the rest I will suggest you to just leave it how it is, It's okay, There's nothing
crazy about this anymore. So just export the picture. So we come here on the
bottom and we press export. And that's it. As simple as that.
11. Conclusion: Editing photos is really easy and like everything
in life with practice, you will get better and better. Thank you very much for
choosing me as your teacher. And this is very important. I would like to ask you
to give me a review. It is very simple. You just go here on the bottom
where the menu area is. You will see the reviews option
and you can do it there. You have no idea how
important this is for me. You're not only helping me, but you're helping
also other students to choose the best
option for them. Also, don't forget
to follow me in this platform and see
my other courses. And if you want to get
deep into editing, I invite you to follow
me as well in YouTube, where I do tutorials every week. Thanks a lot again. And until next time.
 Mario Guimarey, Photo | Video | Youtube | Editing