Transcripts
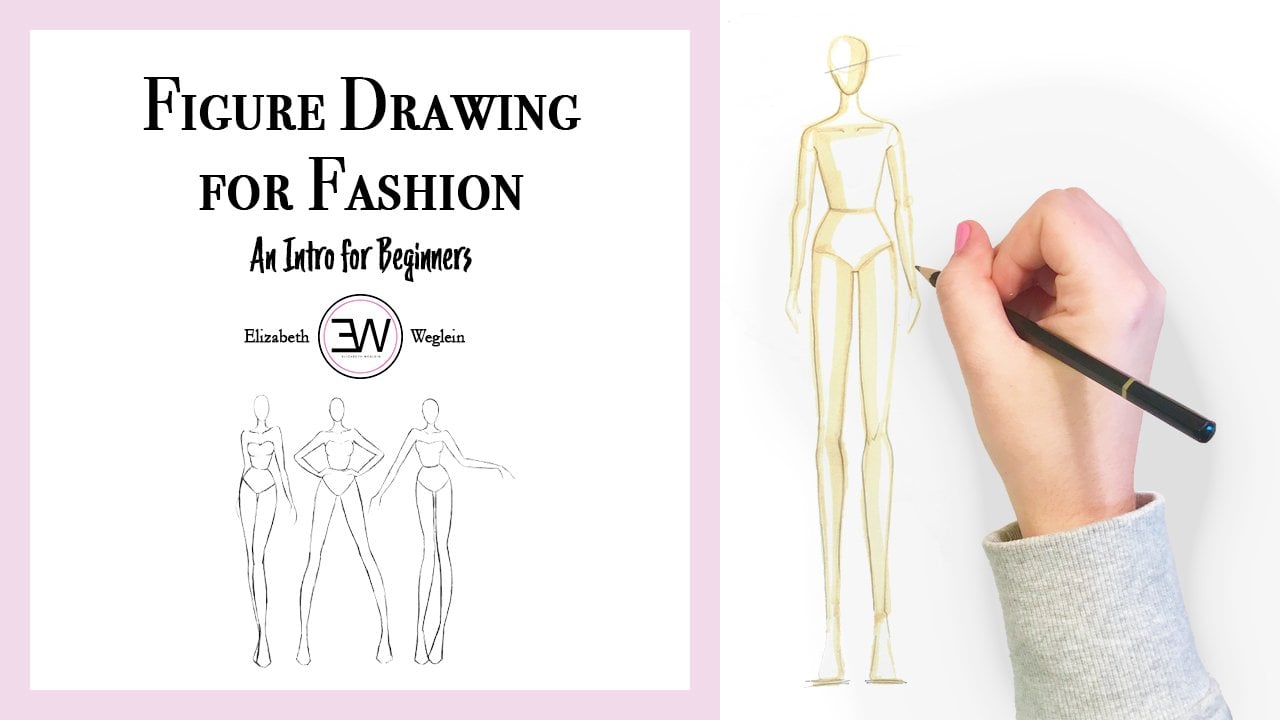
1. Intro: Hi, my name is look, Legoland, and I'm a freelance artist and fashion designer. Today will teach you the basics of using Adobe Illustrator for fashion and how to create your First flat sketch. As a recent graduate of the Pale design program at the University of Delaware, I know firsthand how difficult and confusing it could be to learn to use illustrator. But after four years, music and almost daily, hoping I could simplify the learning process for you. Today I'm going to cover how to set up in illustrator file with a flat template, the essential elements of every time you go flat. How to draw flat for a basic T shirt and the tools used to create details and six lines. So you might be asking, Why don't need to make a technical flat? Can I just draw a T shirt and have it made? Well, you can try, but essentially a technical flat served as a blueprint for a garment so that a manufacturer can produce your design exactly how you want it. To avoid mistakes and delays. The flat shows the shape of the garment, the stitches used to create scenes and edges, closure and more so you get to resign properly Made on the factory doesn't have to stop to ask questions If you're Washington because you're interested in starting your own fashion brand, know if the ability to create flats yourself allows you to clearly articulate your designs and can save significant time and money it would take to hire a freelancer.
2. Setting up Your File: first lesson, I'll be showing you guys how to set up your file on Adobe Illustrator and then where the most important tools it will use can be found within the application. And then how to add a fashion figure template s so you'll be ready to start your designs. So if you don't already have a subscription to Adobe Illustrator, you can download a seven day free trial in the project description. Um, if you already have it downloaded, you can find it, either with the spotlight search or my adobe Creative Cloud lives in my menu bar, and you could open it here. Don't you have an open you want to go to create new And then I usually use just a printer sized piece of paper, since that's probably not reprinting on but you. If you want to print on 11 by 14 or something else, you can change that here. So then you wouldn't need your file, and then art boards is basically like a piece of paper. So if you know you have a lot of designs you wouldn't create, you can always create multiple art boards, so then you won't run out of room and anyone hit create. So this was gonna look like here. And then you can open up your layers panel, which I'll talk about in one of the other lessons. But then, if you want to add more art boards, Leader, if you're out of space on this piece, you can click here and add a new one. Now you have to, Or if you don't end up meaning an extra one that you want to create this delete it. So then this toolbar over here is where most of the things you will use are these two arrows are different selection tools. I'll show you how to use the pen tool, which will be very important. And then something other tools which are under here, Um and then if for some reason you get X out of this tool for whatever reason, you just want to go to window tools default and you have your full toolbar back. So then, to add your fashion figure template, just go to file place and then select your flat template, which I'm gonna put any project descriptions. You all can download it. And then before you click place, you want to make sure that template is checked right here, then hit place. So then, if it doesn't exactly fit your piece of paper or it's not in the place that you want it, you seem to go into the layers panel and then see how your template is on a different layer right here. Hit the unlock button, and then this way you can move it over and even scale it. You can click, shift and then the corner, and it will perfectly scale without getting distorted. So when you're finished with that, you just hit the lock button again and go back to your layer one, and you're ready to start creating your designs.
3. Using the Pen Tool: and this lesson will demonstrate how to use the pen tool and then how to use the selection and direct selection tools. So to draw your flats you're gonna be using the pencil was important. To keep in mind is that each line segment that you draw will have an anchor point at each end and what's called your path in the middle. So sometimes you want to draw a straight line with your pen tool so you simply create your first anchor point and then hold down the shift key, and you'll have to create a straight line at one of these angles. Simply click when you're finished. Sometimes you want to create a curved line. So once you create your first anchor point, hold down your cursor when you create your second and simply drag it around to create the curb that you want. After you've created this curb line, you can either continue with another curved line that will move smoothly with the one that you've already created, or you can click the point again if you want to create a straight line from this, so you often want to create a closed path, so it's a single in close object from your pen tool. So with that, you'll just keep clicking until you see this circle the pen tool and then you know you create a closed object. If you want to edit anything that you've created, he'll use the selection tool. So this allows you to completely move the whole object that you've created or scale it. We're moving around or even to select everything you've created and move it as one. If you want to edit a specific path or anchor point, use the direct selection tool. So this allows you to move just one of the lines or one of the anchor points so you can change what you've created. This comes in handy if you have a curved line, because the drug selection tool makes the this line show up so you can edit your curve. Also, another way to edit your curb is to use the anchor point tool, so this will convert this point into a curve so that you can change this to a different blob instead of a square. If you want to change this, you can click it again and you'll get your angle straight lines back Also, if you want to either add or subtract anchor points, you can do that. Either create a smoother curve. June. Click here and then see you can add it. This curb with your direct selection tool.
4. Starting Your Flat: Okay, let's dive into creating your first technical flat of a T shirt. So first, the three essential elements to keep in mind for whatever kind of technical flat you're creating is that you thought each flat should tell you what the pieces made out off. How does it fit and how to get into it? So for a T shirt, it's made of a knit fabric, which will be shown by the stitches we add later. It could fit either close to the body or in a more boxy shape, and with a stretchy rim neck collar, you couldn't get into it by point over your head. One of the other important things to keep in mind when create a flat is most of your garments are symmetrical, so this means that on the computer you can draw half of your flat and then reflect it. And with a few edits, you have your full design without having to actually draw the whole thing. So let's get started. So again we'll start with the pencil. I like to start at the neckline so a T shirt normally has a rounded neckline, but I'm gonna create a V shaped first so that when the other half is created, I can create a perfect curve. So then you go to the shoulder here and we're gonna actually ignore the sleeve for now and create just what's called the bodice. Stay here and you create that little bit of curve that you have for that sleeve. And then let's say R T shirt is just a little bit fitted so we can add a little bit of a curve right here. Curve it in a little bit. And then let's say it's hip length civil. Say it's about right here. You can curve that a little bit more and then create a straight line to this halfway mark right here. So then, to create your sleep, you want to use the drug selection tool. Zoom in on your arm hole right here, and then you want to click both of these past. So that's well, one right here. You can see there's to anchor points on either side and then hold down the shift key. Click this one as well. One hit command, see, to copy and command F to place the exact same path pasted right over it. This way it allows your sleeve to be separate from the bodice, which means you can actually move it and edit it without messing up the original bodice you created. Click the pen tool again and then click right here. So you're actually continuing this path. You might want to create a little bit of rounding for the shoulder. And then let's create a typical short sleeve T shirt right here and then right here and now . Your sleeve of your T shirt is actually fully moveable and detachable. You can edit it separately and keep it right here. So here's a basic half of a T shirt. We'll be adding stitches and heading, editing other elements Leader.
5. Creating a Symmetrical T-Shirt: Okay, so now I'll show you how to reflect this, have a flat, and then start adding some of the detail. So first you want to use your selection tool and select the half that you created, and then you go to your reflection tool, which is right here. It could be under the reflect tools. You just have to hold it down to get it. Once you have this cursor, you'll go to your axis of 70 right here and then option. Click and you'll get this window here. You want to vertically reflect it. Make sure that preview is checked or you won't be able to see exactly where it's reflecting to. And then make sure you hit copy instead of OK, because if you just hit okay, it's gonna reflect the first half you've created just to the other side, and we want to make sure we have both halves to join them. So once you've joined them together here we have a few added that we need to make right away. So first we'll zoom into the neckline, so we want to join the two halves of the T shirt. So that's one complete close path So the first thing we'll do is get your direct selection tool. Draw a box around the, um, neckline here, right click and you wanna click join and you'll see immediately that it makes the line continuous so that you don't have those two anchor points here. And then we want to do the same thing down at the hem. So even though it looks like there's just one anchor point, um, it actually is, too. So we do want to join those together. So again, right Click join. Okay, so then we'll zoom out. And like I say, we want to make this neckline curved instead of a V neck. So we'll go to the anchor point tool here, click on this, point the neckline and drag it out to right curb. So that looks about right. Perfect. Okay, The next thing I'm going to show you is how to add that rib knit neck band around the neck of your T shirt on. And then I'll show you how to add that rib texture in the last video. We're gonna do this by separating the neckline from the rest of the bodice you've already created, So you're actually creating a new piece. So you're gonna use a tool called Pathfinder, so going to find that go to window, scroll down to your path. I interview here, and there's all kinds of tools here. You can divide, trim, urge, um, different pieces together. So what you want to do to actually divide the little bit of neckline away from the bodice is you go to your pen tool and you want to actually start your line outside of the T shirt so it knows exactly where to divide. So it looks like about the right, uh, policemen, and then we'll click in the middle and then Okay, so now again, go to that anchor point tool, drag it out so that the curves about match Well, awkward slots we go about. So now, once you draw on your line here, you're gonna select Thies to and then go to Pathfinder divide. So now you've divided your neck band here from your bodice. But the one thing you have to remember is that when you use Pathfinder divide, it did just group these two together. So if you do want to move this neck band separately from the rest of it not to go to objects on group. And now the last step is going to be the toe. Add the back neck line of your T shirt right here. Because of your T shirt was lying flat. You would be able to see that back necker because it's not as low as the front. So the first thing we'll do is go to your direct select tool and then again select each half of your neck line command C command F. And then you have that second line piece did go to your pen tool. So you're gonna be creating a separate close shape again just so that you will always be able to fill and then see the weird little point that's happening here. I will show you how to fix that in the next video. Um, so then go to your anchor point tool. Uh uh, And then to create the back neck band, you might want to move it out of the way and tour. So it's here. Never again, no select divide. And if this does happen where it gets rid of your, um, stroke, you see this box here says Default Phil and stroke there. Have it back. And then you move this back into, please. Okay? And there you have your back neck added.
6. Adding Stitches: So the next step of the process is to use the stroke tool to change your line wits and add details like such lines to continue making the final product that could be sent to manufacturer. So the stroke tool coming to be found right here will open the window. Or, if you go to window, scroll down to stroke, it will open here, too. So the first thing is to take care of what's called the caps here on that I was talking about in the last video where it's really pointy like this. So to solve that problem, you're going to select the entire shirt and then where it says corner here, go to the middle one, which is a round join. So the second you click that all of your corners will become just slightly rounded, which will prevent that awkward point from sticking out. So the next thing that you could do is change your line weights, so usually you're just gonna keep it at this one point right here for the outline of your shirt, which is just all that we have so far. When you create your stitch lines, you might use something smaller Or if you really want to make your outlines stand out, you could use something a little bit bolder. We'll keep it up one point for now. So then, when you're creating your stitch lines, usually you'll just do it when you're creating your first half of your flat and then reflected over and do a whole joint process similar to how we created the outline. Um, but just keep it simple. Um, I left it plain, Um, we did the half. So now we'll go back and at the stitch lines. So if you need help with how to create your stitch lines, you can simply look at whatever shirt you're wearing. For instance, the shirt that I'm wearing right now has two lines of stitching for both the hem of the sleeve. Um, and the bottom of the shirt board's gonna do one line of stitches right now to keep it simple. Um, so to start on the sleeve on a zoom in and kind of make sure it's parallel to that hem. Okay, so then when you create your line, you're going to check this dash line right here. And so I would say we don't want this 12 dash, so you might have to play around with what works. Um, so usually just do one and one. Um, but then, since the still looks awkward, you want to make sure that cap, which is the ends of the visible line, is round. See how that looks more like a stitch and then decrease the weight. Usually just don't 10.25 doesn't need to stand out very much, and then you can select that line and then was you the reflect process, like we did before, find that access of cemetery option click and copied on over to this side. So then we want to do that at the bottom two to create the hem of your shirt. So go to direct Select reflected both sides because it does have that point in the middle. So control C control efforts. This is the other way to do it. If you don't want to draw a new line, so on to exit here, you might need to just drag that anchor point in a little bit, just so that you don't have any stitches sticking out awkwardly. Perfect. And then, sure, your whole Linus selected and then either you can check the dash line and re enter everything here. Change your caps and everything, or you can use the eyedropper tool. So the eyedropper tool right here will allow you to select the characteristics of another line and automatically apply it, so that saves you a lot of time from having to reenter the caps and corners and creating your dash line. Once you create a dish line that you like, you can just use the eyedropper tool to finish it up.
7. Adding Ribbing & Shading: Okay, The last step to finalizing your flat is gonna be to add a little bit of shading for your back neck and then to add the ribbing to your collar here. So to add the ruling to your color, there's a much simpler method than just continually drawing little lines along it. So to start, to create your to use the pen tool, draw just a short line right here and then select it. Go to your stroke menu. So you wanna make the width pretty big on was going to go with 16 right here. And then you're gonna do this. But, Cap, we're here to shorten it. And then before we had Dash, Lawrence is gonna look like this So quick, dash line, you're gonna want to create a 0.2 5 dash with, ah, one gap. So once you've created this, you're going to minimize it and then go to graphic style and then to this little what looks like a sticky note to create a new one. So this creates a graphic style off this ribbing that you've just created. So the next step is to zoom into your neck line and then you're gonna want to draw a line in about the middle of your neckline. So will follow a similar process that we used to create the neckline. So it looks crazy at the moment. And then we'll do anchor point tool squatch the blue line and create about that Kurt. So now it looks like this, and obviously it's much too big to fit into the collar. So what you're gonna do is gonna go to the stroke and then keep pulling the weight down. Oh, and also, you want to make sure it has no feel Sorry. That was the other element. Okay, so then perfect at six point, if it's perfectly into this neck band right here, so then you also have to do the back. So again, you're gonna draw that line in about the center. It's right here in that middle point and then again and then convert anchor point, smooth it out, and then see, it's pull this point down just a little bit. Is that this process differently? Harz A little bit editing and playing with it. It's very hard to get it, Uh, exactly on your first try. So then you could see that you can see this, like from the back. So for a second I'm just gonna pull this out and we want to select the next band here to object. Arrange, bring to front. Make sure is also filled with the white here so he can put this back into your center here and then, since that's not sure either, because you brought to the peace front. Now bring this the front. So now you have your rib knit neckline, and then there cries a little bit of moving around so you can see here that you have your T shirt and sometimes leave it like this is fine. And then sometimes you want to shade in the back neck. Um, just so it has a little bit more depth. So when you have your, um, back next selected, you're going to double click on this Phil, just select like a light gray here and then click OK, and there you have that little bit extra depth, and then that Tools also how you can fill in different colors if you want to create something different, usually flats or black and white, but you can definitely fill it with colors or patterns. if you choose. And here you have your finalized flat. So feel free to try our new skills and post a class project. Um, and I'll be ready to answer any questions that you have trying to get frustrated. It can definitely be difficult learning, um, takes a lot of practice, but you will get it and it will be much easier.
 Elizabeth Weglein, Artist and designer