Abstract Watercolour Bookmarks
 Melissa Runkvist, Artist, Writer, Teacher
Watch this class and thousands more
Watch this class and thousands more
Lessons in This Class
-
-
1.
Introduction
0:42
-
2.
Materials
1:06
-
3.
Watercolour Paper
4:50
-
4.
Watercolour Medium Options
1:33
-
5.
Set-up
2:31
-
6.
Painting
4:02
-
7.
Adding Mixed Media Elements
1:08
-
8.
Finishing
2:40
-
9.
Final Project
0:22
-
-
- --
- Beginner level
- Intermediate level
- Advanced level
- All levels
Community Generated
The level is determined by a majority opinion of students who have reviewed this class. The teacher's recommendation is shown until at least 5 student responses are collected.
49
Students
4
Projects
About This Class
What You'll Learn
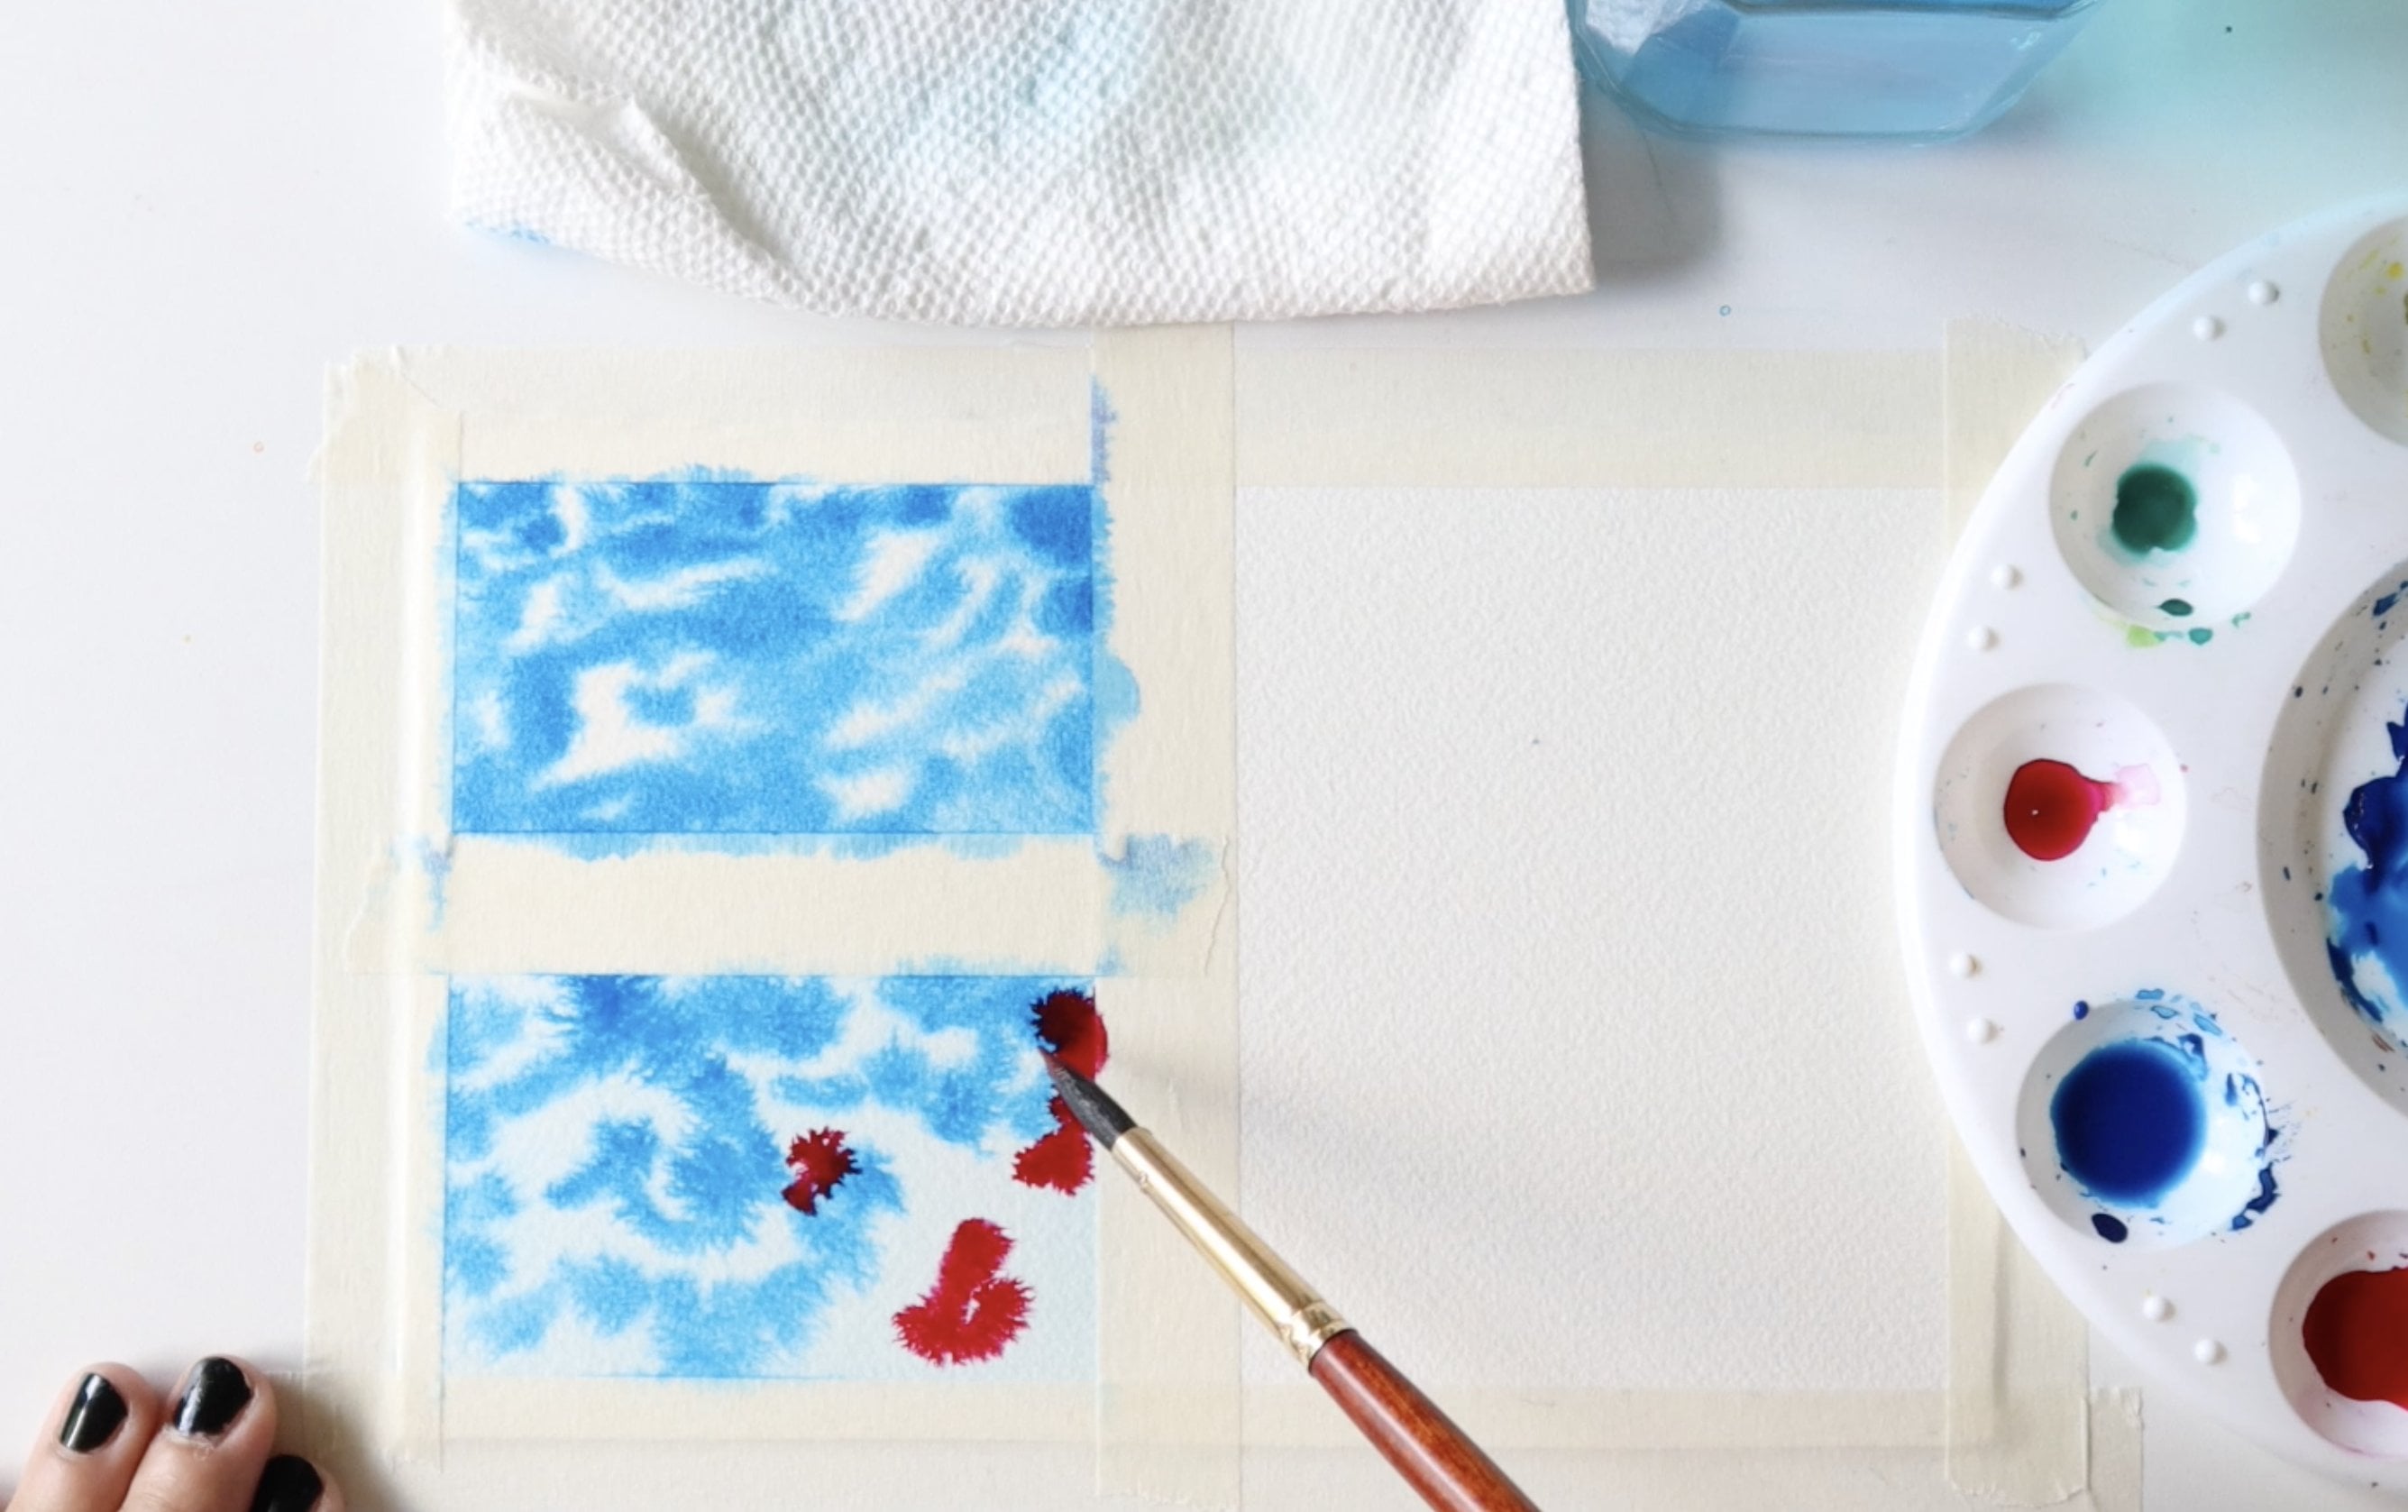
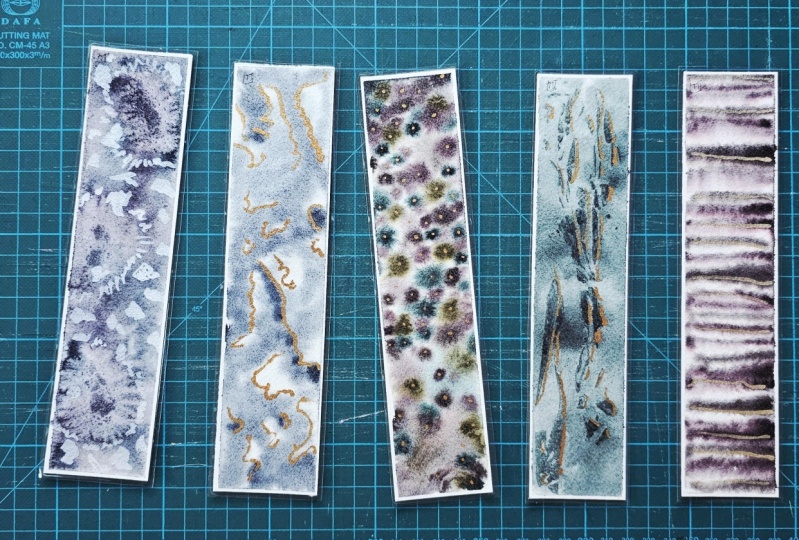
In this class, you'll learn how to create abstract bookmarks using watercolour paint.
Why You Should Take This Class
In addition to walking away with some unique bookmarks to use yourself or to give as gifts, you'll learn tips and tricks for working with watercolours. You'll also learn how to select the best paper and type of watercolour medium for your project.
You'll be able to use the skills learned in this class to continue experimenting with watercolours for future projects.
Who This Class Is For
This class is great for beginners and those looking to try a fun project to put their existing skills to use.
Materials
For this class, you'll need:
- Watercolour paper - 140lb or heavier works best
- Watercolour paint - Solid pans or tubes
- Paint Palette
- Paint brushes – I’m using a #4 flat, #4 fan and #4 round brush
- Painters tape or washi tape
- Water
- Paper towel, a washcloth or cotton rags
- Ruler
- Pencil
- Paper cutter, or other device for cutting such as scissors or a metal ruler and craft knife
Optional Materials
- Gold leaf
- Tweezers
- Salt
- Plastic food wrap
- Hair dryer
- Laminator and laminating envelopes
- Hole punch
- Ribbon or tassels
Meet Your Teacher

Hello, I'm Melissa.
I've been into creating since I was a young child. I love to paint, draw, and create digital works of art and video content.
I'm excited to learn from other community members on Skillshare and to post more of my own classess and content to help you try new things and learn new skills!
See full profileHands-on Class Project
Project
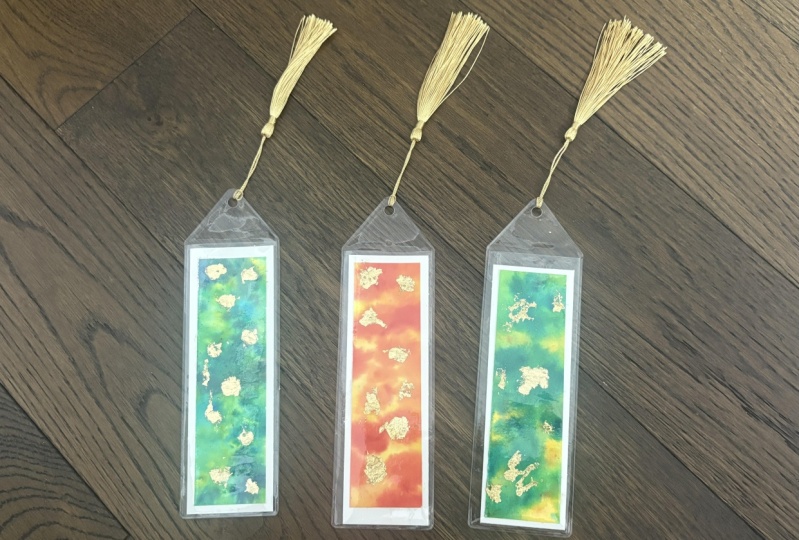
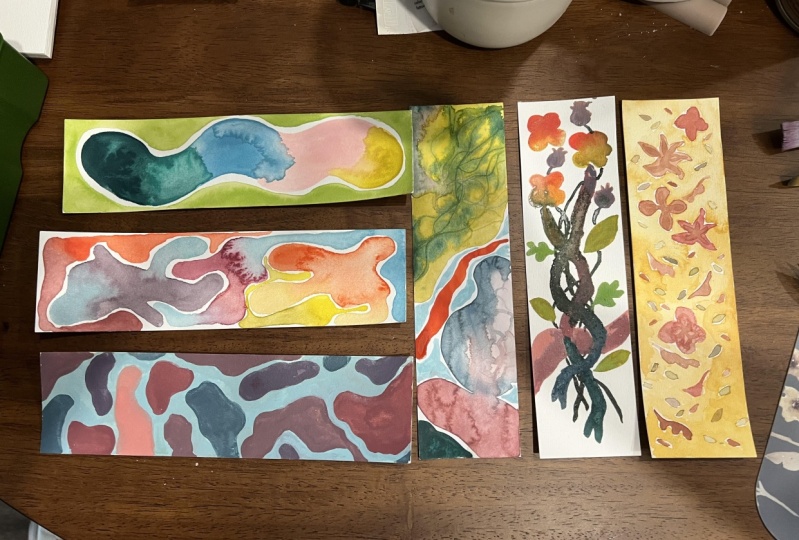
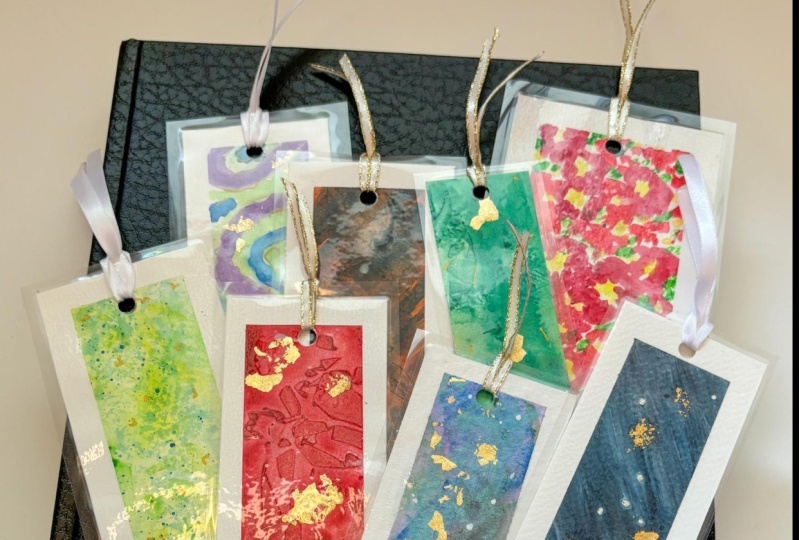
Your class project is to make several abstract watercolour bookmarks! Watercolour paint will be used with different techniques. Mixed media effects can be added using optional materials, and if you like, you can finish the bookmarks by laminating and adding ribbon or tassels.
Check out the Projects and Resources section of this class to view other student projects, and to upload photos of your own.
Materials
For this class, you'll need:
- Watercolour paper - 140lb or heavier works best
- Watercolour paint - Solid pans or tubes
- Paint Palette
- Paint brushes – I’m using a #4 flat, #4 fan and #4 round brush
- Painters tape or washi tape
- Water
- Paper towel, a washcloth or cotton rags
- Ruler
- Pencil
- Paper cutter, or other device for cutting such as scissors or a metal ruler and craft knife
Optional Materials
- Gold leaf
- Tweezers
- Salt
- Plastic food wrap
- Hair dryer
- Laminator and laminating envelopes
- Hole punch
- Ribbon or tassels
Class Ratings
Why Join Skillshare?
Take award-winning Skillshare Original Classes
Each class has short lessons, hands-on projects
Your membership supports Skillshare teachers
Learn From Anywhere
Take classes on the go with the Skillshare app. Stream or download to watch on the plane, the subway, or wherever you learn best.