Transcripts
1. Introduction - MIDI Deep Dive: Hey, my name is Soph,
and I'm a musician, music producer, and artist
based in the north of the UK. And in this course, we are
going to take a deep dive into everything that you might
want to know about MIDI. So what we are going
to unpack inside of this session is what MIDI is, how we might use MIDI, how we're going to draw it, and how to program and record MIDI into
our door of choice. So this might be Ableton Live, or it also might be
Logic or FL Studio. You can take any of
these skills across over into a door of your
choice if it's not Ableton. Then, finally, we are going to investigate Ableton
Live's groove pool. And Groove pool is
really cool because it allows you to add
different rhythms and a little bit more
experimentation into the MIDI that
we've recorded. And hopefully you can have
some fun as we go along with the demos and kind of replicating things
in your own time. So I'm really looking
forward to teaching this and going along with you.
So let's get into it.
2. What is MIDI?: Before we get into the demos, it's really important to start to understand
what MIDI is. And this is a term that you will hear across the board
in the industry, whether you're
watching a tutorial online or whether
you're inside of a studio or doing something else that's
equally as wonderful. And MIDI is something that
is used in music production, and it stands for musical
instrument digital interface. And this is something
which sends Ableton or do some
musical instructions, and it speaks the
same language as the rest of our digital
gear that we might have. So this might be between a midi keyboard straight
into your laptop, and it also might be information
that's being fed from a mini keyboard into something
like this interface yeah. And what happens when our MIDI is having a conversation
with the rest of our gear is that it's basically sending some
sort of instructions. And what instructions
that the MIDI is sending might be something about
what notes are being played, how loud these notes should be. It could be how long the
note lasts, for example. But what's important to note
about MIDI is that MIDI itself never transmits
an actual audio signal. So if you're inside of Ableton
or a door of your choice, and you don't have a synth or a sampler inputted
onto that then you won't be able to hear any
of those MIDI notes because it's never transmitting
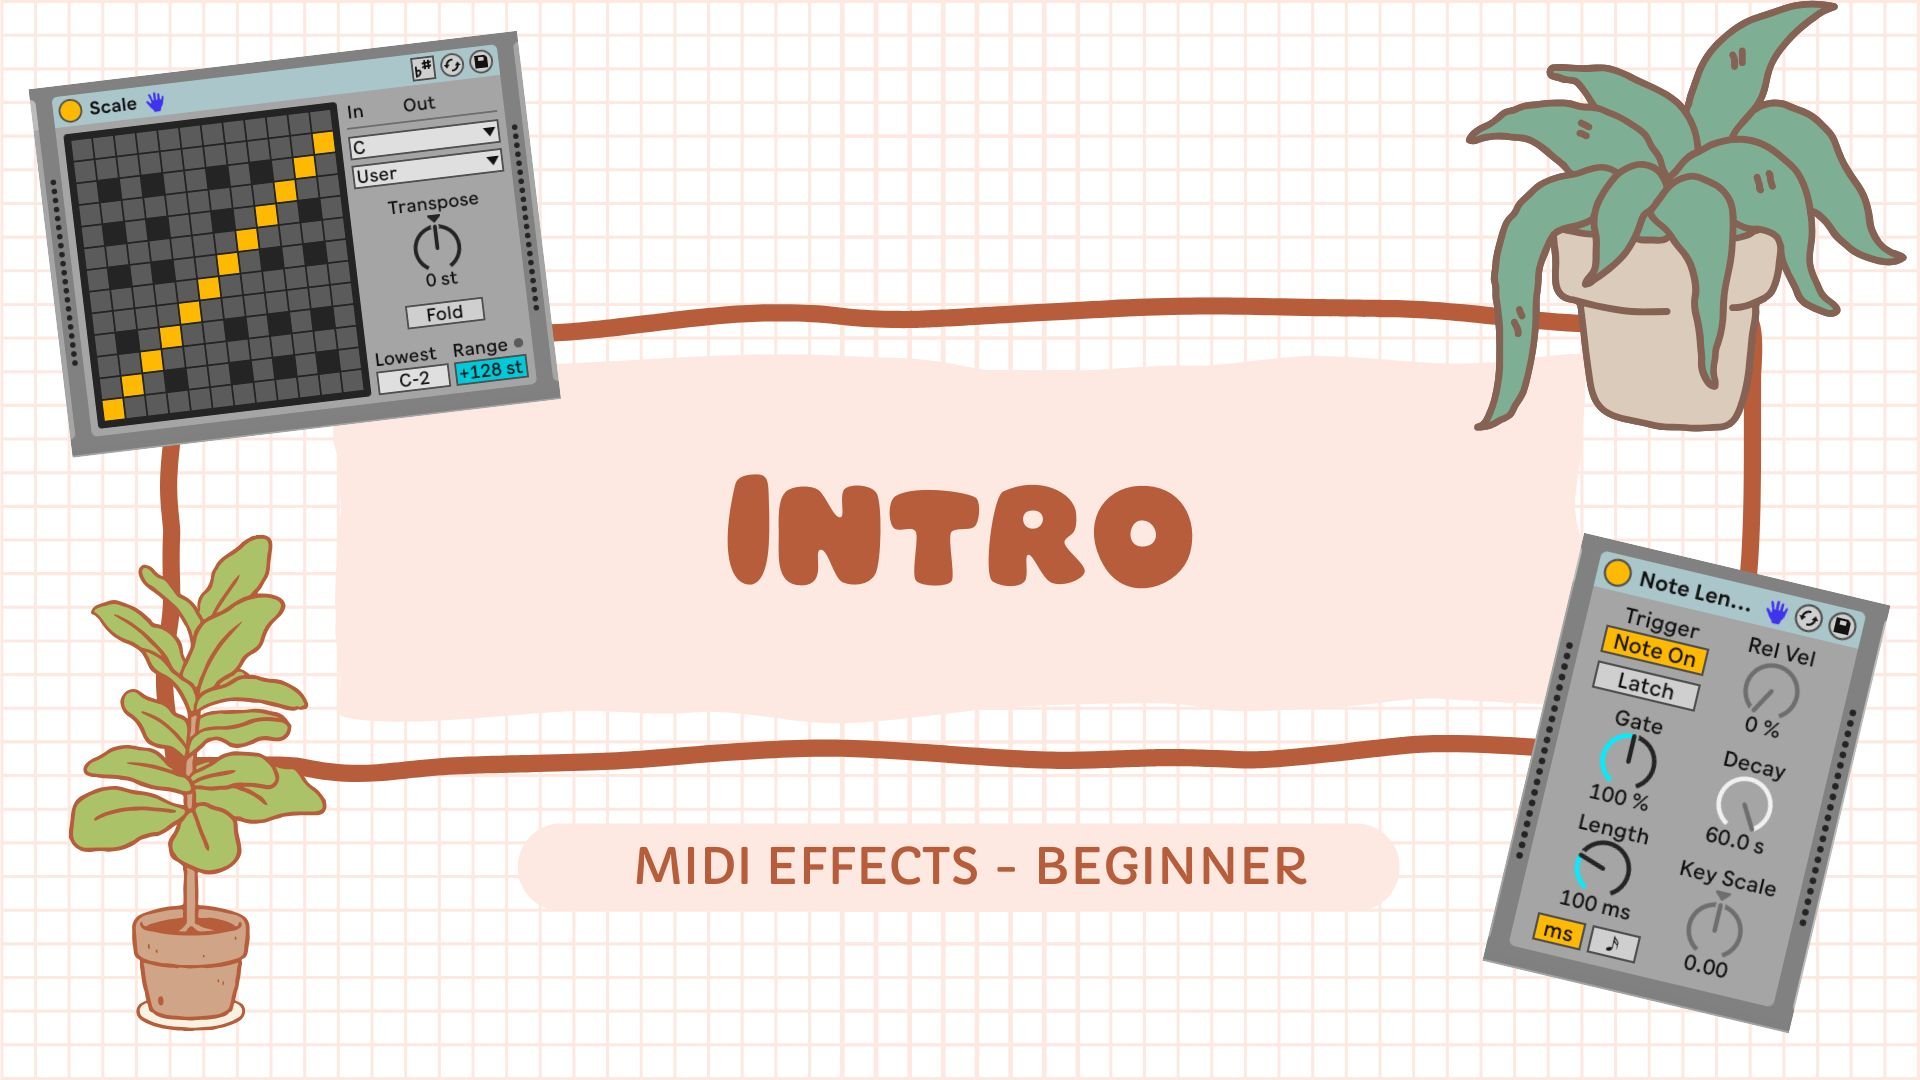
an actual audio signal. And we can always tell the
difference between MIDI versus audio because MIDI is
always depicted like this. So it's a little bit
different standard notation in the sense that
it's a bit more blocky than it is looking at something in a traditional sense like a crotchet or a minim. And the biggest benefit of
MIDI is that we can change. We can edit performances
note by note, and we can also change the way that that
note is articulated, or we can even replace
the sound that might play a melody or
the chords, for example. So it's a really quick way of allowing you to
diversify your workflow, but also keep yourself
being productive and a nice way to kind
of build your songs and make them complex and unique to you because you
can just switch out different elements whenever
you want without having to input or rewrite
the melody each time.
3. Draw Mode with MIDI: Let's talk drawing and MIDI. There are a few ways
to go about this. We'll begin by
thinking about notes being added and how we
might draw in the MIDI, and we will do several demos as well as there will
be some images that appear on the screen
as well to show you which controls I'm talking
about as I'm going along. So keep your eyes peeled. Notes inside of our door
instead of Ableton. In this example, again, as I've said, it's
applicable across all doors. When we're adding notes
onto our mid clips, we could add the notes into the midi clip by recording something as we're going along, by arming a track, and then pressing record, or we can also retrieve
some MIDI that we might have actually forgotten to record it or
something like that, and we can do this via
the capture MIDI button. But what we're going to look
at inside of this course, for the most part is manually adding in
midi notes by using the midi note editor and
using something called the Pencil tool
inside of draw mode.
4. MIDI: Using the Pencil Tool: Inside my Ableton session. We can just see
that I've selected this stock pad
inside of Ableton, and this is what we will be
adding some mini notes in for and inputting them
during this demo. And when we're inside
of the session, we need to first create
a clip, and to do that, we need to double click on
this cell here on my track, and we know that we're going to be able to
hear and record notes into this track
because we've got the record activated
here as well. The reason why we've double clicked into the cell inside of the MIDI track is to be
able to create a cell, if you like, a little
space where we can begin to record
midi or draw midi in. Now, you'll notice that
inside my session, we've got the keyboard, which
is already highlighted, which means that when I press my keys on my
keyboard shortly. You can hear that that
midi is being picked up. But also, we need to activate the pencil tool to be able
to draw our midi nut in. And to do that, you can either
click the pencil up here. Or we can also use
B on our keyboard. I like to think of B for
pencil, similar to pencil. I don't know. It works for me. But, yeah, you can
either click on the pencil or you can press B. And with the pencil, it just gives us
greater flexibility over how we draw our notes into the session
and into our clip inside of Session View
that we've just created. So when I am inside
of this view here, this is the clip editor. So if I refer to something as we'll go into the clip Edit, this is the space where we will do that because
this is where we can input our notes and also
edit them at the same time. When it comes to drawing
in MIDI with the pencil, we can then pull this up
here inside of the session, and we could program any sort
of melody we would like. I'm just going to put some
random notes in here. And yes, so we'll just
have a little play through of this clip to hear
what it sounds like. That's what it sounds like after we've just inputted some notes. All I've done is I have just selected the pencil tool
by clicking on the pencil, or you could select it by
pressing B on your keyboard. And then I've literally
just pressed inside of the MIDI note editor
to input our notes. So that's how I've begun to program and draw in
some of our MIDI. So we have this clip here. As an aside as well, now that we've inputted our MIDI notes into
the MIDI editor. If we click on one of the notes where we
decide, we're not sure, we don't like that note,
by clicking on it again, it will be deleted. And again, we can just click
to re input that note. As well, if the notes selected, you can also press a
backspace on your keyboard, and it will do exactly
the same thing. Now, at this point, when we're inputting notes
with the pencil, it's a really fluid action. You're able to kind of plot notes wherever you would like. But sometimes there might be an instance where you want to program a particular set of notes in maybe
close succession, like, a bit of a rhythmic
element inside your track. And you don't want to use the pencil tool
and have to click, click, click, click, click over and over
again. Very boring. Nobody wants that kind of
a workflow in their life. Another example is, if I go into this second clip
inside of the session, once we've got that
pencil tool activated, if you hold Alt
on your keyboard, and say if I wanted
multiple G notes, for example, that's the note that my pencil is on right now. All I need to do is hold
down Alt and I can drag. And that's really nice
because it locks them into just that one note
that you're using. I could put my mouse
all over the place. And it won't go off that note. But if I go back on myself, it will delete some
of the notes as well. So again, it's quite fluid for workflows and getting
to grips with that. But pitch lock is
really good if you want to add notes in
quick succession, going along here, especially
if you're programming drums, where you might need to program
in lots of high hearts. I just saves time.
It makes it less boring for you and
more efficient, and you can get on to doing
even cooler media aspects.
5. MIDI: Programming in Session and Arrangement: Things are going very well
for you at this moment, and you're feeling good. It can be a little bit overwhelming whenever
we're learning new skills. So hopefully, you're still
with me and feeling okay about MIDI and how we would go about drawing in manually
using the pencil tool. We're going to now go into how we would program some MIDI
inside of session view, then onto how we will program some MIDI straight
into arrangement. Inside of Ableton.
Then we're also going to look at how you
can pull things that you've recorded in session view over into arrangement
view, nice and quickly. Again, it's up to you and your workflow, but
doing things like that, it's really easy for kind of getting that mix
of idea generating versus arranging and then mixing them up and even
for live performance. We will get started with programming some mini drums
inside of Session View. Then we're going to
go on to programming another instrument inside
of Arrangement view, and then we'll mix and match
with pulling the drums from session into
arrangement to match the chords that we've
programmed in there. Welcome to my session. In side of here, we are going to take a look at bringing a drum kit in to begin programming
our midi drums. You'll see that we've
got our second midi track our first one, we were experimenting
with that pad to be able to learn how
to program notes in using the pencil tool or B for Benzel as I like to
remember the shortcut. Using this midi track here, we're going to add in our drums. So I'm going to go to the
browser and click on drums, and I'm just going to bring
in something super simple. So I'm going to go for this
eight oh eight core kit. And I double clicked,
and we can see that that dropped itself onto
this track here. And inside this track, to be able to program
those mini drums, we need to arm the track. And then we just need to double click to go inside
the clip editor. And by default,
whenever we double click on a clip inside
of Session View, it's just going to give
us 1 bar to play with. But you can extend this to whichever amount you would like. And to do that, it's simply by clicking on this
number here in length, and we might extend it out
to 2 bars, for example. When we've pulled up our
clip inside of clip Editor, we can see that it's brought up all the drum sounds
that we might want to. Here in the same way
that on our pad, if we flick to this, it brought up the different notes
on the piano roll. On a drum kit, we can see
that it's bringing up every element of that drum
kit on the piano roll. So as opposed to
there being notes, it's part of a drum kit. And again, you can try
out some of the sounds, and we've got our little
headphone icon enabled here, which means that we can preview the sounds before
we commit to them. So we could try out
the snare drum. Sounds cool and maybe even
the bass or kick drum, as well. Cool.
Sounds interesting. We're going to begin
programming our drums. And to do that, we are going to click B on our keyboard to enable the pencil
tool up here. Or we can also just click on
it with our mouse, as well. If you'd like more
information on drum rhythms, there are plenty of
resources to check out, but today we'll just do
something super simple. So it helps you get to grip
with programming these beats. Back to the session.
We've got a bass drum. I'm just going to do a four
to the floor kick situation. And then I'll just do a snare on the second and fourth
beat of the bar. Cool. I think we'll have a listen
to see how this sounds, first of all, It's
sounding pretty right. I think what I'd like to do with this basic beat is maybe just add an extra snare at the end. So if we just add that in,
and we can press play. Again, it's basic, but it's just something that we can use as a really good
foundation to help us. And then one thing that
I'm going to use is a technique that we spoke about
just a little bit before, which is doing pitch locking, where we get that pencil and we hold Alt down
on our keyboard, and then we're able to drag
that for as long as we like. I spoke about previously with using on things
like high hats, and that's exactly what
we're going to do. Now, a kick and a
snare sound okay, but let's add some of
those high hats in. And I'm going to go for
this closed high hat sound. I'm just going to
turn the preview off because I don't want to
hear this right now, and I'm going to hold Alt. And I'm just going to drag
this across like that, and then we'll play the beat. Yeah, sounds cool. I like that. It's better with the hats. It's always the hats
that kind of help to drive a rhythm in combination
with everything else, but hats are something that's really good for
pushing a rhythm along. We've got our hats in, and remember that when
we're holding Alt, after we've drawn
those in like this, we can also go back on
ourselves, as well. This is how we've programmed
in a really basic B inside of clip Editor
inside of Session View. Now, let's show how it'd be cool to program something in
from Arrangement View. Now we've got our drums
inside of Session View. Let's program something
straight into arrangement. Remember that we've got these two views inside of Ableton. Session is maybe
where you'll be doing more live things or you'll
prefer to generate your ideas. And arrangement is maybe
where you're thinking about the basis for a piece or different elements that
might intersect there. But equally, lots of people like just
generating ideas inside of arrangement view because it's something that
we're used to seeing. We're used to seeing
that linear timeline. So let's program something
inside of arrangement view. So we go into my session. We've got our drums that we just programmed here inside of our session with our ts and
snare and our kick drum. And then by pressing
this button here, how we program here inside
of arrangement view is really quite similar to how we program inside
of Session View. Thinking about this,
we are going to use this pad that we
initially were working with when I first showed
you about getting into MIDI and programming
MIDI inside of Ableton. I'm just going to arm that track because I'm telling
Ableton that I would like to activate that track to
begin creating something using this and when we're
inside of Arrangement view, we don't need to necessarily start at the first bar
inside of Arrangement View. It's up to you.
In this instance, I will just start on the second bar because you can
always move things around, so don't worry too
much about that. We are going to have
a look at doing some cords using this pad
from earlier in the same way that we needed to
double click on a cell inside of Session View
to be able to create our clip to then
give information to Ableton to kind of
talk about what it was that we're going
to through MIDI, we need to also double click
inside of Arrangement View. So if I double
click here because I said that I wanted to
start on the second bars, I'm just going to double click in between those two lines. And we'll see that
it's created something similar to that clip that we
had inside of Session View. It will give us a
very small amount of time to work
with when you first double click on that area that you're going to work with inside of Arrangement View. We're just going to go to length here and we'll just
change that by typing in two and I'll just
bring it out for 2 bars. And I'm going to hover
to the end of the clip, and I'm just going to pull it out a little
bit so we can see our 2 bars appearing like that. We now need to put some notes
in here because this is the same premise as when we were inside of Arrangement View, when we double
clicked on our clip, and we needed to input
these drum kit notes. Inside of arrangement view, we also need to input
some notes onto here. And it's the same principle. It's just that we're
doing inside of arrangement view
instead of Sess. Going to turn preview off
because I don't want to hear these notes in this instance,
but you could, of course, leave preview that little
headphone icon on whenever you're ready to
listen to the notes that you would like to create. Now we need to input some notes into this clip to give
Ableton some information. We need to either click on the Pencil tool or press
B on our keyboard, so I'm going to press B, and let's draw in some notes. So I will make a really
easy C major chord here, and then I'm going to maybe go for something like
a minor chord. I'm just clicking the notes that I would like to build that ord, and then I'm just
going to click B again because I would like to
turn that pencil tool off. I'm done drawing the notes
in to form the cords. I'm just going to hold my left mouse key down
and select these notes. And the reason that I'm selecting them is
because I want to extend them I want
to make them longer. Once I've selected them, I'm hovering to the
edge of these notes and you'll see that you
get this square bracket. With this square brachia, I'm going to hold the left
key down on my track pad, and I'm going to pull
it out to about here. I'm going to do the same on
this second set of chords, and I'm going to pull out here. We have a lissm Really basic
chords, but they sound nice. And that's how we program our
MIDI into arrangement view. So it's very, very similar to how we would do
this in session, but it just might look
a little bit different with how we get
that clip started. A final aspect of what
I'm going to show you is how to pull those drums in from session view
into arrangement view. Now, you might have
ideas spread across both of these pages,
both of these views. Here's session,
here's arrangement. How do we get them over there? And there's a couple of ways to kind of reunite
these parts together, but I'll show you one
in this tutorial. We've got our chords inside of Arrangement view here
that we just heard, but I'll replay them again. I want to grab those drums. So I'm going to press Tab. Or again, you can
press this icon here that looks like
the vertical lines, which match up with the way that session view is arranged. And I'm going to select the drum clip just by
clicking on it once, and I'm going to hold my mouse, and I'm just going to press Tab. And you'll see that whilst
I'm holding tab down, we've got our drum clip
that's appearing here, and I'm going to keep holding
tab but release my mouse. And we can see that we've now dragged the drums
in from session. And they're both now
inside of arrangement. And if we hear them together, we've got the beginnings
of a rough song. And that's one way of how we'd go about
getting a clip from Session view into
arrangement nice and quick and helps you carry
on with your workflow.
6. MIDI: Recording in Session: Far, we have been
looking at what MIDI is. We've also had a look at drawing in some MIDI and we've also had a look at programming MIDI in session and arrangement view, and also pulling
these elements in over from session view
into arrangement. We are now going to take a
look at recording MIDI in Session View and also how to record MIDI in
arrangement view as well. Again, there are
multiple ways to do and I'm just going
to show you a couple of ways of how to do this. But inevitably, as you go
along in your journey, you will find
shortcuts and lots of other interesting ways to do things that suit your workflow. So these are just some of the ways that I
would go about it. Let's have a look
inside this session, and we are going to be recording some MIDI into our
session view first. And this will replicate
the drumbeat that we programmed in
previously by hand, and then we'll also
do the same with the cords when it
comes to recording MIDI in arrangement view as
something real similar there, and it'll just give
you an idea about how you would like to go about this when
you're producing. And it helps you get familiar, as well with the whole software
and how to navigate it. We've got our original
drumbeat that we programmed in inside of
Session View previously. But what we're going to
do is we are actually going to record it in
this time instead. I'm going to make sure
that this track is armed because when the
track isn't armed, we can see that these little
buttons here are squares. When the track is armed, they turn into balls, and this means that we are able to record straight into a clip. And the way that I would
go about recording into the clip because you can do
this a multitude of ways. You could click on
this ball here. And it will give you a count in, and it will essentially keep
going and going and going. So if you're jamming
with a friend or you're jamming
out with yourself, this will keep recording
as you're going along so you could
potentially end up with 50 bars of musical prowess. However, sometimes I prefer
to have shorter constraints, and I choose to program and record MIDI in a bit
of a different way. I'm just going to delete
that by pressing backspace. And I just double click to
create that clip initially, like we did when we were just
programming the drums in, and I'm going to
change the length the 2 bars because I'd like a little bit of space to be able to build this beat up
as we're going along. And because we've got loop toggled on here
inside of Ableton, which does it by default, it means that when
we're recording, it will just keep going
over these 2 bars. So you could start by
adding your kick drum, and then you could add your snare and then
your high hats. And if you've got
preview turned on here, then you can hear this
as it's being built up. For the sake of this tutorial, I'm not going to
have preview on, but when it's up to
you in your studio, you'll probably want to have preview on if you're doing it. Going to begin the recording
inside of this clip. How do we do that? Because we've got this big record button here, and we've also got
one button here. And the button that we
need when we're inside of Session View to record into
a clip is this button here. As soon as I press this, we'll see that it's counting us in and we can see that we've got this black
line going over the screen, and it's recording as we go. If I had a midi controller
or something like that, I could begin to just tap away on Ableton
push, for example, or something else,
arteria, novation, whatever you would like, and it would record it as
we're going in. But what we're going
to do is we'll just pop them in with my mouse. Again, if we pretend that
I've got a controller, we're just recording
all of the kicks. And we can hear how
this is being built now as we're going along. If you picture this
being on a controller, then it will keep going. Then I'm going to
add in my snare, we've recorded that in now
as well into the clip, and then we're going
to put our hats in. I'll stop recording. You could do this layering and this way of recording if you have a
separate midi controller, or you might just like to build the beat up that way
because then you've got it looping and you
might know better through looping what kind
of sounds you would like. Now, one thing with
this recording is all the notes are at the same level at this moment in time. One thing that I like to do is just diversify those
levels a little bit, because if we think
about a person at a drum kit playing high hats, they won't hit that high hat exactly the same
every single time. What I like to do is
vary the velocity. Velocity is how hard or how soft something is being played
or in this case, hit. Now, obviously, nothing's
being hit here. It's computer
generated, but we can create a bit more
of a human feel by changing the velocity. And to do that, we've got this little space under
here inside this session, and my hats are all
selected right now. If they weren't, I can
just select all of them by clicking on the key that
corresponds to the hat. On the piano roll, and
that's selected them all, and it's highlighted
these little blue balls. And that's the velocity, so how hard these high hearts have been played at
this moment in time. And they are at their
maximum volume. But if I press something
called randomize, we can change how hard and how soft those high
hearts will be played. And we can also see
that when I did that, the colors of the notes
changed as well to help us visually see how that velocity
is changing over time. And now, if I play that rhythm, Can we hear how those high hats, they've got a bit
more of a push pull feel to them that they
didn't have previously?
7. MIDI: Recording in Arrangement: Recording into Arrangement view, we can do this a couple
of different ways. Once we get into recording
into arrangement view, it's nice and simple. And what this consists
of is heading into Arrangement view with our
pad that we've got here, and we just need to
click where we'd like to start the recording. Again, I'll go from
the second bar, but you could go from the first
or the tenth or the 11th. It's absolutely up to you about where you'd
like to go from. Depends how you are working. If we began to press
this button and record, that will record our
chords into session view. But what we want to do is
record into arrangement view. The way that we do that is by pressing this big
record button here. I've just pressed where
I'd like to record, which is here from
the second bar. I'm just going to play tunuts at a time because unfortunately, I'm using my computer
keyboard for this tutorial. But as you can see up here, we've got Ableton Push. There's also a synthesizer. Again, if you were using these, you would have much
more chance to be able to get creative and more
complex with your chords. But for this tutorial, I'll
just do two Nuts at one time. If I just press this
big record button, we will see that
it'll count us in, and then we can see
what I'm playing up here on Arrangement view
as it's being recorded. And then I just press Spacebar to stop the
recording or you can press the big record button once again to stop
that recording. And we can see that
it's even given us the clip editor so we can
adjust as we might want, so we can see that the timing's a little bit off
here, for example. What we can do is we could then select the notes and we
could drag them with our mouse to move them a little bit more in
time with each other, whatever you would like to do. And then if we play it, we can hear what we've recorded by pressing the
play button here. That's how we record straight into Arrangement
view with Middy.
8. MIDI: Clip Editor Controls: Recap. So far, we've had
a look at what MIDI is. We've drawn in some MIDI, we've programmed some MIDI in session, and arrangement view. We've also recorded some MIDI in session and
arrangement view as well, and the different ways
to go about that. What I thought we'd
look at now that I think could be
really invaluable for you is if we do a detailed
clip editor overview. And the reason that I would
like to do this is it can look a little bit overwhelming because
there's lots of buttons. There's also a big piano
role to deal with, and it can just be a lot. We're going to do is
we're going to break down the main elements
for beginners, and that will help you
feel a little bit more secure inside of the software and what each button is doing and why might
be useful for you. First, let's take a look
at the editor as a whole. So if we go back right
to the beginning where I inputted this melody
using the pencil, we can see that we've
got our piano here. So this will tell us which
notes are being played, which notes are available to us. And this includes the
black and the white keys. We've got these two
buttons up here. One's called fold and
one's called scale. So fold will reduce
the amount of keys that we see based on
which notes we are using. So it really helps to take a look and examine
different melodies. So if I click on fold, we'll see that it's got
rid of all the notes that I'm not using and kept
the ones that I am using, which is really nice
to be able to see what notes are being used where and which
ones are complementing, which ones might not much. Scale is a button that we can toggle on and this will
show us every single note that's available
to us in our scale of choice that we have set
at the top of the session. There's a lot of
different scales that we could have a look at. You've got all of
your major ones, you've also got minor and all of these different types
of scale as well. But we're in C major in
this tutorial, press scale. We can see that the
piano roll has changed, and it's only showing me the
notes inside of that scale. That's really nice in a sense, because it just restricts me to the notes that will
always work with one another to some degree
because it's inside of that scale that we're working with overall
with our track. And then up on the
top right here, we've got the grid layout. This is how much that your grid will be split by to be
able to input notes. I tend to keep it at one 16th. But again, you could
change it so you do you could do
maybe one quarter. So then you've got longer spaces to fill when
we input notes, or you could even chop it up
even further by doing 132, and that makes each
gap even smaller. So then if we got
our pencil tool, and we wanted to input
a load of short, snappy A notes, for example, then we've got
these really nice, teeny tiny notes without having to do too much
to get them there. Changing the grid
layout might be of importance for
you at some point. There are also some extra
controls here of being able to widen out the grid
or make it narrower, which can help with how you
are using in that space. And then down at the
bottom, we've got something that we spoke about
earlier, which is velocity. So by default, velocity will always hang out
here at the bottom. And each ball with each line correlates
to the note above it. So if I click on that,
it highlights the note, and also if I was to
click on the note, it highlights the level
of velocity as well. We can tweak our note
velocities down here just by pulling things up or down
or by clicking randomize, which will give us a
random option for how loud or how soft
that note is played. But we've also got something else which is quite
interesting here, and we can also open up
something called chance. Chance is the likelihood of a note being played
inside of a phrase. So if you wanted to
mix things up and make the way that you produce a little bit more interesting, chance will help you alter the probability of certain
notes being played. And it's the same principle of velocity if you scrolled
up and scrolled down, the percentage that
we see changing there is the probability or of whether that note
will be played or not. At 100%, that will
absolutely be played. Down here at 20%, we've only got 20% chance
of that note being played. So it's really
interesting. You might want to experiment with chance. But velocity, I feel like is one that we always use
every single time, regardless of the production
and the instrument. And then another thing that
we might like to do inside Clip Editor is zoom
in and Zoom out. So to zoom in, again, there are various shortcuts, but I will show you some
nice ones I like to use. I use the plus and minus key on my keyboard, plus to zoom in. Minus to zoom out. And if we zoom in, we can
also use this area here, which can take us to particular sections
inside of the midi clip, and then you just zoom out
by clicking the minus key. Another way that you
could do this is you could select the notes
that you would like, and you can just click up here where we get this little
magnifying glass. And if you just double click, it will zoom in to that specific region where
you've selected those notes. So that's quite nice
if you want to do little nudges and more surgical
things to those notes. I'll just finish off
by going into a couple of the other general elements
that you might want. Duplicate. If we click on this, it duplicates the
existing Midi clip that we have created. So if I click Duplicate, we'll see that it's just duplicated that melody that
we've been working on. Loop is on by default, so that will allow us to
loop something infinitely, and it will keep going round for as long
as we would like. Length is long, however many
bars we're working with. And also, it correlates as well to this loop brace up here where you can sort of loop
sections of the midi clip, which is quite good if
you're doing overdubbing. Signature here is
your time signature. So whether you're in four, four, two, four, three, four, six, eight, whatever
you would like, you can just input it here. Scale is showing us what scale we're working in when we've inputted it up here. We've also got various things like humanize humanize down here is a technique
which will slightly nudge notes and make them
a little bit more human. It allows for a bit more of that expression and that
fluidity in your track. Reverse will reverse the notes. So if I select these three
here and I click reverse, we can see that it's changed
those two notes there. It's not reversed
the middle note because there's nothing
to reverse on it, but it's reversed
those two right there. Legato lengthens the notes. So if I click Legato, we can see that it's
pulled those notes out, so it's allowed them
to play for longer. Finally, something that
we'll be going on too shortly is we've
got groove here, and this connects to Ableton's
really cool attribute called groove pool. And Groove pool is where it
gives us that extra rhythm, that extra texture,
that extra excitement. Inside the clip, we
can see what grooves are active and we can choose
which ones to commit. But don't worry too
much about that because that's what
we'll be covering next.
9. MIDI: Groove Pool: Okay, so we're nearly at
the end of this course. And we've covered
a lot together. But this final module is really cool and it's
called groove pool. Group pool is
basically a library or a selection of
predefined grooves, each with its own timings, its own level of randomness
and velocity parameters which we can adjust to see
how it affects our groove. So we can easily apply
and customize some of these variations to create really interesting
rhythms, and overall, we can even apply the grooves to the entirety of the track, and it creates this
really interesting tightness that we get going on, and you can really be free to
explore that a little bit. We will go through a
demo of Groove pool, but just beforehand to give you a little
bit of information, when we're applying a groove to a track from the groove pool, so the library or the
area that we're taking this groove from when we're applying that
groove to the clip, it affects the timings and also the dynamics of the
notes or audio inside clip. We'll be applying groove to our drums that we've got going on our mini drums
that we programmed in. And we can adjust
these parameters of the groove within the
groove pool itself, or we can make adjustments specifically in the clip editor, as I just spoke about
in the last session. And when we like groove, if we feel like it
fits the rhythm and it adds something interesting
and something cool, then we're able to commit
that groove to the clip. When we commit a groove, that basically means we're
applying that groove, so that rhythm, that
new feel to that clip. Let's do a little demo
that will hopefully help demystify some
of these concepts. If we head into our session,
we've got our kit here. And if we head into grooves
on the left hand side, we can see that we've a
different feel of grooves, which will alter the way that our drum midi pattern
is playing currently. Let's go for hip hop
wonky 16th 80 BPM. And I'm going to double
click this groove. And you'll see that
it popped itself into this square here that
is our groove pool, as we can see at
the bottom here. With our groove pool, we've got different aspects
of the groove itself. We've got the base, which
determines the timing against which the notes in
that groove will be measured. Also got quantis which
are just the amount of straight quantization
that is applied before the groove
is applied itself. If we're at 100%, and that means that the notes in the clips will be snapped to the nearest note values that we've already popped
down in our base. We've also got timing, and that's how much
the groove pattern will affect any clips
whilst we're using it. And random is how much
random timing we've got that will kind
of fluctuate and be applied to the clips
that are using this groove. And velocity is where we
are adjusting how much of the velocity of the
notes will be affected by the velocity
information in the groove. The higher the velocity
level inside of this group, the more our velocity inside of that clip
will be impacted. Gone for the hip hop one
key 16th on our drum clip, and let's keep the timing. Let's put it up to about 88%. We might have a
little bit of random, maybe 15%, nothing crazy. Velocity, maybe 72% and quantize we'll have
it at about 24. Let's rejog our memory
on what the clip sounds like with no
groove added to it. So the only thing that we did
on this clip was we altered the velocity on the high
hats to get that push pull, but nothing else
has been changed. And then if we go down here
away from the groove pull, so we've got our groove
in the groove pull, and then down here to groove, we can click on hip
hop Wonky 16th. And we can hear how this
changes our kit sound. Really interesting with how it kind of changes that groove. But let's say we preferred the 18 base, which
sounded like this. What we need to do
with our groove is, if you remember me
talking about Commit, we can then click this arrow
here and that's Commit. And you'll notice the
MIDI notes will change in just a moment because we've
applied all of the base, the quantization, the timing, the sense of randomness,
and velocity. And this will impact our clip. So if I open up the clip and I click this arrow that's
pointing to the right, we can see that it's really
changed those high hats up. And then if we
listen to it again, It's really changed how our clip sounds in comparison to
how it sounded originally. So groove pool is
there to help you to create these
different fields, and you might want to go into kind of a bit of genre
bending, something like that. You can really go crazy with
what grooves you choose or might not choose depends
to apply to your piece.
10. MIDI Deep Dive: The Project!: To the subject of
projects for this class. So this project, I would like you to demonstrate
what you've learned and the skills that you've obtained through doing this
course by showing, maybe uploading some of your midi clips that
you've recorded, maybe with two or
three elements, potentially with drums or chords and adding
something in from group and just sharing that
and seeing how that sounds to illustrate
some of your progress, it'd be really
great to hear them. I would love to
hear them, and I'm sure the other students
would, as well. So thank you so much for being part of this course. I
really appreciate it. It's been a joy to deliver this tutorial,
and thank you so much. Have a wonderful
rest of your day, and hopefully we will
cross paths soon.
 Sophie Russell, Music Production