Transcripts
1. Father’s Day Card Intro.: Father's Day, the day you
really wanted to take out some quality time to let your dad know how
much it means to you. It might not say much, but your father is
always very special. Create a Father's
Day card simply and quickly that reflects his
personality and his hobbies. By using PayPal reflects
his personality. I feel that's cooking,
all gardening? No, not exactly the paper
to use. It. Don't worry. If you don't have
a certain supply like is what an alphabet tiles. I've made a video at the end of the class exactly for this. Join me in creating this very simple Father's
Day card for your dad. But this Father's Day on
Skillshare for one month free. So you can take my class and other classes from
one month machine. A very happy Father's Day.
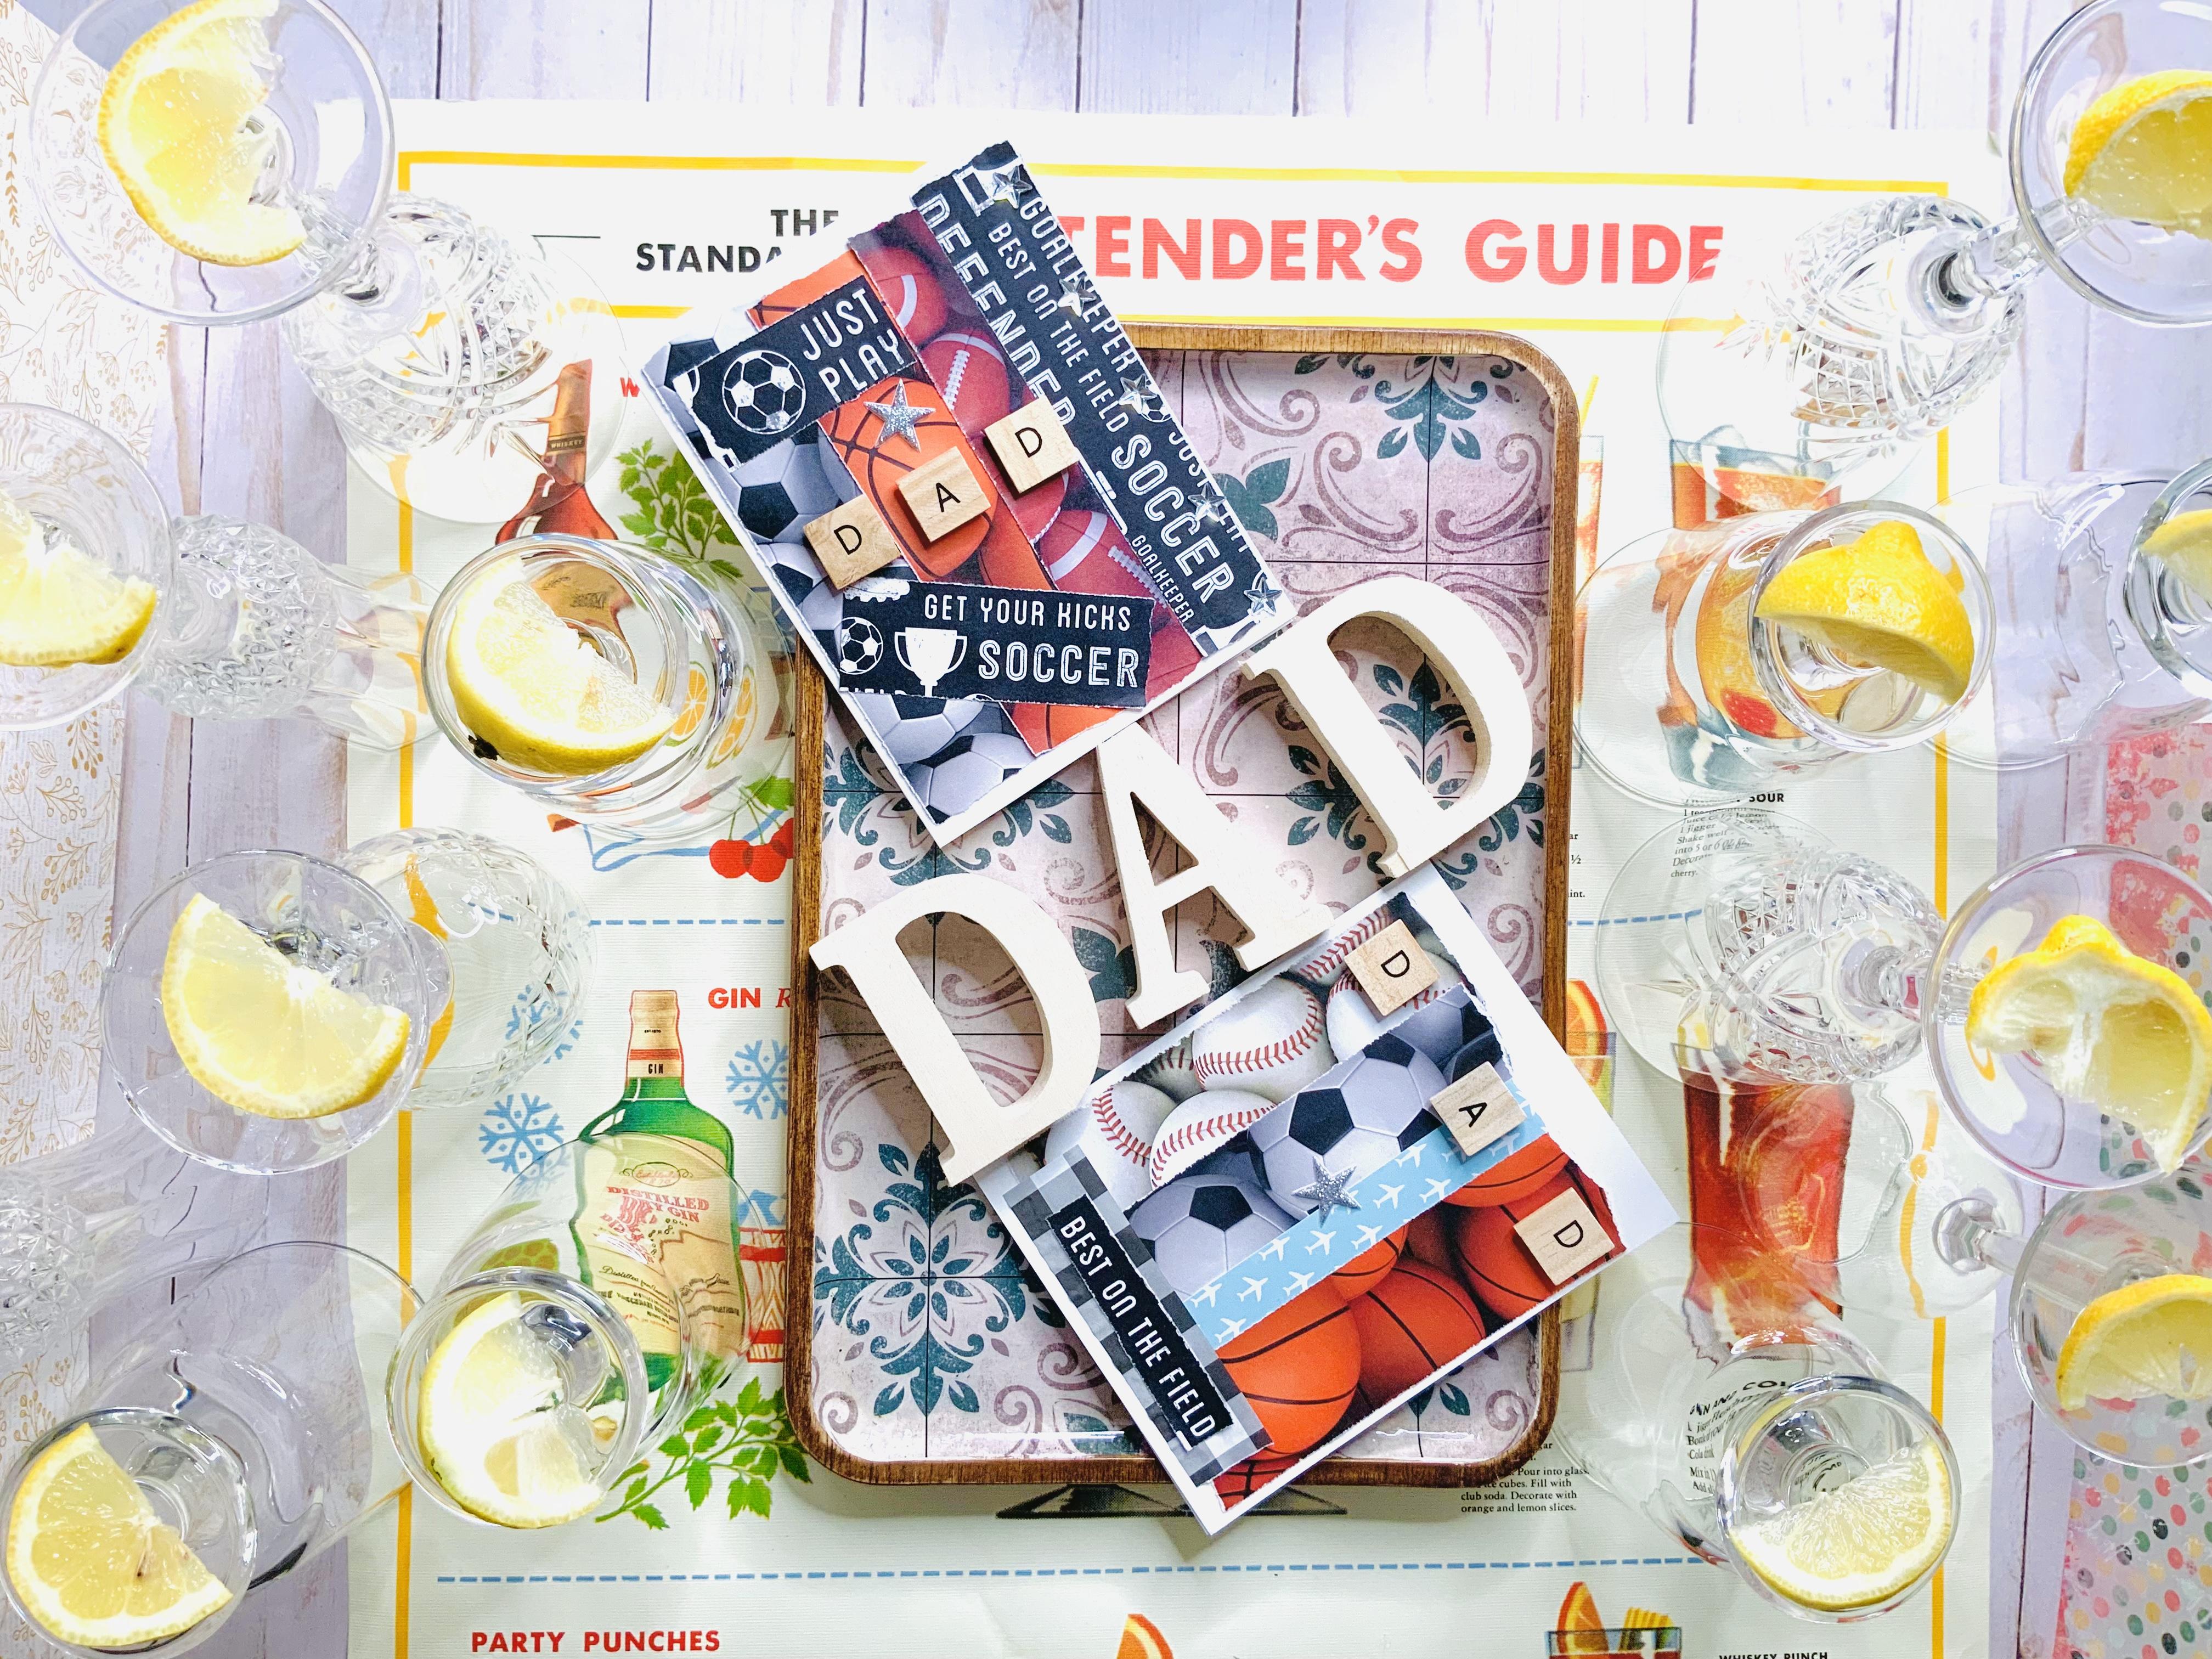
2. Father’s Day Supplies: Sydney need a coupling
constant for this class. So any plain simple constant, any shape or size, you can have a card that's way smaller than this
or different shape. That's absolutely fine. I've used it. And this is what we'll be
using, just regular paper. But strips away
that we'll be using any paper that you flex
your dad's hobbies, personalities, and even you can have you can find paper
that has words on it, then help them make
the cod pop up. There'll be like that. It'll show and reflect
his personality. So you can say, awesome, Great. Any words that you want, they will infer that loves gardening. You haven't, you can
have a garden theme, relax traveling. You can definitely do that. I'm going to just
quickly show you this is basically how much paper. It's just a strip. And I'm using my
ruler to do this. I hardly use a scissors
in this class. I don't even use this
as this in this class. I'm basically just ripping the paper and just
placing it on the card. Like so. Any, any people that
you love and color, any design that you want, you can completely and
totally up to you. And next thing is you
may use scissors. If you don't want to do the
repair with a ruler, you can. This is a spec. Throughout this whole
class. I never used it. Then I've used these blue dots, they're 3D blue dots, and therefore a company
called, company called exons. And this is how the box looks. Pretty thick and sticky, but it really gets the job done. And also, I've used
a double-sided tape. This is how it looks and you can use glue for
this class as well. I actually did want to make it messy because sometimes
when you use glue, paper becomes little bubbly. It just depends. So I still want to use it. And then a bone folder
that's optional. And I used these
stones just to that you can place in the center
of the car, put it inside. Or you can just say to your
day or five-star that. And then use these
alphabet tiles that for Michaels craft store. And if you don't have these, so you're unable to get to their crafts towards
you create this card. I have a video at the end of the class showing you how
to create these tiles. They could been very simply. Then the last thing
you'll need is a ruler because you need to
read those papers. In this way. You don't
need to do as a citizen. So I'll see you the next video.
3. Have fun ripping papers!: Hi folks, daisy here. I hope you've all
been doing well. Thank you for joining
me in creating this Father's Day card for
your dad or the person who has a fatherly figure
in your life where they'd be older brother
was just simply your dad? Can take your card
store in your store. Card stock might be
different than mine. That's absolutely fine. I'm just going to use
my bone folder just to fold it over the preschool line, just so that it just gives it a clean fold when it opened it up and
discipline the lines appear. They ever since I got my bone folder and just
finding an excuse to use it. Now comes the fun part of these papers because I wanted
to use a sports theme. I'm saying that my dad loves
soccer when I was younger, I was always playing
soccer quite a bit, so I thought I'd do this for my dad and I was lucky
enough to find them. These papers are at Michaels
and I grabbed them quickly, them like all this is
so cool because, um, it will be just perfect for what I need, what I had in mind. I just wanted to show
this video because only now is just strips of paper that we'll
be putting onto our card where
they put the deck, please, please sports or
anything else that he loves. He can you can have the
paper reflect that. Then. I have this white
edge of the car. Like they don't really
take the paper. When I'm putting
this strip stone, I'm not putting it right at
the edge of the card stock. There's still some
blank spots left. But I'll show you what I mean. Rip up this one. So let's get this going. So I'm just going
to align my ruler on the edge is two. A quick rip. This just take your strip so you can align it or coordinated
whatever you like. I'm just not taking
it right to the edge, but I'll be just falling
right at the tibia. Just gauge how much the sizes. Just take you learned and
just rip off the tip. This is how it looks. So it
doesn't go right to the top because it's a more whitespace
on the three sides. And I'll do the rest.
Absolutely fine coordinating these
papers because they don't know what
we're looking at. Nice to look nice next to
another one, another paper. I think I like it this way. Let's put the basketball, basketball paper right
next to the baseball. This is a very simple kind of basically just ripping pieces of paper in different colors. And designs are words
that just going to paint, just going to match this
one onto the first one. Just to give me an idea. It doesn't need to be
straight or perfect because I'm going to open the
door same way later on. It's put back onto your
code and see how it looks. It had all these strips
of paper and you can rearrange everything
if we glue it down. So anything that looks
good to your eyes. That's all looking for. And I have these
strips right here, isn't like Xtra
strips and ahead, I'm just going to
write it like this. I like the fact that this paper
has double-sided designs, words in one side of the ball. So, so I'm just gonna do the same thing
again and just use a strip for my god son. Then. I love all these words and I just wanted
to use these words and these soft tissues
to my advantage. And it looks really
cool demonstration, this is very nice. So I'm just going to put
it somewhere in the car. I don't know where
exactly right now. But if you have something, depends on what kind
of paper you have. You can do that and
you can let me know different designs
and put them on the top of the
inside of the comet. See if I can find something. Here we go. This would best on the field.
4. Creative Placement’s : Alright, so let's get the
word best on the field. Ripped up. And then
a lot of words. On this page, we see up here
at the top says defender. I like that too. But I think I like
my favorite one is for the best of the field. Let's write down. I'm trying to save all the
other, all the other words. Are you for future
use? Excuse me. I'm just going to
go right around. Rebuffed all the sites. Tight little bit. Got it. Yeah. The best on the field. I'm just thinking I want to put the best of the
filling of the piece of paper at the bank. So this checkered paper here, just to have it pop out more. So the words don't
get lost on the card. So I'm just going to rip this. Let's rearrange
everything and see how, see what we have so far. Now, just a quick note here. The white edge haven't taken
the paper right to the edge. So I've left a white
space around the car. And what you do
next, what you'll do next is just take each strip, just whip out the top parts,
the top and the bottom. Don't worry about
it. We're looking for that rough texture. Look earlier, if you will repeat a
little bit crooked with your ruler, that's
absolutely fine. We're just going to place
everything on the card and see how it looks and see if we need to make any adjustments. This is how it looks so far. Let me see if I
can find something else to insert
in-between the papers. How about this blue sheet? It has these airplanes on them. Dad loves traveling or like my daddy also
loves traveling. And this isn't a
nice, nice insert. Some juice actually going to
take off this white edge. In this paper is
called airplanes. I call Michaels craft store
always names on their papers. So let's skip, put
everything aside. Let's move up these airplanes. So we get inserted in-between. Wonderful mother
sections. For bonds. I'm just going to rough
idea what this size, it's going to rip this
again just quickly. I'm just going to
rearrange everything. You can overlap the strips
of paper with one another. For the airplane in between. Make it the third last
strip. Something like this. And like that gives a break
from the sports team, puts in something different. Okay, So I'm just going to take my double-sided tape
and I'm going to start putting my tape
onto all my strips. I'm just going to
put this place this down and just rip the edge
when it come to the edge.
5. DST The Runway Star: So our double-sided tape is
like the star of the show. It easily rips off at the end. So I'm just putting
it alongside the top and bottom of our
strip of paper. So right after you've done this, just take your bone folder or any other instrument
that in half. I find that this really helps. I just scraped along the tops and I'll show you in just a moment,
just like this. This helps to press them
the double-sided tape down. So the dead Hesiod really sticks to the paper
and also the edges too, because it helps me to sort of pull out that paper
at it from the top. So I'm just gonna
do that right now. If I really pressed it down, pop with it really
comes out quick. Like so. I love
double-sided tape. It just makes everything
so much easier. Because there are times where
I don't want to use glue. I don't feel like
using on my glue gun or or any other type of
phenol, the blues that I have. So there you are. So that's done and
I've just left a white edge on the
side of the card. I haven't taken the paper
right to the corner. I've left a white border. And the second one
I'll be placing it just on the top of this, overlap it with the first one. And then my airplane school
in the in the third portion, and then the basketball
is gone the third side. So this is a good time for you. Make sure you your placements or where
you want them to be. This just quickly. Just put your tape
on all these trips. So this really is the
fun part when you start permanently placing all your
strips onto your card stock. So let's get this
second one down. I'm just going to overlap it just a little
on the first one. So you can overlap it as
much or less as you want. So you can show a little bit of the design or more
of the design. Just like the name
of planes here. I don't want so much of
the airplane to show. I just want a small
amount showing. So I'm just going to put
the airplane in here first on top of
our soccer balls. And I'll show you what I mean. So I'm just going
to overlap this just like I did
with the other two. Then for the last one, I'm not going to overlap, but as usual I'm just
going to overlap just a little so that see
how my planes only I want only small portion
of my planes to show. So I select just overlapped, just a small and a
lot more actually, so that I, my planes
will show more. Then the next part is trying to see where I wanted
to place my word, whether my words the
best on the field. And I found this scrap paper I had of this checkered
black and white to paper. So I'm just going to
put this on top just so that makes it stand out more. And then you can
just sort of play around with your words. You can take it right
to the top of the card, will keep it in the middle so
we can take the top and you can slide it down and
see where exactly. It looks good for you. In the middle or the bottom, I actually am choosing
to do it at the bottom. I think it kind of holds
it in a pleasant they call the strip at the top I written it shows some just going to put
this down quickly. I'm just going to
place my best on the field on top of it. So I'm just going to find the
perfect spot that I found. So right at the
bottom over here, I'm going to press that down.
6. We’re almost done, Dad!: Okay, let's get the best
on the field of permanent, permanently onto our card. Using our magic
double-sided tape. I hope that you've share
your card making with me in the project section so we can all see
what we've all made. Everyone's kind is going
to look different. That's the cool part. Silica. Here we go. So we've got that on. And then I like the placement
of it at the bottom. So all placements
might be different. Your placement might be
different than mine. It just depends on
what what looks good. So I have these stars
if you reach out, will be placing on the card. And then I'll be using
this soccer shoes somewhere on my car with at the top or maybe on the inside. And the stars, of
course, I'll be using it either inside or outside. But before I do that, before we decide
where to put these, Let's put our dad sign
up the titled alphabet. This is made out of wood, so you can easily place
it onto your card. If you don't have these, these tiled alphabets,
please don't worry about it. I've given a small solution In the last video in this series, so you can create this yourself. Or if you have
another better idea, you can definitely use that. Next thing I want to
do is just to take a small just one
small portion of my star here and just
place it like cod. I'm always thinking
I was wanting to put it into the center
the center of the card, just below where the
deck is signers. And I think I'll just leave
it there. It looks good. It doesn't look very crowded. So let's just permanently replace our dead
signed onto our card. And I'm using my
3D glue dots here. They are quite, are quite a feat actually because the excellent, They actually very sticky. But they really get the job than that. I really loved these. I'm just going to take
three of the blue dots out. Just take your tile and just turn over the blue
dot onto the tile. And just use your fingers
to pull it apart. I assume D. Right over here, I'll show you how it works. It just gives the d, The titled alphabet
and lifted look. Even if you don't
have glue dots, so you can use
double-sided tape as well. Okay, so let's get the a here. I've put the red in the center just so that everything
looks centered. So this is the fun
part of this company. Said, they say, I love
this company for sure, but they say don't use your
fingers to touch the glue. Like you don't you don't
touch it to touch it with your fingers because it really
sticks onto the glutes. But I have no choice. I really need to put my fingers in there to really
pull it apart. So just be careful
if you have kids, you don't want them to sort of play around with
something like this, then you are you've got
the debt down nicely. Then I'm just going
to be putting a star might get
from the center. Let's take out the backing. I liked the backing. It's clear. I'm just going to
place this right here, just below the E, So just where the center is. So you can just eyeball
it. It looks really nice. Everything looks
really put together. Now, we will only want to
decorate the inside of the car. So in the next video, we'll be creating
something like this. Just going to put my card here, the inside part, the insert. So make it really
interesting for dad. So you can have some room
to write a message for him. Then you can we
can decorate them, put something inside like soccer shoes or any other strip of paper that you want to put. So let's, I'll see you
in the next video.
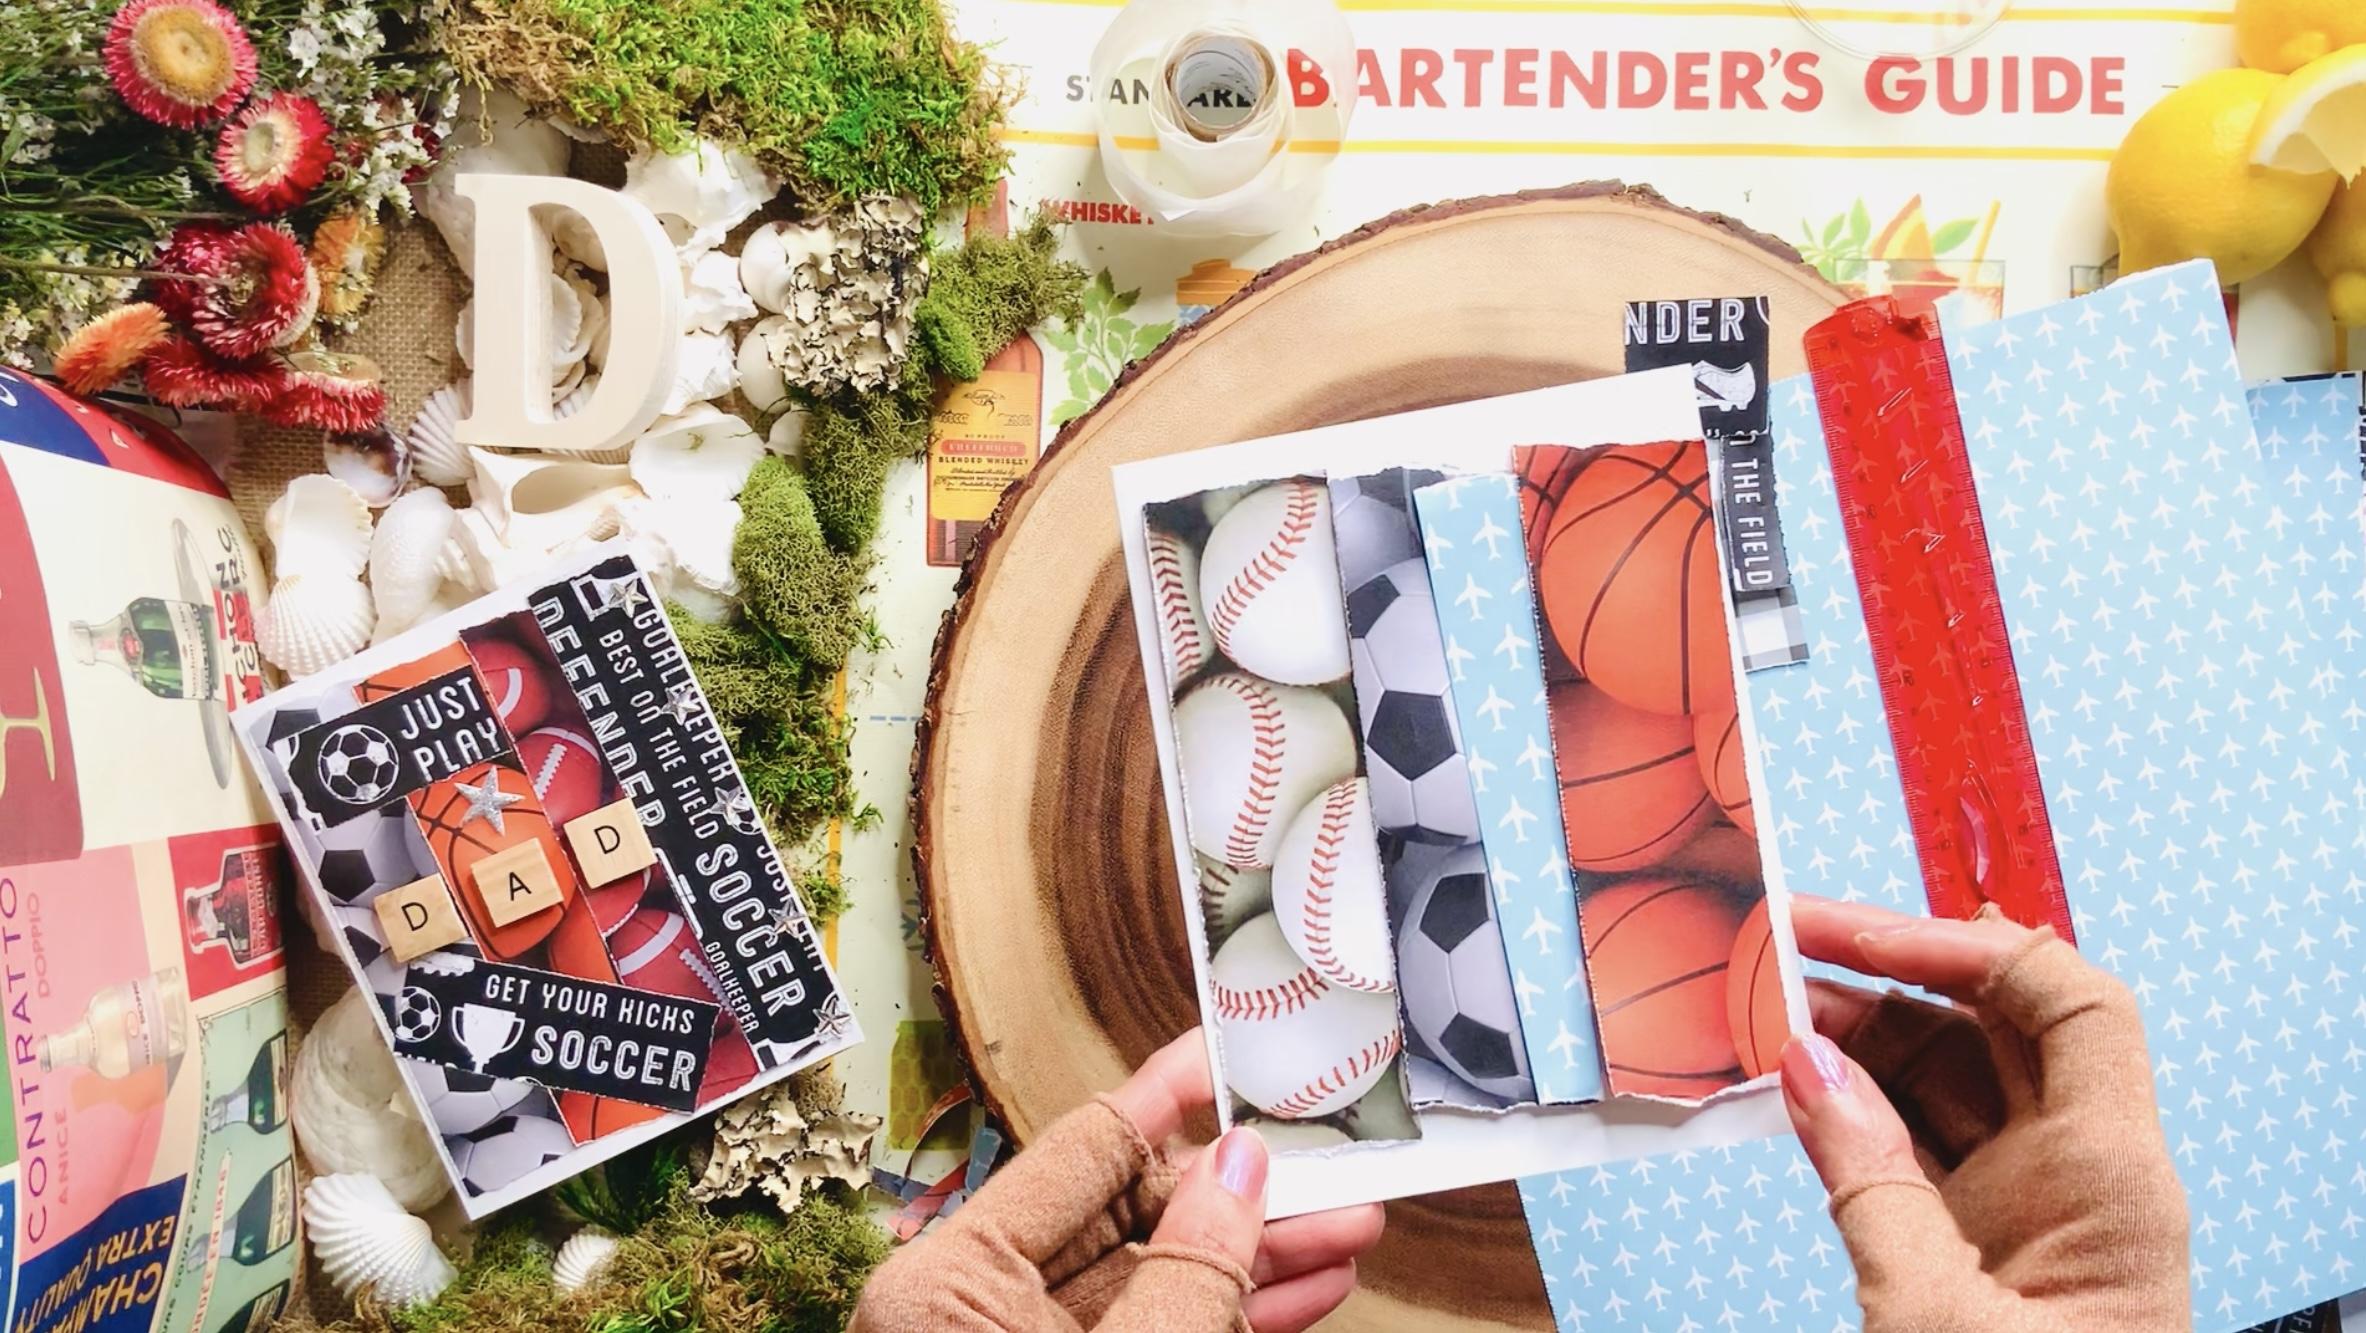
7. Write a heartfelt message : This is our last video where we'll be finishing our
Father's Day card, will be putting an insert inside and have this
paper that was leftover from my other my first
Father's Day card that I created for this series. And it was just the right
size and I measured it and it seemed to just fit very
nicely onto my card. And I didn't want to waste
it because it has all them. It has this whole ball on it, like a whole bunch
of soccer ball. So I thought it'd be nice
to have the theme carried right through from the outset
of the car to the inside. I hope that you are able
to do the same thing. Was whether it was
sports or gardening or cookie or anything or images. It's kinda showed anything
that my dad would love. All that reflected his
personality and his hobbies. Here I've just put our DST
at the top and bottom. So these are double-sided tape. I'm just going to place this
here into the center here. Just press it down. Here is open up like this, and then we have it flipping up. And I loved the words. I just couldn't let go of the words. I thought it'd be a big
waste if I don't use it. When did the inside of the card. So the next thing is
just take you just need a small white
strip of paper. And I'm using just a
plain printer paper. I'm just going to
cut, I'm just going to eyeball this and just going to cut a small
portion, rip it up. Keep this site and
I'm just going to measure here a
little bit too long. So I'm just gonna I'm
just going to cut up some excess from the bottom and
just put this back on the top. It just seems to cover the
sides of the bone paper. I want the bottom people
to really show to take it just a strip off and then place this white
sheet onto the center. Like it better like that
because you can see the design from
all the 34 sides. And then we can put our
DST on the top and bottom. By the time you finish
making discard, your double-sided tape
will be your best friend. We've used this quite a bit. I hope that onto this white
sheet you'll be able to write something a
heartfelt for your dad, where they'd build
a simple thing. Q or simple, I love you. All. You'll get longer
message is up to you. We all have different
relationships to the appearance and it's
totally up to you. So for this one, this portion, remember
I'm a soccer ball. I'm going to actually
not a soccer ball. Soccer shoes. I'm just going to place
it onto the center here. I was meaning to create
in the cover of our card, but it didn't work out there. I'm just going to put it inside. And I'm going to put on DST here and then place it onto
the center of our car. Anyways, I hope you find a nice message from your heart that yet Your dad
would be happy to receive only to be told that will that
will appreciate it. I'm sure whatever message
you have for your dad, you'll appreciate it and
be very thankful for you. So I'm just going to places
here onto the center. It can be in the center or just three color to
color the way up. It's completely up to you. And then I'm just going to
one of the smallest stars. See where I'm going
to put a top. Because we do have a star
at the front of the card. And then let's put
the larger one here. So this is how a car
it looks right now. So it is time to middle. Opening up this down the left side and the
right side of the center. Your message or your
dad right here. I hope that you enjoyed this class and I hope you have
a beautiful Father's Day. This is a card ID and can use for Father's Day
or any other day. Don't forget to check
out the last video on how to make the
tile alphabets.
8. No fret! Try this idea: So for this portion
of this video, it's called a trie, this idea. So this is for our
tiled alphabets. If you don't, if you aren't
able to actually find the tiled alphabets
at a craft store. Like these ones here. You can definitely create it, create it yourself at home, and create your dad sign. And of course you can
use the same idea for any other conduct your wave. So let's get started. So just take some
cardboard pieces. So it's not good for sure, but I'm going to use
this white one here. And I'm just going
to take my ruler. And I had this molecule here. A width is a little bit small, but you can use your
regular ruler and just carried according to the size or the
size that you want, you can go absolutely
larger as well. So I'm just going to put
that just on the edge here. I'm using a self-healing mat. If you have one
of those, you can definitely take it
out and use it. If you don't, make sure you cut on a surface that you don't mind having some scratch
marks for our executor knife. So here it is. I've cut that out. So now what we need to do is
we need to the square tiles. I'm just going to
use my ruler again. Just measure against it. And this is very helpful. Here we are. First tile, first
cardboard time. And you can also, if it's too clean
and white for you, like this tile, you can
absolutely go ahead and paint it. So if you have like a light blue card
that you made for your dad and say light
blue is the team. Then you can maybe paint this, paint these tiles
are darker blue, so it stands out. So you can absolutely do that. Now to write the word Dan, I'm just going to use
stamps and you can use we have stems,
you can use it. I've got these two stamps here. I'm going to ink pads. I'm not going to be using that. All those ones I'm going to
use is this larger one here. My archival ink. I'm just going to
dip my D right here. Just very lightly. Just make sure I step in the correct place just a
little bit in the center. You can also write
this out as well. You can write your
leg is out by hand. You don't need to use a stamp. But if you do have
some stems from, we can definitely do that. So we've got two of
our d's and it's going to get onto the a here. Messy, but you get the drift. So DAD, we've got that done. Then you can place it on your card anywhere
that you want. And you can also say a lot of new dad and
by using these tile, but by using this type of idea, you can definitely stamp, stamp something up like
that for your dad. But for here is we've
created a card, it just says Dad, so we're
just going to write down dad. I hope you've enjoyed this, tie, this idea option, this video,
and I'll see you soon.
 Daisy, Creative Arts Teacher