Transcripts
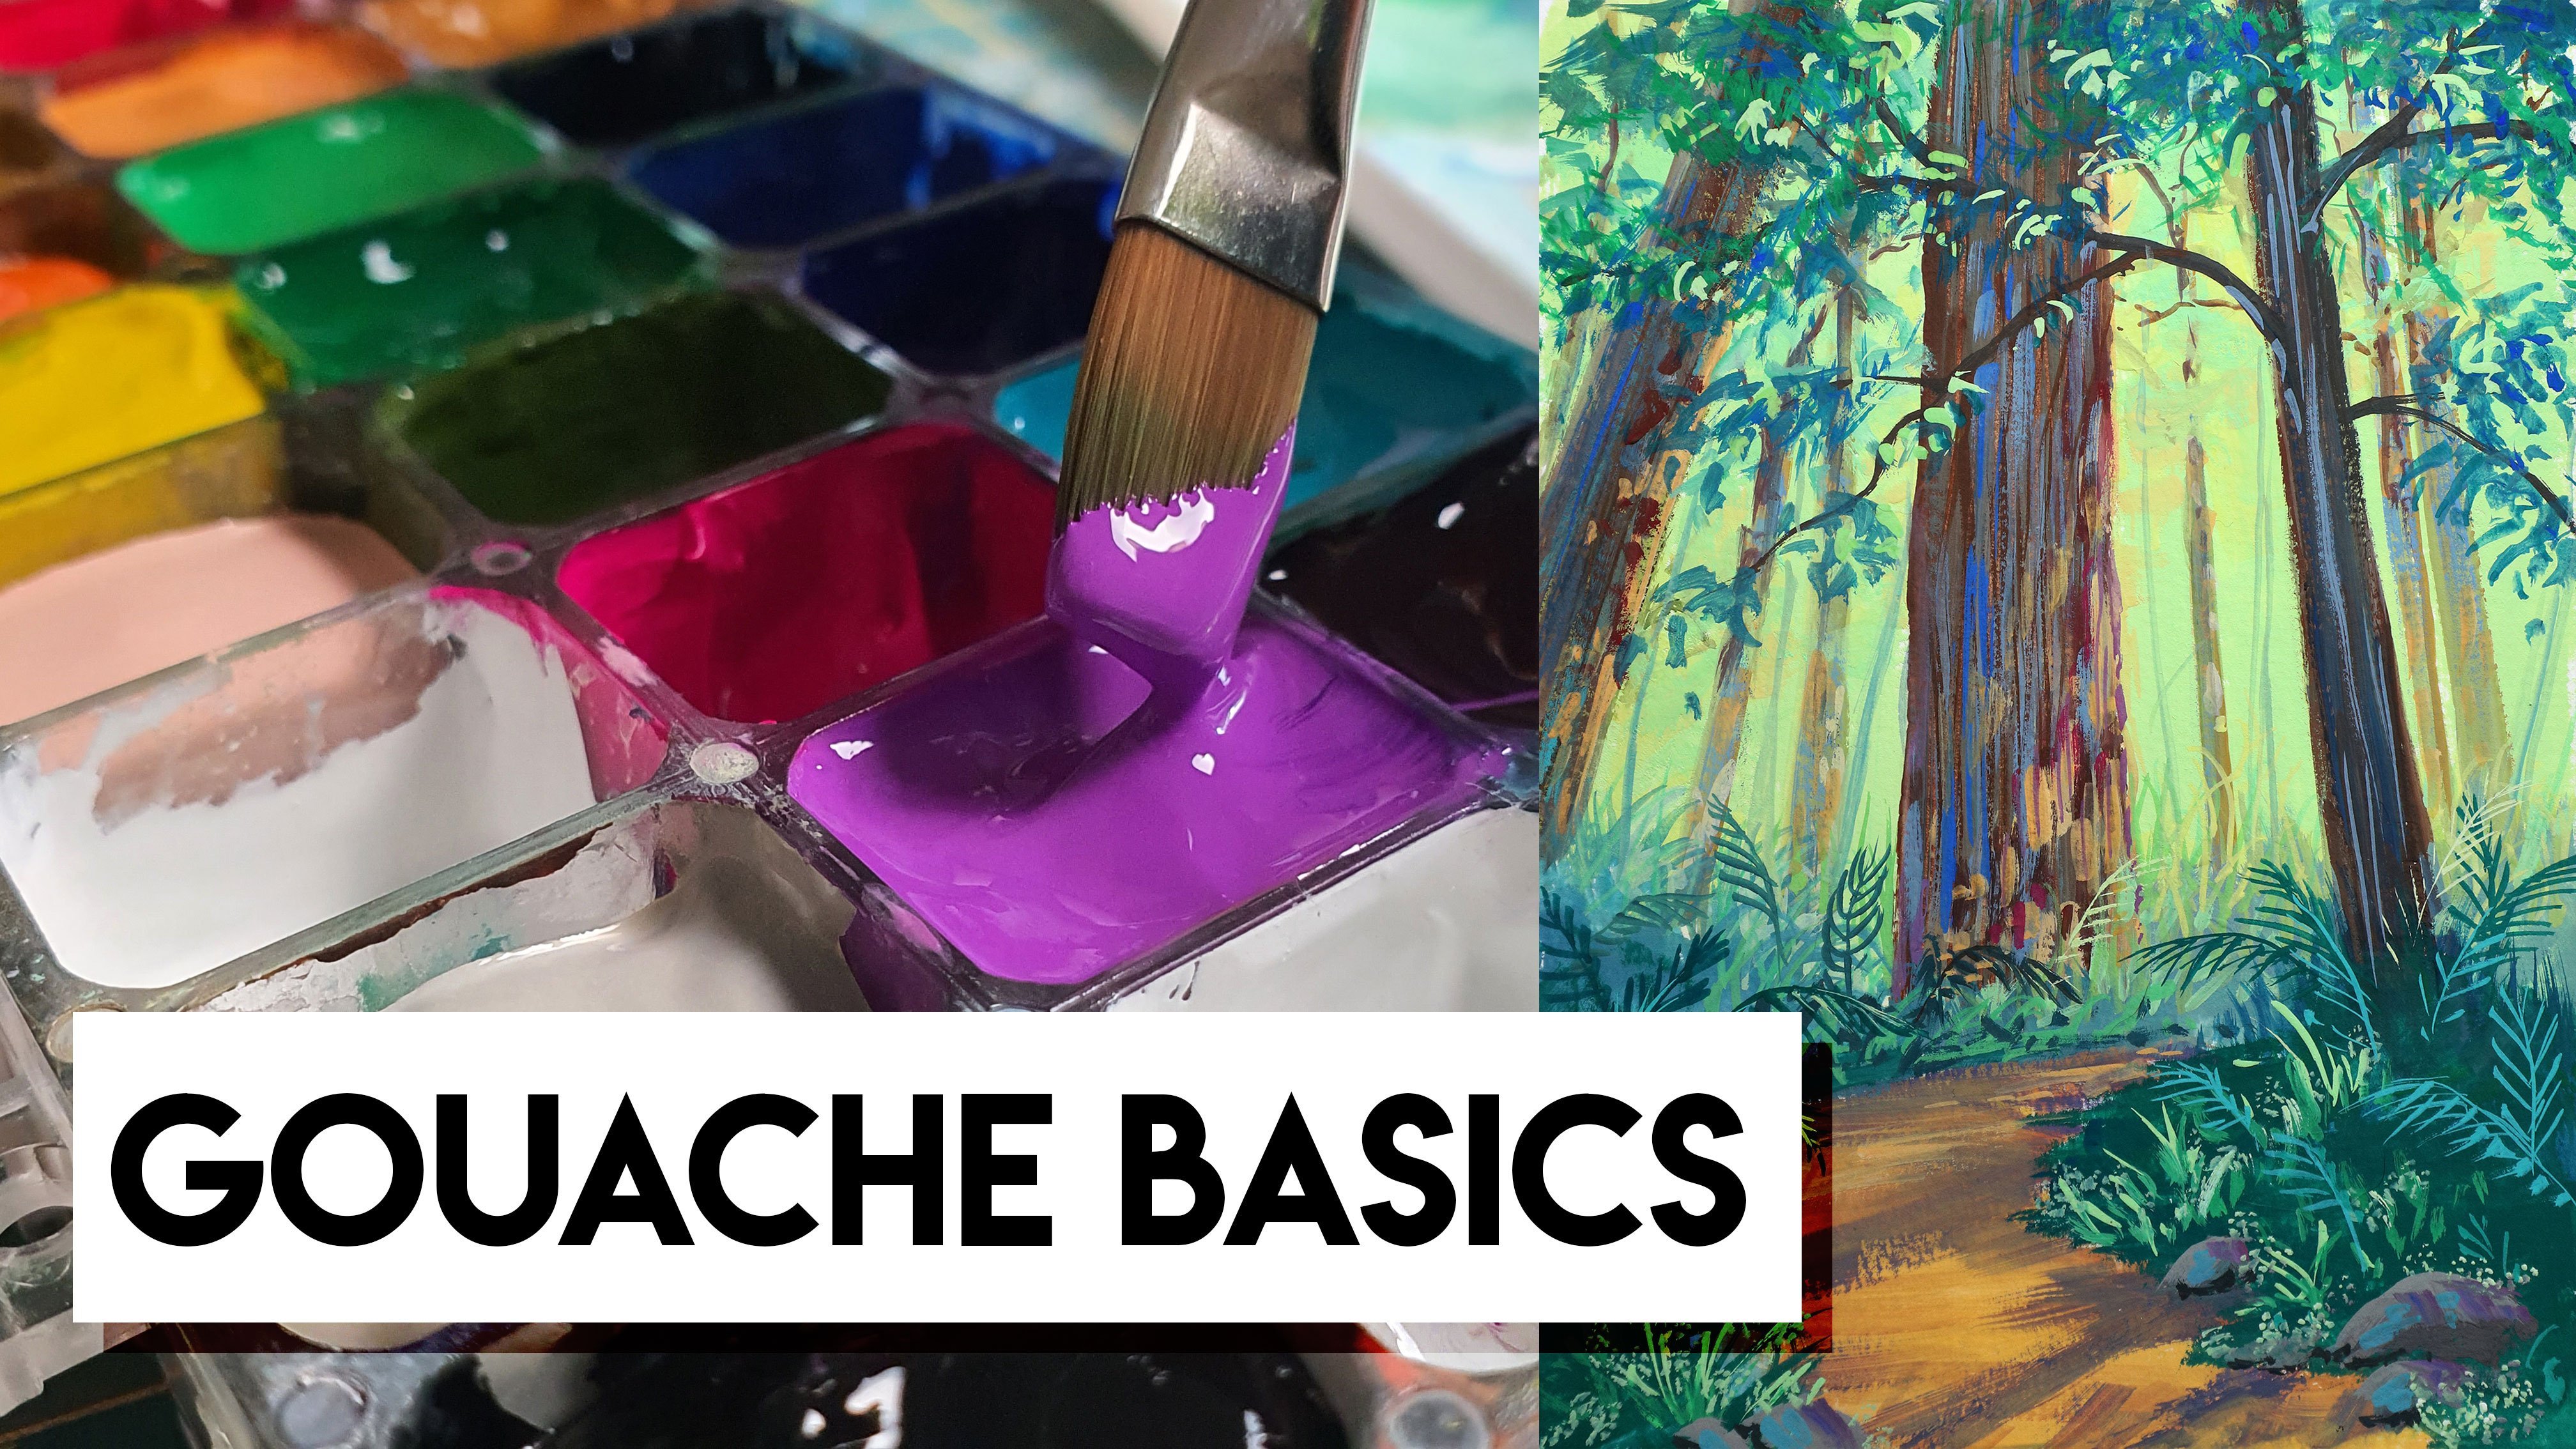
1. Beginner's Guide to Gouache: Hi. My name's Eden. Welcome to begin a squash. Have you ever wondered what goulash was all about? We're a little bit interested, but perhaps just didn't know were just that this class will be great figure. We go through the differences between watercolor and wash a pass it ease layering, water control and reactivation, which is something really special to glass paints. I'm excited to share this with you. Please come and join me.
2. Student VS Artists Quality Paint: Hey, class. So just a quick note before we start and this Listen, I'll be using student grade quality quash. The reason for this is that beginners generally do start with student great pints. Personally, I recommend that if you are beginning to start with the student grade, there's really no point and jumping straight in and spending that money on artist grade quality paint. I know that for about probably more than six months, I used student great quality paint with my glass paintings, and I came out with some pretty good looking at work, so you don't need the really expensive good stuff to make really good looking at. If you are curious between the looks off an ashes grade quash and a student right wash, I have included this clip for you. The difference isn't so much that you should be compelled to go out and buy the Addis grade quality stuff right away.
3. Gouache vs Watercolour: if you're anything like I waas, you have a little bit of experience with watercolor, and now you're ready to see what this glass thing is all about. I've included this segment so that we can look at the three main differences between wash and what even if you're not familiar at all with water color, this segment will be helpful so that you can get an understanding of how wash works. The three men in differences are a passage e pigmentation and radio activation. Goulash is more opaque or list transparent than watercolor for a quick demonstration I've painted to black backgrounds. One is gosh, the other watercolor. I've then gone and made a series of marks on both backgrounds. On the lift. I've used Reeves student grade wash paint on the right. I've used Reeves student grade water colors. Both sides are using the same colors, and the paint is all the similar consistency. You can clearly see that the glass is less opaque and has ah, higher pigmentation level. - We'll be exploring capacity in greater detail later in this class pigmentation with wash, you'll find that it is far easier to get a boulder stronger color in comparison with watercolor. If you have been using watercolor, you'll surely find that with glass, you do not need to lay the paint as much as you would with water color to get that bold, strong color. The reason for this is due to the high A pigment content and quash. If you have been using watercolor, you will find that with glass, you do not need to lay a pack as you would with water color to get that rich, pregnant opacity and pigmentation. Due to the fact that Gua she is more a paycheck and his ah higher pigment quality, you will find that layering colors on top of one another becomes a lot easier. You aren't restrict it from painting light to dark and quash you can and set paint black colors straight on the top of dot comers. Re activation Squash is a very forgiving medium as it can be reactivated, whether it has dried on your palate or whether in his right on your paper. When reactivating wash and either scenario, you will need to be careful not to use too much water will be gone over water control, and then later we'll be going into more depth about reactivation. So stay tuned. It is one of my favorite qualities about Wash
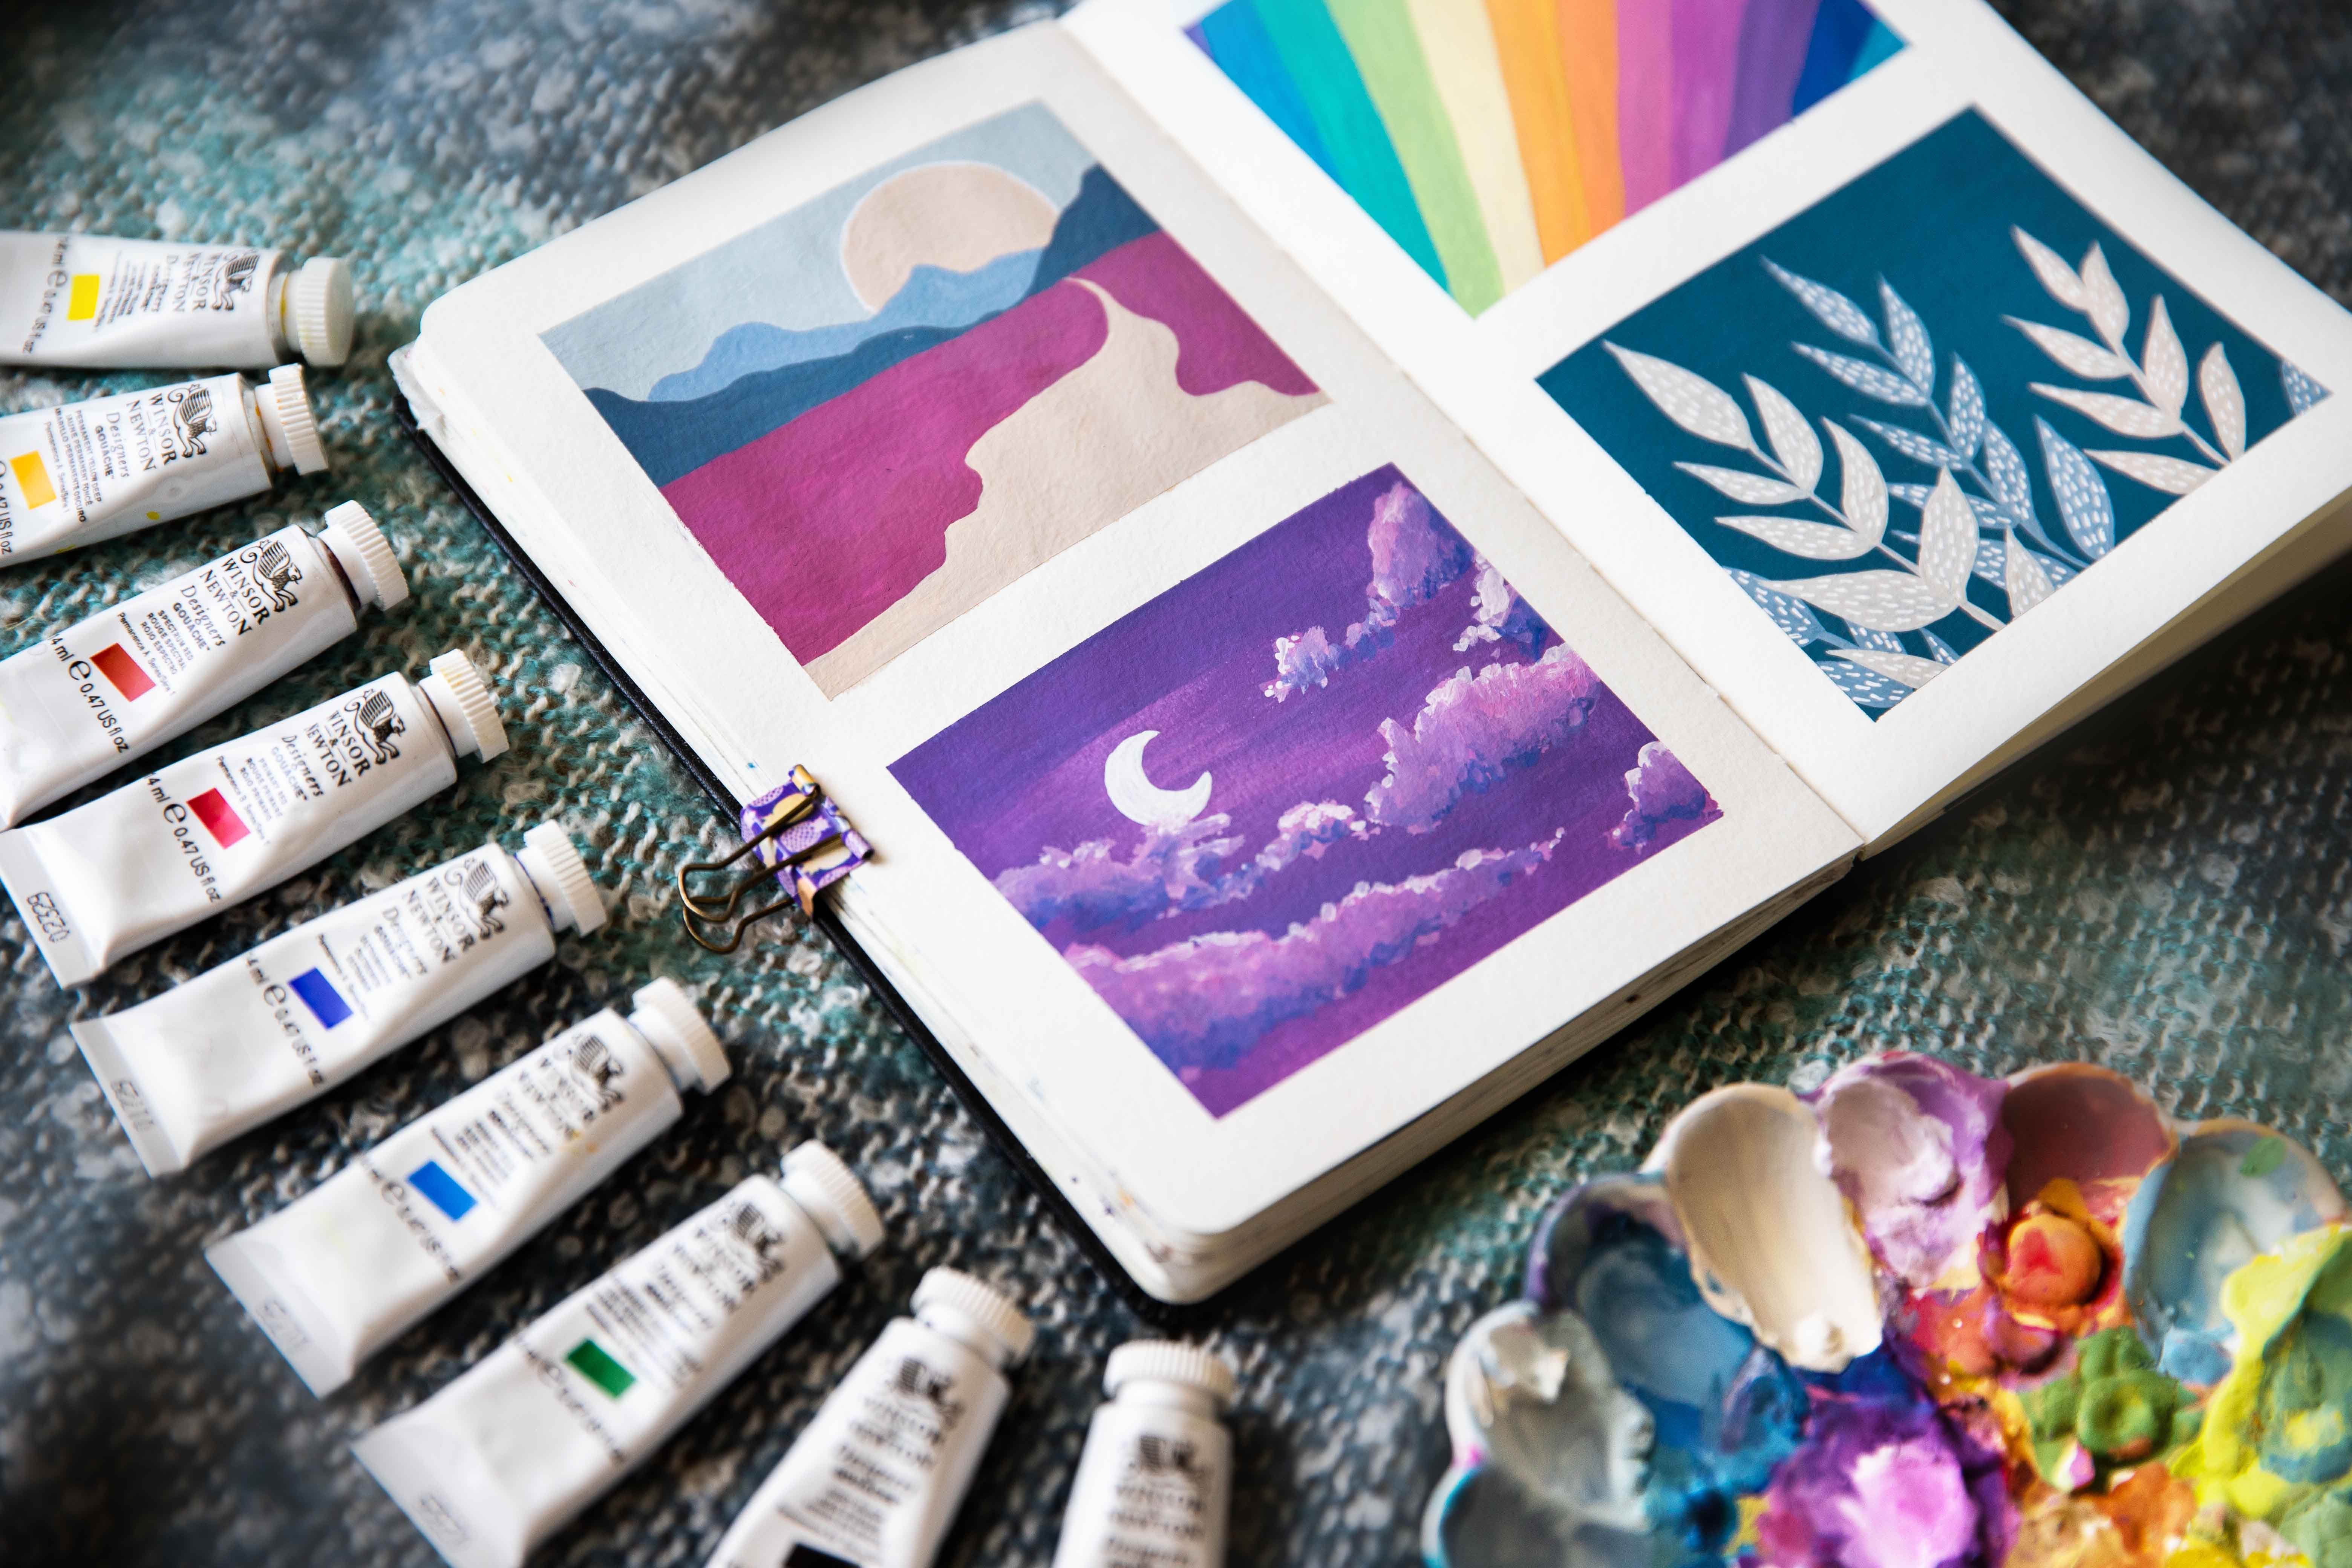
4. Setup and Tools: for the next segments. I'd like you to paint with me as we explored. Wash together so that we are on the same page it Please sit up your workstation with the following items paper. Please have some watercolor paper on hand, preferably with the G s. Aim off 300 250 gs E and will work as well. But ideally, 300 is better, especially when you're learning about water control and how much water to use Brushes. Full water. Best painting. We generally used round brushes like this. As you become familiar with the medium and your own sense of style, you will gravitate toward certain brushes certain sizes that work for you. Water now, just like when you're painting with watercolors. Water is super important for quash as it is also water based paint you'll need to containers of water. One container will be for cleaning your brush, and the other container will be for adding clean water to your mixes. Now don't worry about what type of container to use. Glass or plastic is great. May I just recycled two plastic containers that used to be a matter relish. Keep a month for five tabal or a paper towel on hand to clear up any excess water, will dry any excess water from your brush. The last thing you'll need is a range of wash paint's personally, the colors that I've chosen to work with today to show these different techniques up that ultra Marie and then a leaf green, a medium yellow and what?
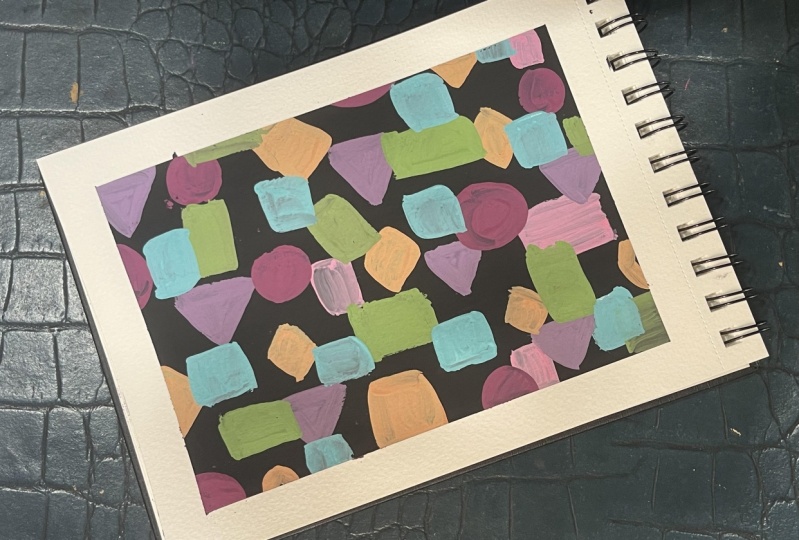
5. Opacity and Water Control: when I first started using wash, my head was still in a watercolor mind frame does me that I used way too much water. I can see this happening for people who also perhaps more familiar with acrylics before jumping into, gosh, the difference, being using the enough water. This is the very first painting I did after getting my first wash. It was actually, but these very same raves wash points. As you can see, there's a lot of water that I've added to the paint, and it's given not even a very watercolor. It's just it's a very watered down, a loose. There's not much control in the painting. It'll now some people choose to use squash in a very water heavy way, and that can look really great. The point of this listen is to see what we can do with a wash, what it looks like when you add more or less water to watch and basically just getting comfortable with the idea of how much water. Two years. So let's get started. In this activity, we will be exploring washes opacity levels by painting a series of boxes. You may have done similar activities with other mediums. I think that it's important to do this with quash is the paint may behave differently to what you'd first expect You will need to brush is for this exercise. I often like to use a larger brush to mix the paint and a smaller brush to paint on the water polo paper. Let's draw five boxes at least twice Now, for simplicity sake, I'm going to label these boxes for the first row. I'm going to be using ultra marine blue, so play some ultra marine blue inside your pain talent just a little bit more than a pea size. What we want is enough paint to cover all five boxes. Keeping in mind that we will be adding some water to the paint as we go along. Did the larger of your brushes into one off your water containers? There should be just a bit of water on your brush. Been adding the water to your paint. It's best to start from the each by any water and increments. This way, we have more control over what's going on. If you're a bacon, this might feel familiar to you, as it's sort of like adding a little milk or water to your better, but by bit to get just the right consistency. Once you have the paint in a workable state, meaning you can move it around without it being too sticky, you can pop that brush in the water and clean it up. This is where micro fiber towel comes in handy. Just give the brush a quick, dry knicks. Take the smaller brush and dip it into your payments. Make sure not to get the paint to fire up the bristles and we're ready. Let's paint box number one. Your boxes don't have to be as large is minor. I only really realized that they were maybe a little too big when I started painting the first square. See how the paint drags along the page. The reason it does this is because there really isn't that much water in the mix. The paint has a very thick acrylic feel to it. In this way, try and get into the habit of rinsing your brush out between painting the boxes. It's really good habit to get down now, even though we're not switching between colors for box number to add a little more water to your mix. Just a pure mixing. Brush into the clean water and add about two more droplets of water to your paint. The consistency off the paint should be just a bit looser than it was previously. Now you can even swap to the smaller brush of that felt comfortable to paint with, or you can use a larger brush. As my boxes were larger than I realized. I'm going to paint and mix with the larger brush. Now you should already be able to see a difference between Box one and Box two. If you're not seeing too much of a difference on your page, that's okay. It will become more apparent as we move on to the other boxes. Sometimes these things do take practice. Also, don't worry too much about making this look pretty or reducing the streak lines. What we're focusing on here is just how the paint behaves with varying degrees of water. Now let's repeat these steps for the next boxes. Just keep adding a little more water in small increments between each box. As you can see, we now have a range of a pass it ease on one end. We have a thicker look. In fact, the paint was so fit that it was had to spread across the entire box. On the opposite end, we have a transparent look, which feels more like a watercolor. Let's try the same activity again with a light color. I'm going to use yellow. - Great . Now I'm going to repeat the activity again with a grain and a black. I recommend you also experiment a little longer. However, if you do feel confident and you already to move on, feel free to click on the next segment, which is layering otherwise, let's finish this off.
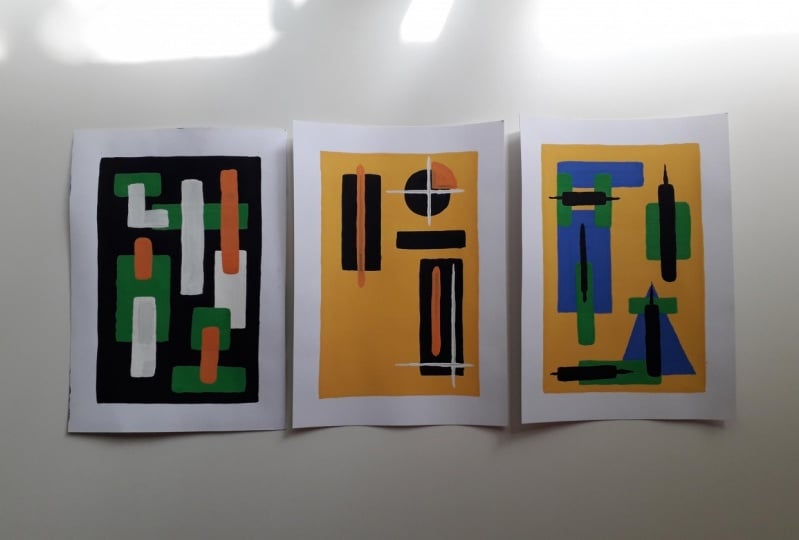
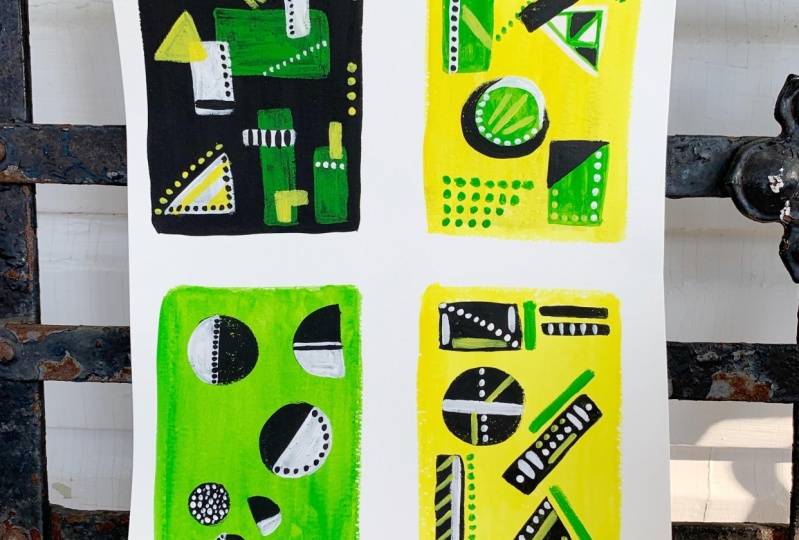
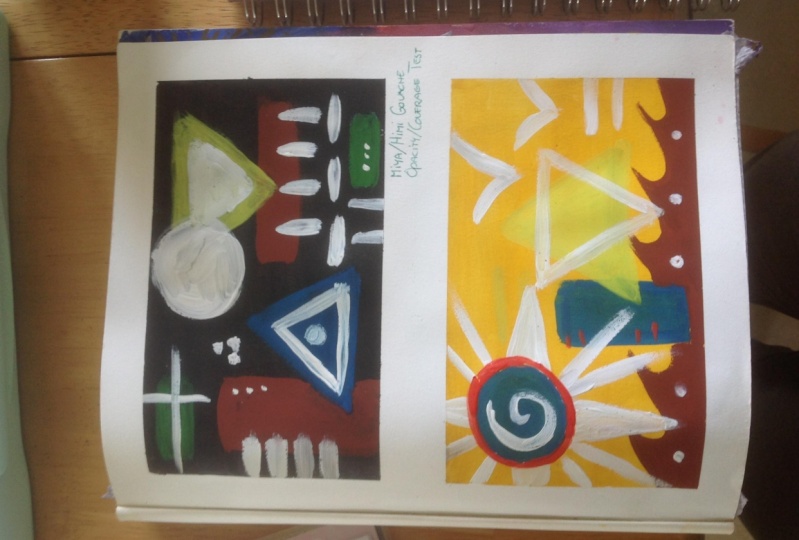
6. Layering: I use layering a lot of my work. Take this picture, for example. I've painted the background, and then I've gone in with some white wash to mark out where I'd like to play some items in the mid in the foreground. I did paint over the background, so, as you can see in this image, started to layer over the paint to create trees in the mid ground and some twit way in the foreground. Something important to keep in mind of squash is that with each additional layer, we need to be adding list. Endless water toe are mixes the paint. Men should essentially be more and more OPEC as we create more and more layers for the larrin activity, we need to prepare some of our paper by painting three solid color backgrounds. I'm going to be painting mine and black and yellow. If you feel like you'd like to do the same, great. If you'd like to paint them in slightly different colors, that's okay, too. It's have a go. Now try using an a Pesce ity of about three on a scale. - We now have to wait for these background colors to dry. It's an important step. That's very tempting to miss. But please don't as you won't be able to lay the paint on as well. Otherwise, you can check to see if your background to dry by holding them up to the light at eye level . If they're shining, they're still wit. Just wait a little longer. What I'd like us to do in this activity is paint a series of rectangles overlapping one another. Now keep in mind that we need to make sure that each layer is dry before applying a new one on top. Now, because I'm starting with the black one, I'm going to start off with some lighter colors. So my wife and my grain and they, perhaps to a whole black on top. I'm going to give you free reign here, perhaps take a look and see what I'm doing, and then maybe have a go yourself experience. Different shapes if you like. It's all up to you while you were First layer dries on the first background. Why don't you go ahead and stop painting on the next one? Since I'm moving on to my lighter colored background, I'm going to paint with some darker colors to see how that turns out. Now again, let's wait for those to dry and then try painting on top again to add yet another layer. You can keep doing this until you get a cool passion of some sort if you like. Just remember not to mix a paint that looser witter or more transparent than the layer before. - Here's an example of what happens when you try to add paint that's too watery toe already painted background. As you can see, the paint underneath is reactivated by the water and the lay or trying to apply. When you get more comfortable with this rule, you can start to break it a little. For example, the only time I currently uses as a technique is when I want to create really thin clouds. The reactivation of the sky underneath the cloud helps to give the impression that the clouds themselves a translucent. We'll dig into reactivation more in the next segment. For now, let's continue layering
7. Reactivation: Another thing I really love about wash pain is that it can be reactivated now. This is true with the paint is in the pellet on the paper. Let's have a go looking at both. Let's start with your pellet. Hopefully, by now you have some dried wash sitting in a few of your wells using the drip approach like we did in the rapacity segment and a little water to the drag. Wash and swish your brush around a bit. You'll notice that the paint starts to come alive again. I find this to be super handy when I need to touch up parts of my painting that I missed the first time around. Even when I want to add another shade to my painting, it could be a good place to start. Try a hand at reactivating each of the dried wells on your palate and paint them onto a new fresh piece of paper. Reactivation even works when you're paint this so dry that it's flaking up. Take a look at this yellow. You'll notice, though, that the paint does not come alive to the same extent as when it's fresh from the tube. I'd say it's about 50 to 80% alive. Zombie pain pretty much another place where reactivation can come in handy is on your painting itself. On your layering practice papers, try awaiting your brush just slightly, using your cloth or paper towel to take away some water. If it's too wit, then start painting on top of your layers with the water. You'll see that even though the paint was dry on the paper before it's now moving, this is something you can't do with watercolor and most acrylics. This is cool here. I'm reactivating the black background to make the shapes on the page a little sharper.
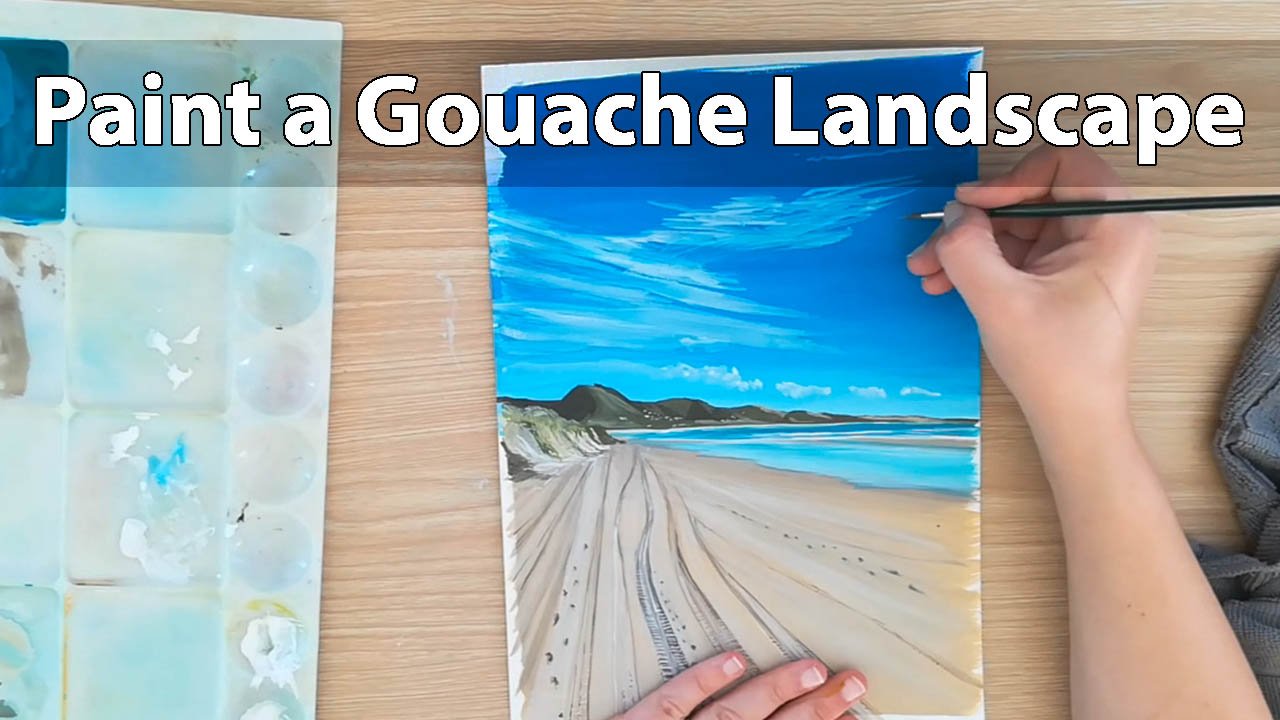
8. Outro: Hi. Firstly, thank you so much for joining me today. I hope that you've enjoyed the class. If you're not yet confident with the techniques that we have explored today, that's OK. All you need to do is to continue practicing. I encourage you to upload either the layering Sigmund part of this class to the project gallery or even a painting that you've done after taking this class. If you're interested in taking a class that's slightly more intermediate in this one where we paint a wash landscape, I have a couple up already on skill. Shia. I'm hoping to release more on future, so please do check those out if you're interested. Once again, thank you so much for joining May. I hope you enjoyed it as much as I did.
 Eden Bourne, Paint and Patience