Transcripts
1. Intro: Great character design is more than just drawing a person, it's about creating a dynamic
illustration that tells a story and conveys emotions and personality
to a viewer, which is why
expressive characters are a cornerstone of
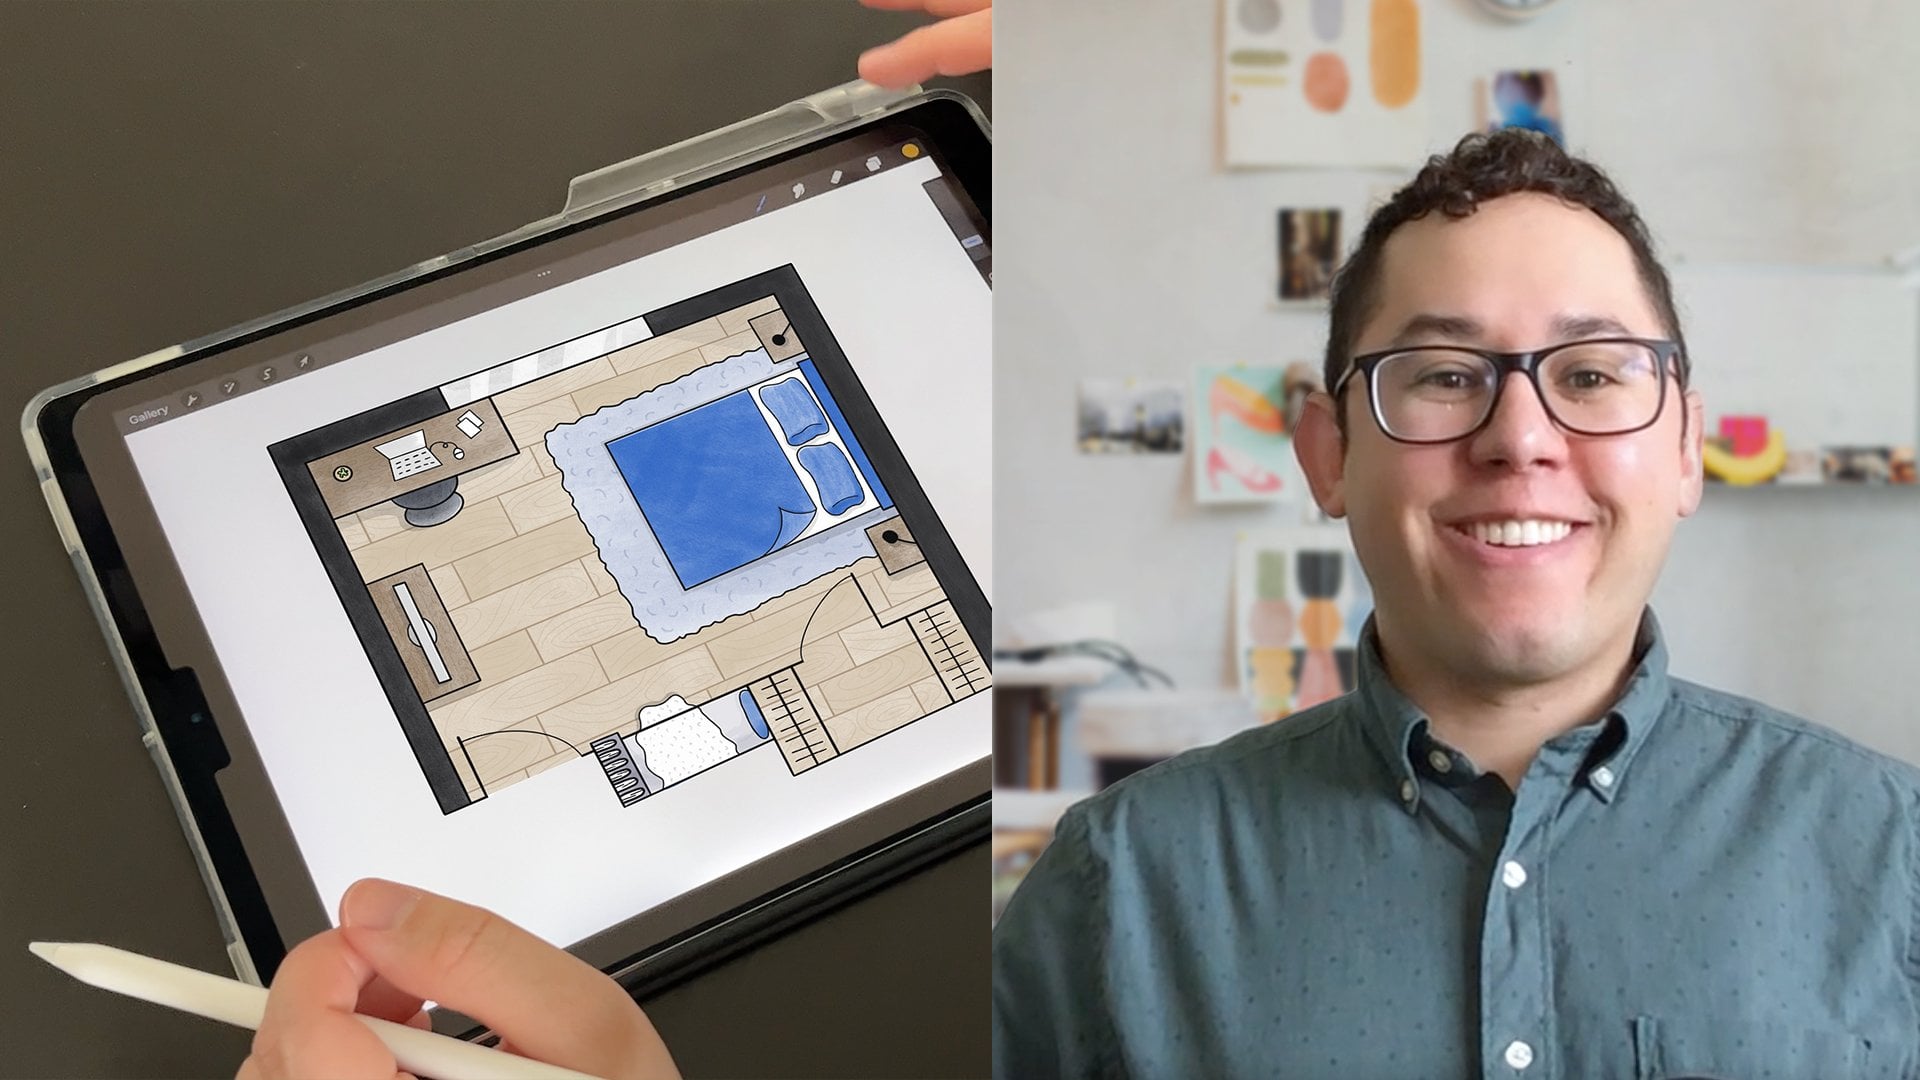
visual storytelling. [MUSIC] Hi. I'm Isaiah Cardona, and I'm a Senior Art Director and Motion Designer based in the US with several years of experience working in
advertising agencies. In that time, I had become
known for illustrating playful and dynamic
characters used in animation, social,
and packaging. I've also taught several design and animation
classes on Skillshare, which is why I want
to share with you some design techniques that have been a game changer for me, including using shape language,
playing with proportions, and experimenting with
expressive features to draw characters that communicate
personality and emotion. In this class, I'll show you
how to use these methods and help you apply it to whatever
character you want to draw, which will allow you to have fun with the
illustration process. Throughout this class,
you'll learn how to strengthen your visual
storytelling skills, which is an important element at developing stronger
illustration skills. Along the way,
you'll get plenty of experience drawing character
figures and facial features. This class is great if
you're drawing for fun and also very useful
for designers, animators, illustrators
and children book authors who want to create
dynamic characters. Most importantly, these skills from this
class is going to help you develop confidence
and your illustration skills. For me, these skills haven't
just improved my competence, but boosted my imagination for all the character
possibilities I could draw. Let's get started. [MUSIC]
2. Project Overview: Your class project is to design your own expressive
character with features that visually
communicate its personality. You are free to
draw your character in any medium you prefer. So have fun with it, and you will design your
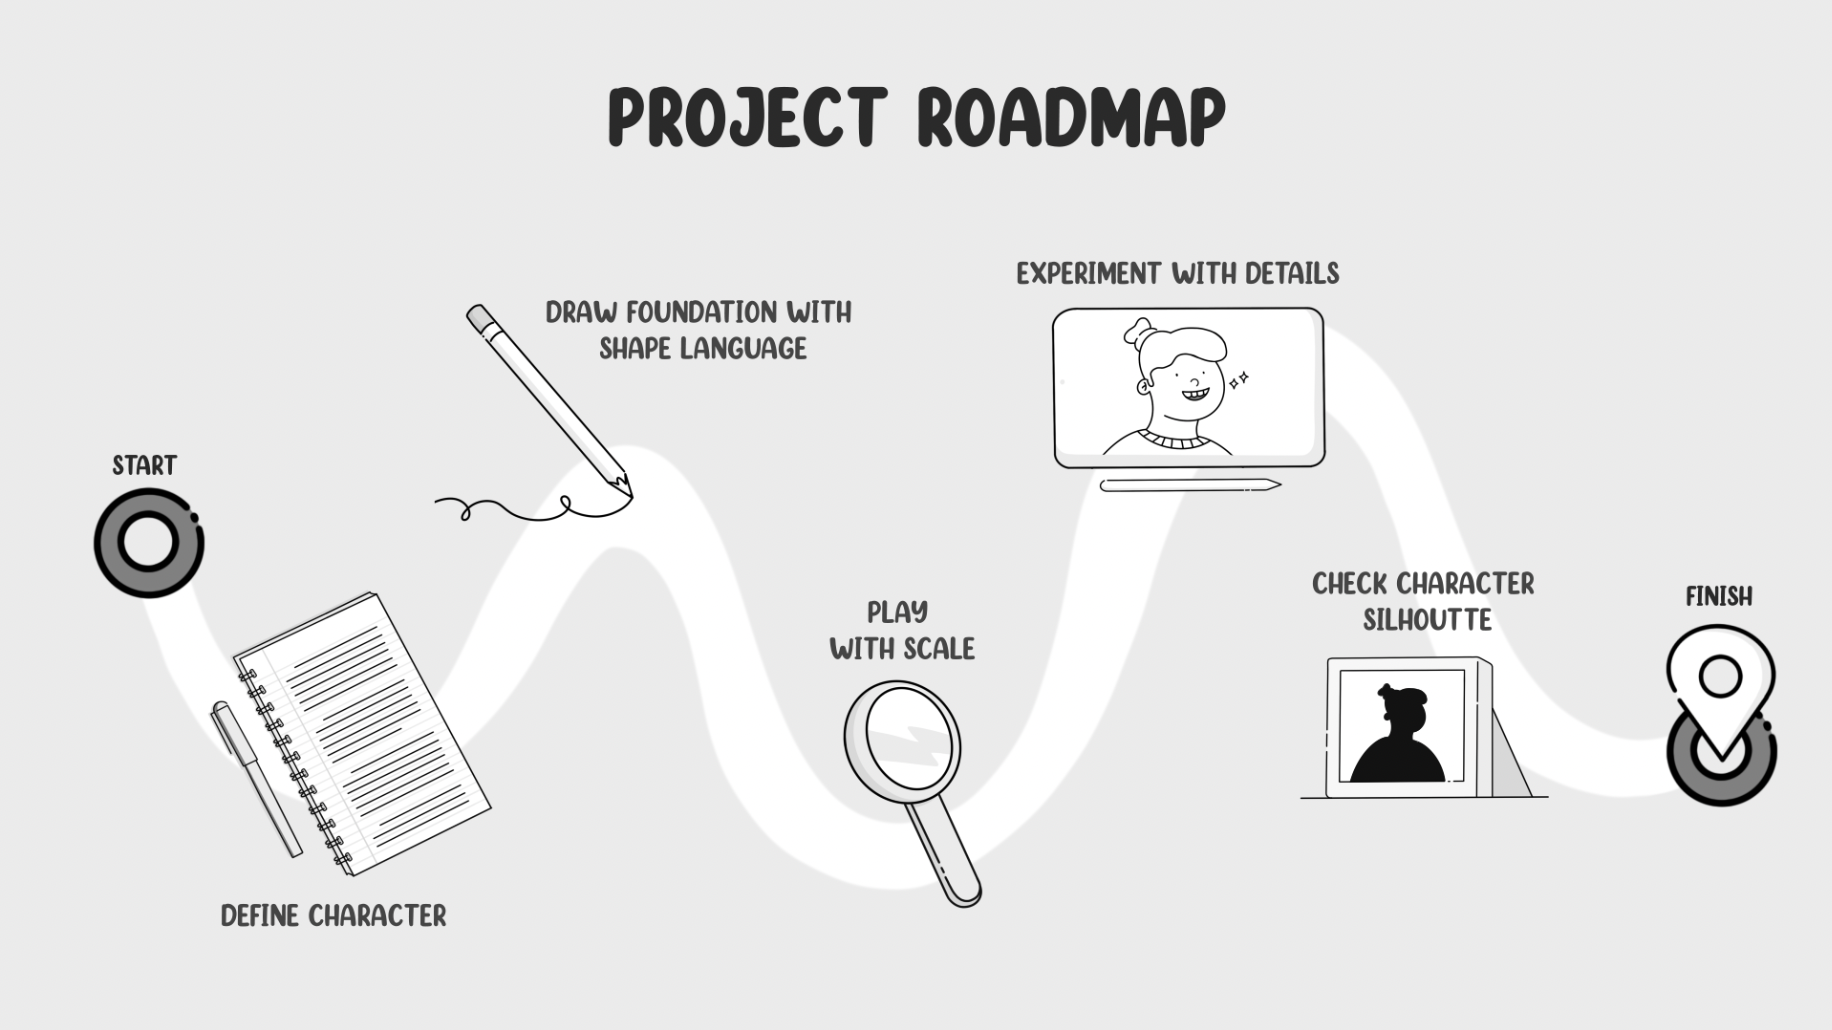
character using five easy steps. Beginning with defining
your character, drawing the character foundation
using shape language, playing with scale
and proportions, experimenting with
facial expressions, poses, and clothing and lastly, checking the character strength by reviewing its silhouette. To help complete the project, I have created some
helpful guides on using shape language and tips for
drawing expressive faces, gestures, and clothes. All these PDF guides can be downloaded from the resources
section of the class. Once you've completed
your project, make sure to share your
final character illustration with the class by uploading
it to the project gallery. To do so, you will go to the project section and click
''Create Project" button. Then you will upload
a cover image. Then you'll add
your project title, and then your
project description. Then you'll click the image icon under add more contents
to upload a full image. If you have any questions
or need more tips, feel free to post them in
the discussions forum, I'll be happy to help. In the next lesson, I will walk you through defining your character's
personality and traits.
3. Defining A Character: In order to design a unique character that
really communicates a story, we need to first come up with our character's
personality. In this lesson, I
will walk you through some questions to help you
start defining your character. Here's a few questions to help start defining
the character. What's your character's
personality? Is your character
the hero, villain, comic relief, mentor,
or a love interest? Does your character have a
unique trait or ability? Does your character
have any quirks? Take a moment to answer
these questions and take note of any additional
qualities that come to mind. why is this important? In order to create an
expressive character? At first, you have to know
the story of your character, its personality, its traits, what makes it an
exciting character? If you don't do that, then you'll end up creating
something that's flat, which I can personally
relate to as when I first started
drawing items, I loved to just really jump into the drawing aspects
before I actually had, in my mind, who is this
character and where are those important in personality traits that I really want to show? In the next lesson, I will walk you through shape language and how it's
used in character design.
4. Using Shape Language: In this lesson, I
will walk you through shape language and how you can use it to design your character. Shape language is how
basic shapes communicate different aspects of a
character's mood and personality. Properly using shape language will help lay the foundation for your character and elevate your final design with
depth and meaning. There are three main shapes
that make up shape language, which are: the circle, the square, and the triangle. These shapes can be combined to form other shapes
such as diamond, hexagon, and teardrop, which also can be
used in your design. But from my experience, I have learned that the more
complex the shape gets, the less clear the
communication can be as it's most clear in those
three simple forms. So for now, let's stick with these basic shapes and go
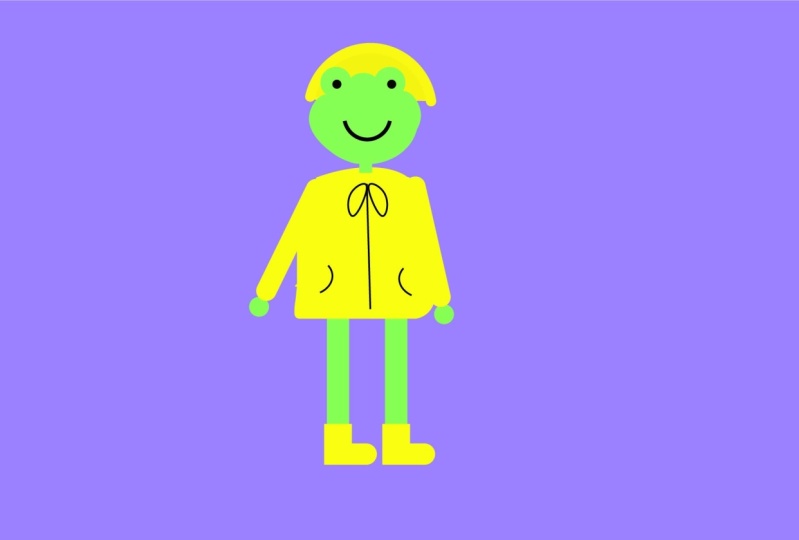
through their meanings. The circle tends to feel soft, calm, friendly,
happy, comforting, gentle, warm, wholesome, generous, bouncy,
familiar, and safe. The circle is great for jolly, happy, and cute characters. The square tends to
feel stable, solid, secure, well-built, rational,
peaceful, and trustworthy. The square is great for physically strong or
heroic characters. Then there's the triangle,
which feels sharp, aggressive, dynamic,
energetic, powerful, conflicting, strong,
active, progressive, violent, angry, and dangerous. The triangle is great for evil, fast, and insect characters. I would like to stress
that the triangles don't always mean a
character is bad. I know when I first was
learning about shape language, I had perceived all
triangle use as an indication that
character was the bad guy. But triangles can actually
help characters express their energetic nature
or sharp intellect. Now that you have an
understanding of shape language, let's look at some examples. What do the shapes that make up these characters communicate to you about their personality? Do you feel they look welcoming, trustworthy, or
maybe a little evil? As I mentioned earlier, you don't just have to use one shape for your
whole character. You can also combine the basic shapes to communicate
more with your character. For example, you can
combine a square and a circle to give off a
gentle and trustworthy vibe, or you could combine a
circle and triangle, which will give a character that feels happy and energetic. It's common to use different
shapes throughout the body. So feel free to experiment with shapes as you sketch
out your character. A great real-world example of
this is Sonic the Hedgehog. Sonic is a quick, witty, and easy-going character
with super speed which is communicated through the use of multiple triangles and
circles throughout his body. Why is this important? Outside of character design, you can use shape language and other illustration project. For instance, let's
say you wanted to create a fast looking car, you could use shape
language to make the car look way
more aerodynamic. So feel free to
use these skills. Apply them to own their
projects as well. To recap, we just discussed shape language
and the meaning of the three basic shapes
as well as how you can use them in drawing the
foundation of your character. Now it's your turn to select a shape or shapes that reflect your character's
personality and start sketching variations
of your character. In the next lesson, I will walk you through playing with scale and proportions.
5. Playing With Scale & Proportions: In this lesson, I will walk you through playing with
scale and proportions. To start, let's discuss how each works in character design. Scaling different
parts of the character drastically changes how
the character looks. This principle can be used to communicate a trait
about the character. For instance, larger
heads tend to give characters a sense of
youth or innocence, and larger bodies
tend to emphasize a character's physical
strength or durability. This body type is
often used for heroes. Longer legs are great when you want to convey a
more slim character. This body type is often used for villains or characters that
are emphasizing their height. Now let's look at a
case study, of scaling. In this example, the head is the biggest part of the body. Basically the body
is the head and his arms and legs are very tiny, which is perfect for communicating the
nature of the Pokemon. So why is this important? I have found personally that I struggled originally
with being able to focus on drawing more stylized illustrations and really embracing
that odd factor. But once I embrace
that and played with, let me make a really
huge abnormal head. I realized that I was
bringing a lot more of my personality and just a lot
more funness to my design. That can easily be applied to other illustration
projects to bring just normal objects and give them more
personality, more possess. So definitely give it a try in other applications as well. To recap, we just discussed how playing
with proportions of different parts
of the characters bodied can communicate
different attributes. Now it's your turn to play
around with the scaling of your character to continue pushing your characters
expressiveness. In the next lesson I
will walk you through some fine details you can add to push your
characters further.
6. Adding Expressive Details: In this lesson, I will walk you through adding details
to characters, including facial expressions,
poses, and clothing. A character's face is often the best tool to show emotion. When drawing your
character's face, consider these questions. How are the facial
features arranged? How big is the mouth? How big are the eyes and
where are they located? Are the eyes often wide and
open or are they narrow? What are the eyebrows doing? Also, don't forget to
consider shapes of facial features to
reflect emotions. How your character
moves and acts also communicates a lot about
their personality. Taking a look at our
Super Smash Bros example, you can see how the
different poses communicate different traits. Here we have Yoshi and Kirby, and they have a very playful, non-threatening pose and have
happy facial expressions. While Wolf and Ridley have very aggressive poses as if they're about to
strike any moment. When you're drawing movements, keep these tips in mind. Focus on the overall
gesture of the pose and not on getting all the body
parts completely accurate. Oftentimes, exaggerating
the pose a bit will also help to bring more emotion and excitement to the character. The final detail I want
to point out is clothing. Just like in real life, our clothes is an
important way we express ourselves and
communicate certain qualities. A great example of this is when you wear professional
clothing in a job interview as a way to project professionalism
and expertise. Likewise, the clothes your character wears
can easily tell the viewer that your
character is happy and fun or smart
and professional. Dress them in clothes that further communicates
who they are. You can also still use
shape language and the design of all the
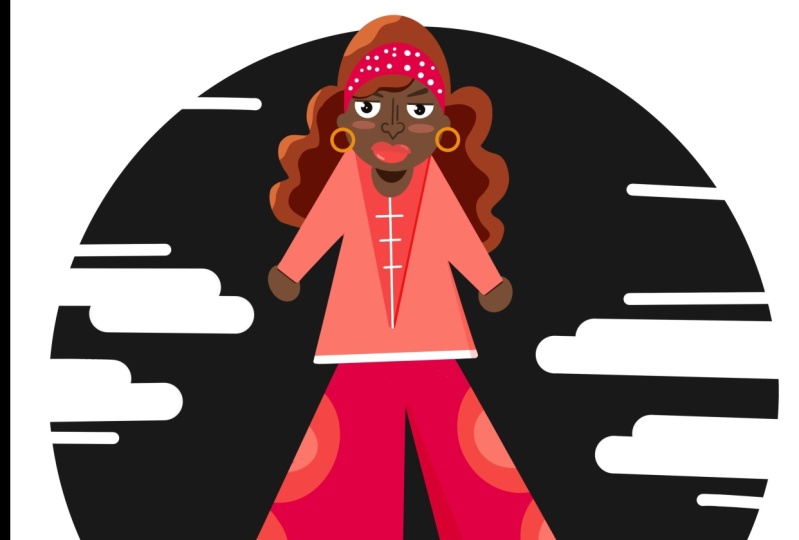
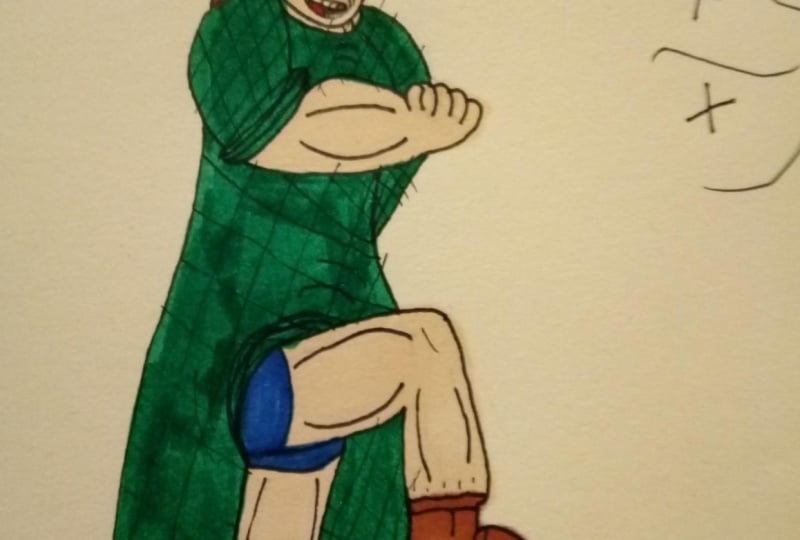
clothing and accessories. In this example, the girl has round shoes and
flower pattern on her dress made up of
circles to express the girl's cute and
jolly personality. While the woman on the right has very sharp and
triangular clothing to communicate her
stern personality. Why is this important? A great example of this is a packaging project
that I designed. I was restricted to a
simple box shape but I wanted to bring my character
to life in the packaging. As you can see, the
expressive facial features bring so much personality
to the packaging, and that's a great
example of how expressive features can elevate
your illustration work, especially when you
have restrictions. To recap, I just discussed three strategies
to further express your characters by playing with a character's facial
expression, pose, and clothing. Now it's your turn to add the final details
to your character. In the next lesson, I will walk you
through how I test the strength of my
character's design.
7. Testing A Character's Silhouette: [MUSIC] In this lesson, I will walk you through
a helpful tip I use to check the strength and
uniqueness of my character. When I was in design school, I loved drawing characters but struggled with making my
characters feel unique. I knew I was missing something. Years later, I learned
a trick where you fill the outline of a
character to see a silhouette. This allows you to check to see if your character
is strong enough to communicate personality and be recognizable from other
character silhouettes. To reinforce this technique, let's take a look back at the
Super Smash Bros example. You can see how these
characters are still recognizable even
when silhouetted. To recap, we just
talked about using a character silhouette
as a strategy to test how well the character
communicates personality and whether it is distinguishable
from other characters. Now it's your turn to test out your character and make
any needed adjustments. In the next lesson, I will show you how
I pull together all the class techniques
to make a character.
8. Applying All The Techniques: [MUSIC] In this lesson, I will walk you through a
demonstration of how you can pull together all the steps
to create your character. I'm going to demonstrate
my process and Procreate, but feel free to follow along in your own preferred method. The first step is, I'm going to review my description about
the character and add notes about how character traits could communicate through
those techniques. My character is a
young boy that gets scared really easily
in a comical way. But doesn't let that stop him
from going on adventures. He's also a very loud kid that vocalizes his thoughts
and his emotions. The key traits that I want
to communicate is youthful, very scared, and loud. I do this first, so I have a road map
as I begin drawing and I can reference throughout
a drawing process. When I don't write
this out first, I end up leaving out elements
and having to redraw my character multiple
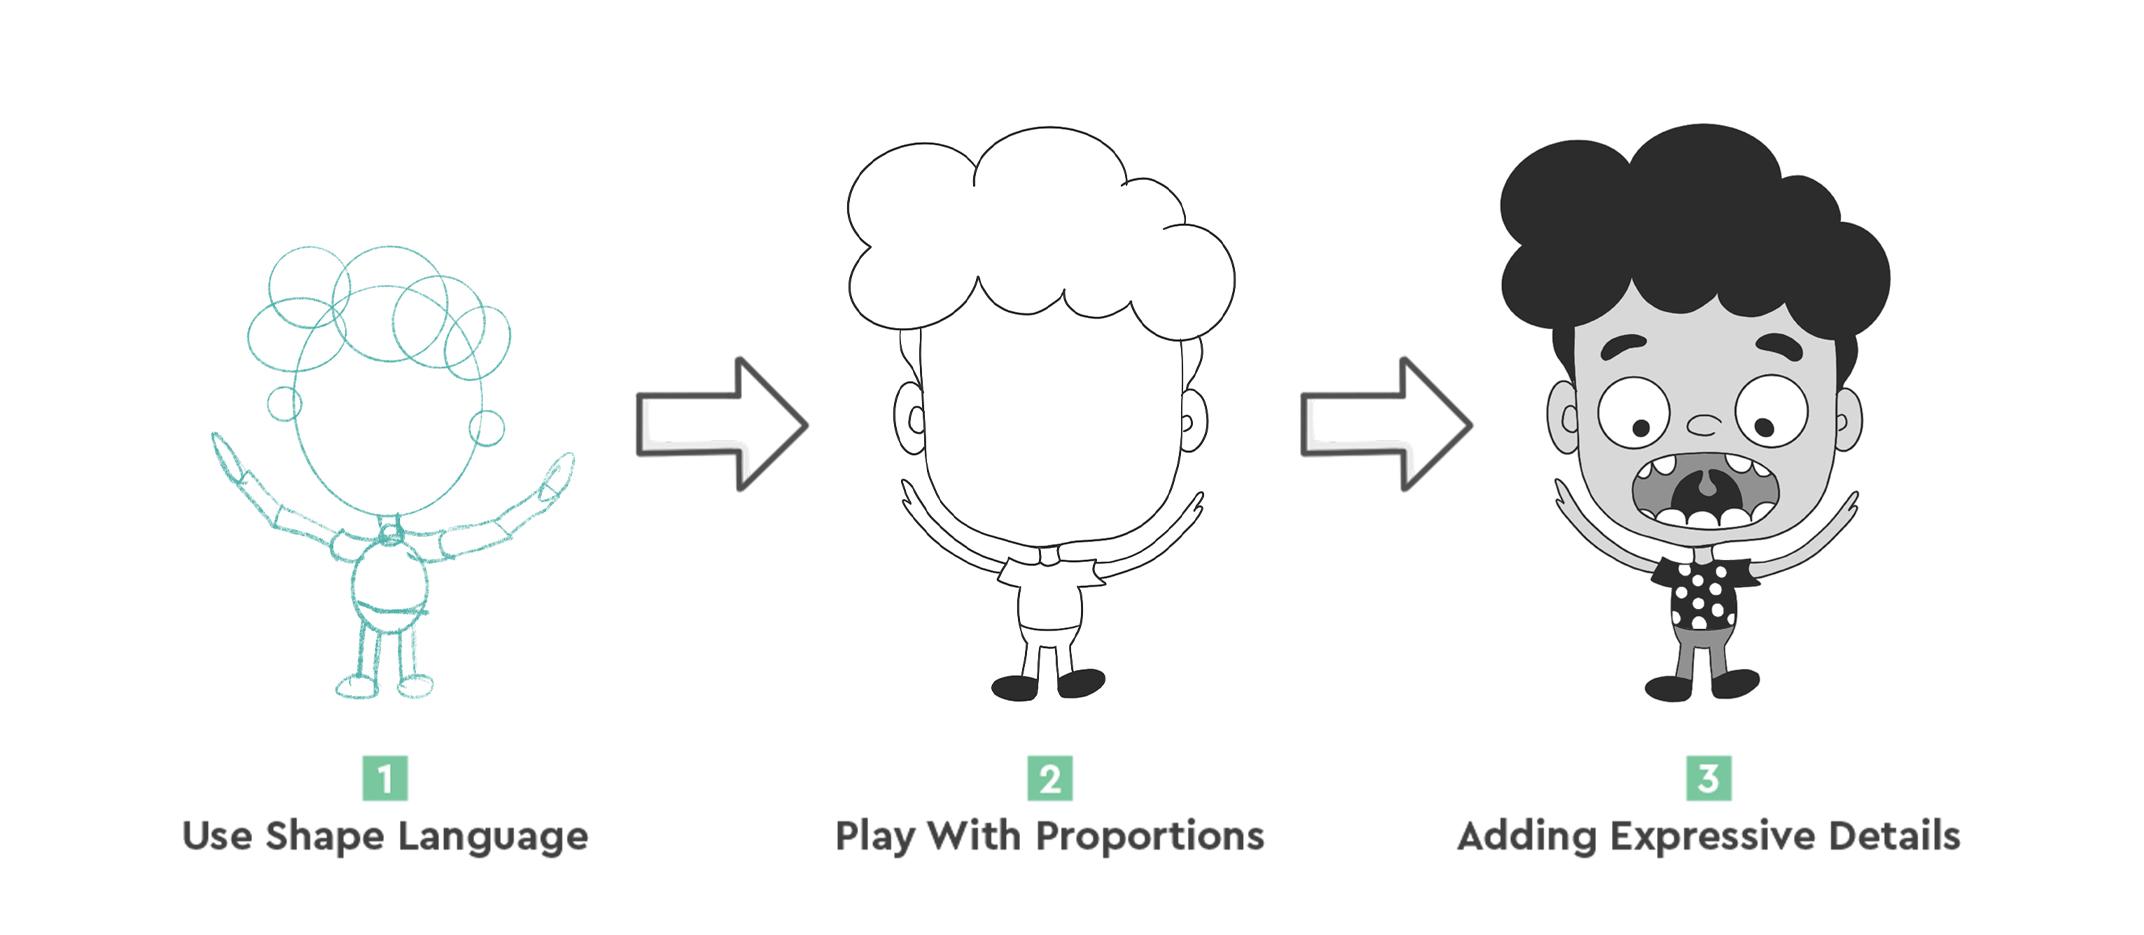
times to add in qualities. Next, I'm going to
construct the body of a character using the
corresponding shapes. As I noted earlier, I'm going to mainly
be using circles, but we'll add squares
to help connect the shapes such as in
the neck and legs. I'm going to outline
my hair now with circles so I can have the
full outline figured out. Now I'm going to draw over the shapes to make my
first character sketch. Quick tip, when using underlays, it may be helpful to use tracing paper or lower the opacity of a lower layer in a program like Procreate to make it
easier to trace over. I do this step to help me rough out the shape
of the character. Now I'm going to redraw
my character with exaggerated proportions based
off my notes from before. As noted, I'm going
to redraw his head really huge and keep
his body the same. I also made his feet
a little bigger. This stage is where
the magic really begins as you start
playing around with those features
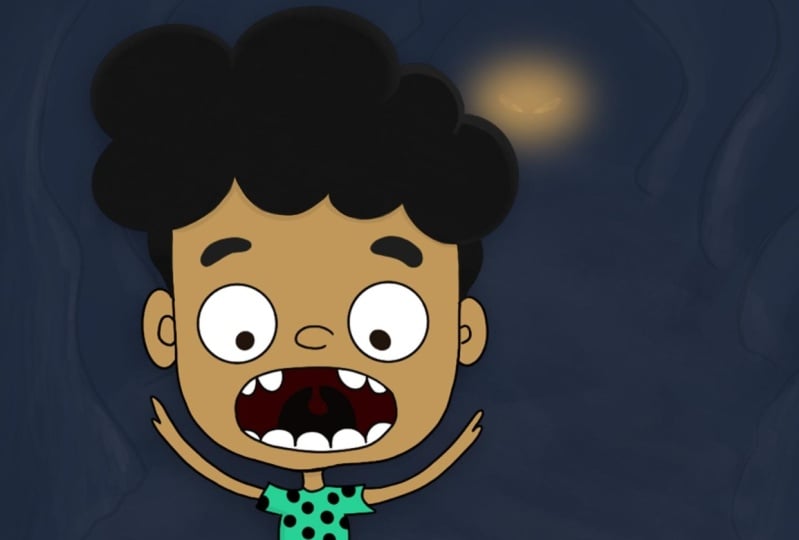
really making them abnormal and quirky. Next I'm going to add
in the facial features. As you will see, that I keep all of my features
very round and circular. Another helpful
element is I chose facial features that express
his scared expression; using an open mouth that looks
like he could be screaming and I have his eyebrows raised and the eyes
pointing downward. Another aspect I added is
I chose to depict him with missing teeth as another way to show that he's a young kid. Then I will fill in his hair and mouth and add a circle
pattern on his shirt. Last thing I'll do
is copy my layer and fill it in with a silhouette
color to see white thing. In seeing the silhouette, I really love the
shape of my character, especially his curly hair. To recap, I just demonstrated how each step builds upon the other to help you create a dynamic and
stylized character. Now it's your turn to
design a character using all these steps
from this class. When you're finished
with your design, make sure to upload it to the class gallery and
in the next lesson, we'll wrap up this class. [MUSIC]
9. Final Thoughts: [MUSIC] Congratulations
on completing this class. I really appreciate you taking
the time to take my class. Throughout this class,
we talked through strategies for
designing a character, including using shape language, experimenting with
by proportions, adding expressive
features, and using a character's silhouette to check the strength
of your design. To continue expanding
your skills, I recommend that you
take a moment to upload your project
to the class gallery, as sharing with the
Skillshare community is a great way to help
inspire each other. If you enjoy taking this class, then consider following me
on Skillshare and checkout my earlier classes to learn how to animate your characters. Thanks again for taking my
class and I hope to see you in a future one
soon. Bye for now.
 Isaiah Creates, Art Director & Motion Designer