Transcripts
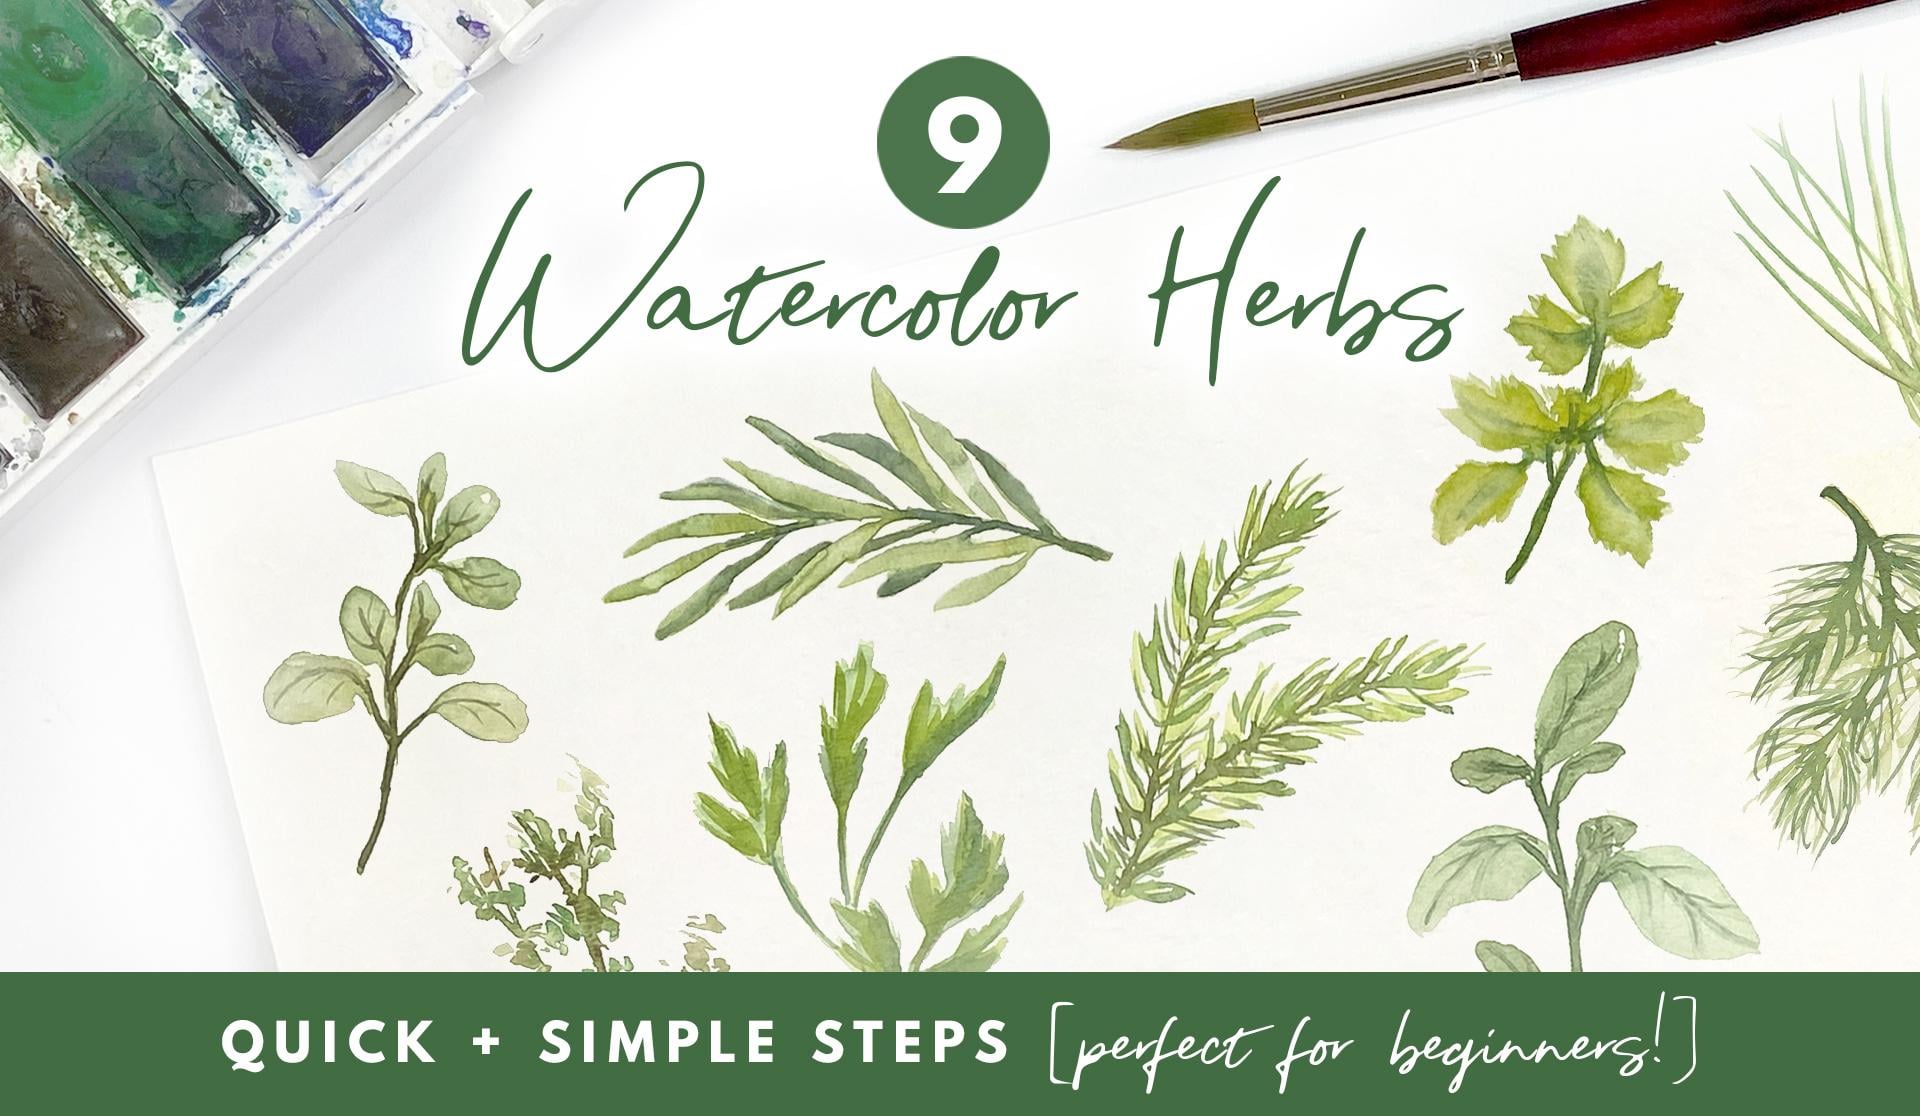
1. Intro + Overview: welcome to painting watercolor herbs. If you're new to any of my classes. Hello, my name is Nisha. I'm an illustrator and designer. I work includes a lot of water colors and ink illustrations, and I really love to teach both of these. This is a big in her class, and we'll start with the basics. We'll go through some drills and foundational techniques, and I'll walk you through each of them. Step by step. We'll talk about different leaf shapes and how they get even wash of color and how to also add texture into your different elements will practice adding light and shadow on two different parts of our leaves. And I'll also walking through on how to add fine details to really bring everything together and using a layering technique to create foreground and background elements. Each group of watercolor herbs is divided into three sets. In the end will have a variety of nine different herbs. So come join me and paint along for this fun and simple watercolor herbs. Class
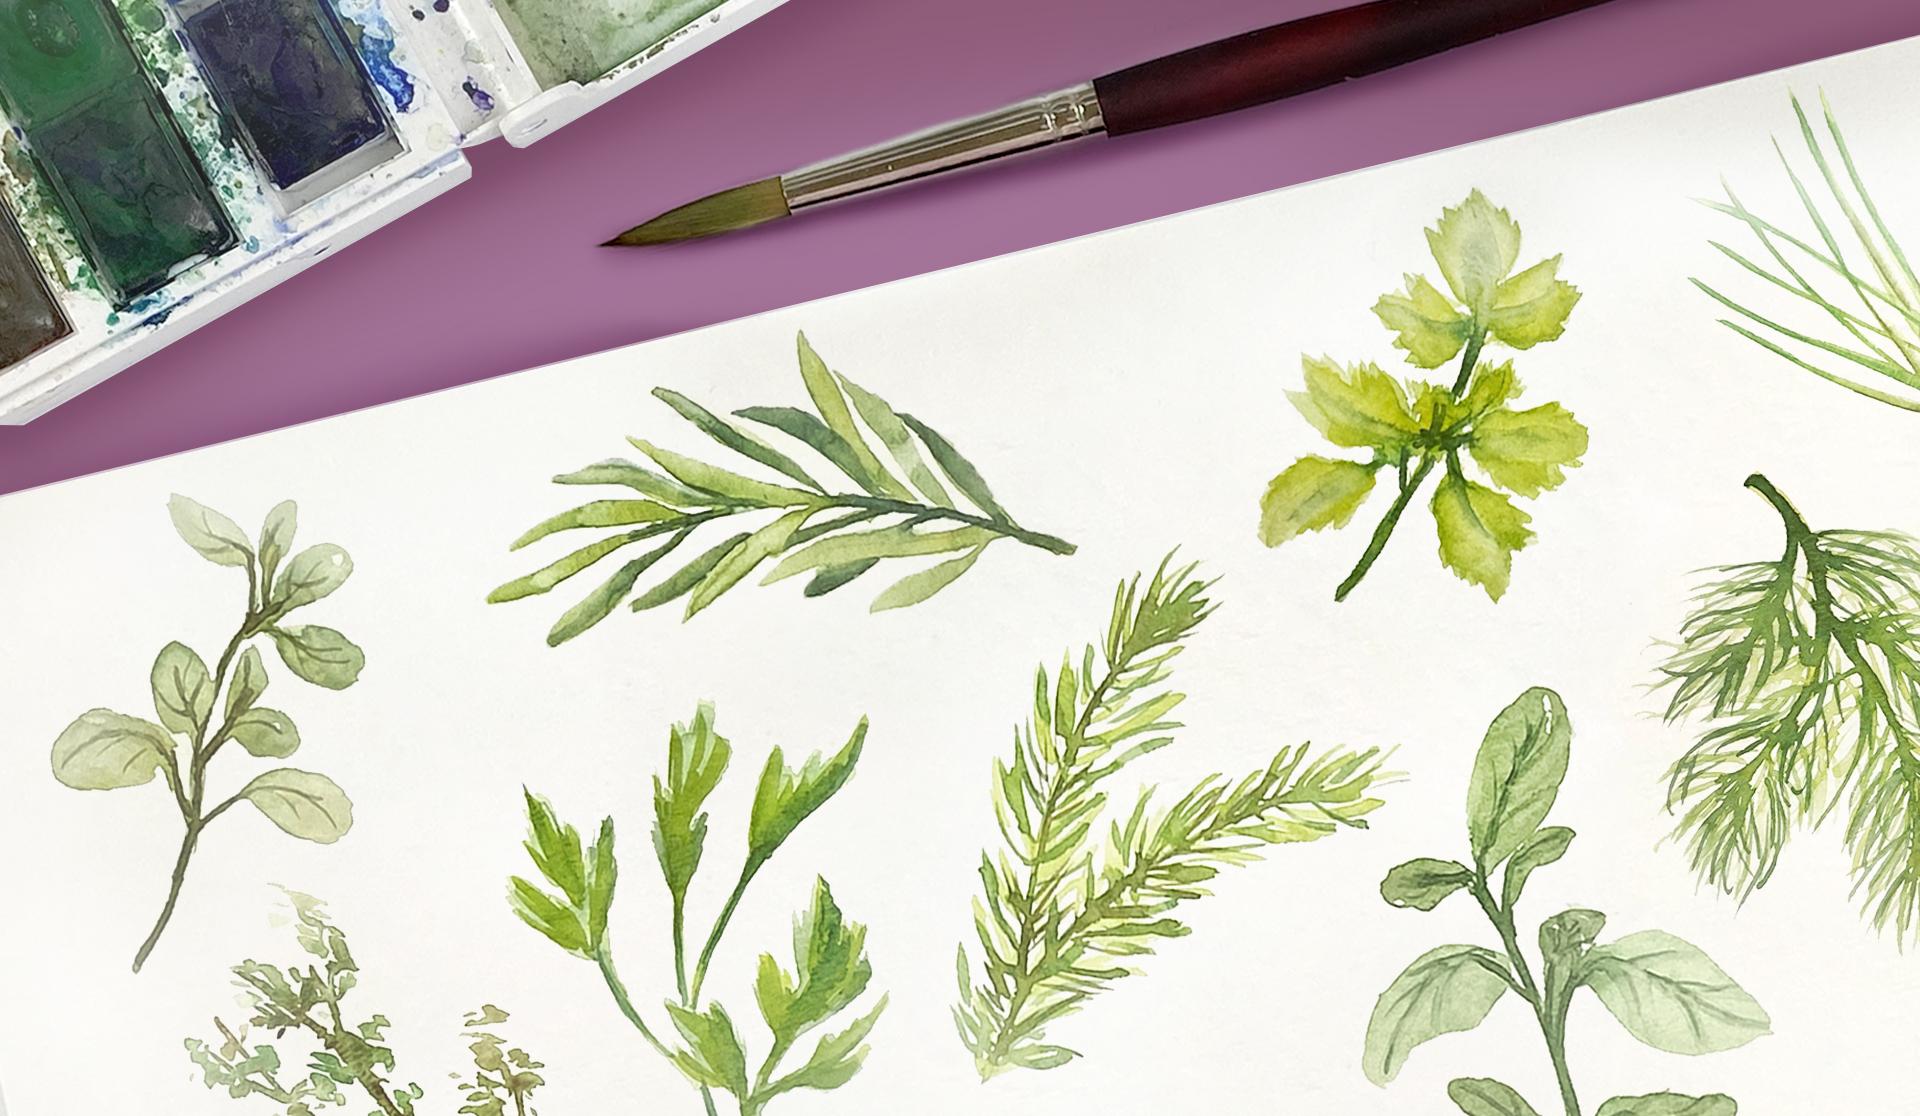
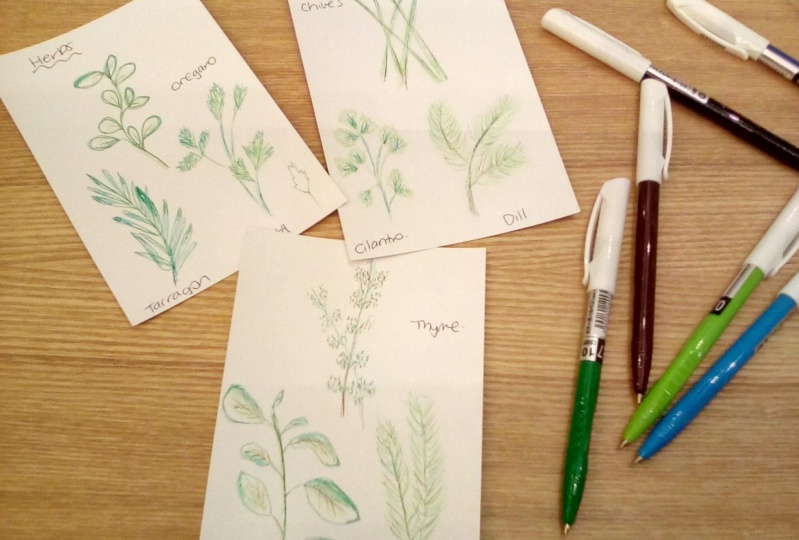
2. Supplies + Materials: for this class. I have a Pinterest board that has all of the images. You can reference this while you're painting and keep it on hand. You'll find the link to this board in the class description. You'll also need some watercolor paper, and I use a variety. I like the cans and brand and sometimes legion paper. And then my all time favorite to use are the arches, and you can find these and either Amazon or your local art supply shop. If you're looking for something that will give you the best results, go with the highest quality paper for your budget. I also recommend around watercolor brush anywhere from a medium to large, which would be a size six to about a size eight or 10. It really depends on how large you like the paint, but round brushes will give you the most flexibility in your mark making, so you can get watercolors in a set like this. They come in a dried out tray form. These are student grade. I do prefer the higher quality water colors that come in a pan set or liquid form. These will give you much better results. There also easier to customize. You can get individual colors and get a custom palette. So if you don't already have watercolors, as with everything in supplies, I say get the highest quality for your budget. You'll also need a few jars of water and some paper towels. I will link everything down below that I am using and let's get started.
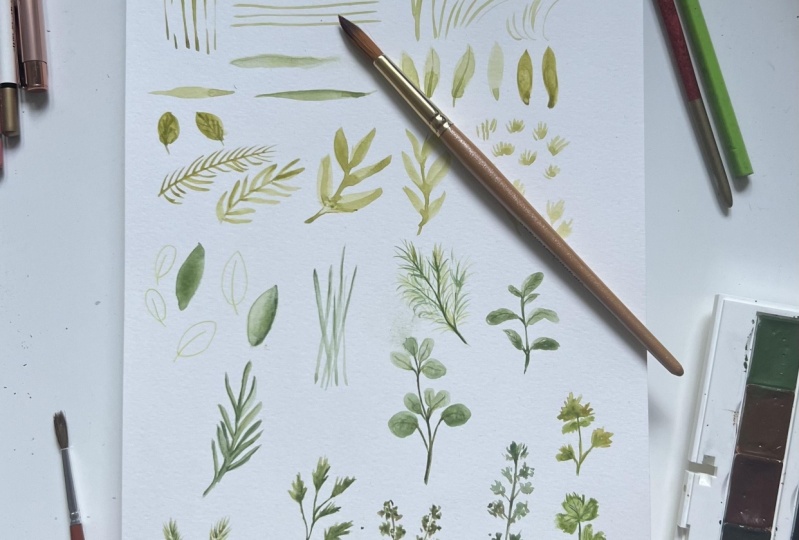
3. Warm Up Drills - Base Layers: in this lesson. We'll go over some warm up drills and exercises so on a sheet of watercolor paper will do some of our first practice marks. What you want to keep in mind is how you're holding your brush, so if you hold it straight up and down, it will be a lot harder to get long angles. You can hold it towards the back of the brush and you'll get a looser mark or, if you hold it up, Teoh near the brush hairs. We'll get a bit more control on your brush. So practice first, using a very light touch and just the end of your brush, making thin lines and trying to get them pretty even inconsistent. So what we're doing is building muscle memory in her hand and in nature, however, we don't see very straight lines. You see a lot of organic shapes that are angled or curved, so instead of a stem and leaf has very straight and will look more like a doodle versus an actual planned, we'll practice having a more soft angle on those lines, using your wrist to bend and make that arc. You can make softer lines that are more natural looking. Okay, so now that we've got a few of sin lines going with practice making thicker strokes, this will be the basic shape before relief. What you're doing is starting off very light and then pushing down on your brush to make a little bit more of a wider stroke and then tapering back off of the end and picking up on a light touch. Using the same technique. We can make shorter strokes that will look more like leaves, and you want to practice doing this by also how much water and paint ratio you have. So as you can see if it's pulling up a little bit, that means you're too much water in your paintbrush. You can always rinse your brush Gabbert on a towel and pick up some of that extra water. We'll practice getting an even coating of color that will dry a little bit more smooth. The leaves that you're making that have a lot more water will dry with harder edges, and you'll be able to see where the paint and the water separate. Okay, so we made some narrow leaves. Let's work on a few other shapes, so to make more circular leaves, you'll do 1/2 1st and then we'll the other half on with a curve, and you can also feel in the center practice also getting an even layer of paint and water . You can always rinse your brush, dab it on the towel so that it's drier and then soak up any extra water in color. So the leaf on the left I left as is, and the one on the right. I even doubt that paint and water and you'll see the difference as it dries. All right, so the next step would be to practice direction. So if this is your center stem, you want to remember that all your strokes should be in one direction. So say you're going from the center stem and then you're pulling out strokes. You're going to get paint on the end, versus if you go in to your stem as you go towards the stem. That paint will pull up on that center stem and make a nice dark shadow. Naturally, so practice doing it both ways. There's no right or wrong is just something to keep in mind when you want to build some more natural shadows and also practice doing different styles of lease. So you may have been lines, and you may have the wider strokes for your larger leaves. Again, the same technique applies wherever you're pulling your brush. That's where the paint will stop in pool, so keep that in mind. Also, feel free to rotate your paper as needed. Sometimes I do this a lot. To get the right angle. I would recommend practicing an entire sheet of this, especially if your brand new toe watercolors. You want to practice your leaf shapes and your angles as much as possible and also had to make even paint and water strokes. This is a small sheet of paper, but if you have a larger sheet, go ahead and fill up the whole thing, and you can also put your practice exercises into the class project area, and I would be happy to take a look and give you any feedback. So in these next two little areas where I'm doing the leaves and the stems, I'm going to intentionally let that dry as is, and let that water and paint pool up. I'm pulling my brush from that center stem outward to the ends of each leaf. And in the next example here I'll do the opposite where I'm pulling the leaves towards this 10 and letting that Turker shadow have a natural bleed. And for this one also rents my brush and dab it on the towel and then even out some of that painting water. So I get a nice, even and smooth drying effect. Okay, so far we've done some narrow leaves, some circular leaves, and the only other thing to practice would be doing some shorter strokes to make a roughly leave. So using the end of your brush, make tiny little strokes that all blend together at the base, and you can also practice doing different versions of this somewhere a little bit more spiky. Some are more narrow and more subtle. Have your whole sheet in front of you and practice doing as many as you can in different varieties. And then, once you've practiced your leaves, practice putting them along the stem as well, in practice that different angles that they may grow in. Okay, now that these other two leaves have dried, you can really see clearly how the paint dried unevenly. where I left a lot more water and less paint. You can see the hard lines and where even it out. It's got a smoother transition, okay, and the next lesson will build on these skills and add shadows and highlights.
4. Warm Up Drills - Detail Layers: Okay, so now that we have a few leaf shapes and varieties, let's practice some of our shadows and highlights some taking a darker green color with a bit of blue and brown in it, and putting that along one edge of the leaf, rinsing my brush and very slowly just touching the edge of that stroke so that it blends out into the rest of the leaf. If it's too light, you can always add a little bit more pigment and play around with your different saturation levels. The more wet that your relief and paint is easier, it will blend naturally. If it's dry, you'll need to blend it out with a clean rinse to brush and soften out the edge. I would also recommend doing an entire page of this if your brand new and would like to practice this skill. The other thing that you can do is lift up your pain to create a highlight, and to do that you would just rinse your brush, make sure it's very clean and grab it off on the towel and then lightly scrub away at your paint so that some of that comes up and then you can use it almost like a sponge and pick up that paint. You can also use a paper towel if you have that on hand and soak up any extra paint, and it will create a highlight in that area. Okay, so let's do another version of that with a little bit larger leaf in a different shape. Once you have your leave shape in you convince your brush, have it on the towel and then soak up one side to where your highlight is and pick up that extra paint and also, depending on your light source, you may want a softer edge and a blend, or you may want to leave. Ah, hard line and keep it more crisp. If you're lighting is a bit stronger. This is all going to depend on your image and your photo reference and how you want your painting to look. Okay, so now grab some darker paint and let's put in a shadow on the other side so your light source is coming from the right on this leaf, and then that means your shadow will be on the left so the same will apply to a shadow line . You may want to keep it a Chris blind and sharp, or you may want to soften it out and make it a softer shadow, depending on your lighting. This is another drill. You can do an entire page of on your sheet and practice different versions of shadows and highlights and Philip your whole page. So you feel really comfortable and confident with that technique. If you really love painting greenery, I recommend taking my filler foliage class. It's a deep dive into mastering brushstrokes and line work. This will take you beyond these introductory steps and really build your skills in mark making all right back to our practice sheet. And then the last thing that we can practice is doing details. So once all your base layers or dry and you're happy, you can go in and do some final touches like put in vain lines in little fine details wherever you like. Have fun with these drills, and these practice sheets also keep in mind you're painting water ratio and your blending techniques. The more you practice, the easier it will come to you naturally, do as many as you can to feel comfortable, and then we'll move on to building our watercolor herbs
5. Set 1: Oregano, Tarragon, Parsley: Okay, The 1st 1 for this set is oregano, or you can say Oregon O E Think both are used was there with a little roundish green paint and put in the stem first. And for this one, we're going to use some smaller round shapes for the leaves. You can also refer to the Pinterest board and have a reference image on hand. So continue up thes stem and put in small circular leaves. You can have a variety of sizes, maybe some that are smaller. Those air, the new growth ones and a few a little bit larger. And if you make your leaves a little bit more narrow, so they look almost like squished and a little bit more flat, that will give the impression of eternally. So maybe it's at a different angle. So play around with different flat, fuller lease and some more narrow so that you can get a variety of angles north, a darker green go in and handsome color into that stem and at the base of each of these leaves. Doing this while it's still wet will give you a natural blending effect. That's what I went technique. Okay, and then with a little more yellow green going in and adding some more color. And then, with the clean rinse brush, you can go in and blend. Got any of the harsh edges and soften up those lines. Okay, so while that tries will move the second herb, this is Tarragon. We'll start with that centre Stan and using some of that yellowish green paint, put in long, narrow leaves to make these leaves. You'll start with a light touch on one end, and as you pull your brush across the paper, wish down slightly with pressure, and then let's stop again at the other end to get a point. And also remember, you can refer to that Pinterest board for reference images. Some of these leaves can overlap each other, and just remember that if you do that while they're wet, some of that color will blend through. So if you want to wait as they draw, you can go in with another layer and add these on top. - If you get any harsh lines drying from this paint, you can go in while it's damp and still blend out some of those edges. Okay, so we'll let that dry and then we'll go back in and add some details into the oregano. Okay, so with the brownish green, you can go in and add some more details into the stem and the vein lines on the leaves and then a few thinner light lines coming from that center vein line. And then, as that, drives will move on to the other details. Okay, said about a little bit more of a blue green. And now that the tarragon has dried, I'll go in and I can add in somewhere shadows. So along the stun and under some of the leaves. And remember to put the shadows on the leaves that are in the background in the ones that are underneath the top leaves. Okay with the rinsed brush, go in and soften out any of these edges and blend any areas. All right, so then we'll let this dry and move on to our third herb. This one is painting parsley. We'll start with a slightly yellowy green, so we'll start with the center stone and have a few more branching off. RC leaves have a rougher outer edge, so they're almost feathered, some using short strokes to build these leaves and their shape. You can always pull up that Pinterest board and have a reference they may john hand because these leaves are flat and wider. You'll see that they do bend and curve a bit more. So I have a little bit more of an angle on the end pieces. Okay, now that you're lighter layer is done, you can go in and add a darker green into some of the stems in shadow areas. Okay, and then with a rinse to clean brush going and soften out any of those lines that you want . Okay, some going in with a darker layer of color and saturation. This is a yellow green, and then I'll add that to the leaves and some of the stem and with the bluish green going in and adding some darker areas along the stand and adding some more details. - Once you're happy with all your final touches, we can let that dry and we can move on to the next set of herbs
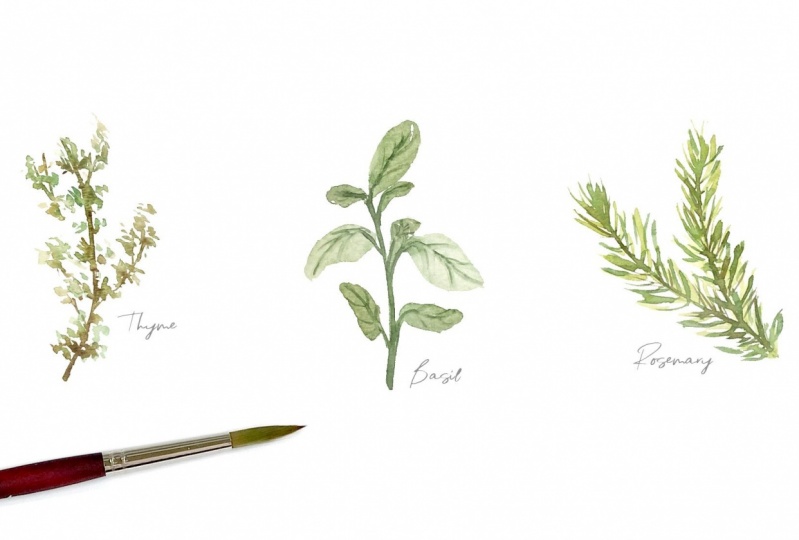
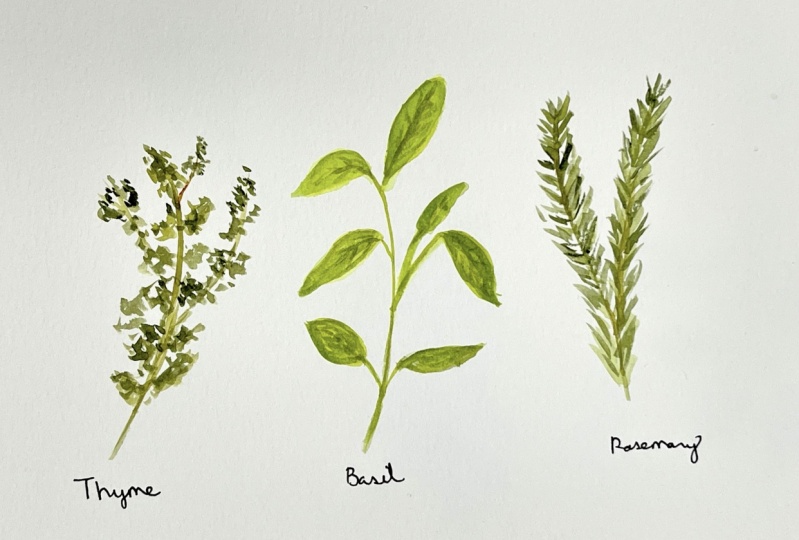
6. Set 2: Thyme, Basil, Rosemary: so we'll start with time as our first herb. We're going to start with a very light touch and a little green paint and start putting in little clusters of these little leaves on a thin stem. Remember to refer to that Pinterest board. All the herbs are there, and you can use them as a reference. Keep them on hand as you work your way down the stem. Remember to keep a little white space in between the leaves, where the colors will all blend together and make one large green clump. So you want to see a little separation and then just keep doing a little dashes and dabs along the stem in little clusters. Okay, and then, with a little darker greenish brown paint, you can add a little bit more saturation into that center stem and bring out some more contrast while the paint is still wet. This will bleed naturally into some of the leaves as well, and give you a nice push and pull of foreground and background leaves. And here I am, using my brush as a sponge and dabbing off any extra color or paint with that towel on the side. So you can rent your brush and then use the end to soak up any extra paint and then grab it off onto the towel. So I realized after filming that this part of the video is a little bit blurry. So I redid a section to show you really up close what that technique looks like so you can get a very clear idea of how it's blending and how all the pieces are coming together so similar to what we did before, using tones of green and brownish green, maybe a little yellow green building in the little clusters. Also using my brush that's rinsed and damp. I'm soaking up any extra paint and making sure there are some very translucent pieces and then some that have a lot more saturation of paint. So you get a nice contrast and remember to keep a little white space in between your tiny little leaves you're going back through in darkening some areas of that Sten and maybe underneath some of the leave clusters. Okay, back to my original piece of paper. This is the time that we had started originally, and I'll go in and add a few more stems here and build a few more leaves. And then, with that same technique of dabbing and dashing in little green, tiny leaves go along each stem and adding your clusters and again soaking up any extra paint or water that is pulling up, trying to keep some areas really saturated in some very light and very translucent, then going in with a darker brown and just adding in a few areas there that are really darker in contrast, ID from the light areas. Okay, well, let that dry and move on to our second herb, which will be a easel. Okay, so we'll start with some green paint and put in the stems first, using something lines in a light touch and then a few small pieces branching off that main stem again. You may want to refer to the Pinterest board and have a basil image on hand off of these little stems will put in the leaves there a bit more rounder and flatter. I always start like two dark so you can put in a first layer that's more translucent and then build up your layers as you go. You can also remember to keep some of your leaves different sizes, so there might be new growth, so those will be smaller and then larger lease can also be turned or angled slightly to add visual interest. OK, but all those layers dry before we go in and add our detail layer, we can move on to the third herb, which is rosemary. Okay, we'll start with yellow green paint with two stems and then start putting in the leaves on the top at an angle. You can also pull up the Pinterest images for this one, and you can see that these are very narrow and a little bit spiky looking. There's also a lot of white space in between Asian individual little leave here. I'm pulling each of these thin lines right from that center stem and then making sure that they overlap a little bit and still keep that white space in between. Also, this is just our first layer, so it's still pretty light in translucent, and we will build on this. Okay, with a darker green, we can go in and add some more color into the stem and a few of these leaves. Just remember if your paint is too wet you will blend too much. So the ideal timing for this is that your paper is damp, but not to what? So you have somewhat on what technique happening and blending happening. But it's not mixing up too much, just makes one clumpy color. It's nice to see a little separation, so you have the light and the dark together to build that contrast, Okay, and then, with a dark brown mixed in, we can go in and deep in that color even more in just a few areas where we want to add a little bit more shadow and contrast. It's easy to go too far with this, so if you want to take a break and step back and take a look at it, it'll be easier to know when to stop painting. All right, so now that our basil has dried, let's finish up our final details. This is a darker, bluish green and then putting in a few of these vain lines on the leaves. You don't have to worry about doing every single line. We're just indicating a few. This is still pretty loose painting, and also you can add in some more shadow onto that stem to make it a little bit darker. And if you're paint, is drying a bit lighter like mine and go in with another layer right on top and to find some of these edges okay and then giving my brush a rinse and then oh, Gabon that towel. So it's damp. I'm going in and I'm softening out. Some of these edges was just a clean brush. So there's some areas that are softer and blended, and then I'll leave some that are more Crispin of a hard line. Okay, so go through and add any final touches that you like, and I'll see in the next lesson for the next three.
7. Set 3: Chives, Cilantro, Dill: The 1st 1 in this set is Chai's. We will start with a little bit of green paint and some very thin, long strokes. These will have a slightly more tapered effect, so thicker on the bottom and very thin as he moved towards the top in as many as you like. You can even have them overlapping a little bit. Okay, and once your first light layer is in, we can go in and add in some darker shadow lines. So at the very top is a little bit darker green and then with a rinse to brush that's just clean and damp. I'm softening out those edges and blending them down towards the bottom. Okay, in the similar technique for the shadows on the base, this is a more brownish green, and along the bottom edge is adding in line for the shadow. And then again, with the room's fresh funding out any of the hard edges. Okay, put in your final touches in any extra blending, and then we'll move on to the next herb in this set. Okay, so next is cilantro and we'll start with a yellow green. Okay, starting with that centre Stan and then putting in thes flatter leaves. They're mostly seen in clusters of three, so three leaves to each section. They have a rougher edging, so you can use some short strokes, similar to how we did the parsley. The only difference is that the slander leaves are a little bit more shorter and wider. Remember that you can pull up the Pinterest images and have them on hand for reference. Remember that you can have some leaves that are peeking out from behind, and they can be in the background, Okay, and then with a darker green, you can go in while it's still damp and drop in some of the more shadowy areas and details . And as it's still wet on wet, it will naturally bleed and blend together. And then, with the clean rinse brush, you can go in and blend out any of the hard edges that you like and any areas that you want a little bit softer. Okay, and now I'm going in with a little bit more of a yellow green and increasing the saturation on some of these leaves and then also with a slightly more bluish green going in on some of the stems with a little bit darker shadow and then again, with a clean, rinsed brush going in and blending out any hard edges. If there any leaves that are a little bit to lighten translucent, you can go in and out a little bit more color and you that same technique of blending out any areas that you want to soften. You can also use your brush to create highlights so the color is blended too much. Just use it like a little sponge and pick up some of that extra paint in water. Okay, make your final adjustments, and then we'll let that layer dry and we'll come back and do a detail layer at the end. The next herb is dill. As always, we start really light and go from light to dark. It's a lot easier to make adjustments and tweak your painting that way. Remember to look at that Pinterest board, and you can see that for deal. There are very thin and light textures. You can use the end of your brush to make thin fine lines, and I also find it easier to keep rotating my paper to get the right angles so feel free to do that as well. I'll speed it up a little bit. Here. It's the same technique down each of these little stem pieces. Just go in and put these hair like textures. Okay, now that the lighter leaders are en, we can go in with some darker shades of green and start building our shadows and detail layers while it's still damp. Some of the colors will blend and bleed together while you're putting in these starker layer. Remember not to do it on every single part. We want to have a nice balance of light and darker areas, okay? And for the final player, we're going in with a very dark area and just going into a few spots to add a little bit more detail. I would also recommend for this stage to take breaks and take a look at your overall work, and knowing when to stop is important. You don't want to go too far and lose all of your light layers either. And then, if you're cilantro is Dr, we can go in with a final detail layer there as well and just talking up a few of the vein lines and shadows, and you can also blend out some of those edges with a quick rinse of your brush and soften out those edges. Put in your final touches, and this set will be done.
8. Class Project + Next Steps: congratulations. You finish the class. The next step would be to post your work. The class project for this class is to choose one of the set of herbs to paint. You can, of course, to all three sets if you like. If you look under the video, there's a few tabs there you can go under projects in resource is you'll see a green button that says create project And this is the page that you will come to and you can upload all your work here, the class project for any of the exercises and warm up drills. I'd love to see your work. When you're ready, hit the green publish button to post it to the class. Also, just be sure to check that you are following me. So any time a release, a brand new class, you will be the first to know. I also released new tutorials and content over on Instagram and YouTube. So come say hi. If you'd like to follow me over there as well. Thank you so much for joining me. This was such a joy to create. And I hope you had so much fun painting along. See you in the next class
 Neesha @StudioNeesha, Watercolor & Patterns | Illustration Studio