Transcripts
1. Introduction: Hi, I'm Christine, Artist and nature lover
from Switzerland. So nice to see you in my class. I'm going to show
you how to create amazing toad bags with
hibory technique. You're going to learn
step by step how to create easy patterns
using strings. And that's how the finished
bags will look like. I'll show you the
different materials and equipment you need
to dye your bags. I'll also talk about the
two different dyes I use. I've been doing Shiboi dying for almost ten years and have
gained a lot of experience. My textiles are sold on craft
fairs and in my Etsy shop. Children and adults have
come to workshops to create colorful bags and t shirts and to enjoy the
process of dyeing, which is really a lot
of fun for everyone. If you love colors and
surprising results, you're in the right place. Let's get started and
create some beautiful bags.
2. Materials: For my work, I use
two different dyes, Deca and protein
fibriactive dye. You have to see what you
can get in your country. There are many different
dies on the market, but make sure you can
dissolve the dye in water to have a dye bath if you want
to get similar results. Deca is a German brand. I started by using Decca dye because it's been well
known here for a long time. Deca is very easy to use. You just add salt and hot water and you
can dip the fabric for some minutes or longer depending on the color
you want to get. You can use it easily
for multiple colors. The reason why I
started to look for a different dye is that it's
not entirely color fast. If you wash the textiles in the machine, they fade quickly. These are some examples
dyed with deca color. I love to use this brand
for smaller articles, which you can wash by hand. As you see, you can really
play with colors here. The second brand I
use is a US brand, Potion fiber reactive
dye from Dharma trading. I leave the links to both
brands in the project section. Portion dye is a little bit
more complicated to use, and you have to make sure
to follow the instructions and letting the fabric soak
for more than 30 minutes. It's practical for
one or two colors and for larger texties
like t shirts or sweaters, which you don't want
to wash by hand. The good thing, this dye
is really color fast. For this protect,
we use protan dye. Here are two examples. One is made with purple and the other with
yellow and blue. As you can see, the colors
are really vibrant and nice. Now let's go to the materials
we need for our bags. Depending on the dye you use, you may want to change
some ingredients. First, you need
your cotton bags. They should be pre washed. Then you need gloves, something to cover the
floor, plastic, buckets. I like to have a cloth
or a tissue ready. Then a whisk, a spoon,
string, scissors, measuring cups, the dye, non yodsed salt, soda ash. The ingredient in the
white bag is called urea. It helps dissolve colors
with red pigments. This list with the materials
and equipment will also be ready for you as a PDF
in the project section. Once we have everything ready, we can start with
binding our bags.
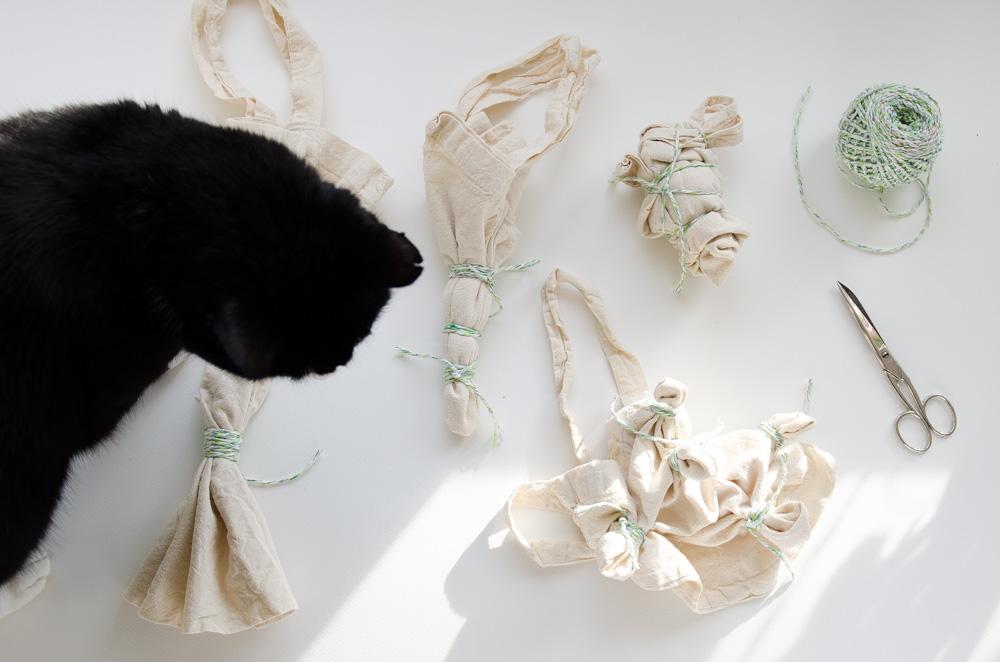
3. Pattern 1: This is our first bag. You want to start by
phoning the back to find the center like this. Then you take the string and
you bind the string around the center several times and you make sure that
it is tight enough. It should be very tight so that the color
doesn't come through. You make a knot, 2 knots, that's what I normally do. Then you continue by
making a second circle. You put the string around it again as tightly as possible, as many times as you wish, it's up to you to decide how thick the line
should be that you want to have you finish
by making the knots. Now, a third line that I'm
going to make for this bag. It's up to you how many times you want to put the
string around it, how many lines you want to make. I choose to make
three for this bag, and then I bind it again. That's it. Here you have
your first pattern.
4. Pattern 2: Et's go to the next pattern. First, you fold it
like I do it here, and then you wrap the
string around it in the same way as you did before
when you made the circles. You wrap it around
several times, cut and bind and it must be
tight again here as well. Then you continue
with a second stripe. It's up to you if you
want to make two strips, three stripes or even
more, you can choose. You can create thinner lines or thicker lines just by binding more or less
string around the back. I made three stripes here, and here's another back
with just two stripes.
5. Pattern 3: This pattern here is really a free pattern. We let the color choose
where it wants to go. To create this pattern, you crunch the bag together. And then you wrap
the string around it several times to keep
it all together.
6. Pattern 4: For the last back, we create a pattern with
some small circles. You choose a corner
of the back and wrap the string around to
create a little circle. And then you choose
another part of the bag to make a second circle. And you continue until you have as many
circles as you wish.
7. Dyeing: Your bags are now ready. So let's prepare the dye bath. This is the basic recipe
for four toed bags. It will be ready for you
as a PDF to download. I'll also leave a link to the Dharma trading
site where you can download a
detailed instruction. Make sure to stir well until
the salt is dissolved. Next step, we take the dye
and mix it with warm water. Again, stir well, then add some more water
and stir again. Now you can add the
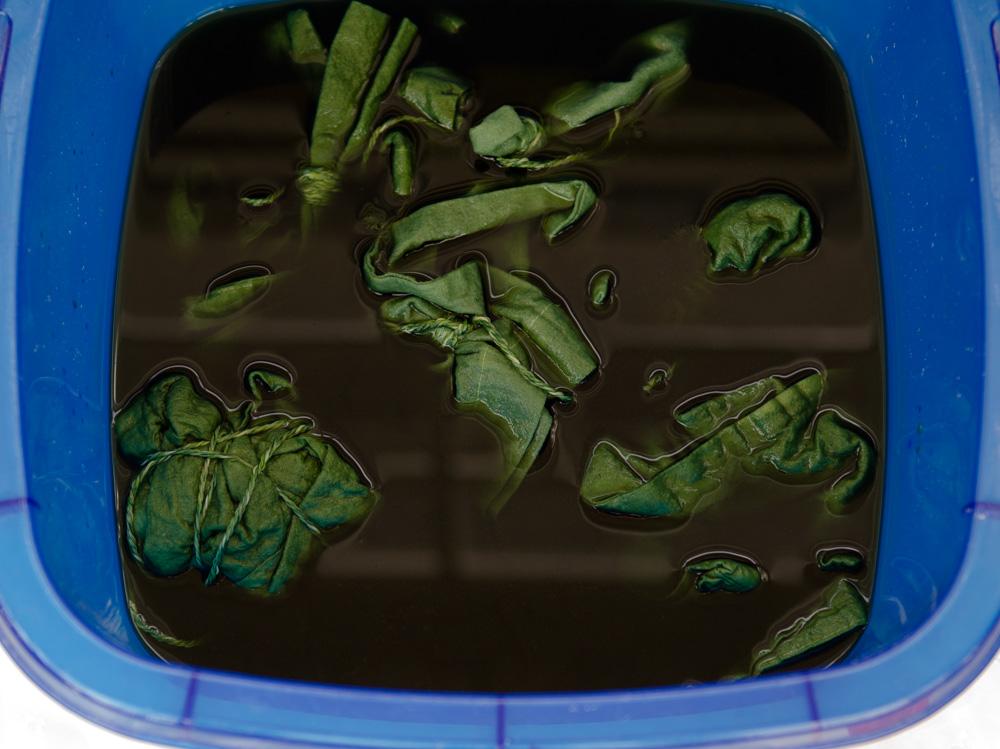
dye to the salt water. Now let's get the bags. They should be wet so that the color can
penetrate more easily. H. You see, the bags are already
nicely dyed. Now we put them in
a different bucket and add the soda ash fixer. Make sure to stir
very well again.
8. Final steps: Our backs are ready. Yea. Now we can rinse them with cold water and start
to open the strings. Be very careful not to
cut into the fabric. This is the best part
of the whole process. Now we see how the
patterns have turned out. The colors will be much
lighter once the bags are dry. Now wash the bags
with a detergent by hand or in the machine to
get rid of excess dye. As a last step, you can iron the bags and Wala,
they're ready.
9. Project: Now that you know all
the necessary steps to create your own
hand dyed bag, I would love you
to get some dye, gather the equipment,
and start dying. It doesn't necessarily
have to be a toad bag. You can dye anything you want. Please take pictures
of the process and the final results and upload
them to the Skillshare site. I can't wait to
see you creations. Also, don't hesitate
to ask questions here on Skillshare or on my
social media channels. Please keep in mind that colors with red
pigments like brown, black and red need
special consideration. Thank you so much for watching
and good luck with dying.
 Christine Aseka, textile dyeing and watercolor artist