Transcripts
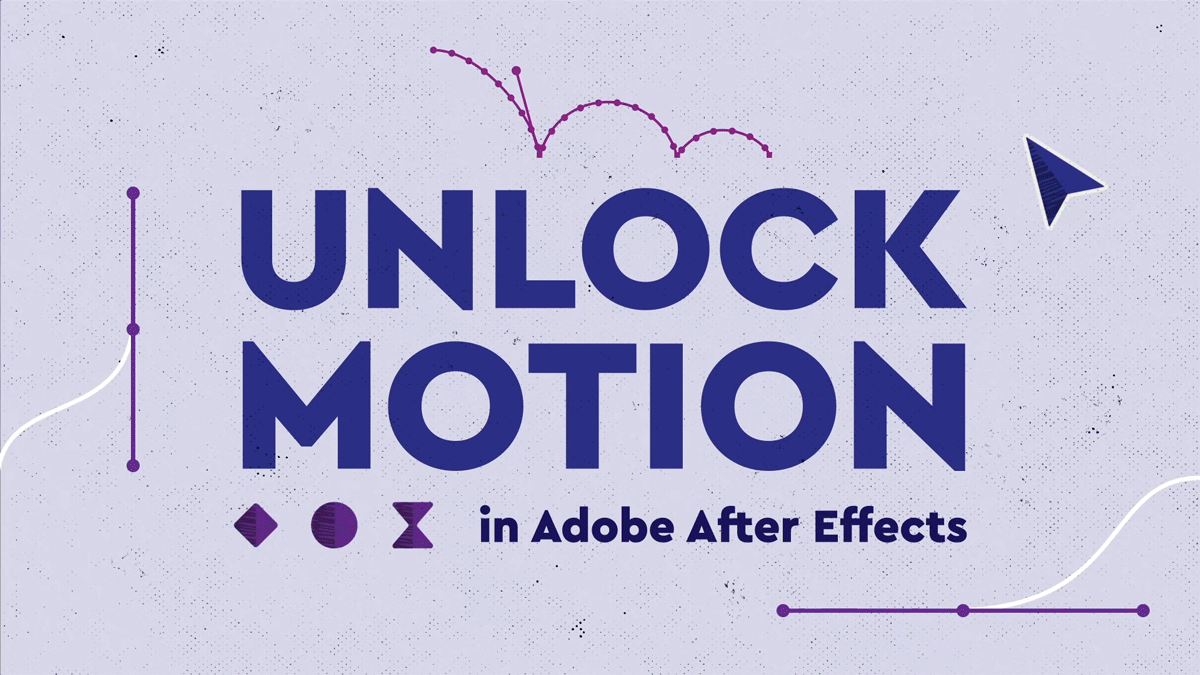
1. Intro: Do you want to unlock secret features in
Adobe After Effects? In this class, I'll show
you three features to make animations like these and
power up your motion design. Hi, everybody. My name is Isaiah Cardona, and I'm an art director and motion designer based
in the heart of the US. For the past six-plus years, I have worked with
Adobe After Effects to create a variety of client work ranging from simple animations to
more complex videos. After Effects gives you
the power to conjure up amazing motion graphics
and animations, and by not learning
the software, you're losing out on a
massive advantage that can help you out on
your motion projects. The ability to bring
your vision to life to its fullest form is
very satisfying feeling but After Effects is a large and complex program with a million
different effects, panels, and presets, and it's hard to
know what they all do without someone showing you. Throughout my career,
there have been moments when I would spend hours trying to do something in After Effects without
realizing there was a secret feature
that could automate the process and speed
up my workflow. As a Skillshare teacher with several motion design
classes under my belt, I wanted to create a class on After Effects to share some of my favorite hidden features and stories about how they
have drastically improved my work including Preserve
Underlying Transparency, Motion Sketch,
Content-Aware Fill, plus a bonus feature to help
you export animated GIFs. Each feature elevated in the area of my work
including speeding up my workflow and magically fixing problems
sorts and footage, and improving the
quality of animation. Once you've gotten used to using these features
in your work, you can move on to learning
how to use them for even more complex and
customize animations. This class is for motion designers who are
comfortable with the basics of After Effects and are looking to level up their
workflow and craft. Whether you've never heard of these features or
have only used a few, by the end of this class, you'll have all the knowledge of how and when to use them, and when you're ready to unlock these powerful After
Effects tricks. Then let's get started.
2. Welcome: [MUSIC] What to expect in this class. For each lesson, I
will walk you through a hidden feature and
tell you what it does, how I use it, and why it's super useful. This class is structured for intermediate to
advanced after-effects users as it builds upon
the basic knowledge of after-effects to
help you improve your workflow and
skills in the program. If you would like to
follow along with me I have included
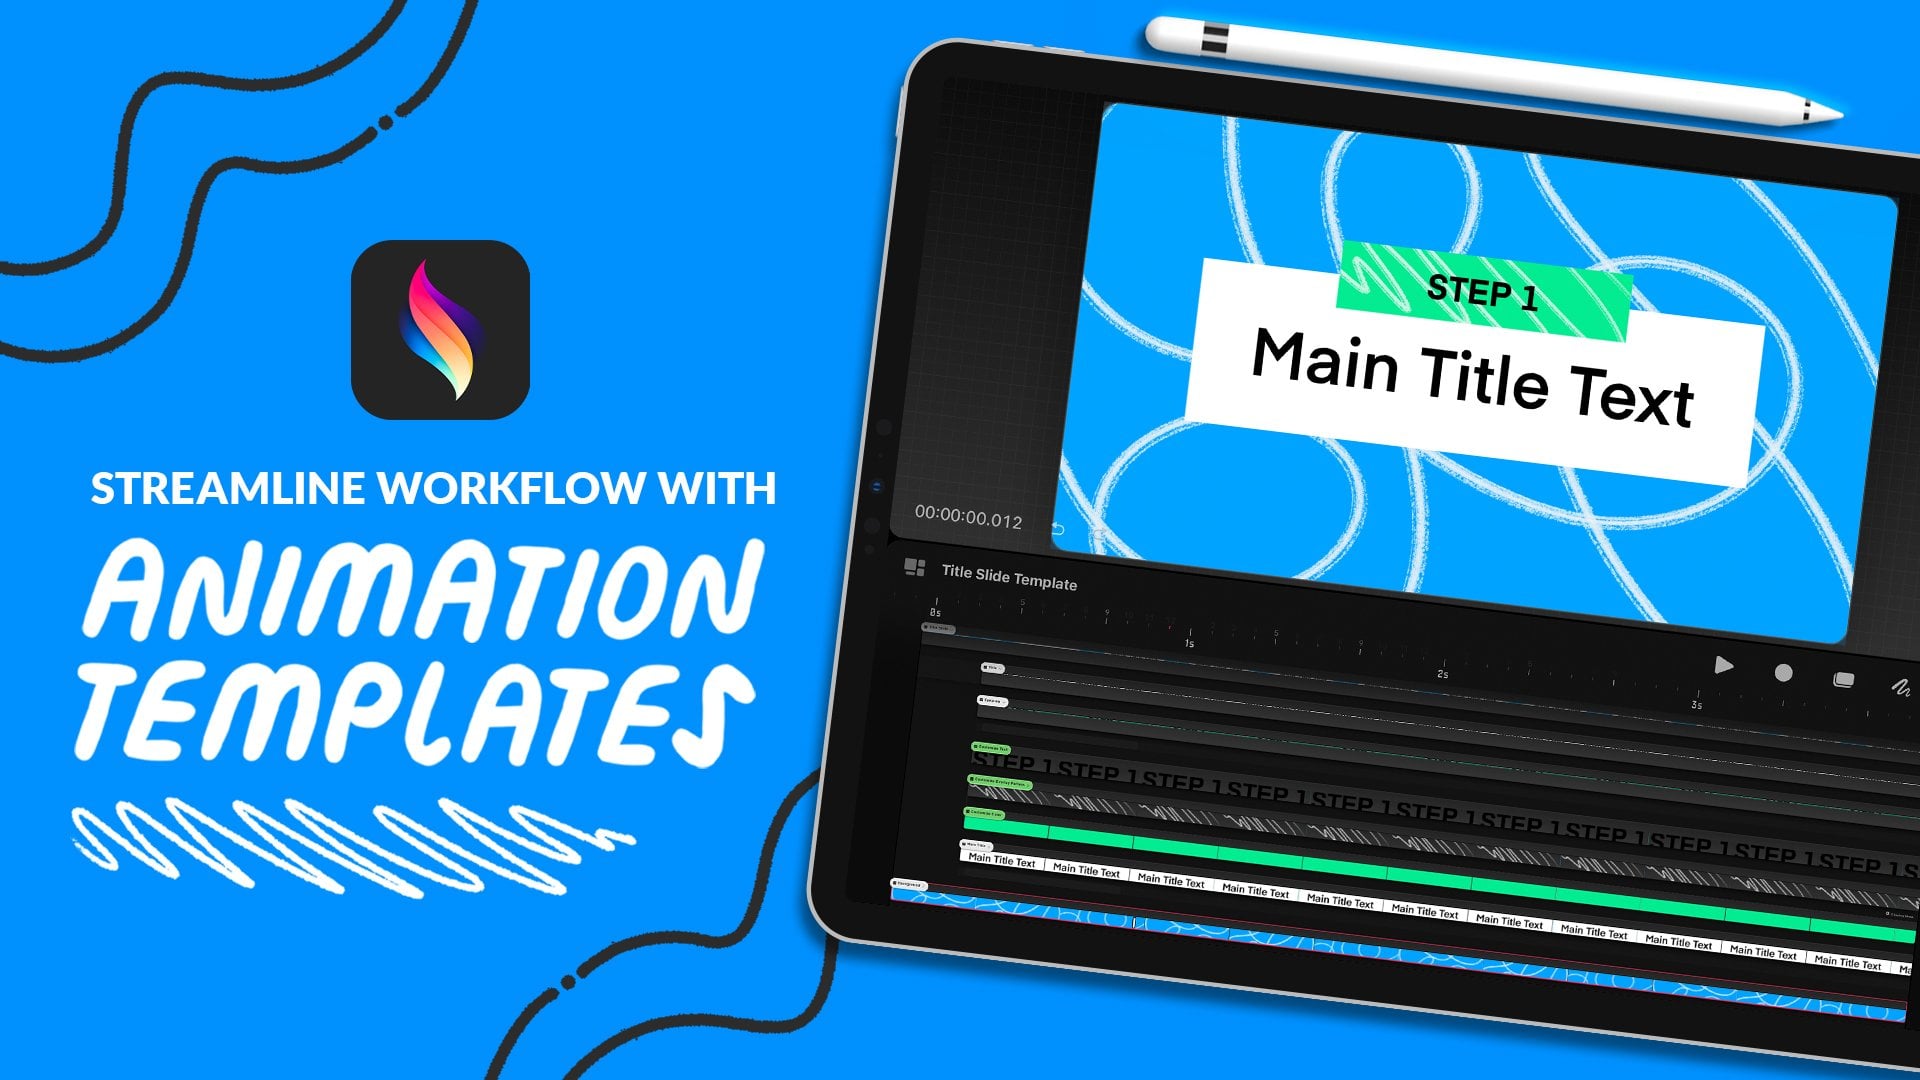
in the resources section the working files I use to demonstrate each feature. Your class project is
to use one or more of the features we will cover
in a project of your choice, because there are so
many different uses for each feature, this project is
really open-ended. If you realize that
a project that you previously animated
could have one of these features
to make something easier or work better then you can go back and reanimate it or maybe my
examples have sparks, new ideas of new projects you could animate no matter
what you create, just include a note to
say what features you used in that project and
if you have any questions, feel free to post them in the discussion section
of the class and then the next lesson we will dive into our first
hidden feature, which is Content-Aware Fill.
3. Content-Aware Fill: In this lesson, I
will walk you through the first hidden feature,
Content-Aware Fill. What does it do? If you're a Photoshop pro then this feature will be
very familiar to you. Content-Aware Fill has saved the day so many
times by removing an object from footage
and filling in the empty space with
surrounding pixels, just like magic, it's gone. Why is it useful? Throughout my
professional experience, I run into situations where
my team discovered after a shoot that we needed to
remove an object from a scene, or maybe we just needed some plain space to
put text or logo in. Now we have to solve
that problem and post. Good thing is that Content-Aware Fill has been
the perfect solution to this. How to use it. I'm going to walk you through my thought process for how I go about editing a scene
using Content-Aware Fill. The first step in the
process is to create a mask around the object
you want to remove. I try to examine not only
the object I want to remove, but also consider
the background and how I can have a more
seamless content fill. For example, if there's a complex pattern
behind the object, I might select a larger area that includes the full pattern. Also remove it since
it will be too complex to have a
seamless result. Another thing that's helpful to consider is how much
your object moves. In my example, the object
is completely stationary, but if it was a moving object, I might expand my area selection to cover the total area that the object will be
in or I might adjust my mask as I scrub
through the timeline, so the program is only
filling in content for the object and has less
area it has to try and fix. Definitely remember, take time upfront to watch your clip first and see what's the best mask selection
for your needs. To create a mask, I'm going to make sure my
video layer is selected. Then I'm going to click on the Pen Tool and trace
around my object, and now my scene went black. No worries, all you
need to do is go down to the mask and
click "Subtract", which will invert the
effect so the mask subtracts the selection
from the rest of the clip. Pro-tip, if the object
moves during the video, you will need to adjust the
mask at different points in the footage so it stays
aligned with the object. Once I'm satisfied with my mask, I'm going to activate the
Content-Aware Fill panel. To find it go to
Window up above, and then down to
Content-Aware Fill, then all you have to do is
click "Generate Fill Layer". As you can see here, it generate a brand new
layer on top made up of a sequence of images
of the field and area. Now I'm going to walk you
through a common issue you may run into and
how you can solve it. Let's say you hit the
"Generate Fill layer", but you get an error message. What do you do? Well, the first thing I
would do is check how your mask is being
applied to layer. In order for Content
Fill layer to work, you have to have a
hole in your scene. When you create a mask, it will automatically
be in the add mode, which means only the
selection is shown, which is the opposite
of what we want. By switching the subject, you will get a hole which
you can always confirm by looking at the Fill
Target screen of the panel. Here you can see it has
a transparent hole. Now you're all set. To recap, this feature
can be used in so many different applications. Remember, review the footage first and draw your
mask selection according to the complexity of the object and the
rest of the scene, and remember that if your
object is moving throughout, you will need to adjust
the points of the mask throughout to match the
position of the object. Now it's your turn to
practice this exercise using the class resources
or your own clips, and post in the
discussion section if you have any
questions or need help. In the next lesson, I will walk you through a secret trick for
clipping animations.
4. Preserve Underlying Transparency: [MUSIC] In this lesson, I will walk you through
the hidden feature, preserve underlying
transparency. It took me several years
before I actually learned what all the settings in
the timeline panel did. I think preserve
underlying transparency was the very last
feature I learned about, and it has definitely become
one of my favorite features. What does it do? It only shows the layer
on visible pixels. A great way to think
about this feature is like the clipping
path in Photoshop. For such a long time I wanted a way to be
able to essentially clip multiple layers to
one layer like Photoshop, and preserve underlying
transparency does that. Let's look at an example. In this example, I have
two layers, a circle, and a white text, and they're both on a
transparent background. In the past when I
would want to have the circle only show
up in the text. I would have to duplicate
the text layer, and use alpha matte in
the track matte panel, and as you can see it does the job but it has a
couple of downsides, such as you can only
track one layer, and you have to duplicate
the bottom layer. Preserving underlying
transparency solves both of these problems. To activate the feature, go to the timeline panel and click the box in the T column, and now that layer is only visible when I move
it over the text. One thing to keep in
mind with this feature, is that the activated
layer will be visible for all non-transparent objects. For instance, if I had
a solid background, as you can see here, then I would always see
the circle as there are no transparent
areas below it. Now I'm going to show you a
more advanced example now, and this will be in the class resources if you
want to follow along with me. In this project, I have a
colorful wave animation setup, and I want to have
it just appear within the text that
says paper planes. All I have to do is once
again go the timeline panel, and then check each
box in the T column to activate the preserve
underlying transparency for these layers, and as you can see now, they're clipped to the text. How do I use this
in real practice? I like to use this
feature a lot for adding animated textures to words
or shapes in a composition. As you can see here, I added texture to
those text as well. Key takeaway, preserving underlying
transparency is a hidden feature that
you should be using. Before I knew about
this feature, I would spend way more
time using workarounds. Using underlying
transparency has really sped up my workflow, and giving me more flexibility since I set it up
to multiple layers. Now it's your turn to practice this exercise using
the class resources or your own files. As always, feel free to post any questions in the
discussion section, and I'll be happy
to help you out. In the next lesson, I will walk you
through motion sketch, which will help you
effortlessly create organic movement in animation.
5. Motion Sketch: [MUSIC] In this lesson, I will discuss motion sketch, which is one of my favorite
time-saving features when it comes to animating
objects around the screen. What does it do? Motion sketch
records movement and translates that into key frames. This feature is great for
when you want to capture the movement of an object
in a very organic way, which I have found has helped me elevate the
quality of movement. How does it work? To activate it, go to Window, then down to motion sketch, and then that will
open up a panel. Let's walk through the
settings in this panel. First you have the
option to adjust the speed at which your
movement is captured. This is one of the reasons
why I love this feature. In the past, I would
have to plot out the position keyframes
along the timeline. But with motion sketch, after effects will track
the speed at which you move around and plot it for you. With this setting, you
can even speed up or slow down the speed of
the final animation. I find this extremely
helpful as I move the mouse pretty slowly till
this can speed up the pace, so it's not as slow. To speed up the animation, all you need to do is
increase the number, and then by decreasing
the number, you can slow down the animation. You will also be
able to manually reposition the key
frames as well. The next setting we
have is smoothing. You can control the
smoothness of the movement by raising or lowering
the value here. The higher the value, the more After Effects
will smooth out the overall movement which affects the number
of keyframes used. I tend to crank mine
up to around 70 as I'm pretty shaky as I move my
cursor around the frame, and the higher value helps make the final path very smooth. You also have options to
show the wireframe of the object you're moving in the background while you
capture the movement. I'm going to demonstrate what it looks like with both off. Here you just see the
cursor and dots indicating the different keyframes of the movement on a
black background. Now when you check wireframe, you will see a frame
around the object, which I have found helpful for
when I needed to take into consideration the shape or
size of the object I'm moving. This is especially helpful when my object is smaller
than the comp. But what do you do when
you need to navigate your object around other
objects in your composition? That's where checking the
background comes in handy. As it makes everything visible, so now I can navigate my
plane around the words. To give you insight
into my process, for a project like this, I'm going to always check both the wireframe and
background as I want my object, which is the paper plane, to navigate around the text as it moves around the screen. If I didn't have
those aspects shown, I would end up doing a
live unneeded guesswork. But what do you do when
you need your object to readjust this
plane animation? That animation would look bad
if the plane only point in one direction and it was backwards throughout
the entire movement. Pro Tip, you can use
auto orient to have your object real line itself automatically throughout
the entire animation. To do that, you
will go to Layer, then down to Transform, then down to Auto-orientation. Then in the pop-up, click on Orient along
path and then click Okay. Now the plane is
adjusting as orientation, which is awesome, but
it's flying backwards. To solve that, I'm going to tap the R key to bring up rotation, and I'm going to adjust
the rotation till the path is facing the
correct direction. Typically when I'm working
on an animation like this, I will turn on orient along path and readjust the rotation
of an object before I even use motion sketch to
speed up my workflow and allow me to see
the objects moving the right way from
the beginning. How has this improved my work? This feature has definitely
saved me a lot of time. Before discovering
motion sketch, I would create every
keyframe by hand and rotate objects
along the path, which is very time-intensive. This definitely has
sped up my workflow. Now it's your turn to
tackle this exercise using the class resources
or your own files, and feel free to post to the discussion section
if you need any help. In the next lesson, I will be showing you a bonus feature that
will allow you to export your project from After Effects as
an animated gap.
6. Bonus: Exporting Animated Gifs: In this lesson, I
will walk you through exporting a project
as an animate GIF. First, why is this
a useful feature? Animate GIFs are a popular
format used on the Web. We see them everywhere, from on social
media platforms to in our chat, and text messages. Live users don't know, you can generate
a GIF using After Effects Media Encoder settings. How to do this? Just like exploiting a video. You will go up to the top file, then down to Export, then click add to Adobe
Media Encoder Queue. Currently my settings are set to render an MP4 video file. To change the setting, I'm going to go to the format column and
click the down arrow, and I will go to animate
GIF and click it. As you can see, the file format has
now changed to GIF. To make adjustments to the GIF, click animated GIF to
get the Export settings. A downside to this method
for creating GIFs is that the Export settings
are geared more towards videos and not GIFs, so you don't have a lot of
those helpful settings that are available in other
applications like Photoshop. When to use this? For me, I use this
feature when I just want to create a quick GIF
to show the client, that I don't need to worry about optimizing the size of the GIF. To recap, I just walk you through exporting
animated GIFs using After Effects and talk through some pros and cons of
using this feature. Now, it's your turn to
export an animated GIF of your project and upload it to the student project gallery. Then the final lesson, we will wrap up this class.
7. Final Thoughts: [MUSIC] Congratulations
on completing this class. You now have four new tricks in your After Effects Toolkit, including fixing
footage mistakes with content-aware fill, clipping animations
to shapes or tax using preserved
underlying transparency, creating smooth animation
using Motion Sketch, and exploring comps
as Animated GIFs. I hope that these
new features have helped inspire you to seek out new creative opportunities and more complex projects
to use your new skills. To continue expanding
your skills, I recommend that you
take a moment to upload your project
to the class gallery, and sharing with the
Skillshare community is a great way to help
inspire each other. If you enjoy taking this class, then consider following me on Skillshare and check out some of my other classes on motion
design and animation. Thanks again for
taking this class, and I hope to see you
in a future one soon. Bye for now. [MUSIC]
 Isaiah Creates, Art Director & Motion Designer