Transcripts
1. Introduction: Do you remember the joy of opening a fresh box
of crayons as a kid? It was always a very exciting
creative moment for me. There were so many options, and it was so satisfying to choose the perfect color for
my project out of the box. Kids are so in tune
with creativity. But as adults, often we lose that spirit of joy and excitement
around our creativity. Maybe the inner critic
has taken over and perfectionism has gotten ahold
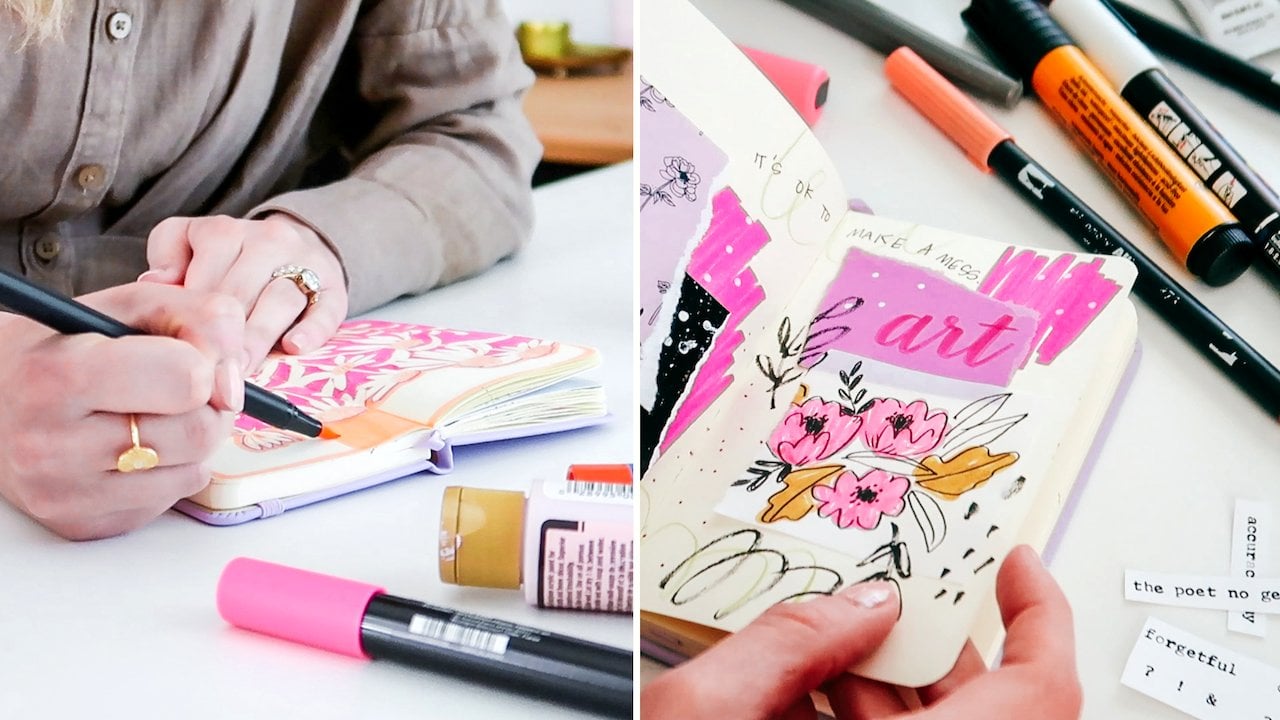
of your work or hobbies. Hi, I'm Ashton Womack, artist and surface
pattern designer behind Virgo and paper. I also share my love for creativity in my
Skillshare classes, so I'm engaging with
creativity on a regular basis. But I often find perfectionism
creeping into my work. This class, I'm back with another seven day
journaling challenge where I'll share my go to techniques for breaking
through perfectionism. We'll focus on color
as a way to express ourselves through intuitive
and playful collages. This challenge will
help you explore your creativity again and
give you permission to play, hopefully leading you to create all kinds of work
more confidently. Oh, and we'll prepare
our supplies ahead of time so you can jump in and
create without overthinking. So you'll only need 10 minutes a day to complete the challenge. Class is absolutely about
the creative process, not the finished product. But I think that you'll find
that your art journal will become a beautiful
record of your thoughts, feelings, and memories all from your own
unique perspective. I can't wait to
create color collages together. Let's get started.
2. Class Project: Overcome Perfectionism: Your class project
is to journal along with me to complete a
seven day challenge. Each day we'll create a page focused on one
color of your choice. I'll provide a daily prompt to get us started and
help you choose a color. It's so easy to get stifled by perfectionism in any
creative practice. So this challenge is
focusing on creating a limited supply kit and also setting a timer for
just 10 minutes a day. And both of those things
will help us just jump in and start creating
without overthinking. With a little preparation
ahead of time, you'll only need 10 minutes a day to complete
this challenge. Take a photo of your
favorite journal page and upload it to your project
section of the class. You can come back and edit your project later as
you continue journaling. I can't wait to see
what you create. When you're ready
to get started, head to the next lesson where we'll assemble our
creative tool kit.
3. Tools and Materials: This lesson, we'll
talk about the tools and materials that
you'll need for class, and we'll put together a little supply kit that you can use. And that way, each
day of the challenge, you can just jump in and
start creating and you won't have to worry about
figuring out what to use. We'll have that
ready in advance. The overall theme of this
class is color collage. So we'll talk about
some materials you can use for your collage, as well as other materials
you can use to add color. So let's talk about the journal or sketchbook that you can use. This challenge is all
about fun and play, and it's not meant to
be high pressured. So I encourage you to just use a sketchbook or journal that
you've already started. No need to go out
and buy a new one. But I wanted to share
just a couple of my favorite brands for
journaling and mixed media. I love the moleskin sketchbooks. They work really great
for a variety materials. I also like the Crescent
render brand of sketchbooks because they are bleed proof for a variety of art supplies, so you can use more heavy
duty materials that you might not be able
to get away with in other types of sketchbooks. I wanted to share the brand
that I have been using. This is a Royal talons
art creations sketchbook, and I found that it holds up really well to a
variety of materials. So now that I've completed
this pocket size journal, I've decided to move up to a
five by eight size journal. As an avid art journaler, I have an ongoing box where I
collect all types of ephem. I do this almost every day. I'll come into contact
with some piece of paper, whether it be a photo, a scrap from another project
that I'm working on, something that arrives
in the mailbox, and other paper items that I'm drawn to for one
reason or another, but I just don't really
know what to do with them. I will collect those
all in a shoe box. And then when it comes
time to art journal, I have a big selection of things that I can
use for collage. I encourage you to go on
a little scavenger hunt. Maybe you already have a box of items like this that you're
not sure what to do with. If not, you can kind of
look around your house, look in your mailbox,
look through magazines. You can even look through
your photos and your phone or computer and print anything out that you would like to use. So I'll show you examples of some of the things
that I've collected. I'm going to put my favorites
in the ones that I want to use for this class in this little tray, so
they're all together. I have things like
photos that I like. I love film photography, whether it be my 35
millimeter camera or my little polroid camera. So I always save those photos that I'm just not really
sure what to do with. I like to save paint
chips from old projects. And I love to cut things
out of magazines, especially textures
and words and letters. Those are great
things to look for. Solid blocks of colors from magazines would be
great for this challenge. You can collect other
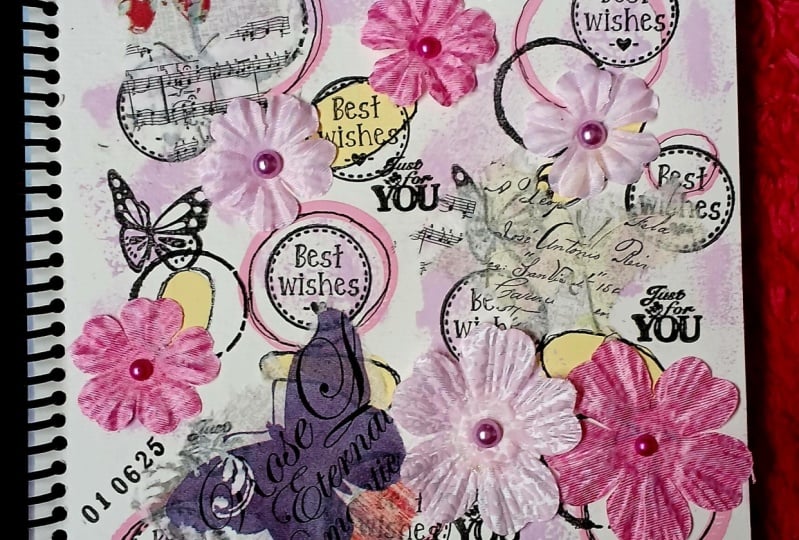
items like tags or labels. I have some little die
cut florals that I made. Sometimes I have odd pieces. So this was actually the leftover scrap from
cutting out some die cuts, and I just thought the star
cutouts looked really cool. Thought maybe I
could use that as a stencil or glue it right in. Colorful construction paper
or printer paper is great. Pattern papers are really fun. I love when something
that I purchase comes with stickers or labels or just some neat
packaging. I'll save that. So these were some
stickers that came with my new sketchbook. I thought this tissue
paper was really fun. I'm going to cut out a piece of that and put that into my pile. This was a piece of an envelope, probably just from
some junk mail. Art journaling is
one place where junk mail is actually useful. So don't forget to check your
mailbox for unwanted items. At this stage, as
we're just collecting different pieces of
paper and found objects, you might find yourself
drawn to certain colors. So I think I'm pretty happy with the handful of items
I collected here. I have a few different
colors represented, and I think this is a
great starting point. You can always keep your eyes
open throughout the week to look for more things
to use in your journal. So in addition to our
paper ephemra for collage, you want to grab a few
things you can use to add colors in other ways. I'll just show you a
few of my favorites, and you can use any supplies that you love
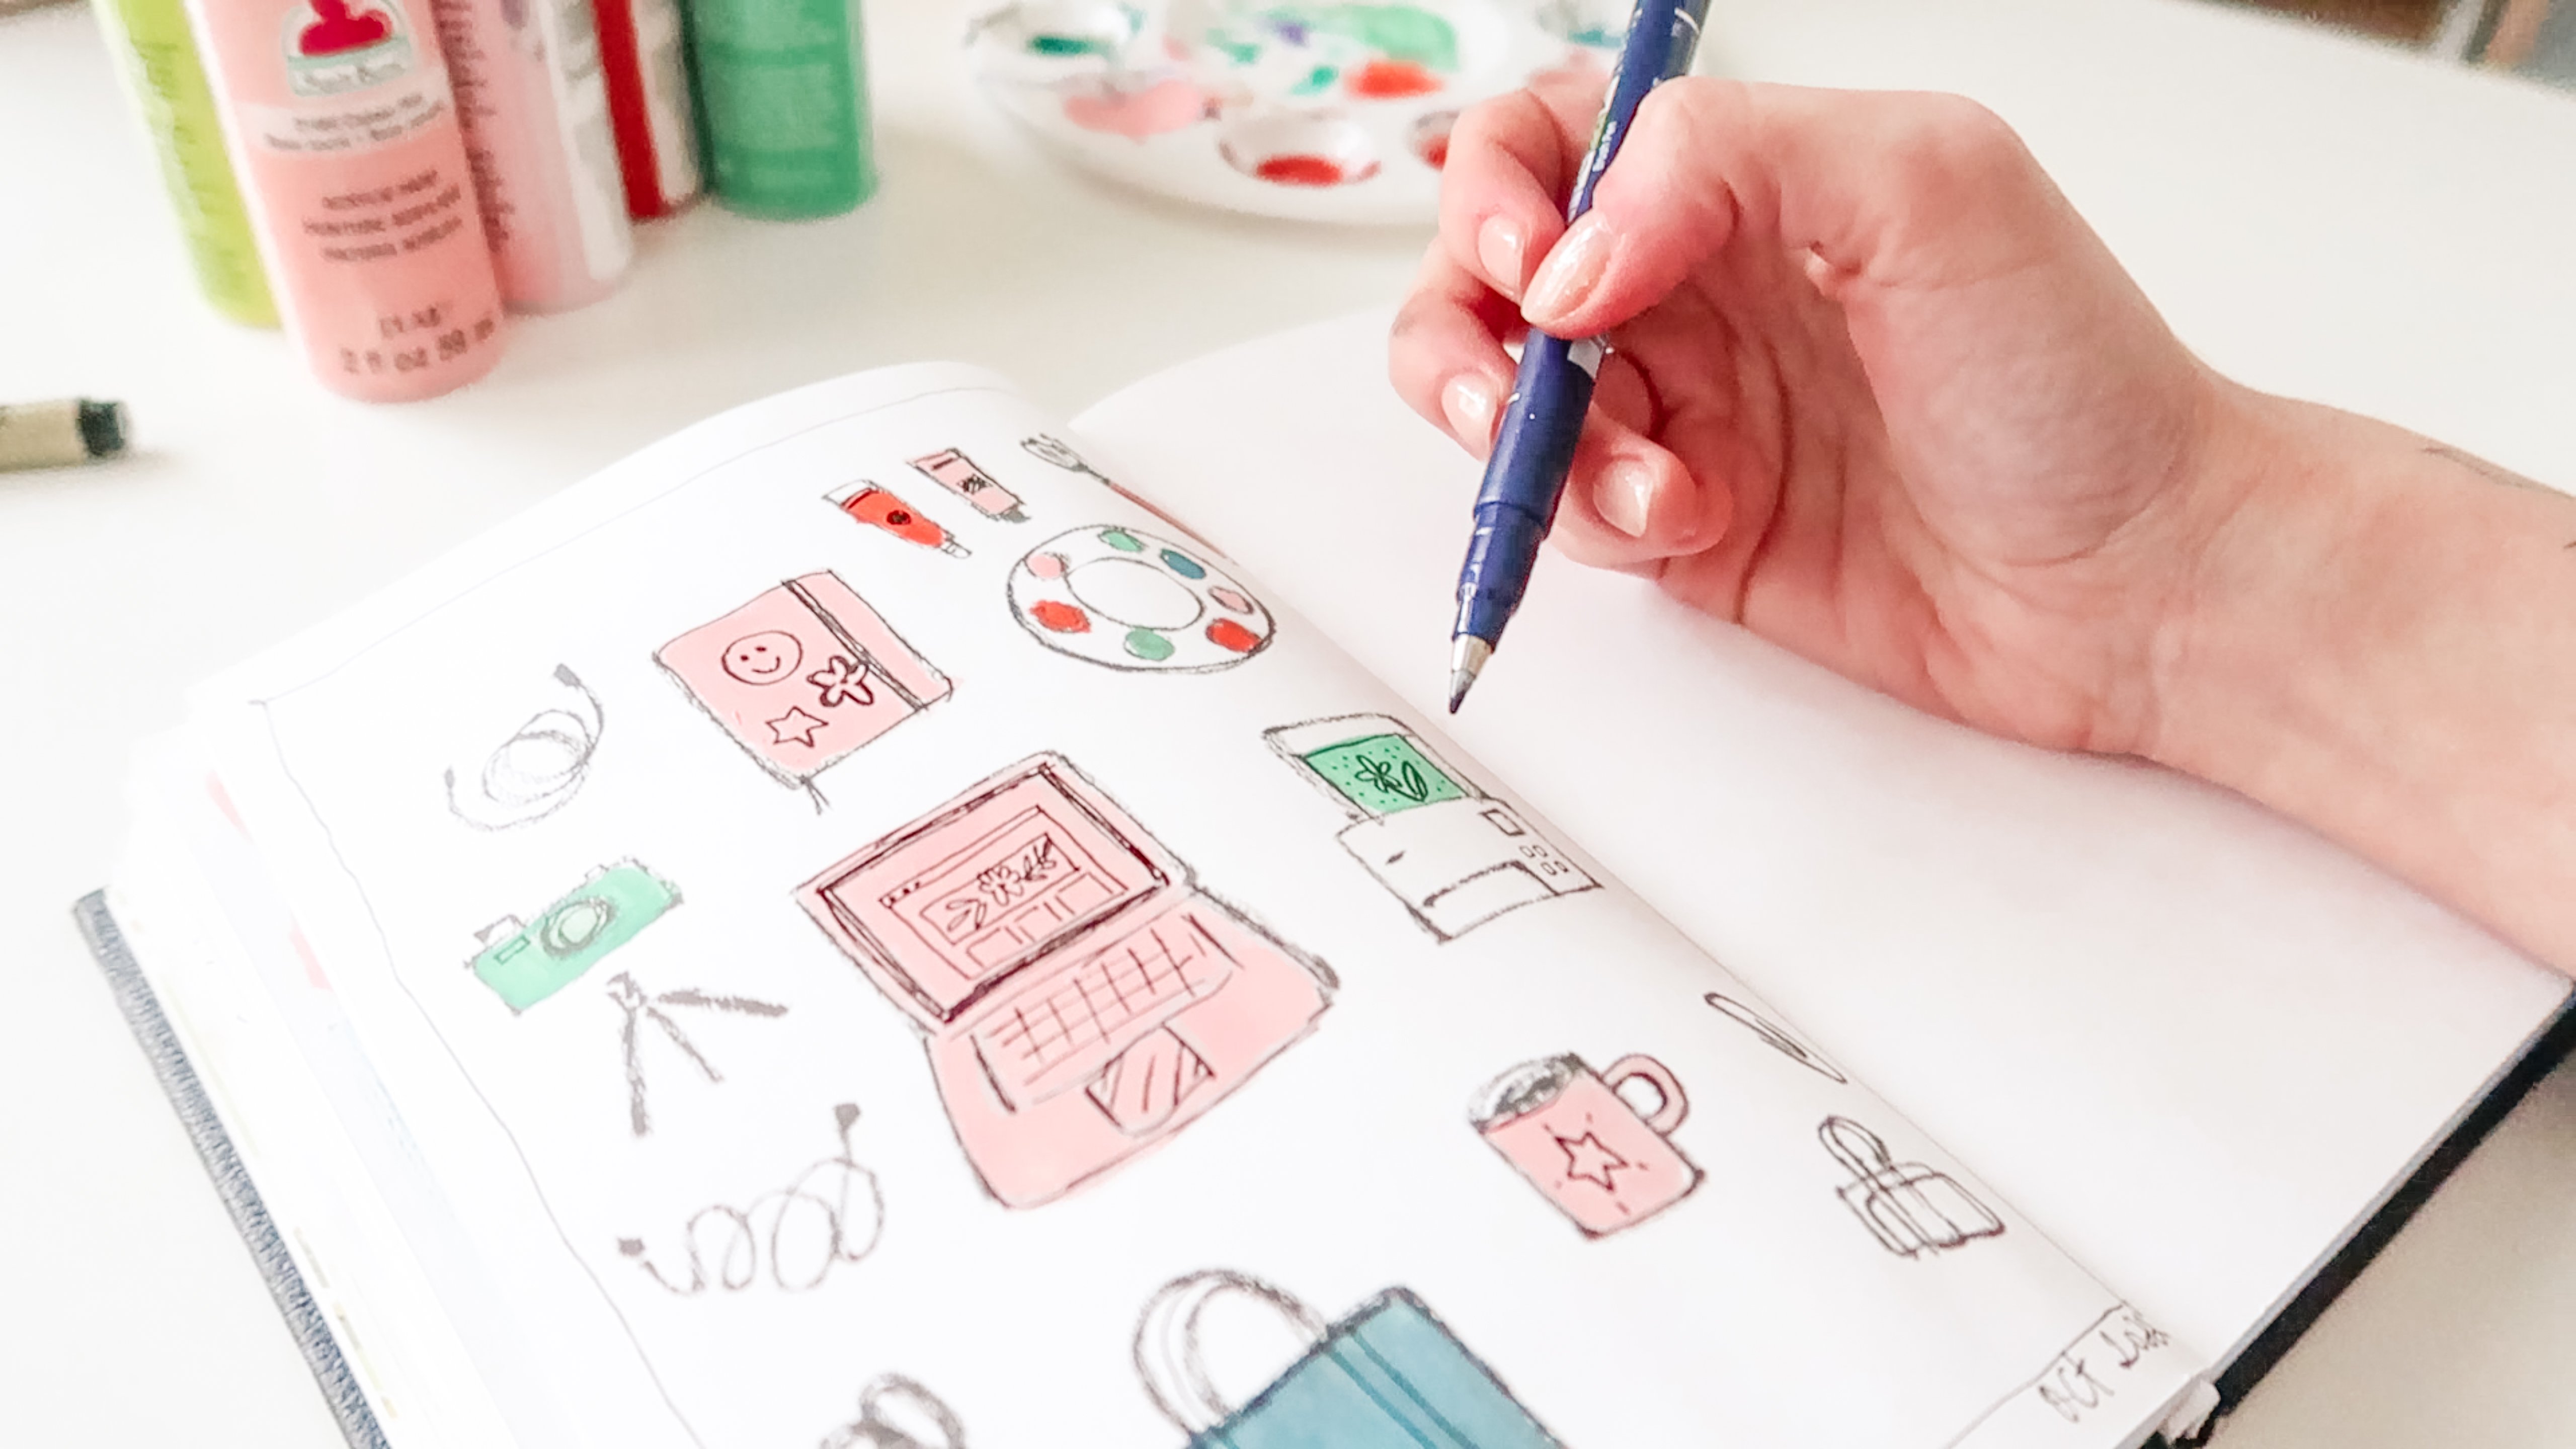
and enjoy working with. I love to grab
inexpensive craft paint. They come in so many
different colors, and they're great
for art journaling. We don't have to mix
up a specific color, and I find that they
are pretty fast drying, which is great for
me because I love to just put paint down and
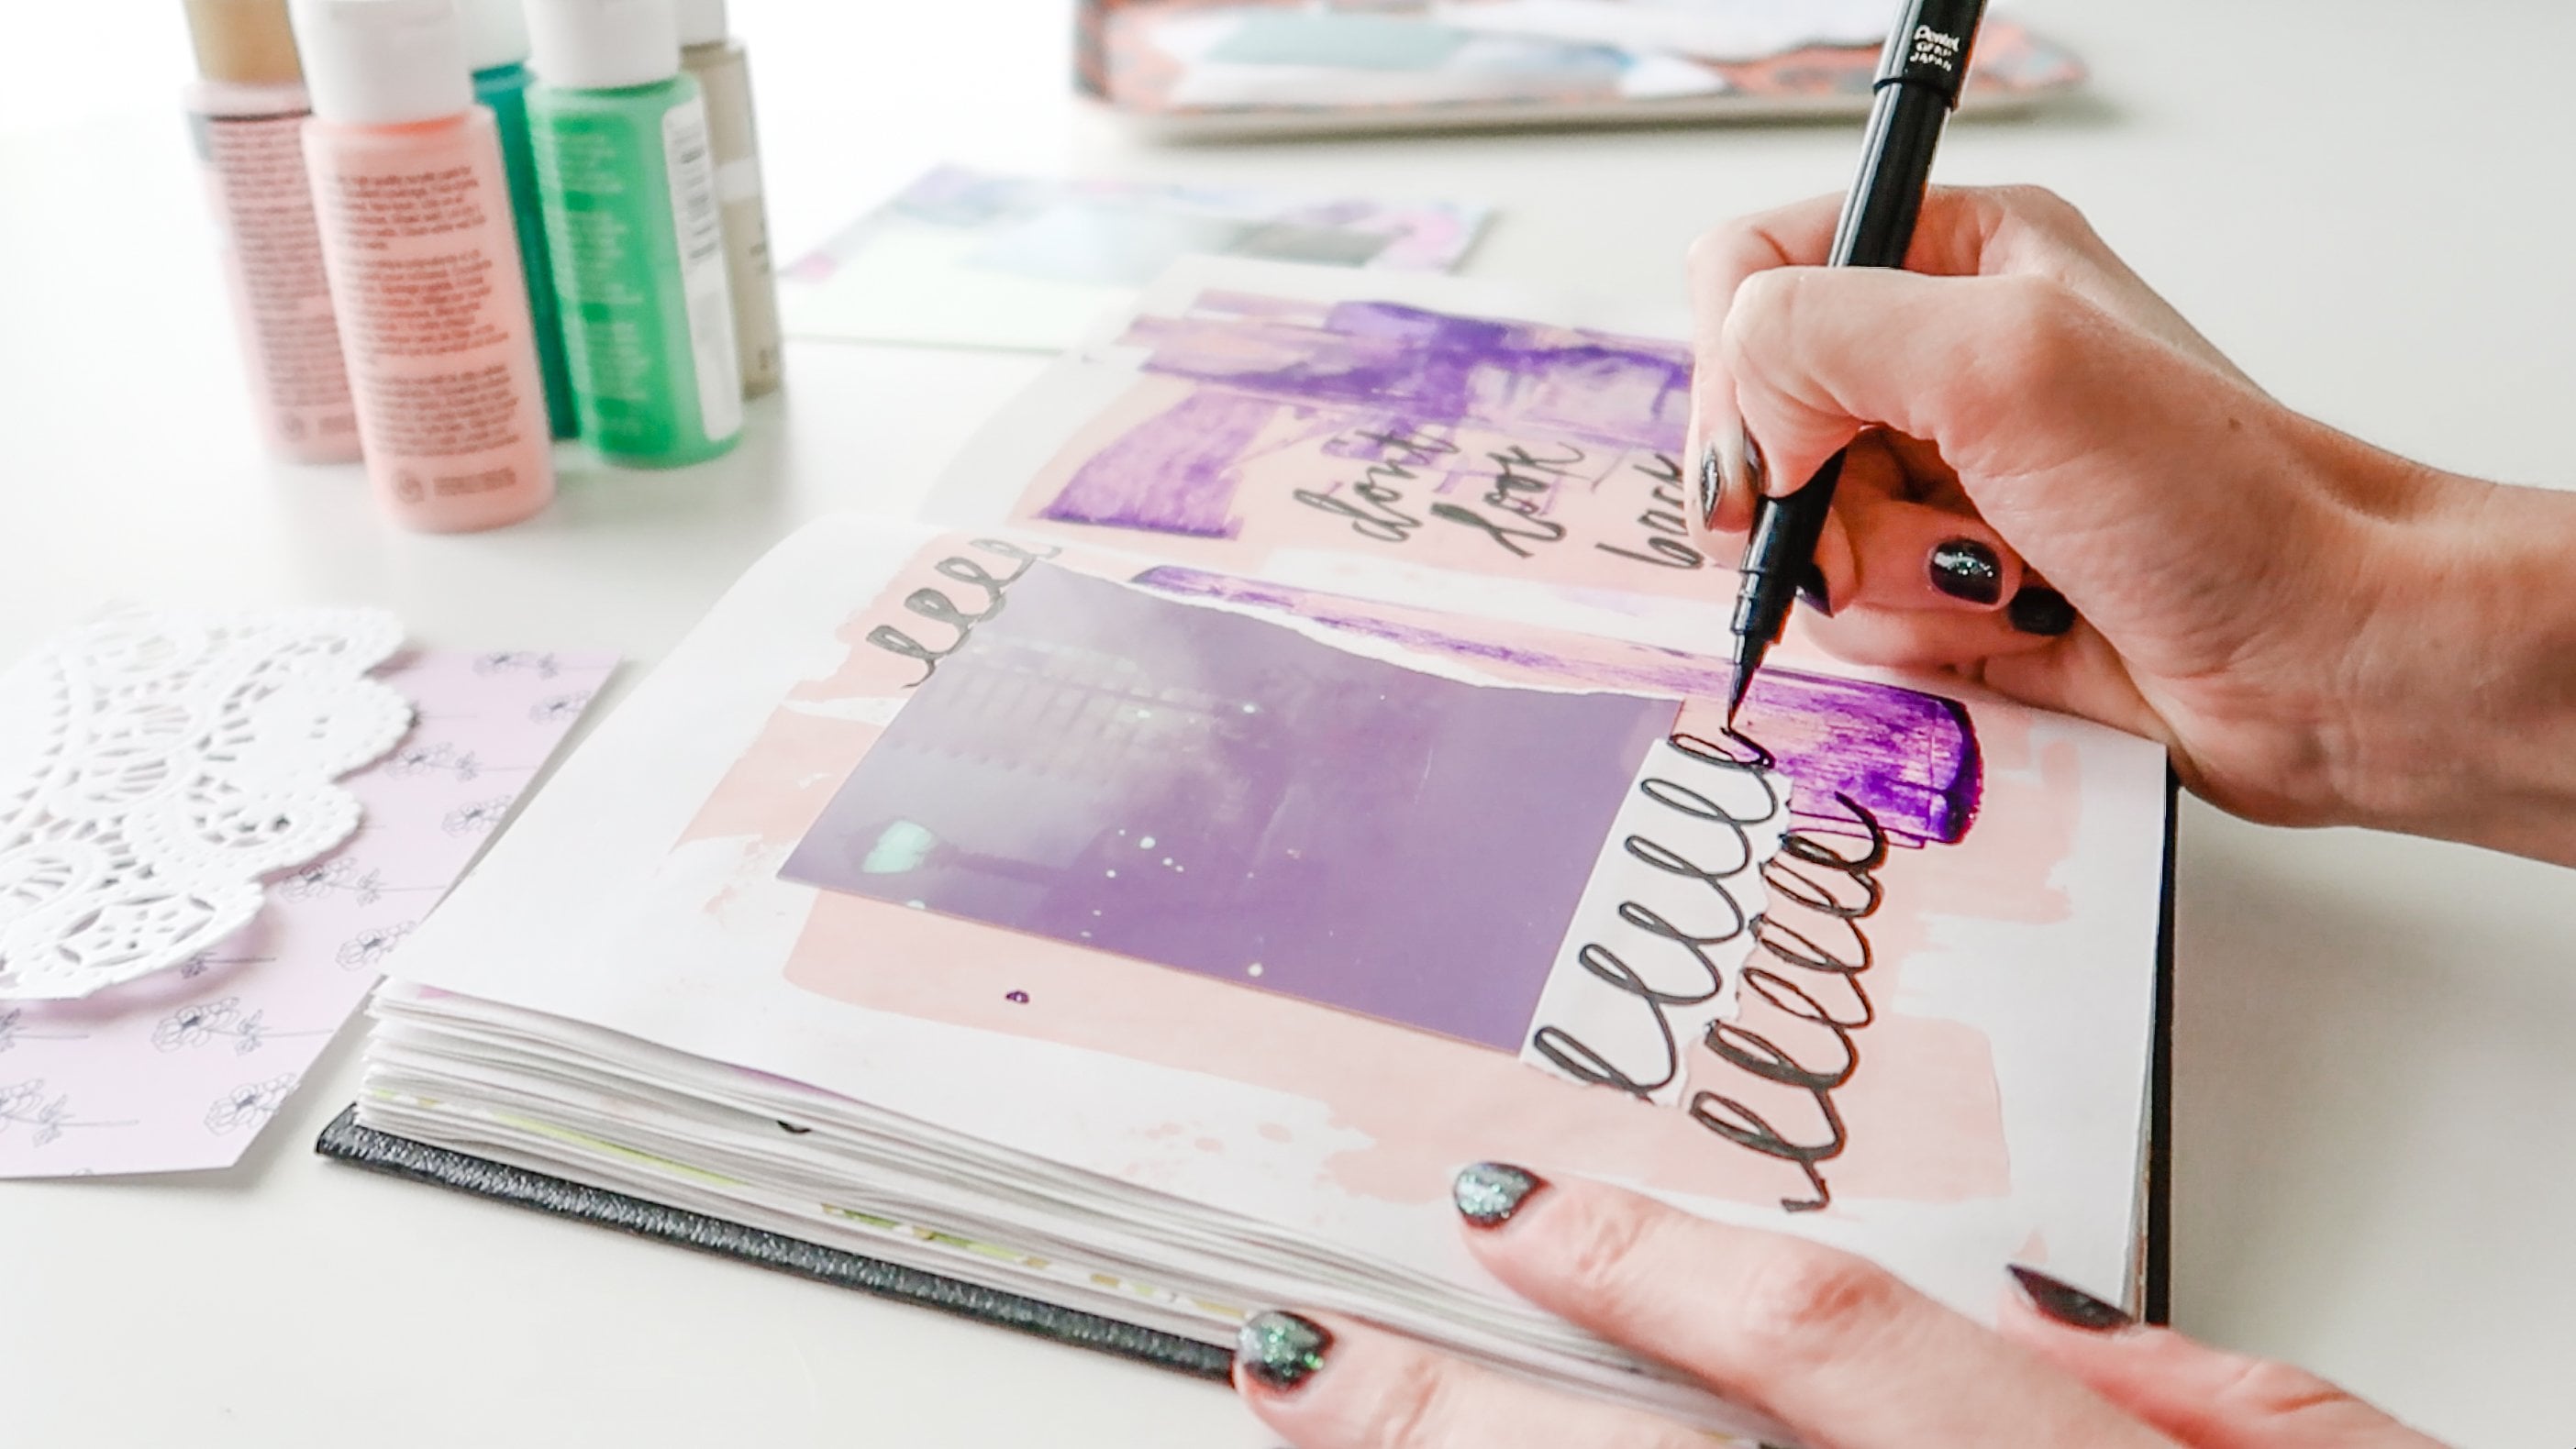
move on to the next step. Another way to get a paint
effect with a little bit less mess is to use some sort of paint
pens or paint markers. These are Poska markers. They are some of my favorites, and I have a few colors here. I also like to use
Tambo brush markers. They come in many
different colors. Also have some of my other favorite brush markers and pens. I'm also including
a black marker just because this is just one of
my favorites to draw with. It's a pilot Bravo pen. I also have a Pentel
sign pen in red. And I thought for
this challenge, it would be fun to throw in
a classic box of crayons, just because they come in
so many different colors. A couple other things I like
to have in my supply kit are a pair of scissors and a
glue stick for our collage. I also like to have a
little napkin nearby when I'm working
with acrylic paint. This is just one I made
from some fabric scraps, just to protect my workspace. I also love to apply acrylic paint with a
small plastic credit card. You'll know this if you've
seen my other classes. But while I do, of course, use paint
brushes as well, I find the plastic card method of applying paint
to be really fun, really free and playful, and you always get some
unexpected results. So I like to have a
little card to do that. I think it's a
great idea to have a little zibared pouch or basket that you can throw
your supply kit into. It gives you a nice
container to make sure that you don't have
too many supplies at hand. You can see everything.
It's easily accessible, and your choices about what to use have already been made. So you can just jump into the challenge and
start creating. Alright, so take a little time to put together a
small supply kit, and when you're ready, head
to the first lesson where we'll begin day one of
our seven day challenge.
4. Day One: About Me: Welcome to day one
of our challenge. Now, each day, I will be
giving us a prompt to get us started and help you
select a color for your page. Depending on the size
of your journal, it's completely up to you
if you'd like to complete just one page every day or if you'd like to do a
full two page spread. I probably will be doing a little bit of
both in this class, just depending on the
prompt for the day. Let's start by setting
a timer for 10 minutes. Our first prompt is about me. So we're going to get
started very simply, creating a page, sort of
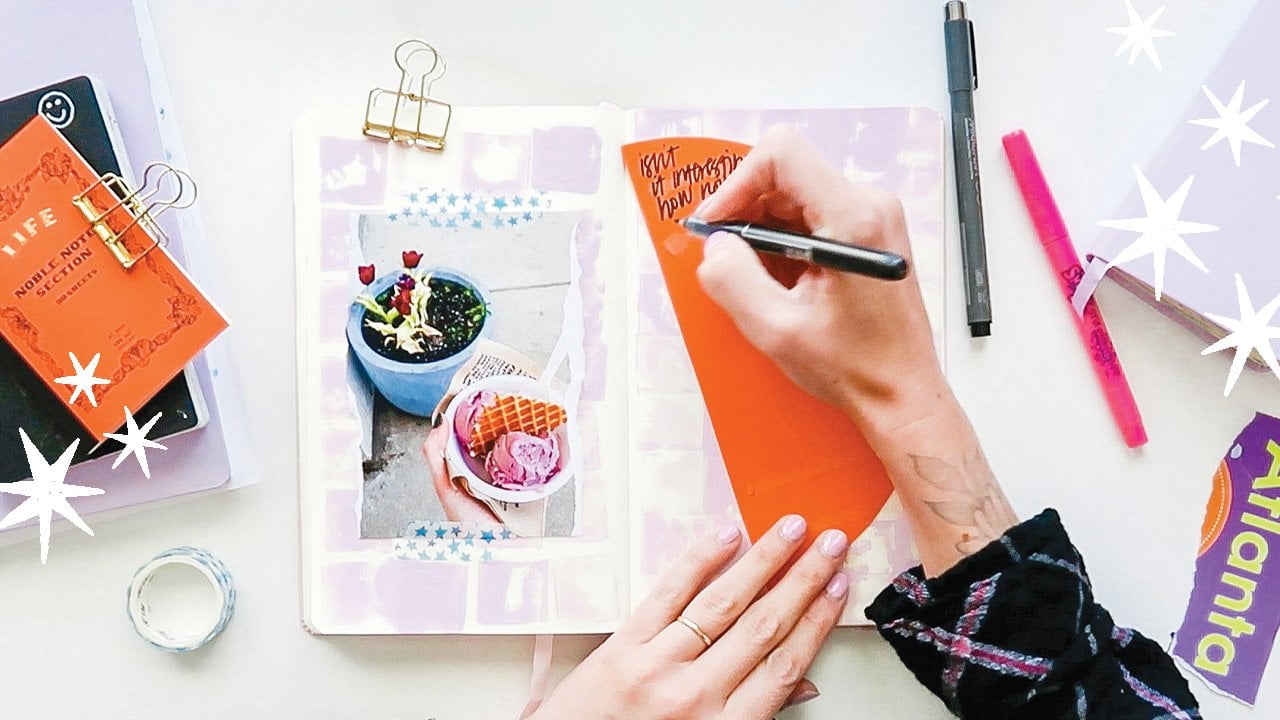
introducing ourselves. And if you'd like, you can find a photo of
yourself to include. I just printed out a
photo from my phone on some copy paper
in black and white. So I'm going to use this as sort of an additional
prompt to get me started. And as far as the color, you could choose
a favorite color. That would be
probably the easiest. It could be maybe a color that you're really
into at the moment. I'm going to choose a color
inspired by my photo. So this was one taken
last summer at the park, and the background is
really bright green. Of course, you can't
see that since I printed this on
black and white, but I think green will be
my color for the page. I want to just get started
really simply by just making a couple of marks
and kind of break in my page and take away some of
that blank page overwhelm. So I'm just going to
grab a green crayon. And just make a couple of marks. I think if you can just kind of start by ruining your page, that's one of my little secrets. If you start by making a mistake or creating something that's less than perfectly beautiful, it takes away some of the
intimidation of the blank page. I don't feel like I made
the perfect marks here, but this just gives me something to start with and kind of
bounce off of as I go. I think my photo
is a little large, so I'm going to cut
myself out of this photo. I think this photo seems
to sort of naturally want to be placed down
here in the bottom corner. Maybe that's because it was
the composition of the photo, but I'm gonna look through my collage elements and
see what I have in green. So thinking about the
prompt, I'm asking myself, What do I want this page
to communicate about me? The photo I included was taken
outside in the summertime, summertime is
absolutely my favorite. So I'm kind of
thinking about that, and I'm drawn toward
these outdoor images. So I had this green paint chip, and one of the
names is Hunt Club, and one of them is Alexandrit. I really like those names. Maybe I would cut those out. So I'm aware of
my timer and that I need to move a little
bit more quickly. And this is where
the timer is great because I think I
could easily spend all day trying to choose the perfect elements and
rearranging them on the page. But with the time constraint, it's really helpful
because I just have to make a
decision and move on. So I'm kind of seeing
a story emerge. As I'm moving elements, and part of the story is my love for being outside
and the outdoors and how I feel most alive and most calm when
I'm out in the sunshine. And that's part of the reason why I chose
the photo that I did. So I'm drawn to these
magazine pieces here. And then the other part of
the story on this side of the page is a little bit
more about me and how, in contrast to the
calming outdoors, my brain is often chaotic
and muddled with thoughts, and I'm always working through different
problems in my head. So I think that's the
story of this page. I am going to glue
down what I have on the left side of the page. Now, I'm noticing that the color blue has
made its way in here. So even though I started the page by just
focusing on green, it's okay if another color
naturally works its way in. This is all about
playing with color. And so you decide if
you want to include different shades of your
color or different hues, or you want to introduce
another color entirely, that is totally fine. I'm just really drawn to the title of this pink
swatch, which is Alexandrite. I don't really have a specific reason for wanting
to include this. I'm just following
my intuition here. And then on this
side of the page, I want it to look a little
bit more full and busy. I'm gonna come in
with another green with my green marker, and I'm just going to play with patterns a little
bit more over here. Just do some more
fun mark making. So this side of the page
is a little nonsensical. But we're just having fun. And then I think
I will glue down these poka dots right on top
and then layer my photo in. I just feel drawn to add
a little bit more with my crayon on top of the tissue paper just to
kind of tie it together. And I'm short on time here. I'm almost ready to
glue my photo in. I just want to add a little bit more just to make this
background a little bit chaotic. So I'm almost going to continue this Poka dot
pattern using another marker. And then I kind of
just have the urge to connect these dots. So
we're gonna do that. Finally, I'll just
trim off the excess as I glued my photo a little bit over the edge of the page. And I'm ready to call
this page complete.
5. Day Two: In Flight: Alright, we're back for day two. I'm going to start by setting my timer
again for 10 minutes. Today's prompt is in flight. And you can interpret this
prompt in any way you'd like. I'm thinking airplanes,
helicopters, birds, bugs, moths, anything
that flies, paper airplanes? Let's start by choosing a color. Now, when I think
of things that fly, obviously, I think sky. So blue seems like an
obvious choice to me. But I want to have
birds on my page. I know that, and
for some reason, I'm just getting the
image of pink birds. So we're gonna roll with
that. I'm going to use pink. I'm going to see what I
can pull from my stash. Pink is one of my go
to colors in my art, so I'm always drawn to collecting different
bits and bobs. Do I have a pink crayon? D. There it is. My pink crayon has
seen better days, it seems. That's okay. Red violet. That's
kind of a pink, but probably a
little bit darker. We'll just go with
that pink crayon. I have a pink pink
pen I'm dying to use. And I've got a pad of pink
sticky notes on my desk, so maybe I can use those. I feel like this dark, really bold, bright pink better. So I'm just envisioning on
my page a big pink bird. I don't have really any other
direction at this point, but in order to get this
page done in my time limit, I'm just gonna start
with my scissors. So I don't have a
reference photo. I don't have anything
drawn to sort of trace, but I think this will
make it really fun. Just starting with scissors. And this is a technique
that definitely will help me get
past perfectionism, because no matter
how much you try to plan this process in your
head as you're cutting, I find that this is sort of
an unpredictable technique. Maybe if I was more
of a collage artist that's used to working
with this format. It would come a little
more naturally, but for me, it's a very
imperfect process. So let's see how that looks. I think I want my body
I want my tail to be a little more slim and the body to be a little more
slim. Let's see. Let's see if we
can achieve that. But I do want the wings
to remain really big. It's trial and error as I'm going to figure
out what I like, and so I'm just trying to remove a small amount of
paper at a time. I wonder what would happen if I cut the bottom wing
a little bit more. Maybe that's what I
would like to do. Give it a little bit
more of a movement. Okay, I'm going to
stop cutting now. I think my bird started
out as a eagle, and now it's like a hummingbird. So I have this little
translucent pink bag, which I think will make
another really fun bird. If you want to use
a reference photo to guide your shapes, then absolutely do so. But in the effort of finishing this within
our time constraint, I think I'm just going
to wing it pun intended. Finally, I have this
pink sticky note. It's amazing how after
just doing three of these, I'm getting a little
bit more comfortable. And it's getting much easier. I wouldn't say this one looks more like a bird than
the first one did, but it felt a lot
easier to create. I think three is a
nice odd number. I also have three colors
on this paint chip. I wonder if I can kind of place them like they're flying
off of this paint chip. That is almost the same color. I took quite a while to
cut these birds out. So I've got to hurry. I want to find just
another element that I could use maybe
in the background. This is cool. I've
got this little piece of a security envelope, and I think that will give me a little texture in
the background. Maybe I can use one bird to sort of cover up the words here. I think I like this
bird to be down in the corner and then use
this one. You know what? I don't want this
section of the envelope. I'll just tear it away. So, I like to just play with
the placement a little bit. I like that this says
first class mail because male sometimes
goes on a plane, right? So that's kind of a
fun little tie in. Okay, let's go ahead and
glue down what we have. Okay, I think I have an
idea for this final bird. Gonna glue this down. I have two birds down. So I really want to play
with my Posca marker. I think I'm just
gonna do some dots. Mm, these birds are in flight. Maybe these are
almost like clouds. I'm wondering if I
can place my bird over some of these marks,
and they'll show through. I'm going to be careful to
try and place this down without smudging
my Posca marker, but it might not
be completely dry, so it might smudge
just a little bit. That's okay. And this paper is not taking super
well to the glue. It's wrinkling up a little bit. So we are out of time, but I had an idea to journal around the
edge of this bird, kind of outline the
shape that way. So I'm just grabbing
a ballpoint pen, and that will be my
final creative act here. Time's up, and I'm calling
this page complete. I like some of the
unexpected moments that happened here and that this important information from the envelope is kind
of pointing to the bird. So that ended up to be
the perfect spot to write my journaling as it's kind of the focal
point of the page. Thanks for journaling
with me today, and I will see you tomorrow
with a new prompt.
6. Day Three: Fearless: Welcome back to day three of
our journaling challenge. Let's start by setting
a timer for 10 minutes. Today's prompt is fearless. I'm thinking the color
that inspires is orange. Orange is one of my
favorite colors, but orange just seems
to be a really bold, bright color that screams
fearlessness to me. I'm going to look
through and see what I might be able to use. I do have this really
fun neon orange paint. No color could be more
fearless than this one. So I think I'm going
to have to use this. I have a few items, a piece of paper an envelope. I also have a couple of photos
that have orange in them. So we have these
little orange flowers. This is it's kind
of a golden orange, yellow light above
this little statue. And then I have this photo
from the Grand Canyon, which I took this on a
film camera years ago, and I think I was at the
end of the role of my film, and I got this neat effect
here with the light. So that's kind of orange. I think that's a
really cool photo. So I'm thinking, maybe
I can use this somehow. This is cool little piece
of a magazine photo. I'm not even sure what that was, but I like how that looks. I'm going to start true
to our prompt fearlessly, and I'm just going to put down
some bright orange paint. I'm a little fearful
if I'm being honest, but this is such a fun
color. We can't not do it. I'm going to apply
it with the card because that's really
fast and it's really fun. Kind of just intuitively,
don't have a plan here. I like how the card creates these little ridges and lines. I think I'll just kind
of leave it like that, leave a little space open here. I might want to just smooth out some of this paint just so it dries a
little bit faster. This paint is just, like, a basic acrylic craft paint, and they usually will
dry really quickly. I just want to make
sure there aren't any big globs because that's gonna take up
some of our time. Our precious time. This photo is screaming to me to
be on the right page. And I think I would put
this on the left then. Wonder what this would
look like if I cut the photo. You know what? I think we have to do it.
It's a bold decision, but we're being
fearless on this page. My cutting with scissors was a little crooked,
but that's okay. I think this will
end up on this side. I'm not gonna lay it down because I have wet
paint right there. And then over here, maybe I can just use this photo. So the story with my photos is this was one I
took a long time ago. And then this photo
is a bit more recent. And I think it would be nice
to just have these two kind of on each side of the page. They're both outdoor
photos that I took, but kind of showing
the difference over a long span of time. And then this is just
a cool orange element that I think might look
nice if we're here. So let's do that. Let's
just glue that down, and then we'll see if we
have some more time to play. I remember taking this photo and standing right at the
edge of the Grand Canyon, and it is a little scary, but very worth very
worth the visit. Not thinking a ton about
where I just placed that. This one, I think I want
placed on the other side, sort of like a mirror image. So, finally, I'm just thinking a little bit more about
what these mean to me, and I think I actually do want to write the word
fearless on this page. I'm thinking maybe at the top I have this A that I
cut out of a magazine. I wonder if I can find
some other letters. I'm thinking I want this
to say art on this side, just because I feel
like at this point, when I think of
the word fearless, I think of being fearless within my artwork or the
things that I create. I'm looking quickly.
It's only three letters, but if I can find an R, I'll be able to
complete the word. I'm gonna glue
these down quickly. To be honest with you, I
don't love how this looks. So I think I'm going to redo it. I'm gonna cut out a
piece of this paper bag. I'm just going to rewrite the word and glue
it right on top. And that's fun. I
like how that looks. So it's so easy in
journaling to just cover up mistakes or things that didn't turn out quite
the way you wanted. So I'll glue this down, and then we'll call this page complete. You need to cover this
up a little bit more. And finally, I'm gonna add
a little bit more paint just to kind of distract from the fact that there was a little bit of marker there. Alright, getting a little
excess paint off my card. And I'm going to
call this page done. Thanks for journaling with me, and I will see you
again tomorrow.
7. Day Four: Gratitude Grid: Welcome back for day four of
our journaling challenge. Let's start by setting
a timer for 10 minutes. Today's journaling
prompt is gratitude. This page is going to be all about things that we
are grateful for. I thought it would
be fun to approach this prompt by using a grid
to divide up the page. I'm going to start just
working on one side of the page just because
we do have a time limit, and I think this one might be a little more time intensive. If you have time, you can
fill up your whole spread. Just going to really roughly divide my page into
a few squares. I'm just going to
kind of eyeball it. This doesn't need to be
perfect by any means. I would say, the more
squares you give yourself, the more time
intensive it might be, so I'm just going to give
myself five rows or so. And I say squares. Really, they're more
like rectangles. So you can work with the
aspect ratio of your page and decide if they're gonna be more like squares or rectangles. I'm not really measuring. I'm just eyeballing. So I
gave myself a very imperfect, rough grid with a pencil. You don't actually
have to draw your grid with a pencil if
you don't want to, but I think this will make it a lot easier to fill the page. I'm just browsing through the items I've collected
really quickly, and I'm also thinking about,
what am I grateful for? Where can I start. I have a lot of
items that are blue. I think blue might be
a good choice here. I think this is a
really cool photo. It's kind of a light
blue up here at the top. This was a photo from a
trip to the Grand Canyon. I think it would be
neat to cut this into a couple different
squares that I could fill up. So I'm thinking about this
photo for me represents. Just enjoying the outdoors something I'm definitely
grateful for, and that's a common
theme in my journaling. My grid is not perfect, so my squares are not
gonna be perfect, either. I am just going
to at this point, roughly trim my collage
elements to fit, and then maybe I'll glue them down once I have laid
out a few pieces. This is another piece. I think this was a piece
from a magazine of a sky and I think I could cut that into some little
sections to fill a square. I'm gonna call them squares, but they are rectangles. Let's Let's be clear, but I'm just calling
them squares. And then maybe this one. Maybe I could use this piece. That actually looks really cool. See if I have another photo. I do have this photo
from the beach. What else? I have this
little watercolor circle. H. I had this photo, and I did not want to cut it up, so I just quickly
went and made a copy. I think this is nice
because I can use the bird. I love the beach and
birds are something that I've been really
interested in lately. Alright, I have to move a little bit quicker or we're
going to run out of time. So I'm going to cut out a couple different
sections of this photo. Love the beach here, and
I love the little bird. It's funny because for me, blue is not my favorite
color by any means. If you ask me which color I
would pick for gratitude, I don't think I would pick blue, but I'm noticing then
a lot of the things that I take photos of and want to think about
in my work are blue. Okay, so I have a
few empty squares. I think I will leave
a couple empty. So maybe I can just sort
of arrange these in a way that they create
like a checkerboard grid, which looks like, actually, I kind of have done
that pretty well. I think I just want to space
some of these out a little bit playing with
the composition. And then I might come in with some other materials
in the other spaces. So let's go ahead and glue. Now, when I glue them down, I'm going to try and cover
up these pencil lines a little bit more by just
placing them closer together. But I'm not worried
about covering my pencil grid completely. It helps me to glue
down the larger pieces first and then go back and worry about
the smaller pieces. So I'm working fast. I'm not gluing all of my
corners completely. And this is where, although I often will spend 10 minutes
or so working in my journal, then on a time when I have a
little bit more free time, and I can just kind
of flip through my journal leisurely
and ask myself, Okay, what pages need
a little something? I'll kind of flip through. And that's when I'll go back in. Like maybe glue down every little corner and
add finishing details. So I have a blue paint pen. I also have a blue crayon. I love this little bird. Maybe it's a crane. I think I'm just gonna try and
draw it really simply. With a crayon, crayons
help so much for, like, getting in touch with that
child like creativity, I think, and just creating, like, a really
simple bird shape. Maybe I can do something
similar with a paint pan, just a really simple shape. I'm a really big
lover of sunshine, and I kind of feel like I have little sunshine like shapes
here in this watercolor. I can kind of repeat
repeat that theme. Just create a big circle. Yeah. Alright, so I think this
page is complete for now. I think this page is
a really fun example of how you can start with
one idea in your journal. It was the concept of gratitude, and then we created a grid. But the finished result is almost this really neat pattern
study in and of itself. So I definitely enjoyed creating this page, and
I hope you did, too.
8. Day Five: I Want to Learn...: Welcome back for day
five of our challenge. Let's start by setting
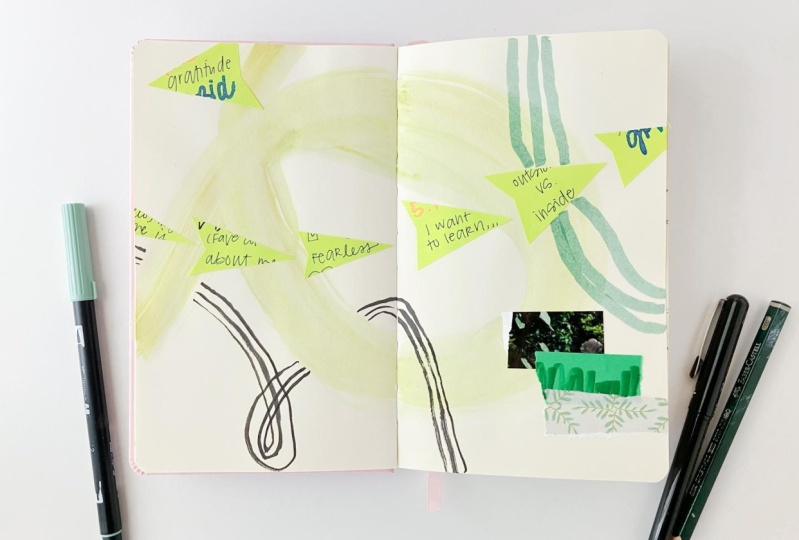
a timer for 10 minutes. Today's prompt is
I Want to learn. So this page is all about something that you
want to learn. It could be anything, something you know a lot about, something you know a little
about, something you enjoy, just continuously learning about any angle you want to take this. For me, something that I want
to learn right now is yoga. It's something that I
don't know a ton about. I've done a little bit
of yoga in the past, but I'm really looking
to have a better routine of doing it and just
kind of working on fitness and
wellness in general. So that's what I'm
thinking about as I'm working on my page. And the color that comes
to mind for me is purple. It's just a color that I've always kind of associated with wellness and fitness
for whatever reason. I'm looking through the
items that I've collected. I don't actually have
a ton of purple items, so we're going to get
creative with this page. So I'm looking at what I have, and I've got some
lavender paint. I do have, of course,
a crayon. Let's see. I have a violet crayon
and a blue violet. So I have a couple of
different shades of purple. This is not purple. This
isn't purple, either. It kind of has, like, a light
pink. Maybe that's purple. Alright, I think the
way I'm going to do this is just to sort of think about how does it make me
feel to learn something new, specifically the yoga practice. I'm just starting by making a mark in Cremon and
I'm just doing that just to warm myself up because I don't know what
I'm putting on this page. And rather than take too much time to think about it because we only have 10 minutes, I'm just gonna get started. I'm also going to add
a little bit of paint. I don't think I'm gonna
fill my whole page. So I will say this
light purple color, this is a very
calming color for me. It's a very familiar color. I'm very drawn to it. And so maybe that kind of represents me where I am
now in the bottom corner. And then maybe as we get
towards the top of the page, that's going to represent
a little bit of stepping outside your comfort zone to learn something new, a little bit of a
fear of the unknown. So this purple, this is a
little bit more bold to me. I was inspired by this
little scrap that I had. This was from cutting out
some star shaped stickers. And so I had this little
leftover piece that I saved. I thought it would
be cool to use, maybe maybe we will use
this as a background. We'll just cut out a
little piece of it. Now we'll go in the
background here somewhere. I'm thinking I'll just kind of continue that theme
with the stars. I'm kind of thinking these
stars represent like me being going a
little bit outside of my comfort zone and maybe being out and recognized
in the world. Like, if I decide to
take the yoga class, I think that would be a
little bit scary for me. I'm starting my
practice at home, so, actually going out and doing
it would be a bold step, but could help me
grow for sure. H. And it's easier to just write on your page about how you actually feel, you can
definitely do that. I think sometimes it's
easier for me to get started with words and writing down exactly
what I'm feeling. And then other times
it's easier for me to find the colors and find the shapes that would
represent how I'm feeling. It's a little bit hard
for me to articulate, but I'm sure you can
understand being drawn to certain colors when
you're in certain moods or when it comes
to certain topics, a certain color will just
kind of pop into your head. And I think it's the
same with shapes, too. So we have some stars. So I kind of feel like it's like the scribble mark that I made is where
everything changes. So we have stars kind of coming
out from that direction. So we have stars kind of
coming out from there, and then I'll layer these on. I like to figure out my
placement before I start gluing. This little star is kind
of like stretching. I almost looks like a person stretching to do yoga.
So maybe that's me. And then I think this
green the green is very earthy to me and
feels kind of comfortable. So I'm gonna put that down
here in my comfort zone area. Okay. I don't know how this glue is
gonna stick to this paint, but it's an experiment. And then I feel like
maybe this just needs, like, one final element
right in the middle. But I'm going to
go ahead and glue my other glue stick worked
a little bit better. I'm gonna glue the
stars down over here, glue that kind of up top. I'll cut the excess
that's hanging over the page in a minute. Okay. The way I just cut these
stars a little impulsively, it kind of seems like they're
little people reaching, stretching, maybe doing yoga. Let's cut away this excess. I think that's not
a bad composition. I think it just needs
something right in the middle. I just have this little
checkerboard piece that came from a magazine, and I just think this
would be really fun as a little background to draw your attention right to
the middle of the page. And it definitely stands out. So this would be a good
little focal point. And we are getting low on time, so I'm going to quickly
glue this down. Working with the time
constraint, for me, it really spurs my creativity, and it helps me complete a page with so much
more confidence. But if the time constraint
ever stresses you out, just turn the timer
off and don't worry about finishing the page
within that amount of time. I think on my focal point paper, I'm just going to
take my marker and write in how I'm feeling. I'm writing Be Willing to Learn. Even though it can be a
little bit scary to me, it is rewarding to
learn something new. And there's the completed page. So I hope you enjoyed this spontaneous collage
that we created today. I will see you again for
another challenge tomorrow.
9. Day Six: One-Minute Page: Welcome back to day
six of our challenge. Okay, today's prompt is going
to be a really fun one. This is a prompt that I did in my other daily challenge class. And in my opinion, it creates some of
the most fun pages. It is the 1 minute page. So we're actually going to
create for just 1 minute. The key to success here is
just preparing ahead of time. So because we are doing
a really fast page, to me, the color that
speaks to that most is red. I'm going to gather
a few materials ahead of time before I actually
start my timer to create. So I don't know if you've ever done really fast gesture drawing where you set a timer for
just 30 seconds or a minute. But from doing that and then also doing the
same in my journal, I've realized that the
smaller the time limit, the more it seems to kind of strengthen my
creative confidence. When you have such
a small time limit, there's really no time for
your brain to start coming up with other ideas or overthink the
decisions you're making. So you just have to make
them really, really fast. Okay, so I have gathered the items that I think
I might want to use. I've got crayons. I've got a few collage elements. I think even just having
five pieces of paper, it's gonna be a little bit
overwhelming to choose. So I think I'm just
gonna give myself maybe three of
these to work with. Okay, and I think we're ready. I have my glutick on hand. Let me make sure I
have that ready. And I think I'll start
with my crayons, and then I'll move to
gluing things down. I also might use this red
marker if I have time. Okay, so let's set a timer
for just 1 minute. Okay. I said I was gonna
start with crayons, but this is the largest piece, so it makes a lot of sense
to just pop that in. Let's go with crayons. Oh, that's kind of a pink. Okay. Didn't that. And let's put glue on both of these pieces
at the same time. And then we'll arrange them. How much time do I have left? 16 seconds. Oh, my goodness. Is my timer up? Oh, my gosh, 3
seconds. 1 second. Okay. I think that was
pretty successful. Actually, that
looks pretty cool. So I don't know that
this is any less successful than a page
that I might have spent, say, 5 minutes on. I
think it was really fun. And that was so quick that
if you have extra time, you can absolutely
do another one. I think I might do another one over here on the left
side of my page. I'm thinking along with the red, it might be nice to have a gray or a black
theme over here. I'm gonna pull out a
marker and a crayon. And let me see what I have
to work with in my supplies. That's kind of interesting. Okay, let's see. Kind of a gray theme. That's
a very cool piece. And those kind of
read the same to me. They're sort of
similar in tones, and maybe we'll have a
floral and another flower. Very calming. And then it
might be fun to throw this in. I have crayons. Okay, I think
we're ready to get started. Let's set another
1 minute timer. I'm gonna resist the urge to tap my phone this time and
see how much time is left because my phone will
beep when time is up, so I'm just gonna work quickly. I like to do these little
repetitive dash marks. It's just a go too. I think you'll find when you have such a
small time limit, you might just kind of
automatically go to a certain motif or a
certain mark with the pen. For me, it's always a little
dashes or dots or scribbles. No time for scissors. If I had more time, I
might cut this leaf out, but we don't have more time. Uh, and time's up. Okay, I'm just gonna I'm
gonna glue this down. I'm gonna allow myself to finish up by gluing
this piece because I think it makes a really nice contrast to
the other images here. So that's it for our bull spread that took only 2 minutes of
actually creating. Of course, there's a little
bit of prep time in there, but I would say we did the whole thing within
about 10 minutes. I definitely enjoyed
this prompt, and I hope you did, too.
10. Day Seven: Outside vs. Inside: A Welcome back for
our final challenge. It's Day seven. Today's
prompt will be a fun one. I hope at this point
in the challenge, you feel a little bit
more comfortable making intuitive decisions
and combining elements by just
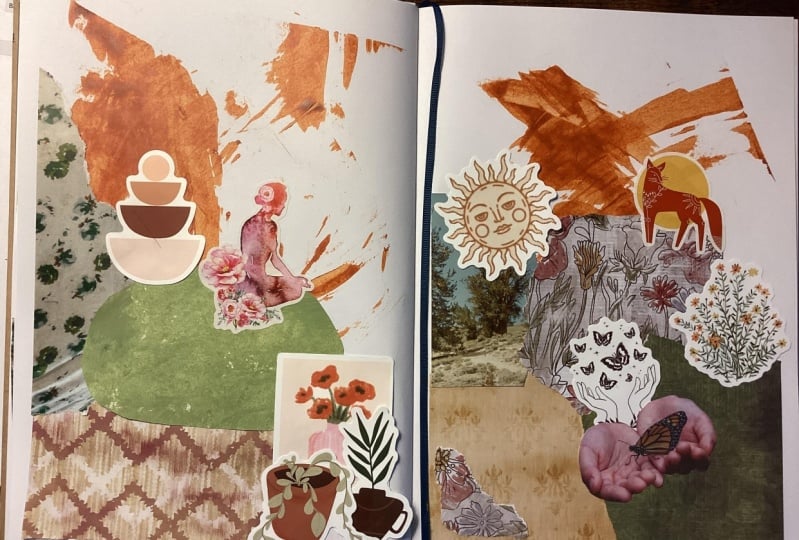
focusing on color. So today's prompt is
inside versus outside. Now, this prompt is
obviously a bit broad. So you can interpret this
in a lot of different ways. I'm thinking of it
a little bit more literally in terms of outside, outdoors, and then inside. So I think I'm
just going to grab some items for each page, and we'll see what
colors emerge. I might want to do two different
colors for this prompt, so to create that
sense of opposites. And friends, I forgot
to set my timer. Give ourselves 9 minutes. Okay. I'm seeing a
theme emerge here. I have I have flowers. The painthip reminds me of inside because I think
of painting walls. Have just some other
elements here. And I have this kind of library
card design that I made. Being at the library
definitely says indoors to me. And then I had this little
scrap from a journal. Story kind of goes along with
theme of library and books. So I think we can make
this page one color. I think pink would work
out pretty well here. I'm thinking of, like,
setting a table or a tablecloth with this Dili, so that definitely
would go indoors. So let's see if we can just grab pink or mainly pink items. Okay, I had this little cutout. Would it be fun to maybe cut some flowers out of this
paper if I have time? Okay, I think I'm gonna
start with my glue stick, 'cause I feel like I know
where I want things to go. I'll start gluing. I feel like I know what I want on my page. Okay, with the paint
chip and then this paper jolly I'm
kind of thinking. About home decor. Oops. It's
so hard to put glue on that. Maybe this would
work better if I actually just glue my page. See, mistakes happen in
my journal all the time. This is kind of a mess,
but we'll fix it. Okay, maybe I can just use Oops, this card where that glue has
already fallen and scoot it over. Oh, isn't this cool? The name of this paint
color is memorable Rose, so that kind of
goes with my floral theme for the other page. Okay, so this was a
photo that's been cut, and I've used pieces of it. But this was a photo I took outside in a beautiful garden. So I think I'm just this page is gonna be about being
outside in the garden. We have about 5 minutes
left on the timer. I think I just want
this to say story. So I'm gonna rip
this down a little bit and maybe put
this pattern paper. Maybe we can wedge
it in here, yep. So gluing really fast. I don't always glue
the corners down, but that works out really
well because then I have the flexibility to slide another piece of paper
right behind that. Let's cut this
down a little bit. I'd like to rip the
edges of this piece. Yeah, I think that
just looks nice there. It looks like a little
piece of tape, maybe. Maybe we'll put it at the top. I had this piece left over from another page that says family. And I think family story might be nice if we
combine those words, and then I have a little tiny A. Oh, it says Join A. Maybe we can cut that out and
create a little word art. Join a family story. That's kind of thought
provoking. Let's glue that down. The minutes left on the clock. Going to trim the
excess from this page. Hmm. I have a little extra time. So I think I might like to just add a little bit more of
this bright pink paper. I'll use my scissors,
but then I like to just rip the edges of
the paper just to give it a little extra texture. I really like the way
it comes together. I have four elements
on this page, and it's just screaming to me that it needs
something else. Maybe just another
white piece of paper. Kind of tie it all together. But I'm not sure where
I'm going to put it yet. That was a very
intuitive decision. And then we'll just
trim that off, as well. Okay. And we're just about out of time, so
that was great timing. So it's not obvious to me, looking at this page
what the prompt was. I think that's very cool because you can use that
prompt over and over, as with any of the prompts that we've done in
this challenge. And I think you'll
find that every time you reuse the same prompt, you will come up with a
different interpretation. I'm just going to add a
little more glue here. So, feel free to
continue journaling beyond the seven day challenge
re using these prompts. And if you'd like to share your journaling updates
as you go along, please post them in the
project gallery of the class. I'm really looking forward
to seeing what you create.
11. Conclusion: Congratulations. You have
completed the class. I hope you enjoyed
journaling along with me. If there's one thing you
take away from this class, I hope it's how to use art
journaling as a tool to break through perfectionism and have fun playing with
your creativity. I hope you'll continue
journaling after the class for more
journaling ideas. Take a look at other
Skillshare classes where I share lots of art journaling
prompts and techniques. I also want to let you
know that I have created printable collage kits full of pattern papers
and stickers and various elements that you
can use in your journaling. You can find those printables as well as links to
my other classes, my shop, my blog, and anything else I'm up to over on my website
at Virgo and Paper. Finally, if you
enjoyed the class, I would really appreciate
a review as that will help the class to be
found by other students. I really hope you enjoyed
this journaling challenge, and I will see you
again in my next class.
 Ashton Womack, Artist & Surface Pattern Designer