Transcripts
1. How to Draw a Bowl: Bowls are wonderful
little things. I love them so much that
I have collections of large and small and
every size in between. They're iconic, and they represent abundance
and collections. And there are so
many ways to use them in your sketching or
your drawing or your art, they're a big star in
traditional still life for sure. And they're simple, and so
they should be easy to draw. However, They have
a circular top. When you look at that, from an angle,
watch that circle, it becomes an oval
or an ellipse, and that is not easy to draw, and that is what
this class is for. We're going to learn
to draw a bowl and your project is going to be to draw some bowls and fill them with some
interesting things.
2. Let's Draw a Bowl of Balls: To draw a bowl, you have to be able
to draw any lips. Any lips is a circle when
you see it from an angle. In order to draw an
ellipse or an oval, you can't be in tight the
way that you would draw many things because there
is a balance to it. And so instead of moving your fingers or your
wrist to draw it, you move your whole
arm and you get a pendulum effect and you have a light pencil and you
get your arm going, and then you allow the pencil to start
to touch the paper. It's just like those machines with a pendulum and they finally settle out and they draw
something nice and even. So I advise that you take
a scrap piece of paper, and you draw several ovals, moving your whole hand
and your whole arm, doing it over and over, try different sizes, but go with your
pencil really light, let it get down on
the paper and let it go until it balances the oval. Now, what do I mean by balance? I mean that if you can check
the balance of your oval to, if you divide it
exactly in the middle, and then you divide it in the middle of
the other direction. Ch. These four sections
should be a match. So in other words, if this was a piece of paper
and you cut it out, you would be able to fold it up. Fold it up this way, fold it this way, and everything would
match up on the edges. Now, that's a give or take a little bit because
a little bit of something being off is not
going to hurt your drawing. A lot of something being off, something like this is definitely going to
hurt your drawing. So that's the reason we
use our bodies to do that. They know how to draw an oval. Once you have drawn
your oval and you've checked for its balance
on its four sides, it's time to make it a bowl. The best way to do that is to
imagine that you're drawing a backward C and connecting
it to the other end. This takes practice. You don't want to
be too flat here, but you're not going to be absolutely parallel
to the top circle. Other benefit of drawing
your ovals this way is that you automatically
get rounded ends. And that's what you have
to have on an oval. Something that has
pointed ends like this is a different
shape altogether, and that just doesn't
happen in real life. The height of a bowl is determined by this
length right here. So if you want a deep bowl, you're going to come down with a s that comes way out here, a much more rounded backward C. And you
have a nice deep bowl, good for solid or whatever. And a benefit of putting a guiding line in for
the height of your ball is that when you have a line for reference on a
symmetrical item, it makes it easier to tell if your two
sides are matching, then if that line was not there and you're just playing
with it back and forth. This reference line, which
you will is going to tell you if your curve here is a match for
your curve here. Afterwards, this line
is erased, of course, and so are all of the
extraneous lines that happen when you are drawing with your pendulum swinging arm. Now we have our bowl. But before we fill a bowl, we have to consider that
whatever we fill it with, almost whatever we
fill it with is going to make us not see
that back edge. And so if you were going
to ink over your pencil, you wouldn't want to
inch that back edge because we're going to
put things in here. We can do a bunch of
balls if we want. I would do that by
I'm drawing circles here in sort of the same
way that I drew the ovals, and I start with
just a few of them, and then we'll have
one that doesn't show because the edge of
the bowl is hiding it, and we'll have one that's
in front of those two. One that's in front
of those two. And then here again, we might have a couple that
are partially showing. So we have this one
here is in the front. We've established that. This ball over here,
we're going to have the front hidden
by the edge of the bowl in the back
of it's going to hide parts of the other
two balls here. And that is pretty good, except that this space
bothers me right here. So there's a ball back there, that's just partially showing, and since I did that,
I may as well do this. And now we have a bowl of balls.
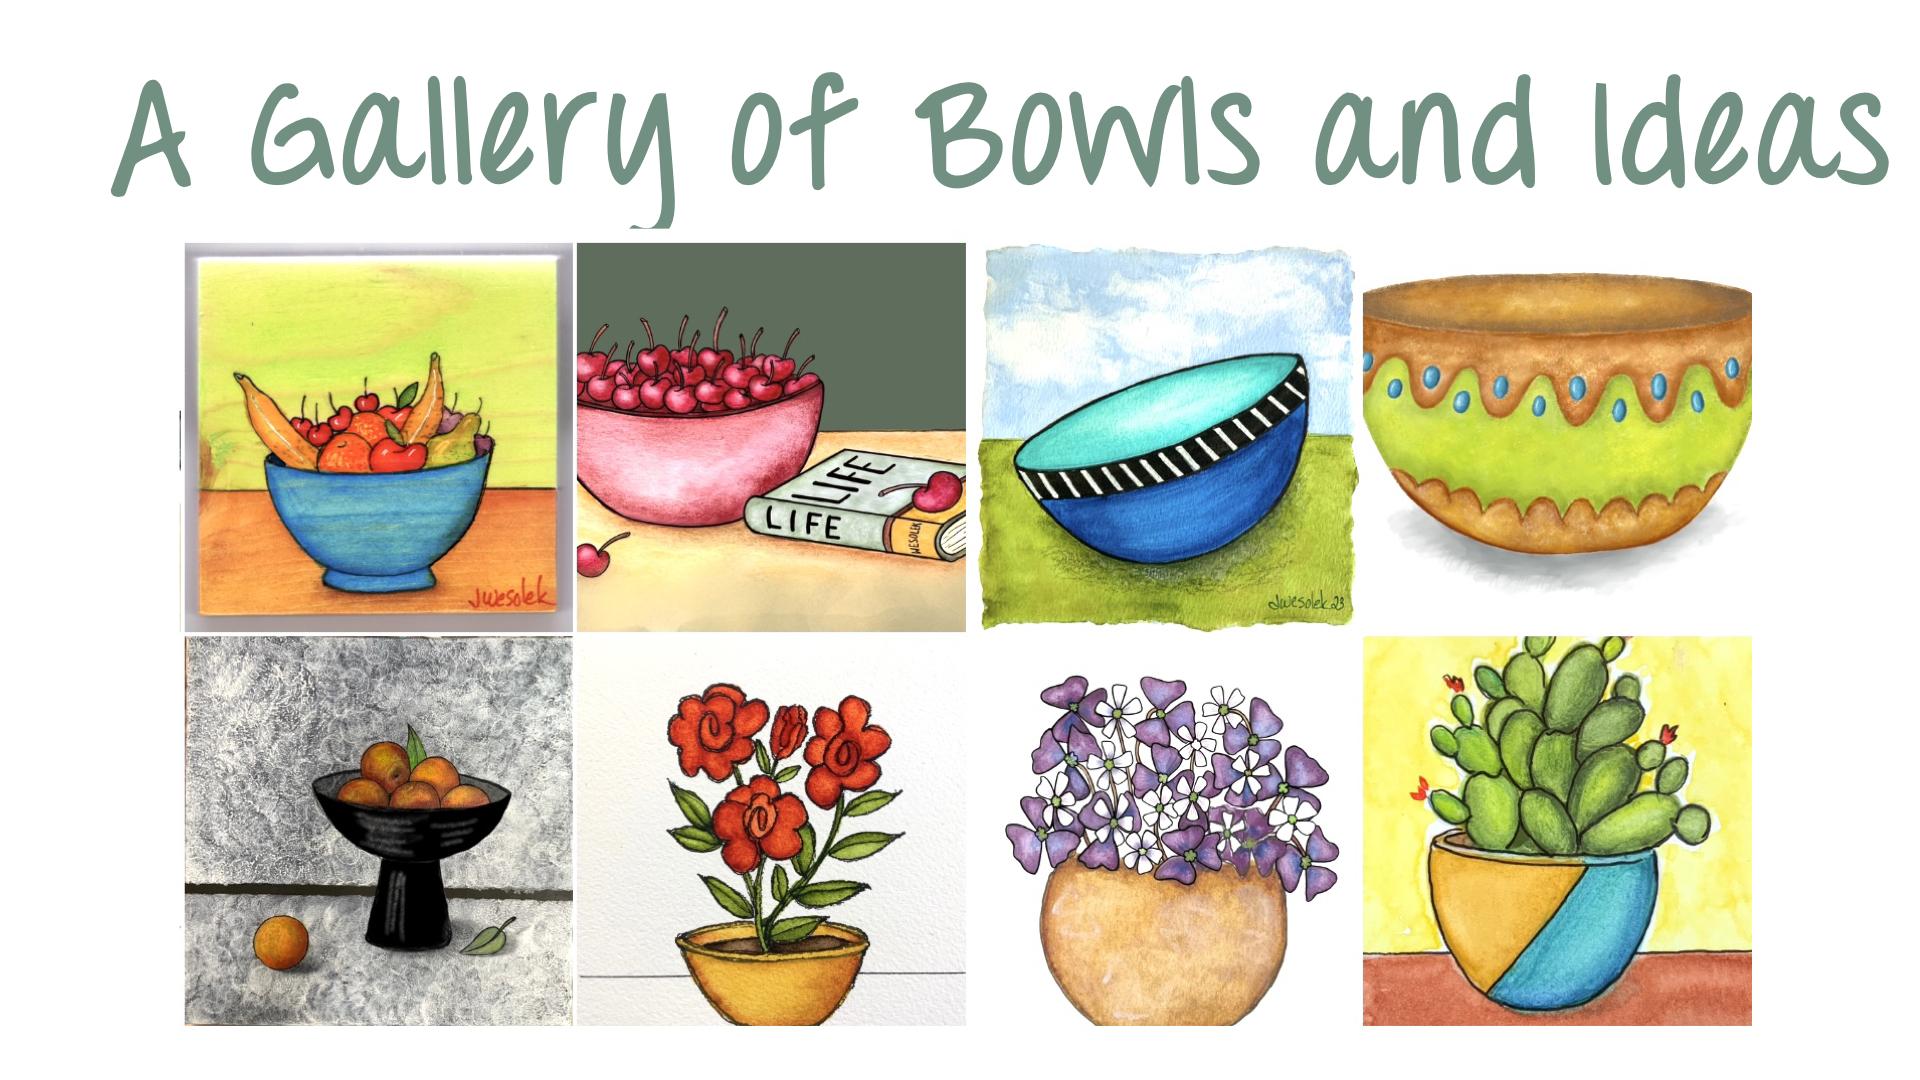
3. A Gallery of Bowls and Ideas: Now that we know how
to draw a good bowl, we're going to take
this final lesson in order to look at a gallery
of bowls that I've drawn, and hopefully there will
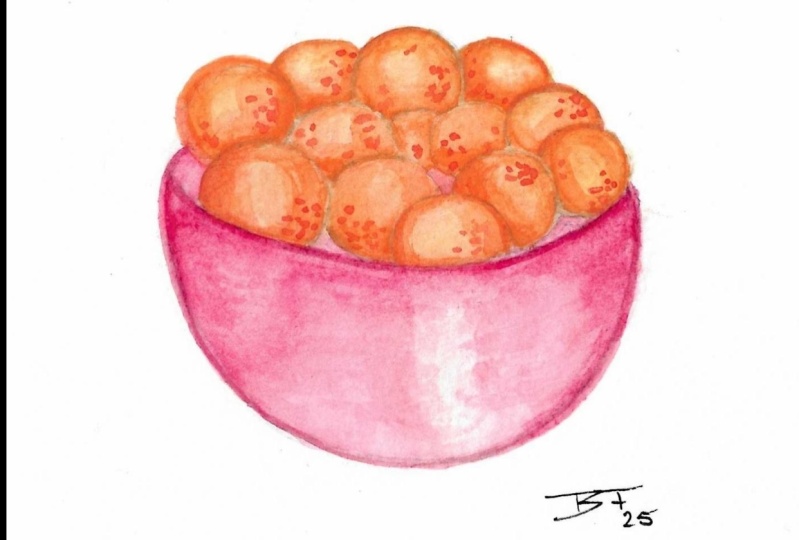
be ideas here for you. If you had added inklines to the pencil
drawing that we did, your drawing might
look like this. If you added some color, you start to suggest what
these balls might be. Now, they could have just
been colored balls in a bowl. But with a little work, they can be oranges with a
little more work. They can be oranges
that are a little more fancy and decorative with some
spots on the m and so on. Bowls are famous in still life, and bowls of fruit are
a great thing to draw. Always have something like
that around your house. This I've used for heading on
some of my Facebook groups, obviously a bowl of cherries because life is just
a bowl of cherries. Sometimes I just do a bowl because I see one
and it's beautiful, and I don't put anything in it. This was done in
Procreate, again, just making a study of what a jewel bowl from a museum
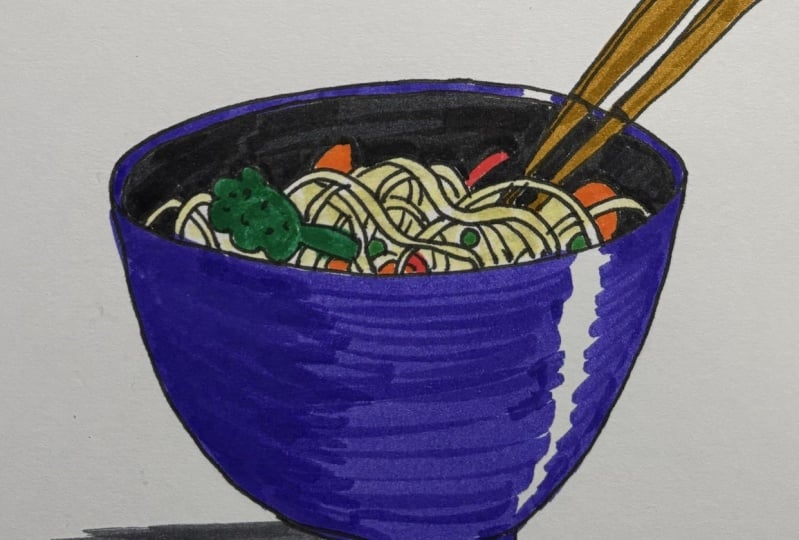
collection might look like. Bowls are great in
recipes because you can put all your ingredients and have them land in a bowl that shows what
it is you're making. I do this quite a bit. And sometimes there are a
lot of bowls in a recipe. I want you to notice
something here. These are drawn from a different perspective
than this one. You can tell because
we see really more of the oval shape on these bowls
than we do on this one. The edge of the back of this
bowl is just about there. And so we are seeing
this bowl more from the front side and
not looking down on it as much as we
are on those bowls. A bowl can be a bird bath just as easily by
sitting in on something. This is a acrylic painting that still
life again that I did. Like a bird bath is
sitting on a pedestal. Flowers and plants
can be in bowl, and this is really
a fun thing to do. And little of the back edge of your bowl is blinded,
if you will, by the plant in this case, but it can be completely
gone in another case, depending on what it is, what the plant is that
you're putting in there. These are some succulents
that I wanted to save. And I planted them in
a bowl and tried to do the most realistic version of that terra cotta
kind of rough bowl. That is that, and
I want you to go forward for your
project and draw one or two or three bowls and upload them in the
project section so that I can see that. And if you are interested in more comprehensive drawing
instruction from me, you can find my drawing from the ground up class
and skill share. It's much more than
10 minutes long, and it takes the same
approach to teach you to draw things using basic shapes, and that's what they
do in art school. Hope you've had fun
drawing bowls with me.
 Jessica Wesolek, Artist/Teacher