Transcripts
1. The 10 Day iPhone Street Photography Challenge: Welcome to the skill share. Two week iphone street
photography challenge. Become a better
photographer in two weeks. Do you want to learn
to take better photos? And start right away then. This is the course
for you. My name is States Weisboch and I work as a Filmmakeen photographer
in Berlin, Germany. I started taking
photos when I was around 13 years old with an SLR inherited from my
grandfather, this cannon 70. By the way, in the
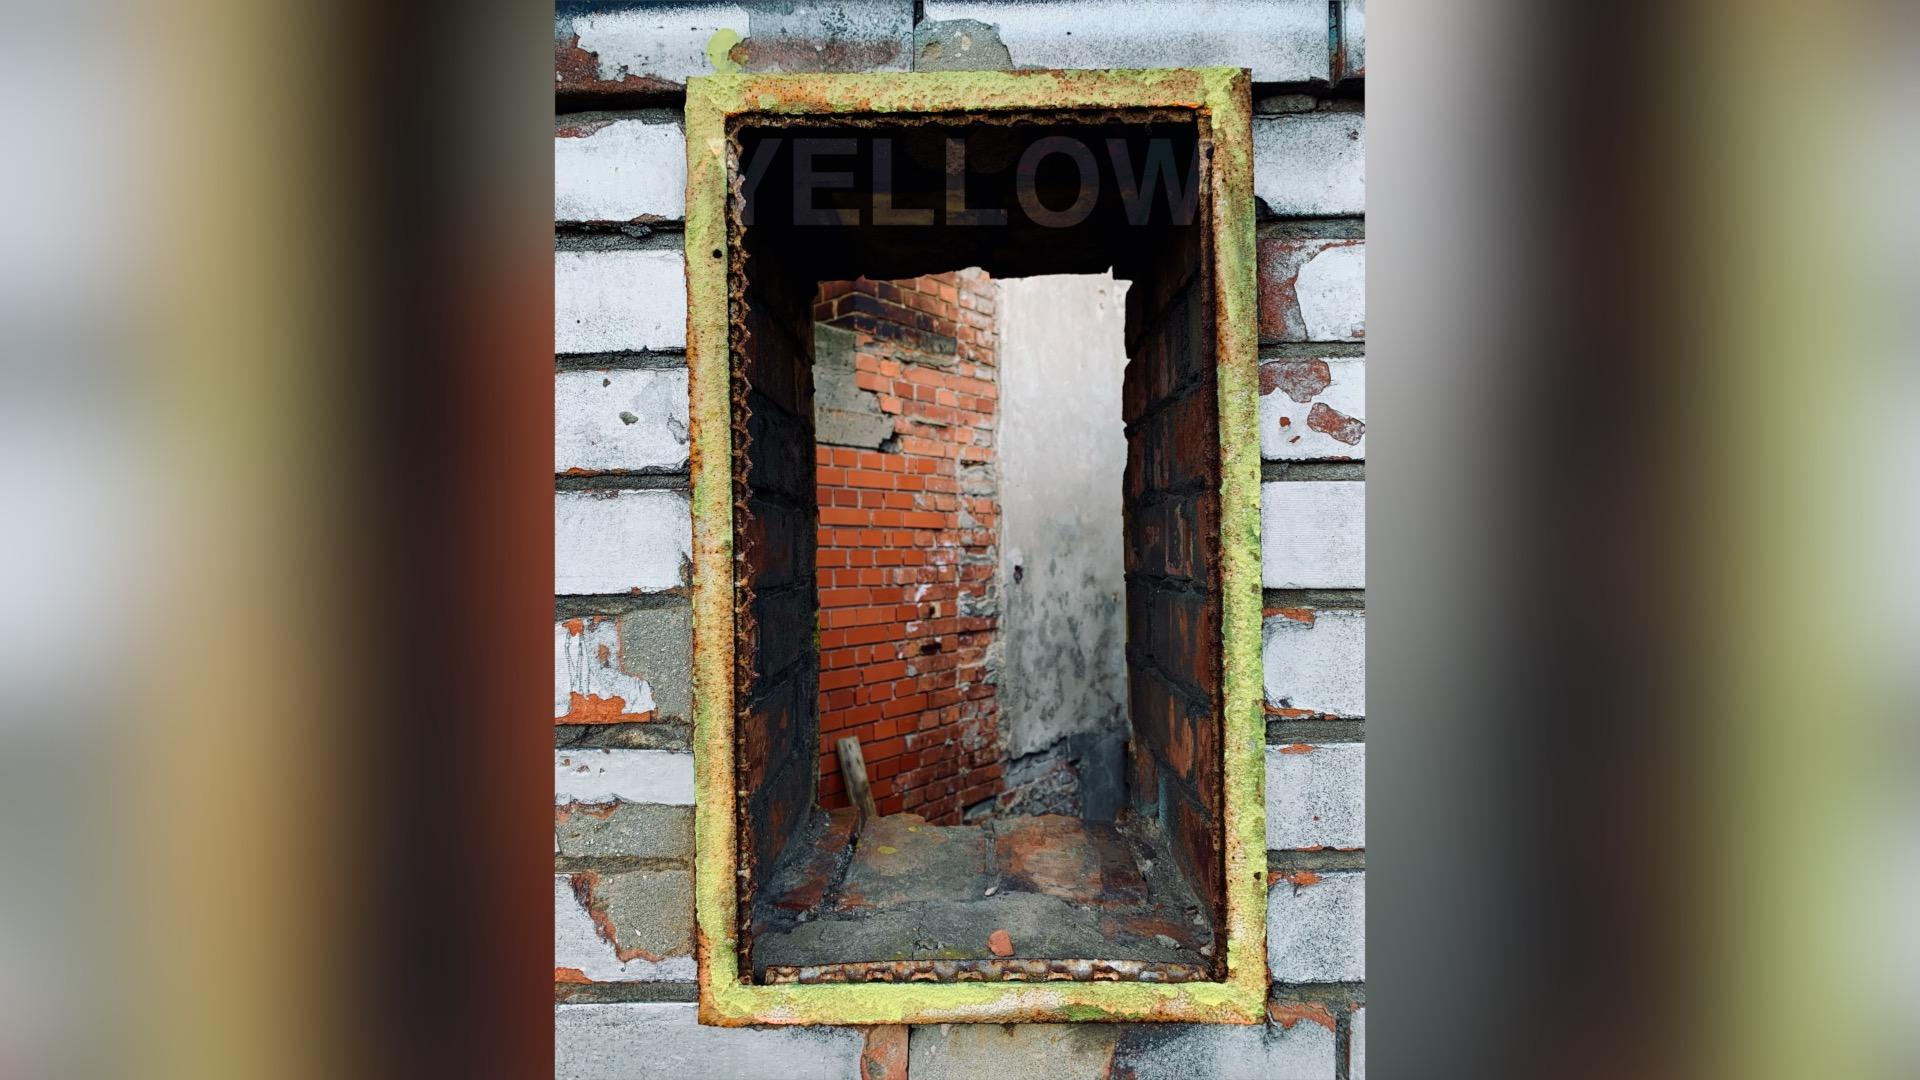
decades since, a lot has changed and everyone, the world over, has been unable
to take better pictures. This course is based on an idea called project
based learning. Each chapter will give
you a new project, a new prompt, and a new problem to solve with your camera. I'm not asking you to go out of your way to take
any of these photos. By the way, you can simply take them on your way
to and from work. A daily walk, or a jogging
round through the puck. And that's what I've done for all of the examples
in this course. And I think they came
out quite nicely even though I only took
them on an iphone ten R, which was manufactured in 2018. So certainly not the peak
of camera technology, but there are things
that are more important than the
best camera possible. You need to be able to see
something special in the ordinary to discover
shapes and perspectives, and ultimately to develop a
steady hand and a keen eye. This is where the project based learning aspect comes into play. This course is designed
in a way that gives you one simple project you
can complete on the day. Three photos for
each and every day, always based around
a new challenge. This prompt will
be combined with one of the fundamentals
of photography. So you'll learn a quick bit
about the theory behind photography
composition and what's going on in your camera. And then you'll get to
try it out in practice because you can read about photography as much as you want. The only thing that's actually
going to make you a better photographer is going
out and taking photos. All this is designed to help you get a better
understanding of some of the basic terms of photography and then you get to try
them out in practice. This project works best when
you watch one video per day, either on the day or
the night before. Try and take the projects
and challenges seriously. It's not about cheating your way into the best possible photos, but about developing
the skills to take better photos every day with whatever camera
you have on you. And maybe you already have more photo experience
and just need a few inspirations as
to what to capture. Well then, this course
is also for you. At the end of this
two week course, you will have a portfolio
of 30 street photos and hopefully 30 pristine
moments caught on camera. And if I can do it on
a six year old phone, I'm sure you can do it with whatever you have
at your disposal. So grab your phone or your camera and let's
get you onto the streets.
2. Project Based Learning and Street Photography - Why This Challenge?: Do you know the
following feeling? Technically, you could take
as many photos as you want because you always
have your phone on you and your phone as
a pristine camera. But for some reason you
were running out of ideas as to what to
actually photograph? Well, something like that
had happened to me for years and even though I
own multiple cameras, I would just never randomly go out and take photos anymore. Because deep down, in sight I know well I've got my phone, so I always can. And so I never really do. And then all of a
sudden that changed. Like I was on my way to work. And then I saw something nice and I didn't even
know what it was, but I was like, maybe I should just stop and take a photo. And so I did. And
that really got me into the mindset of what, what if I actually just went back and took
more photos again? And so I did, and
that's the reason why I created this ten day street
photography challenge. Because it's nice to, it's nice to have the option to take photos
whenever you want. But if you never really do, then what's the point? Maybe you'll enjoy this
challenge as well, and maybe you find
this inspiring and maybe it'll get you
back into photography, or maybe it'll get you into
photography to begin with. Yeah. Overall, I think it's a really nice
habit to get into, to actually think
about the photos, to actually think about the
way that we take photos, because, yeah, we're
taking a lot of the technology behind
it for granted. We shouldn't, so
enjoy the challenge. I guess, trust me, the
rest is a bit more prepared than whatever this was.
3. Day 1 - The Rule of Thirds: On the very first day
of the challenge, I would like to introduce you to the so called Rule of Thirds. The Rule of Thirds divides
the image into a grid of nine smaller rectangles
on your iphones. Just go into settings, you can find the camera
settings and activate the grid. This is a visual indicator
of the thirds in your image. For this exercise, I would
kindly ask you to turn it on. The devil is precise
and so should you be. But how does the rule of thirds play into the idea
of composition? Well, essentially, the rule of Thirds helps you
create tension and natural balance in your image without resorting to a
centralized perspective. You can create tension
in an image by placing a horizontal or vertical line
on one of the grid lines. This kind of composition
is an important tool of communication because
it tells the onlooker what's important and
what's not important by giving different elements of your image a different
visual weight. This is not just true for architectural and
street photography. Even in portrait photography, we can often see
the rule of thirds in action by placing the eye of the subject on one of the grid lines or the
intersections of the thirds. The rule of thirds is closely related to something
called the Golden Ratio. This is a ratio often found in nature that is defined
as the ratio between the total distance to
the longer part being equal to the ratio of the longer part to
the shorter part. This translates to 61.8% on the longer part and 38.2%
on the shorter part, which is fairly close
to the rule of thirds, which is why in most instances, both are used
interchangeably in practice. Realistically, it's
not like anyone is really going to measure
your photos or apply the grid to it to see
if you're working with the golden ratio
or the rule of thirds. The advantage of the
rule of thirds is that it is intuitively
easier to understand. And that pretty much all
cameras offer on screen guides that help you take
better pictures that fall into the
rule of thirds. And that is precisely your assignment for day one
of the ten day challenge. Take three pictures by making
use of the rule of thirds. And that is precisely
your challenge for the first day of
the ten day challenge. Take three pictures by making awkward use of
the rule of thirds.
4. Day 2 - Focus on the Little Things: Focus on the little things. In most instances, the iphone camera is pretty good at assessing what you
want to focus on. Mostly because it recognizes faces where the
person on the photo, it's usually pretty nice to
have that person and focus. But that's not the only way that you can focus on the iphone. You can focus manually by pressing onto any
part of the screen, which I'm sure you already knew. But did you also know that
you can lock the focus if you not only tap but hold
any position on your phone? You will lock focus and exposure
onto any given subject. So your phone will then
no longer try to adjust a balanced exposure nor will it try to find
something to focus on. Essentially, this is like you pulling focus on a manual lens. It gives you the
full control over the image at regular distances. This manual focus option is
fairly negligible because the sensor size of
the iphone when compared to a full
frame camera is tiny. Which translates to fairly
deep focus on a phone. It's really difficult to achieve that nice Boca that you
get on system cameras, which is why your
phone comes with a portrait mode that
adds that Boca, AKA the out of focus background, as an effect onto the photo
by using a depth map. The depth of field, however,
does get shallower. The closer the focal
point is to the sensor, you can notice a
similar effect with your own eyes when you
focus on your finger. The closer it gets to your eyes, the more the world will
become a blur around you. Just like your eyes
and any camera lens, the iphone two has a
minimal focal distance. That is the closest
you can be to any object while
still being in focus. But on today's project, you're going to learn all about
this because this project is about you getting close
to the small things, leaves, rocks, insects, birds. If you're sneaky, find something small and put it in focus.
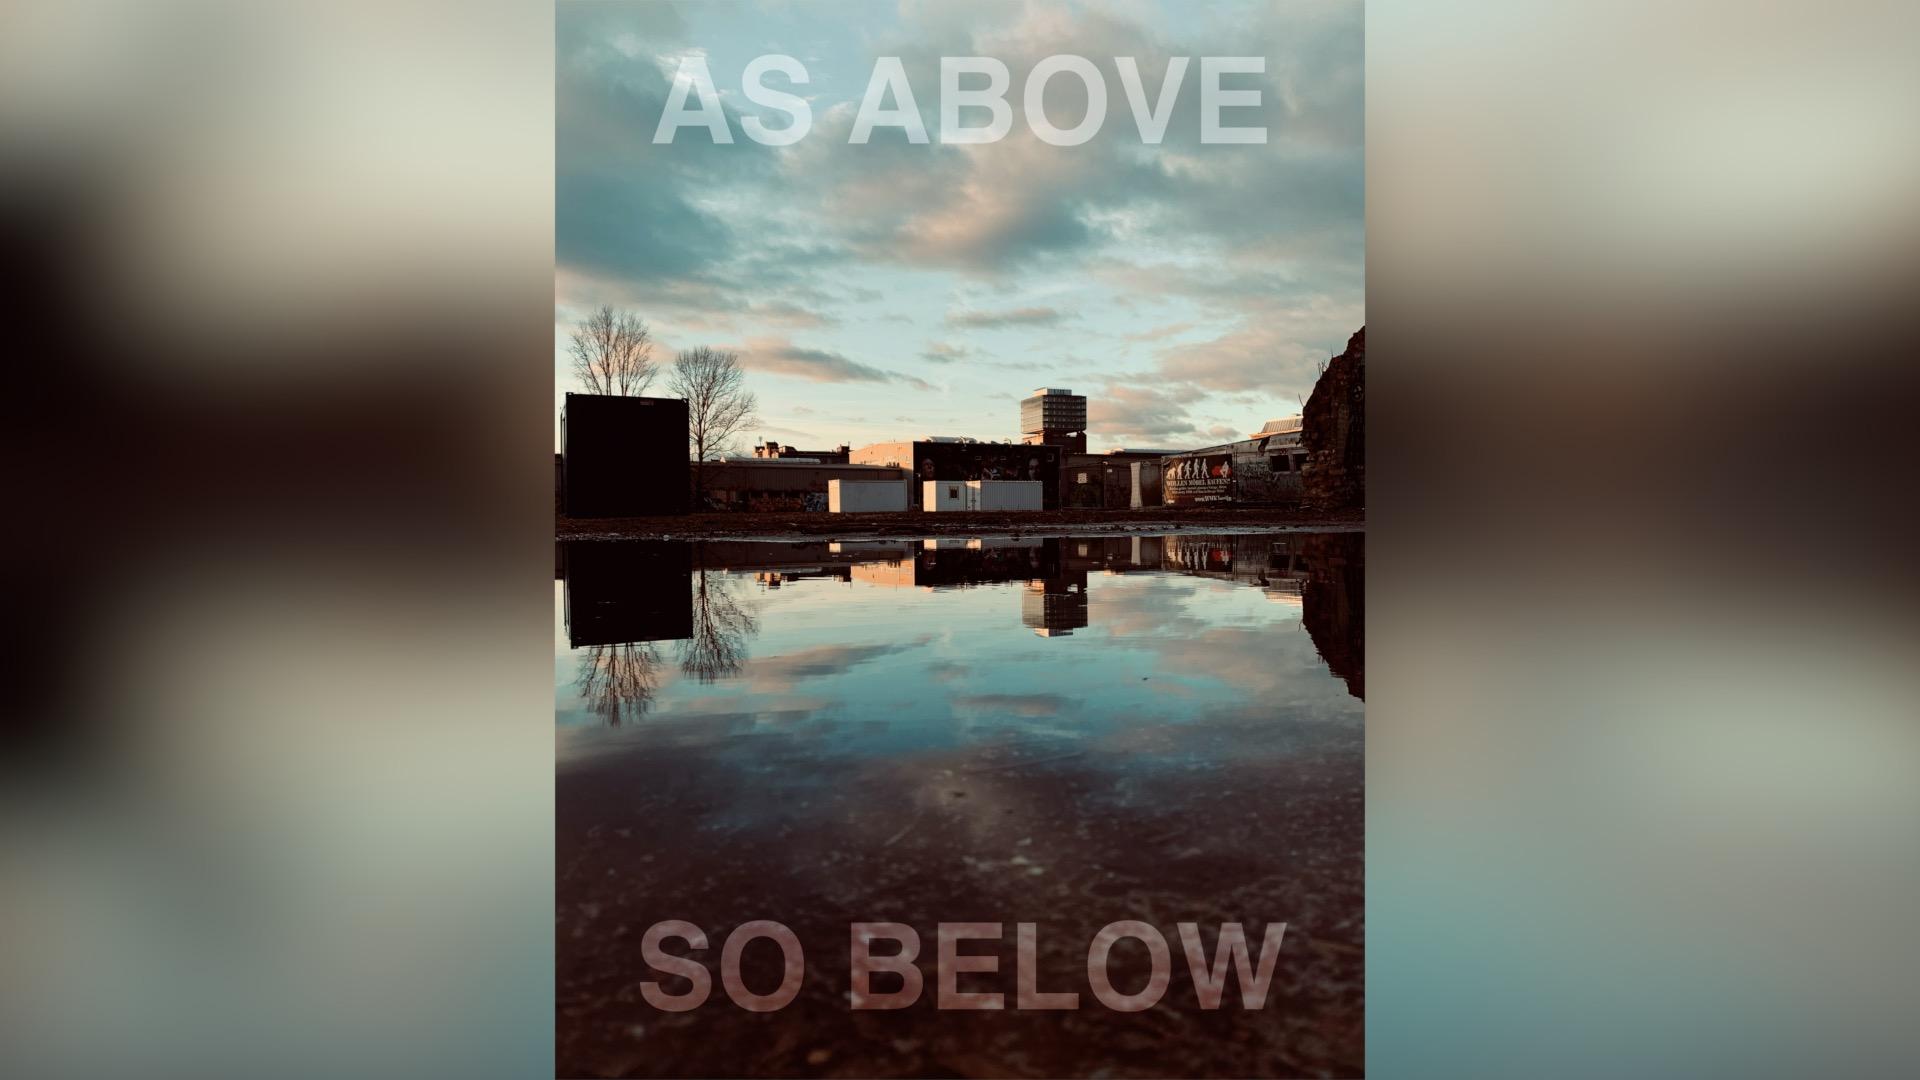
5. Day 3 - Symmetry and Reflections: Symmetry and reflections. A central perspective
focuses on the center of the image and guides all lines into a perfect
visual symmetry. It's no coincidence that this perspective is often
found in religious imagery because it guides the
eye towards the center and creates certain level
of visual hierarchy. In a similar manner,
symmetry can be used to create balance or to create a counterpoint to
perceived balance. Yin and Yang is a perfect
example of that symmetry, albeit with a slightly more
interesting composition than a mere line in the middle. Symmetry can also be an interesting tool to
use because it allows user photographer to create
something that is almost ethereal and in perfect
balance with itself. So using symmetry and
street photography can be a great tool for showing
the sublime of architecture. Just make sure you
don't fall into the trap of over
using symmetry to the point of creating
the grandiose images of Fascist architecture. For today's challenge,
I will send you out to capture not mere symmetry,
but reflections. A world within a world. You can interpret that
however you want. You can combine
it with symmetry. You can even take
a dreaded mirror. Selfie. Reflections allow
us as photographers, a way to shift our
perspective and see the world from angles
normally hidden from us. So really make
this challenge all about symmetry and reflections.
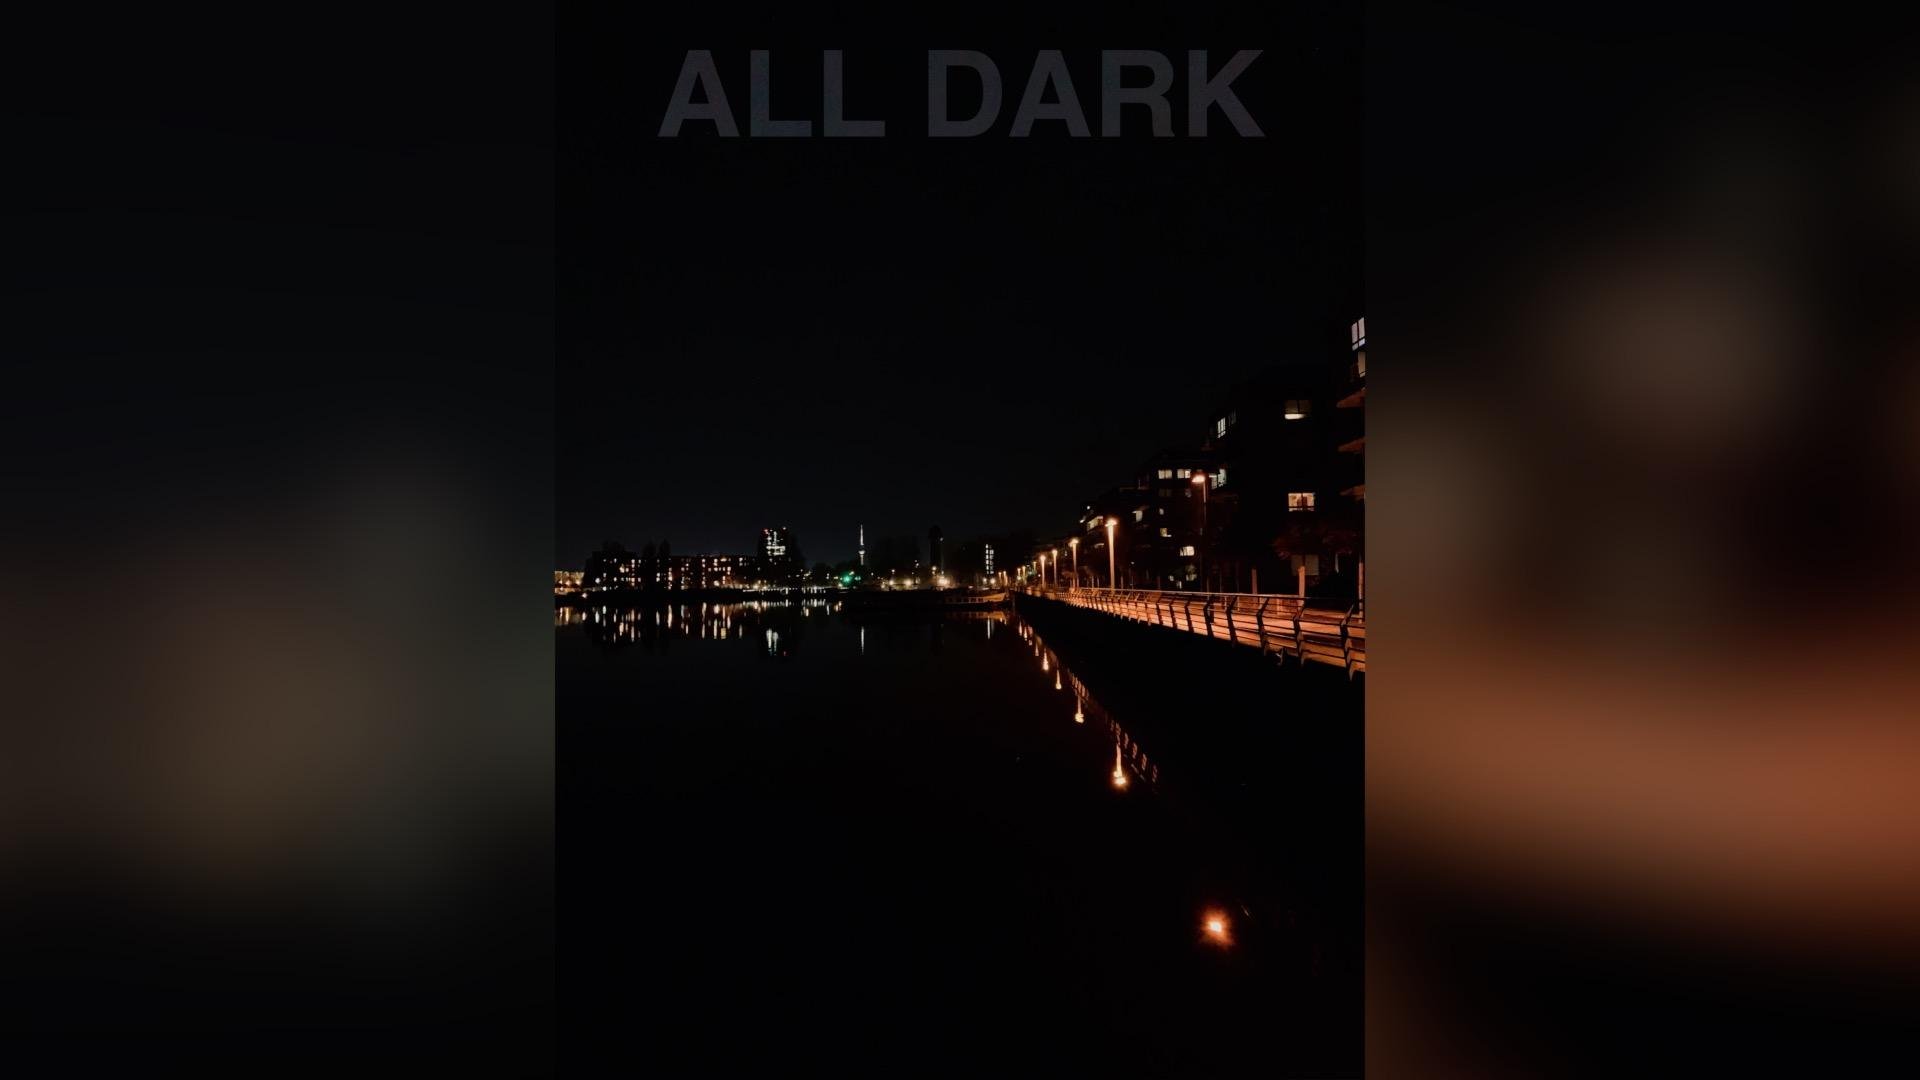
6. Day 4 - Exposure (Dare to Go Dark): Exposure, AK, shadows grow dark. In photography, there is something called the
exposure triangle. The exposure
triangle consists of three separate
settings that work together to correctly
expose an image. Aperture, exposure
time, and ISO. I will briefly explain each setting and how it
works on your phone. Aperture is a value that is measured in F stops
and describes a mathematical relation between the aperture opening and
the light entry opening. If that sounds
overly complicated, I'll break it down into
something more memorable. Lower number, brighter image. The aperture opening is
also known as the iris. Just like the iris of your eye opens in the dark to
let in more light, a photography lens will
do the same thing. Here's the crucial part
for iphone photography, though the aperture is fixed. There are no mechanical parts that are moving inside the lens, so the amount of light
coming in will be consistent whether you are taking photos on a sunny day or in the
middle of the night. Now this is why your iphone
uses the other corners of the exposure triangle to compensate for the
fixed aperture. And why your iphone
pro will often not use the long lens
because its aperture isn't as wide as that on the standard lens exposure Time is the time an
image gets exposed for. The longer this time is, the more light will
physically touch the sensor. If the sensor is only exposed
for 1000th of a second, only some light will hit it. If it opens for half a second,
a lot light will hit it. The iphone uses longer
exposure time in the dark, which is why your
photos are more likely to be blurry or
shaky in the dark, but are always nice and
crisp during the day. Exposure time is also
important if you want to take pictures of
fast moving objects, such as athletes or animals. You need a fast exposure time
to capture crisp motions. The last value is SO, which is a digital simulation of the light sensitivity
of film stock? Simply put, lower is better. Technically, every
camera will have a native ISO at which
it performs best. But generally, you'll
want to keep this value as low as possible or
at least pretty low. Now the iphone is pretty good at getting around a
more nuanced use of the exposure triangle
simply by using HDR photography without
ever telling you it. Does that Newer models also
let you take photos and raw, which is also helpful, both Raw and HDR are approximations of what you
can do with a film camera, because film has a very
high dynamic range, that is visibility between the brightest and the darkest point. Hdr photos are exposed
multiple times with different exposure settings and then assembled to mimic that. Raw photos offer you
more flexibility, but only baking in
the physical pillars of the exposure triangle. That is exposure
time and aperture. So what do I want you to do
with all this information? The prompt for
today's project is expose for the high lights
and keep the shadows dark, crush the blacks by editing
the photo, if you have to, whenever you tap to focus, you will see a little sun
icon next to the square. This represents the exposure
and you can simply pull it down to under or pull
it up to overexpose. Similar to the rule of thirds, exposure is a tool to determine what's
important in a shot and what isn't under expose the image to focus on
the brightest parts, Lamps, the sky, the
sun, neon signs, et cetera, and let the darkest parts
disappear into obscurity.
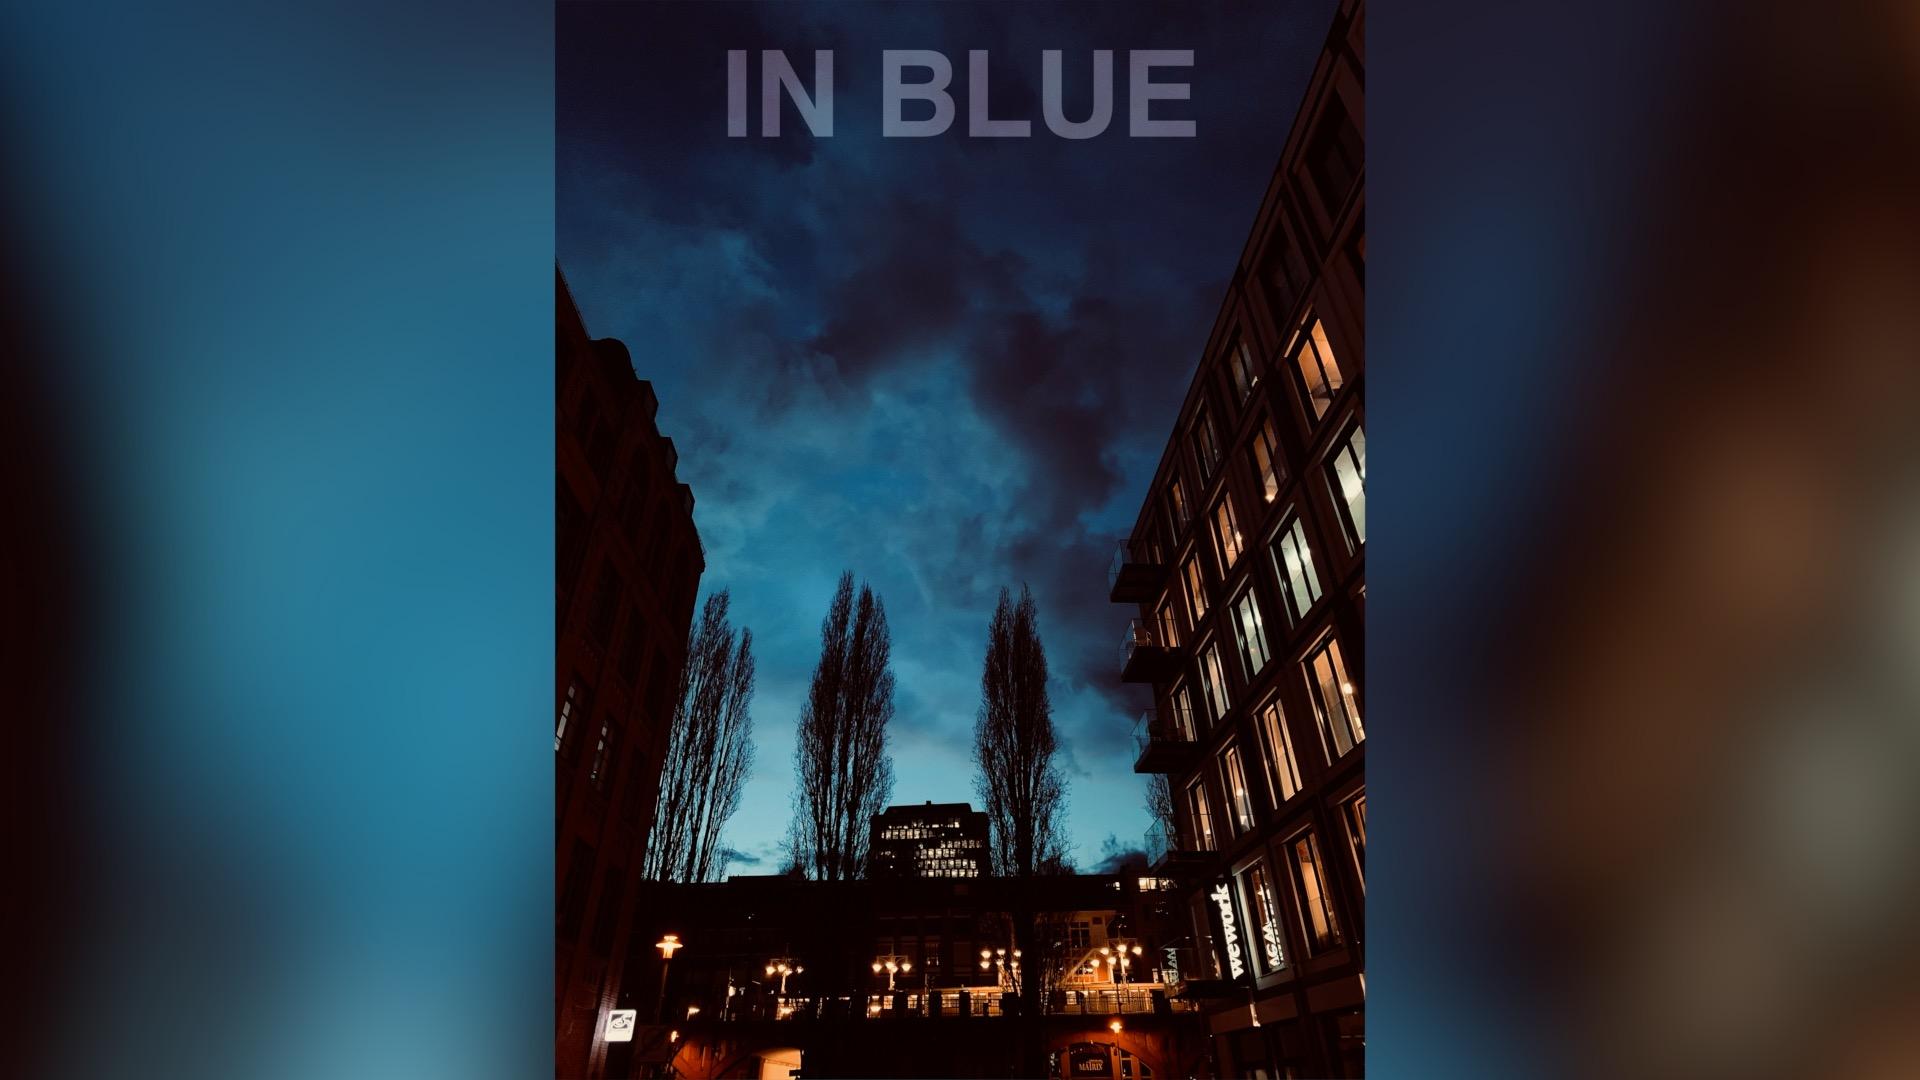
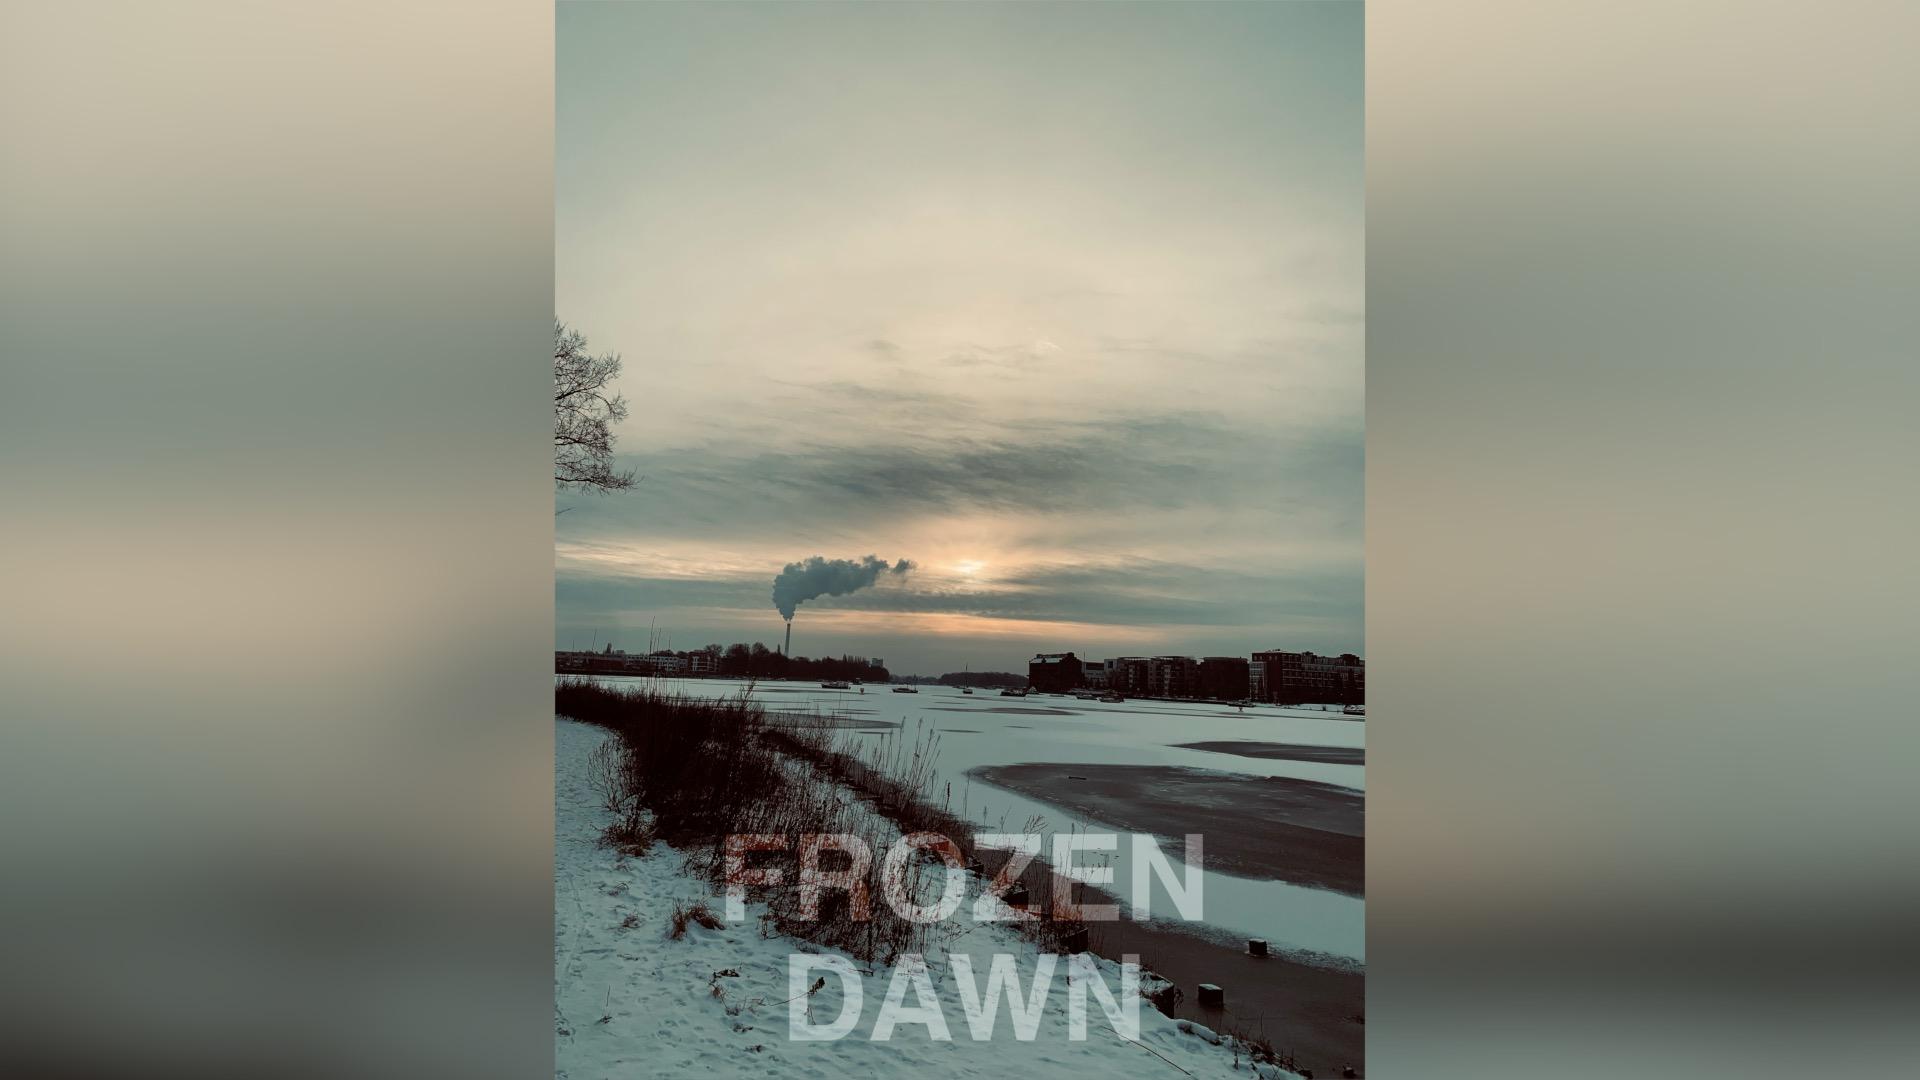
7. Day 5 - The Sky's the Limit (Bold Framing): The sky is the limit. It's a fairly human instinct
to play things safe, to never go too far and barely ever over
extend our reach. When you look at the shots of cities or landscapes
that most people take, you'll surely find that the sky is dedicated to a
supporting character. The sky is there because
it's always there, but it's never really
prominently featured. So let's change that today. For today's challenge, I will kindly ask you to
play with the rules, bend them, and break them. If you must, let's put the sky front and center,
where it belongs. As always, the challenge is
open for interpretation. Where the sky ends
up in your image, how you frame it,
how you find it. All of that is up to you. But it does require you to do
one specific thing that is one of the foundational rules of photography expose
for the highlights. Now, cameras and sensors have
a certain dynamic range. The range before
the darkest black and the whitest white clip, meaning they no longer contain
any visual information. Exposing for the highlights
means that you retain the visual information
and the highlights and thus maybe crush
the blacks a bit. With modern sensors and formats, that's usually fine
because restoring the darkest parts of the
image might introduce noise, which can also be
fixed by modern tools. But bringing down super
white is impossible. Using this technique also
means that you will capture details in the clouds that the
human eye cannot perceive. And that you will
introduce beautiful, serene, and surreal
colors into the sky. Be it at sunrise
or sunset during the early hours of
the afternoon or during a particularly
cinematic storm, the sky deserves more attention than we normally give
it on photographs. Now, you might also find
that highlighting the sky will give your photos an unusual and interesting
perspective. So why not try the same indoors and point your camera
towards the ceiling. The world is full
of safe choices, so go for Bold choices
whenever you can.
8. Day 6 - Black and White: Black and white. There is a special connection to black and white photography. And that has several reasons. First of all, everything and everyone looks good
in black and white. Let's not forget that. But black and white photography also ties into deeper
historical roots. Because the history of
photography is black and white. But today, we don't need fancy black and
white film stock and can switch to
monochromatic images at the click of a button. And if you don't like
the lack of color, you can always switch back, at least on your iphone, as there is more to
black and white images than just desaturating them. I would kindly ask you
for today's challenge to switch to a black and white
filter of your choosing. You can activate these filters and the options of
your camera app. And this is important
for one key reason. Your eye perceives contrasts differently when
colors are involved. And it is extremely
difficult to tell how bright and dark parts of an image are when they
have different hues. These black and
white filters also desaturate the three color
channels to different degrees, making it extremely
difficult to gauge how various contrast levels will play when the images
bereft of color. Also, there's a lot
of fun to be had in viewing the world through
a monochromatic lens. Today's prompt is quite simple. Take three black
and white images. I would suggest that you use the black and
white filter found in the app to better assess the images that you are
taking. No worries. The way the iphone uses
these filters is non. Destructive. You can always edit the image and
the photos app, choose a different filter or restore it to original colors. Black and white is a particular
challenge because it requires you to think in
mere luminosity contrast, to focus on the brighter
and the darker parts, and to work with visual clarity or to highlight structures.
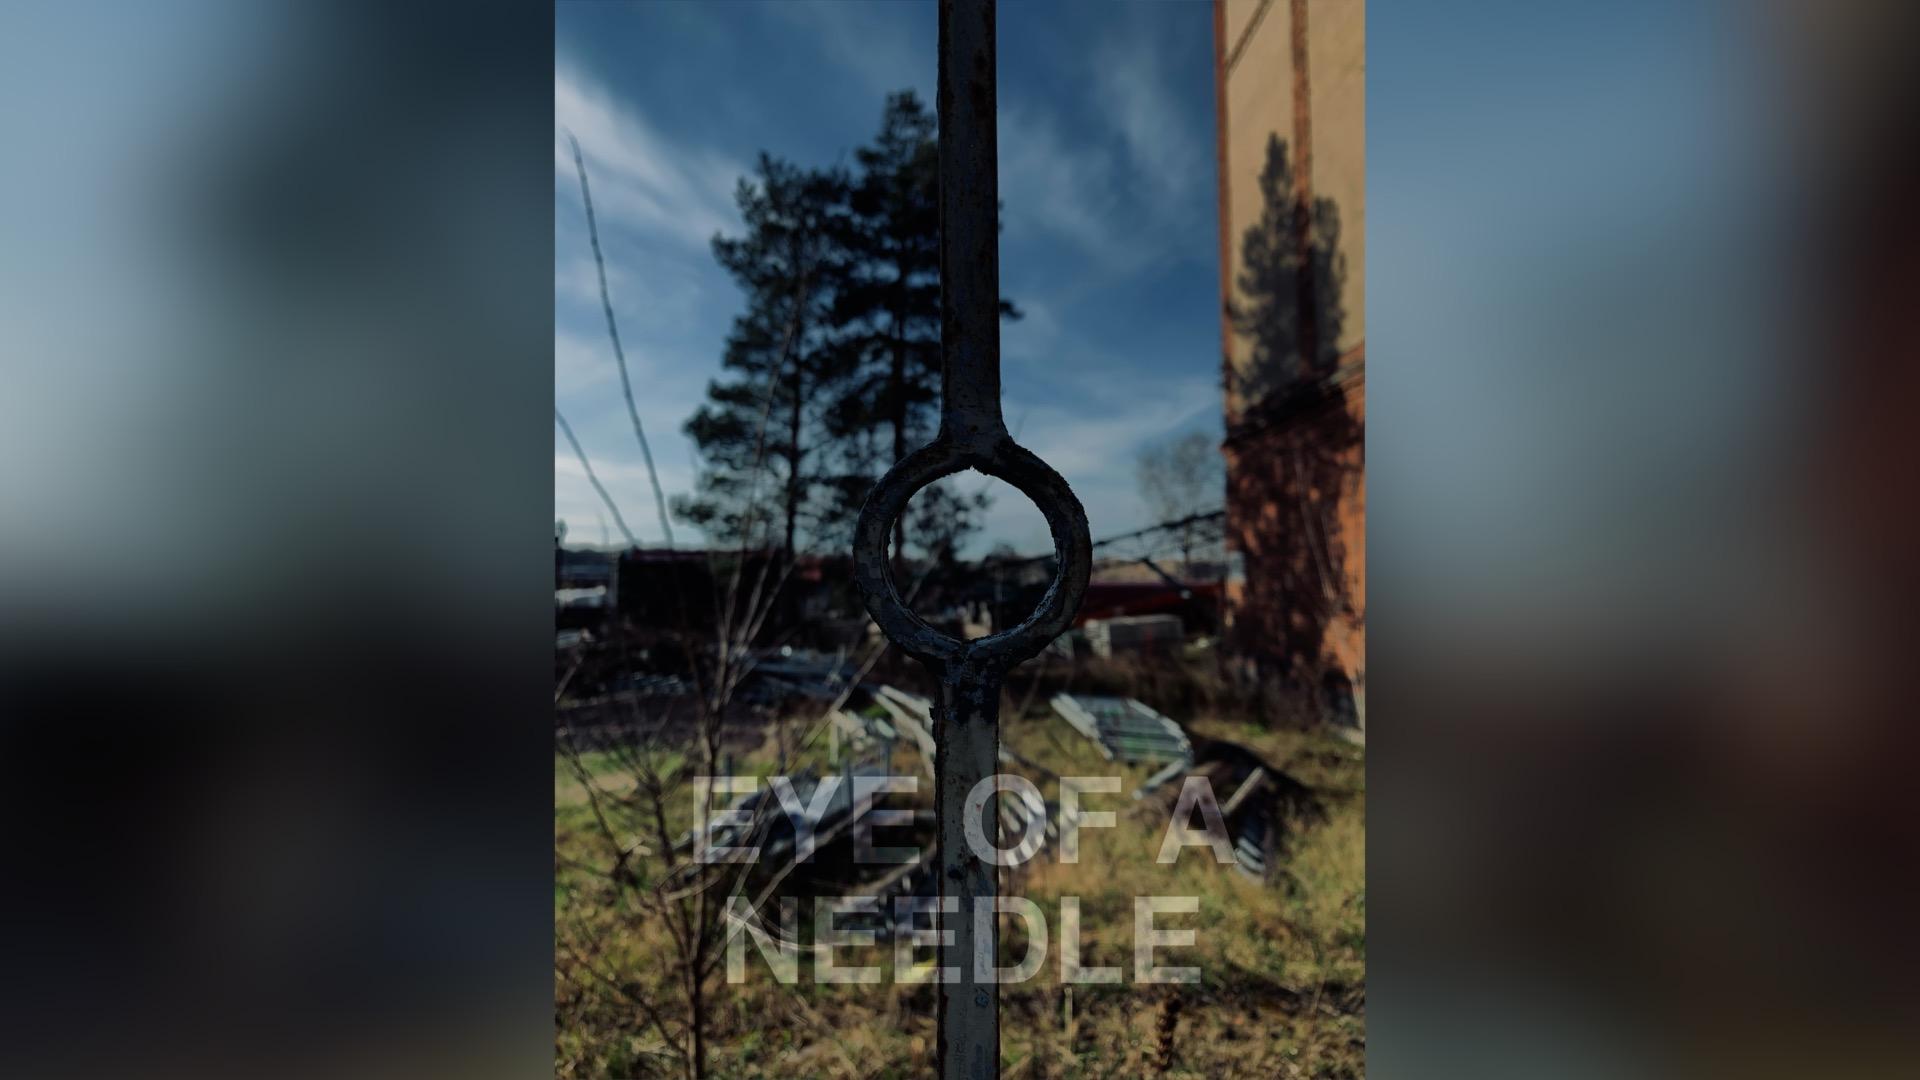
9. Day 7 - Frames Within Frames: A frame within a frame. Every time you take a picture, you snap a little three by two rectangle out of the world. And that is called framing. And to paraphrase the
great Martin Scresse, cinema is a matter of what's in the shot and what's
not in the shot. The same obviously
applies to photography. Every time you take a picture, you make a conscious
decision about what to include and
what to exclude. This creates the
framing of your photo. But what if you were to
add an additional frame? A frame within a frame
creates exactly that. A more nuanced way to look
at the world within a world. A doorway or a window
frame are the classics. They naturally frame
everything inside. But there are other options too, Particularly
geometrical lines. Create beautiful foregrounds and frames and result
in a pristine image that captures a certain contrast of inside versus outside. This is your prompt for the day, a frame within a frame. Find the beauty on
the inside of things. Use frames and
geometrical shapes to create a natural
division in your images. And experiment with a
new way of framing that isn't necessarily driven by
getting the cleanest shots.
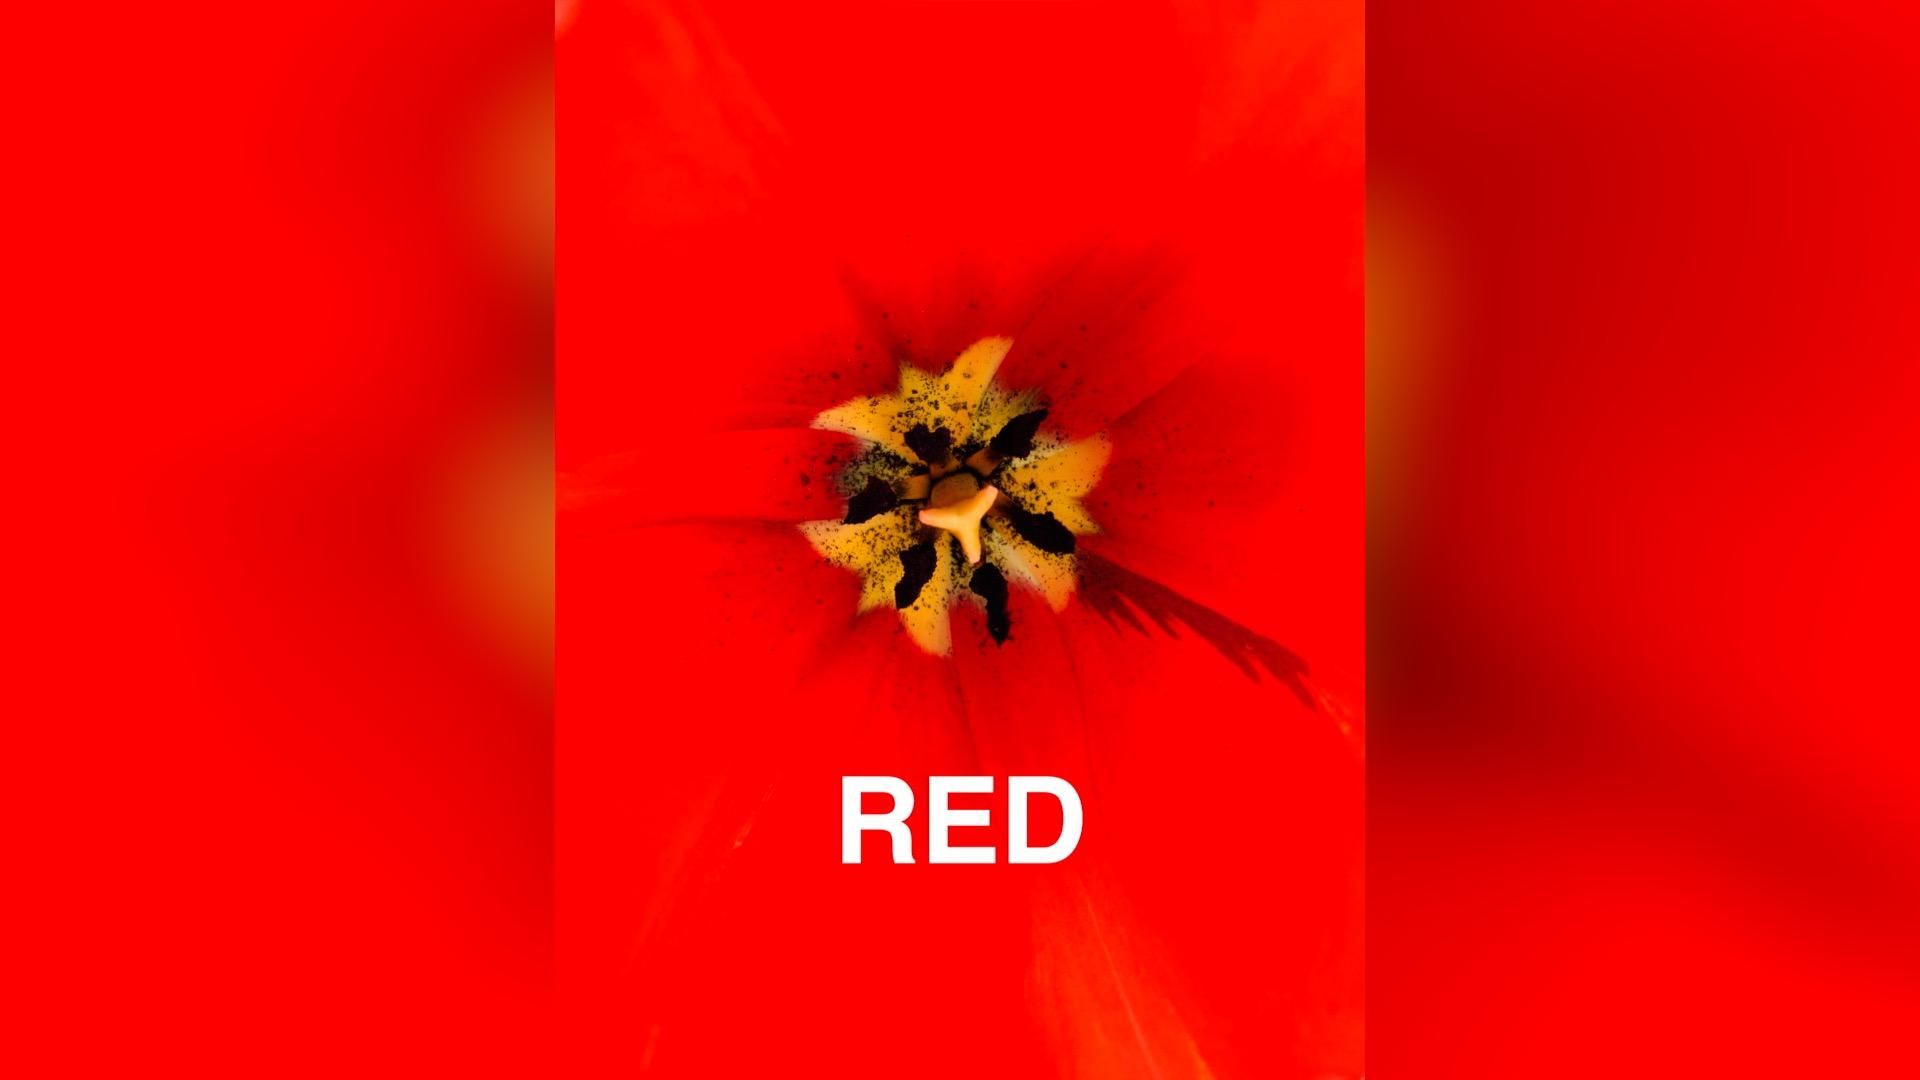
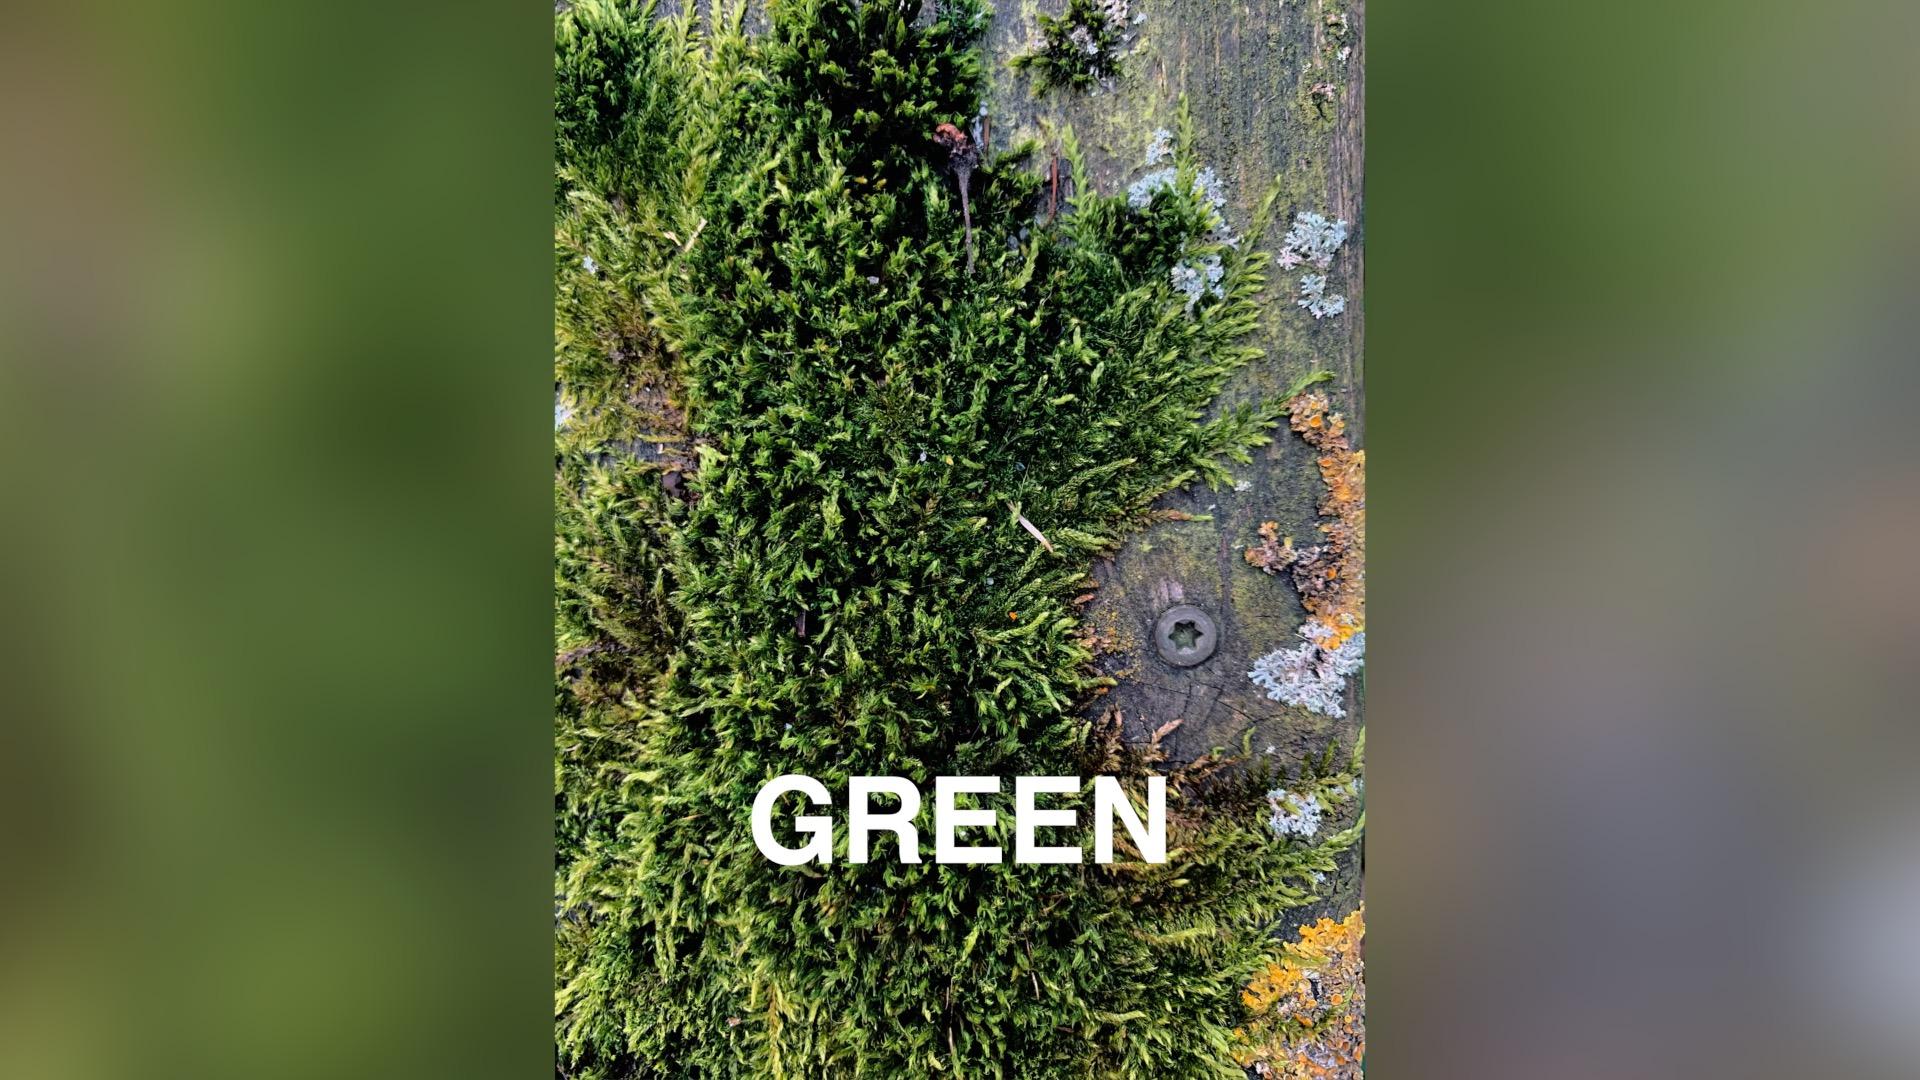
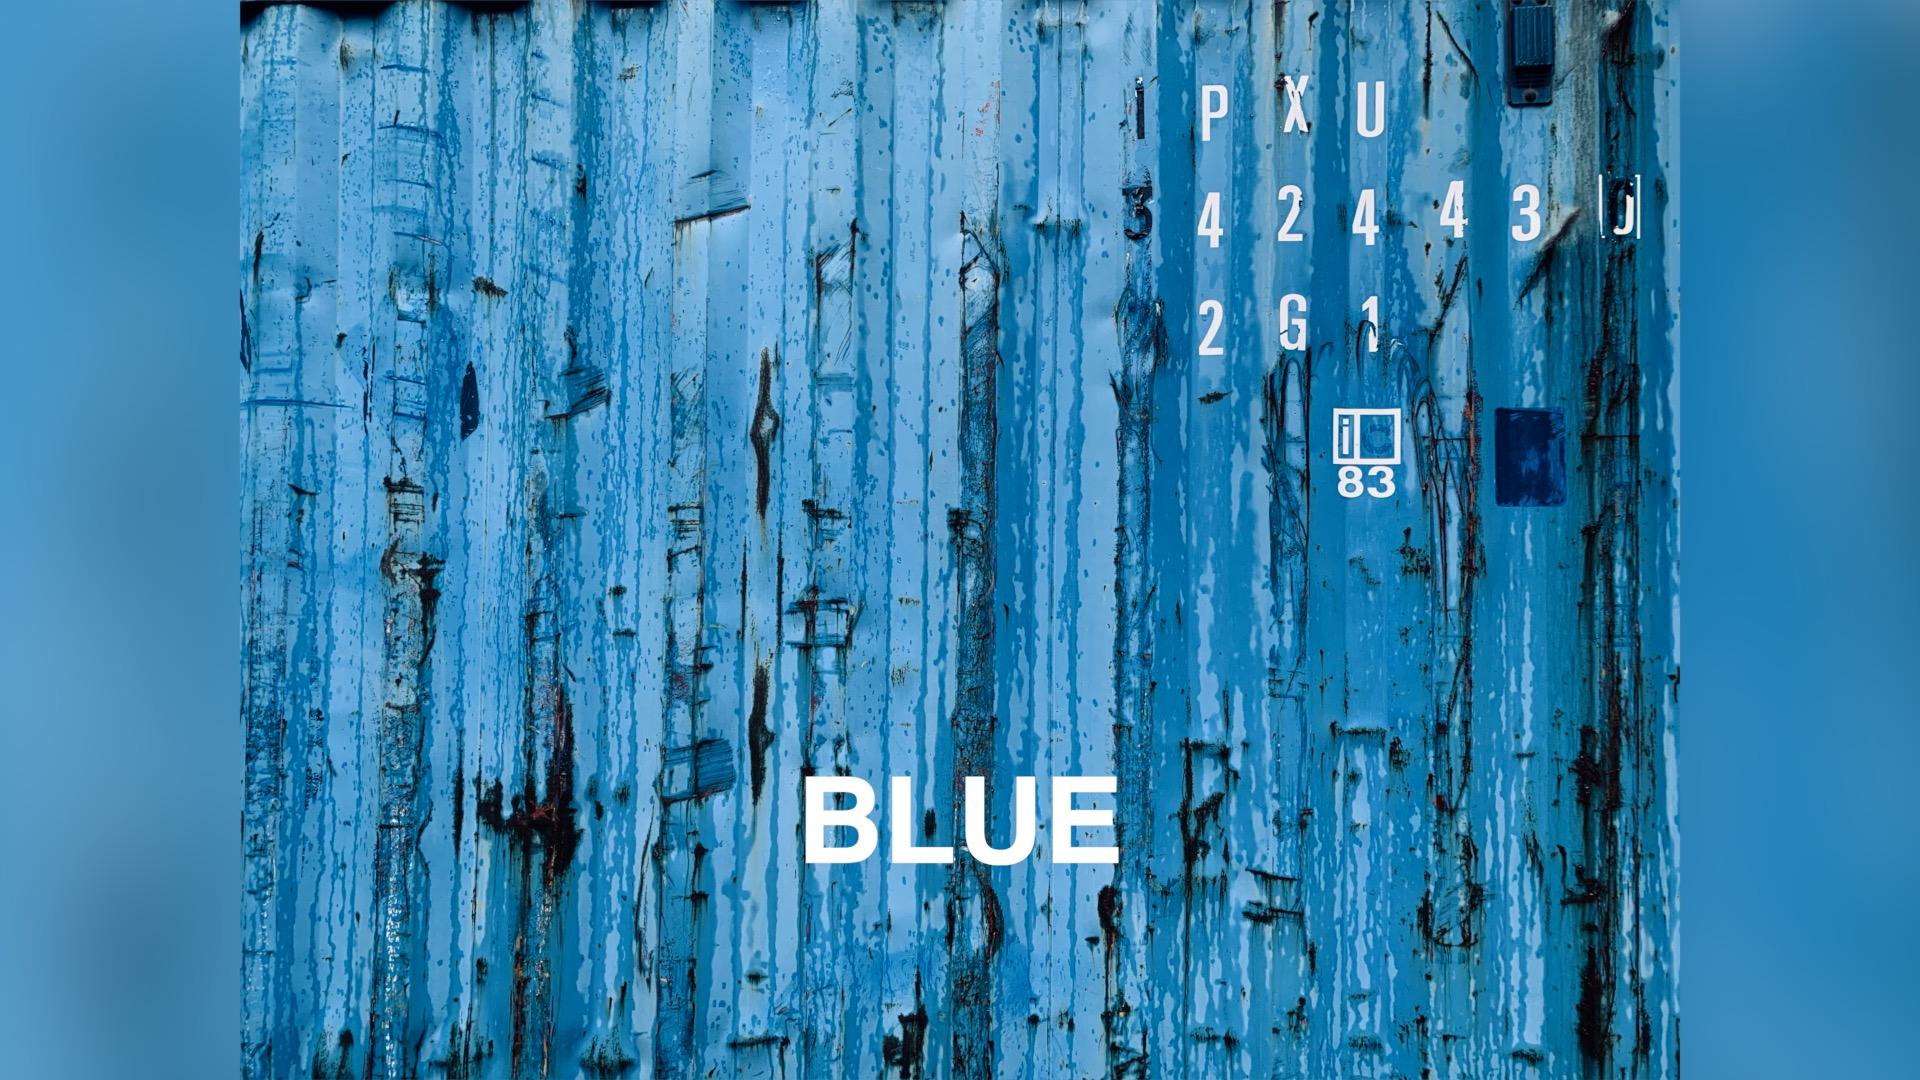
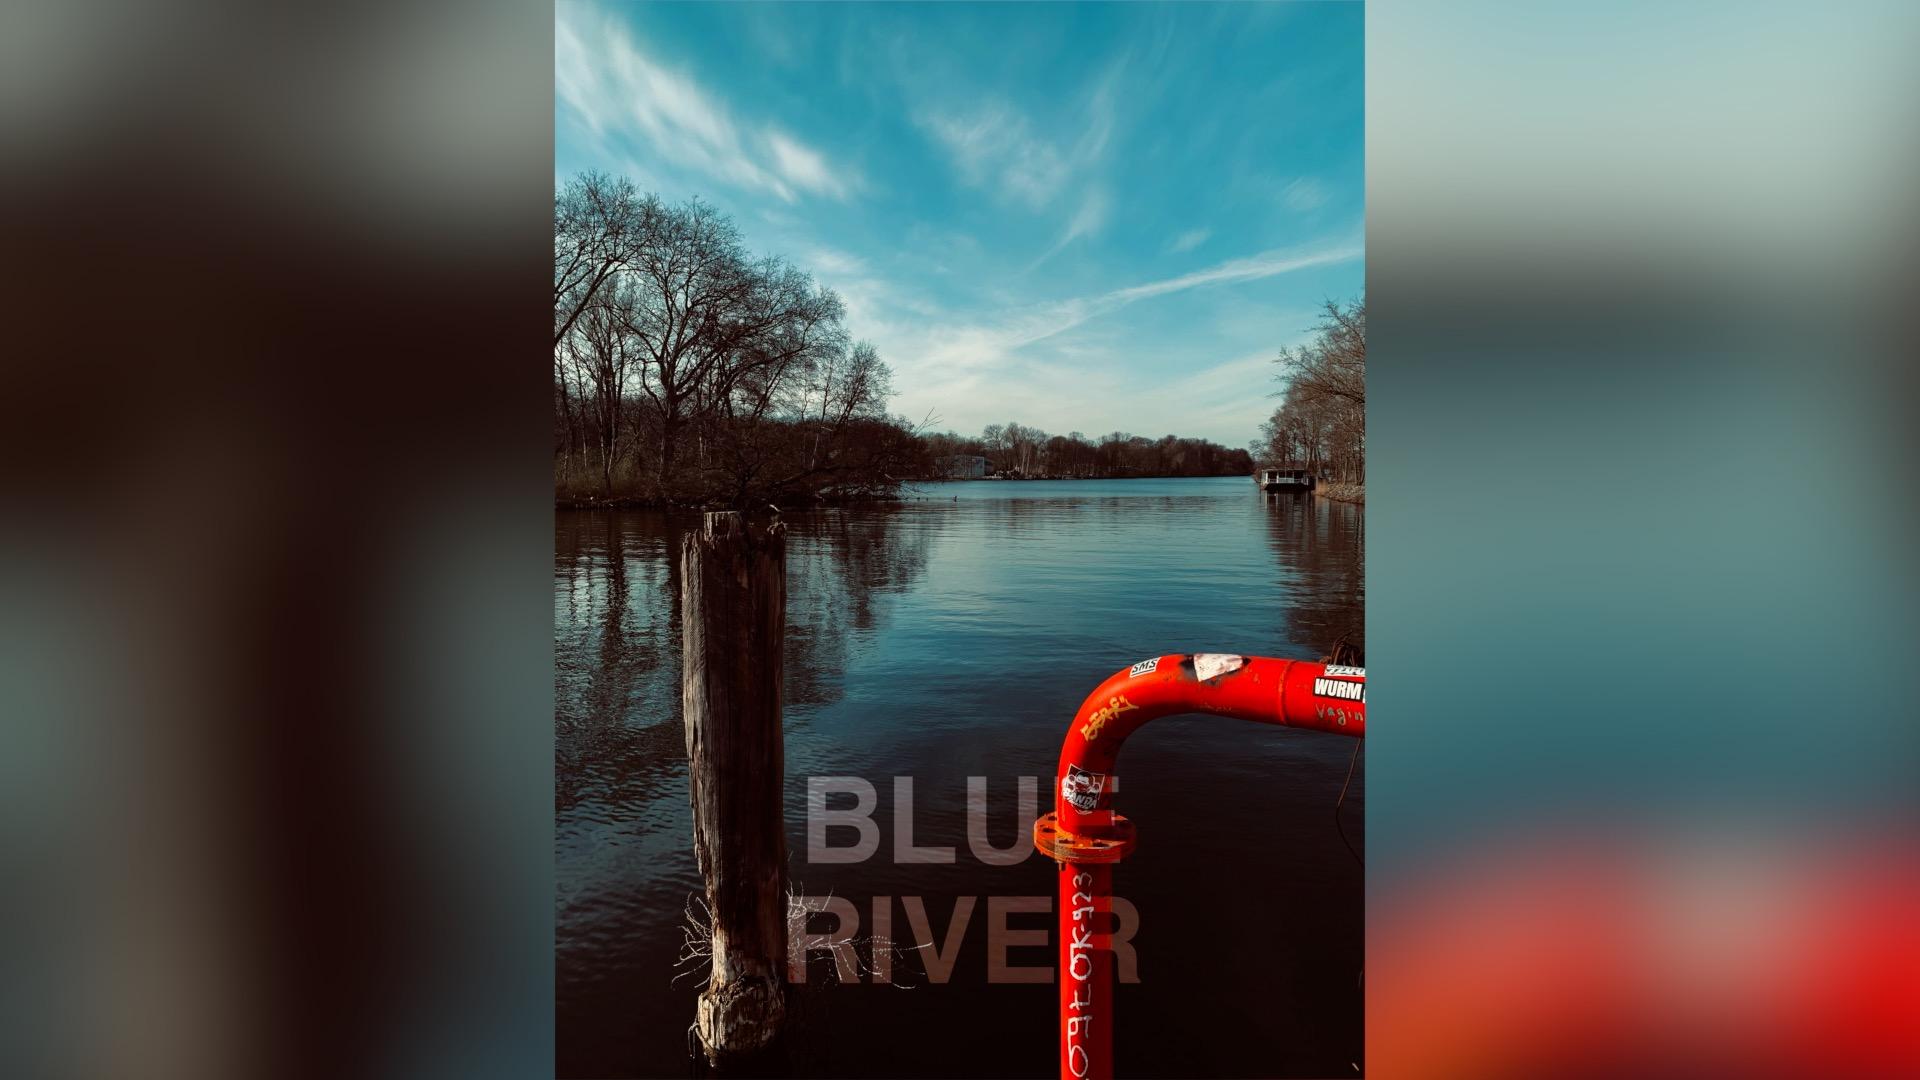
10. Day 8 - Red, Green. and Blue: Red, green, and blue. How does your camera
actually see color? Well, not like the human
eye, that's for sure. It is in fact quite
different because a camera sensor can
only see three colors, red, green, and blue. This is 100% red, this is 100% green, and this is 100% blue. Everything that isn't 100% either color is a mix of these three colors
plus a fourth value, luminosity, or how
bright something is. This is also the part where
a bit values come into play, because you might have heard
of the term bit depth. Let's say you have
an eight bit J peg and you have a
16 bit raw file. Now you might
instinctively say, well, 16 bit is better, but here's the
mathematics behind that. Eight bit, two to the
power of eight or 256 means every color and the
luminosity have 256 steps, 0-100% 16 bit isn't
just twice as good. 16 bit is two to
the power of 16, 65,536 It is 256 times as good. Now these values help prevent color bending
and weird artifacts, and create richer and
more accurate colors. And this is the reason
why in most instances you want to shoot raw files unless
you have a Fuji camera, because you're paying
for these foam recipes, so you better use them. So now that you know
that these cameras only capture three colors, and screens only
display three colors, and that most of your
color perception is nothing but a sweet,
sweet deception. Here is your prompt for today. Capture something red, capture something green,
capture something blue. That could be something
borrowed or something new. So I'm expecting some
colorful pictures.
11. Day 9 - High and Low Angles: High and low angles. When they go low, we go high. A good photographer isn't afraid of getting
their knees dirty. They will climb fences
were not illegal, or crouch through the mud all in pursuit of
the perfect shot. It's often fairly easy to just take the most
convenient route, grab your phone and snap
a picture on eye level. But the eye level is really just one way of
capturing a photo. High or low angles allow you to capture unique perspectives. And press your phone
or camera into a position otherwise
inaccessible to the human eye. Bonus tip. If you are
shooting low angles, try flipping your
phone around because the lens is on the
top of your phone. So turning it upside down will get the perspective even
closer to the ground. This is also where playing with perspectives really
comes into play. Because a high or low
angle perspective will automatically
introduce some form of power hierarchy
into the image. Normally, we associate
low angles with a powerful subject because we are looking up
at the subject. Whereas with high angles, it really feels like we are
looking down at someone. So what's the
challenge for the day? It's a tale of
three perspectives. Snap three different
photos on eye level, on high, and one low angle. It doesn't necessarily have
to be the same subject. In fact, some subjects are simply more suitable for
either perspectives. But experimenting will make this assignment a
whole lot easier. And try not to wear your
priciest trousers today. Your knees might in fact get dirty trying to grab
the perfect shot.
12. Day 10 - No Second Chances: No second chances. Perhaps you remember the
days of film photography, or perhaps you remember the fake nostalgia for film photography. Or your parents remember it
or you simply like it because the Fuji film cameras have such nice film recipes due
to their ex tran sensors. And while film
photography certainly had its perks and film still
looks rich and beautiful, it was also a hassle to handle. And don't you dare pretend
that wasn't the case. Loading the film into the camera always took some
amount of fiddling. You were limited to 36
shots per Ole film. And in the end, you had to wait for the photos
to get developed, which was also a pricey effort. The scarcity of photos per
Ole of film forced you as a photographer to
be more deliberate about what you would take photos of and what you wouldn't. Instead of just snapping away without a
care in the world, you actually had to give
your images some thought. And being deliberate
is exactly what I'm asking you to do for the final
challenge measure twice, cut once, so to speak. I want you to take three
photos and only three photos. Take your time finding the
right subject and frame. Experiment with
proximity and angles. Go black and white or color. Shoot with the sun on your
back or against the light. Look up, look down, shoot in portrait or landscape. But whatever you do,
you only get one shot. For this final challenge, I want you to be extremely deliberate with
everything that you do, put a lot of thought
into everything, and make clear choices. And whatever that choice is, that is going to be your choice. And for the magic
of photography, you get to capture it forever. I know this goes against your instincts being a
modern photographer with a digital image
capturing machine that can store thousands upon
thousands of images. But this challenge isn't about working to the best of
your technical abilities, it's about working to the best of your artistic abilities. Bonus points for capturing
something unique, of course.
13. Conclusion - 30 Photos in 10 Days: Conclusion, and
ten day portfolio. Well, that brings
us to the end of our ten day street
photography challenge. If you followed along,
you should have everything that you need to submit the project
for this class, a portfolio of 30 images. Then you can simply upload here an effortless portfolio
with a great variety that should have taught
you all the basics of photography in theory
and in practice. And that in only ten days. So I really hope
that you enjoyed this little discourse into
photography on your phone, that you remember all the
basics and that you are now more adept at putting
these things into practice. Photography is a great tool for capturing the
world around us, and it really doesn't require modern camera or
an expensive lens. If you know what you're doing, that is going to be
absolutely priceless. And maybe you'll
experience one of the best feelings any
photographer can experience. People asking you what camera you took these
beautiful photos on, and you just shrugging
and off to reply, oh, these old things now, just took them all my phone. If you enjoyed
this challenge and the approach of project based
learning for photography, please follow me here
for more classes on photography, filmmaking,
and directing. And find me on social media or somewhere else
on the Internet. And please don't forget to post your results so that you
can get some feedback from fellow creatives
and maybe even find some like minded photographers
around the world. I've had a lovely time and
I'll certainly hop off my bike whenever I can to take a picture of
the world around me. And I hope you do too.
 Sebastian Matthias Weißbach, filmmaker and actor