

Watercolor Wet on Dry: What It Is and How To Do It
They’re watercolors, so how could you use them dry? Trust us, it’ll make sense and by the end, you’ll have learned the watercolor wet on dry technique.


As you’re learning watercolor techniques, you’re sure to come across the term “watercolor wet on dry,” which is a method of painting that artists often use for fine detail work, layering, and full-canvas color washes. This technique is one of the basic best practices that you’ll pick up as a beginner, and it’s also worth working on if you’re trying to add more realism to your watercolor pieces.
Whether you’re new to watercolors or you just want an explainer, keep reading for a quick look at the essentials of watercolor wet on dry painting and how to go about incorporating it into your work.
What is Wet on Dry Watercolor?
Wet on dry is a technique that involves applying wet watercolor paint onto a dry surface. This surface could be dry paper or a layer of already dried paint. In either case, a lack of moisture on the surface means that your paint won’t bleed into other areas, which will in turn allow you to paint with more detail and create more heavily saturated colors.
What is the Difference Between the Wet on Wet and the Wet on Dry Watercolor Technique?
Wet on dry painting differs from wet on wet in both practice and in outcome. With wet on wet, you use your watercolor brush to apply wet paint to an already wet surface, dispersing the pigment and getting less predictable results. This differs from the fine-tuned control you get with wet on dry watercolor painting, though it’s a great way to achieve colorful ombres and softer edges in your paintings.
In many cases, you’ll use both wet on dry and wet on wet techniques in a single painting. It does still help to practice these techniques separately, though, so that you get a full understanding of how they function and what they can achieve.
Wet on Dry Examples
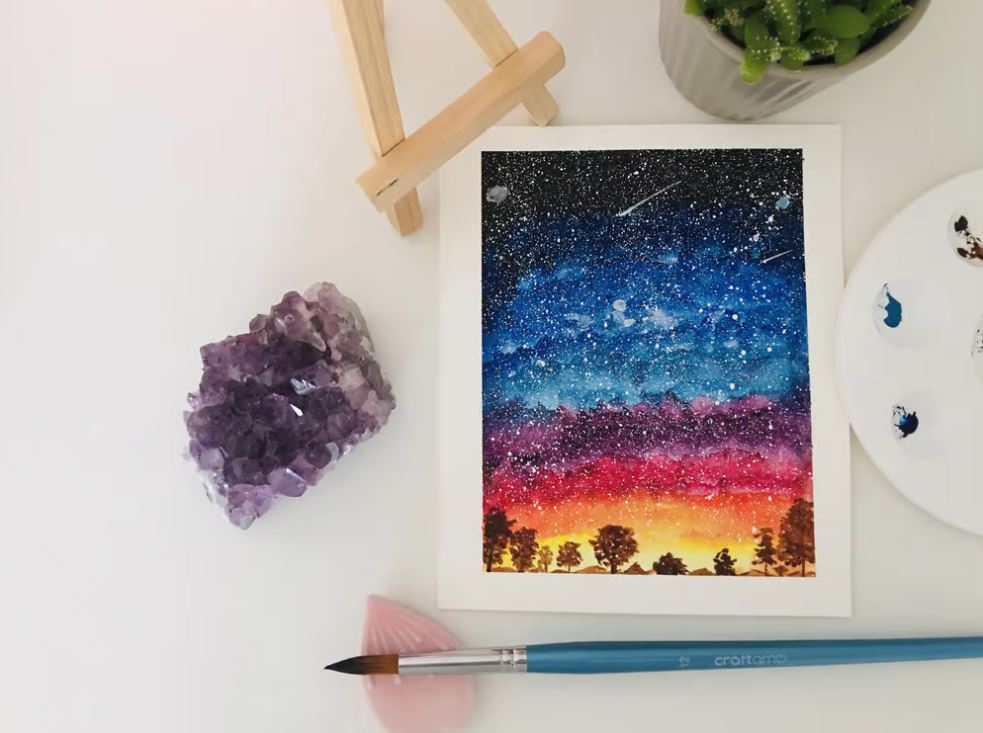
Wet on dry is used to bring detail and drama to your watercolor work. Here are some examples of how it looks in action, including how it compares to wet on wet.

Blending is still possible with wet on dry watercolor painting. But as you can see, you’ll get sharper edges, less color bleeding, and more distinct hues with the technique.

In this comparison of wet on dry and wet on wet watercolors, you can see how applying wet paint to a dry surface resulted in a clearer and more defined image.

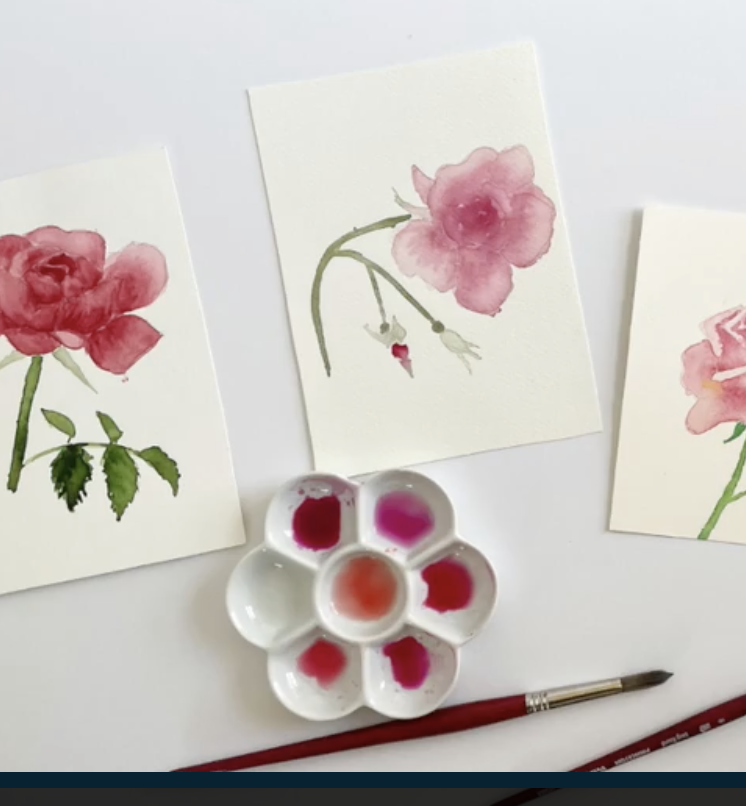
Here’s another comparison to see just how much more predictable wet on dry watercolor painting is than wet on wet. Using wet on dry techniques, this artist was able to create more detailed patterns and shapes, with a lot more distinction between colors.
Capturing Natural Beauty in Watercolor
Watercolor in the Woods: A Beginner’s Guide to Painting the Natural World
How to Watercolor Wet on Dry
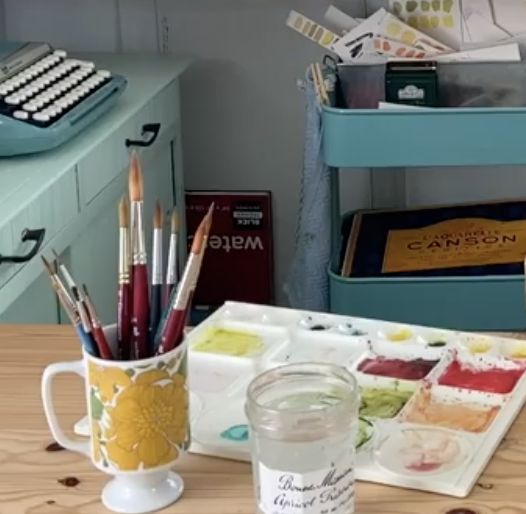
Gather your watercolor supplies, then try out these wet on dry techniques so you can use them in your next painting.
Layering With Wet on Dry
Layering is used in watercolor painting for continuity, for color saturation, and to build new colors from your existing palette. To layer wet on dry, apply your first wet layer to a dry surface, starting with the lightest color you intend to layer and going darker in subsequent layers. Key to layering with this technique is to let each layer dry fully before moving on to the next. If you don’t, you’ll end up painting on a wet surface and getting different effects.
Blending With Wet on Dry
Wet on wet is the standard way to blend watercolors, but it’s possible to blend wet on dry too. One way to do it is to add a wet color next to another wet color, gradually overlapping as you do so that the colors blend where the brushstrokes meet. You can also blend using glazing, which is a technique where you overlap thin, light layers of color.
Detailing With Wet on Dry
Wet on dry is the way to go when you want fine detailing in your artwork. Choose a brush size and shape that’s appropriate for the details you’re putting in—i.e. a small round brush for delicate dots and lines and a fan brush for wispy landscape elements like grass and wind. Then use layering to incorporate details—including texture and dimension—into the piece. Just remember to let each layer get completely dry before putting on the next one so that you don’t lose definition in your lines.
Can You Watercolor Over Dried Watercolor?
Absolutely! Wet on dry applies to painting on dried watercolor paint in addition to painting on dry paper. Doing this is a way to layer colors for more saturation, to create patterns, and to paint on additional details.
When you’re practicing wet on dry painting, experiment with your surfaces and try out painting on both dry paper and on dry watercolor paint. Then juxtapose those results with the same shapes painted wet on wet to see how they compare and the full range of effects that you can create.
Step Up Your Watercolor Skills
Beyond Beginner: Tips and Tricks to Level Up Your Watercolors
Try Skillshare for free! Sign up for a 7 day free trial today!
Get Started- Unlimited access to every class
- Supportive online creative community
- Learn offline with Skillshare's app


