

Resin Painting: Creating Art Without Paint
You can use just about any medium to create art. Yup, even resin. You may be surprised by what’s possible with a little liquid polymer and a lot of imagination.


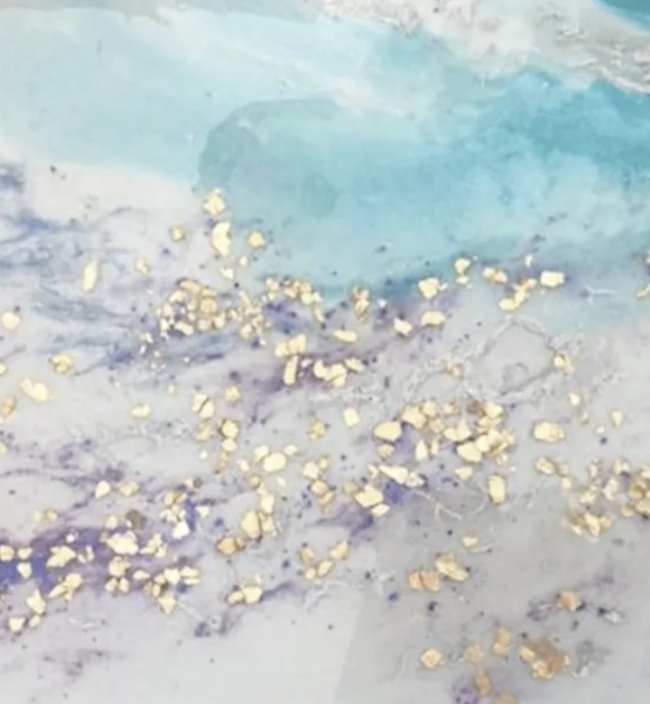
Many types of painting require the precision of a paintbrush. But if you want to create something more loose and unrestrained, try resin painting. This type of artwork requires no paintbrush; instead, you pour tinted resin across a work surface, like wood or glass. The paint swirls and marbles, creating beautiful abstract designs. It’s a fun, experimental art form that produces a different result every time. Want to try it? Learn how to paint with resin in this guide.
Quick Links
What Is Resin Painting?
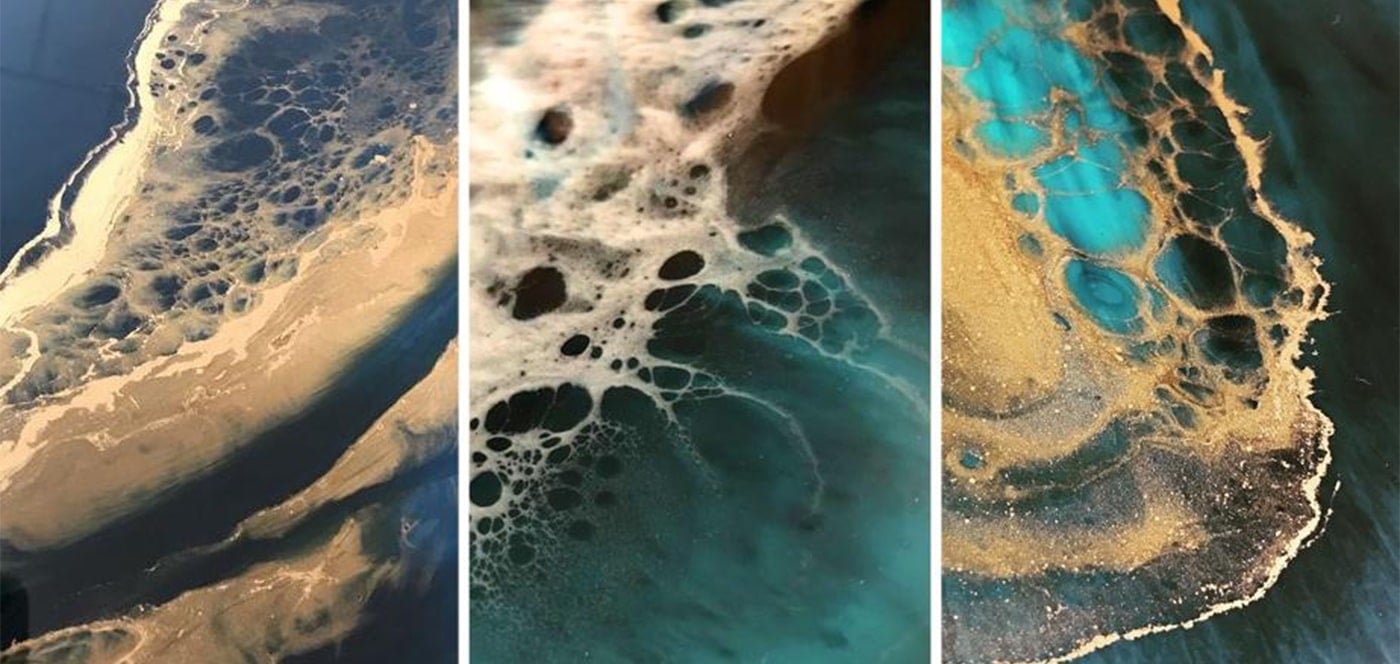
An abstract art form unlike any other, resin painting involves pouring colored resin—tinted with pigment, dye, alcohol ink, or even regular acrylic paint—across a canvas or other work surface, like a smooth piece of wood. Then, using a range of techniques, you can manipulate the resin to move across the canvas, creating abstract designs. Eventually, the resin dries into a hard, solid plastic with a glossy finish.
Get Started With Resin!
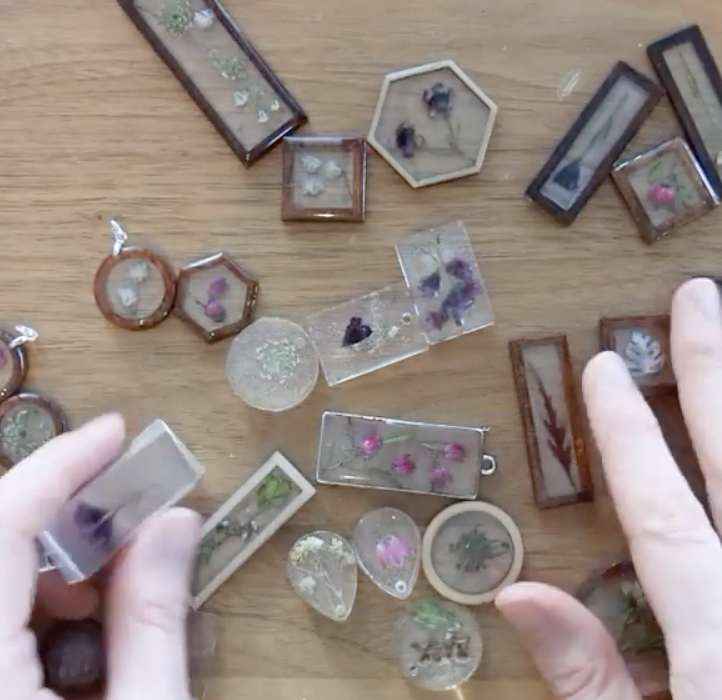
Floral Resin Jewelry Basics
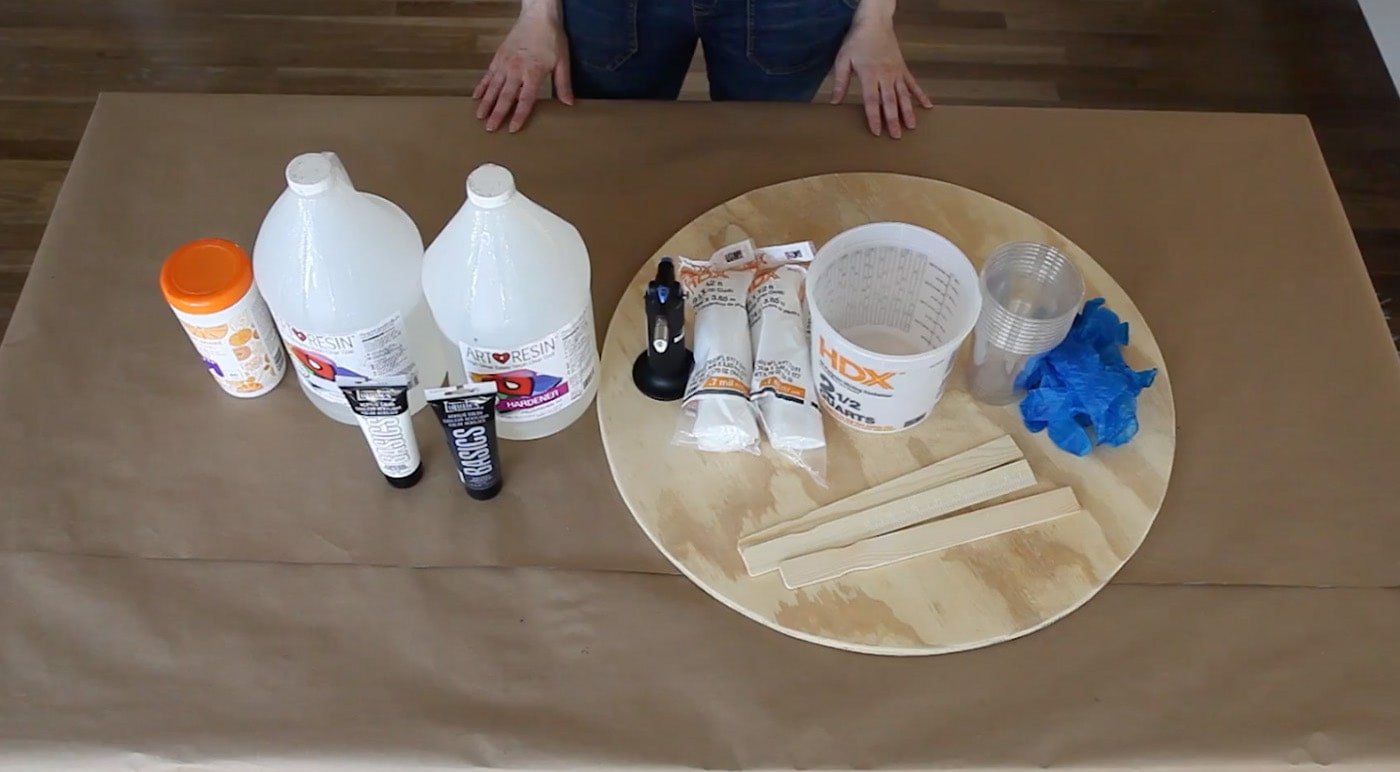
Resin Painting Supplies
To paint with resin, you won’t need a paintbrush, but you will need a few key materials.
Resin
Resin is created by mixing two components: resin and hardener. Mixing the two elements creates a chemical reaction that causes the resin to begin gradually hardening. Without using both elements, the resin won’t be able to dry to its signature hard, glossy finish.
Using a higher quality resin will ensure that any uncolored parts will dry crystal clear and any colored parts will maintain their original hue.
Paint, Dye, or Tint
There are many different ways you can color resin. For a high-quality option, look for powdered pigments specifically designed to tint resin. However, you can also use standard acrylic paint or alcohol inks, which you may already have on hand. You could even use natural household items to color your resin, such as turmeric or paprika. Painting with resin is an experimental process, so embrace the uncertainty and test a few ideas to see what works best for your art.
Canvas or Wood Board
Of course, you also need something to paint. You can use a standard canvas, but it should be tightly stretched and well-supported; otherwise, it can sag under the weight of the resin. Other work surface options include wood panels, medium-density fiberboard, tile, or even non-flat surfaces, like wooden bowls.
Plastic Cups
To mix and tint the resin, you’ll need plastic cups. You can use disposable plastic cups or, for a more environmentally friendly option, reusable silicone ones. It’s also helpful to have paint sticks on hand for mixing.
Painting With Resin Step by Step
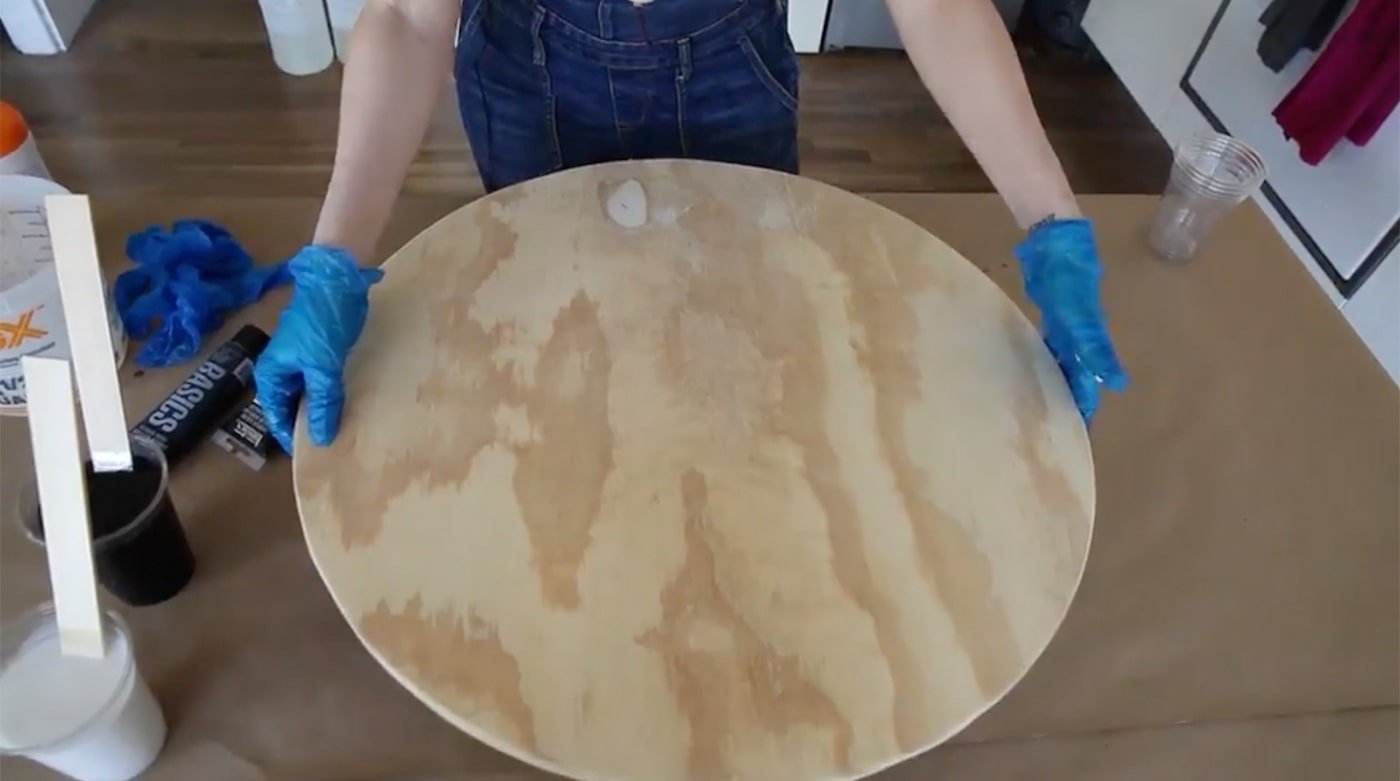
Step 1: Prepare Your Work Surface and Canvas
Painting with resin is a messy process, so cover your table with a tarp. Then, prop your canvas or wood panel up on a few plastic cups. This will keep your surface elevated, allowing the resin to drip over the edge.
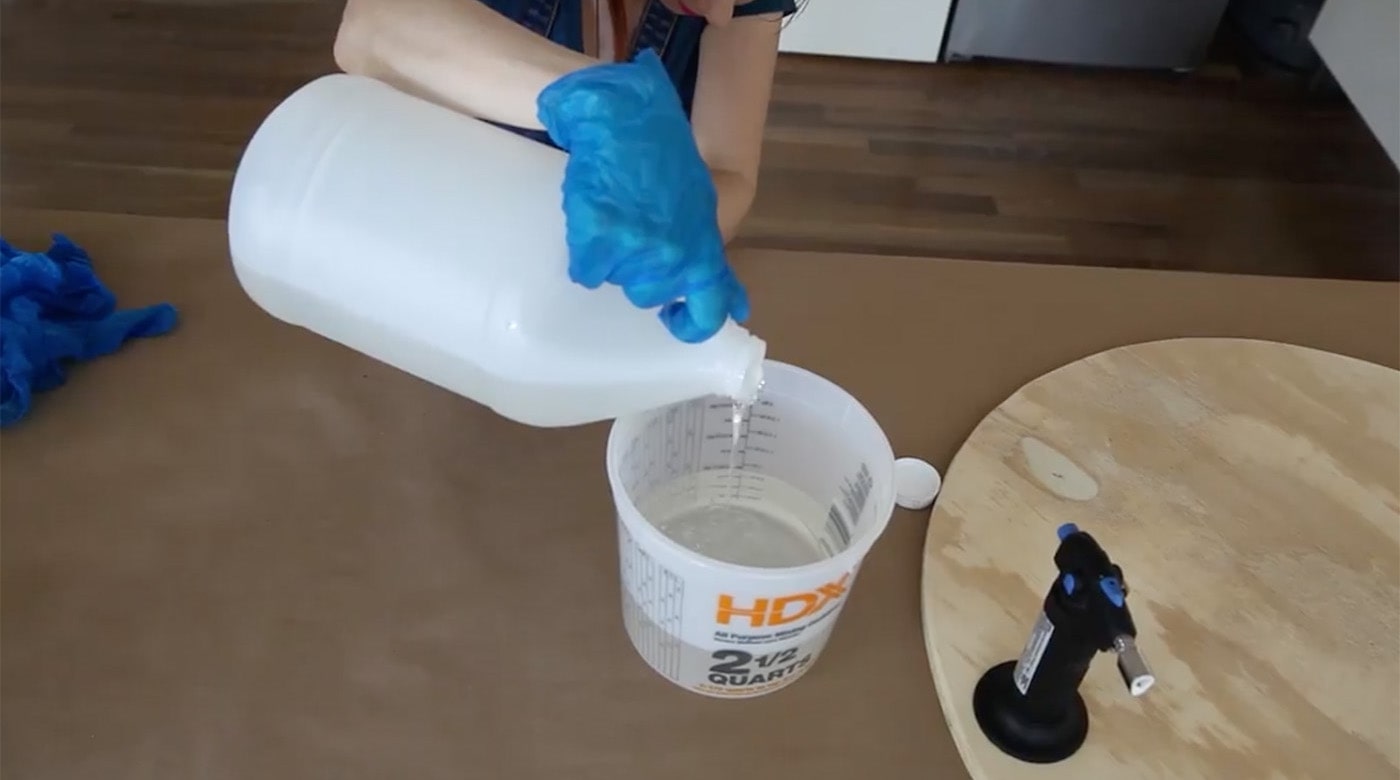
Step 2: Mix the Resin
The amount of resin you will need depends on the size of your work surface. (Need help? Try using this online calculator to determine how much resin to mix.) Once you figure out that amount, add your resin and hardener in a 1:1 ratio to a large measuring cup. Use a wooden stick to stir the mixture for about three minutes, or until it’s clear with no cloudy swirls.
A note of caution: Don’t mix too much resin at once. Once mixed, the resin is only pliable for about 30 to 45 minutes. If you’re making an extremely large piece, consider mixing your resin in smaller increments, so it doesn’t begin drying before you’re done pouring and manipulating the paint.
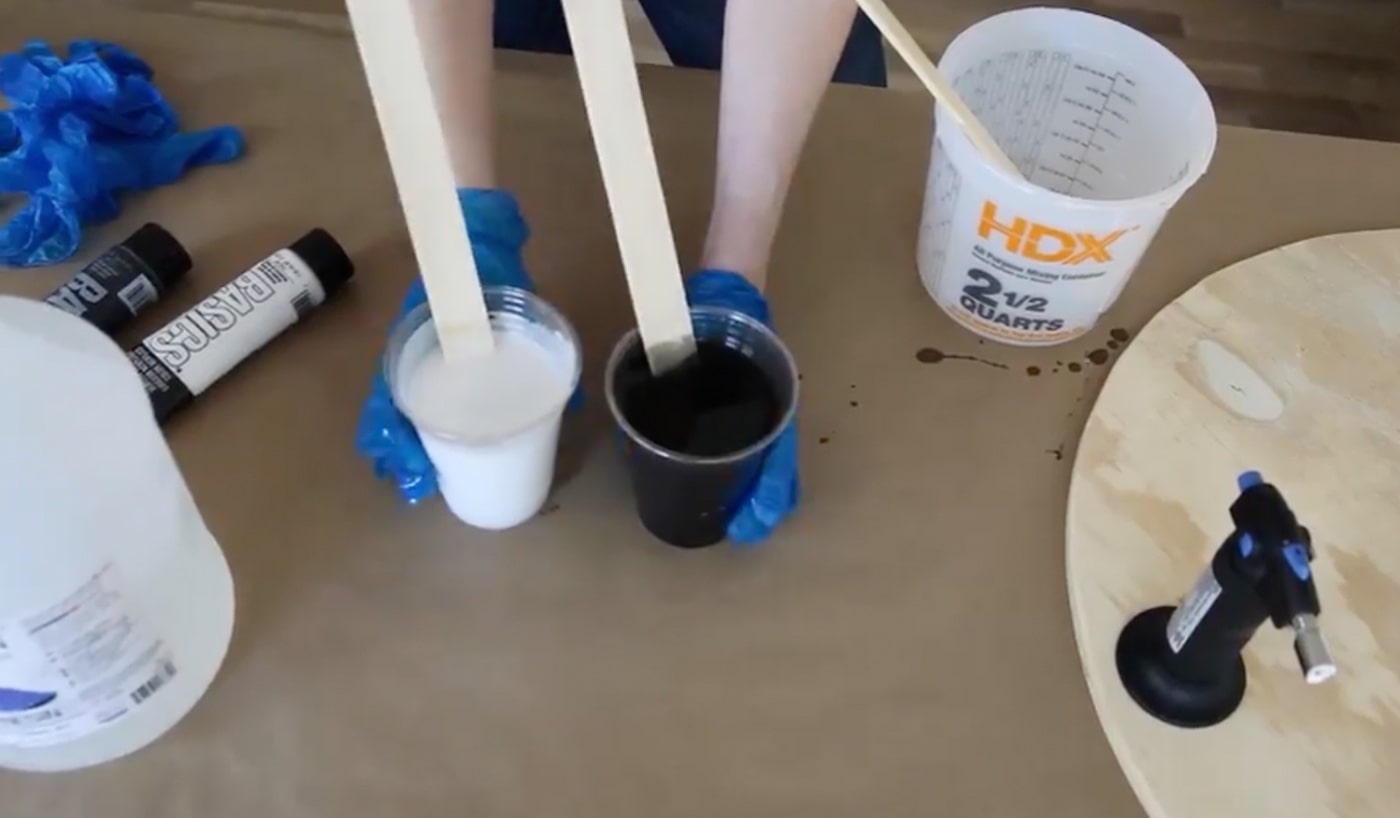
Step 3: Add Color
Separate your resin into smaller plastic cups—one for each color you want to use in your composition. Then, add your tint of choice, whether it’s acrylic paint, powdered pigment, or ink. Whatever you use, add it sparingly. Only 6% of the overall volume of the resin can be added to the mix before it begins impacting the compound’s ability to harden. Mix thoroughly, until the color is equally distributed throughout the resin.
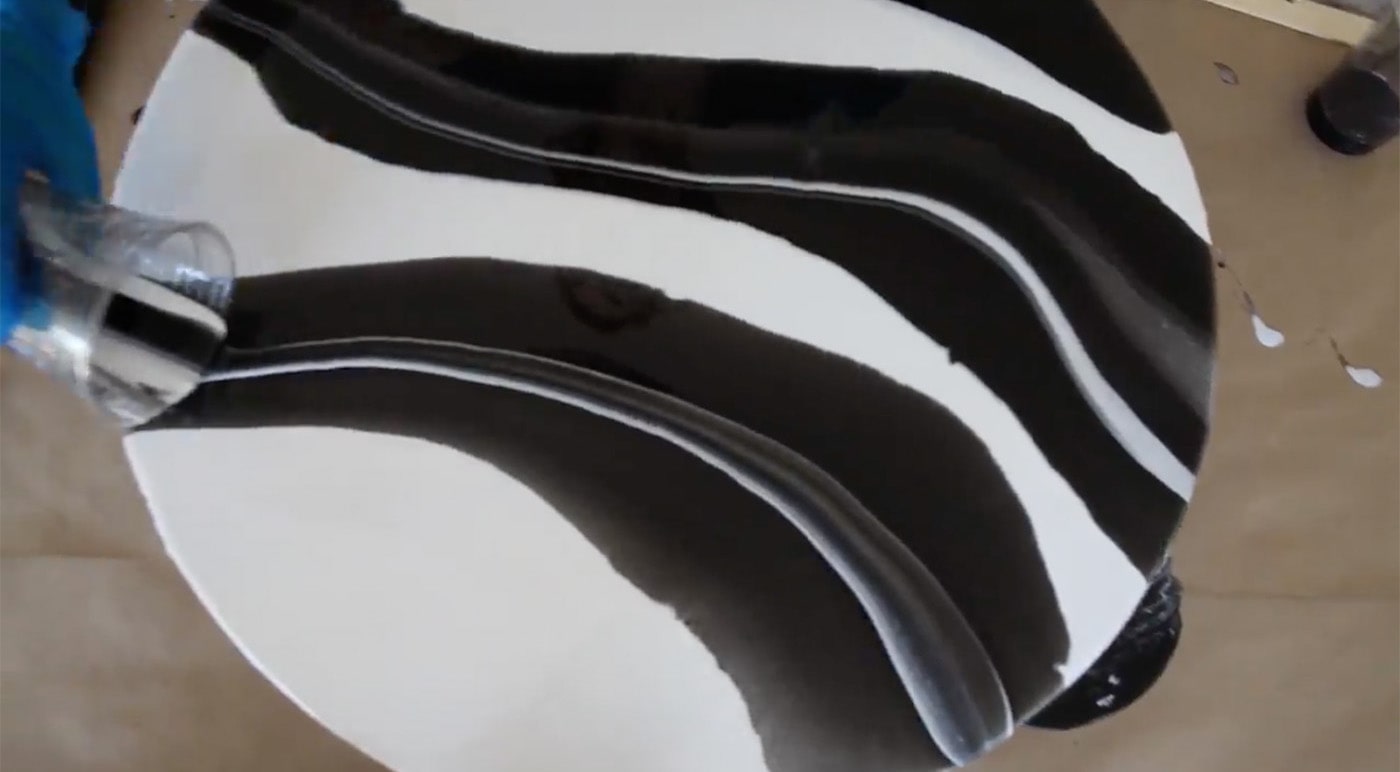
Step 4: Pour the Resin
There are many different ways to transfer the colored resin to your canvas. Choose from—or combine—the following techniques:
- Puddle pour: Pour small amounts of resin on your surface, creating small puddles. Then, layer in additional colors by pouring them directly into the center of an existing puddle. Once you have multiple puddles on the surface, tilt it back and forth to encourage the resin to marble and flow, creating abstract shapes.
- Dirty pour: Layer multiple colors of resin in one cup, but don’t mix them together. Pour the entire contents of the cup onto your work surface, and see how the different colors swirl together. Tilt your canvas back and forth to produce even more marbling effects.
- Swipe technique: Pour a small amount of resin on your canvas, and then use a spreading tool—like a mixing stick, spatula, or even a comb—to spread that paint across the surface. As you add more colors, you will begin to see them blend into each other and create interesting swirls.
Step 5: Remove the Bubbles
As you pour and swirl the paint, you’ll probably notice some bubbles forming—it’s a common occurrence when working with resin. Fortunately, there’s an easy fix: a heat gun or small butane torch. Keeping the torch a few inches above the canvas, heat the surface of the resin. This will cause the bubbles to pop, creating a smooth, glossy finish.

Step 6: Allow to Dry
Once you’re satisfied with the composition of your resin painting, allow it to fully dry, which typically takes about 24 hours. To protect your piece from any dust or hair particles floating around—which can easily get stuck to the resin—it can be helpful to cover your work with a cardboard box or a tarp propped up with buckets or books.
Experiment With Resin Paintings
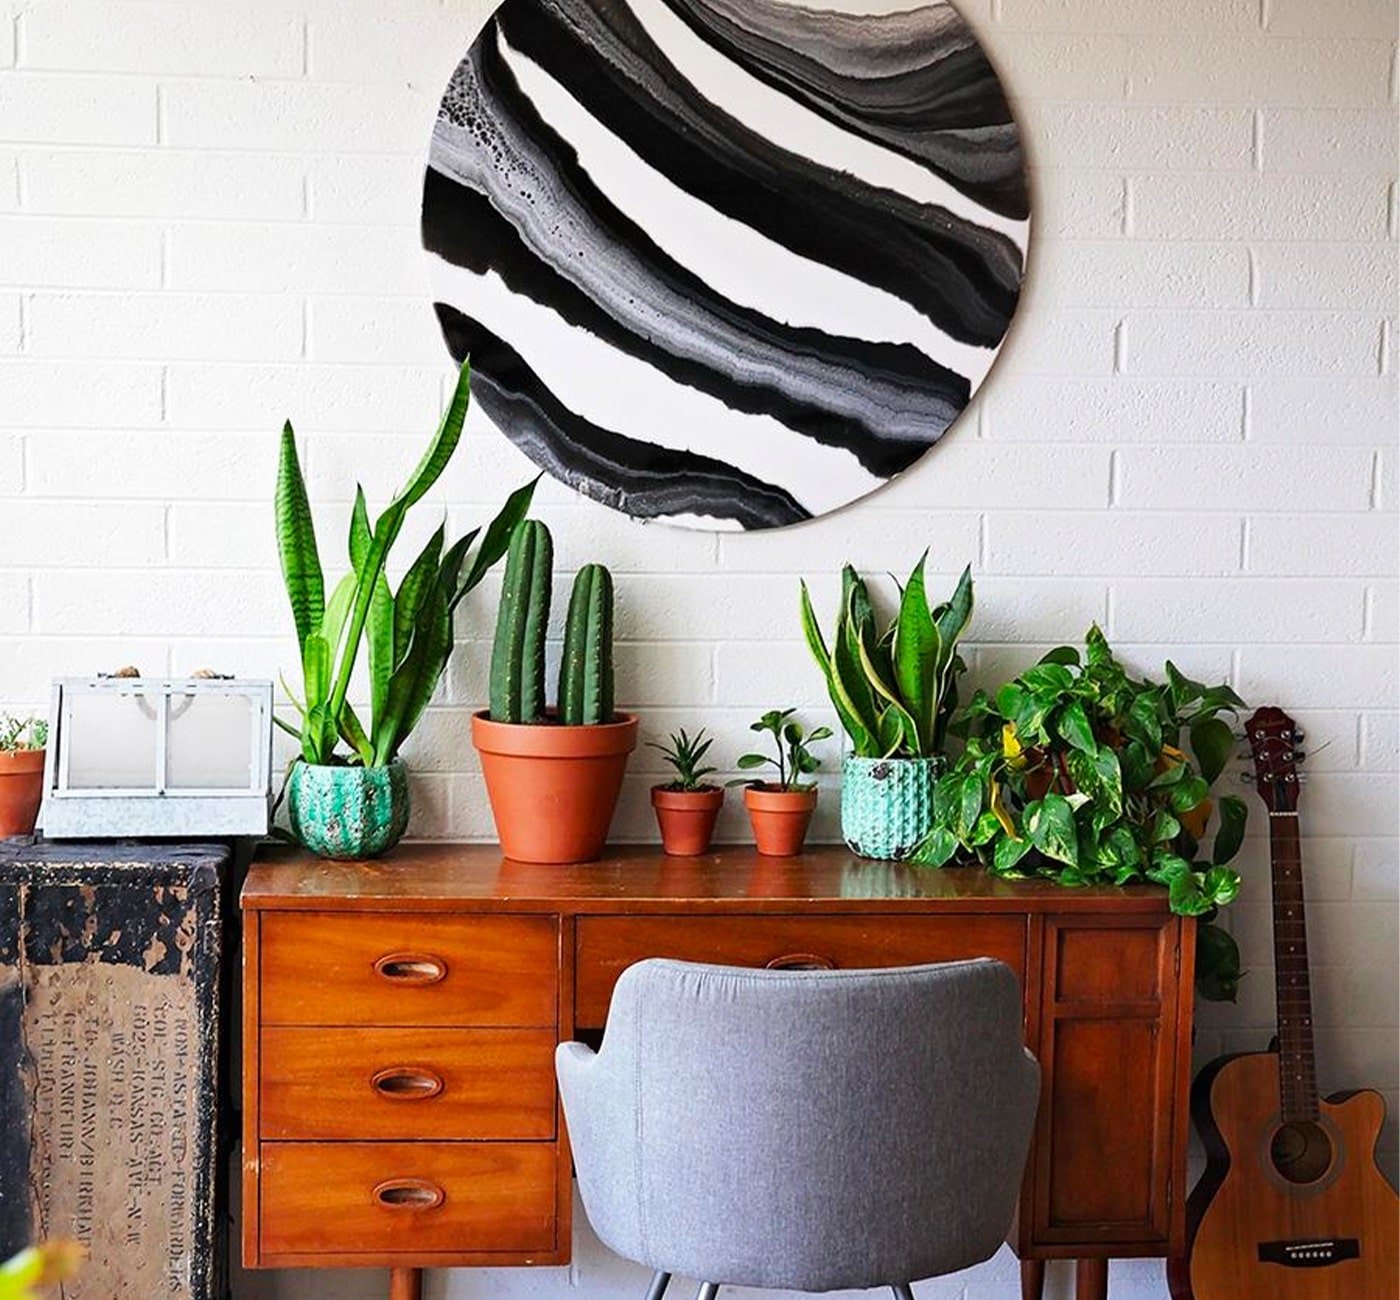
Learning how to paint with resin is meant to be an exploratory and experimental art form—so go crazy! Try a variety of colors, different canvas shapes and sizes, and a range of pouring techniques. Your experience—and the painting you produce—will be unique every time.
Discover Online Classes in Resin Art
Jewelry, geodes, coasters, and more.
Try Skillshare for free! Sign up for a 7 day free trial today!
Get Started- Unlimited access to every class
- Supportive online creative community
- Learn offline with Skillshare's app


