

Quilling: Discover the Art of Paper Filigree
Folding paper can result in amazing art. Quilling is no exception, answering origami’s hard angles with the soft curves of twirled rather than folded paper.


Looking for a relaxing new hobby that you can easily do from home? Look no further than quilling. Also known as paper filigree, this paper art has been having a major resurgence, and it’s easy to see why: it requires minimal and affordable materials, it’s easy to learn, and you can create truly incredible results.
Read on to learn more about what paper quilling is and how you can start this new craft today.
What is Quilling?

So, what is paper quilling exactly? Quilling involves taking long, thin strips of paper and coiling, looping, and folding them into different shapes and designs. These can then be glued down on paper to create 3D art, to add decorative patterns to items like boxes or frames, or to bring to life plenty of other creative projects. (Check out plenty of inspiration below!)
Quilling Origin

Paper quilling has been around for centuries; in fact, some believe the techniques go back as far as ancient Egypt.
Although the exact origins are uncertain, quilling became popular during the 16th and 17th centuries, when French and Italian nuns would use paper quilling and paint to decorate religious items when they couldn’t afford the more expensive metal filigree. By the Victorian era, it had become a popular pastime for wealthy women alongside other handicrafts like embroidery.
And just like almost every trend, an interest in paper filigree is coming back around, with ample inspiration of modern takes on this historic craft all over Instagram, Pinterest, and TikTok.
Is Quilling Easy?
If you’re asking yourself, “is paper quilling easy,” the answer is yes! Perhaps part of why quilling has seen such popularity over the years is because of just how easy it is to pick up. Like with any craft, you can achieve more detail and complexity as you grow your skills—and it does take a bit of a delicate hand—but it’s not hard to learn quilling basics. You could start making your first piece today.
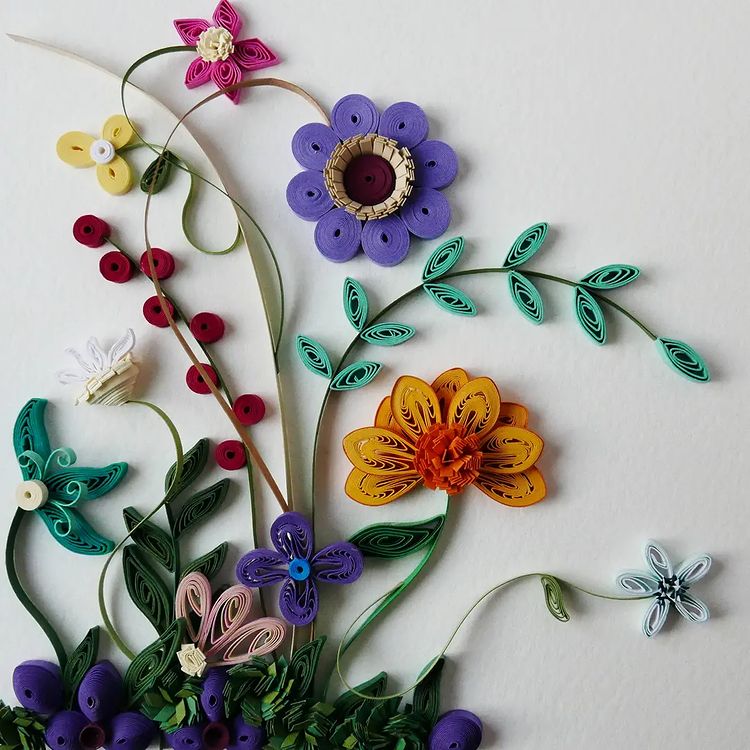
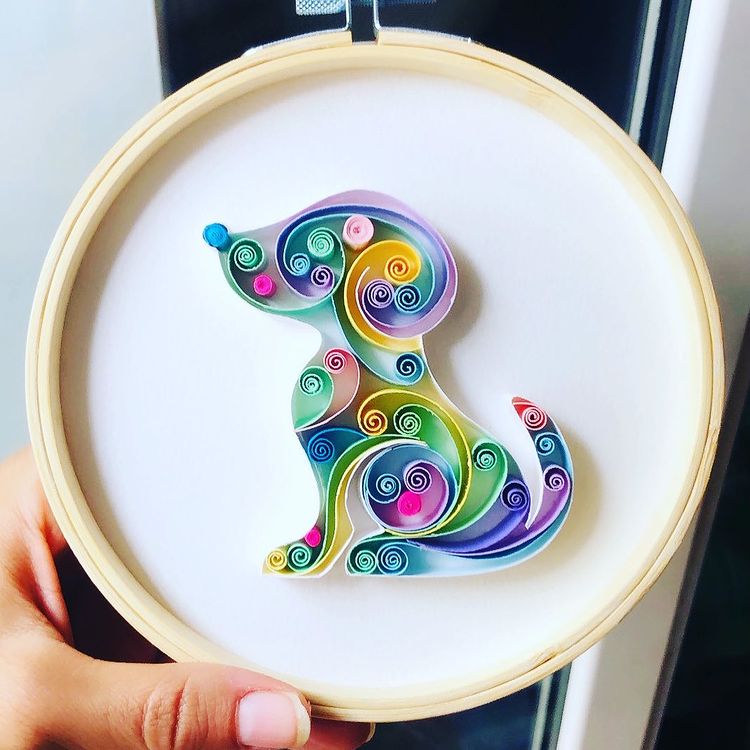
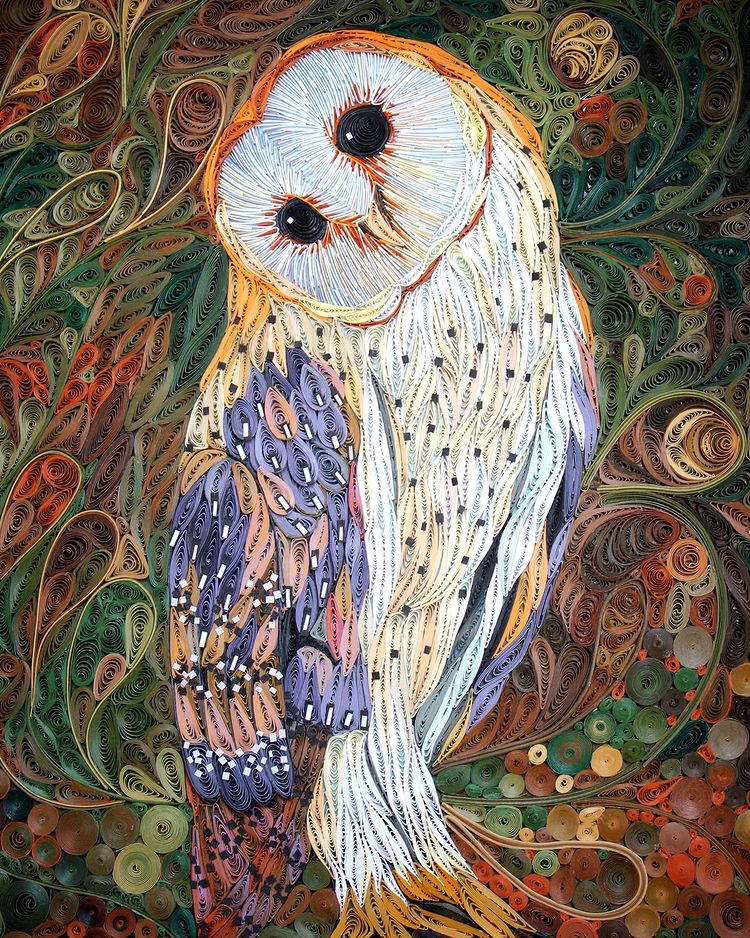
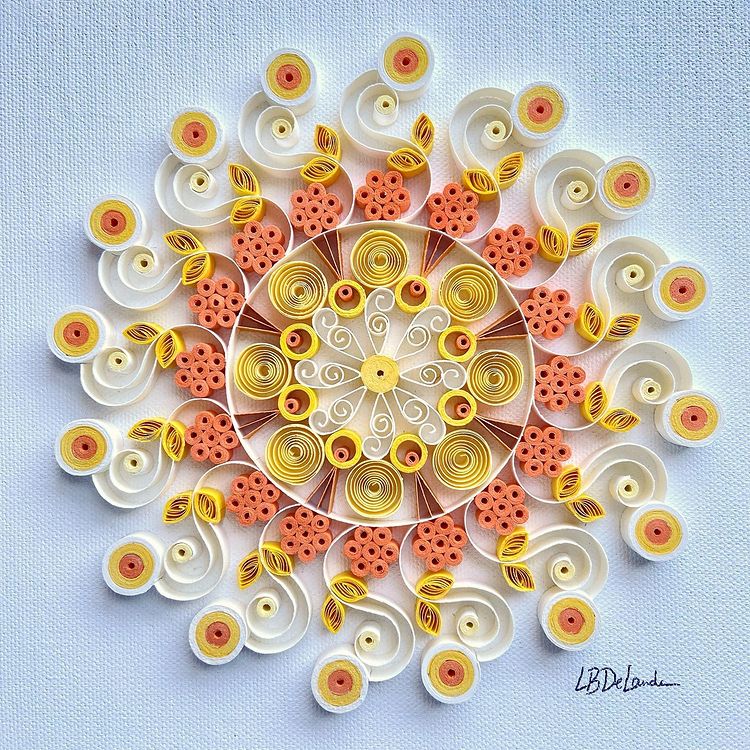
Paper Quilling Art
Before we get into everything you need to learn to quill, let's look at some inspiration for the types of art you can create with this technique.

Paper Quilling Supplies
You really only need to gather a few materials before you can start to learn how to paper quill. Read on for the basics you’ll need and the upgrades you can make as you improve your craft.
Thin Paper Strips

The most important thing you’ll need for paper quilling is, well, paper! You’ll want long, thin strips in whatever colors you want to work with. There are plenty of places to buy strips of quilling paper online, or you can cut them yourself using a ruler and X-Acto knife, scissors, or even a paper shredder. Ideally, you’ll want paper that’s a little thicker than traditional printer paper but not as heavy as cardstock.
Quilling Slotted Tool

A slotted quilling tool is a thin metal rod with a small slit in the middle of it, which allows you to slide your paper strips in to anchor them, and then twirl them around the rod to form coils. Many artists find this tool valuable to create tighter or more uniform coils, but it is a completely optional tool—finger quilling just using your hands is also popular.
Quilling Board
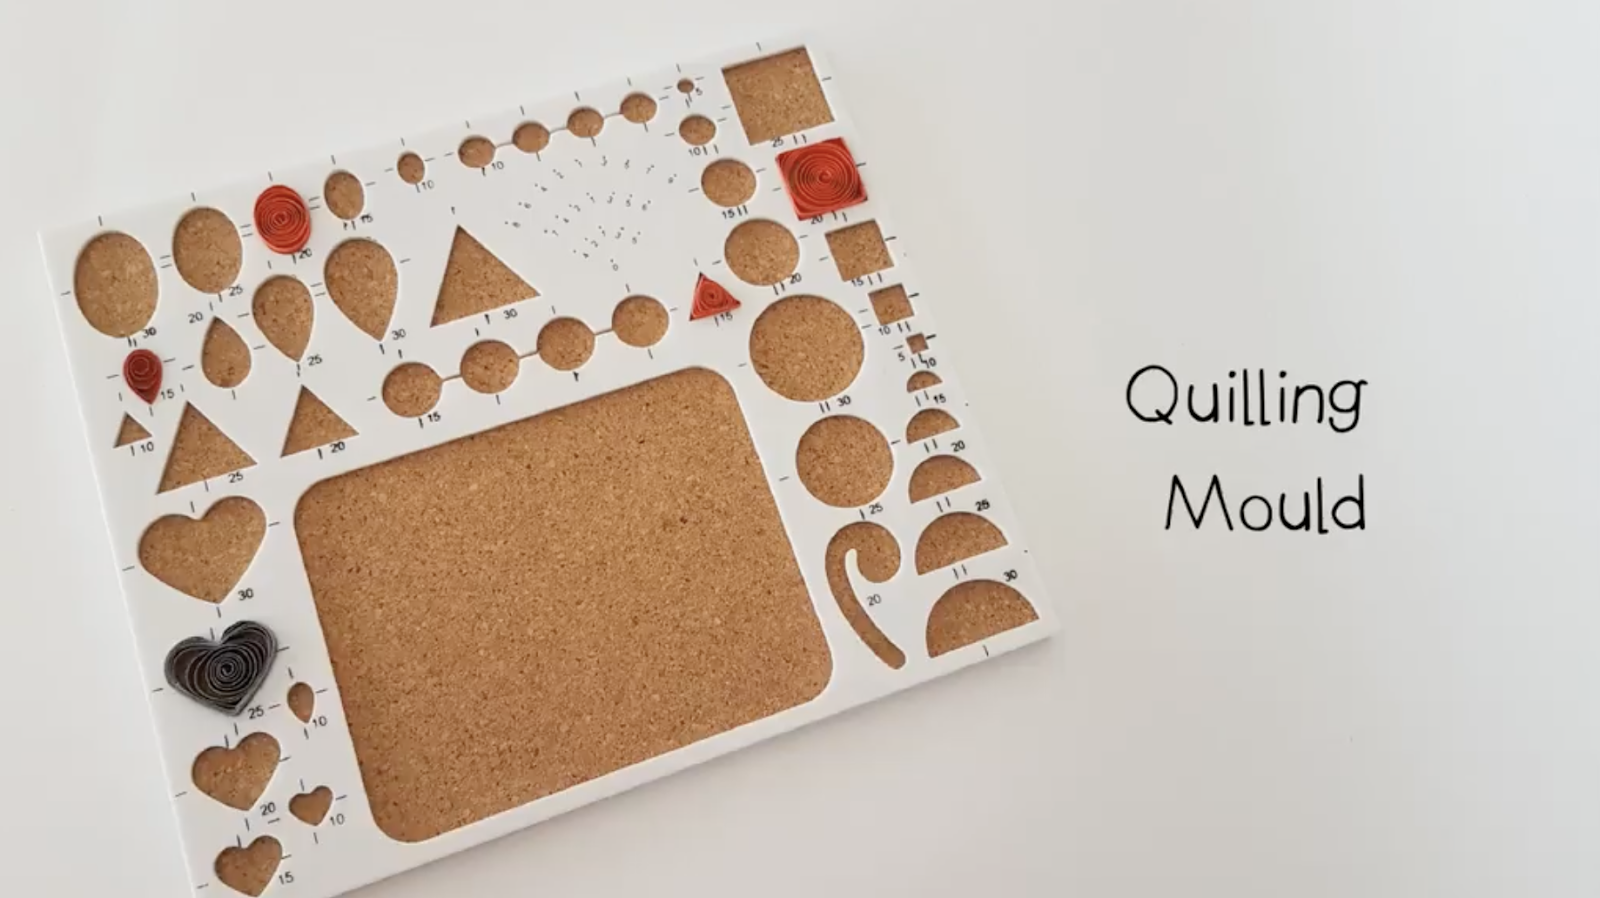
A quilling board helps you keep your shapes and designs in place so everything doesn’t unfurl while you’re waiting for the glue to dry. You can purchase pre-made template boards for common shapes, but many artists find a thin piece of styrofoam or corkboard and some sewing pins to be just as effective. That approach also gives you more flexibility on the shapes you’d like to include.
Glue and Applicator

While any liquid craft glue that dries clear will work for quilling, most artists prefer to get an applicator with a fine tip to put their glue in, which allows for more precision when applying to thin strips of paper.
Scissors

Even if your paper is pre-cut, you’ll want scissors nearby to cut paper shorter for smaller shapes or clean up loose ends after you create your coils.
Tweezers
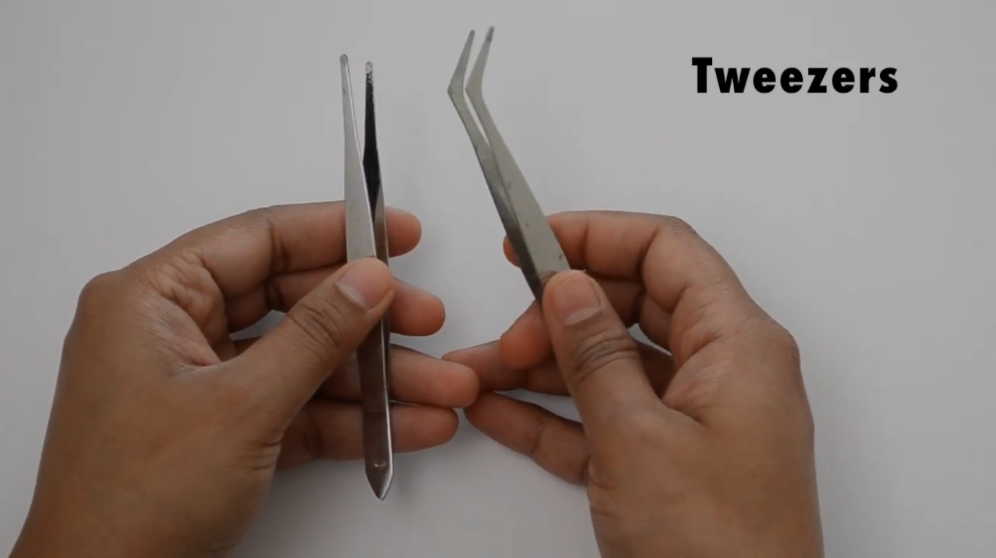
Tweezers aren’t necessary, but many quilling artists find them helpful for precisely placing small pieces of paper without messing up any of the surrounding work.
Paper Quilling Kits
You can, of course, buy all of these tools separately (you may even already have most of them around). But there are also paper quilling kits available that can get you started with everything you need for a specific design, or to learn to quill in general.
How to Quill
So how is quilling done, exactly? Read on to learn the basics of how to paper quill.
1. Learn the Basic Paper Quilling Shapes

The building blocks of any paper filigree art are basic quilling shapes. You can create different shapes by coiling your paper and folding the outer edges to change your coil from a circle to a different shape. Some shapes can also be created by just coiling parts of the paper, or folding and not coiling at all. Before you start creating your composition, it’s worth practicing the basic shapes.
2. Use a Paper Quilling Pattern

While it’s by no means necessary, a paper quilling pattern or template can help you pre-plan your design and the shapes you’ll need to make it happen. Quilling patterns are basically just simple line-drawn images, and you can download them from the internet, find them in quilling kits, or draw your own.
3. Work on a Quilling Board

Whether you buy a fancy quilling board or use a DIY one made of styrofoam or corkboard, you’ll want to make sure to have one handy at this stage. As you start creating the shapes for your design, you can map them out on your board, using sewing pins to hold everything in place while the glue of each shape dries. If you’re using a paper quilling pattern, you can place it over the quilling board to work on top of it.
4. Glue Everything Together

Once you’re happy with your design, it’s time to bring it all together with glue! If your final artwork will be on paper, carefully place glue on the edges of your pieces and then hold them on the paper for a few seconds to allow the glue to harden. If you’re connecting multiple pieces together, put glue on the places where you want them to touch.
Paper Quilling Projects
Ultimately, the best way to learn how to paper quill is to just start doing it! If you’re not already brimming with ideas for your first project, here are a few to get you going.
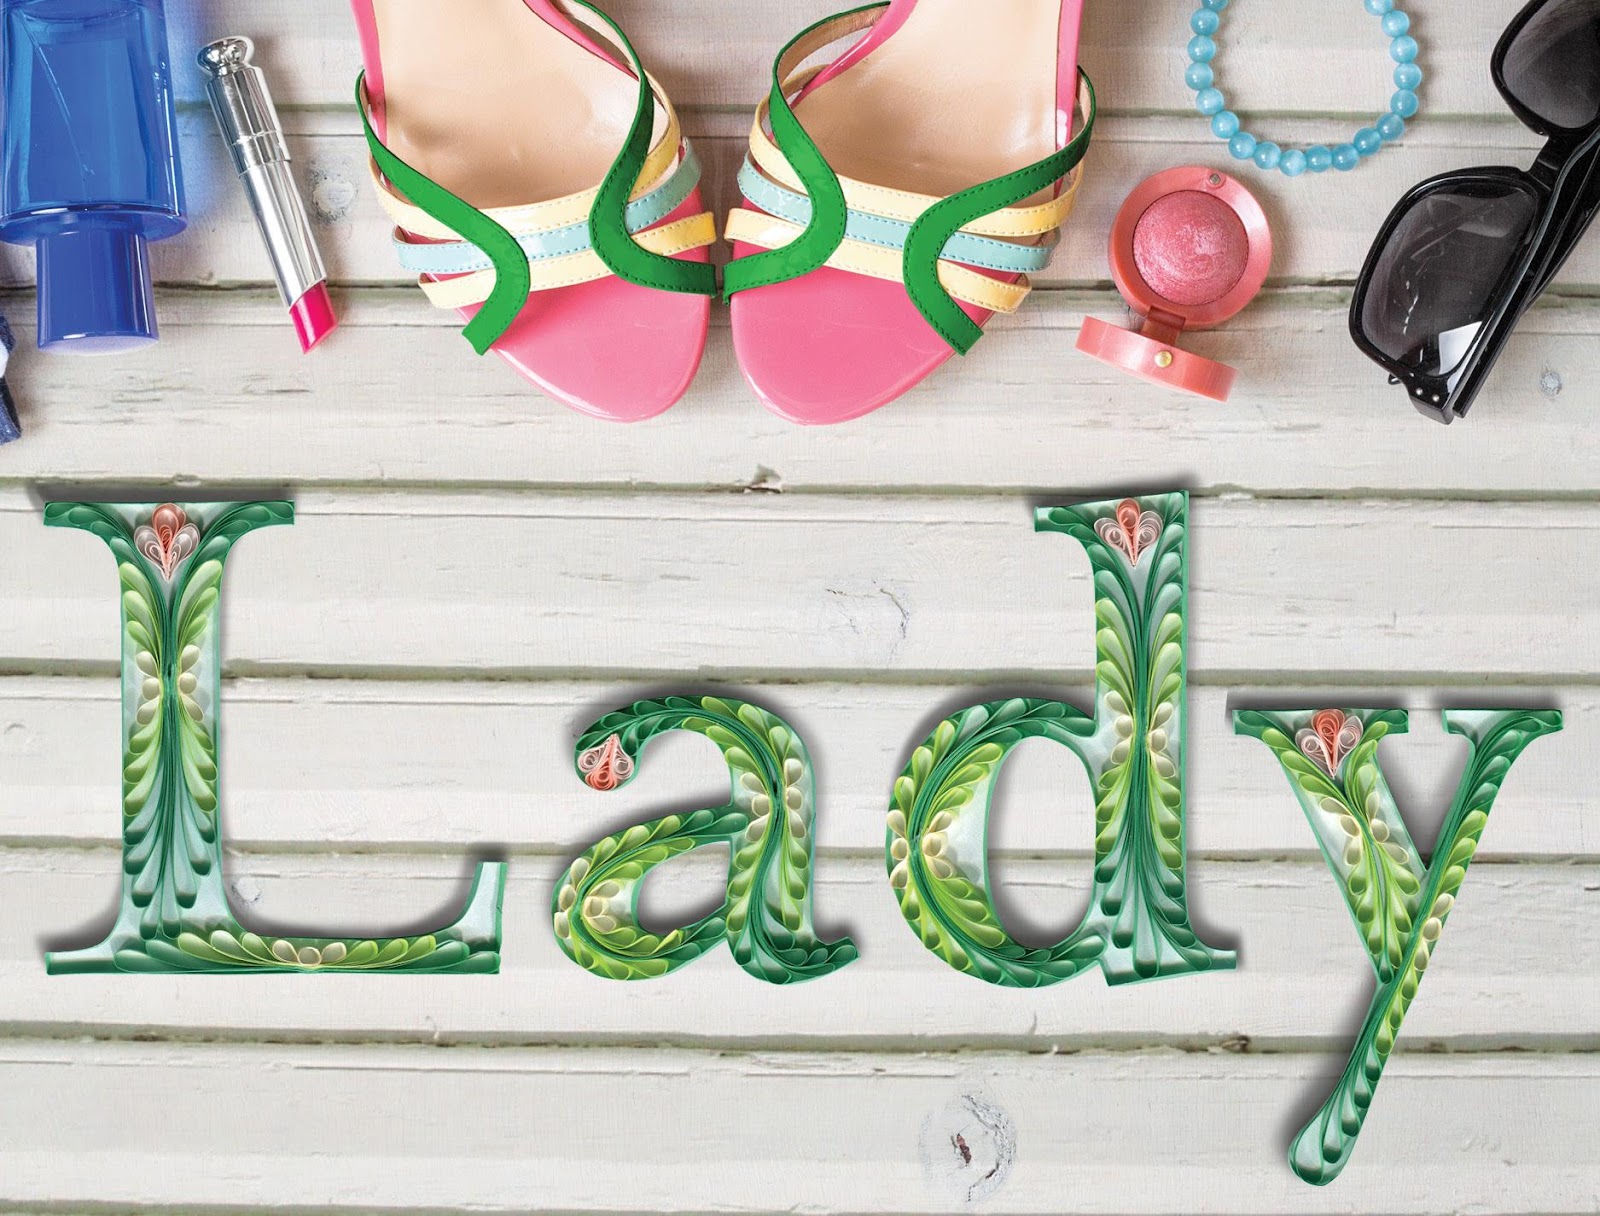
1. Quill Your Name or Another Word
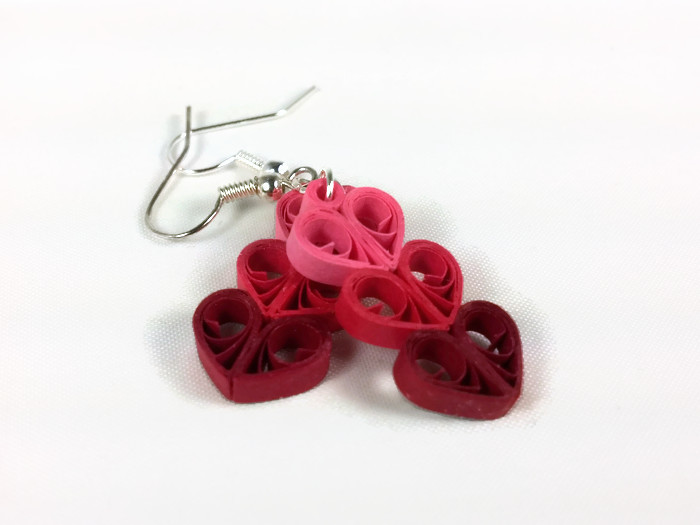
2. Make Some Paper Quill Earrings
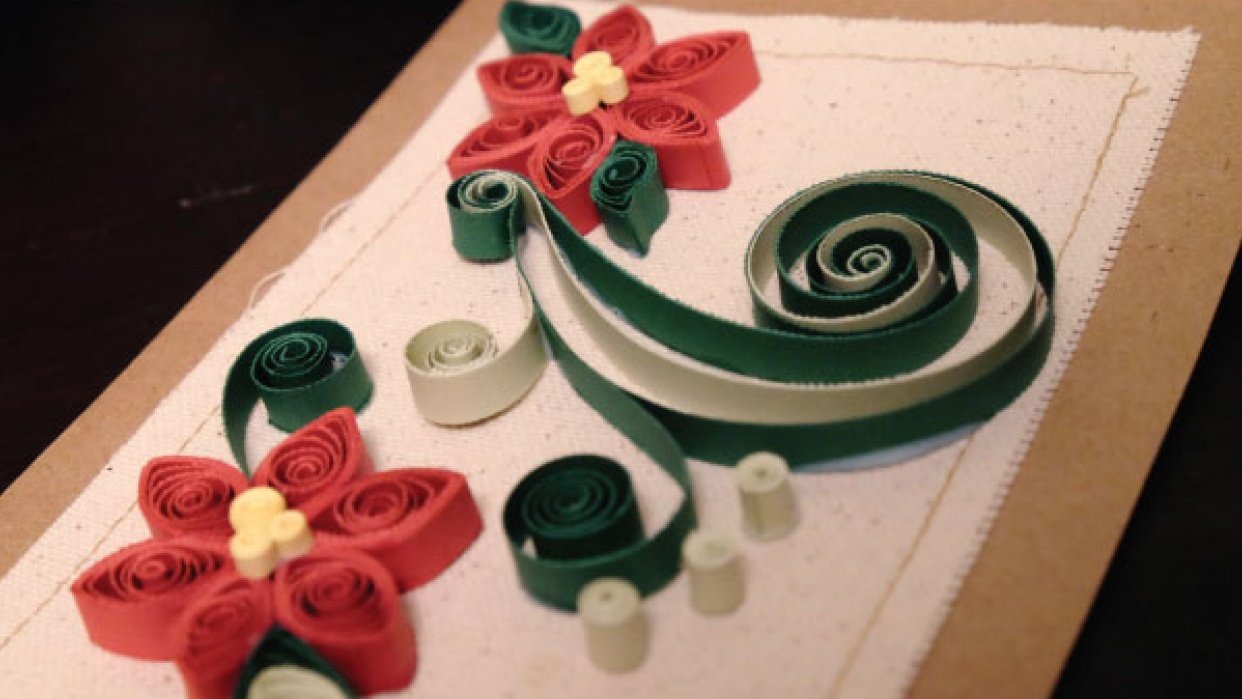
3. Create DIY Cards With Quilling
Take Your Paper Art to the Next Level!
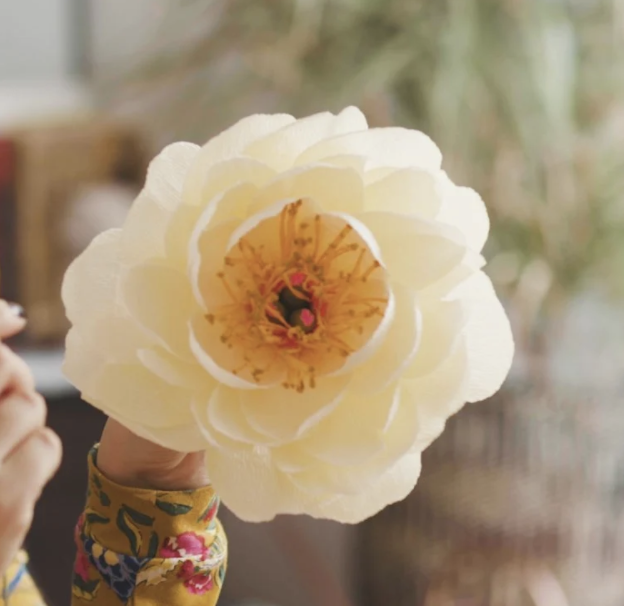
Papercraft Flowers: Beautiful, Lifelike Florals Anyone Can Make
Try Skillshare for free! Sign up for a 7 day free trial today!
Get Started- Unlimited access to every class
- Supportive online creative community
- Learn offline with Skillshare's app


