

Make Resin Jewelry to Encapsulate Plants, Color and Glitter
Resin is easy to work with and an ideal base for displaying and preserving all sorts of pretty things. Learn how to use it in custom earrings and necklaces.


Resin is an excellent base material for displaying color, sparkle and even plants in your jewelry. You can easily make wearable resin art at home, and the creative possibilities are endless.
DIY Resin Jewelry
You can use resin in jewelry you make at home, and it doesn’t need to involve lots of materials or equipment. Rather than being the focal point of your jewelry, the resin serves to hold color, glitter and small objects in place.
Resin Jewelry Supplies
Depending on your design goals, making resin jewelry can require very few supplies. However, as you practice more, you’ll likely find certain things give you more creative options.
- Epoxy resin and hardener
- 2 clear plastic drinking cups
- Popsicle sticks or plastic spoons
- Aluminum or clear packing tape (to create a seal under molds)
- Resin jewelry molds or bezels
- Isopropyl alcohol (to clean resin spills)
- Small torch or hair dryer (to remove resin bubbles)
- Pigmented powder or ink
- Segmented paint tray or small plastic cups (for coloring resin)
- Glitter, pressed plants, crystals and other decorative items
- Hooks, chains and jump rings
- Level (for a flat work surface)
- Marker (to mark fill lines for resin and hardener)
- Manual drill (to make small holes for jewelry rings)
Epoxy Resin Jewelry Safety
Resin and resin hardeners can be harmful if you inhale the fumes or get them on your skin. The effects range from mild skin irritation to mental confusion and respiratory complications.
Anytime you work with resin, ensure that all children and pets are restricted from the area. You’ll also want to avoid working in food prep areas.
To protect yourself while working with resin and hardener, wear:
- Long sleeves and pants
- Disposable rubber gloves
- A respirator mask (regular dust masks aren’t enough)
- A face shield if the respirator doesn’t have eye protection
Lots of air movement isn’t ideal for working with resin, but proper ventilation is helpful for the fumes. If possible, open a window to reduce your exposure.
If you do get resin on your skin, quickly wash with warm soap and water. You may also use vinegar or an alcohol-based hand sanitizer.
How to Make Resin Jewelry
Creating resin jewelry typically involves pouring a resin mixture into a mold (called “casting”) and allowing it to cure for a few days on a flat surface. Beyond that, you have several options for what to include.
1. Prepare the Resin Mixture
Measure equal parts resin and resin hardener by sight rather than weight for the correct ratio. Turn off any fans to keep debris from floating into your resin.
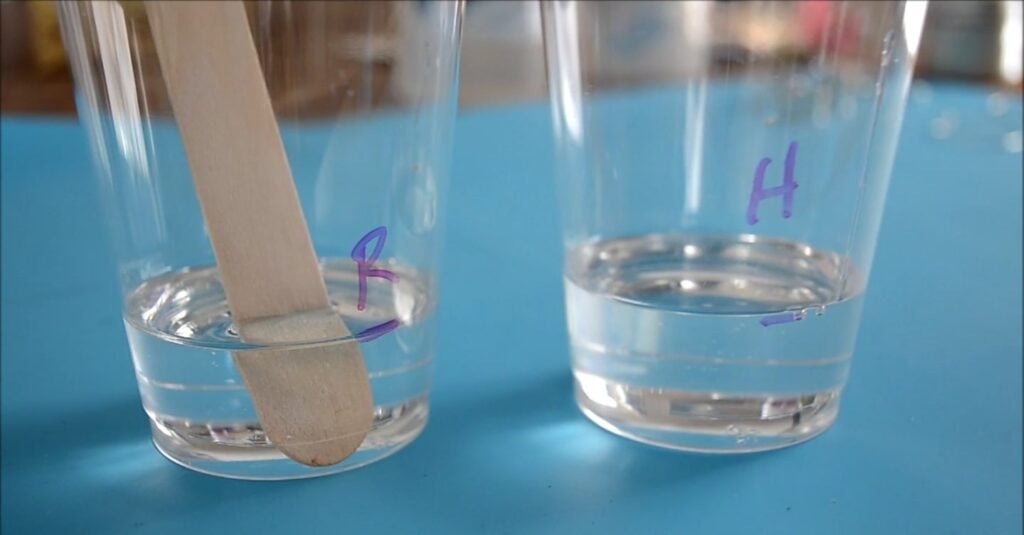
- Mark a line about one inch from the bottom of each plastic cup.
- Write an “R” for resin on one cup and an “H” hardener on the other.
- Fill each cup up to the line you drew with the proper material.
- Pour the hardener into the resin and gently mix with a popsicle stick for four minutes.
- Stir slowly to minimize the amount of air that gets into the mixture.
This should get you about two ounces of resin mixture to make up to about 20 pendants. You’ll have about 45 minutes before the resin is too dry to work with.
2. Add Color to Your Resin
Clear resin is easily colored with powdered pigments or ink. Powder often results in a slightly iridescent color, while ink lets the resin retain some translucence. High-flow acrylic paint is another option.
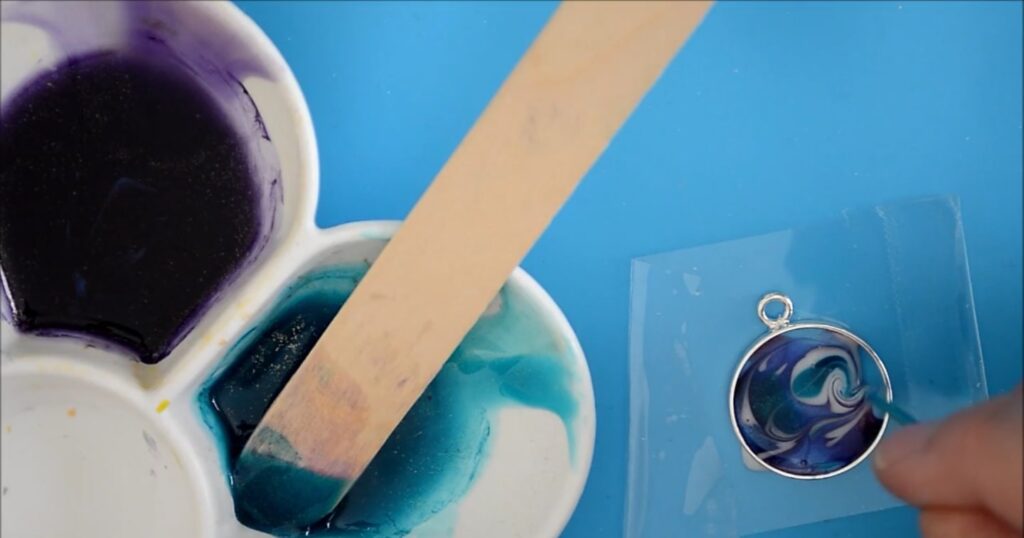
- Pour clear resin mixture into your paint tray segments or one-ounce cups
- Add your chosen pigments using a popsicle stick or plastic spoon, stirring until completely blended.
- If the resin gets too thick with color, simply blend in a little more clear resin.
- Keep some clear resin if desired.

3. Put Resin in Your Molds
This step is where you can get creative. Feel free to do some experimenting and trial and error to determine what works best for your preferred design.
- Stick your mold or bezel firmly to the sticky side of a piece of tape. This will create a seal to keep the wet resin from leaking out the bottom of the mold.
- Layer colored resin as desired, experimenting with dots, drizzles and other techniques. Ensure all corners are full.
- Before the resin starts to set, you can swirl colors together using a toothpick.
- The thinner your layers, the less chance for trapped air bubbles.
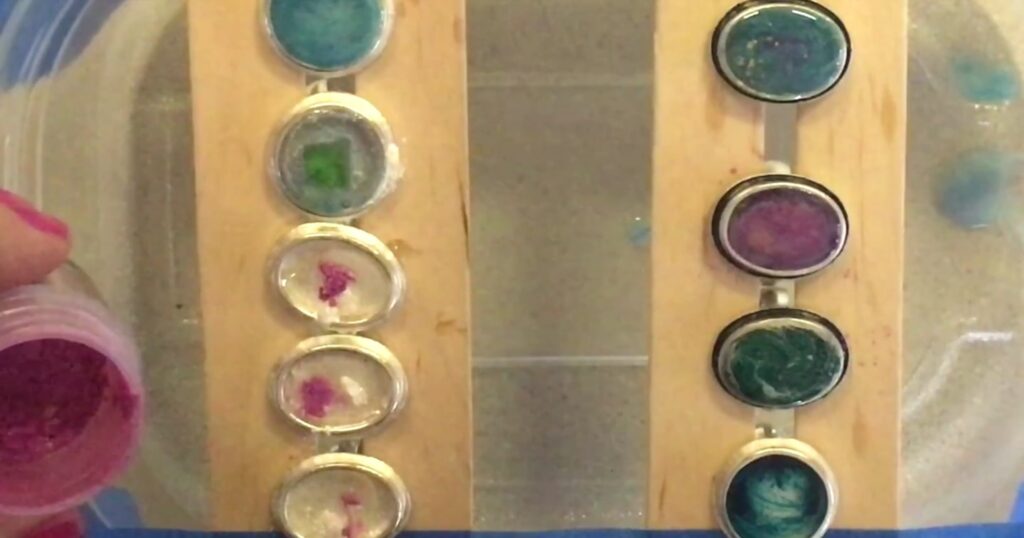
- If you want to add decorative items, such as pressed flowers, glitter or small stones, allow a clear, thin bottom layer to cure for about 12 hours before adding the items and more resin. This keeps decorative pieces from sinking.
- Certain items, like pressed flowers, may need to be gently moved back into place with a pin or toothpick as their layer of resin sets. Use your level to ensure the drying surface is flat, which will help everything stay in place.
- Prop rings up between popsicle sticks before pouring in the resin.
4. Let the Resin Cure and Make Jewelry
If you’re happy with your design, it’s time to let it cure, which takes one to three days.
If you’re not happy, wipe out as much wet resin as you can and soak the mold or bezel in isopropyl alcohol for about 10 minutes.
- Cover the resin pieces with a plastic cup while they dry to keep bits of dust and other debris from getting stuck in your jewelry.
- After 24 hours, you can remove the cups and peel the tape off your mold.
- If you sense any bending or sticking of the resin, let it cure for another 24 hours before removing the tape.
- Your resin jewelry pieces will be fully cured in 48 to 72 hours.
- Add holes for hoops and chains with your manual drill, and turn your pieces into gorgeous earrings and necklaces.
Resin Jewelry Ideas
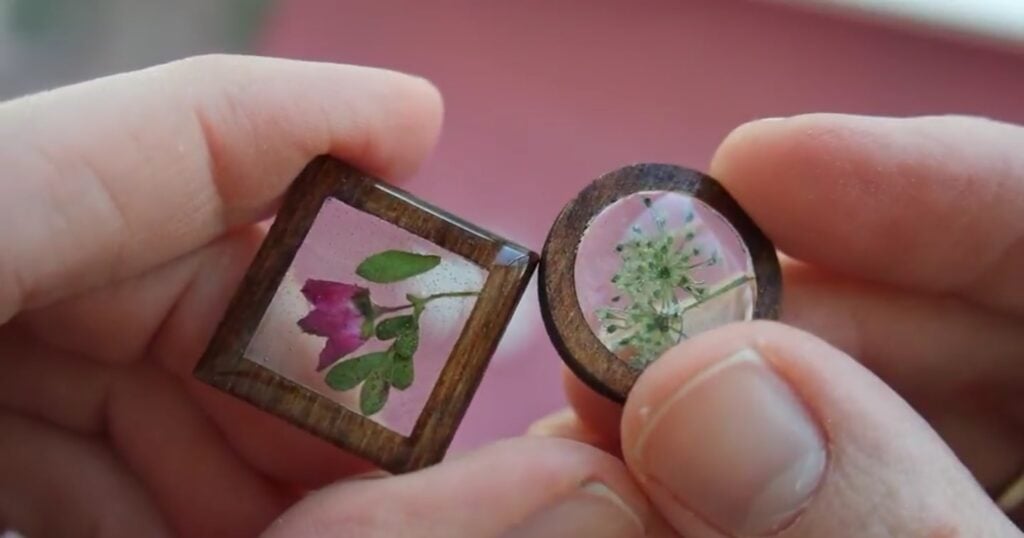
You’ll find endless ideas for resin jewelry online, including clear resin with just a few pieces of glitter and multi-layered resin flower jewelry.
Enhance your simple resin jewelry with:
- Doming (slowly adding drops of resin for a domed surface)
- Swirls and shapes of color
- Bits of glass or stone
- Glitter to make sparkling jewelry
- Dried flowers or leaves to make floral jewelry
- Wooden and metal bezels
No Resin to Stop
With numerous possibilities and simple materials, you’ve got no reason to not make resin jewelry. It’s time to get pouring!
Katie Mitchell
Katie lives in Michigan with her husband, kids and pets. She enjoys cooking, travel and live music.
Try Skillshare for free! Sign up for a 7 day free trial today!
Get Started- Unlimited access to every class
- Supportive online creative community
- Learn offline with Skillshare's app


