

Intro to Pattern Strokes in Procreate
Learn how to create brush stroke patterns and Procreate pattern brushes in this step-by-step guide and tutorial.


Want to add some visual interest to your digital illustrations? Stroke pattern brushes make it easy to add texture to your designs and speed up the illustration process. Whether you want to create a geometric pattern or a more organic paint brush stroke pattern, you can use digital illustration programs, such as Procreate for iPad, to create a custom brush. Here’s how—plus a look at 10 examples of pattern strokes and brushes to inspire you.
How to Make Stroke Patterns in Procreate
You can create custom pattern brushes, including brush stroke pattern brushes, in several digital platforms, including Adobe Photoshop and Adobe Illustrator. However, in this tutorial, we will guide you through the steps to create pattern stroke brushes in Procreate.
Step 1: Create the Initial Illustration
First, create a new custom canvas. Typically a square (like 12”x12”) works best, and make sure it’s set at 300 DPI. To create the pattern, you will start by filling in the center of the canvas with your desired shapes, whether it’s something abstract like brush strokes or physical objects, like strawberries. These first shapes you draw should not touch the edge of the canvas.

Step 2: Create the Repeat
Now that you have the middle portion of the pattern, you will modify it so it repeats seamlessly.
First, open the layers toolbar and duplicate the layer with your drawing. Next, tap the selection tool and make sure you have magnetics enabled. Now, slide the drawing to the left until exactly half of it is off the canvas. (You should see a blue guide line appear, which will help you determine that the drawing is centered.) Then, repeat with the other layer to create the right side of the pattern.
When you’re satisfied that both sides of the pattern are positioned correctly, merge the two layers. At this point, you will have some empty space in the middle of the canvas. Fill in the space with additional brush strokes or shapes without touching the top or bottom edge of the canvas.

Then, repeat this process, but for the top and bottom portions of the illustration. Again, fill in the middle portion with additional graphics or brush strokes to complete the pattern. Make adjustments until the pattern seems balanced and you’re happy with the overall design. Finally, save it as a PNG.
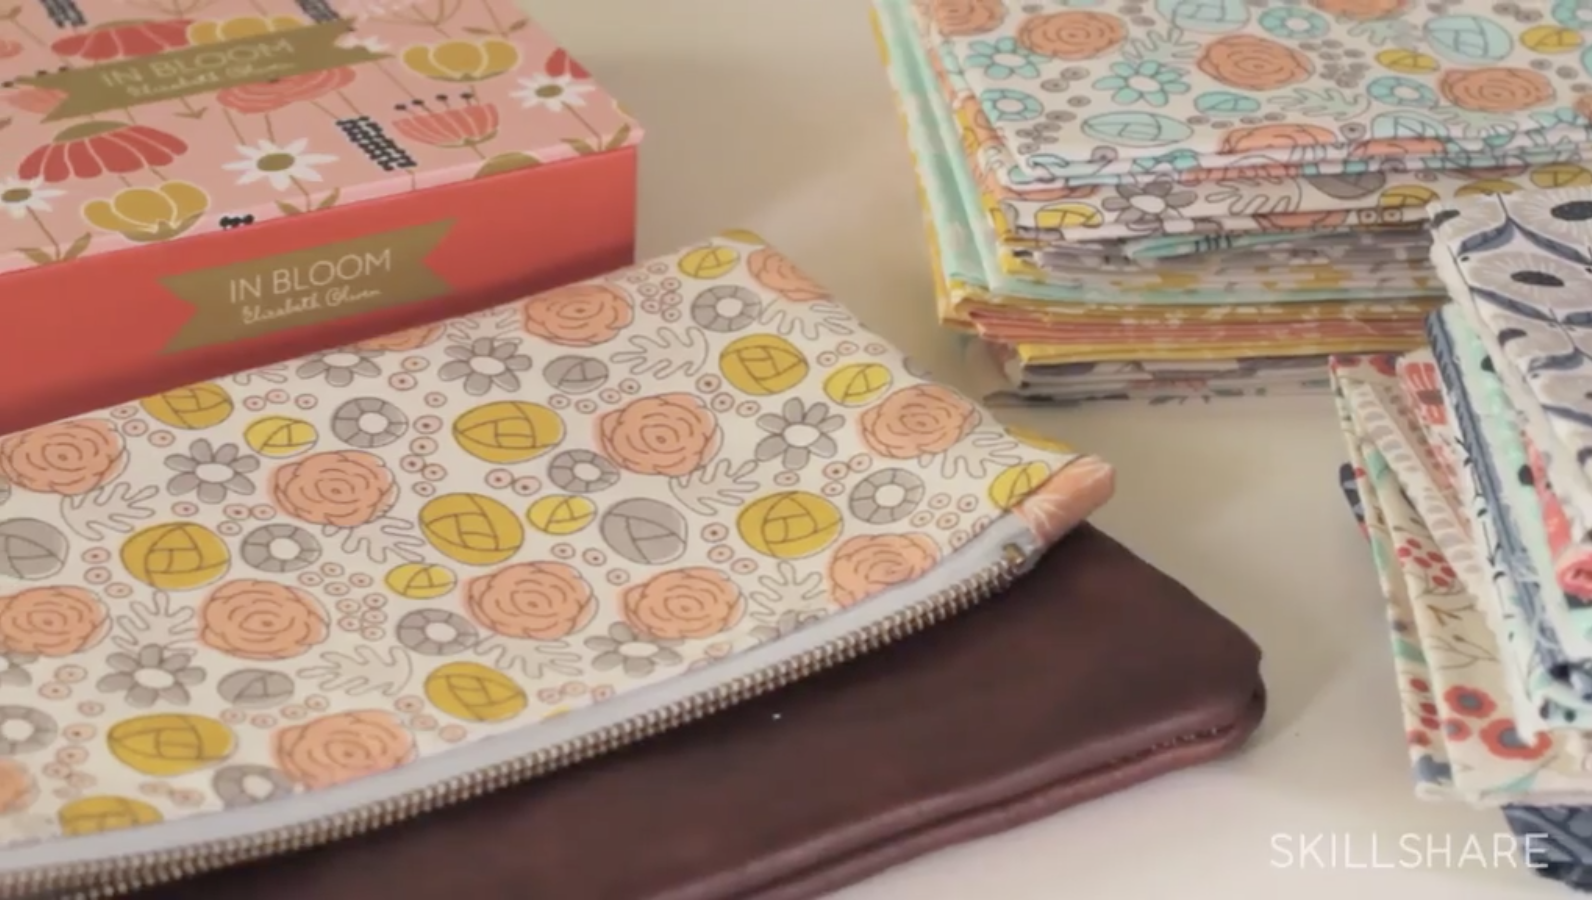
First Time Creating a Pattern?
Introduction to Designing Repeat Patterns in Illustrator With Elizabeth Olwen
Step 3: Create the Brush
Go to the brushes panel, select the plus sign in the upper right hand corner, and name your brush (e.g., “flower print” or “short stroke pattern”). Under shape source, select “swap from pro library” and choose the solid black square. Under grain source, select “insert photo” and select the pattern image that you just created.
Under the grain tab, you can make additional modifications to make your brush perform the way you want it to. For example, try sliding the zoom all the way to the right, until it says “follow size.” With this setting enabled, when you use a large brush, the pattern will also appear large. When you switch to a smaller brush, the pattern will be smaller. Essentially, the pattern will scale based on the size of the brush you use.

Step 4: Troubleshoot
If your pattern brush stroke doesn’t join together seamlessly, make sure you’re not lifting your stylus from the screen—this will cause the pattern to start over each time you begin a new line.
Step 5: Use the Brush
When using a pattern stroke brush in an illustration, it can be helpful to have each color of the illustration on a different layer. Now, you can select individual layers to add the pattern to.
For example, if you want to create a background, add a blank layer behind your existing layers. Then, choose your pattern brush and paint it across the entire canvas.
To apply a pattern to a smaller shape within the illustration, first swipe to the right on the layer that contains the shape you want to fill. This will create an alpha lock, which means you will only be able to paint inside what already exists on that layer. Then select your brush, and paint across the shape.

10 Example Pattern Strokes and Brushes
You can create custom pattern brushes in nearly any shape or texture imaginable—from an abstract, geometric pattern to an organic, free brush stroke butterfly pattern. Below, explore some unique examples of Photoshop brush stroke patterns, as well as patterns and custom brushes created in Illustrator and Procreate.
1. Lace Pattern Stroke

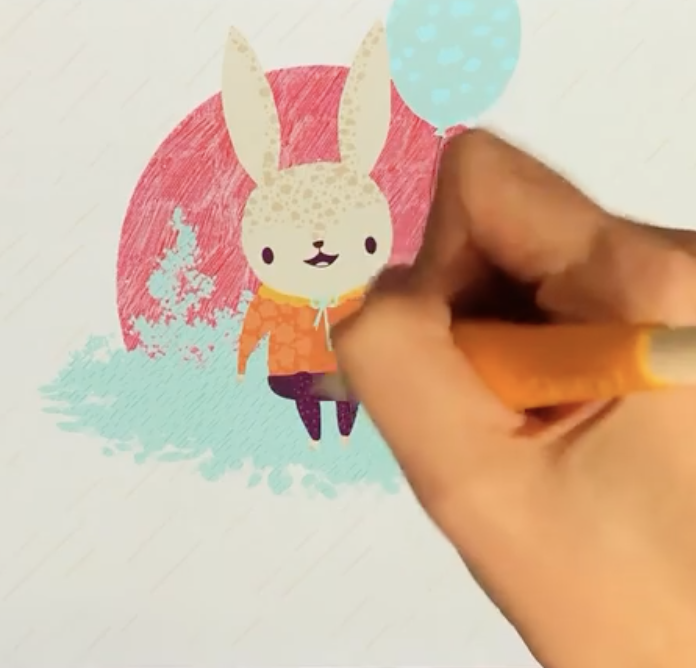
2. Watercolor Brush

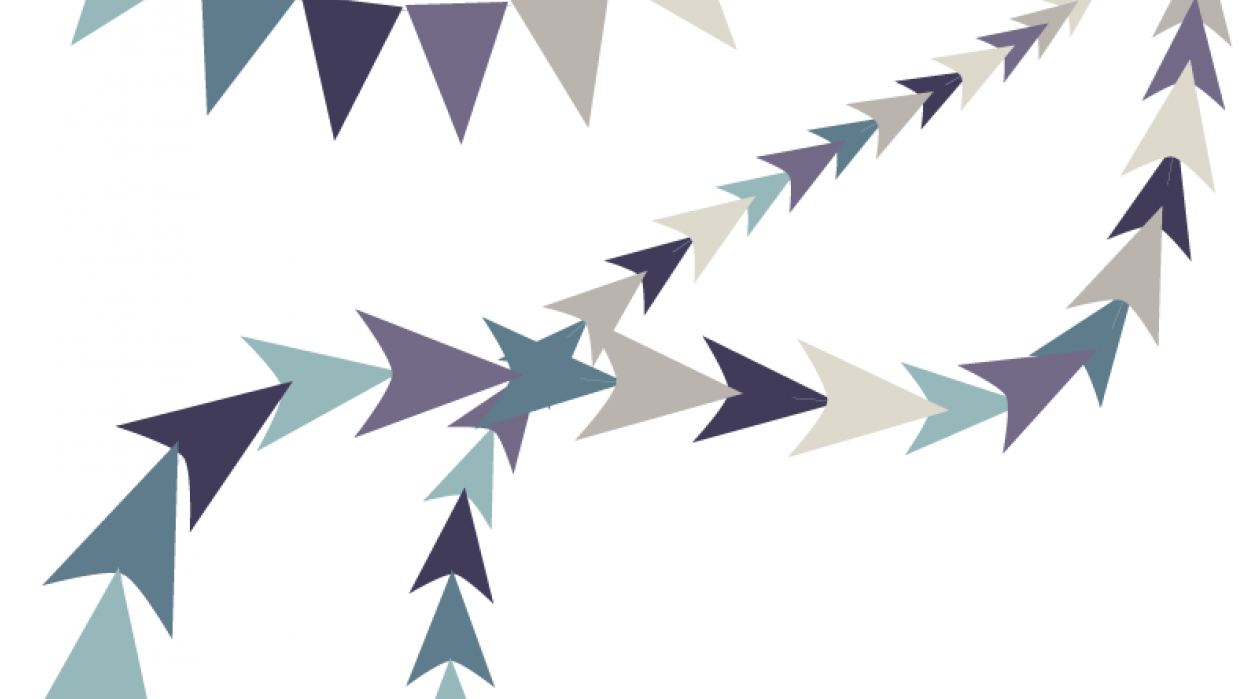
3. Bunting Brush
4. Zentangle-Inspired Brush

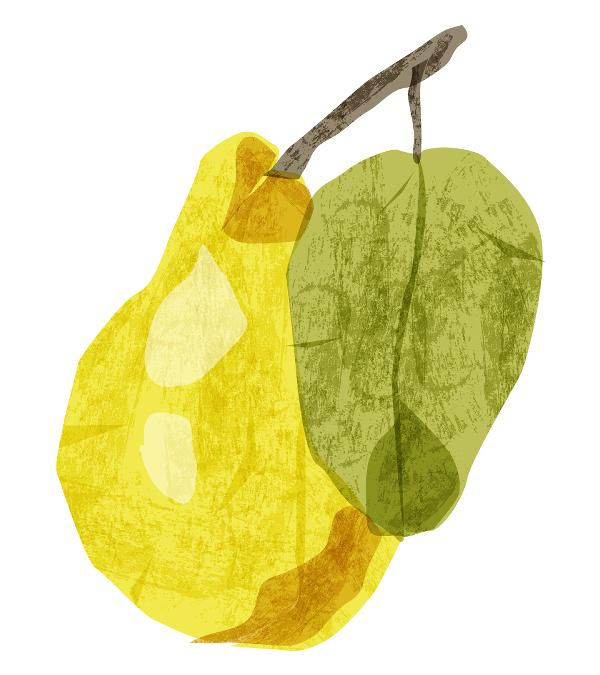
5. Tissue Paper Texture Brush
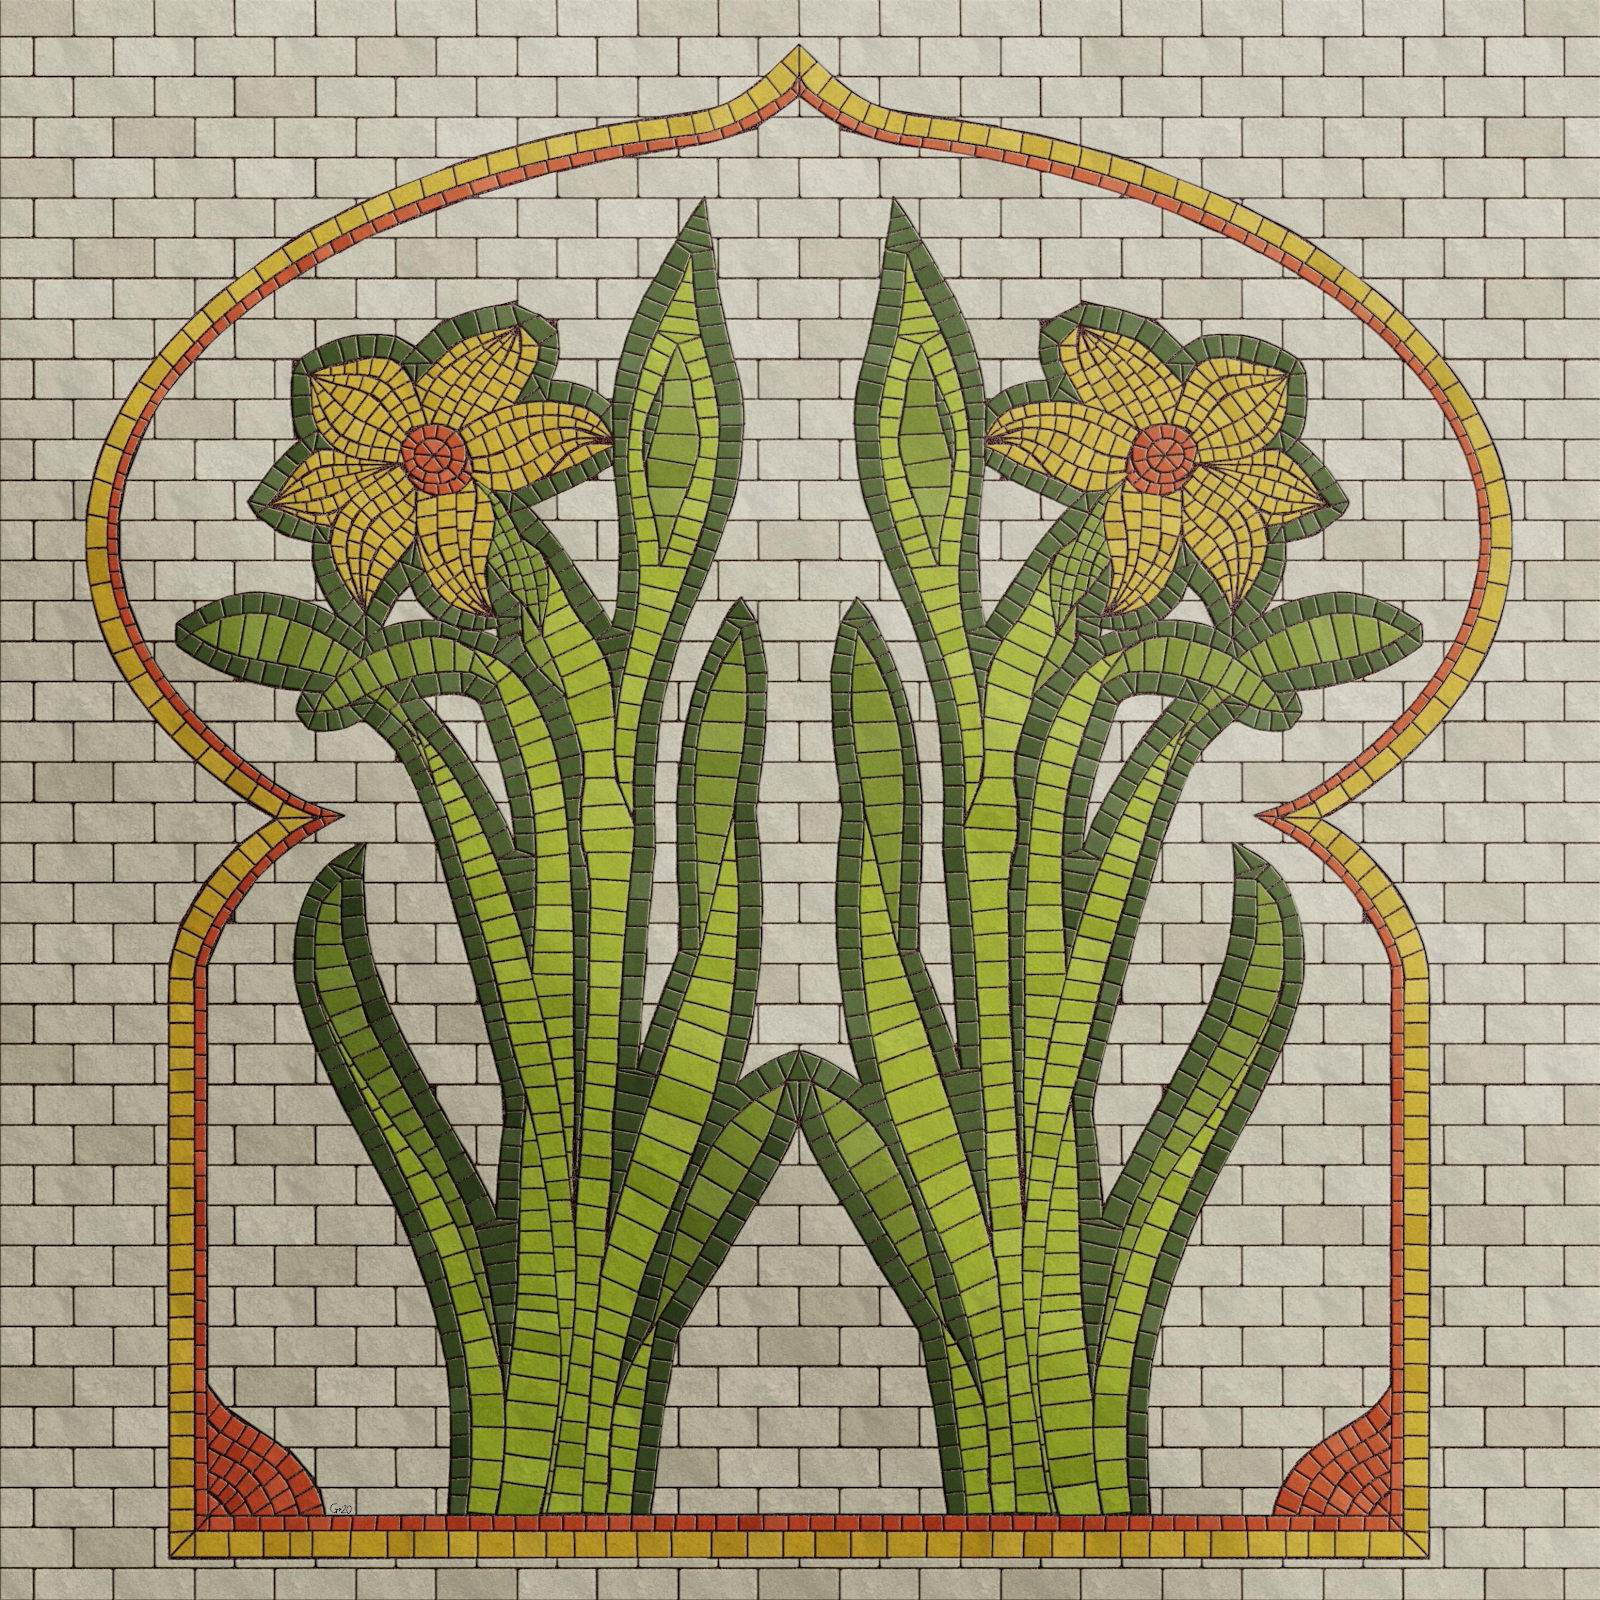
6. Mosaic Pattern Brush
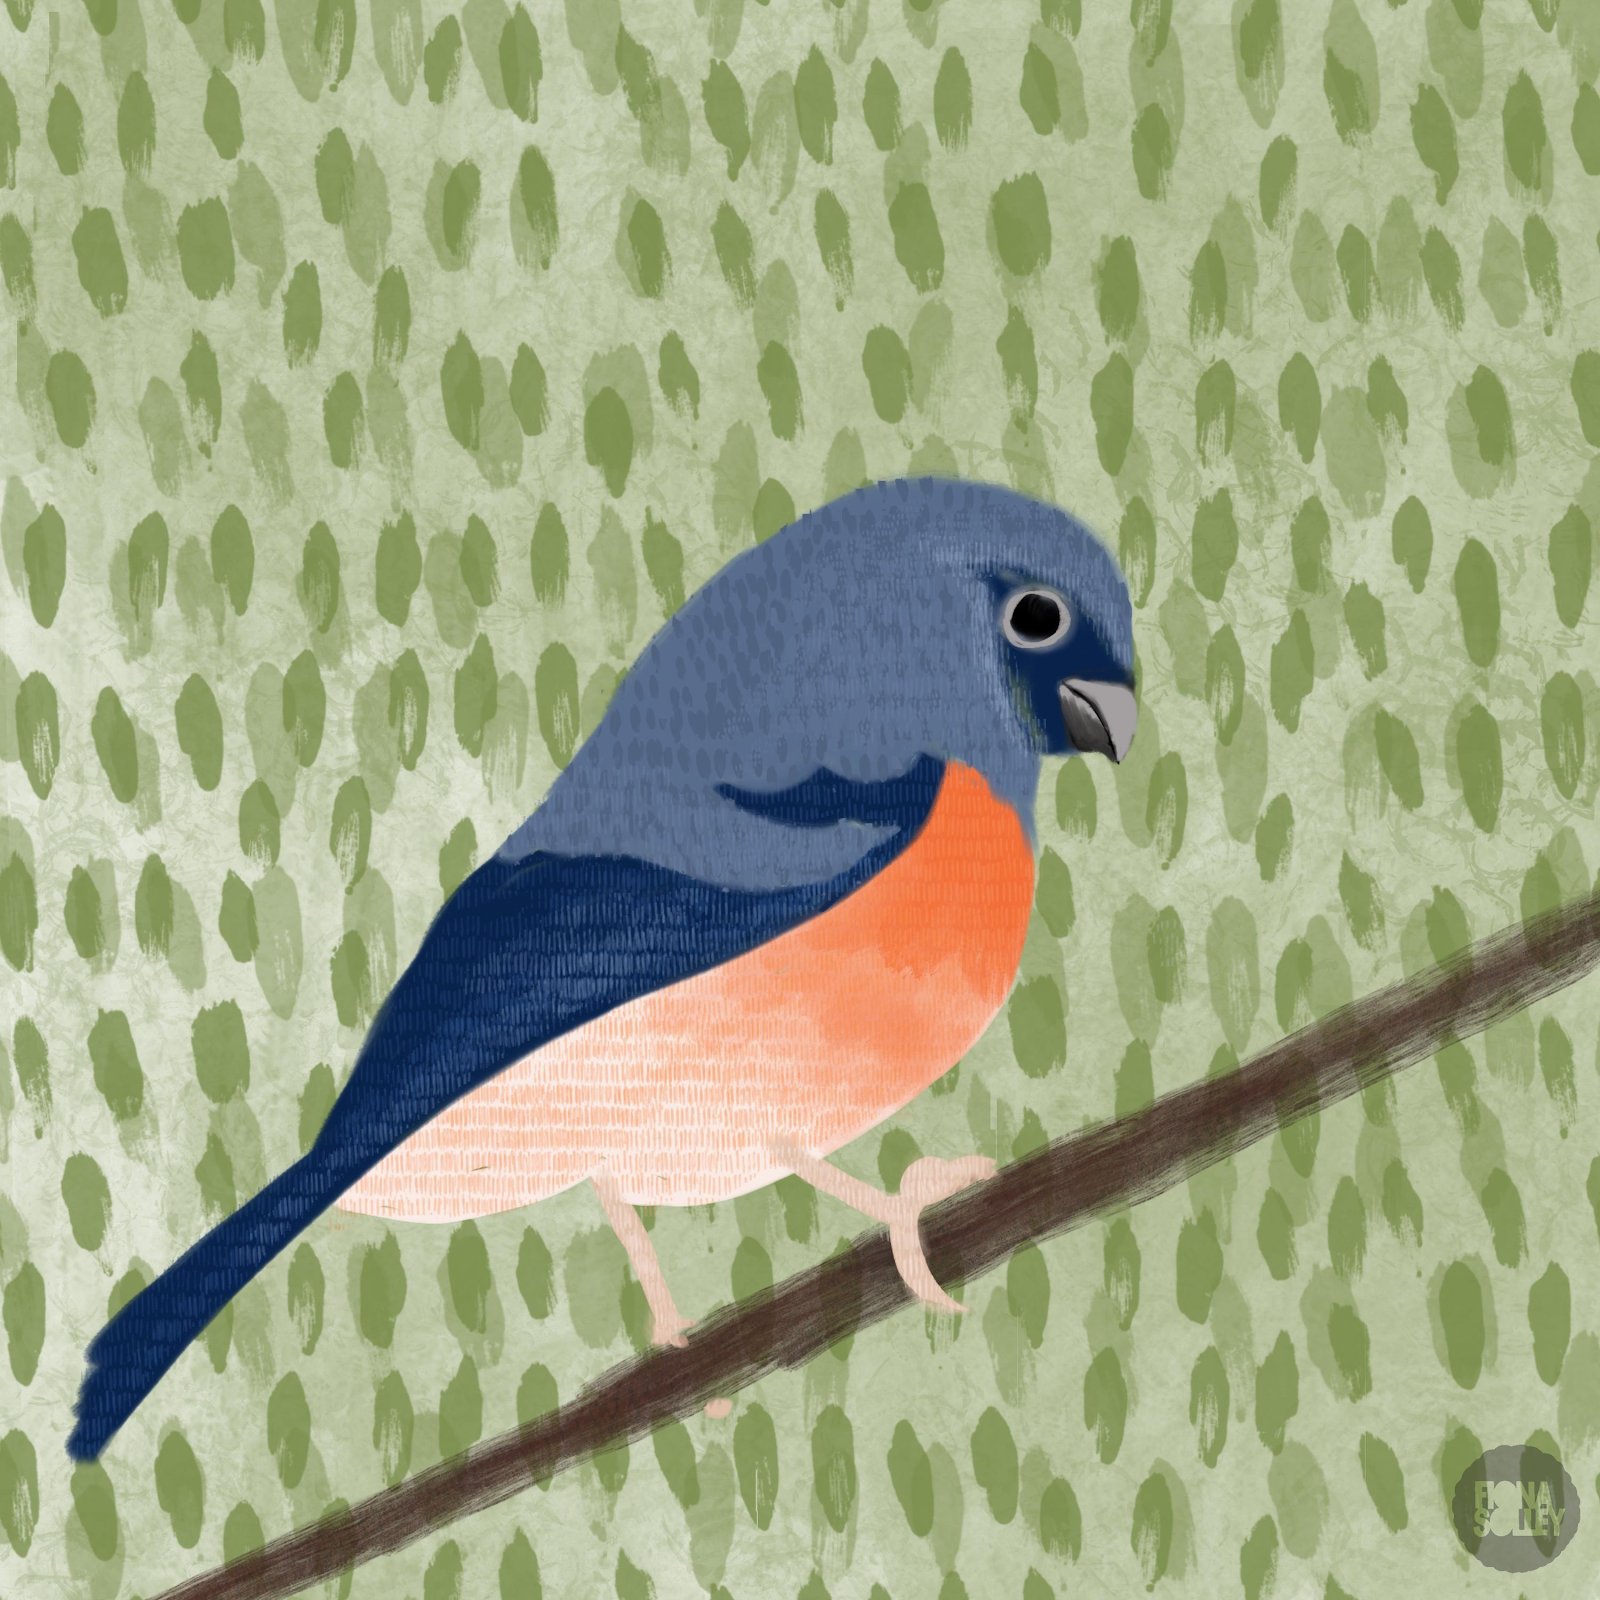
7. Brush Stroke Pattern
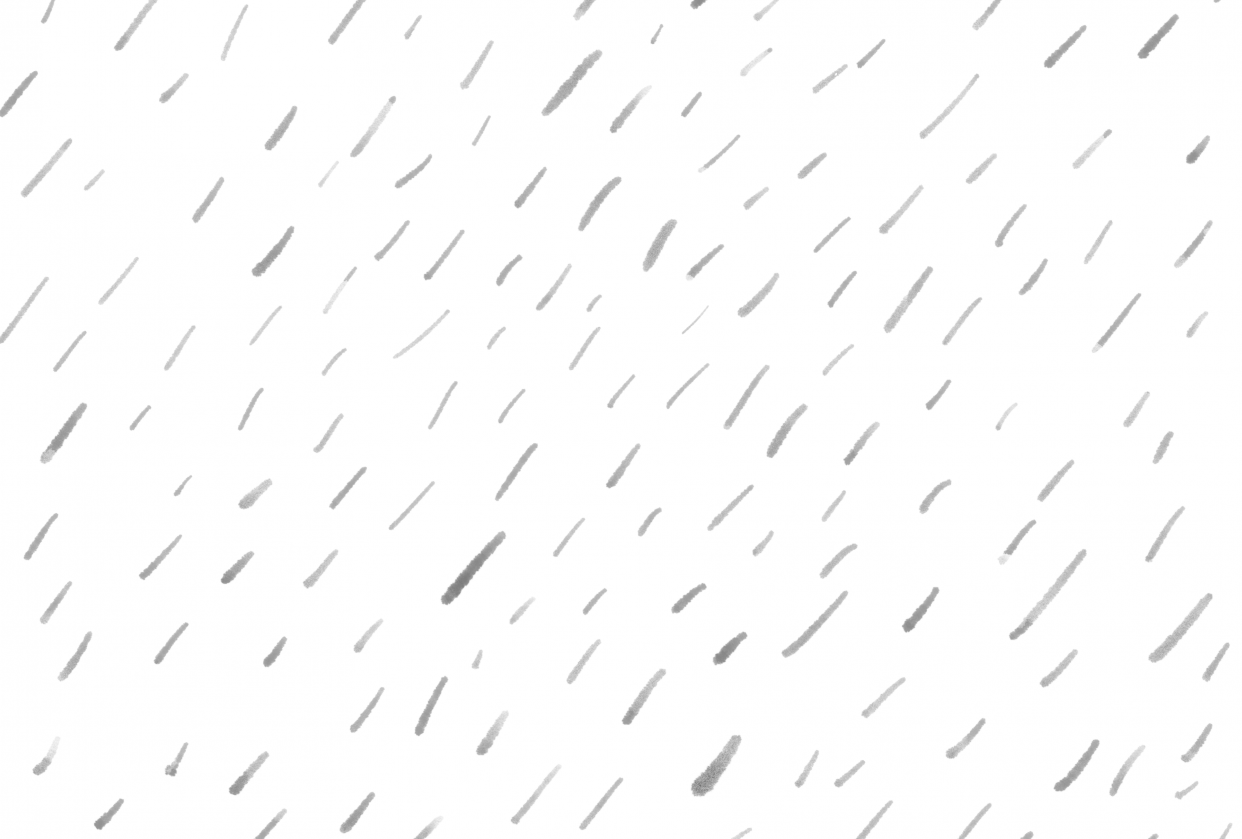
8. Rain-Inspired Stroke Pattern
9. Hatching Stroke Patterns

10. Abstract Grunge Pattern Stroke

Brush strokes and patterns can be powerful tools for your digital illustrations. By using these custom brushes to add textures and backgrounds, you can push your designs to the next level.
Design Your First Pattern Brush
Create Patterns and Pattern Brushes in Procreate® With Sandra Bowers
Try Skillshare for free! Sign up for a 7 day free trial today!
Get Started- Unlimited access to every class
- Supportive online creative community
- Learn offline with Skillshare's app


