

How to Group Elements on Canva: A Complete Guide
Want to move multiple Canva elements as one? We’ll show you how to group and ungroup on Canva whether you’re using a computer or mobile device.


Designing visually appealing graphics and documents is both an essential skill and a fun hobby, but not everyone wants to spend hours mastering professional graphic design software. That’s where Canva comes in: As a free-to-use and beginner-friendly online design tool, it’s emerged as a highly popular platform for individuals and businesses alike. Within Canva, one of the key features that can significantly enhance your design workflow is the ability to quickly group and ungroup elements.
Not sure how? No problem: We'll walk you through the process of how to group and ungroup elements on both the computer and mobile versions of Canva, so you can take full advantage of this powerful design tool and streamline your creative process.
Why Grouping on Canva Is Important
So why should you bother learning how to group and ungroup on Canva in the first place? First and foremost, you’ll benefit by saving yourself a great deal of time and effort, especially if you’re tackling more complex designs with multiple elements.
For instance, let’s say you want a snippet of text to be placed right next to an icon. If you group that text snippet and icon, you can then move them around your canvas as one, without the need to constantly reposition them in relation to each other.
Knowing how to ungroup elements can come in handy, too. If you group two elements together but then change your mind about how you want them to be spaced, for example, all you need to do is ungroup them, adjust the spacing accordingly, and group them together again.
All in all, learning to group and ungroup can help you work more efficiently, keep your designs organized, edit multiple elements at the same time, and quickly create more complex designs.
Locating the Group Button in Canva
Before learning the step-by-step process of grouping and ungrouping elements, you’ll need to know where to find the “group” button in Canva to begin with.
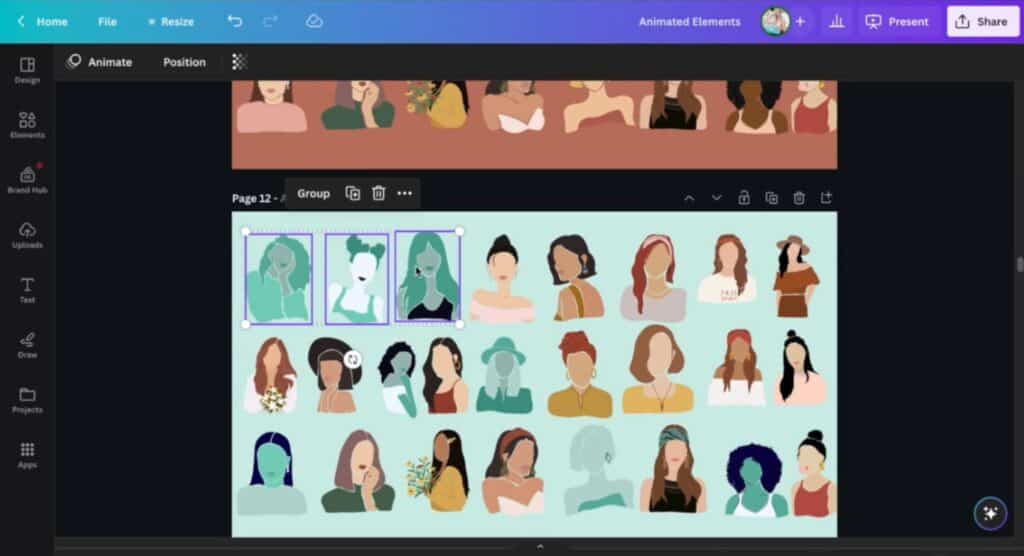
Fortunately, it’s a breeze to locate: The “group” button is conveniently located on the floating toolbar that appears on your screen when you select multiple elements—check out the screenshot above to see what it looks like.
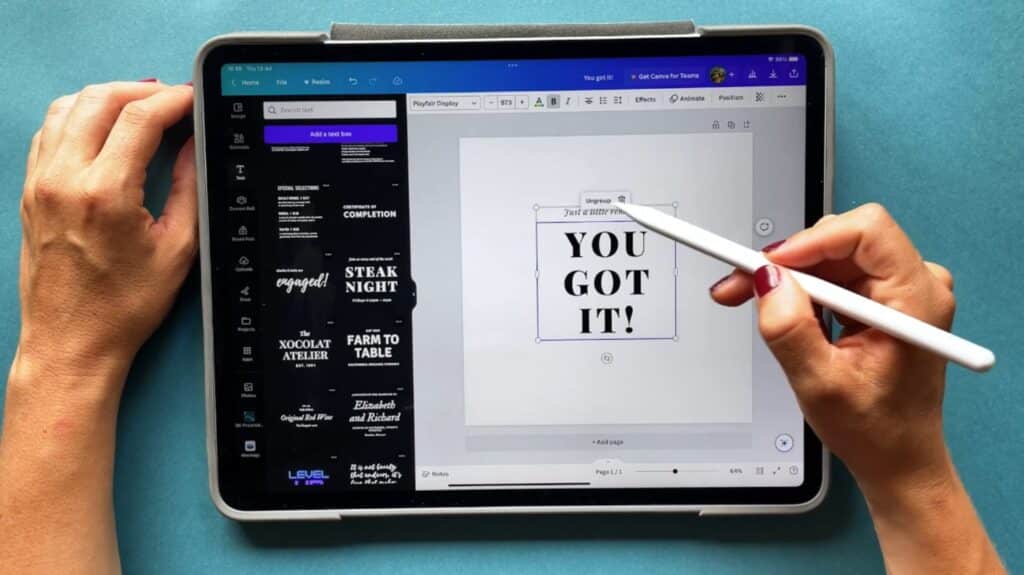
Do you prefer using Canva on your iPad, smartphone, or other mobile device? The same process applies there, too. Once you’re in the Canva app, just tap an element to bring up the same floating toolbar.

This floating toolbar serves as your gateway to various key actions, including grouping and ungrouping. Note that it also has buttons for duplicating and deleting the selected elements, so be sure not to tap those by mistake. On the other hand, if you want to see the other options the toolbar has to offer, click the button with three dots.
Steps for Easily Grouping and Ungrouping Elements
While Canva offers a user-friendly graphic design interface and approachable tools, understanding the steps needed to group and ungroup elements can significantly improve your design efficiency.
Hint: Neither grids nor charts can be grouped directly in Canva, so if you’re struggling to group either, rest assured it’s due to software limitation rather than user error.
For Grouping Elements on Your Computer
- Select elements: Use your cursor to drag over the elements you want to group, or hold down the Shift key and click on each element you want to include.
- Click the “group” button: Once you’ve selected all your desired elements, click on the button labeled “group” on the floating toolbar that appears.
- Pro Tip: Use the keyboard shortcuts Command + G (Mac) or Ctrl + G (Windows) to group elements even faster.
- Pro Tip: Use the keyboard shortcuts Command + G (Mac) or Ctrl + G (Windows) to group elements even faster.
- Pro Tip: Use the keyboard shortcuts Command + G (Mac) or Ctrl + G (Windows) to group elements even faster.
For Grouping Elements on Your Mobile Device
- Tap and hold an element: Begin by tapping and holding on the element you want to start the group with. This will open a menu.
- Choose “select multiple:” Within the menu that just opened, tap the “select multiple” button, then tap all the other elements you wish to add to your selection.
- Tap “group:” Once you’ve chosen which elements you want to add, look for the “group” option on the floating toolbar and tap it to create the group.
For Ungrouping Elements on Your Computer
- Click the group: Select the grouped elements by clicking on the group.
- Select “ungroup”: Find the “ungroup” option on the floating toolbar and click it to ungroup the elements.
For Ungrouping Elements on Your Mobile Device
- Tap the group: Use your finger or stylus to tap on the group of elements you want to ungroup.
- Select “ungroup:” Look for the “ungroup” option on the floating toolbar and tap it to ungroup.
Canva Grouping and Ungrouping Made Simple
Straightforward though it may be, learning how to group and ungroup elements in Canva can significantly enhance your graphic design capabilities. Why? Knowing how to quickly organize design elements is key to becoming a more efficient and confident designer, and that’s true whether you're creating social media graphics, marketing materials or fun designs for your own enjoyment.
Looking to further improve your Canva expertise further? Skillshare is the place to be. With dozens upon dozens of online Canva classes geared toward beginners, seasoned designers and everyone in between, you’re just a quick search away from finding exactly what you need.
Carrie Buchholz
Carrie Buchholz is a freelance writer who lives in Northern Colorado with her husband and dog.
Try Skillshare for free! Sign up for a 7 day free trial today!
Get Started- Unlimited access to every class
- Supportive online creative community
- Learn offline with Skillshare's app


