

How to Edit Videos and Organize Your Footage (Best Beginner Guide)
Learn how to edit videos and how to organize your footage in this step-by-step beginners guide.


Getting great footage isn’t the only thing you need to create a high-quality video.
Knowing how to edit your video will make it stand out in a competitive market, help you look professional, and reinforce your brand. Fortunately, learning how to edit a video on YouTube or other platforms is easier than you might think—especially when you have this guide in your corner.
Here are the topics we’ll cover:
- How to edit video
- How to store and organize video footage
- How to edit a video on your phone
How to Edit Video in 9 Steps
1. Import Footage

Obviously, to start the editing process, you need to have footage to work with. If your footage is on your phone, you can edit the footage directly there (and we’ll get to how to edit video on iPhone or Android a little later).
But if you’d rather edit on your computer, AirDrop the footage or transfer it via a USB cable. If your footage is on a camera, import it using a USB cable or SD card.
2. Organize Your Footage

Next, you’ll want to immediately organize video footage content. The best way to store and organize footage for a video project is to create a folder with your original footage. Label each audio or visual clip with a name, date, or even a number or project title—whatever works for you.
If you have only a few video clips, it might seem easier to just drag them all to your video editor. But if you do so without having them organized first, you risk losing your work if the editor crashes.
3. Watch, Review, and Mark Footage
After you organize your clips, carefully review your footage and decide what you want to use. Reviewing everything before you start editing can be time consuming, but it’ll help you understand what usable footage you have and make sure you include the best clips.
This also gives you a chance to check for any problems you didn’t notice when shooting (like a distracting background or an unappealing angle), as well as choose between similar clips to decide what to work with.
Most video editing software includes tools that allow you to mark your clips and highlight the footage you want to use in the editor. You can also delete unneeded clips from the video editor.
4. Cut, Drop, and Place Footage
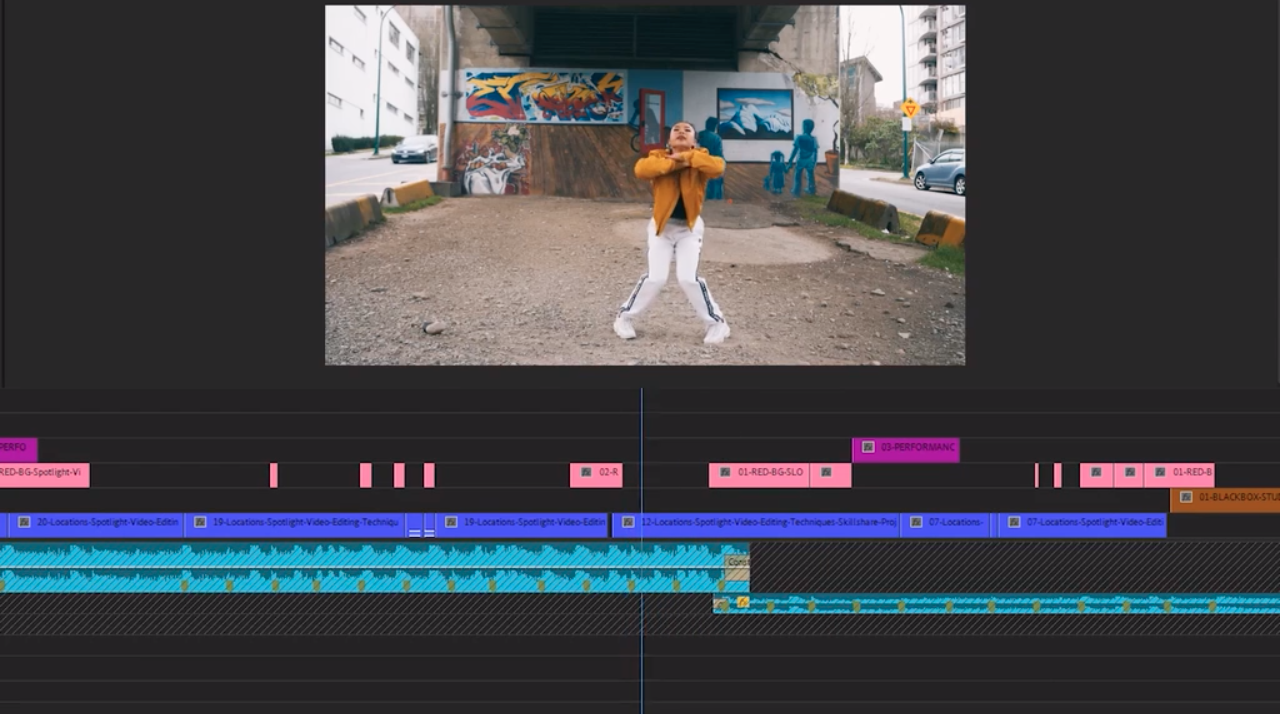
Now it’s time for the most fun part of editing: creatively cutting and dropping your clips to assemble a storyline. Regardless of the video editor you’re using, you’ll be able to drag and drop your footage into a timeline that you can use for editing.
After you’ve dragged your footage into the timeline, you can rearrange the clips and lengthen or shorten them to take up more or less time. This isn’t something that you do at random—you’ll want to think about the overall pacing and storytelling of your video so you can use that as your guide.
“When slowing down a sped-up shot, it creates more emphasis on the shot you choose to slow down on, allowing you to see a scene or object in detail. You can also speed up on a shot to quickly get to the next action in the sequence,” Skillshare instructor and videographer Sean Dykink says in his Skillshare class.
5. Develop Cohesive Transitions

Once you’ve dropped your footage into the editor, you’ll probably notice something frustrating: your clips may not look as good together as you thought they would. That’s okay! It’s natural for the editing process to take a few revisions.
One of the biggest problems you’ll discover is that adjustments between clips aren’t as seamless as you’d like them to be. Quick switches from one segment to the next may be jarring or confusing to your audience, so you’ll want to clean up your transitions.
“Find a clip that has the same camera movement in order to keep a consistent flow between the different images. Keep the framing,” says Skillshare instructor and film director Oliver Astrologo. “If you are showing the subject in the left top corner of the screen, it will be a good idea to find the clip that has the subject in the same position.”
Make Your Own Video!
Video Editing: Transforming Footage into Evocative Travel Stories
6. Get Feedback

It’s a good idea to get feedback throughout the editing process. If you’re struggling with a certain sequence or having a hard time deciding which clip to use, ask friends or colleagues what they think. Many times, this feedback process will reveal something you would have otherwise missed.
“You can start with something, and end it with a video that is completely different from the initial idea. So, don't be worried to experiment or maybe give some free space for creativity. Show your rough edit to family and some friends, and get their feedback, comments. They could be useful to improving your work,” says Astrologo.
7. Add Special Effects to Your Video

Once you have your video clips assembled in order, you can begin adding flair to your footage. The types of effects you add will depend on your style and what’s needed for your specific project. Your effects could include:
- Transitions
- Graphics
- Color grading and filters
- Audio effects and music
Just keep in mind that it’s definitely possible to go overboard—too many effects can easily become distractions—so be picky about which effects you use. Remember, you want them to add to your video, not take away from it.
8. Add Text to Your Finished Video

There’s one final step between editing and exporting your footage: adding text to your nearly completed video.
While text may not seem like a crucial component, it adds an extra touch that can take your video from amatuer to professional. For example, many video intros include a graphic or title to introduce your audience to you and your work. Or, videos offering step-by-step instructions often have text explaining each step.
Adding closed captioning is also a good idea, as it allows people who are hearing impaired or watching your videos on silent mode to follow along. Making your videos more accessible means that a wider audience can enjoy them.
9. Export and Share Your Project
Now it’s time for the most exciting part: You get to export and share your footage with the world!
If you’re looking to post your video on social media, you can typically export your footage from the video editor directly to YouTube, Facebook, and other platforms.
Or, if you want to embed the video on your website or share it directly with others, you’ll need to look at which file format works best. Higher-quality videos will take longer to load, so you might want to compress your video down for faster load times.
The Best Free Video Editing Software to Use
OK, but what if you don’t have fancy software? How do you edit videos for free?
As a beginner, there’s a good chance you don’t want to invest in filming equipment or editing technology. That’s why we’ve pulled together a list of the best free video editing software that any beginner can take advantage of.
iMovie
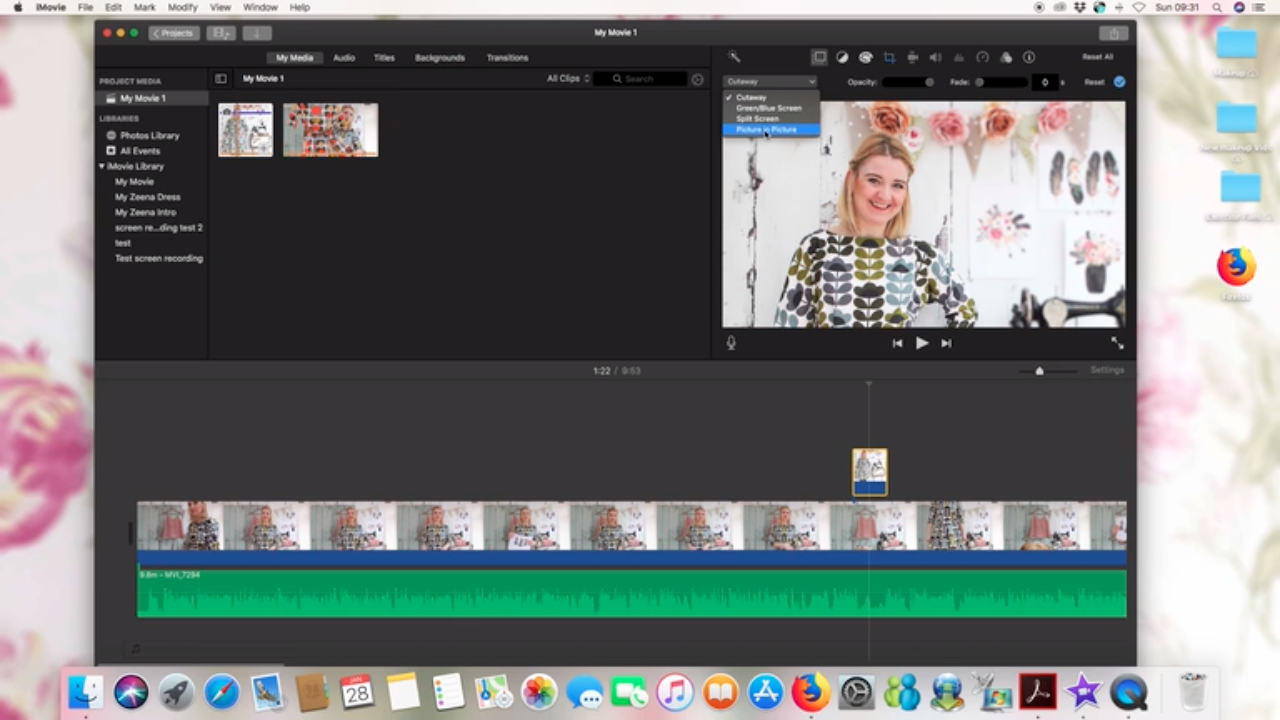
Apple iMovie, which is preloaded on every Mac and iPhone, allows you to edit videos like a professional with an intuitive and easy-to-use editor. You can choose from 13 different video filters, incorporate special effects, and add soundtracks to make your videos pop.
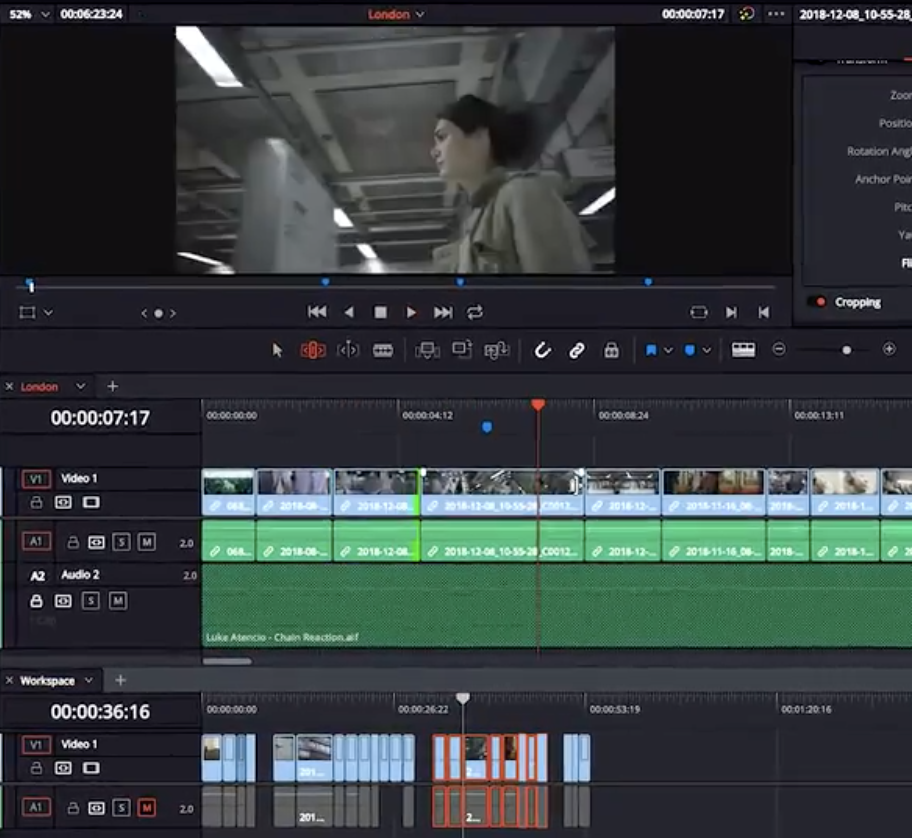
DaVinci Resolve
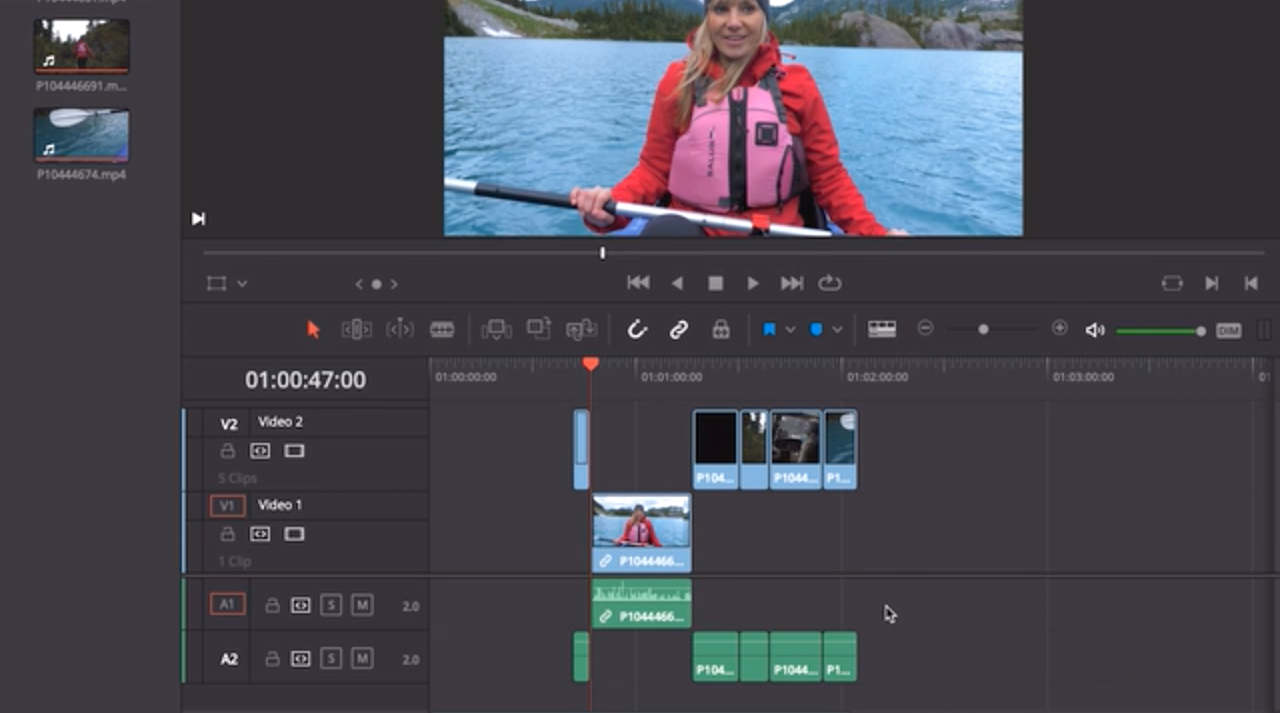
DaVinci Resolve is a free video editor that’s more complex than Apple’s iMovie and works with both PCs and Macs. In addition to the usual drag-and-drop editing and trimming tools, DaVinci Resolve has a color corrector, audio post production, visual effects, and closed caption tools.
HitFilm Express
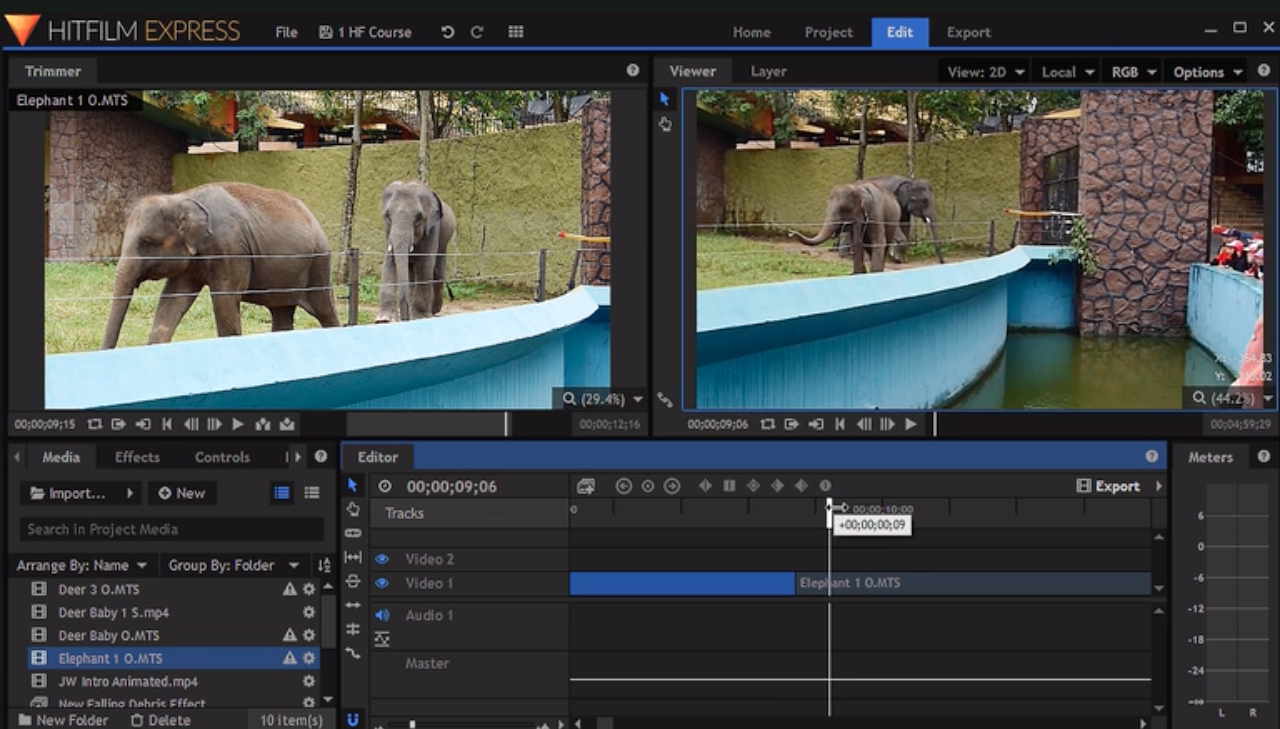
HitFilm Express offers both free video editing and visual effects software that’s perfect for any aspiring YouTuber. The software has 400+ high-end effects, 2D and 3D compositing, comes with a built-in voice recorder, and works with both Windows and Mac operating systems. The video editor looks professional but can be easily operated by any beginner.
How to Edit Videos on an iPhone
Wondering how to edit a video on iPhone? You’re not alone: Journalists, videographers, and YouTubers often shoot, edit, and share videos directly from their phones. While this isn’t ideal for lengthy projects (or your battery life), it works perfectly for short clips. Here are a couple of different video editor options:
Option #1: Use Video Editing Apps
Much of the video editing software available on the market also has apps for mobile devices. Apple’s iMovie, for instance, works on both Macs and iPhones and seamlessly syncs and integrates footage between the two.
Other popular and free video editing mobile app options include:
- Adobe Premiere Rush (for iOS and Android)
- Quik (for iOS and Android)
- WeVideo (for iOS and Android)
Using those apps, you’ll edit video on your phone similarly to how you’d do it on your computer.
Option #2: Edit Directly in Your Gallery or Camera Roll
Not interested in downloading an editing app? You can also do many of the basic editing functions right on your phone.
iPhones users can simply click on their videos, tap “Edit” in the bottom right corner, and trim footage down. You can also use the “Edit” function to rotate and crop videos, and then save these edited video clips as entirely new videos.
It works really similarly on Android devices, where users can trim videos directly within their Gallery.
Keep in mind that those native video editing functions only cover the basics. To do more intense edits like adding text, video filters, or transitions, you’ll need to have a separate video editor on your phone.
Like any other creative activity, editing videos is a learning process. Enjoy the journey and watch as your video editing skills improve over time!
Become a YouTube Star
YouTube Success: Script, Shoot & Edit With MKBHD
Try Skillshare for free! Sign up for a 7 day free trial today!
Get Started- Unlimited access to every class
- Supportive online creative community
- Learn offline with Skillshare's app


