

How to Edit Photos: A Step-by-Step Guide
Learn how to edit photos using Photoshop and other photo editing apps and software with this guide and tutorial rollup.


Have you ever looked at a beautiful photo online and wondered how you can create the same stunning edits yourself? Photo editing software and free photo editing apps make it simple to transform photos and develop your own unique editing style.
There are plenty of ways to learn how to edit photos in Google Photos, with Photoshop, on an iPhone, or on a Macbook, to name a few. For beginners simply looking to learn what makes a good photo to more advanced editors shaping up their photos on the go using Lightroom Mobile CC, there is a photo editing software for everyone and every situation. Here is our step-by-step guide on how to edit photos, with useful software and apps to consider as you get started.

The 7 Best Ways to Edit Photos
The photos you see online, in magazines, and just about everywhere else have been edited or enhanced in some way. But, what is the best way to edit photos? Skilled fashion and portrait photographer Justin Bridges teaches the fundamentals of photo editing—he covers everything from fixing exposure and white balance to editing luminance and making simple adjustments. Once you understand the basics, you can apply these techniques to any photo in any editing software. Here some of his tips that every photo editor needs to know, whether you’re a beginner or a professional.
1. Import and Select Photos

Once you’ve shot your images, take them off of your camera’s memory card (or iPhone) and transfer them onto whatever device you’ll be editing on. If you’re working from a desktop or laptop, create individual folders for editing and label each image so they are separate from the originals, organized, and ready for editing. Then pick your selects—look at all of your saved images to determine which are the most worthy of editing. As Bridges explains, “You want to share your best work, not all your work.”
2. Set a Game Plan
Before you begin making any adjustments, consider what it is that needs editing in your photo. As Bridges put it, there’s only two reasons to edit a photo: “One, to technically correct things that were wrong when the shot was taken, and two, it’s the fun part to be creative with the photo and really bring it to life.” Look at technicalities like color correction and white balance before considering the creativity you want to apply. Bridges suggests a three-pronged approach: Accuracy (editing realistic aspects of the image), creativity (playing with color and other unique techniques), and mood (applying your taste and desire for how the photo feels). From there, you’ll be set up for success to achieve the results you’re looking for.
3. Straighten, Rotate, and Crop Your Image
Now, it’s time to clean up your image in preparation for the more technical and creative edits to come. If things look a bit off, straighten them out—literally. Start by straightening the photo for a smooth composition, then decide if it needs any additional cropping or repositioning for a clean final product.
4. Make Technical Fixes and Adjustments
When it comes to technical photo editing, white balance is usually the first order of business. White balance allows you to fix any tones that you may find unnatural (including skin tones). Most photo editing apps and photo editing software allow you to choose from a variety of preset modes to accurately calibrate the photo for the lighting conditions found in the original image. Many of the very best photo editing apps will also offer a “temperature” and a “tint” slider that you can play with to fine-tune the overall feeling of an image.
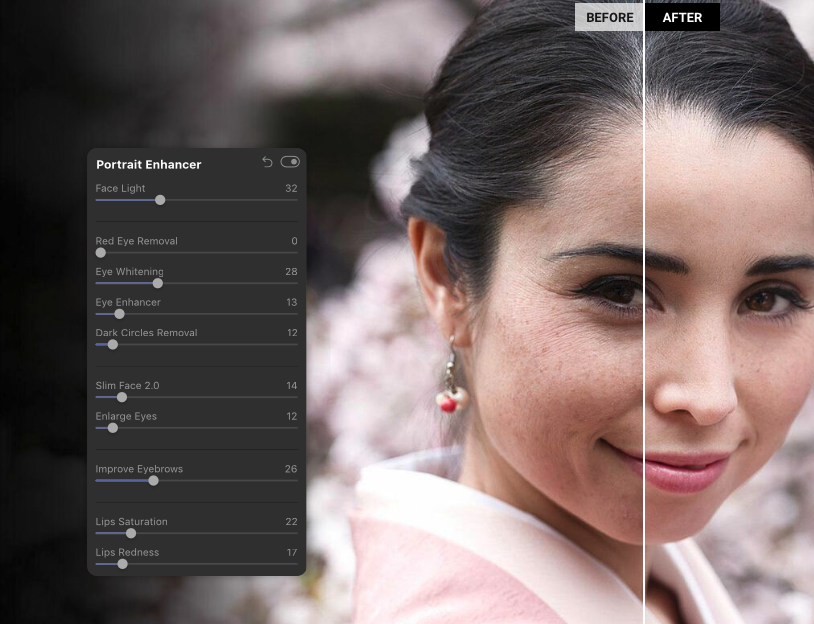
5. Adjust Vibrance and Saturation
Once you’ve adjusted your white balance, further refine the colors in your photo with saturation and vibrancy controls. Vibrance increases the intensity of soft colors while saturation makes all of the colors in the frame more vivid. In both cases, you want to find a balance—don’t leave the photo feeling too dull and refrain from over-saturating to the point where it feels unrealistic. In many cases, decreasing saturation and increasing vibrance will create a harmonious image.
6. Enhance Light and Shadows
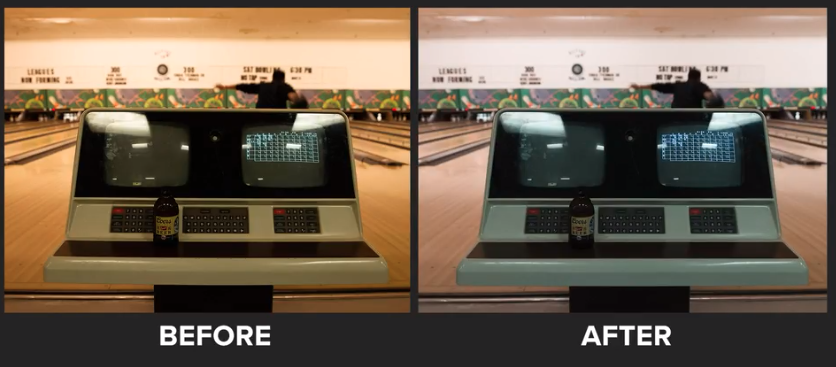
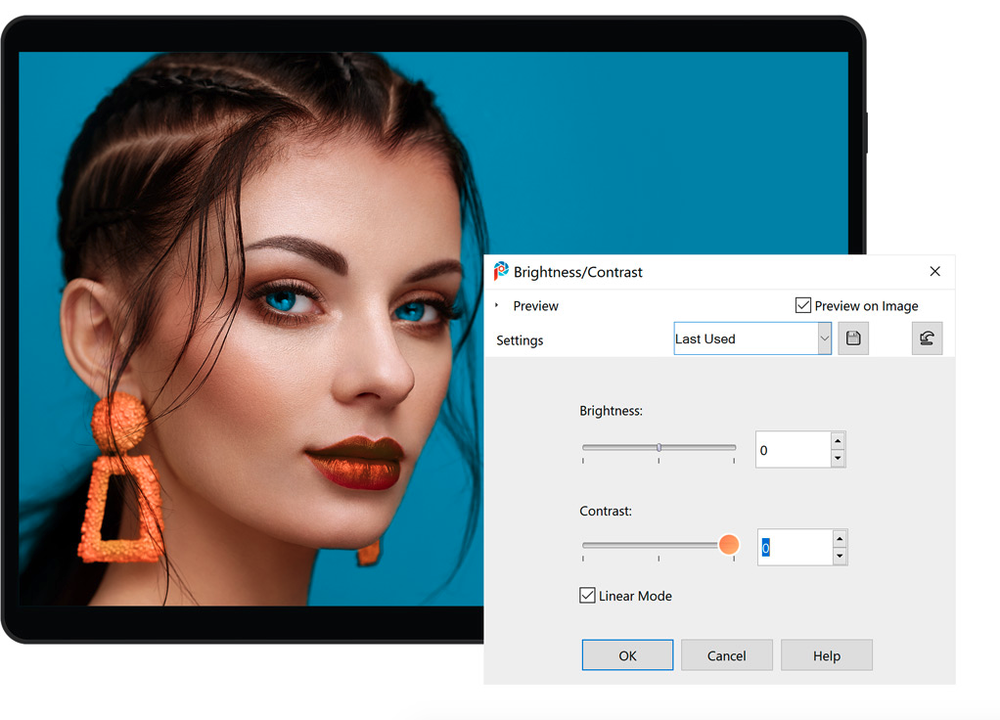
Exposure settings, known as “brightness,” will make your photo lighter or darker. You can also enhance highlights and shadows in your photo through the exposure tool. “Usually the photo needs to be brighter than you think,” digital artist Sean Voelger suggests in his Skillshare course about editing photos from start to finish. On the other hand, contrast will change the range of tones in the photo. High contrast typically results in an extreme edit, while contrast that is too low will leave you with a flat image that feels dull and lifeless. Your best bet is to fall somewhere in the middle based on the image.
7. Add Final Touches and Share
Once your technical adjustments have been processed and creative edits have been added, look at your transformation with fresh eyes to determine if any additional tweaks need to be made. Then, add any presets or filters you’d like to set the overall mood of your photo, and get ready to share your edited masterpiece! When you’re ready, save your fully edited file as a JPEG so it can be shared via email, text, or social media (or even printed). No matter how you plan to share, be sure to hit save on your final edits—if you ever decide to go back in and change things up, you don’t want to lose your work!
How to Edit Like a Professional Photographer
Professional photographers know how to take their editing to the next level by pairing creativity and fundamental techniques with the use of professional software. Whether you’re using images that were shot on an iPhone or a DSLR camera, editing is an integral part of the professional photography process. So, how do the pros do it?
Use Professional Software
For photographer and designer Sophia Carey, photo editing is an expectation of mastering photography. So, with the best photo editing tools and a bit of confidence, you’ll be able to implement more complicated editing techniques like healing (fixing imperfections), cloning objects (replacing information from another area), patching (repairing larger areas), and curves (remapping image tonality). Here are four professional editing software programs to consider:
1. Adobe Photoshop

Adobe Photoshop is a rite of passage for all professional photographers and a powerful tool that has a lot to offer. Once you understand the ins and outs of editing basics, this software allows you to exercise your creativity with power. Its robust tool set comes with just about any editing enhancement that you can think of. With so many capabilities there’s not a one size fits all approach, so you need knowledge and practice to truly unleash its full potential. (Good news: In Skillshare’s Easy Photo Editing Course, you’ll learn how to edit photos in Photoshop.)
2. Adobe Lightroom
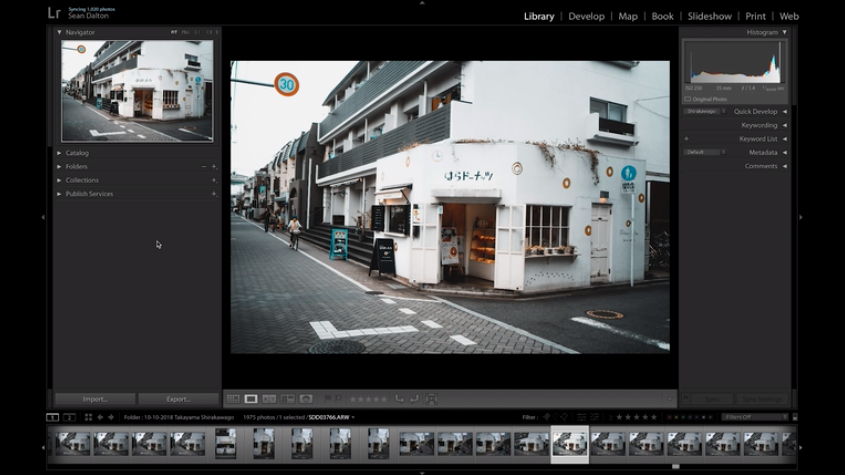
An effective editing software to discover your own unique editing style, Adobe Lightroom offers simple one tap and easy-to-use tools. Whether you’re editing a portrait or want to make your cityscapes stand out, Lightroom allows you to reach beyond just exposure and saturation and tap into clarity, curves, dehazing, and more. This is where you can learn your editing tastes and implement them across a wide range of images—from dark and moody to light and bright.
3. Corel Paintshop Pro
For the more budget conscious photography professionals, Corel is a worthy Photoshop alternative that is conveniently offered at a one-time price (rather than requiring a subscription, like Adobe products do). It includes a full range of powerful editing, drawing, and correction tools and you can customize your workspace to match your exact editing requirements. For casual photographers, it’s definitely worth a try.
4. Skylum Luminar
Skylum Luminar is a photo editing software that includes effective and automatic photo enhancements alongside the usual adjustment tools and filters. With over 40 Intelligent Photo filters that utilize artificial intelligence to quickly correct problems this program transforms your photos into professional images in less time.
3 Photo Editing Apps to Know
Sometimes, you may need—or want—to edit your photos on the fly. When that’s the case, harness the power of these photo editing apps you can use right from your phone.
1. Lightroom Mobile CC
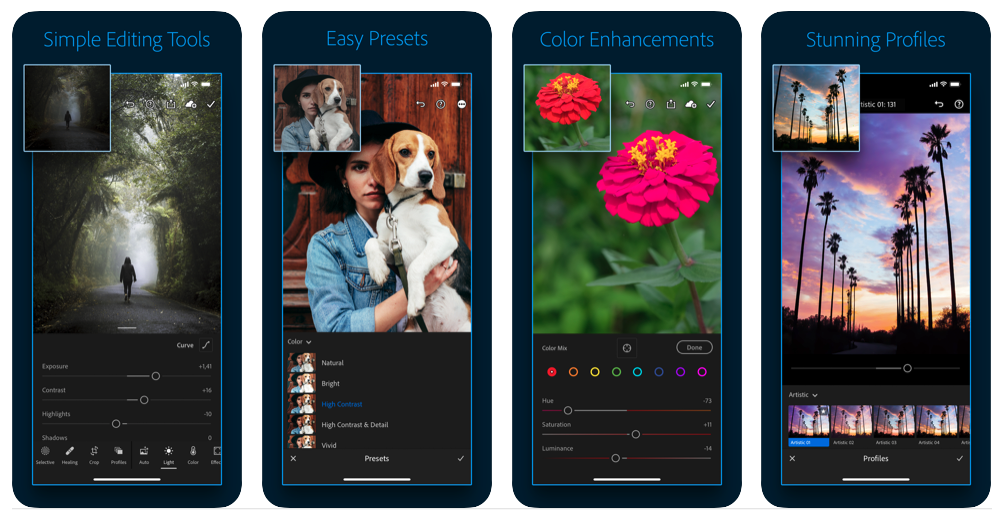
Lightroom Mobile CC—the app version of the desktop-favorite—is both a photo management and photo editing tool in a single, useful app. Most Lightroom functions are available at no cost on iOS and Android (or you can pay $4.99 per month for the full suite of features). You won’t find spunky animations or filters available in the app, but you will have complete control over your photo editing and workflow.
2. Snapseed
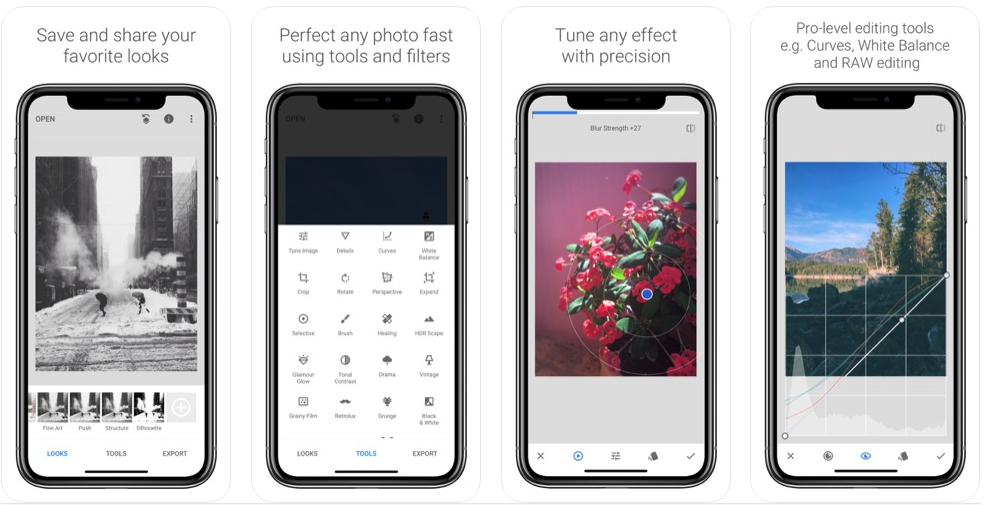
For celebrated Instagram photographer Tyson Wheatley, Snapseed is an “all around amazing app, for editing...a really versatile tool.” In Wheatley's Skillshare course, he’ll teach you how to edit photos on iPhone to play with shadows, saturation, and more—all for optimal Instagram success. If other photo editing tools feel daunting, this one you can quickly master. From tuning, selective editing tools, and white balance to improving the composition through cropping, rotating, and cleaning up photos for flawless edits, Snapseed does it all. For Instagram star Dan Rubin, Snapseed comes in handy for mobile photo editing on images that require a little extra love and attention. The best part is, it’s totally free.
3. VSCO
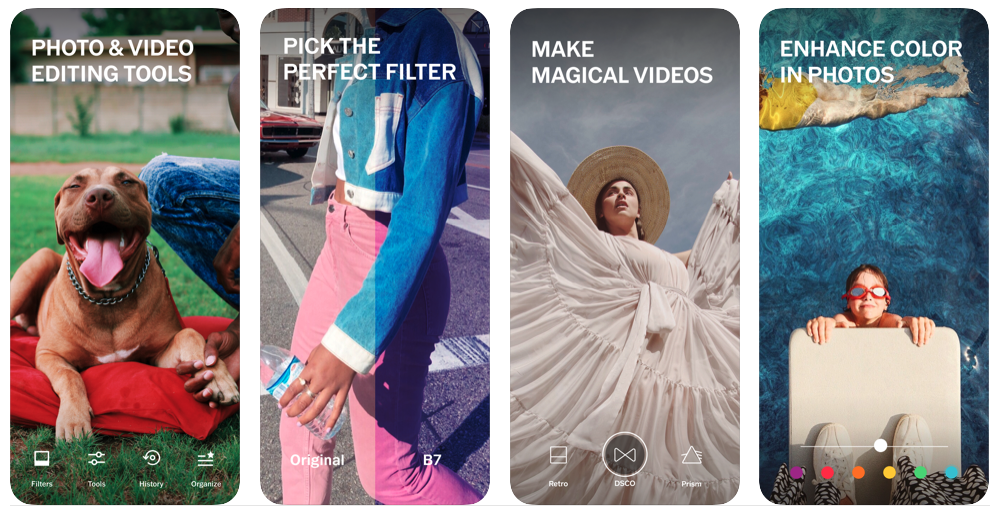
Less about intricacies, VSCO Cam is all about color filters and basic editing tools like white balance and shadows. It’s the final step in all of Rubin’s images and one of his favorite photo editing apps for overall post-production, and VSCO’s wide range of presets (including some designed to mimic vintage rolls of film) make it a great choice for those looking to experiment with color and filters. Whether you want to go with a moody monochromatic shot, a bright eye-catching style, or a classic black-and-white photo, this is a favorite among Instagrammers. The app is free to download and $19.99 a year for full access to all of the available filters.

Want to Up Your Photo Editing Game?
Fundamentals of Photo Editing.
Try Skillshare for free! Sign up for a 7 day free trial today!
Get Started- Unlimited access to every class
- Supportive online creative community
- Learn offline with Skillshare's app


