

A Beginner’s Guide to Using your First DSLR Camera
Unlock the potential of your DSLR camera, from understanding the exposure triangle to knowing what essential photography gear you need.


Once you’ve decided to pursue photography seriously, the natural next step is to invest in a more professional camera. A digital single-lens reflex (DSLR) camera is an excellent tool for photographers of all skill levels, but for beginners, learning its ins and outs can help build essential photography skills. Whether you dream of becoming the next great photographer or just want better vacation shots, you’ll be able to achieve more when you invest in a high-quality camera and understand how it works. Here, we’ll outline how a DSLR camera opreates, what settings are essential to get right as you shoot, and the various styles you might pursue as you progress in your photography journey.
What is a DSLR Camera?
A DSLR camera has a mirror in the body of the device that allows you to view what you are shooting through its lens. Depending on the camera, the mirror will interact with a prism or additional mirrors. The camera's internal mirrors show you what you're shooting at that exact moment and record the image without any lag. This is thanks to the single lens in your camera: Instead of sending light to a viewfinder like other cameras, a DSLR sends the light from the lens right to its sensor.
This setup sets DSLR cameras apart from mirrorless and point-and-shoot cameras. It’s also the reason that DSLRs are much larger than these other types of cameras: The inside of your DSLR contains more functionality—and therefore more parts, such as a larger sensor—than more basic kinds of cameras. You’ll spot more features on the outside of the device as well. DSLR cameras make it easy to swap out lenses, allowing photographers to add to and customize the camera’s capabilities for different shoots.
“Yes, you can use whatever camera that you have in front of you,” says Justin Bridges in Fundamentals of DSLR Photography, one of several Skillshare Originals in which he shares the basics of professional photography. “But if you want to grow—if you want to learn, if you want to have more control and have a better image as a result of that control—the best thing you could possibly do is own a DSLR.”
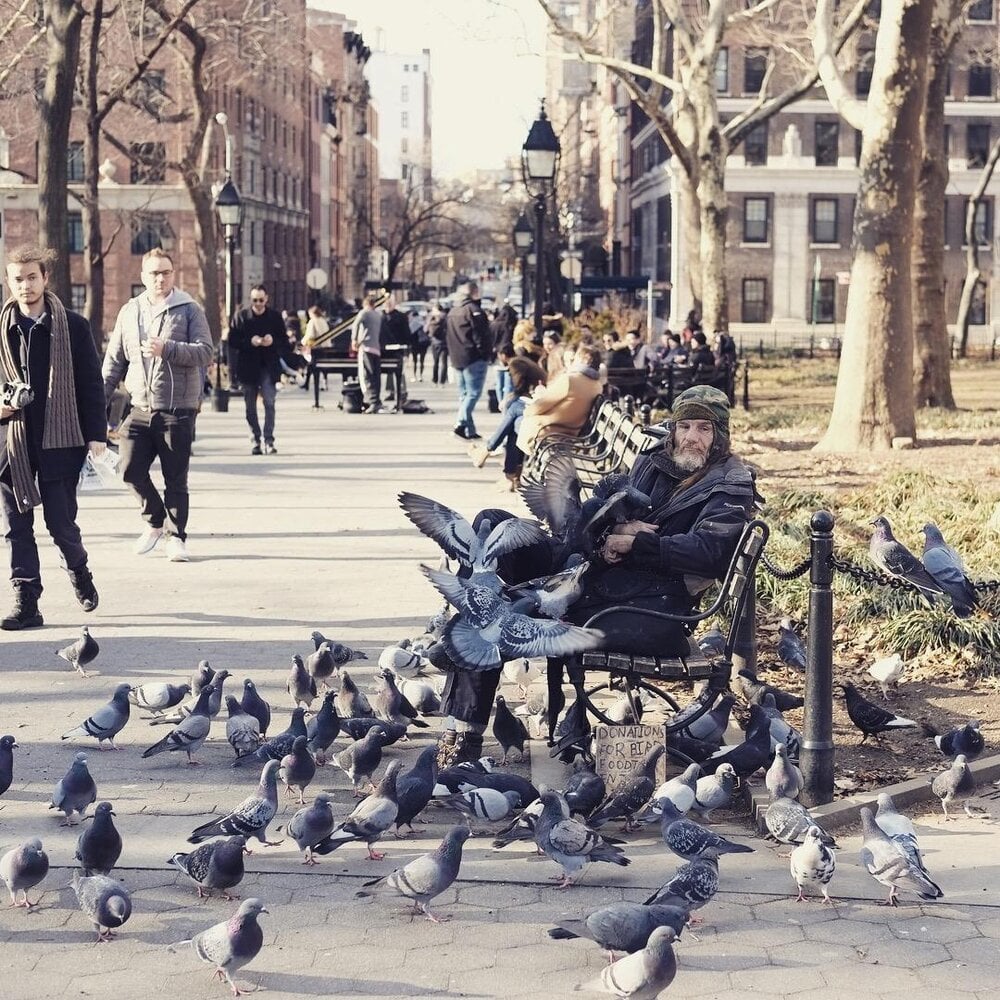
Get Acquainted with Your DSLR Camera
Photographer Justin Bridges shares an in-depth look at how to use a professional camera.
Photography Techniques Beginners Need to Know
DSLRs are excellent cameras for practicing. Their long-lasting batteries, wide range of capabilities, and various customizable settings offer plenty of material to play with. But without the right training, you may never pass the blurry beginner stage. Here, we’ll take a look at some of the foundational photographic techniques that will help you make the most of your DSLR.
Understanding the Exposure Triangle
The exposure triangle, which refers to the way you balance your aperture, ISO, and shutter speed, is one of the most important foundational concepts of shooting with a DSLR.
Aperture measures the opening of your lens when a shot is being taken and controls focus. A lower aperture number, expressed as f/number, helps create shallow depth shots, while a higher setting leaves more than just your subject in focus.
ISO gauges your sensor's sensitivity to light. Increasing your ISO gives you more light. The photo may get brighter as you increase your ISO, but it will also get noisier, so try to use the lowest possible ISO setting for your situation.
Shutter speed determines the speed at which your DSLR takes a photo. The slower your shutter speed, the more light the sensor takes in. Meanwhile, a fast shutter speed can freeze fast-moving moments in sports or nature.
To effectively use the exposure triangle, you’ll have to balance all three elements. If one outweighs the other two, it will be evident in your photo. Each camera will vary, so don’t be discouraged if your pictures aren’t exactly like someone else’s. To get started, you may want to use your camera’s semi-automatic shooting mode, with automatic ISO, to focus on just two of the three elements at a time.
Metering
Metering measures your subject's brightness and exposure. It adjusts your exposure triangle according to the light of your image's focus. There are three kinds of metering you may use when shooting:
Matrix: The most common metering a camera uses, this gives you a grid of balanced light and dark portions of your image.
Center-weighted: Here, the camera sets the exposure for the center of your image.
Spot Metering: The camera sets the exposure for the selected focal point of the photo, even if it’s not in the center.
Shooting in RAW and JPEG
RAW and JPEG are the two file formats you can use when you shoot with a DSLR camera. Shooting in RAW gives photographers all of the data taken from an image. “If you shoot in RAW, you're going to unlock the potential of your camera,” explains Bridges. Unlike JPEGs, RAW files are not compressed and are preferred by most photographers because they’re easier to manipulate during the editing process. When you’re starting, consider learning to shoot in both formats: It will allow you to understand and appreciate the difference.
Exploring More Genres of Photography
As you master the basics of metering and the exposure triangle, you may want to apply what you’ve learned in new ways. Consider the following avenues, each of which offers its own advantages and challenges.
Black and White Photography
Shooting in black and white is about much more than switching your color settings. You will need to understand shooting in low ISO, proper filter usage, and how to scout out an environment that fits the bill. “Regardless of its color, an image should still speak and say something,” says Stephen Vanasco, the photographer behind Skillshare Original course The Art of Photography: Defining Your Visual Style. He recommends looking for contrast when shooting for monochrome photos. “I'm not solely relying on the aqua of the wood or the rust of the trashcan to make the photo good. I'm seeing the layering to it in the shapes and everything beyond that. The color palette involved can work for it, but [the shot] is also not relying on it.”

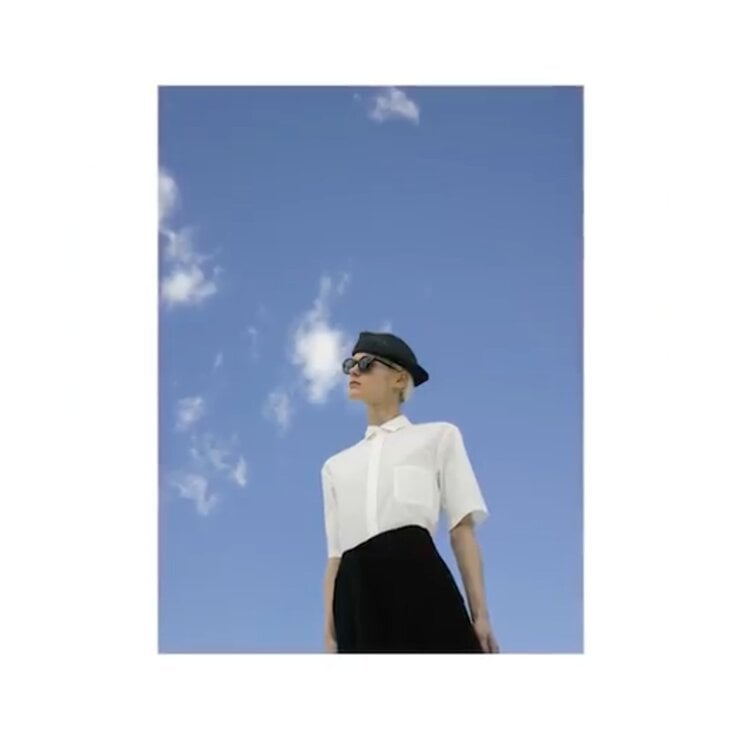
Develop Your Photography Style
Photographer Stephen Vanasco offers step-by-step instructions for developing a visual signature.
Night Photography
Shooting at night is no easy feat, but often, that realization doesn't hit beginners until they look at the results of their first evening shoot. Night shooting requires an understanding of your DSLR's manual mode, the exposure triangle, and the proper use of tripods. Often, you’ll need to slow down your shutter speed to get enough light for the photo, which can make the shot quite blurry—an effect you can play around with intentionally once you’ve gotten some practice. “One of my favorite things to shoot in low light is shooting long exposures by having people or objects in them,” says photography Chris Burkard, who shares the basics of night photography in his Skillshare Original course Outdoor Photography: Shooting at Sunset, Sunrise, and Night. “It gives a surreal nature to the images.”
Motion Blur
Many action photos try to catch sports of nature as if they were frozen in the moment, with clear, focused shots. With motion blur, you are capturing the opposite of those scenes, working with long exposures and midshot movements to shoot an image that feels like it's moving off the photograph. To achieve this effect, you'll need to get comfortable adjusting shutter speeds.
High Dynamic Range (HDR) Photography
HDR photography combines multiple high-contrast versions of the same scene, each with varying exposures, light, and brightness levels. “We're shooting it so that we have an exposure for the highlights, and that looks great, and then we have an exposure for the shadows, and that looks great,” explains fine art photographer Matt Suess in the Skillshare Original course Intro to HDR Photography: Shooting and Editing High Dynamic Range. “Then we blend those together using specialized software.” HDR gives us captivating images that scores of us would not be able to capture—but you’ll have better luck with this method once you’ve mastered the basics.
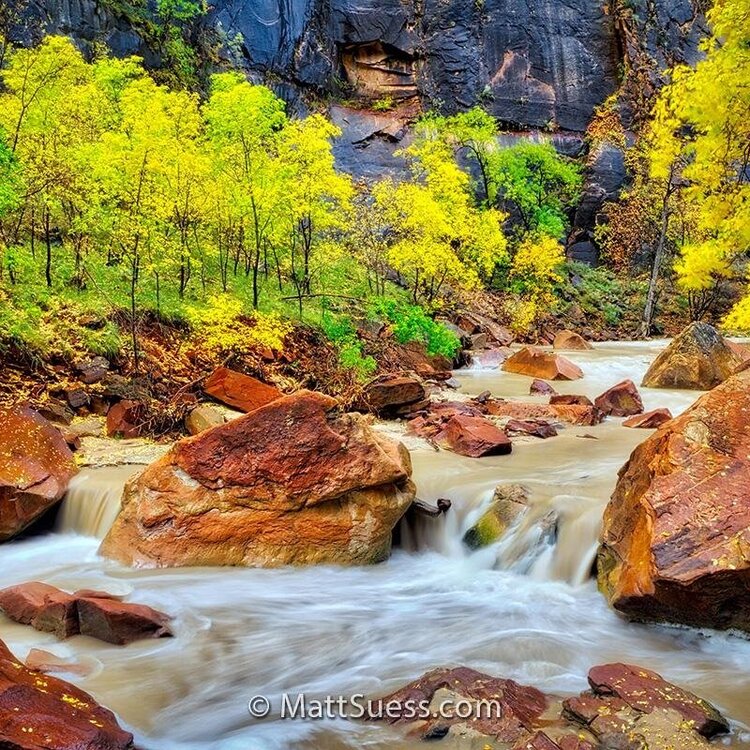
HDR Photography, Explained
Learn how to take high-contrast photos in a wide range of environments with fine art photographer Matt Suess.
Panoramic Photography
Panoramic photography allows you to take sweeping shots of the world around you. In most cases, to capture wide format images, you'll need to incorporate some editing programs to string your pictures together. But with the right gear—such as a wide-angle lens—you can also capture panoramic shots without editing. Play around with different techniques, dabbling in both editing and wide-angle shots, until you find what works for you. You might find that your go-to technique for panoramic shots changes as you grow in your craft—and that’s completely normal.
Must-Have Accessories for Beginners
As you begin to break into photography, focus on assembling a few essential items, and scale up from there. As a newcomer, you don't want to splurge on tons of gear only to find it collecting dust. As you learn new skills and techniques, you’ll be able to add new accessories strategically to enhance your shoots. For now, consider starting and becoming familiar with these photographer essentials.
Camera Bag: Invest in a sturdy, padded bag that will keep your equipment safe if it slips out of your hands. You can choose from a range of styles to find one that suits your comfort and profession. Like any piece of photo equipment, some camera bags can be much more expensive than others. Consider starting with a mid-range bag that provides you safety and comfort without breaking the bank.
Extra Batteries: You can’t take your shots without a battery. Be sure that your camera bag is well-stocked with extras that are fully charged—even if you are planning a short day.
Tripod: Tripods are an essential tool for capturing steady shots, from panoramics to selfies and everything in between. Eventually, you may even want to incorporate a shutter release into your bag as well.
Lens Cleaning Kit: A dirty lens can ruin an entire shoot, so it’s essential to keep cleaning tools handy at all times. And don’t think about going the DIY route—you could risk scratching or damaging your lens.
Padded Neck Strap: DSLRs can put a bit of an extra strain on your neck. Pack a comfortable neck strap that gives you some relief from the weight of your DSLR without digging into your shoulder.
As a beginner, your accessory needs will vary. Assess what you need, or consult with a more experienced photographer. If you decide to enroll in an official photography course, your instructor may even have a list prepared for you in the syllabus. Generally speaking, you’ll want to start with a lighter bag and build up as you realize what you'll need.

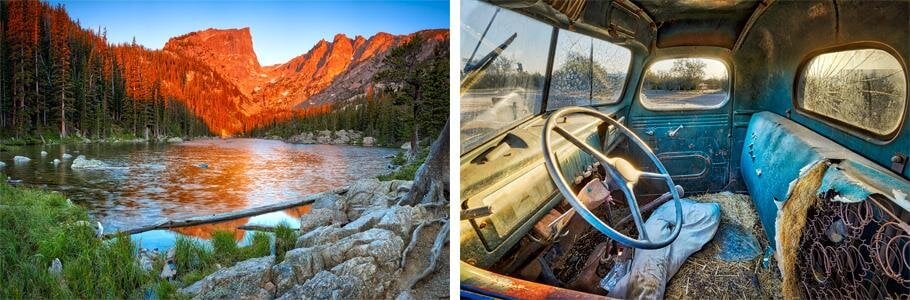
Get the Right Gear
Let photographer Tabitha Park guide the way as you fill your gear bag.
Get Out and Enjoy Your DSLR
The best way to learn how to use your DSLR camera is to put the lessons you’ve gained here into action. Over time, you’ll become more familiar with the various settings and options that your new camera can offer and discover which avenues of the medium speak to you.
Whether you’re taking online photography classes, taking tips from a professional, or just figuring it out as you go along, studying and applying your lessons is the only way to improve your craft. Enjoy this creative art form first-hand: Start learning and shooting with your DSLR today!
Try Skillshare for free! Sign up for a 7 day free trial today!
Get Started- Unlimited access to every class
- Supportive online creative community
- Learn offline with Skillshare's app


