
Procedural Kintsugi Material
1 Monat Skillshare
Mit einem Kauf erhältlichKostenlos
Alle Mitgliedschaften werden automatisch und fortlaufend abgerechnet, bis sie gekündigt werden. Solltest du eine kostenlose Probemitgliedschaft erhalten und Skillshare nach Ablauf dieser nicht mehr nutzen wollen, ist eine Kündigung vor Ablauf der Probezeit erforderlich. Das Angebot gilt nur für neue, zahlende Mitglieder. Siehe vollständige Nutzungsbedingungen hier
Über dieses Produkt

Harry Helps
Professional 3d Artist
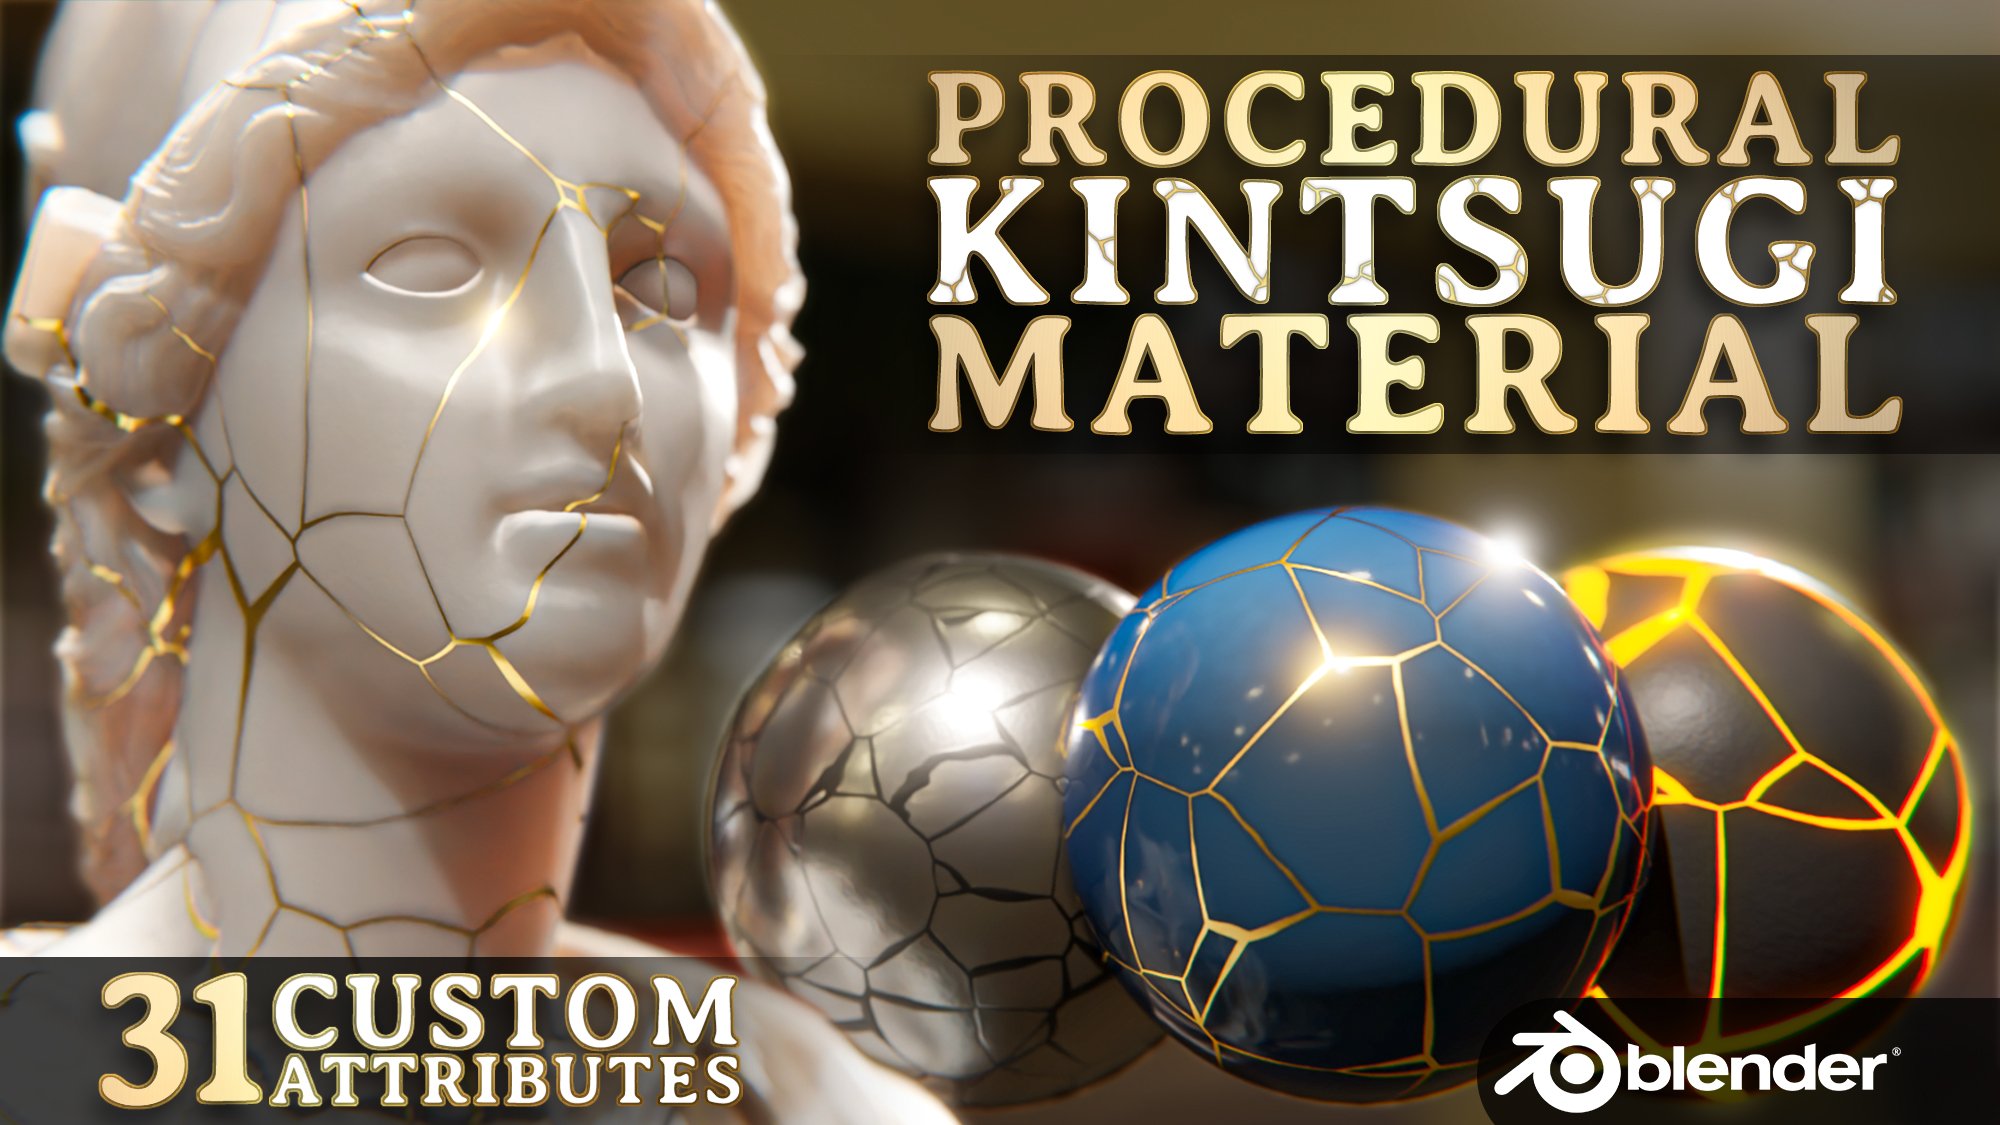
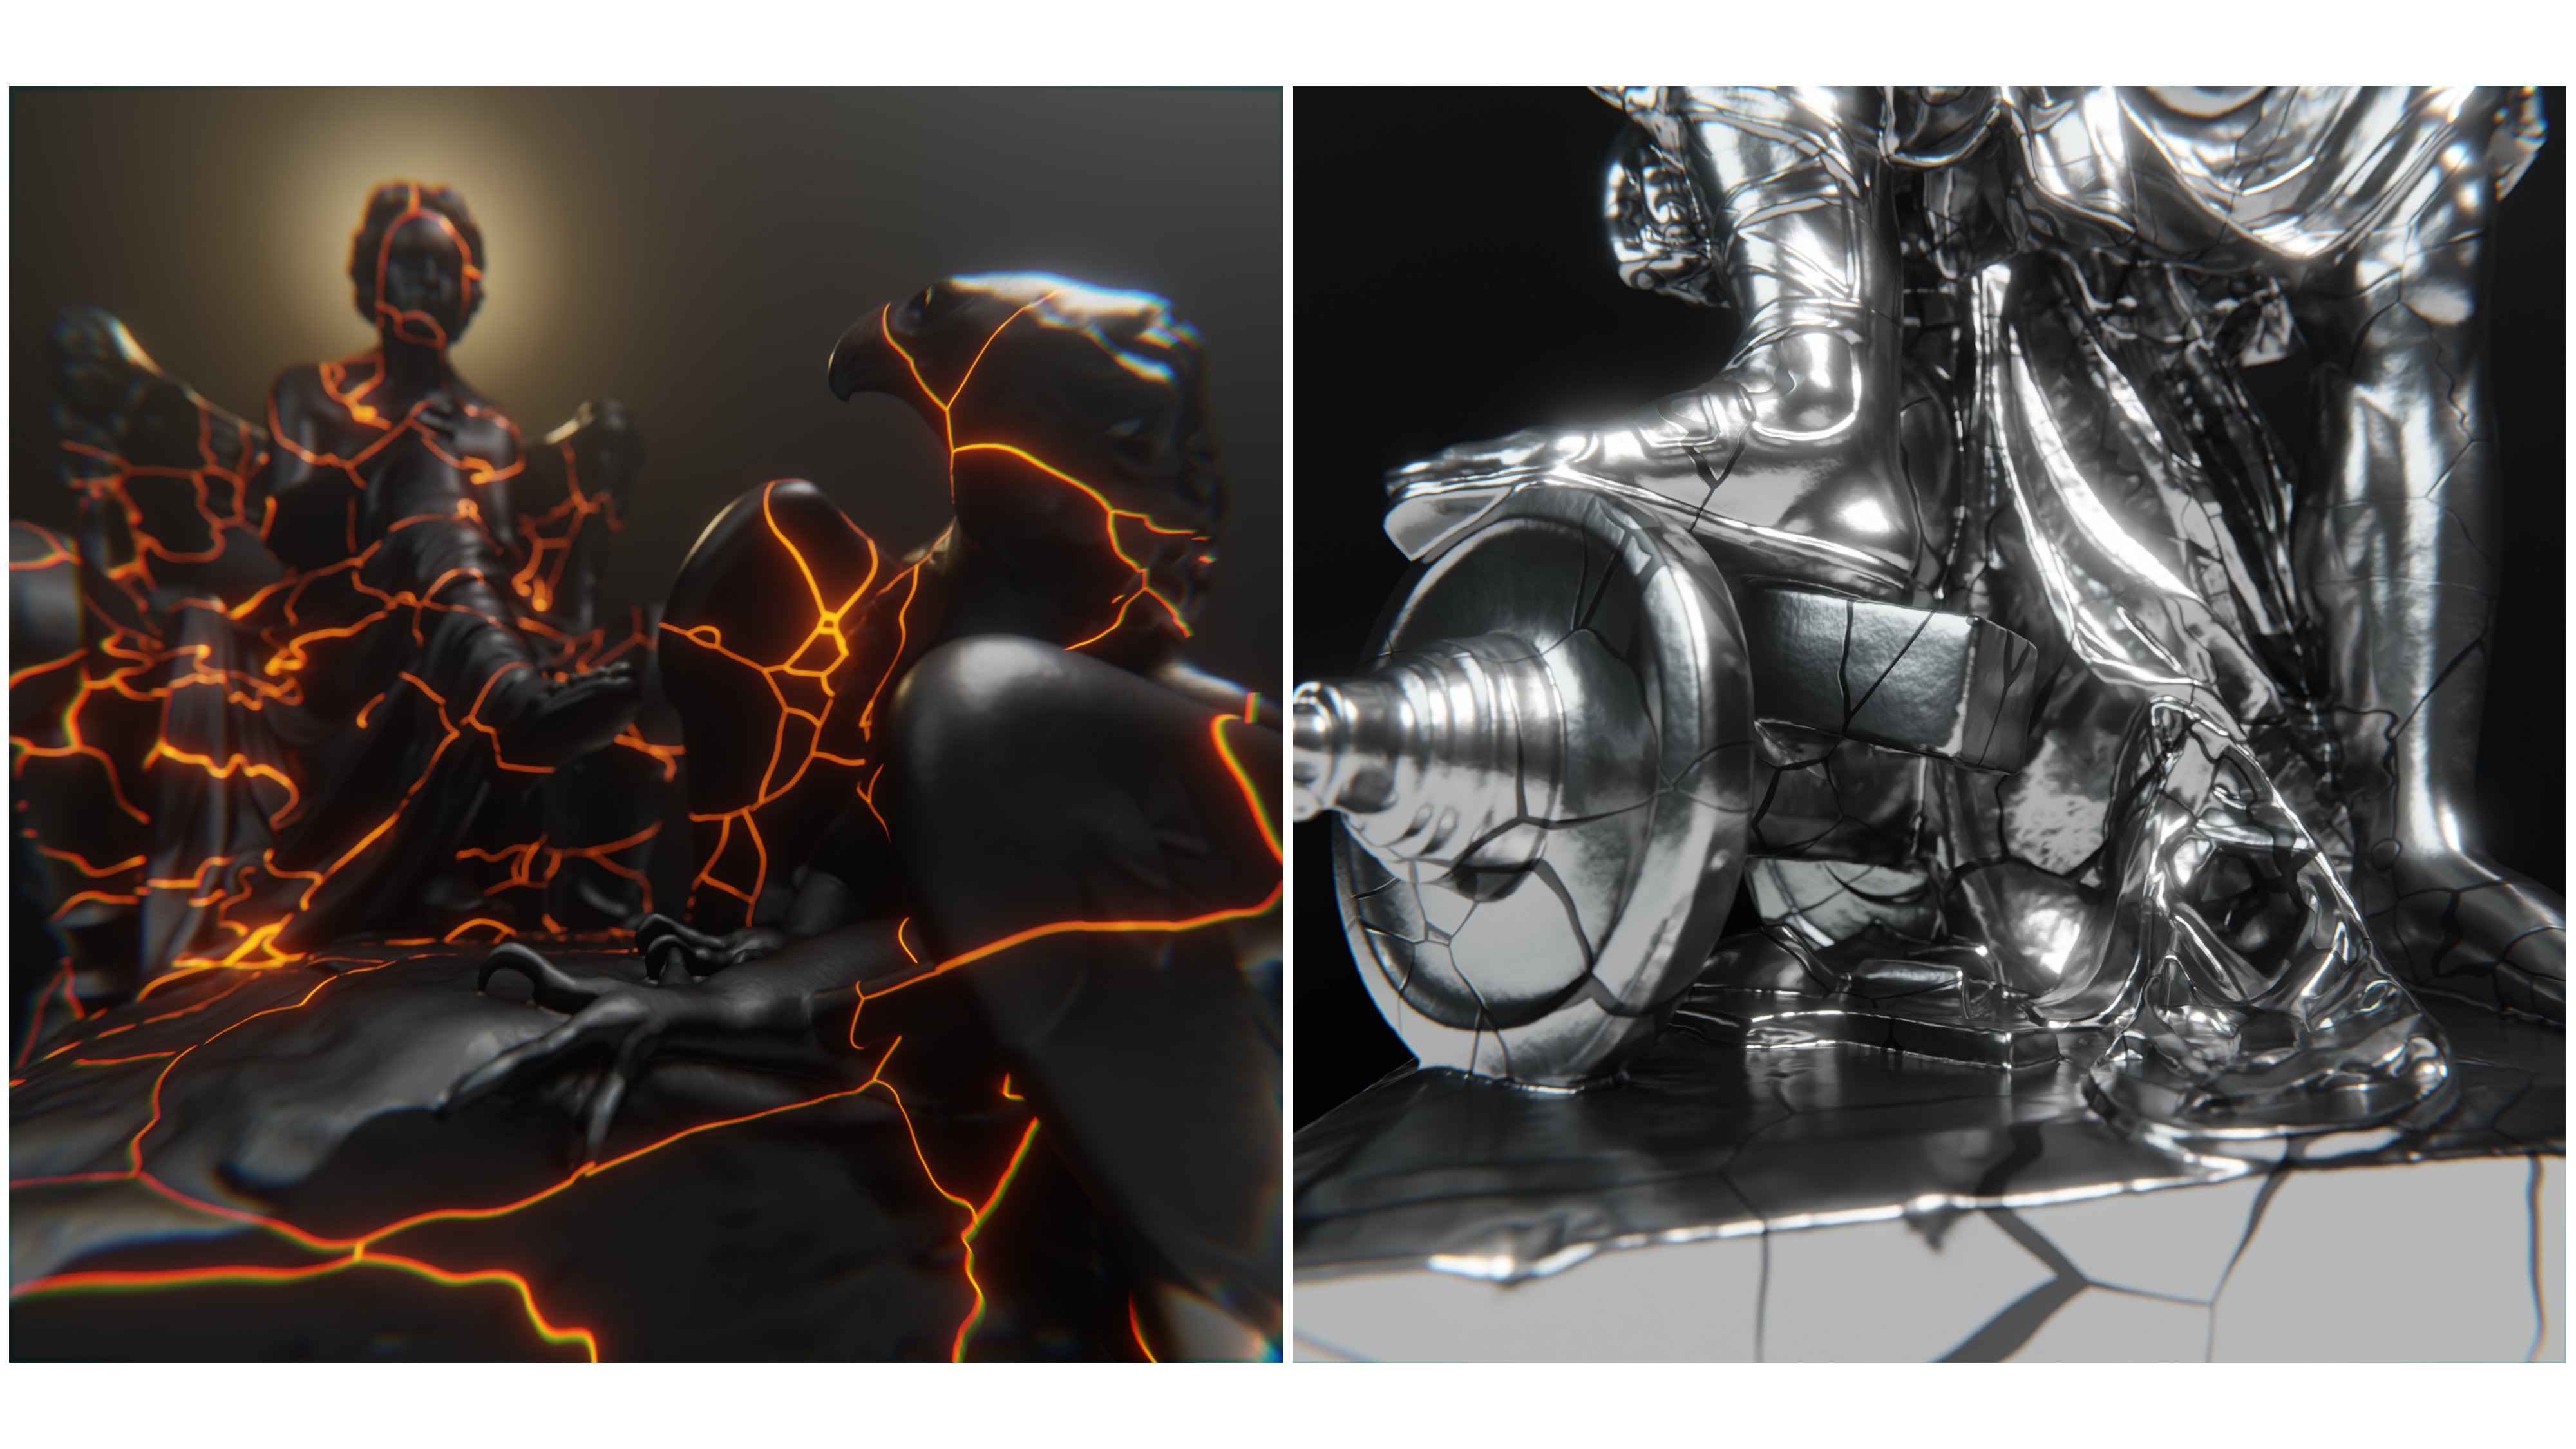
Breathe life and history into your models with this custom material inspired by 15th century Japanese kintsugi!
"Kintsugi (Japanese: 金継ぎ, lit. 'golden joinery'), also known as kintsukuroi (金繕い, "golden repair"), is the Japanese art of repairing broken pottery by mending the areas of breakage with urushi lacquer dusted or mixed with powdered gold, silver, or platinum. As a philosophy, it treats breakage and repair as part of the history of an object, rather than something to disguise." [Source]
This completely procedural material was designed to give you the most freedom possible. Whether you'd like to keep the traditional ceramic and gold look that inspired the material or customize it into something completely unique, you'll find infinite possibilities for self expression with this material!
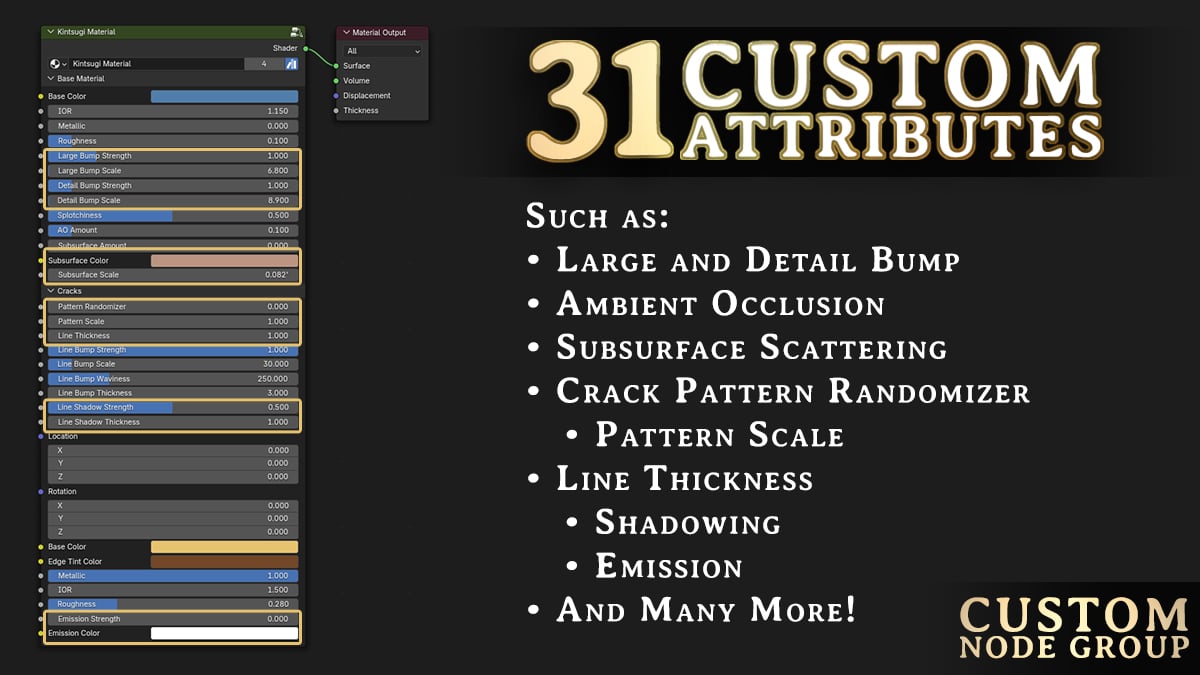
The custom node group for this material has 31 different attributes you can customize to your needs. Each setting is clearly labeled and includes a brief description on hover. You can find a complete description of each attribute at the bottom of this product page!
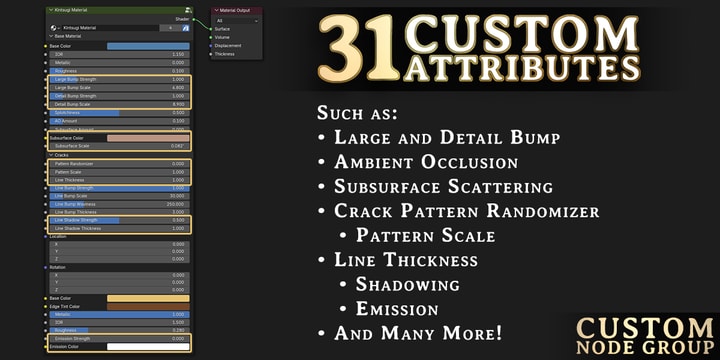
As an example: the "Pattern Randomizer" attribute allows you to randomize the cracks pattern to find the perfect fit for your model.
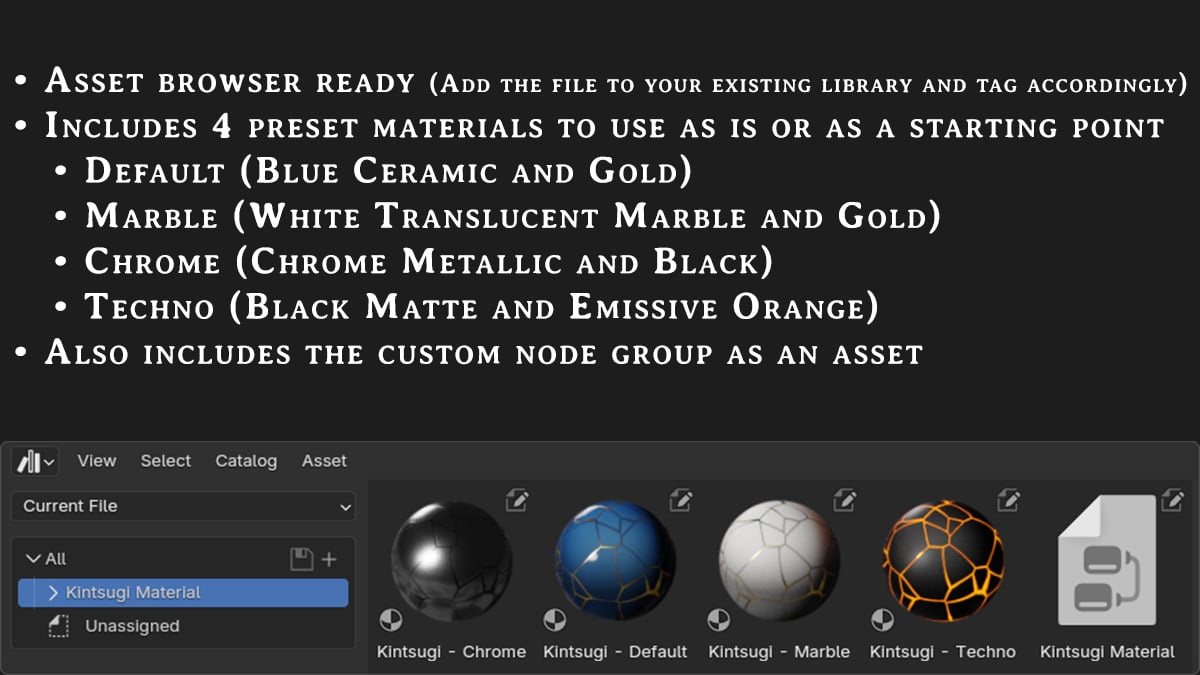
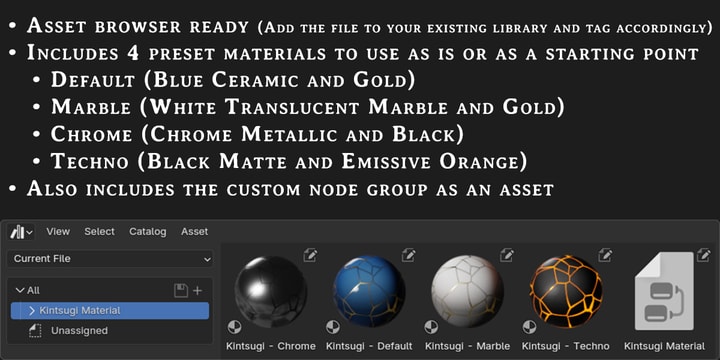
This custom material is also asset browser ready! Simply save the Blender file in your existing library and tag the materials accordingly. I've also included 4 preset materials to use "as is" or as starting points for your own unique materials.
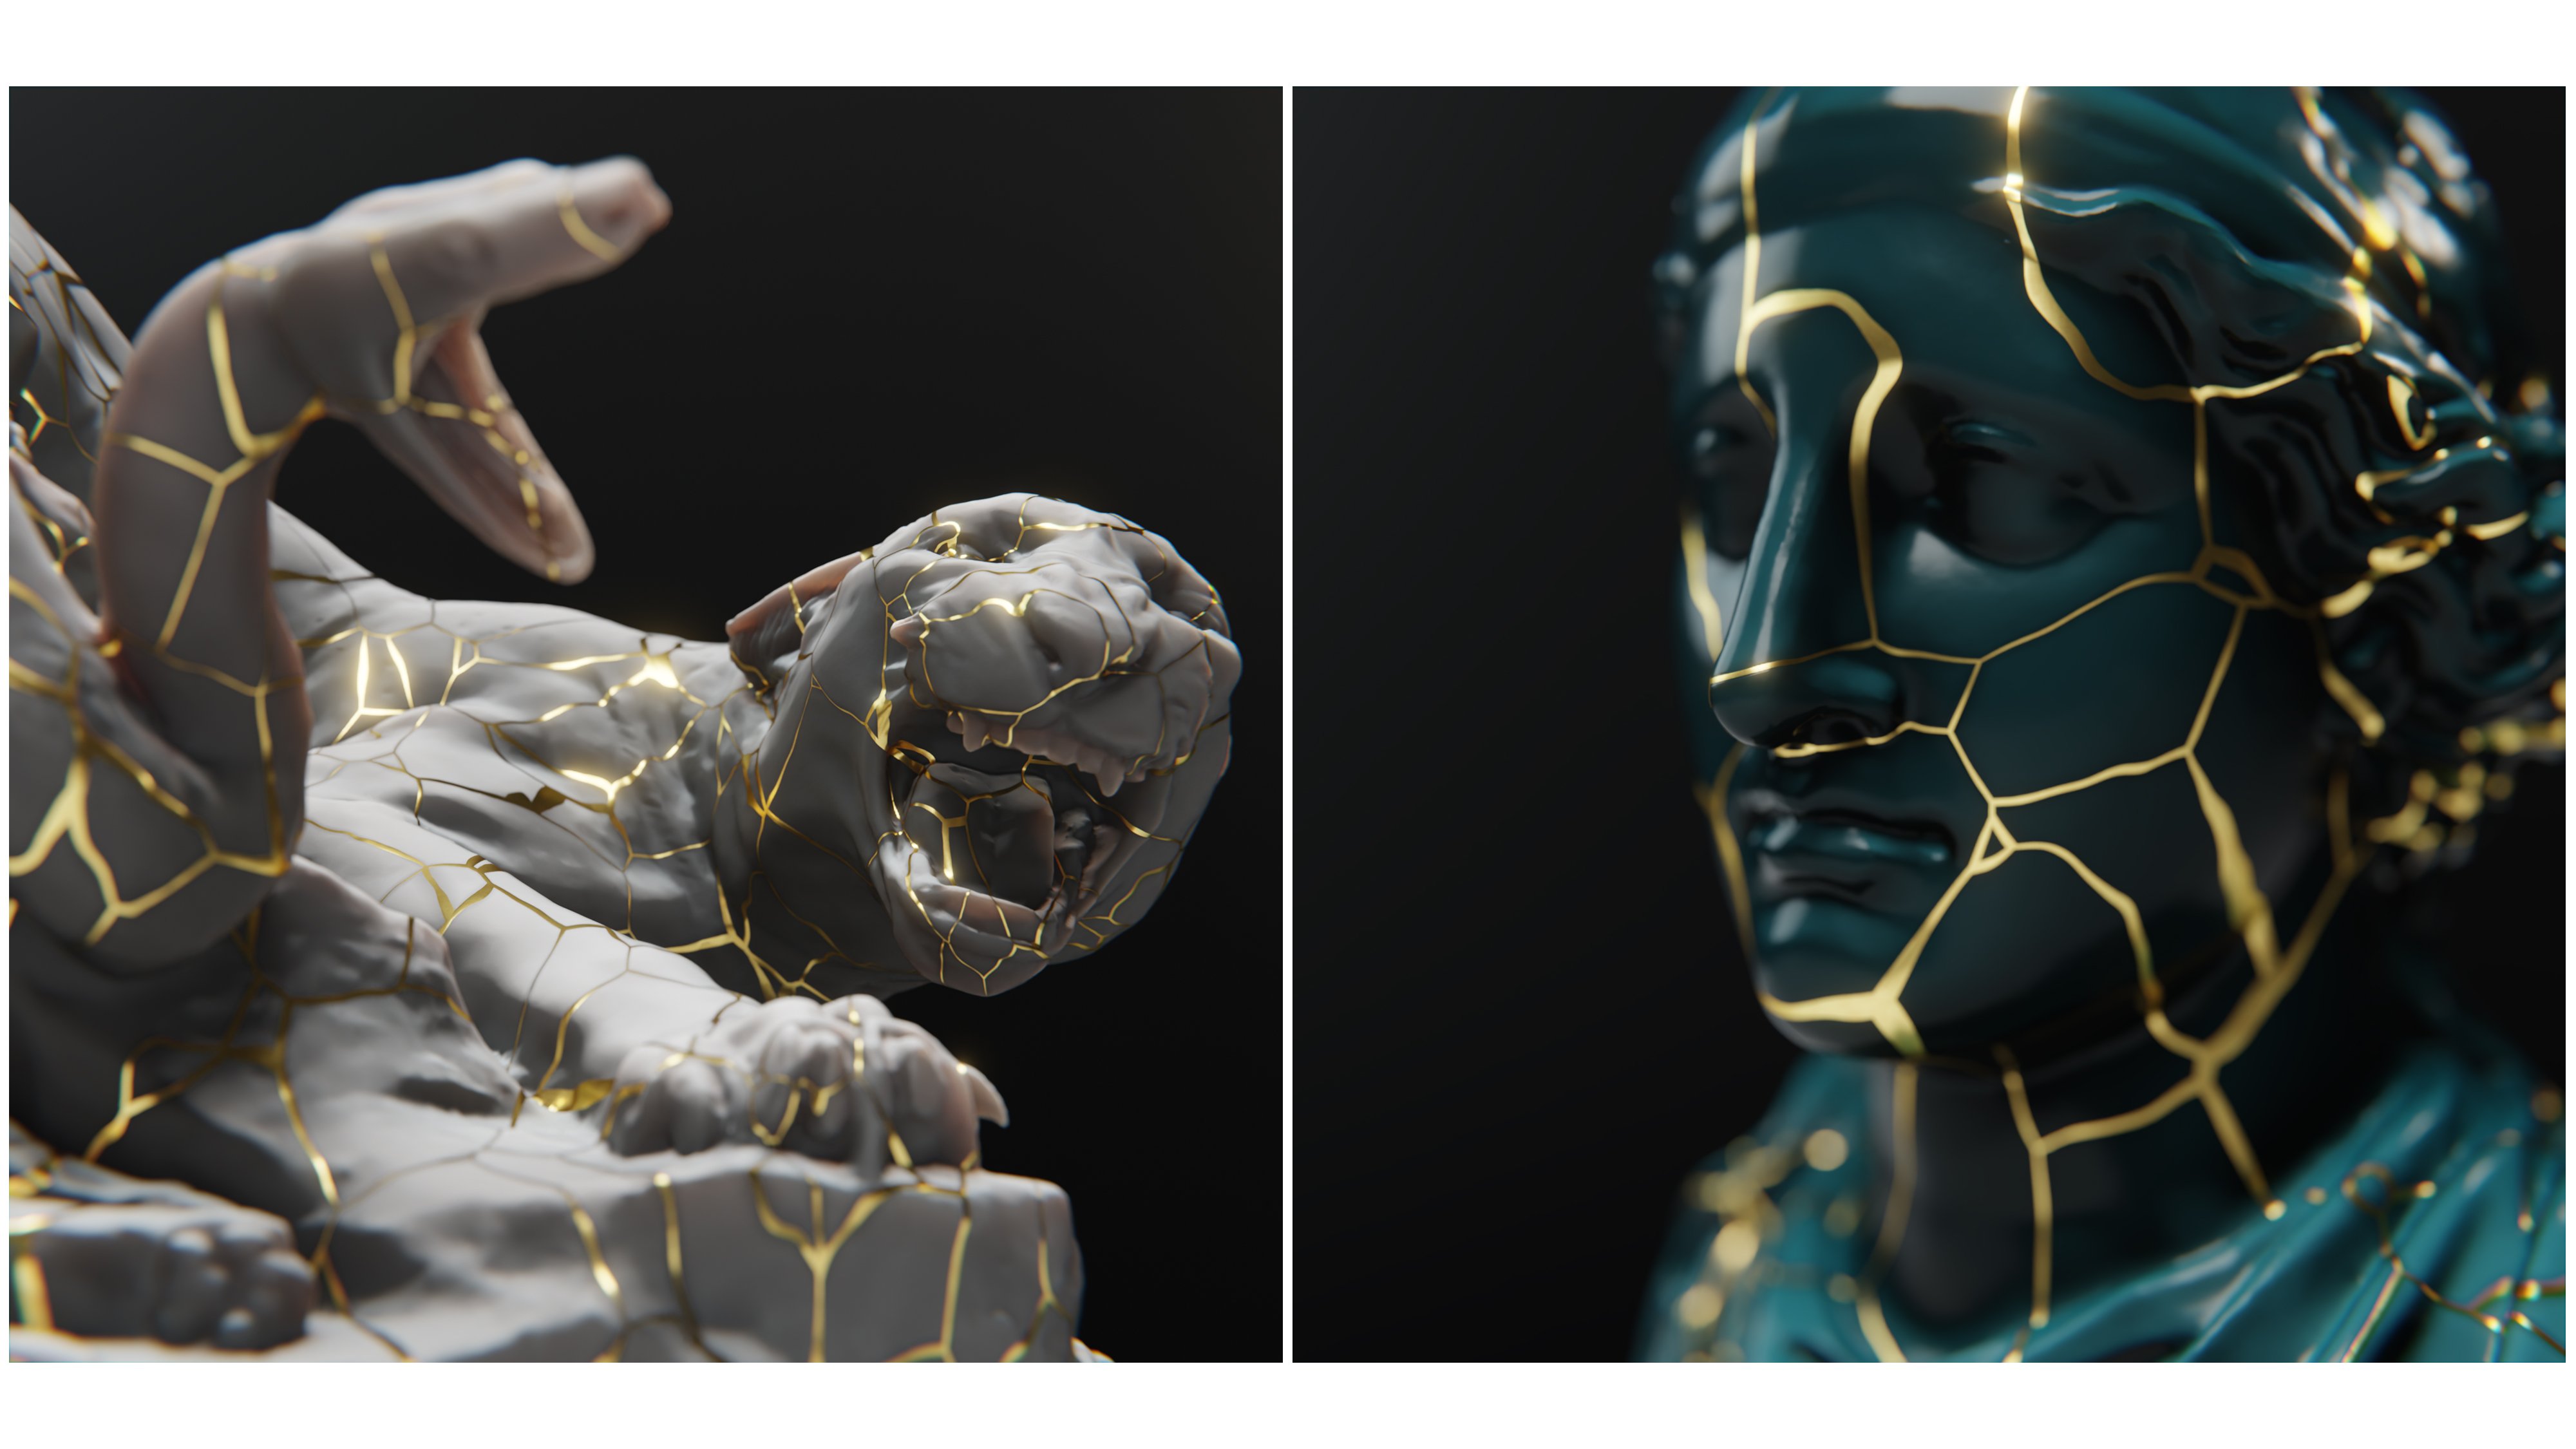
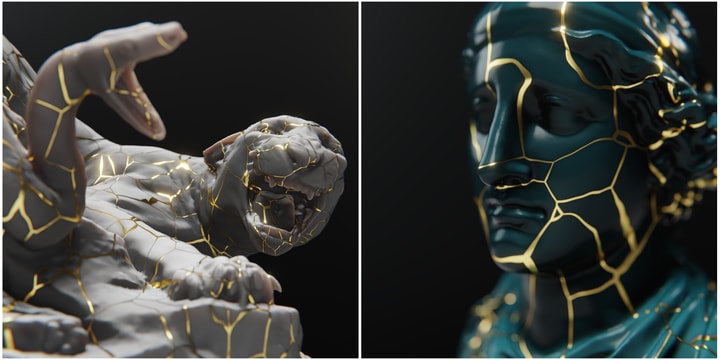
Finally, below are some example renders of the material in action! (All statue models are from threedscans.com and are not included in the purchase. They're free though, so go ahead and grab them for yourself!)


Below is a full list of all custom attributes and their descriptions:
All inputs can be controlled by images or other nodes if you'd like!
Base Material
- Base Color: Adjust the color of the base material.
- IOR: Adjust the IOR (reflectivity) of the base material.
- Metallic: Adjust how metallic the base material is. This will overwrite the IOR slider if set to 1.0
- Roughness: Adjust the roughness (reflectivity) of the base material.
- Large Bump Strength: Adjust to change the large bump of the base material. Higher numbers make a bumpier material.
- Large Bump Scale: Adjust to change the scale of the large bump on the base material.
- Detail Bump Strength: Adjust to change the detail bump of the base material. Higher numbers make a bumpier material.
- Detail Bump Scale: Adjust to change the scale of the detail bump on the base material.
- Splotchiness: Adjust the varied splotchiness of the base material. Lower values mean less splotchiness.
- AO Amount: Adjust the Ambient Occlusion on the base material. Higher values make the crevices darker.
- Subsurface Amount: Add Subsurface Scattering to the base material. This allows light to pass through and bounce around inside the model.
- Subsurface Color: Change the color of the light bouncing around inside the base material if Subsurface Scattering is enabled.
- Subsurface Scale: Adjust how deep the light is allowed to scatter inside of the base material. Requires a value greater than 0.0 in the Subsurface Amount to have any effect.
Cracks
- Pattern Randomizer: Adjust value to randomize the crack pattern.
- Pattern Scale: Adjust the overall scale of the crack pattern.
- Line Thickness: Adjust the thickness of the crack pattern. Lower numbers make the cracks thicker, larger numbers make the cracks thinner.
- Line Bump Strength: Adjust the depth of the edges around the crack pattern lines. Values between 0 and 1 may create a broken line effect. It's best to use either 1 or 0.
- Line Bump Scale: Adjust to change the scale of the bump inside the line bump area. Most useful for larger pattern scale values.
- Line Bump Waviness: Adjust to change the waviness of the line bump area. Most useful for larger pattern scale values.
- Line Bump Thickness: Adjust the thickness of the edges around the crack pattern lines. Higher numbers make the bump edge thinner.
- Line Shadow Strength: Adjust the strength of the dark shading found around the cracks pattern.
- Line Shadow Thickness: Adjust the thickness of the dark shading found around the cracks pattern. Higher values make the shading thinner.
- Location: Adjust the location of the cracks. In general the X and Y sliders work best (though this is dependent on the orientation of your model).
- Rotation: Adjust the rotation of the crack pattern. The Z rotation works best (though this is dependent on the orientation of your model).
- Base Color: The base color of the cracks.
- Edge Tint Color: The edge tint color of the cracks. Primarily effects the look at sheer angles. White will give a neutral result if the cracks are a non-metallic material.
- Metallic: Adjust how metallic the cracks are. This will overwrite the IOR slider if set to 1.0
- IOR: Adjust the IOR of the cracks material. This slider is overwritten by the Metallic slider if it's set to 1.0
- Roughness: Adjust the roughness of the cracks material.
- Emission Strength: Increase the strength of the emissive light coming from the cracks material.
- Emission Color: Change the color of the emission coming from the cracks material. Requires a value greater than 0.0 in the Emission Strength to have any effect.
------------------------------------------
Terms of Use:
The contents of this product (.blend file) CAN be used for:
- Personal and commercial projects
- Unlimited renders, animations, etc.
- Unlimited end products for sale
The contents of this product (.blend file) CAN NOT be used for:
- Redistributing the assets of this product (models, materials or lighting setups) fully or partially in any way.
- Renders, animations and otherwise transformative works are free to utilize these assets in any way you would like. You just can't extract assets from this product and redistribute them as-is, free or paid.
------------------------------------------
Looking for more from me? Check out my Teacher Profile for a bunch of other great products and classes such as:
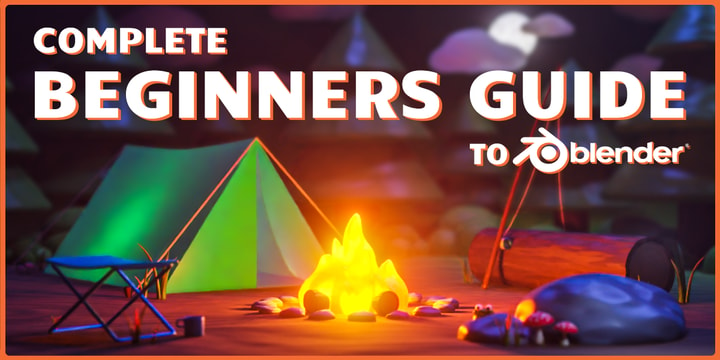
My ‘Staff Pick’ “Complete Beginners Guide to Blender 3D” class!
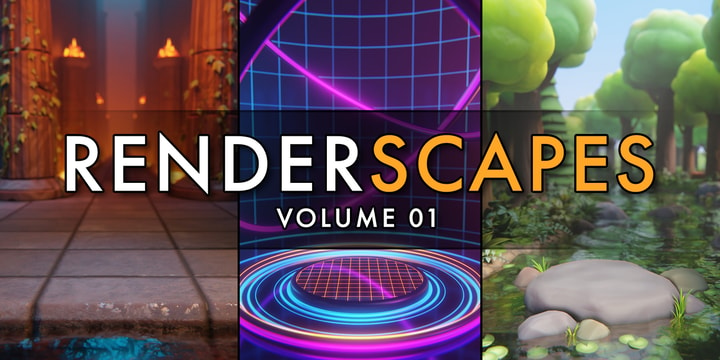
Renderscapes - Volume 01 - Thematic Render Studios
Häufig gestellte Fragen
Was sind digitale Produkte?
Bei den digitalen Produkten von Skillshare handelt es sich um fachmännisch gestaltete Tools, Ressourcen und Vorlagen, die von den besten Kreativen entwickelt wurden und die dir zum Kauf zur Verfügung stehen. Mit einer breiten Palette an Ressourcen für jeden kreativen Bedarf sind sie einfach umsetzbar und machen deine Lernerfahrung real und unvergesslich.
Wie kann ich ein digitales Produkt kaufen?
Jeder kann ein digitales Produkt auf Skillshare kaufen — klicke auf Jetzt kaufen, um deine Zahlungsinformationen einzugeben und den Kauf abzuschließen. Sobald die Zahlung abgeschlossen ist, können alle Dateien sofort von dieser Seite heruntergeladen werden. Du erhältst außerdem eine E-Mail mit einem Link zum Herunterladen deines digitalen Produkts nach dem Kauf.
Gibt es ein Limit, wie oft ich ein digitales Produkt herunterladen kann?
Nein, es gibt keine Begrenzung, wie oft du ein digitales Produkt herunterladen kannst. Selbst wenn ein Produkt vom Ersteller entfernt wird, kannst du in den meisten Fällen immer noch auf die Download-Seite zugreifen, indem du dich in dein Skillshare-Konto einloggst.
Kann ich eine Rückerstattung erhalten oder den Kauf eines digitalen Produkts stornieren?
Digitale Produkte sind nicht erstattungsfähig und können nicht zurückgegeben oder storniert werden. Weitere Informationen findest du in unserer -Rückerstattungsrichtlinie im Skillshare Hilfebereich.
Kann ich meine eigenen digitalen Produkte herstellen und verkaufen?
Unbedingt! Besuche Wie kann ich ein digitales Produkt auf Skillshare verkaufen?, um zu erfahren, wie du deine eigenen digitalen Produkte auf Skillshare erstellen, anbieten und verkaufen kannst.