Oil Pastel Basics for Beginners: Master Blending Stumps & 3 Color Gradients
 Smitha Rao, Pencil and Pastel Artist
Schau dir diesen Kurs und Tausende anderer Kurse an
Schau dir diesen Kurs und Tausende anderer Kurse an
Einheiten dieses Kurses
-
-
1.
Introduction
0:56
-
2.
Blending with Stumps(Demonstration)
5:18
-
3.
Which Tool to use (Comparison and Summary)
2:39
-
-
- --
- Anfänger-Niveau
- Fortgeschrittenes Niveau
- Fortgeschrittenes Niveau
- Jedes Niveau
Von der Community generiert
Das Niveau wird anhand der mehrheitlichen Meinung der Teilnehmer:innen bestimmt, die diesen Kurs bewertet haben. Bis das Feedback von mindestens 5 Teilnehmer:innen eingegangen ist, wird die Empfehlung der Kursleiter:innen angezeigt.
26
Teilnehmer:innen
2
Projekte
Über diesen Kurs
Welcome to the series finale of Oil Pastel Basics for Beginners!
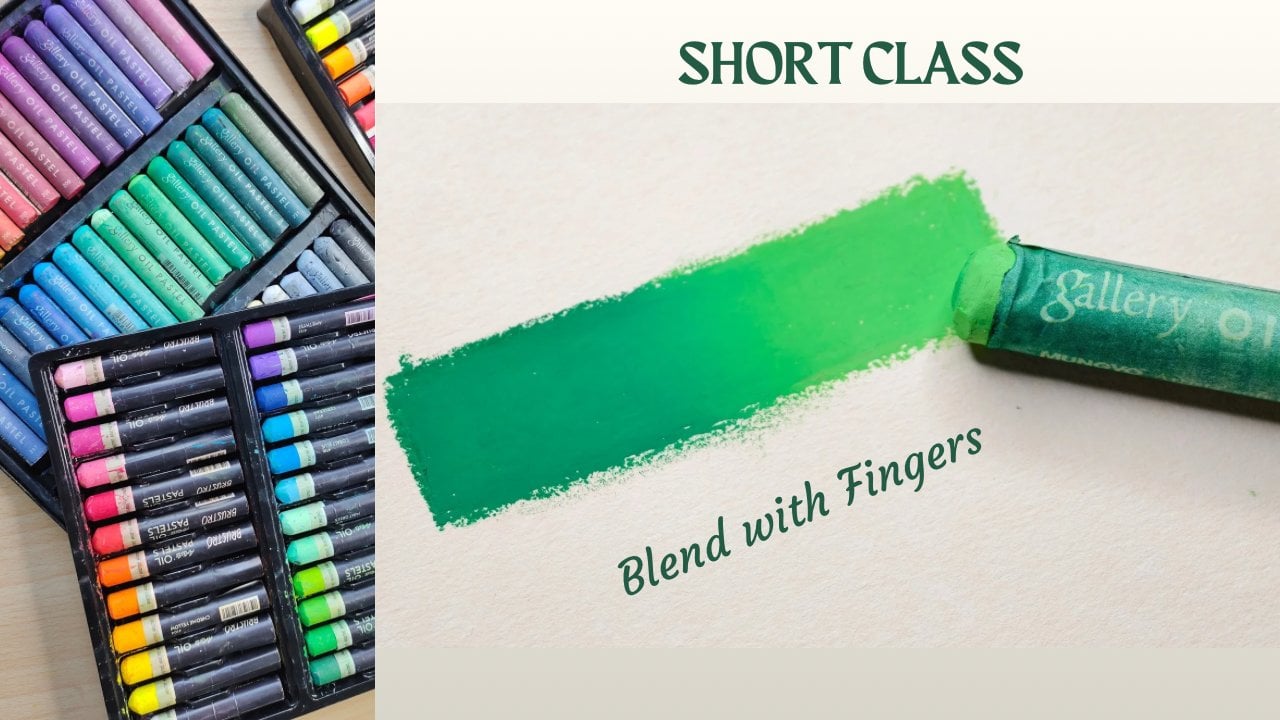
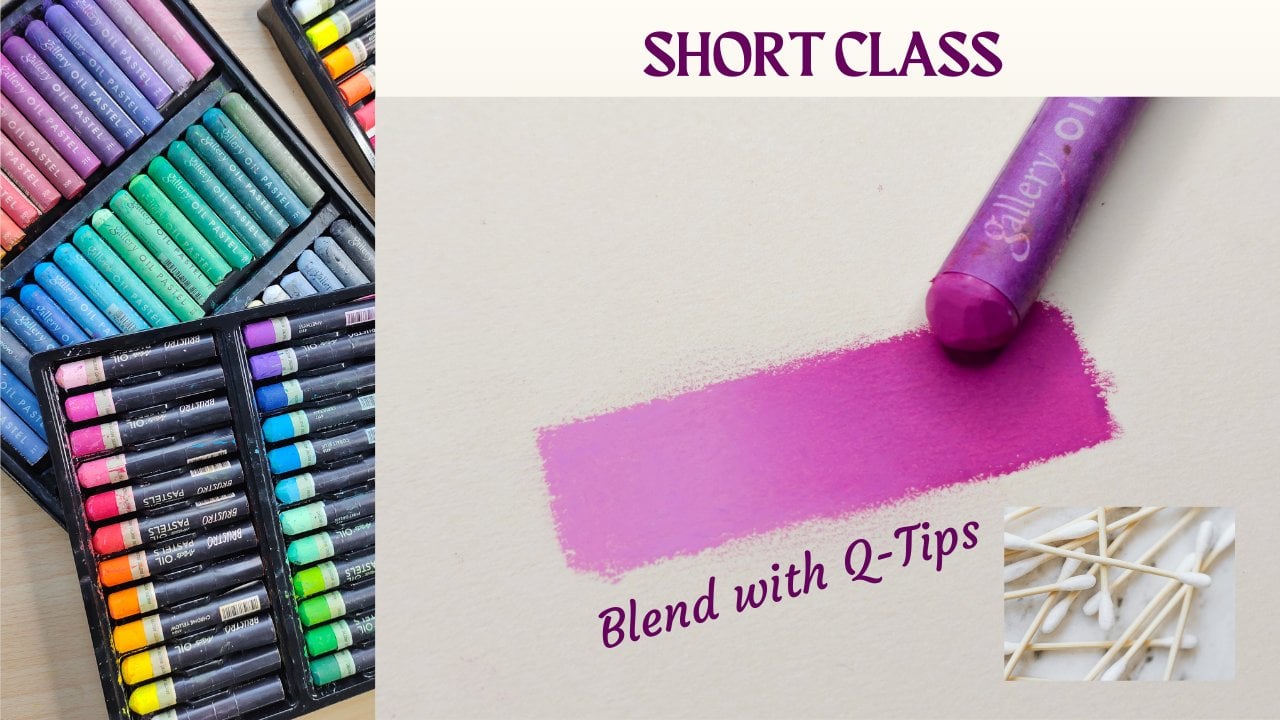
We’ve already mastered the hands-on approach of finger blending and the soft, dreamy finish of Q-tips. Now, it’s time to add the ultimate precision tool to your artist’s kit: the Blending Stump
In this third and final class, we are leveling up. Instead of two colors, we will be creating a vibrant three-shade analogous gradient for your Class Project. You will learn how to use the firm, pointed tip of a paper blending stump to pack pigment into the paper, ensuring a professional, gap-free finish that really pops
What You Will Learn:
- 3-Color Transitions: How to layer and bridge three analogous shades and how to use "packing" and "circular" motions with a blending stump for high precision
- The Tool Comparison: Because this is the final class in the series, I’m also including a comprehensive breakdown of when and where to use each technique. By the end of this lesson, you’ll know exactly which tool (Fingers vs Q-Tips vs Stumps) to reach for to get the results you want
- Real-Time Practice: As always, we’ll work together from start to finish—no shortcuts, just step-by-step guidance
Who This Class Is For:
- Absolute Beginners: If you're new to oil pastels, this is a low-pressure way to build your skills
- Busy Creatives: These lessons are bite-sized and perfect for fitting a creative break into a hectic schedule
- Developing Artists: Anyone looking to expand their toolkit of blending techniques beyond the basics
Materials Needed:
You will only need three analogous shades of Oil Pastels, a Paper suitable for the same, a Blending Stump, a Sand-paper (optional) and a Tissue (Specific colors and other instructions will be mentioned in the Projects & Resources section)
Note: If you haven't taken the earlier classes in this series, I highly recommend starting there to get a feel for the medium (I will leave the Class links in the Projects & Resources Section), but this class is also perfectly beginner-friendly as a standalone lesson!
Are you ready to finish this series with a bang? Let's grab those stumps and start our final project!

Praxisnahes Kursprojekt
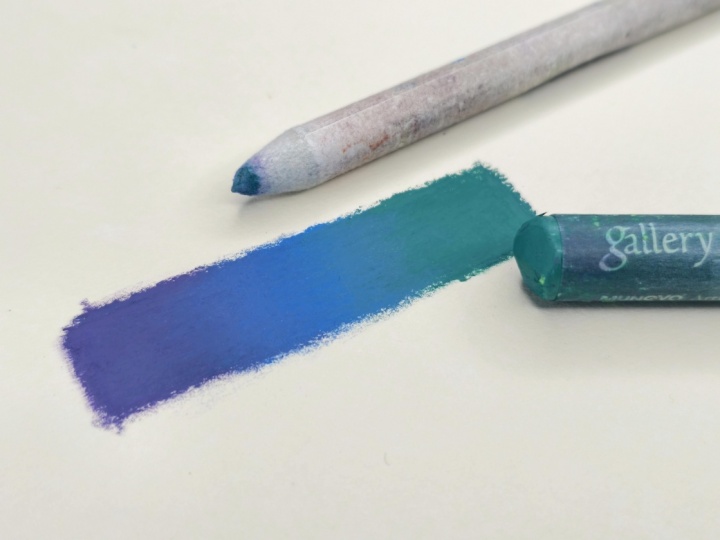
Your project for this class is to create a simple, three-color analogous gradient and blend it with a Blending Stump
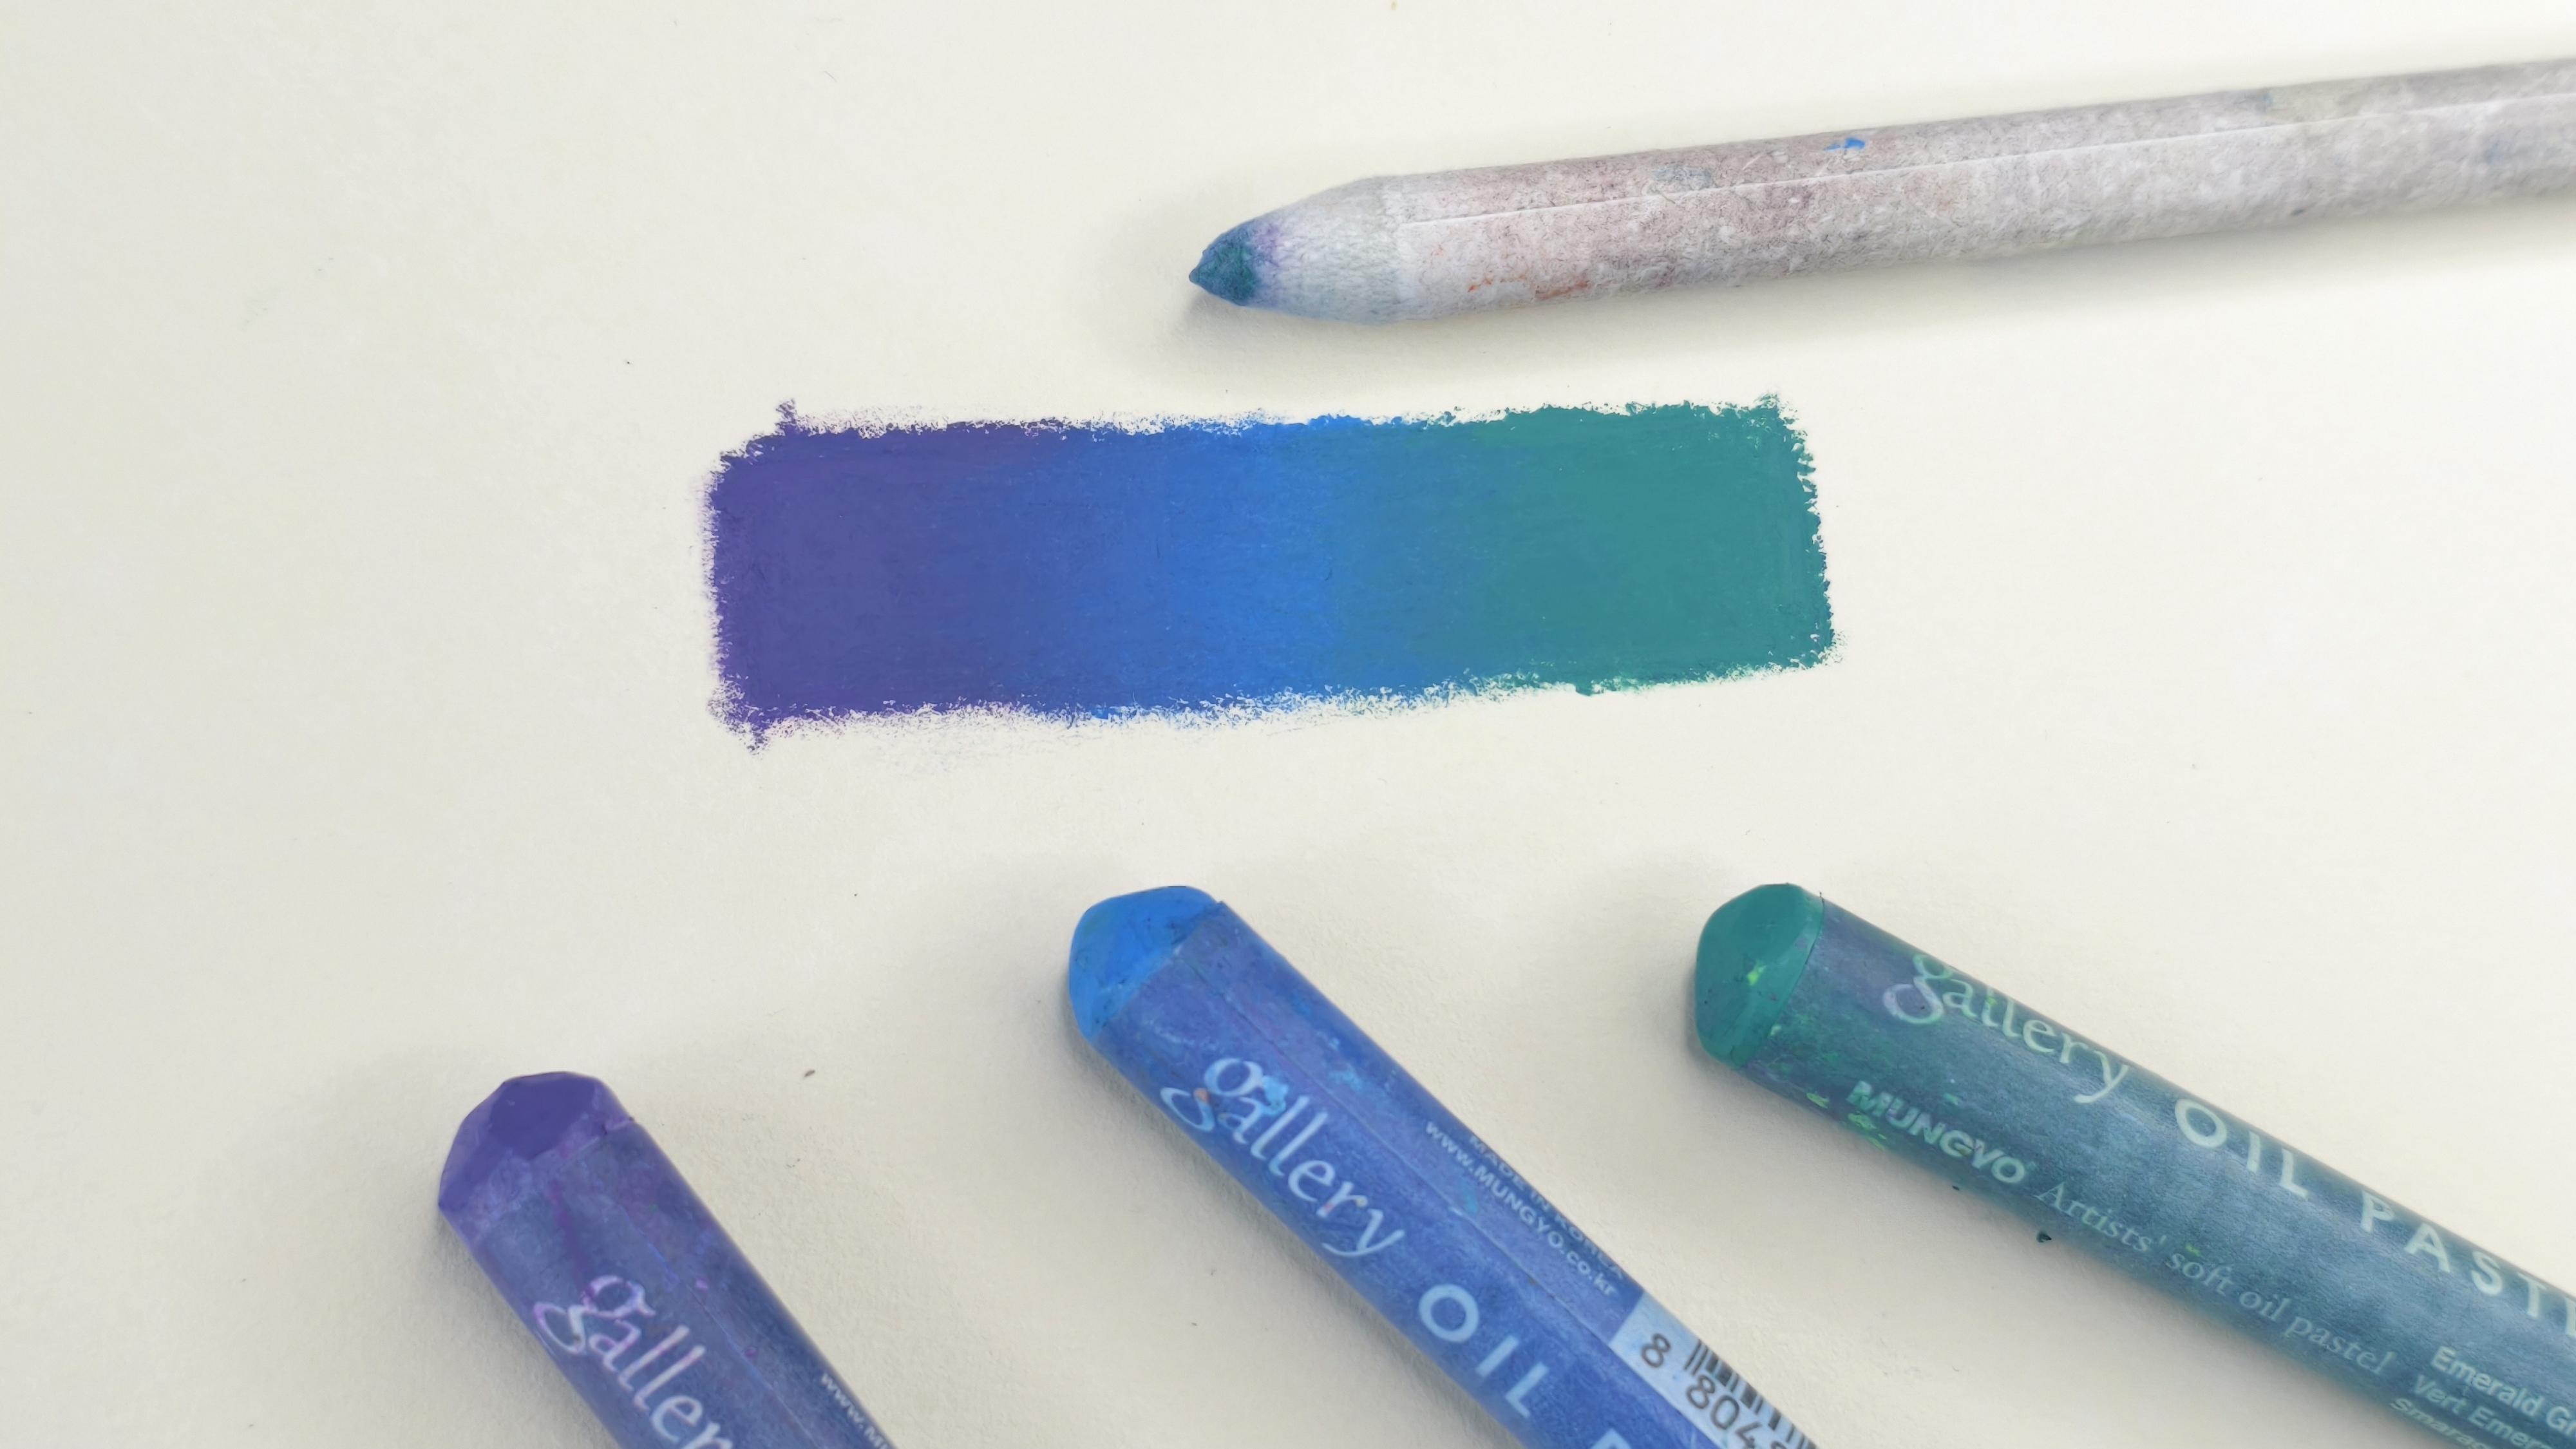
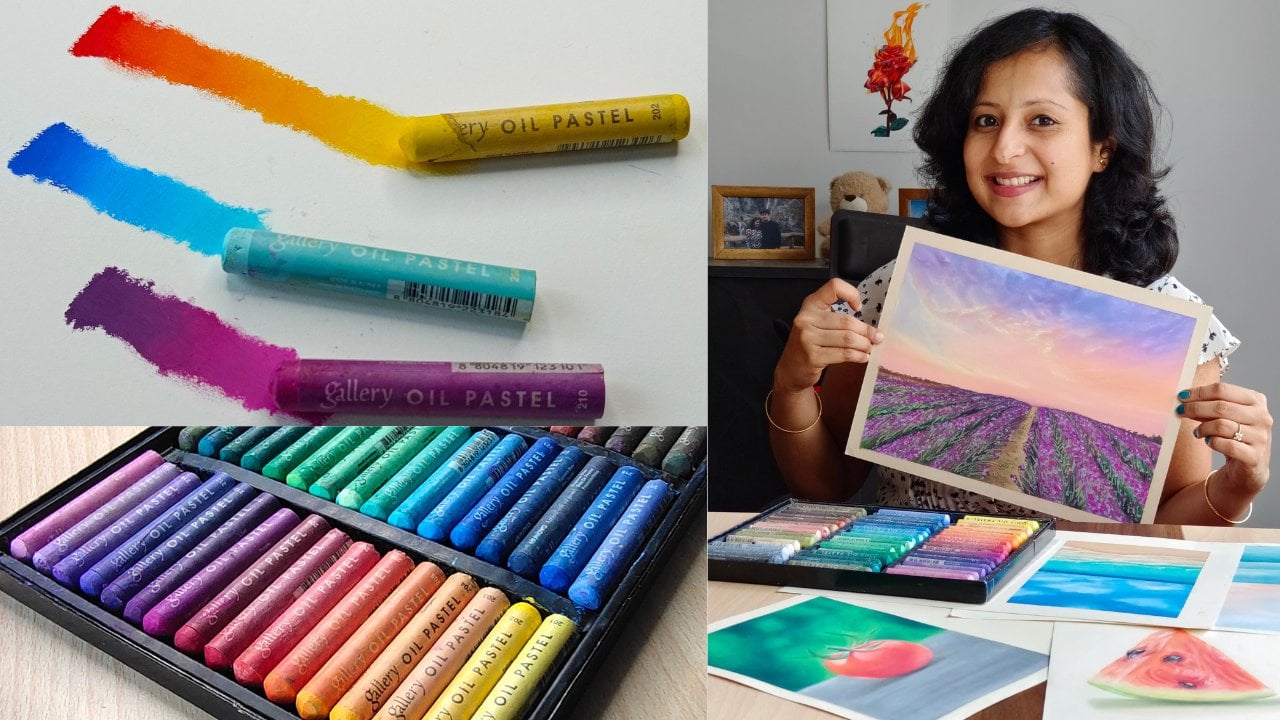
- Pick Your Colors: Choose any three analogous colors (colors that sit next to each other on the color wheel). I used Violet, Cobalt Blue and Emerald Green, but feel free to try other shades
- Prepare Your Space: Have your paper ready and a tissue nearby to keep your pastels clean
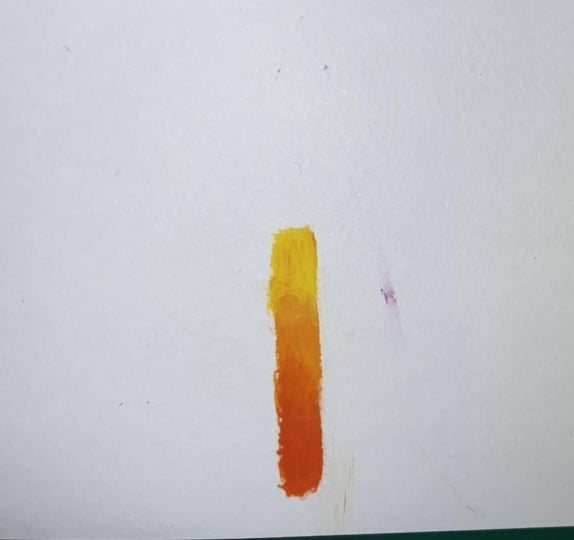
- Layer the Color: Apply your first color on one side, your second color next and then the third color in the end, leaving a slight overlap after each color
- Blend with Stumps: Using the real-time techniques from the lesson, use a Blending Stump to blend the colors where they meet until the transition is perfectly smooth
Materials Required
- Three analogous shades of Oil Pastels (I used Mungyo Gallery Soft Oil Pastels). Use any decent brand of your choice
- Paper suitable for Oil Pastels: Toned or White (I used Canson Mi-Teintes Toned Pastel Paper). You can also use a Mixed Media Paper. Use a Paper that is sturdy enough and has enough texture to hold the pigment
- A Blending Stump for blending and a Sand-Paper to clean it. You can also rub the Stump over a White Paper to clean it, if you don’t have a Sand-Paper
- Tissue for cleanup
Uploading your Project
- Take a photo of your finished gradient and upload it to the Projects & Resources section and also tag me on Instagram @art_by_smitha if you upload it there. I’d love to see the color combinations you choose
- If you have any queries feel free to post them in the Discussion section and I will help you out
- Please consider leaving a feedback in the Reviews section of this Class. Your feedback not only helps me grow and improve as an instructor, but it also helps new students discover the class and join our wonderful creative community
More from this series:
Class 1:
Class 2:
Longer Class for Beginners:
Kursbewertung
Warum lohnt sich eine Mitgliedschaft bei Skillshare?
Nimm an prämierten Skillshare Original-Kursen teil
Jeder Kurs setzt sich aus kurzen Einheiten und praktischen Übungsprojekten zusammen
Mit deiner Mitgliedschaft unterstützt du die Kursleiter:innen auf Skillshare
Lerne von überall aus
Ob auf dem Weg zur Arbeit, zur Uni oder im Flieger - streame oder lade Kurse herunter mit der Skillshare-App und lerne, wo auch immer du möchtest.