Transcripts
1. Introduction: Hi, my name is Maria. I'm an artist, illustrator
and surface pattern designer. Welcome to my studio. And welcome to this class. We will be creating a repeating pattern using
the same techniques we used into create a colorful,
intuitive Mandela class. If you haven't taken that class material to head over
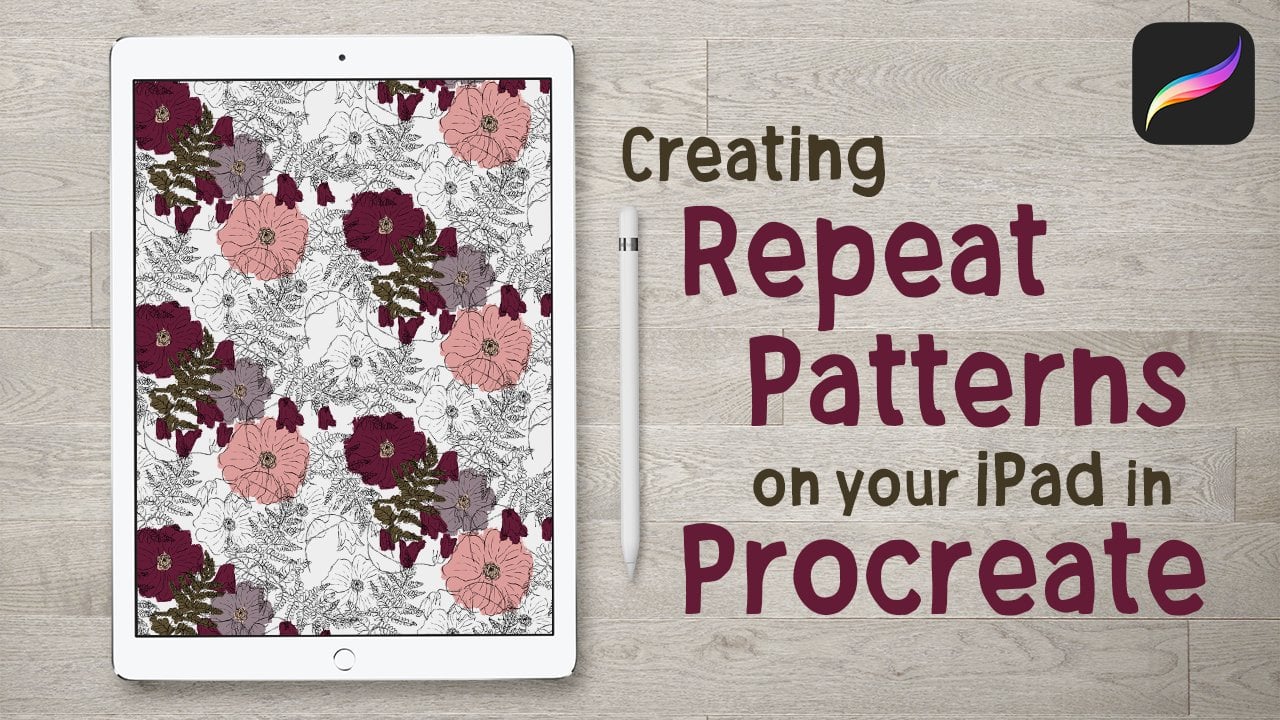
there and do that first. We'll be using just the iPad, Apple Pencil, and the
procreate app for this class. We'll set up our pattern. We have to make a
secondary Mandela using some of those same
techniques we used before. There'll be a lot of
pinching and zooming. And of course, I'll
help you through those pesky little mistakes. If you haven't taken, create a colorful,
intuitive Mandela. Head on over to that video. First. I'll look forward to seeing your colorful intuitive Mandela repeating patterns using
the Procreate app, Apple pencil and iPad. See you there.
2. Setting up tile: Welcome back friends. I want to talk to
you about taking this colorful intuitive Mandela and creating a
repeating pattern. Now here I have a Mandela
that I have created. And I'm going to show
you step-by-step on how to go ahead and create
that repeating pattern. First thing I wanted
to show you yet again, it was in the bonus
section of my last videos, is how changing the color changes the entire look
and feel of your Mandela. So this one has a
greens and pinks, and I just wanted to
show you what it looks like in a variety of color ways. This has like a
brownish pink color to it and then goes out to a
blue kind of a purply color. And then this one has the gray on the inside blue and it starts to come out again to gray. And I don't get over
into this darker color, so that's that
color way they are. Here is that one. And then finally, this very
much reminds me of candy. So the candy color here. So just play around with
the colors just so I could once again show you that. The thing that we'll
have to keep in mind is that once we merge
layers together, we won't be able to
make those changes. So definitely keep that in mind. The way I'm going to show you. There are other ways
to get around it, but that's not this class. So I really like this color
way that's happening here. So the first thing I'm
gonna do is I'm going to copy my Mandela layer. And then I'm going to copy my color layer, the
background layer. And I'm going to merge
those two together. So I want to drop one down, two-finger pinch to merge. And then I'm going
to turn off all of these other things
happening here. So I have right here the Mandela in the
color merge together. We will be then going in and duplicating this
four more times. I'm going to save one of those, so I'm going to turn
one of them off. Actually let us turn them
all off so it makes it easier for us to move. So we're going to
turn this, push, this Mandela to
all four corners. And you'll notice here I will
click on the arrow tool. I have it set to uniform and
I'm just going to click and drag till I get
the two Goldman's. So that means it's perfectly split in half horizontally
and vertically. You'll notice your thumbnail
then goes to change. So I want to get rid of that. Click on the next one. I gotta get to that layer first. Let's turn that one off. Click on the arrow tool. And then I'm going to slot
it over to the right, again, waiting for those
gold lines to show. Turn it off, go to the next one, click on that layer. Now to get these to happen, you have to have your snapping
and magnetics turned on. I've gotten to six and Max. I still play around with those sometimes depending
on what I'm doing. Ok. And vary those. Click on the last
one, my arrow tool, and then I'm going to bring it down to their back on the arrow. So when I highlight
all of these, I now have my
Mandela's split into four quadrants and
push to the edges. So that's the step 2 and the process of creating a colorful intuitive
Mandela repeating pattern.
3. Creating second Mandala: So we've completed step 1. We've pushed our Mandela
to all four corners, making sure that they're
perfectly lined up. You can always zoom in and
make sure you don't have that single little pixel
on that might show if you miss those the
imperfectly on the corners. But because these
are perfect circles, you will need to make sure
that you're lined up. You just can't erase
anything in that pixel on. So what we're gonna do is I've got my four
corners turned on. I'm going to merge
those four corners. I have my copy of the merged color and
the original Mandela. Here is just the
Mandela with no color. So if I turn that on and then there's
the white background, you can just see what it looks
like in black and white. You could always
work with that too. And then there's that colored
layer and the other colors. So when came up background layer on for right now
because I wanted to show you what happens here. So I am actually on a system, but I'm gonna go in
here and show you. So we're going to
turn on Drawing God's edit drawing
adds choose symmetry. And you can always
change your thickness of your lines and your opacity. I keep mine down
just a little bit, but I'm gonna keep it up
to keep it up a little bit because you might not be able to see that super-duper well. And then of course, along
this color bar here, you can choose different colors. But because I've got
red and green here, I'm just choose I
chose an orange color. So o a tapped on that
white by accident. And so I'll click Done. I'm going to come back to
this layer and I want to make sure that I have
this colored layer, the same color that
I've done this Mandela. I want to make sure
I have it turned on, so I'm going to duplicate
it one more time. I'm going to slide it underneath my four corners step 2,
and I'll turn it on. So what will happen now is as
I draw through the center, it will start creating
those same colors that we have here
in this Mandela. So I make sure I'm
on that layer. Click my eraser tool, and I'll go to my technical pen. This video is not about
how to create a Mandela. You can watch me go
through the process of creating one if you choose to. But otherwise you would just
have to make sure that you have taken or viewed the other class and how to create a colorful
intuitive Mandela. I'm using only the
brushes in Procreate. Otherwise you can just sit
back and enjoy watching me create this video. You might notice in even though
I've sped it up for you, my pen is a little wobbly and
Milan's are very straight. Turned out that I had
a slight problem with my screen protector
that I had on my glass. It had old up in some
other things that happen. So as I was working, you'll notice the lines
are really wobbly, but I went back and corrected
this at a later time. But you'll get the
idea of how we're just doing the same process and we'll meet you back
in the next video.
4. Finishing Mandala : Thank you for joining me
back for this section. I'm going to speed everything
up as you can see, but then I'm just going to skip forward and get to
the good stuff. I decided to come in and create yet another lattice point on this Mandela like we did on
our bridge tunnel video. And now I'm getting closer and closer to the original Mandela. Just working my way
around adding things, pinching and zooming and making
adjustments as necessary. Okay. So now we've got this
expanded up even further. Again, I would probably
spend the same amount of time that I did on this
one for this Mandela. And I'm going to show
you some examples later. First thing I'm gonna
do is I'm gonna come over here and
I'm going to cut off my drawing guide because
that way I'm going to get rid of those lines to see. Second thing you could
definitely do is fill in these spaces between the two. Mandela was. So you've got the one over
here and then one here. You can definitely come in. And I generally by the
time I get this far, I'm like, I just wanted
to be done in beautiful, which it generally always is. You could just
come in and put in some swirls or some
teardrop shapes. This point meets up over here. If you go and try to add onto this Mandela right here is
the colors are very similar. But if I try to go in and
add onto this Mandela, see how I pick up the green and this yellow doesn't match
with this color here. And if you would cross
over this Mandela, your race through
to that other side. So I'm going to
avoid doing that. So all everything that I'm doing now all has to do
with this Mandela. Not this one. I definitely now don't
like it now that there's all that green
or that yellow in there. So I'm gonna kinda my paintbrush and a bump that bad
boy up in size. And I'm going to get
rid of all of this. I'm going to just keep that. And I think I'm going to
get ribbon, this one. And this one. And I'll redo this one. I don't mind this
lighter yellow color and I don't mind it
extending out on one. Get rid of these. I'll keep just the swirl shape. There we go. That, that
to me feels right. And same thing
we've done before. Now, I'm gonna make a
duplicate of this layer. So this layer has the original blue are going to white line there
and we're gonna do is still my heart. So I'm going to create
a duplicate of this, which is going to
have this plus my original that has
been divided out. I'm going to duplicate that
because I already have a copy of the under or
the background layer. I don't need to keep that. So I'm going to bump it
underneath the background layer, turn this one off and turn
the background layer on. So now we've got it back. What we have to do is we
have to merge these two. I'm going to merge them. So it's all one thing now. Everything else is turned off. And I'm going to duplicate
this layer five times. You could duplicate it twice, push to the left and
then push to the right. And I'm going to show
you the way I like to duplicate or I like to push. So among the very bottom. Layer here. I'm going to
cut all of these off. Go to my arrow tool. And let's click on the
bottom right node here. So it pulls up my
current dimensions, which is the size of my canvas. If it happens to be off, you should know that leg off as in not the proper
number of mounts. And I'm going to
divide that in half. So 2500 because it's locked. It's going to go ahead
and decrease that size. Because I hit this
node down here, it shifts everything down
to this bottom right side. I'm going to go up
to the next one. We can cut we can
leave that one off. We wanted to we can go up here. And I'm going to
be on that second, fourth layer or
whichever one it is. Click the Error tool. I'm going to click
on this bottom node and I'm going to 2500. And boom, it moves it there. Don't touch the canvas because you don't want
to nudge anything. This is going to make
sure they're shifting. Absolutely perfect. Come up here, turn that
one on, click on it. Arrow Tool node 2500 is
going to push it up there. Back to my arrow, don't touch the canvas. And then finally, top
layer arrow tool node, this as we need. And it shoves it up there. And then we'll click off. There is how you create
a repeating pattern. So you can leave
all those separate. So I've got 1, 2, 3, 4. So these are the four
they're at on the screen. I'm going to go ahead
and merge those. Silly and my chart, I didn't do anything wrong. Okay. So these top 41234, there's the ones I've got. I'm going to merge
those top four. Let's try this again. They have that will be visible
for you to merge them or they did severe mercy. So I'm going to merge all those. So here they are, all of those. You can again go in and test
this pattern even further. You know, it's right
because here's our original Mandela
has super cute detail, really tiny detail in here. This is the one we just created, is a little bit bigger,
a little bit bolder. And then we can
duplicate this again. And I'm just gonna do it for, and we'll do the same process. So we click over here
to the arrow tool, click the node 25. And all we're doing is just testing the pattern
to see if we like it. We know we did. Let's be honest.
It's just awesome. I'm gonna do this for all
the different corners. Selecting them, clicking
on the node which I wanted to go to and
letting it shrink down. So you might have noticed
that I entered in the 2500 and then immediately click the arrow before
it had Tom to pop down to that smaller says beacon on with your
little Procreate app. It might take it a moment, but she hit the
2500, let it shrink. And then you can go to
your error tool and deselect or colorful intuitive Mandela and our
repeating pattern. So just to talk your
way through this, just really, I wasn't really impressed with these
ones with the dots. But I think it brings like
a little tiled background. I like it when I see it
in this full pattern. So I'm gonna walk you through
this steps yet again. And let's cut off. We can merge these
four if we wanted to. X, we've got everything. So here was my original
Mandela started with, you can start with any
of your Mandela's. We talked about the
different colors and how we could change the colors. A set with this pink
color, and I like it. And then the next one,
it's got all those up. And the next one is our Mandela. We push everything
to the corners. And then we created the
design and the inside. So that was the next thing. Here it is here. And then we shrunk these down into the different corners
to create our pattern. And then we squished it even
further to create this.
5. Creating Repeat and testing pattern: I just wanted to share
with you a variety of patterns and Mandela's
that I have created, showing you different colors. The foreground does not always have to be black
here you'll see it's a brown color and worked
kind of in the muted tones. Some of my Mandela's, the coloring is very, very intricate and I use a
lot of tints and shades. Others not so much. I sometimes in-between the two Mandela's don't leave any
space like in this one. It's very, very small details, little dashes, little marks. And so that color really
comes through that first, that top layer of
that all of color. The next one is
very interesting. I use a textured brush
to create some shading. The secondary methodologists
might be my favorite. It is not as intricate
and it reminds me a lot of filigree that
to me is just stunning. And those are all
one shades of browns and coppers and golds. This one, what do you say
about the color teal and lime green and magenta with
multiple multiple shades. I think there's about
15 to 20 in there. I created this Mandela, the original one really
close to the edge. So I had to work in
that second Mandela. And so there isn't a
little feel of an overlap, which is quite interesting, but this one is printed on
fabric, is just phenomenal. Be sure to upload your
final designs so I can see what you've created or
tag me on social media. It would mean so
much to me if you would leave a review
for this class. I hope you enjoyed this
class. Have a great day.
6. Conclusion and examples: Okay, there we go. And that to me feels right. And same thing
we've done before. Now I'm gonna make a
duplicate of this layer. So this layer has the original going to
white line there I'm going to do is still my heart. So I'm going to create
a duplicate of this, which is going to
have this plus my original that has
been divided it out. I'm going to duplicate that
because I already have a copy of the under or
the background layer. I don't need to keep that. So I'm going to bump it
underneath the background layer, turn this one off and turn
the background layer on. So now we've got it back. What we have to do is we
have to merge these two. So that's why I created
that duplicate. So I'm going to merge them. So it's all one thing now. Everything else is turned off. And I'm going to duplicate
this layer five times. You could duplicate it twice, push to the left and
then push to the right. But I'm going to show
you the way I like to duplicate or I like to push. So among the very
bottom layer here, I'm going to cut
all of these off. Go to my arrow tool. And let's click on the
bottom right node here. So it pulls up my
current dimensions, which is the size of my canvas. If it happens to be off, you should know that leg off as in not the proper
number of mounts. And I'm going to
divide that in half. So 2500 because it's locked. It's going to go ahead
and decrease that size. Because I hit this
node down here, it shifts everything down
to this bottom right side. I'm going to go up
to the next one. Didn't cut. We could
leave that one off. We wanted to we can go up here. And I'm going to be on that second fourth layer
or whichever one it is. Click the Error 2,
I want to click on this bottom node and 2500. And boom, it moves it there. Don't touch the canvas because you don't want
to nudge anything. This is going to make
sure they're shifting. Absolutely perfect. Come up here, turn that
one on, click on it. Arrow Tool node 2500 is
going to push it up there. Back to my arrow, don't touch the canvas. And then finally, this top
layer arrow tool node, this as we need, and it shoves it up there. And then we'll click up. There is how you create
a repeating pattern. So you can leave
all those separate. So I've got 1, 2, 3, 4. So these are the four
there on the screen. I'm going to go ahead
and merge those. Silly and make sure I
didn't do anything wrong. Okay. So these top 41234, there's the ones I've got. I'm going to merge
those top four. Let's try this again. And they will be visible
for you to merge them or they did severe mercy. So I'm going to merge all those. So here they are, all of those. You can again go in and test
this pattern even further. You know, it's right
because here's our original Mandela
has super cute detail, really tiny detail in here. This is the one we just created, is a little bit bigger,
a little bit bolder. And then we can
duplicate this again. And I'm just gonna do it for and we'll do the same process. So we'll click over
here to the arrow tool, click the node 25. And all we're doing is just testing the pattern
to see if we like it. We know we do. Let's be honest. It's just awesome at super-duper,
love these colors. But I think I'm going to
have to save this palette. I can go back and use it again. On the right. That one didn't smudge, carried away. And so there is our colorful intuitive Mandela
and our repeating pattern. So just to talk your
way through this, just really, I wasn't really impressed with these
lands with the dots. But I think it kind of brings like a little
tiled background. I like it when I see it
in this full pattern. So I'm gonna walk you through
this steps yet again. And let's cut off. We can merge these
four if we wanted to. X, we've got everything. So here was my original
Mandela started with, you can start with any
of your Mandela's. We talked about the
different colors and how we could change the colors. A set with this pink
color, and I like it. And then the next one,
it's got all those up. Next one is our Mandela. We push everything
to the corners. And then we created the
design and the inside. So that was the next thing. Here it is here. And then we shrunk these down into the different corners
to create our pattern. And then we squished it even
further to create this. So there is how you create your intuitive colorful Mandela in our seamless
repeating pattern.
 Maria Campagna, Artist, Illustrator, Yogi