Word Trail Mini-Book
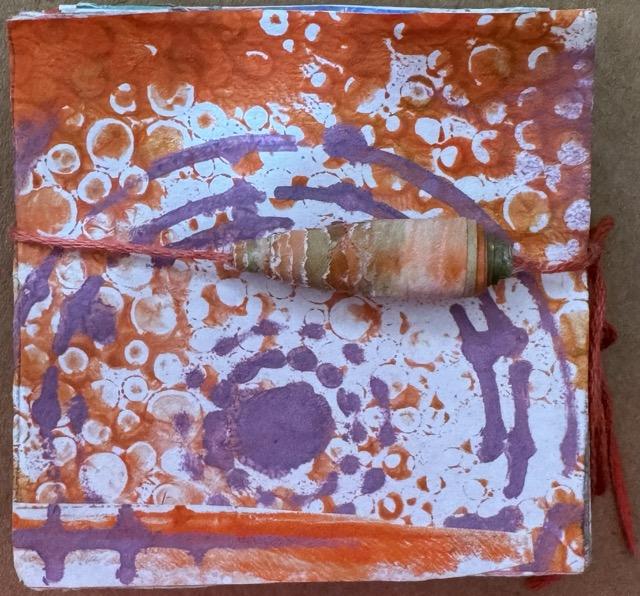
A close-up of my word trail treasure. I had a few fumbles, mostly with the closure, but I've worked with paper beads and embroidery thread, so I made up my own fix since the bead closure didn't hold tight.
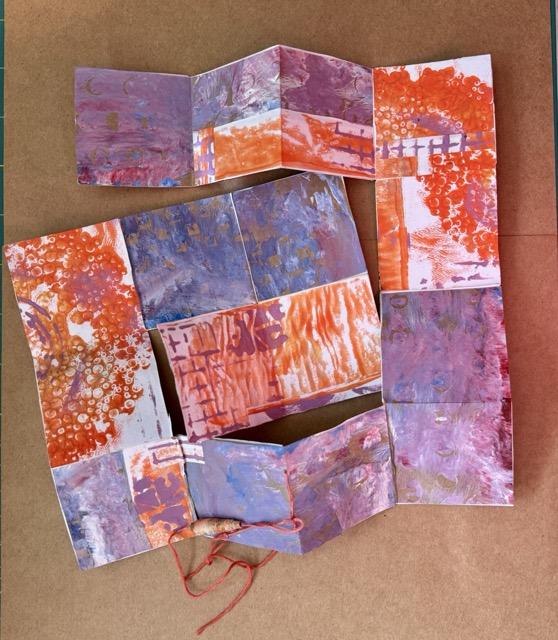
I used gelli print papers for covering up my pages, and I like the purple and orange together! The other side has gelli print covers also but is more plain. No words yet, but I'm a retired college English and writing teacher, so I'm thinking about extracts from a favorite poem. I'm torn between T.S. Eliot and Yeats. I have Yeats's "Second Coming," printed, and that could fit the bill with little delay and a few more clips and pasting.
I like my little word trail booklet and have plans for the next one and the one after that.... The only roadbump I hit in the process was that my bead closure. Just FYI, when I did my own little fix, I used a needle to pull the floss through - easy-peasy. When I was happy with the beads' placement, I applied some Fabritac glue to slide around inside the bead which holds it in place, not on the needle which was off the floss by then but just to a knot and floss going into the bead. I simply tied more floss to the original to lengthen it and gave that knot a dab of Fabritac. Longer floss worked as a fine tie. The original stitching stayed in place at the center. Also, I used Fray Check on the ends of the floss so it wouldn't get all flossy and frayed. Seemed to work fine.
Thanks for teaching how to make such a sweet little treasure as this word trail book. I'm very pleased to have taken the class. Again, thanks, Helen!