Sharing additional ideas for the textured image brush. . .
The textured image brushes are the most basic of all the brushes, there are very few settings you can, or want to, change, but they can provide a very quick way to add texture, and realism, to your work.
I'm sharing the example from the class but, since it's a short class, and I couldn't go in to multiple examples, I wanted to share more here, starting with the twine for my digital label. (see below)
Really, anything you can scan (or photograph... you don't need a scanner, just a clean background behind your shape and good light) can be turned in to a textured image brush. I would love to see what you create so please feel free to share your brushes here!
Thank you for taking the class!
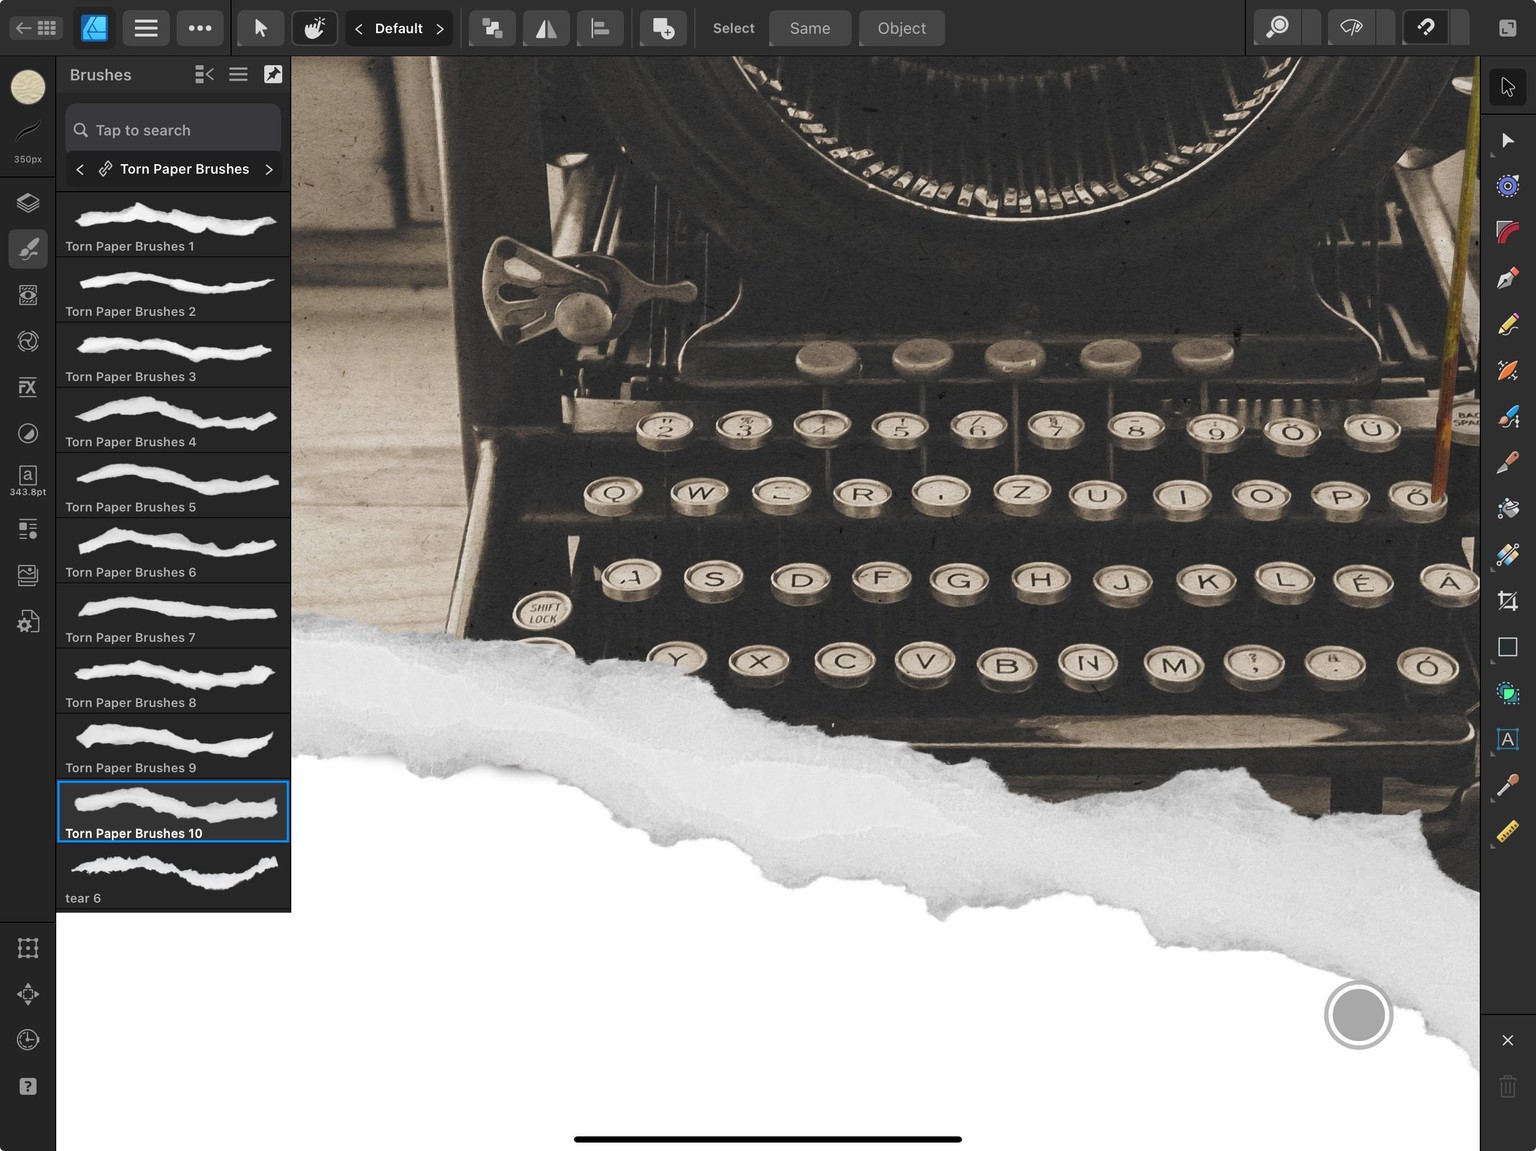
Torn paper is only one example, of many, of how you can use the textured image brush.
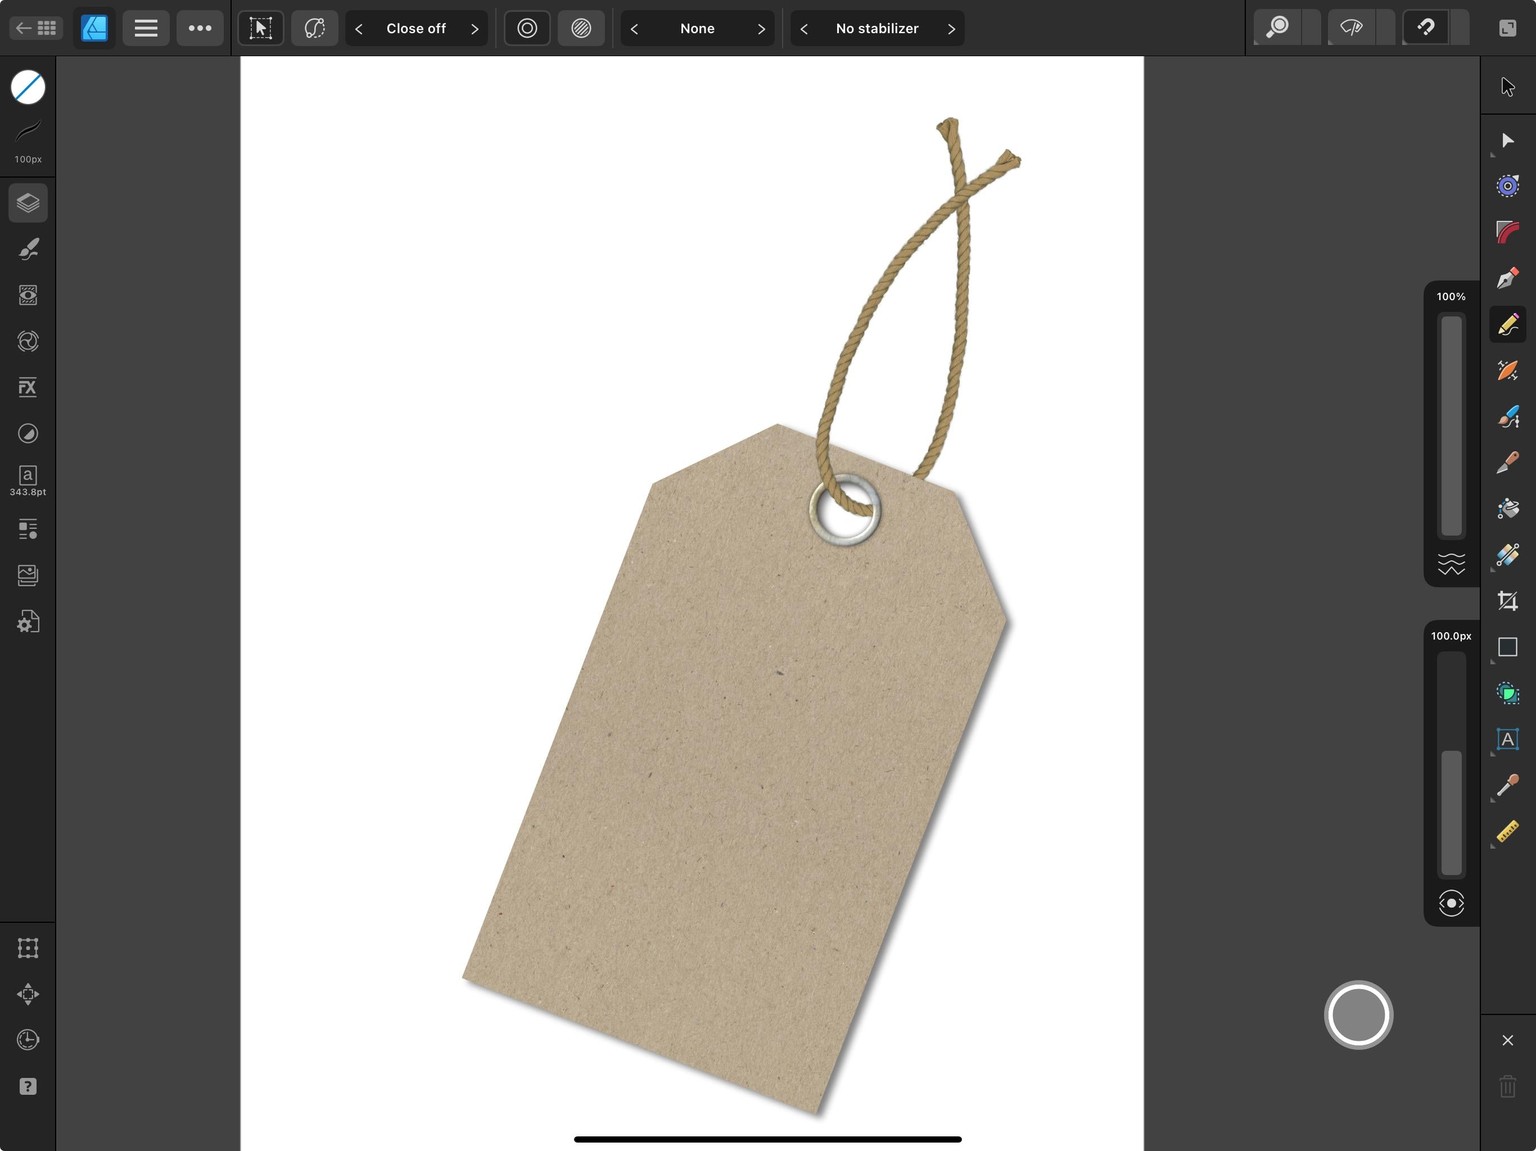
The string in this illustration of a digital tag was created with a textured image brush. (see gif below) I scanned a single piece of twine and isolated it using Affinity Photo. I also used Photo's distort feature to straighten it out a bit. (I'm going to create a YT tutorial on creating this brush and will show that step in the tutorial, stay tuned)
This saved me a ton of time trying to make a plain stroke look like real twine or string.
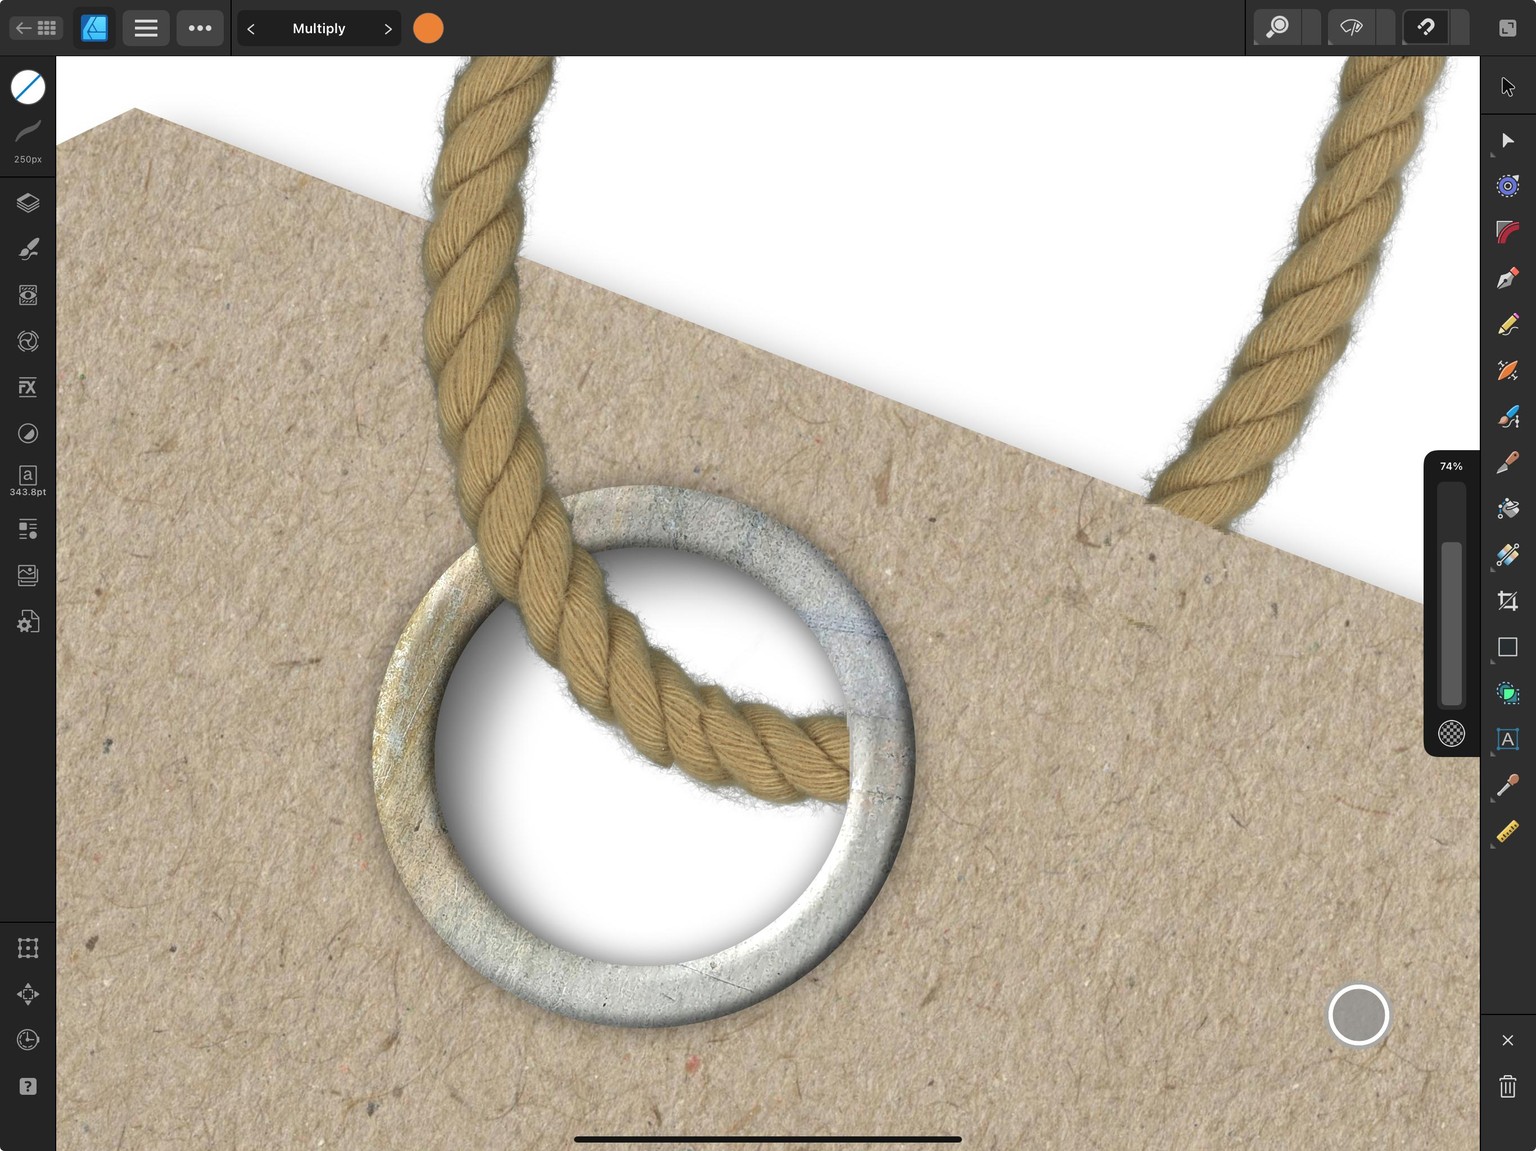
This is an example of the brushes where you need to make sure that you don't have a color set on the stroke unless you want it to tint it. You can see where I turn it off in the gif I shared below. It originally starts out gray because the Pencil tool automatically applies a black stroke.
Once the brush was created, I placed it on the tag and used a mask to mask away the part that needed to look like it was under the tag. (again, tutorial coming... stay tuned ;))
One note: If you want to change the color of a textured image brush, I recommend using a color overlay from the FX Studio. In the gif below, I changed my twine from natural to green by adding a color overlay, changing the blend mode (of the effect, not the layer) to multiply and then dropping the opacity until I liked how it looked.
This won't work well on anything that is all black or all white, but anything in between will work.
If you have an idea for a textured image brush, but aren't sure how to accomplish it, please feel free to reach out to me and I would be happy to try to help!
Thank you again for taking the class!