MockUps in Steps
I started with the two-fold fabric mockup:
Then I added a third fold to that to practice:
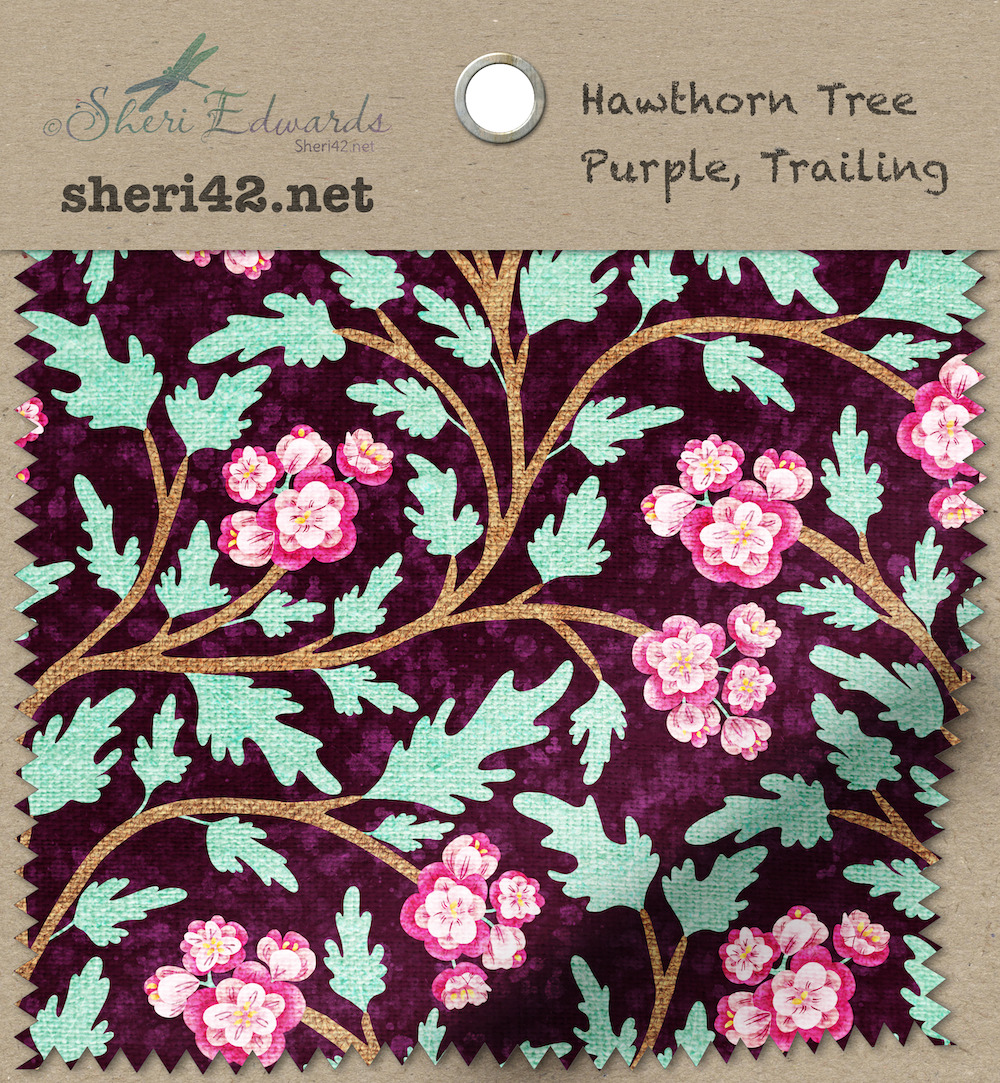
Next, the Fabric Swatch--this one is just the swatch, no background. I turned off the shadow for the back of the card.
This one I added a background.
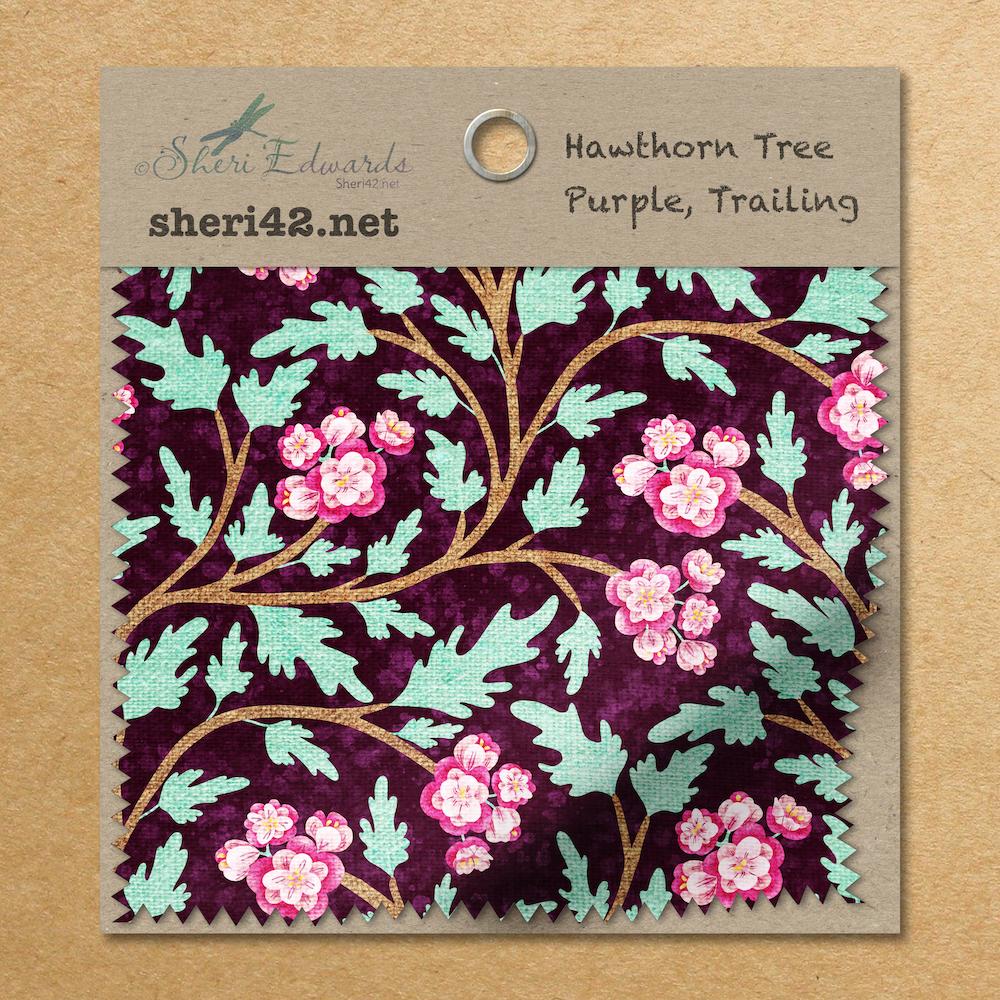
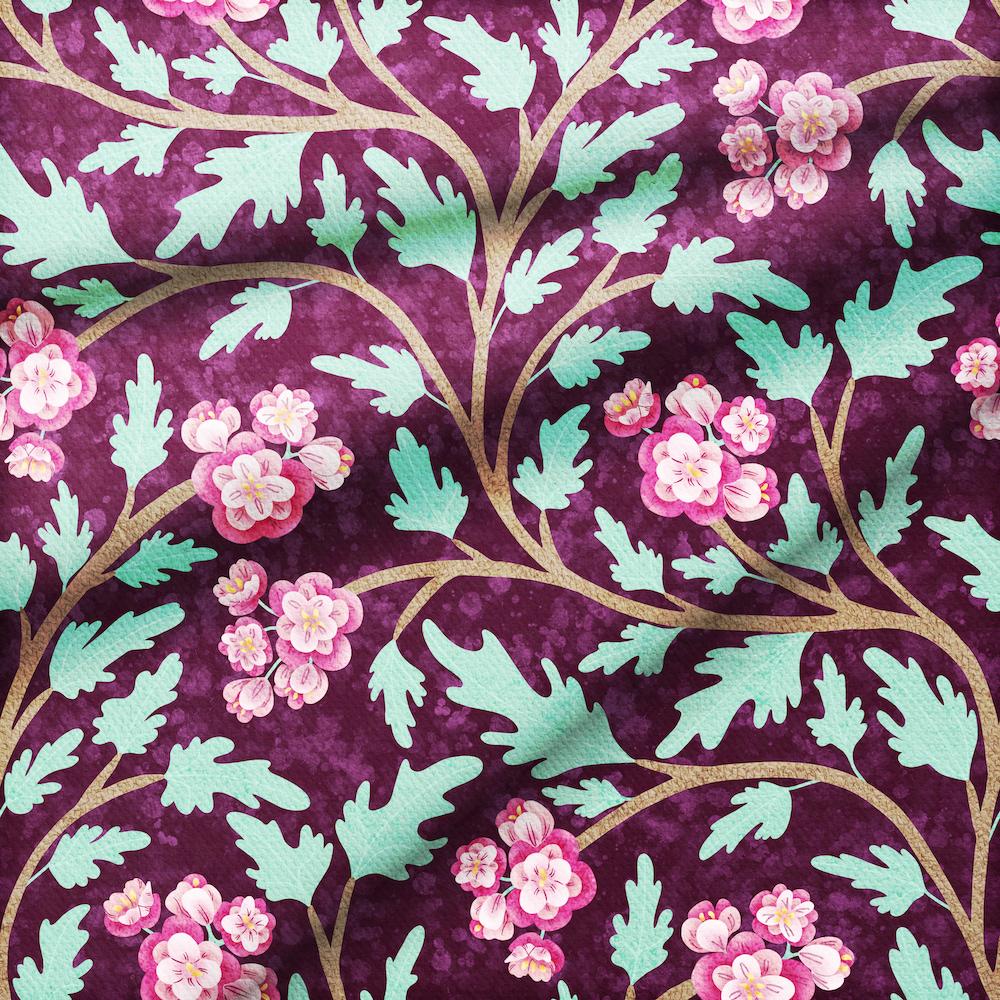
The art in most of these is a trailing pattern I illustrated of the hawthorn tree from my front yard.
I'm ready to start the final project.
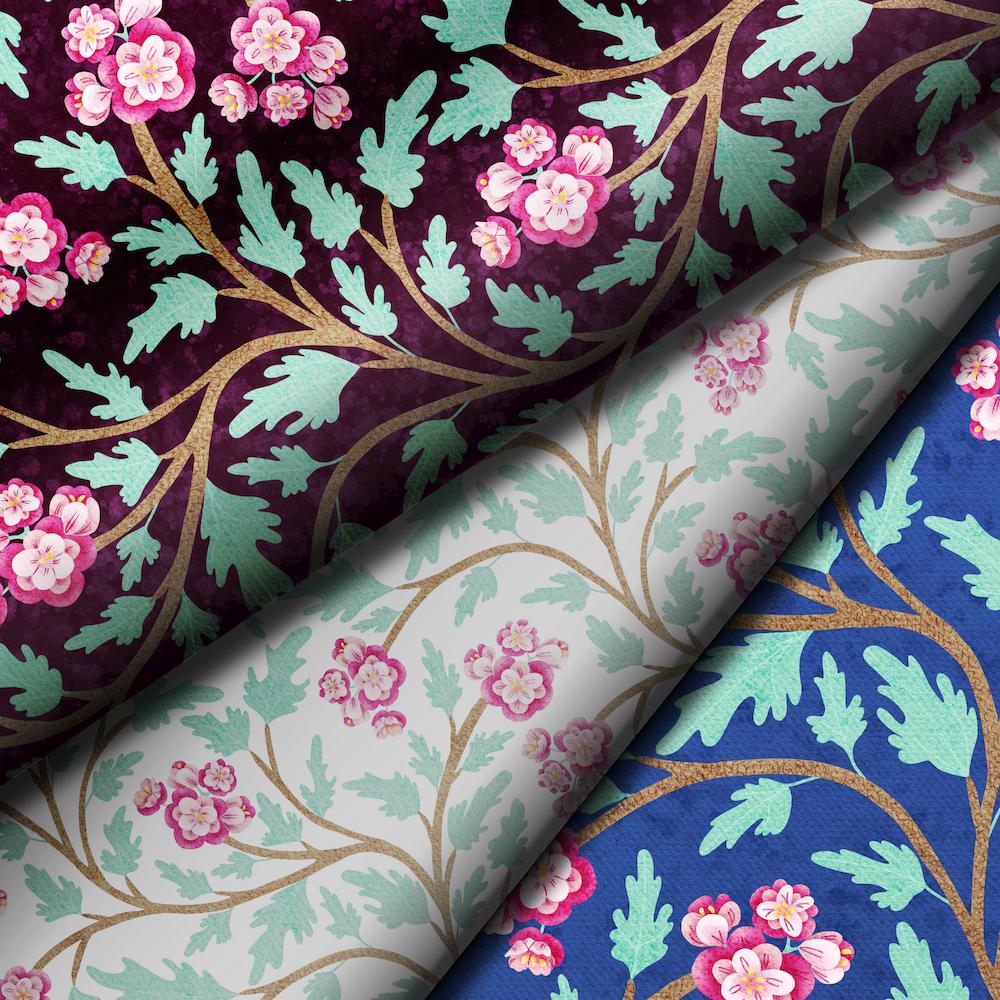
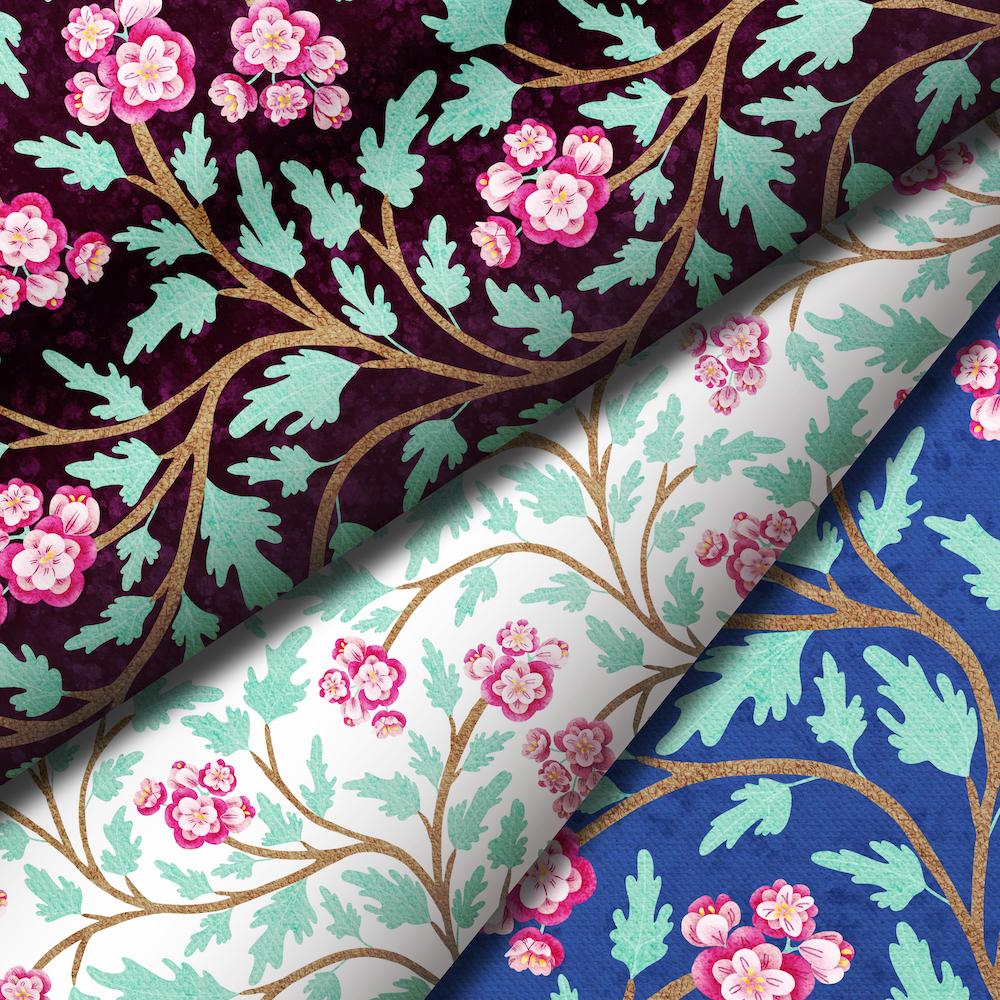
Update: My final project, three color variations of my hawthorn pattern:
I love Affinity Designer-- I'm just so far behind on figuring it out, so this class added more to my ability to illustrate with Designer! Thank you Tracey.
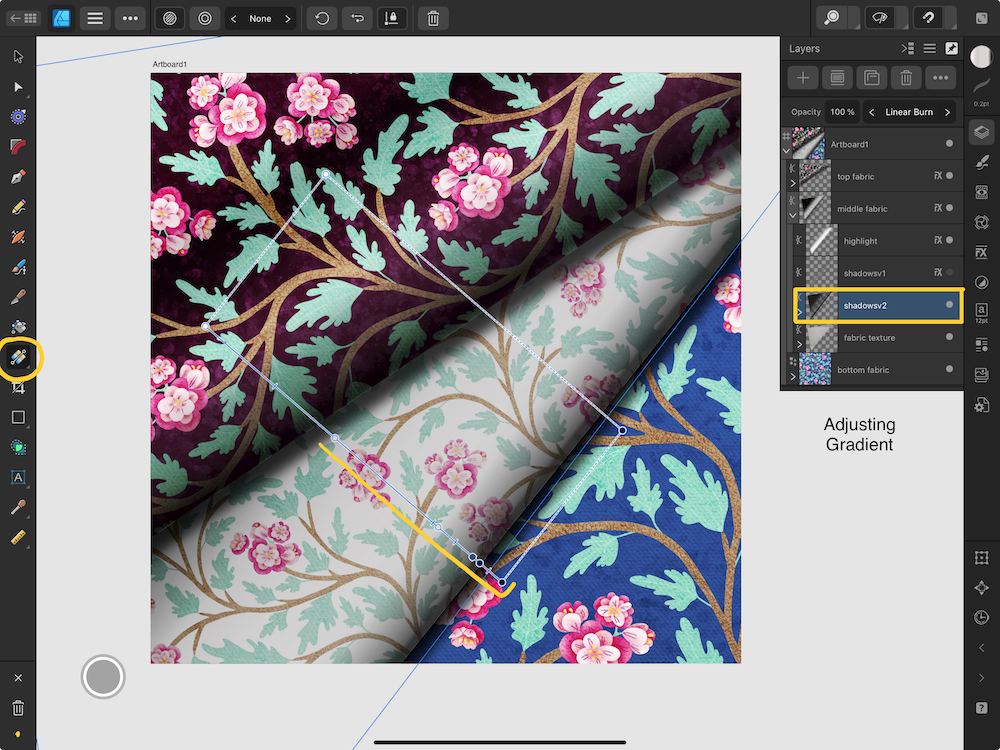
Update:
The more I looked at the white fabric in the "stack," the more I wanted to fix it so it looked "curved." White is apparently difficult to work with -- it tends to be "Shiny," is what Tracey explained. I asked her for advice in the discussion area and she suggested adding another color stop to the right edge of the white fabric to darken it more to look curved. Here's my gradient adjustment and my much better result: