Impromptu Etching
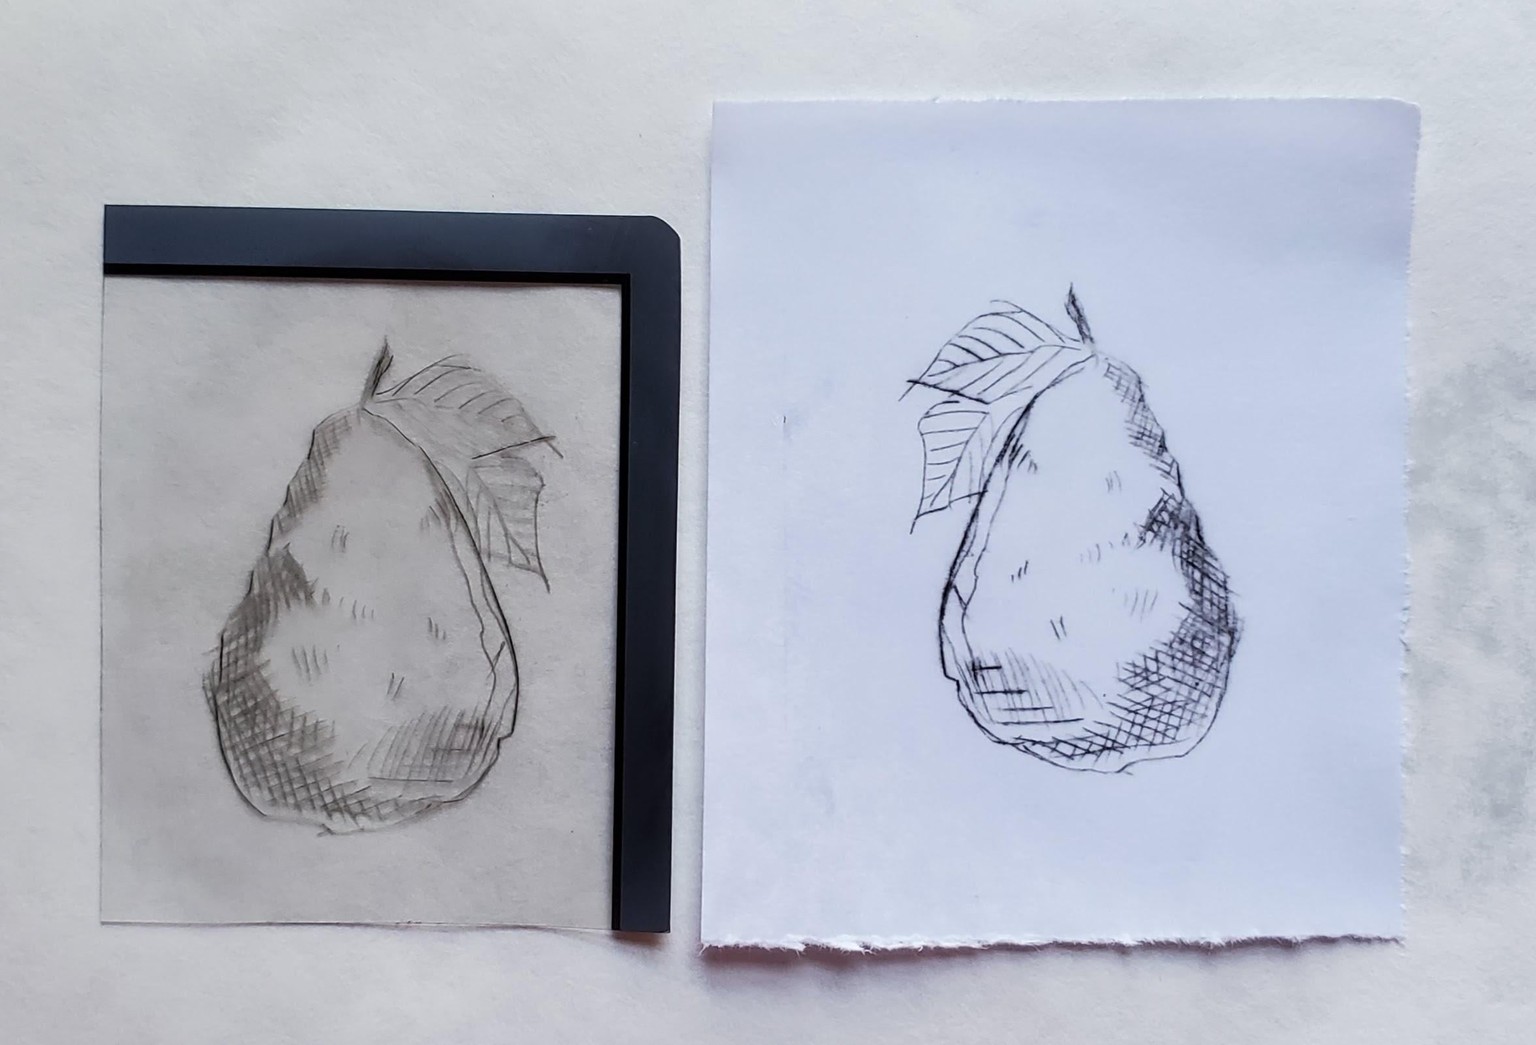
I watched this class a couple weeks ago but didn't get around to doing the project. Yesterday I was cleaning out my studio and found some small pieces of plastic. I was about to throw them away when I remembered I'd learned this technique! So I quickly scratched out a design using the tip of an Xacto knife.
On one hand, the knife wasn't great to use because it didn't take curves well. But it did incise nice, deep lines into the plastic, and I kind of like the less-than-perfect feel of the drawing I got. I've ordered an etching tool but may well continue to use the knife from time to time.
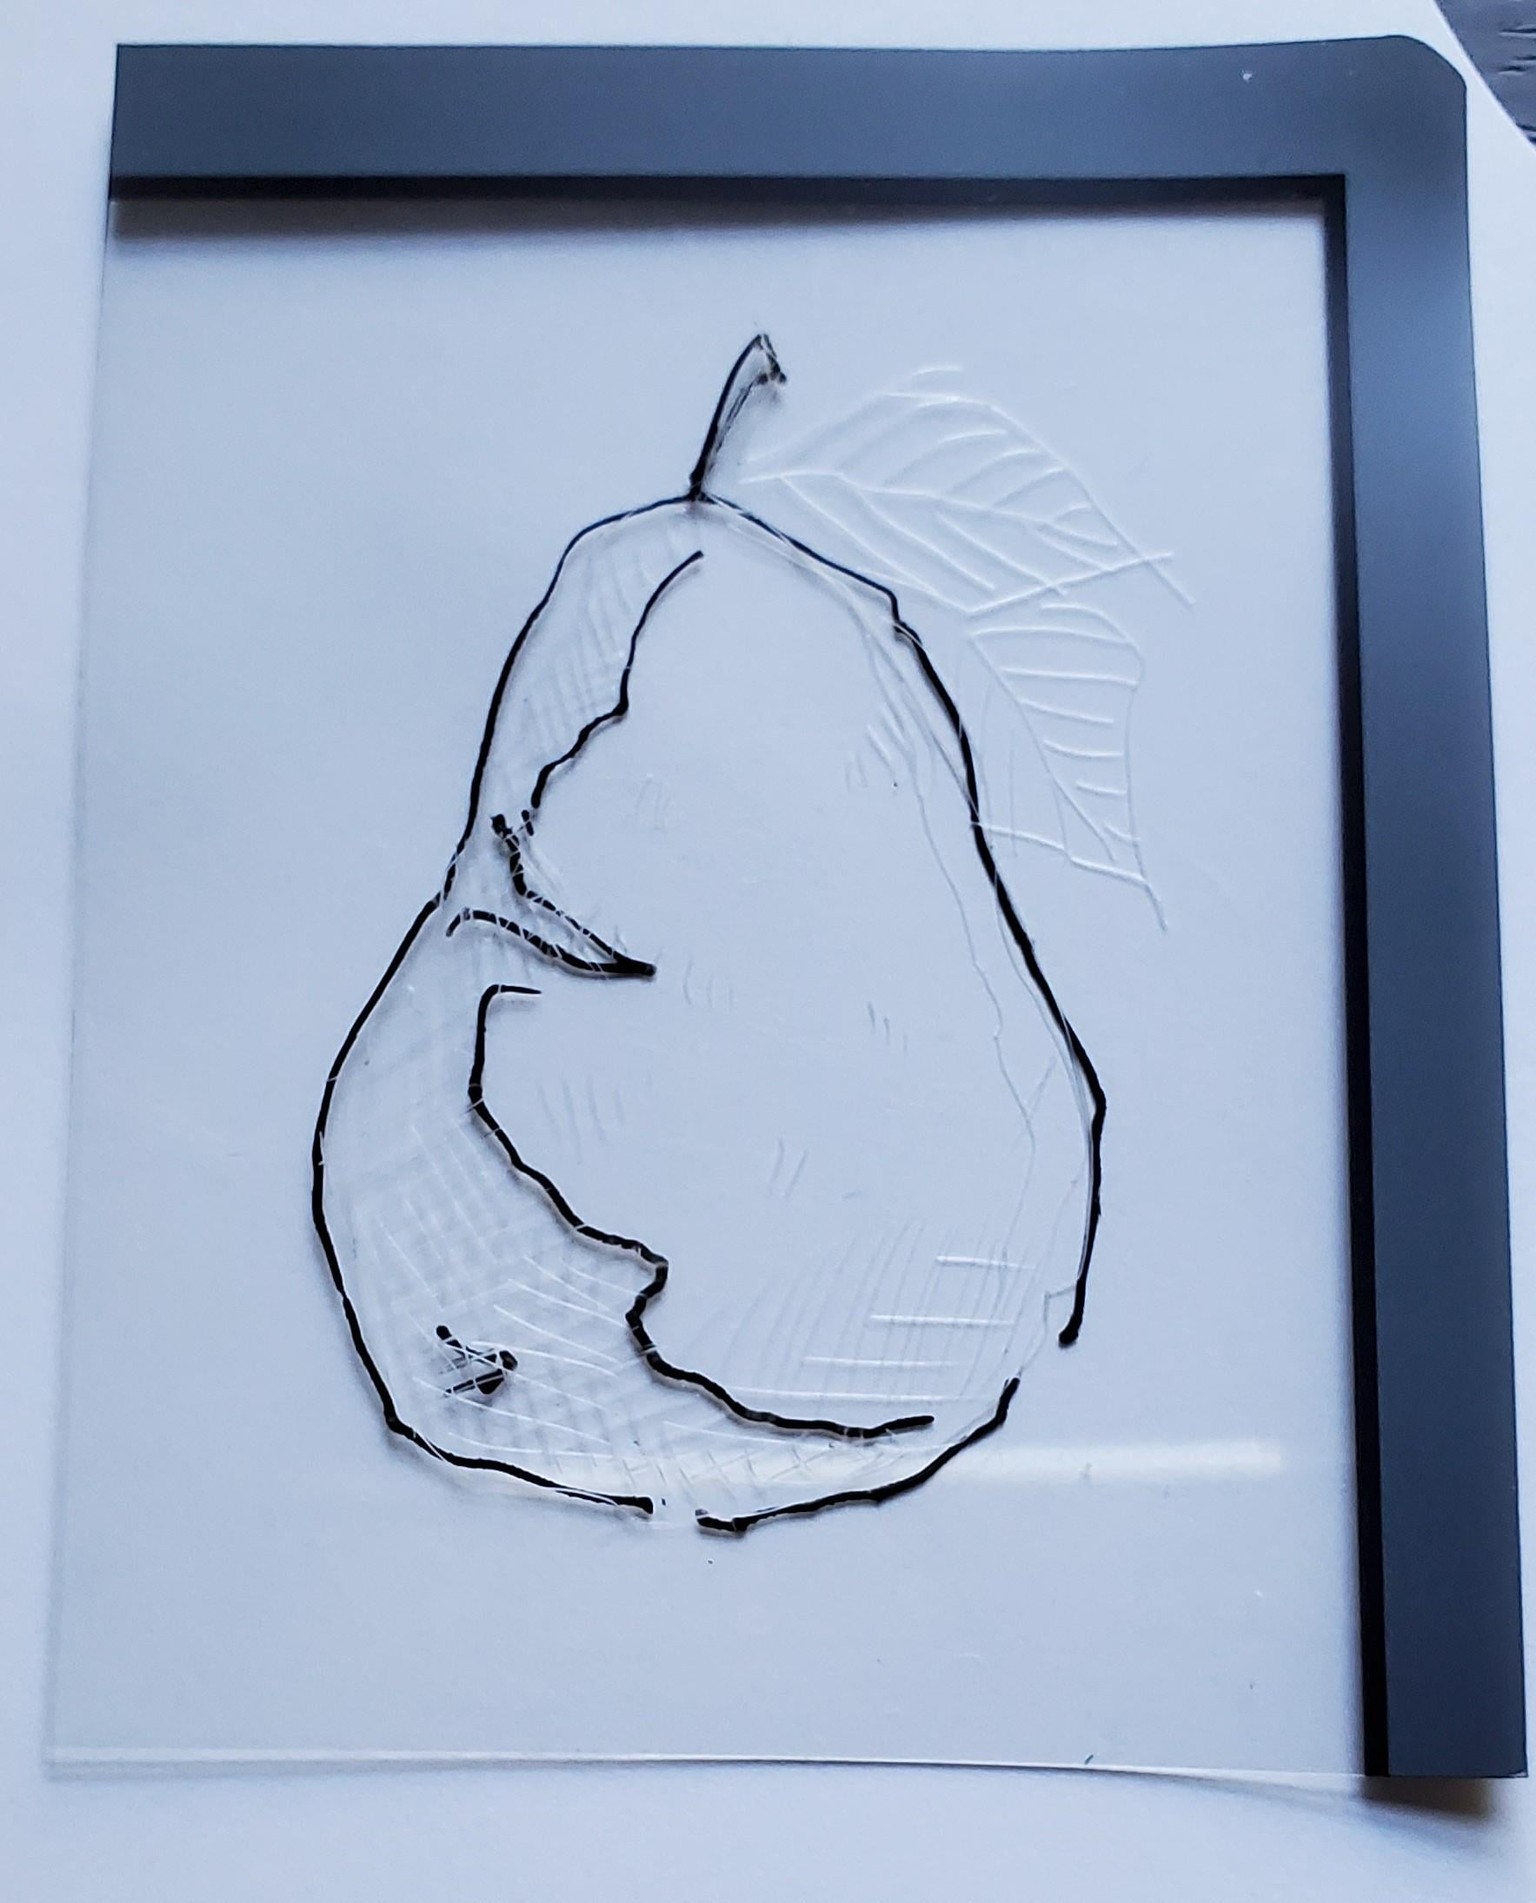
This plastic is quite thin and flexible - somewhat thinner than the clamshells used for food - but it worked out fine. It's the same plastic I used for the project for Gemma's monoprint class a couple weeks ago. This piece is about 2" x 3".
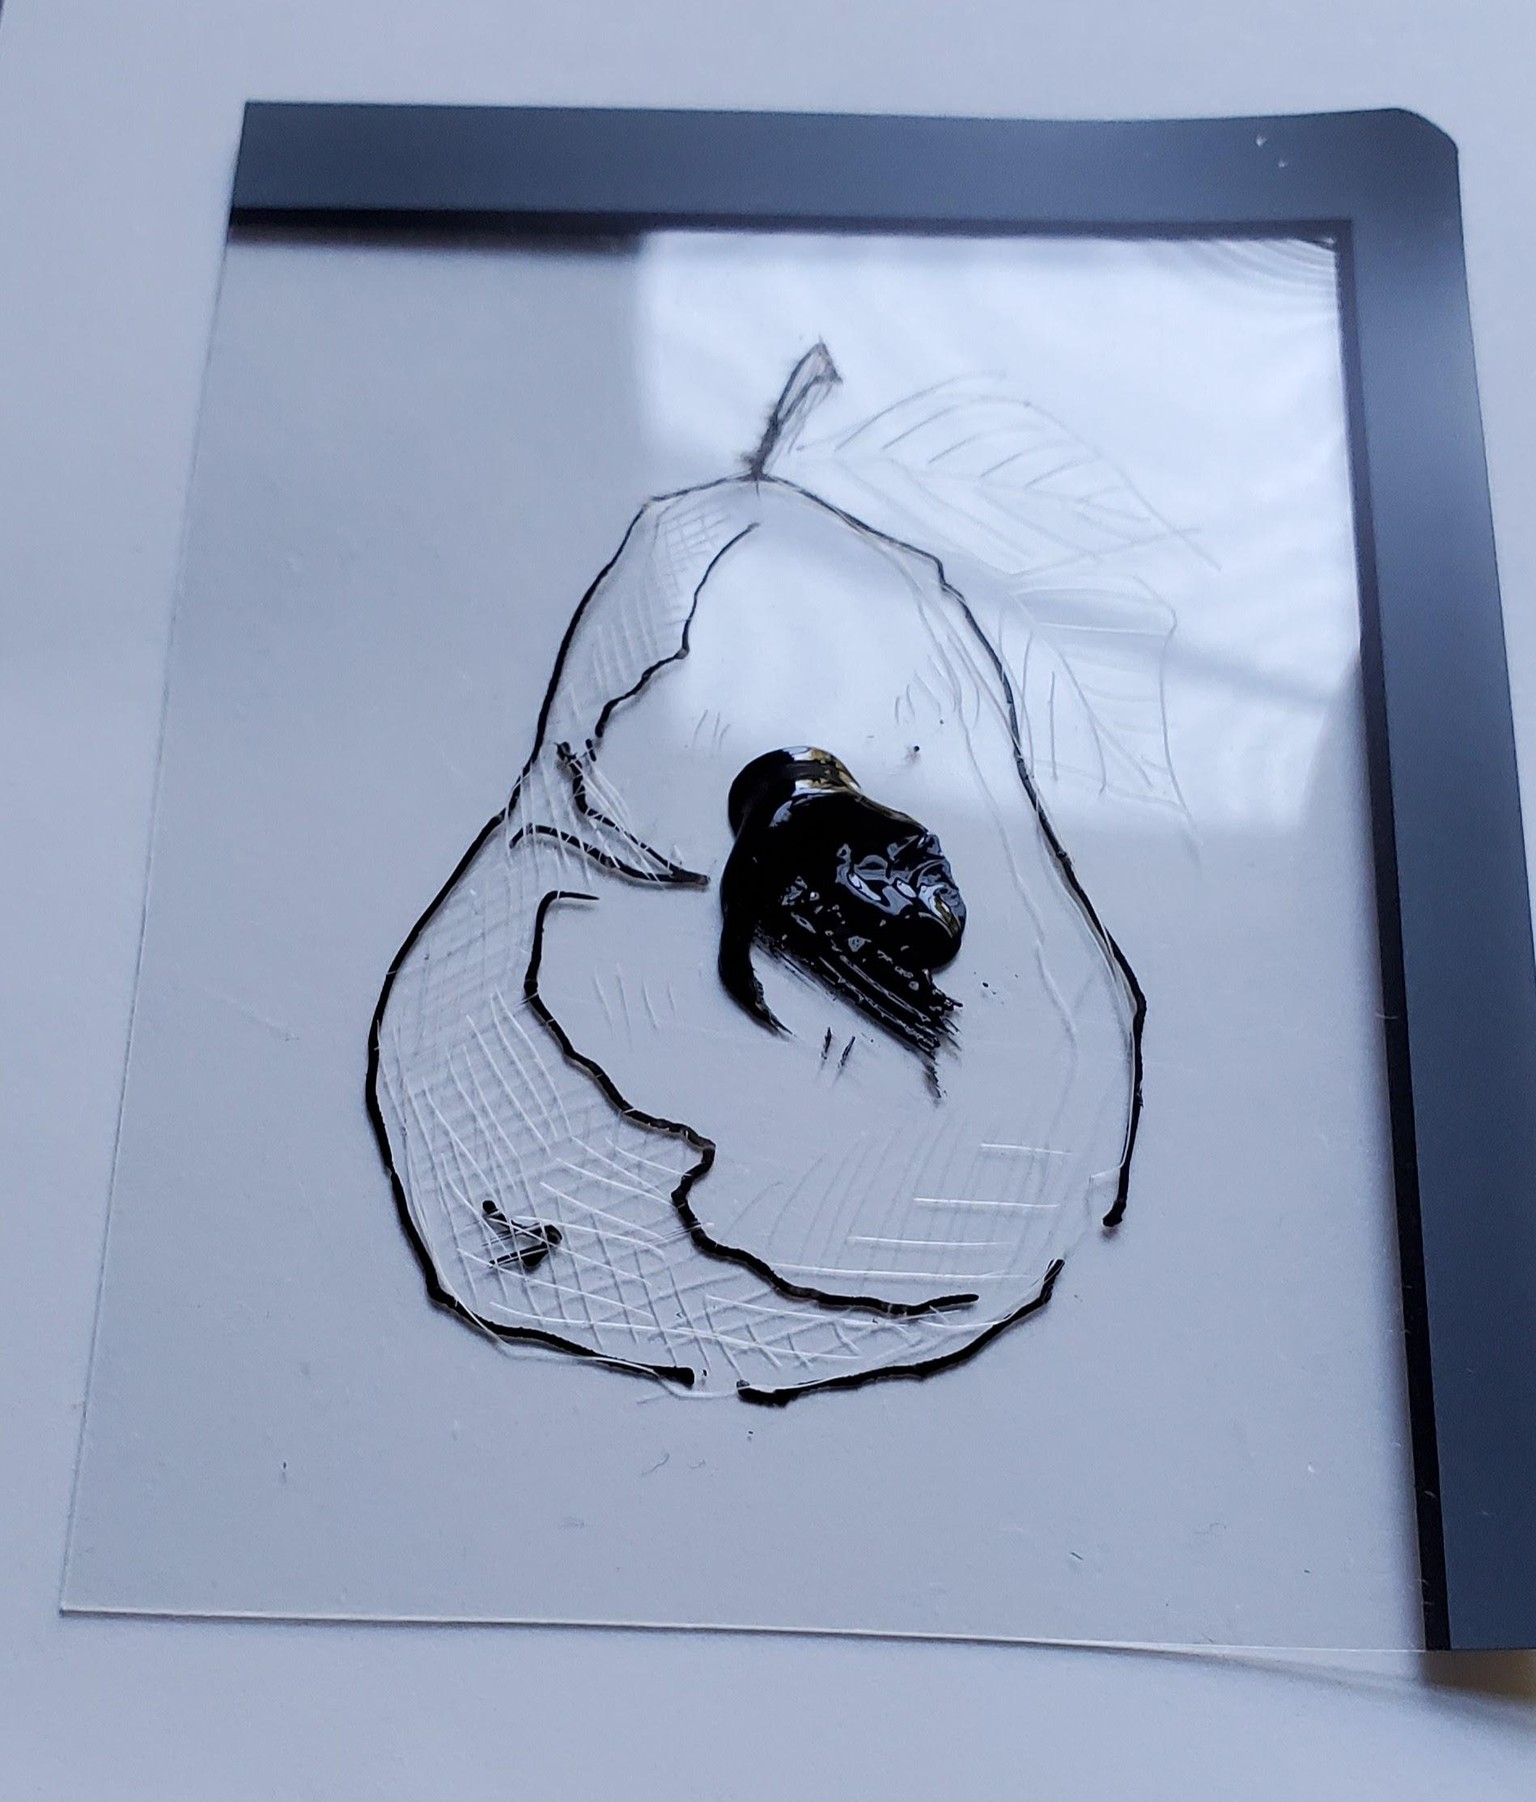
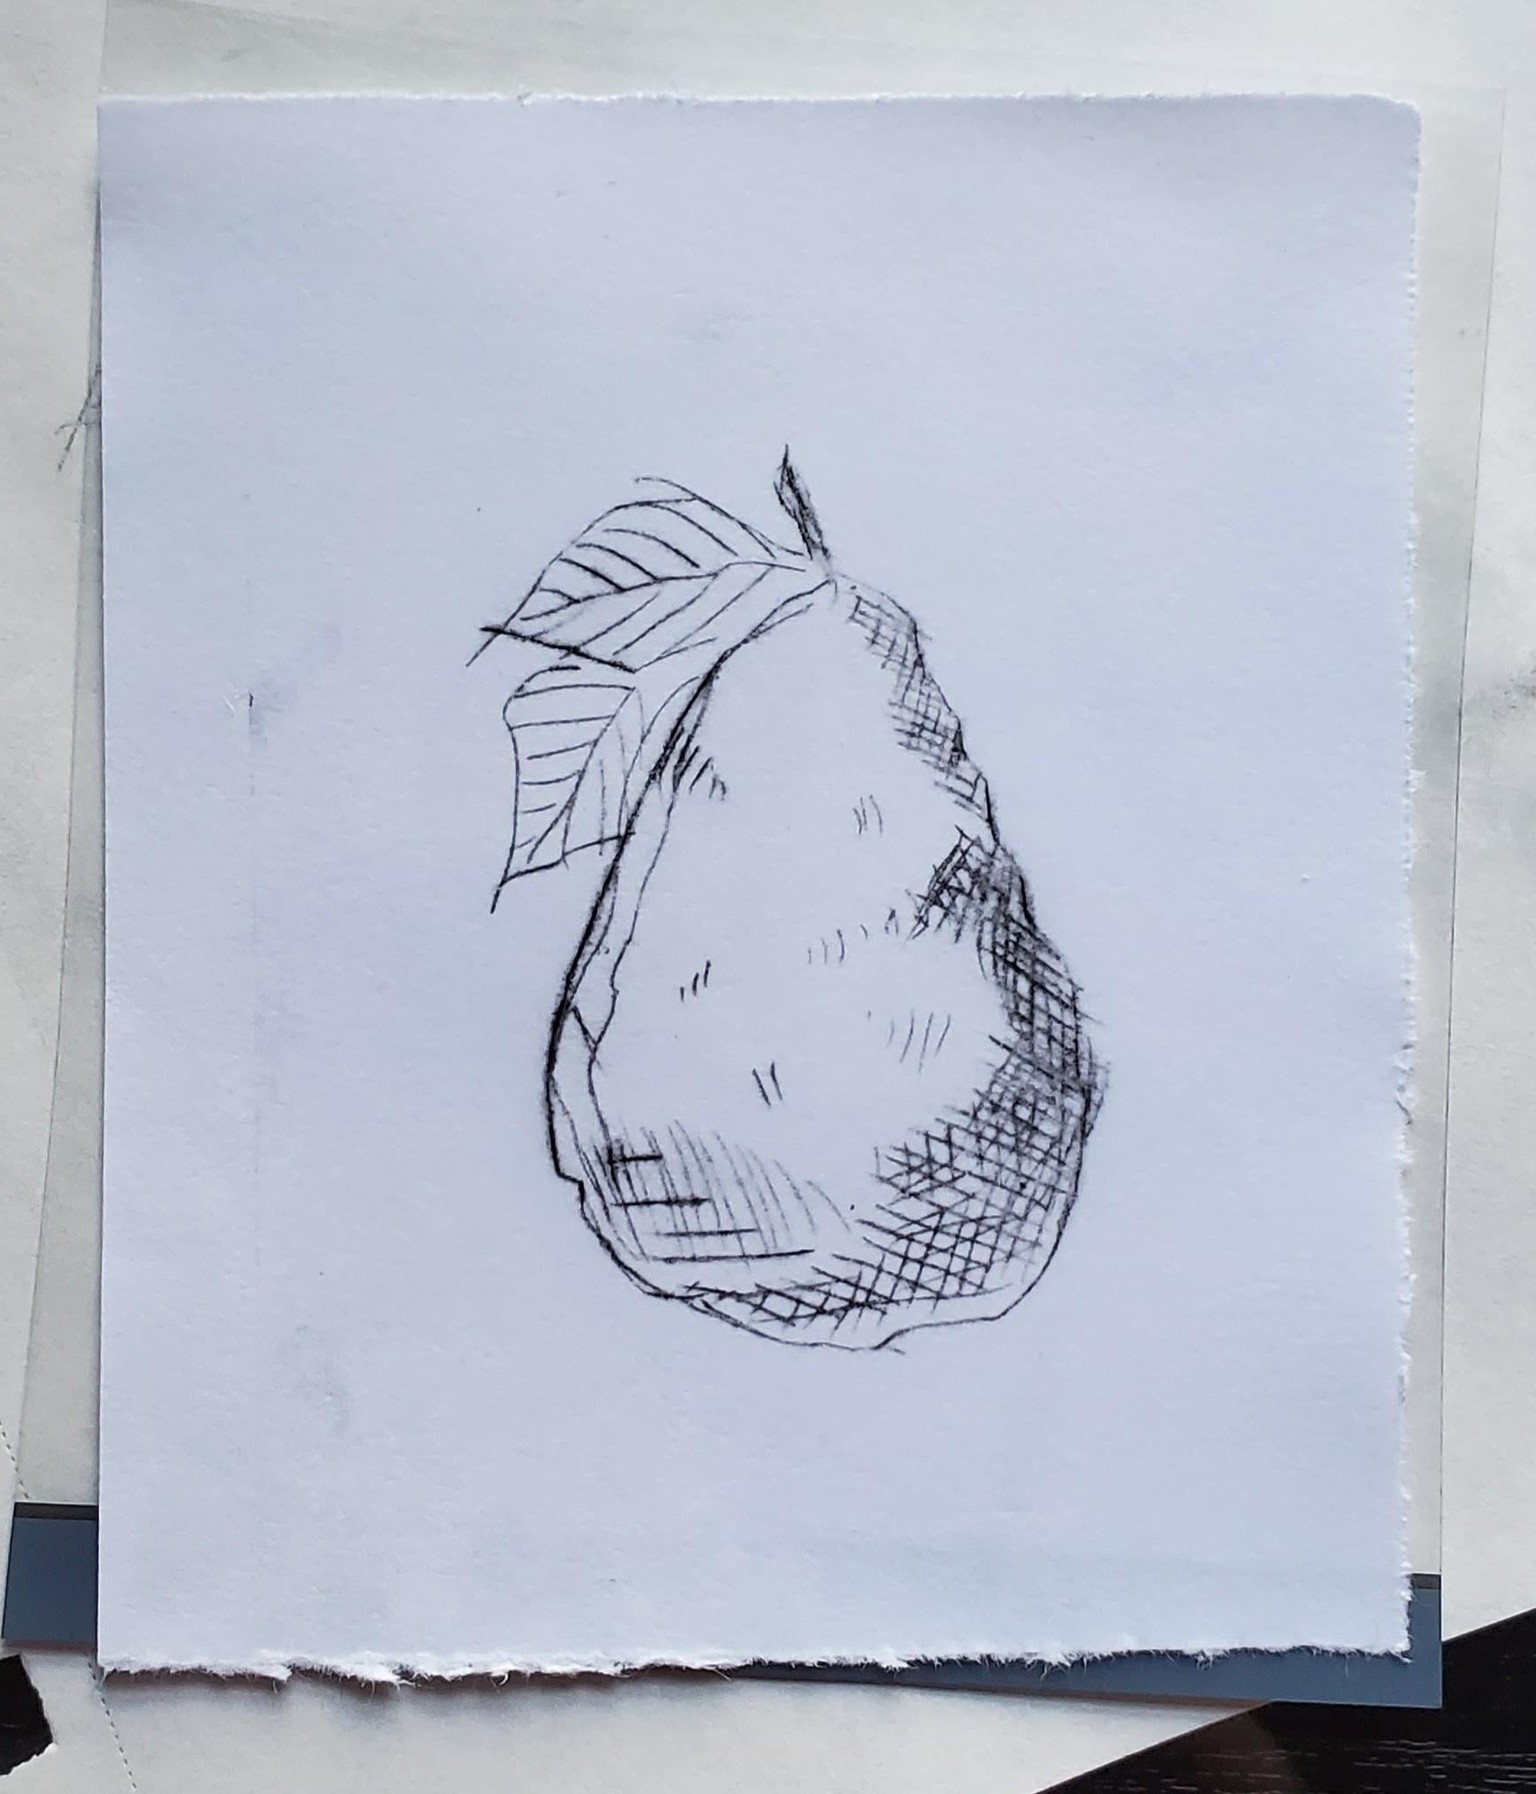
I dabbed a bit of Speedball ink right onto the plastic since I had left an open area in the design. I used paper towel to rub it in - since it had a been a couple weeks since I watched the class I'd forgotten about the card! In the end I only got one really great print out of 5, and I think this is one of the reasons. I believe the paper towel lifted too much of the ink. Next time I'll use a card to spread the ink and some soft cloth to rub it off.
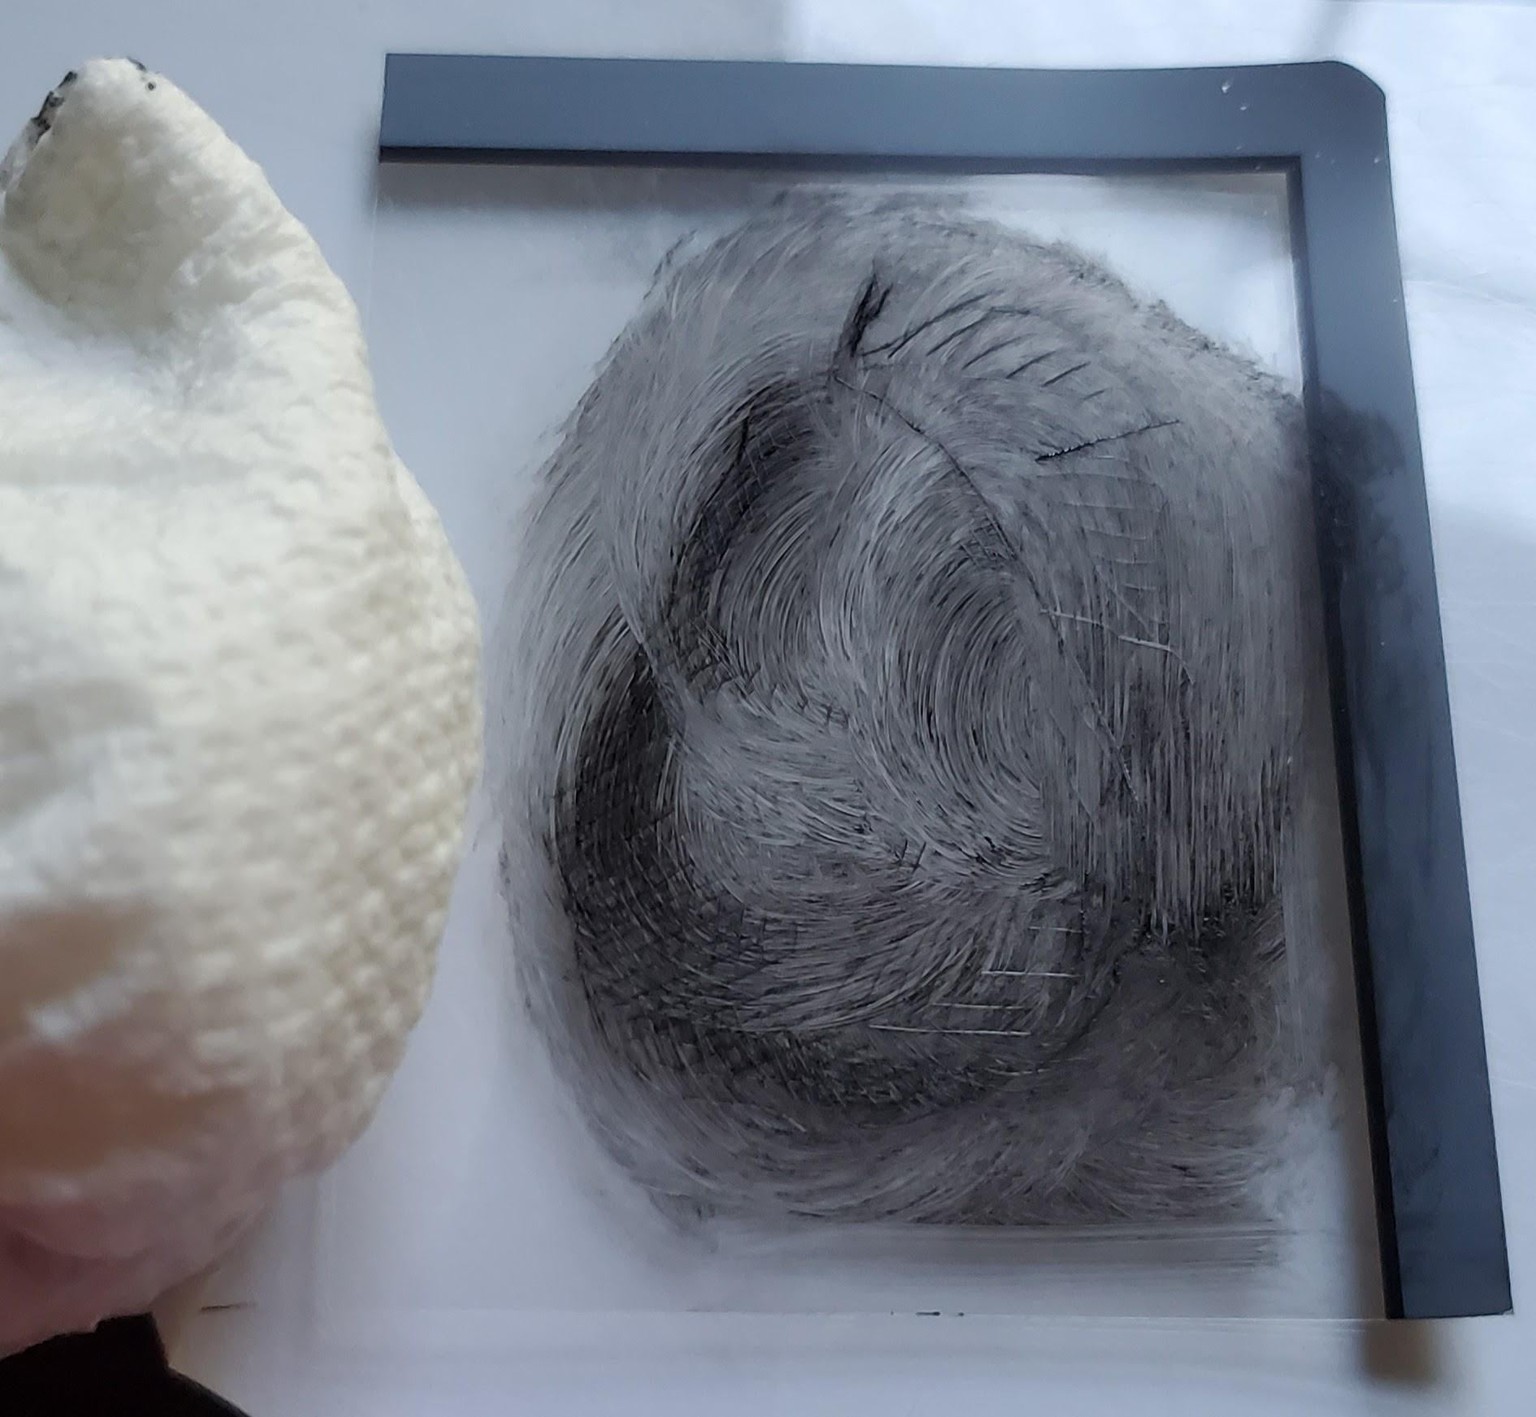
Another reason I only got one good print is that I tried out a couple different types of paper. The papers with a bit of tooth didn't print well. My best print was on a piece of heavy, very smooth printer paper.
I'm excited to try this again - I've got lots of this plastic! Thanks for another great class, Gemma!
_____________________________________________________________________________________________________________________________________
Another try -
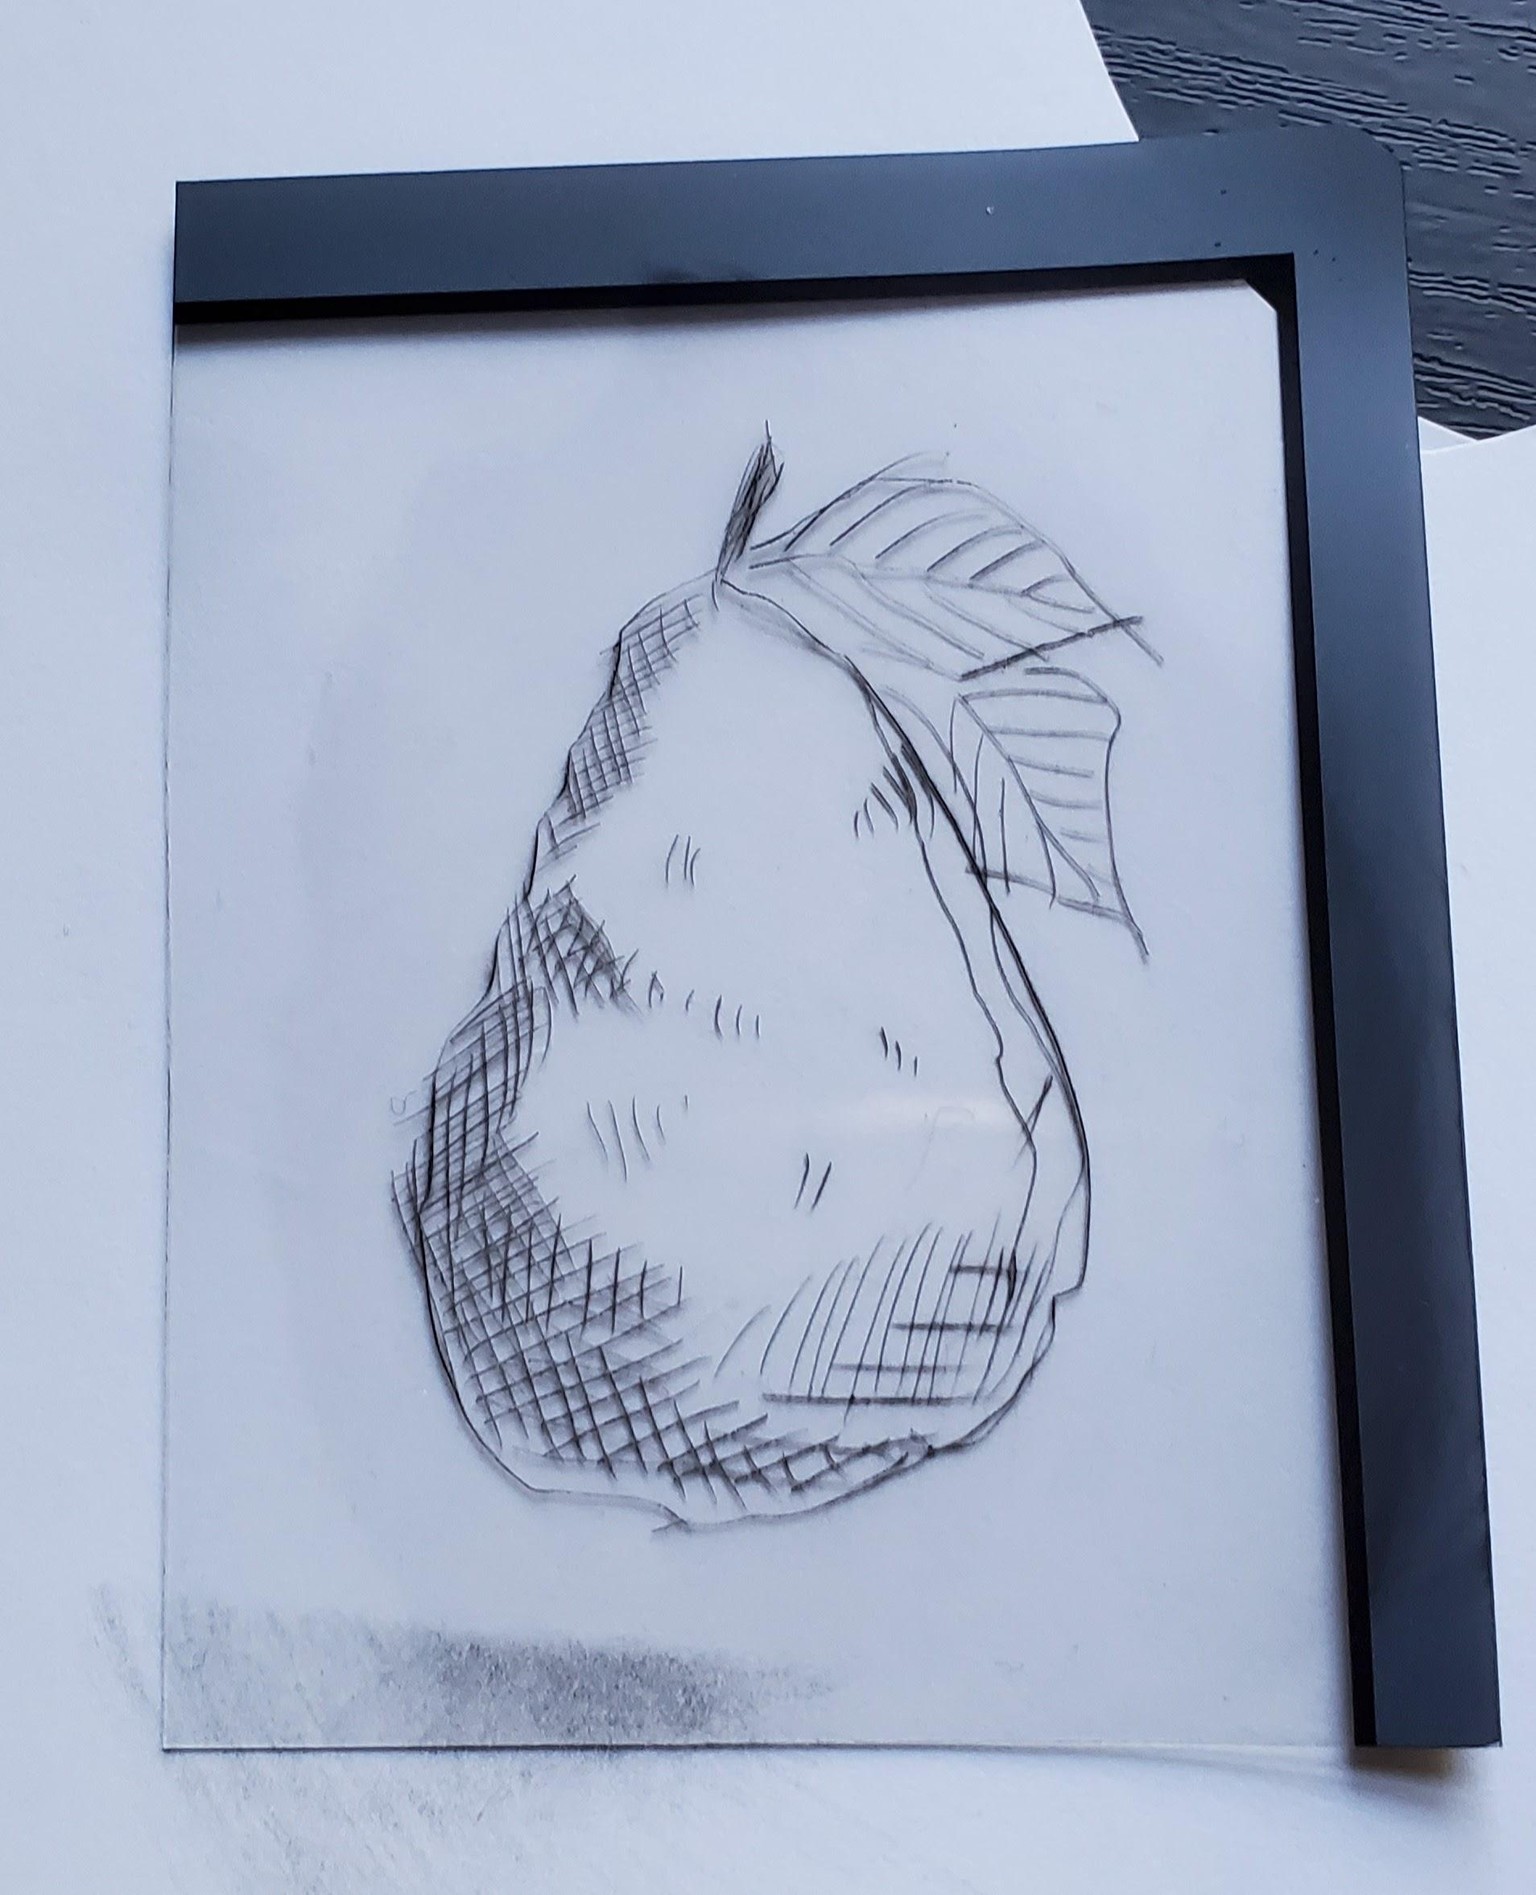
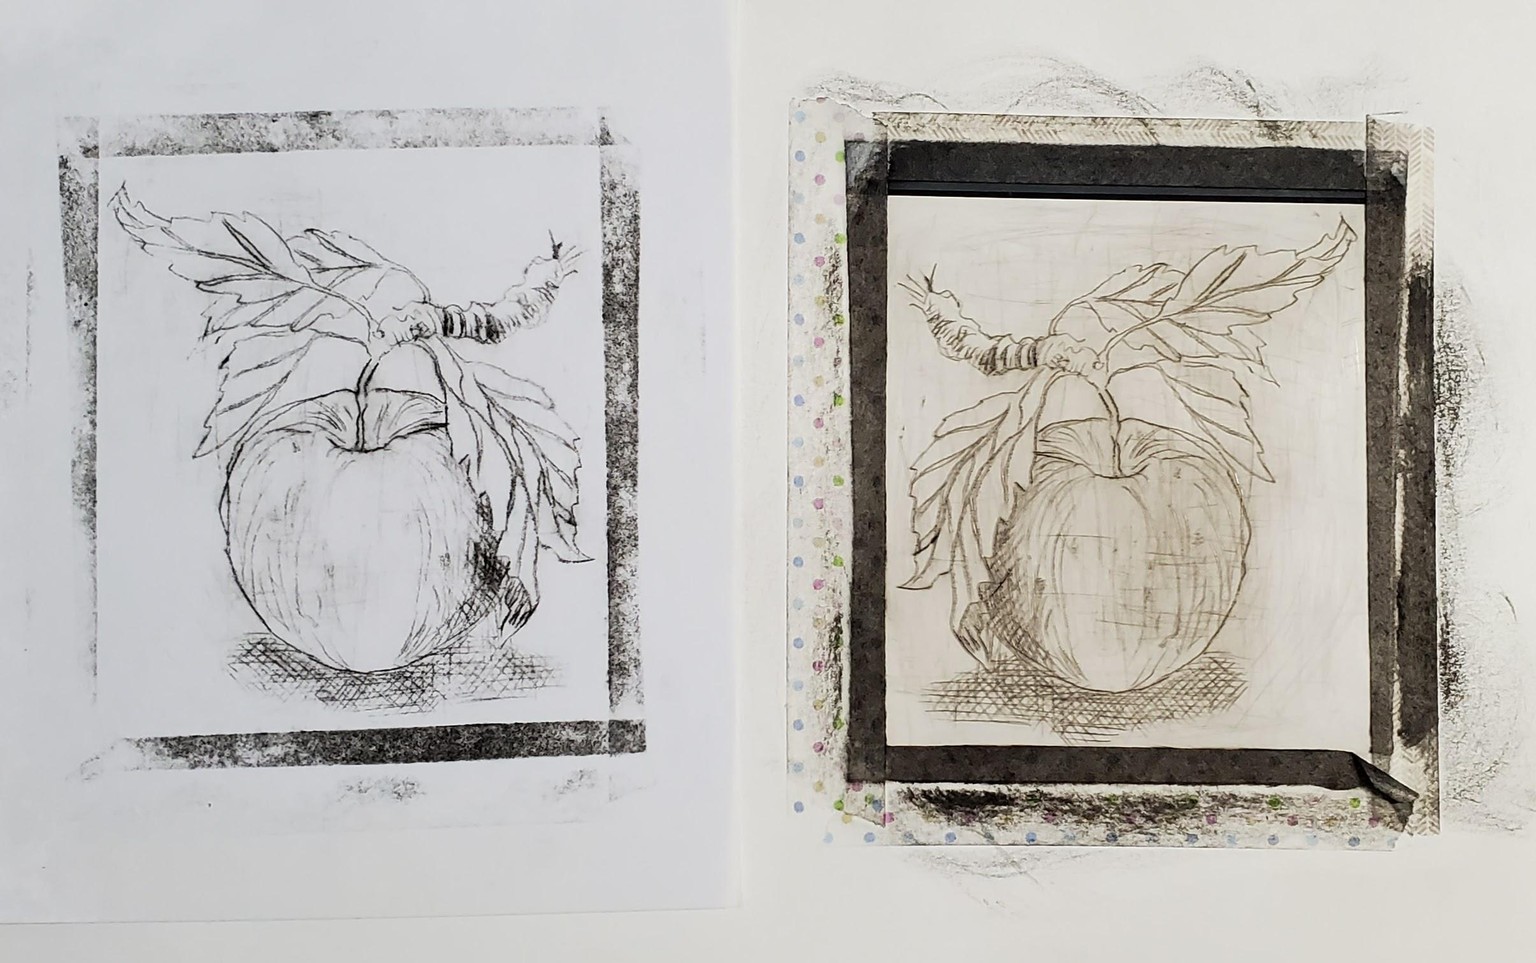
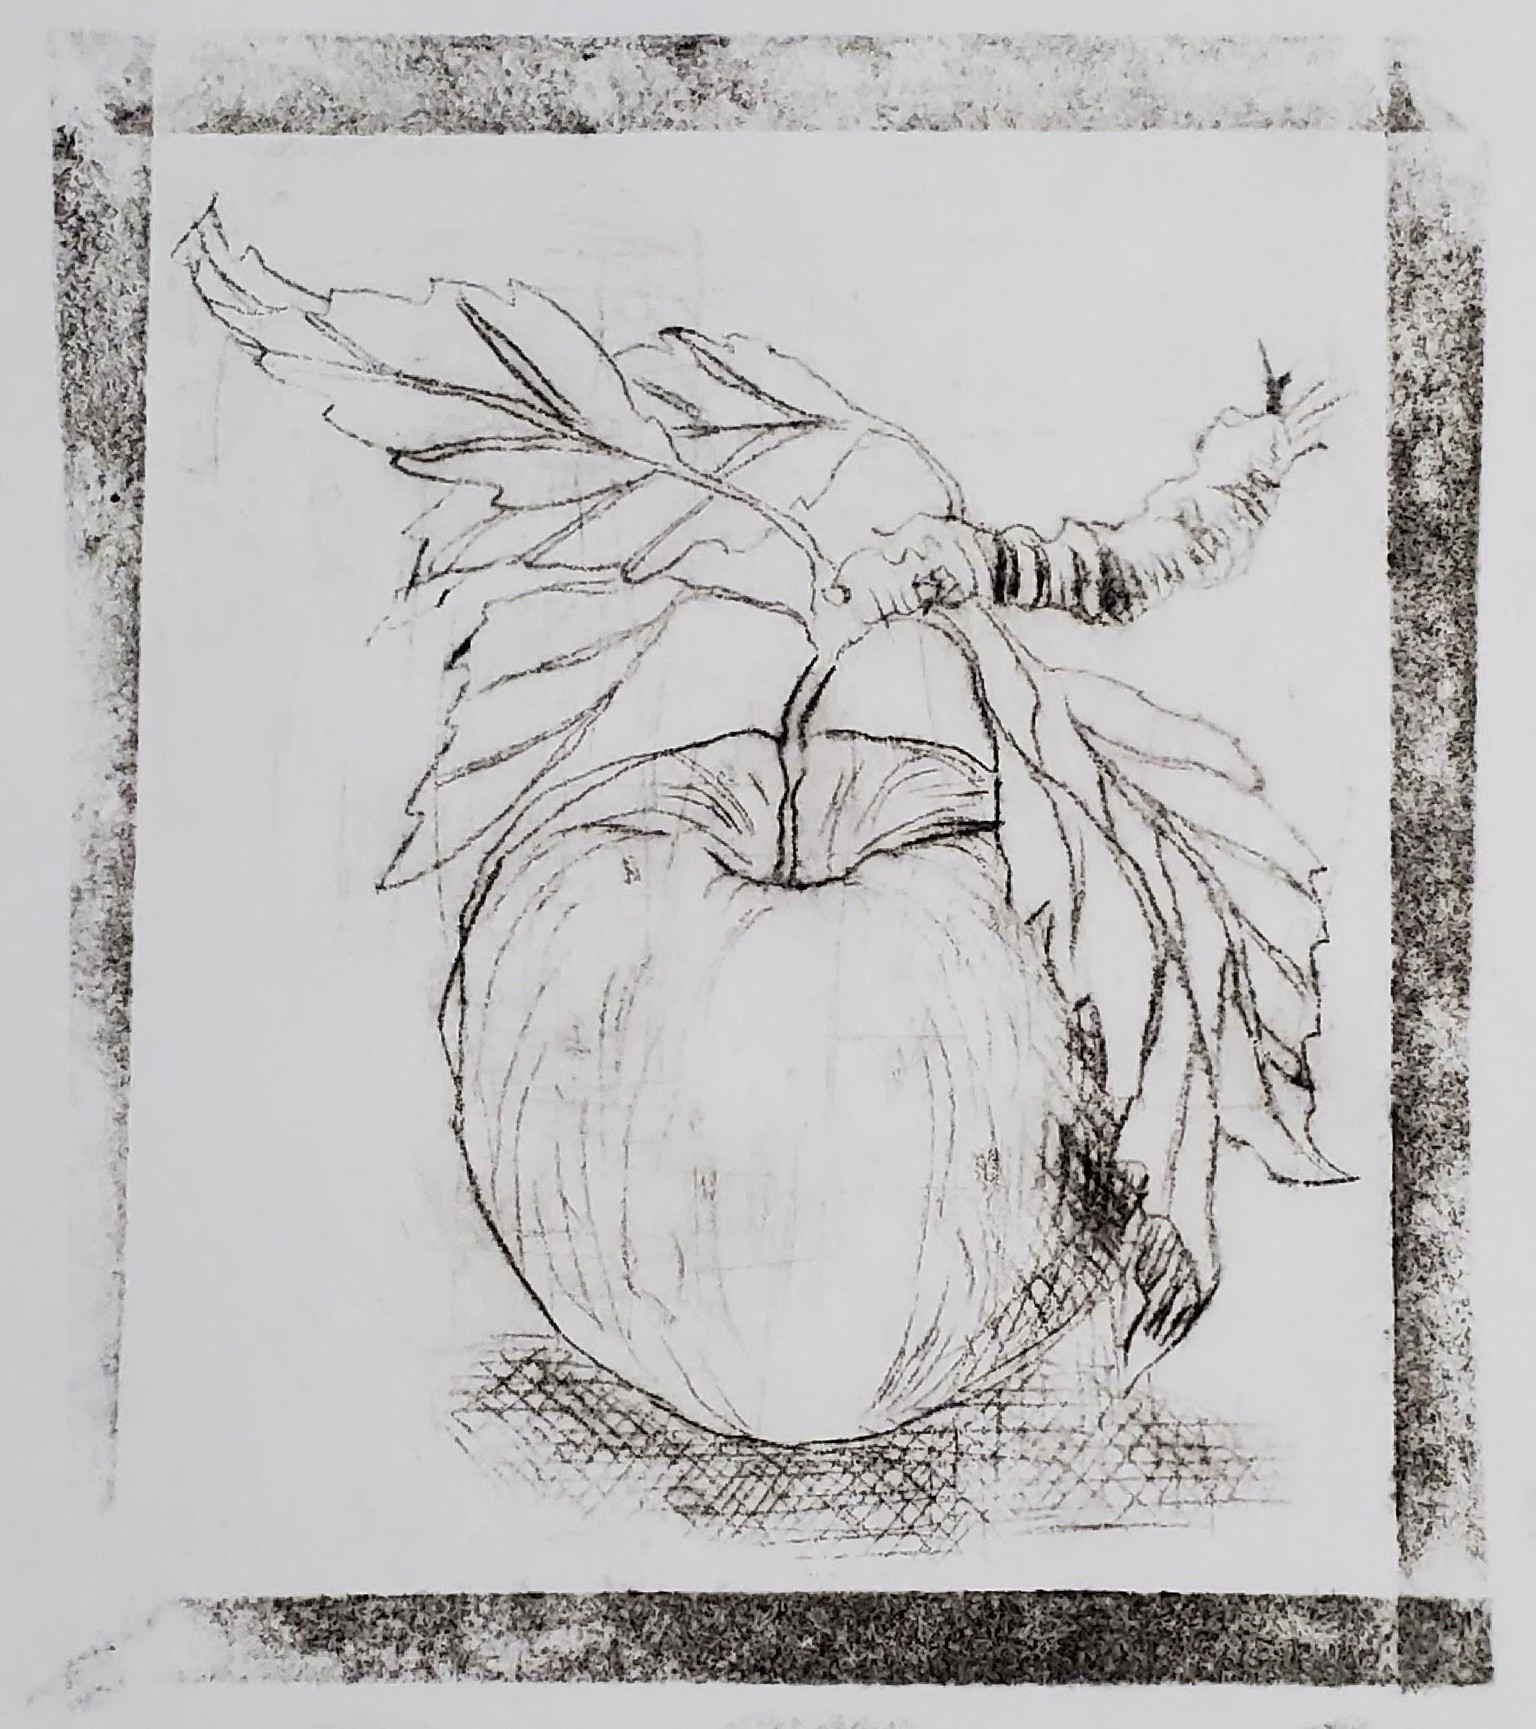
I used the same type of plastic as before and used the Xacto again for incising the lines. After printing I realized that this was a piece I'd previously used to roll out ink for lino printing, so there were some scratch marks on the plastic from the palette knife I used to mix ink colors. They don't bother me though - I think they add a bit of extra texture.
This time I used an old credit card to spread the ink, and that worked well. I actually started with a piece of cardboard but it quickly bent. :-D.
I pulled 4 prints and this last one was the most successful. For the first 3, I rubbed in the ink with an old piece of t-shirt, but I found that the ink just caked onto the fabric and wouldn't lift well. I can see why cheesecloth would work much better - must acquire some. For this last print I went back to paper towel and got a much better result. The other difference was that for the first 3 prints, I used Speedball water soluble printing ink; I found that a lot of it came up when I rubbed out the ink so the prints were faint. For this last print I switched to Speedball fabric printing ink which is a little thicker, and that worked much better.
This piece of plastic was so small, and I left so little room at the edges, that I taped it onto a piece of paper for inking. I decided to leave the tape in place when I pulled the print and I like the frame effect I got from that.
So my magic combination seems to be:
1. apply ink with credit card
2. wipe off with paper towel
3. use fabric printing ink