Flower Flat Lay
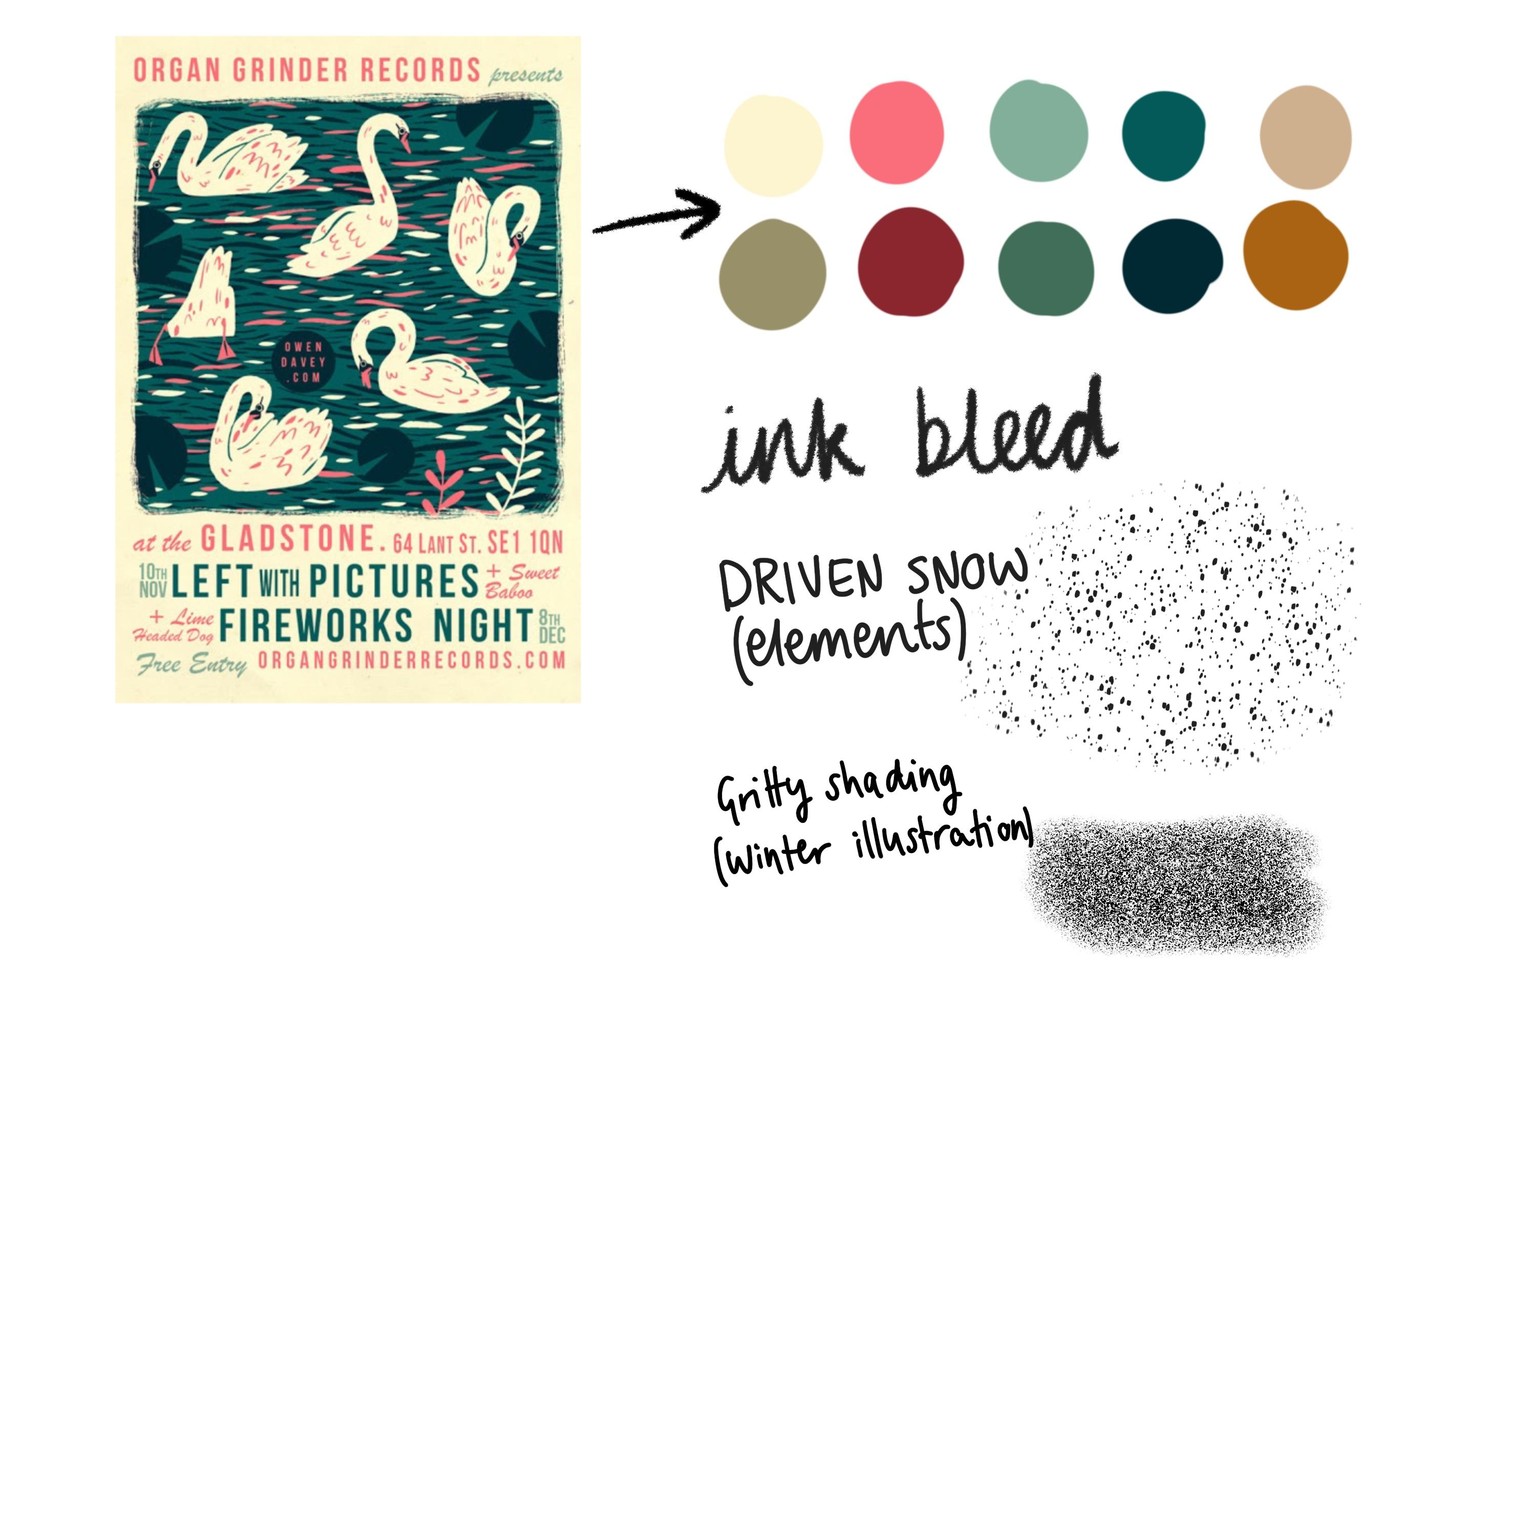
Planning
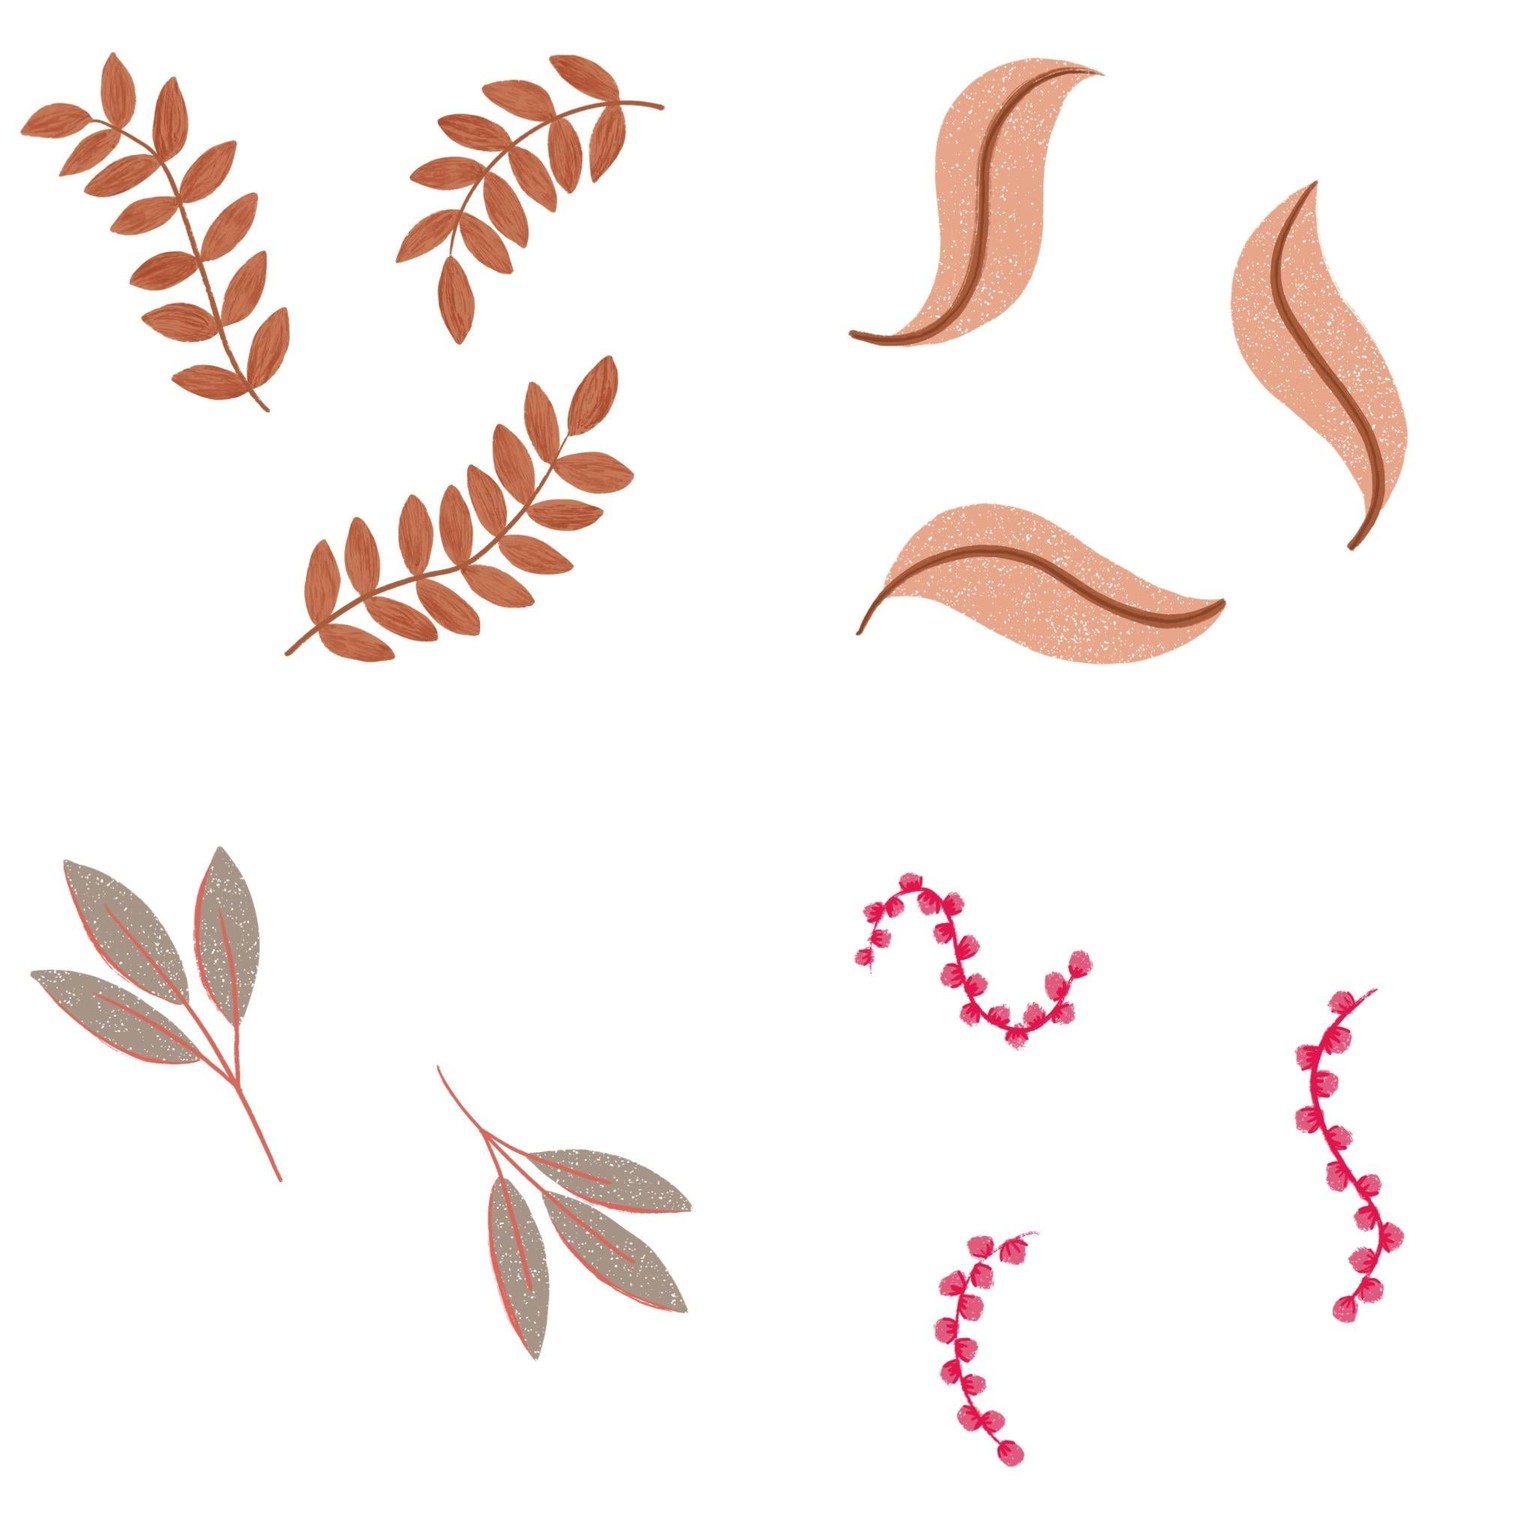
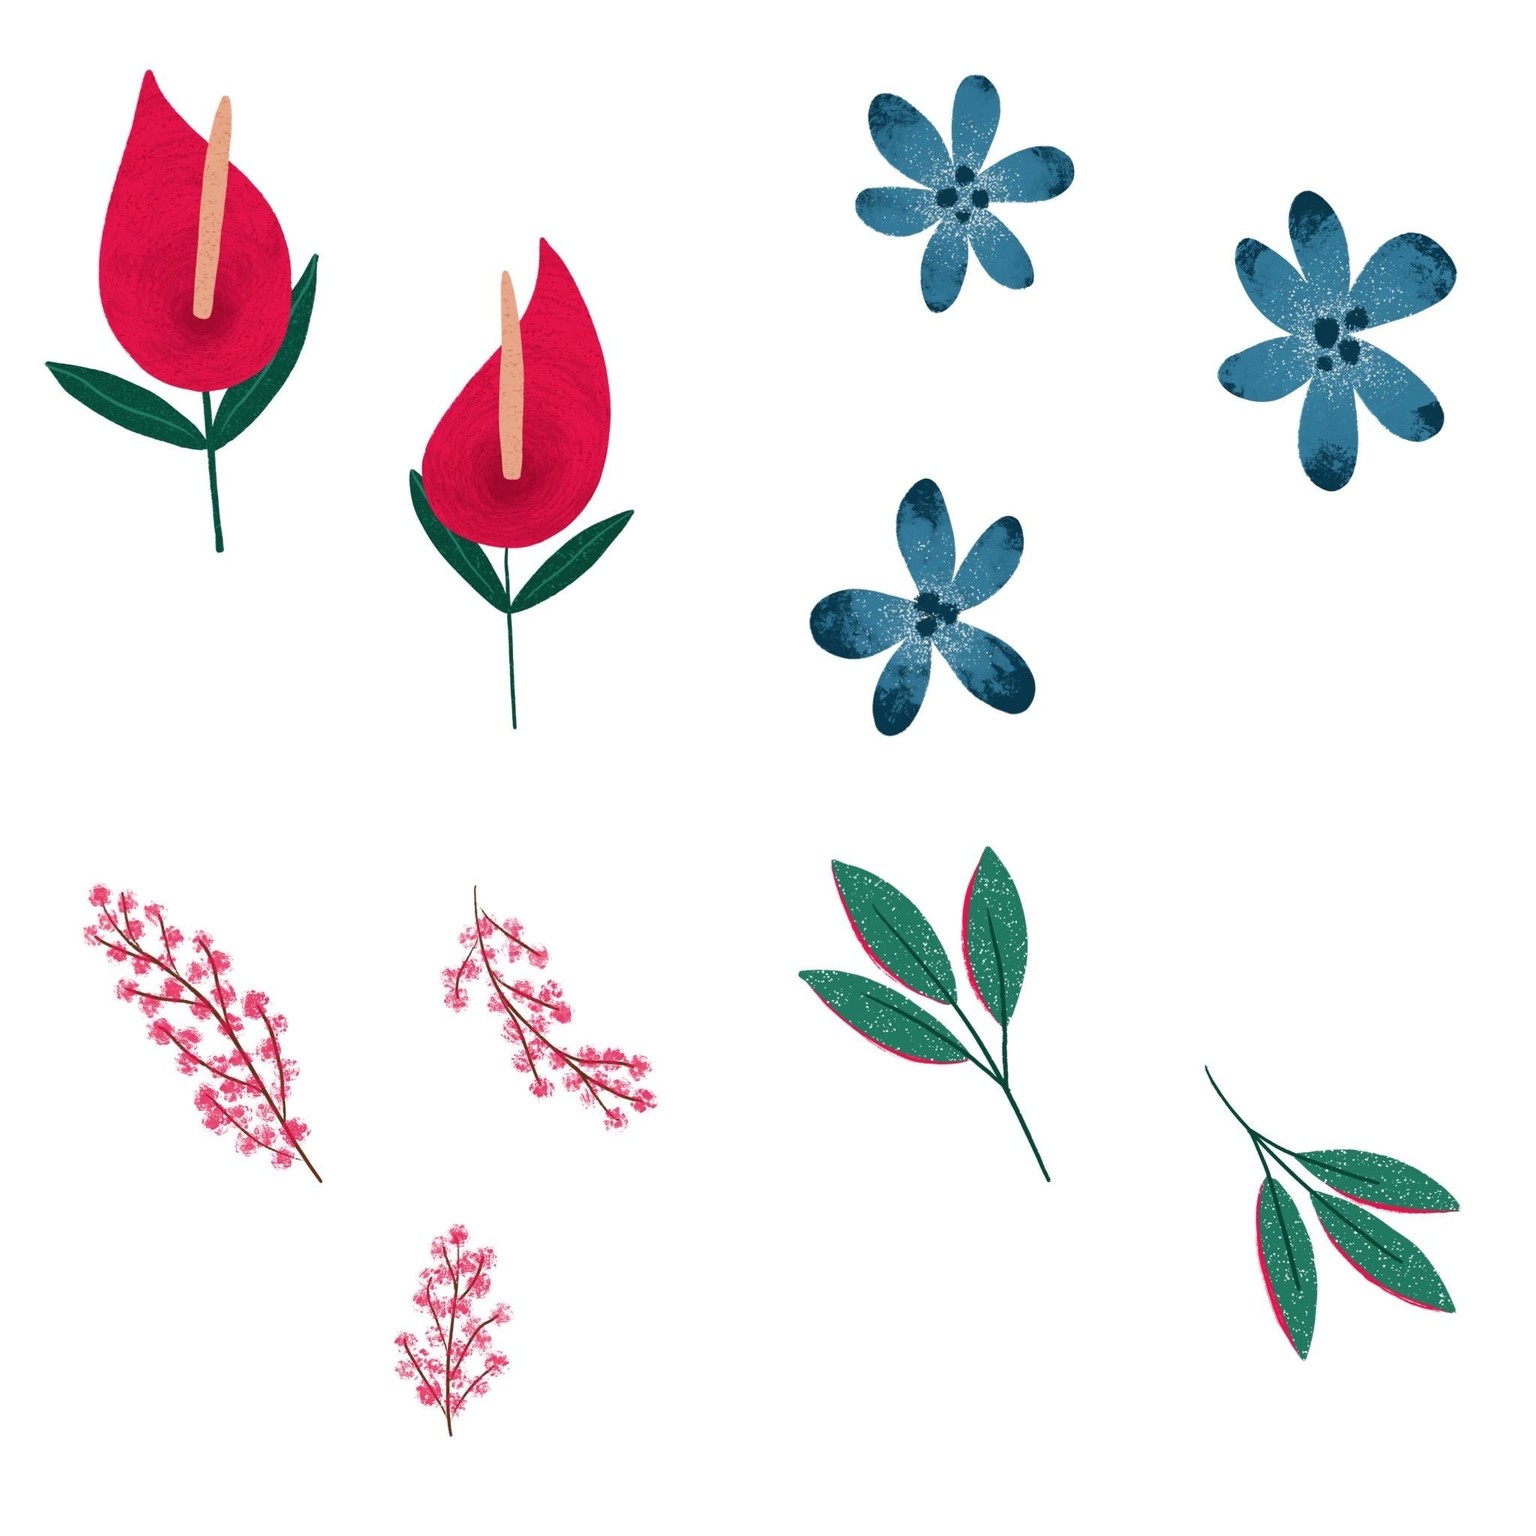
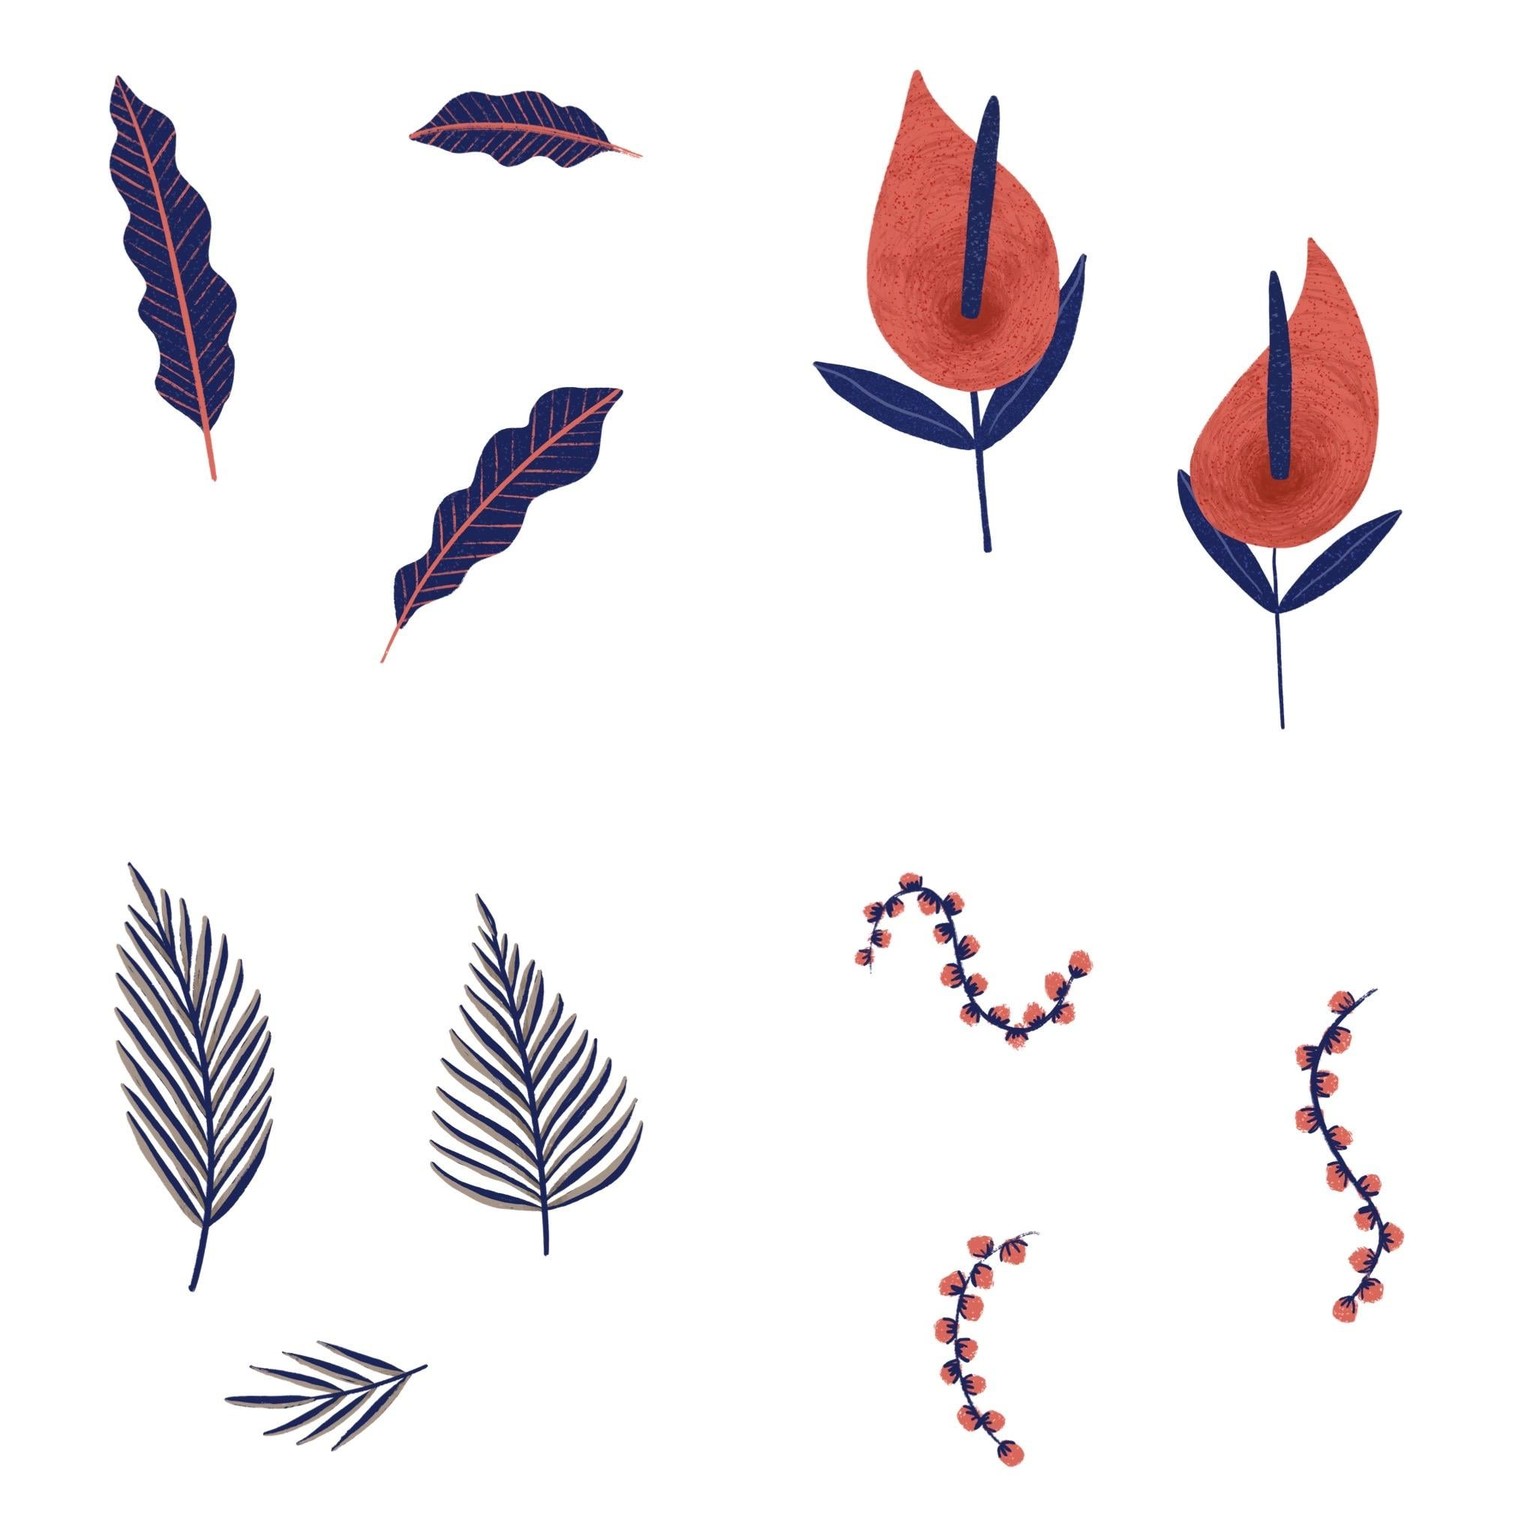
The 12 elements


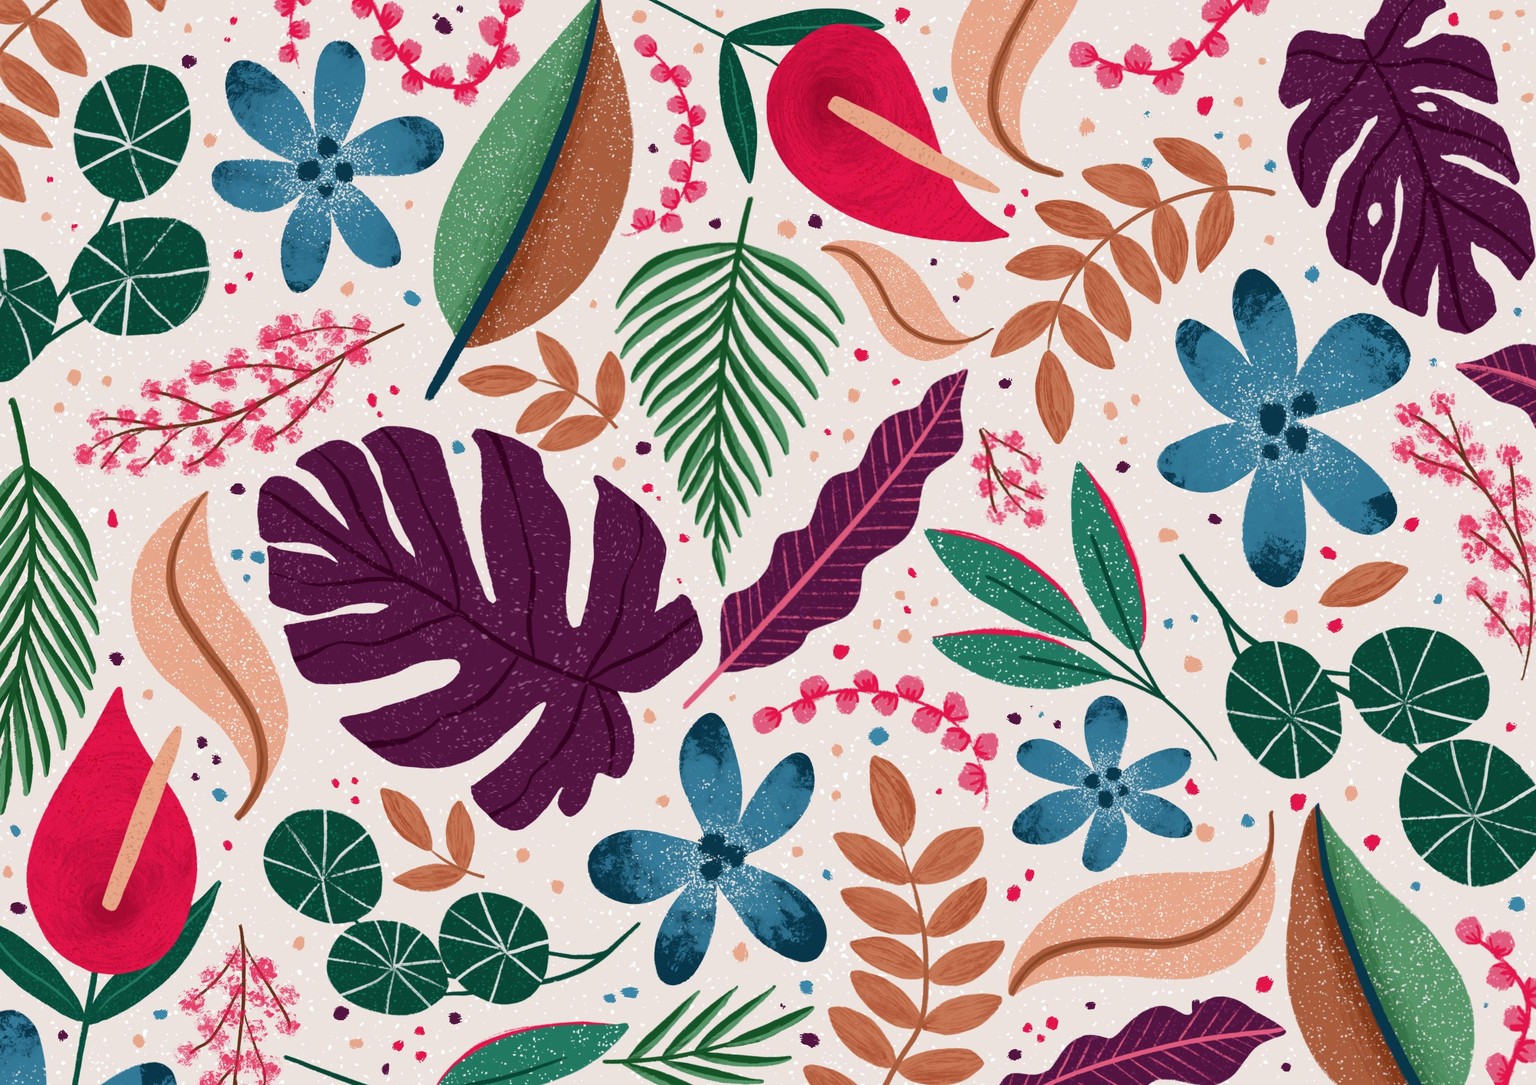
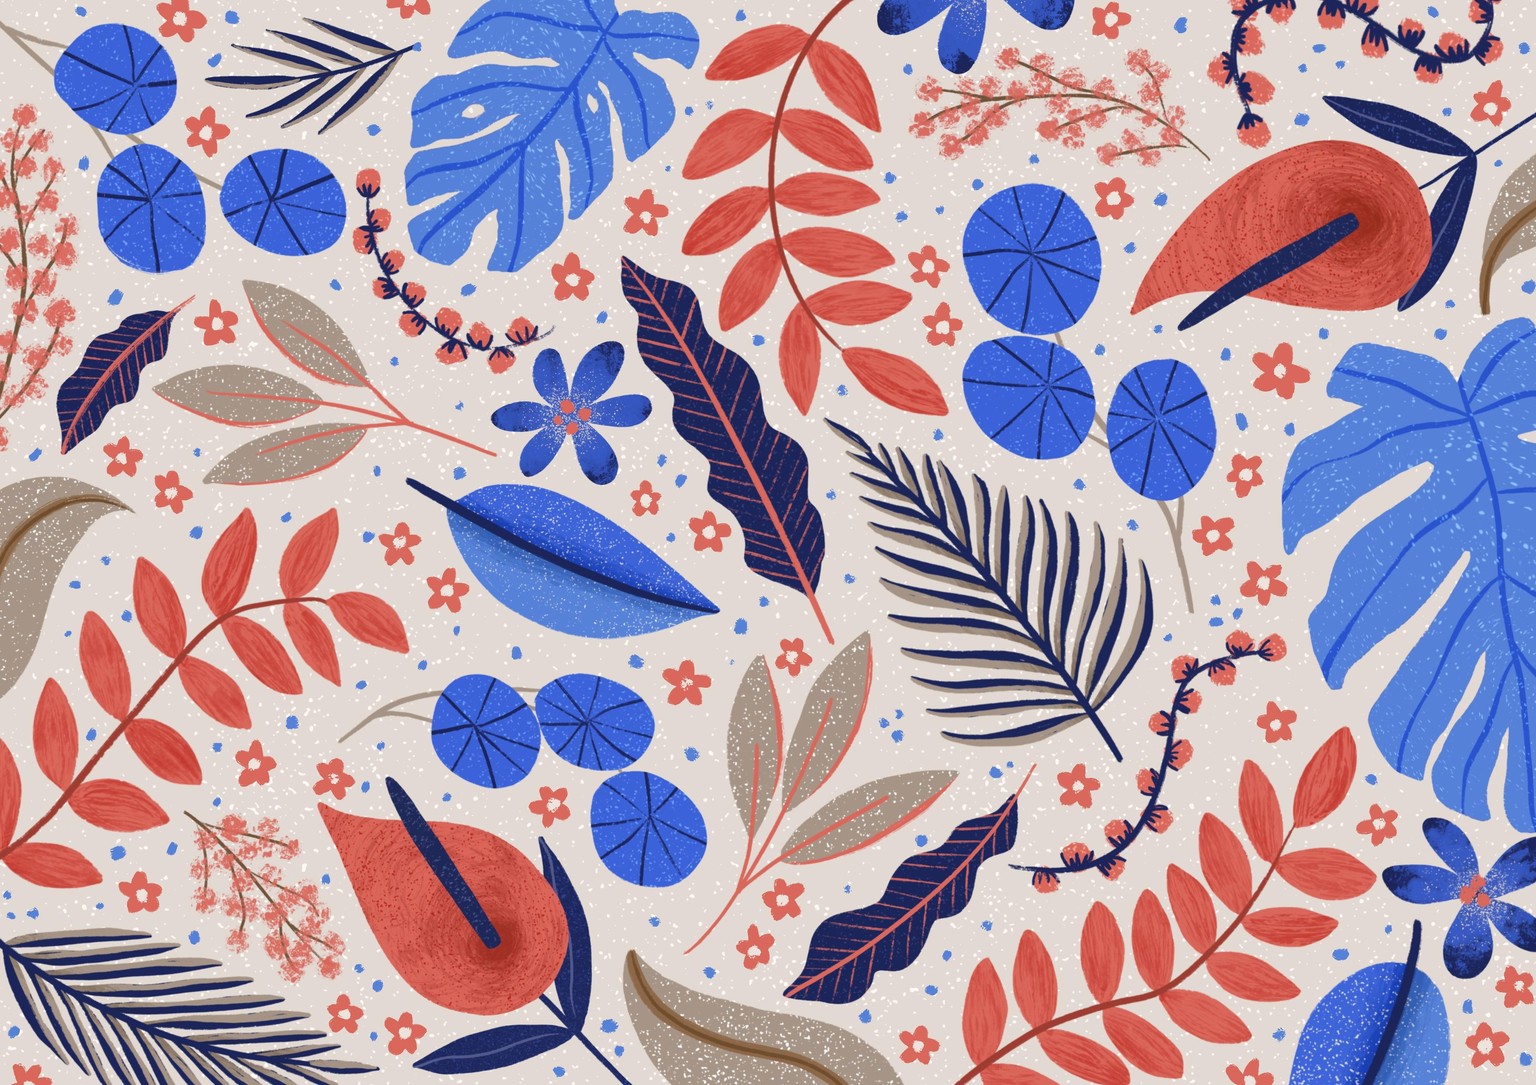
Putting it all together!
And a different background colour...
My second floral flat lay!
I decided to do another one a bit more in my style but using lots of the tool and tips from this class.
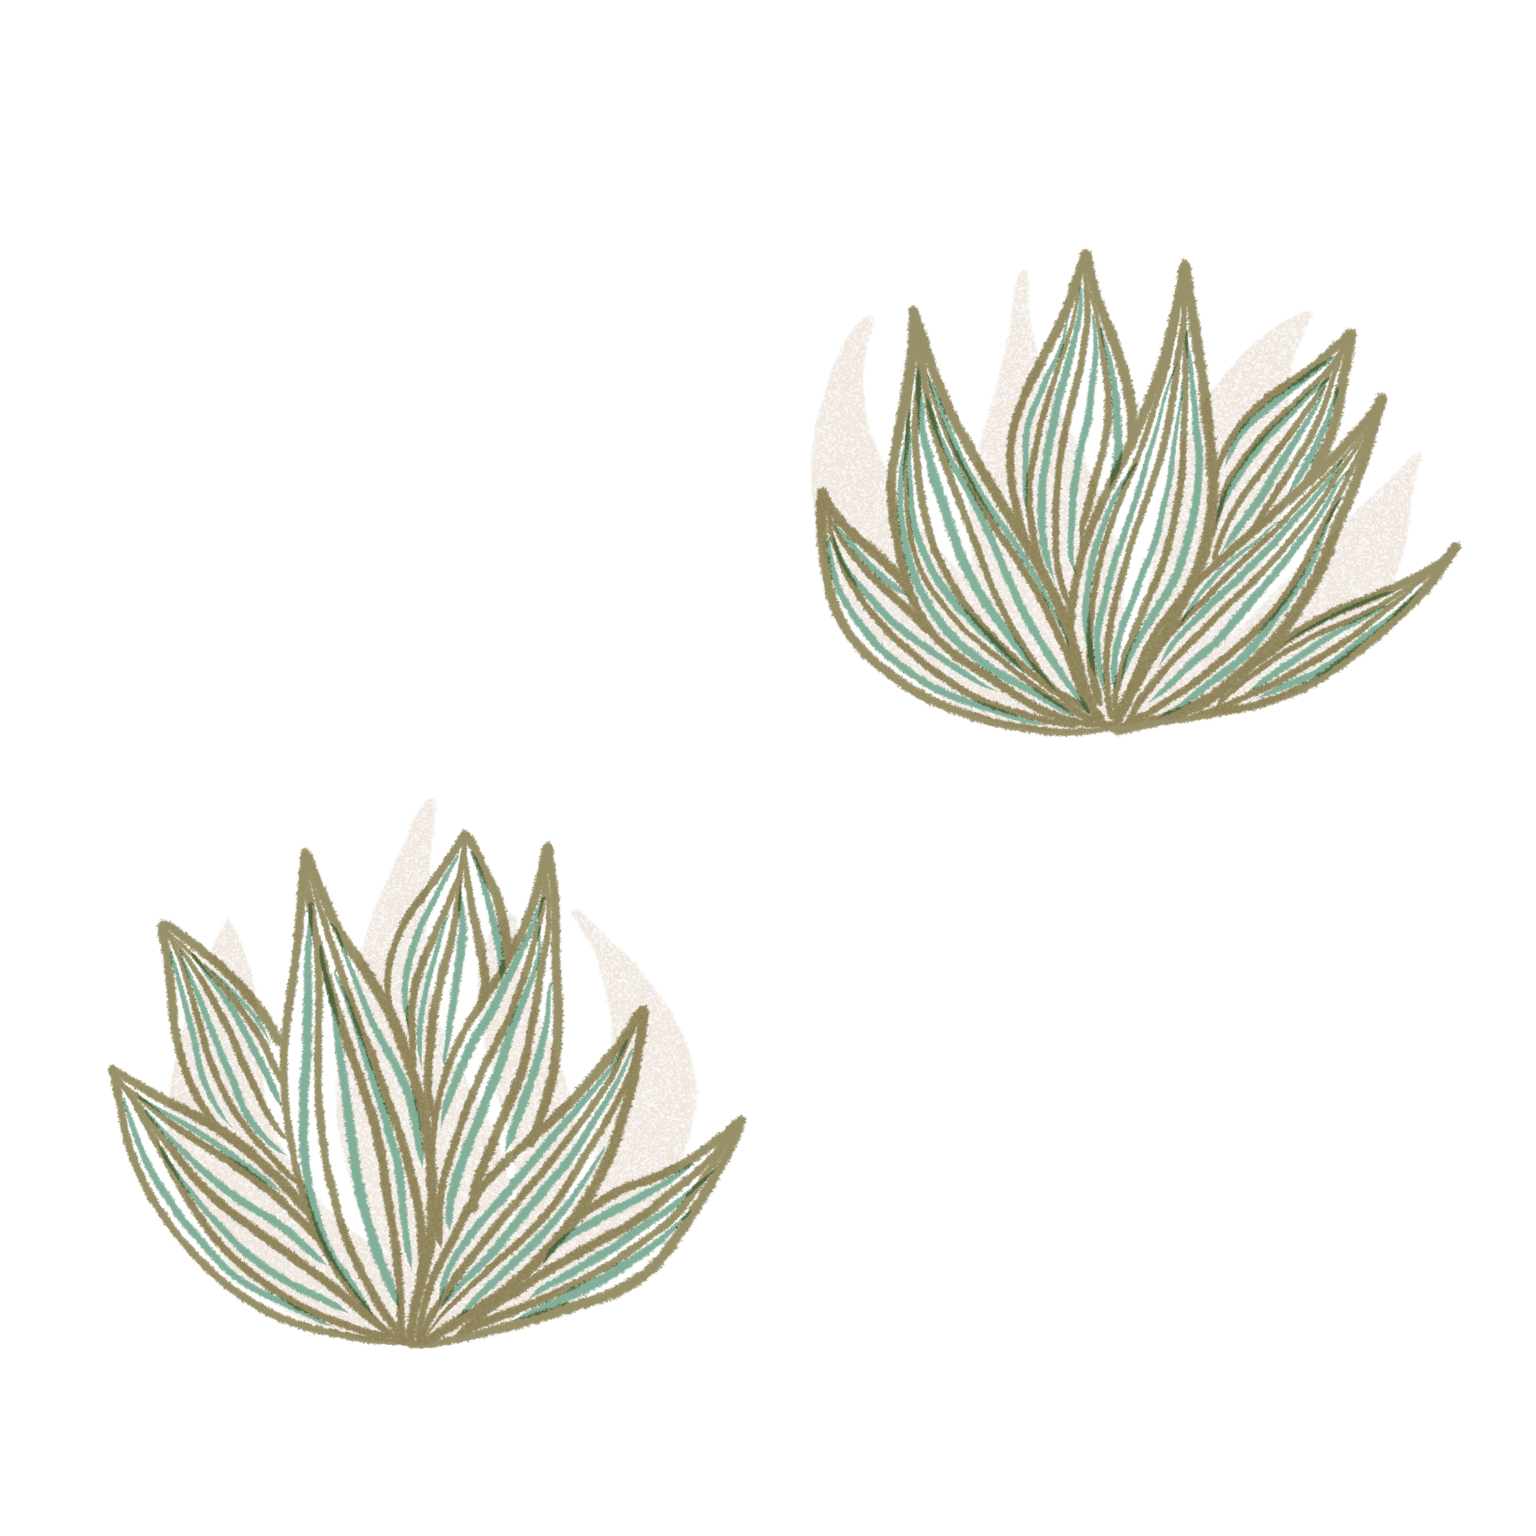
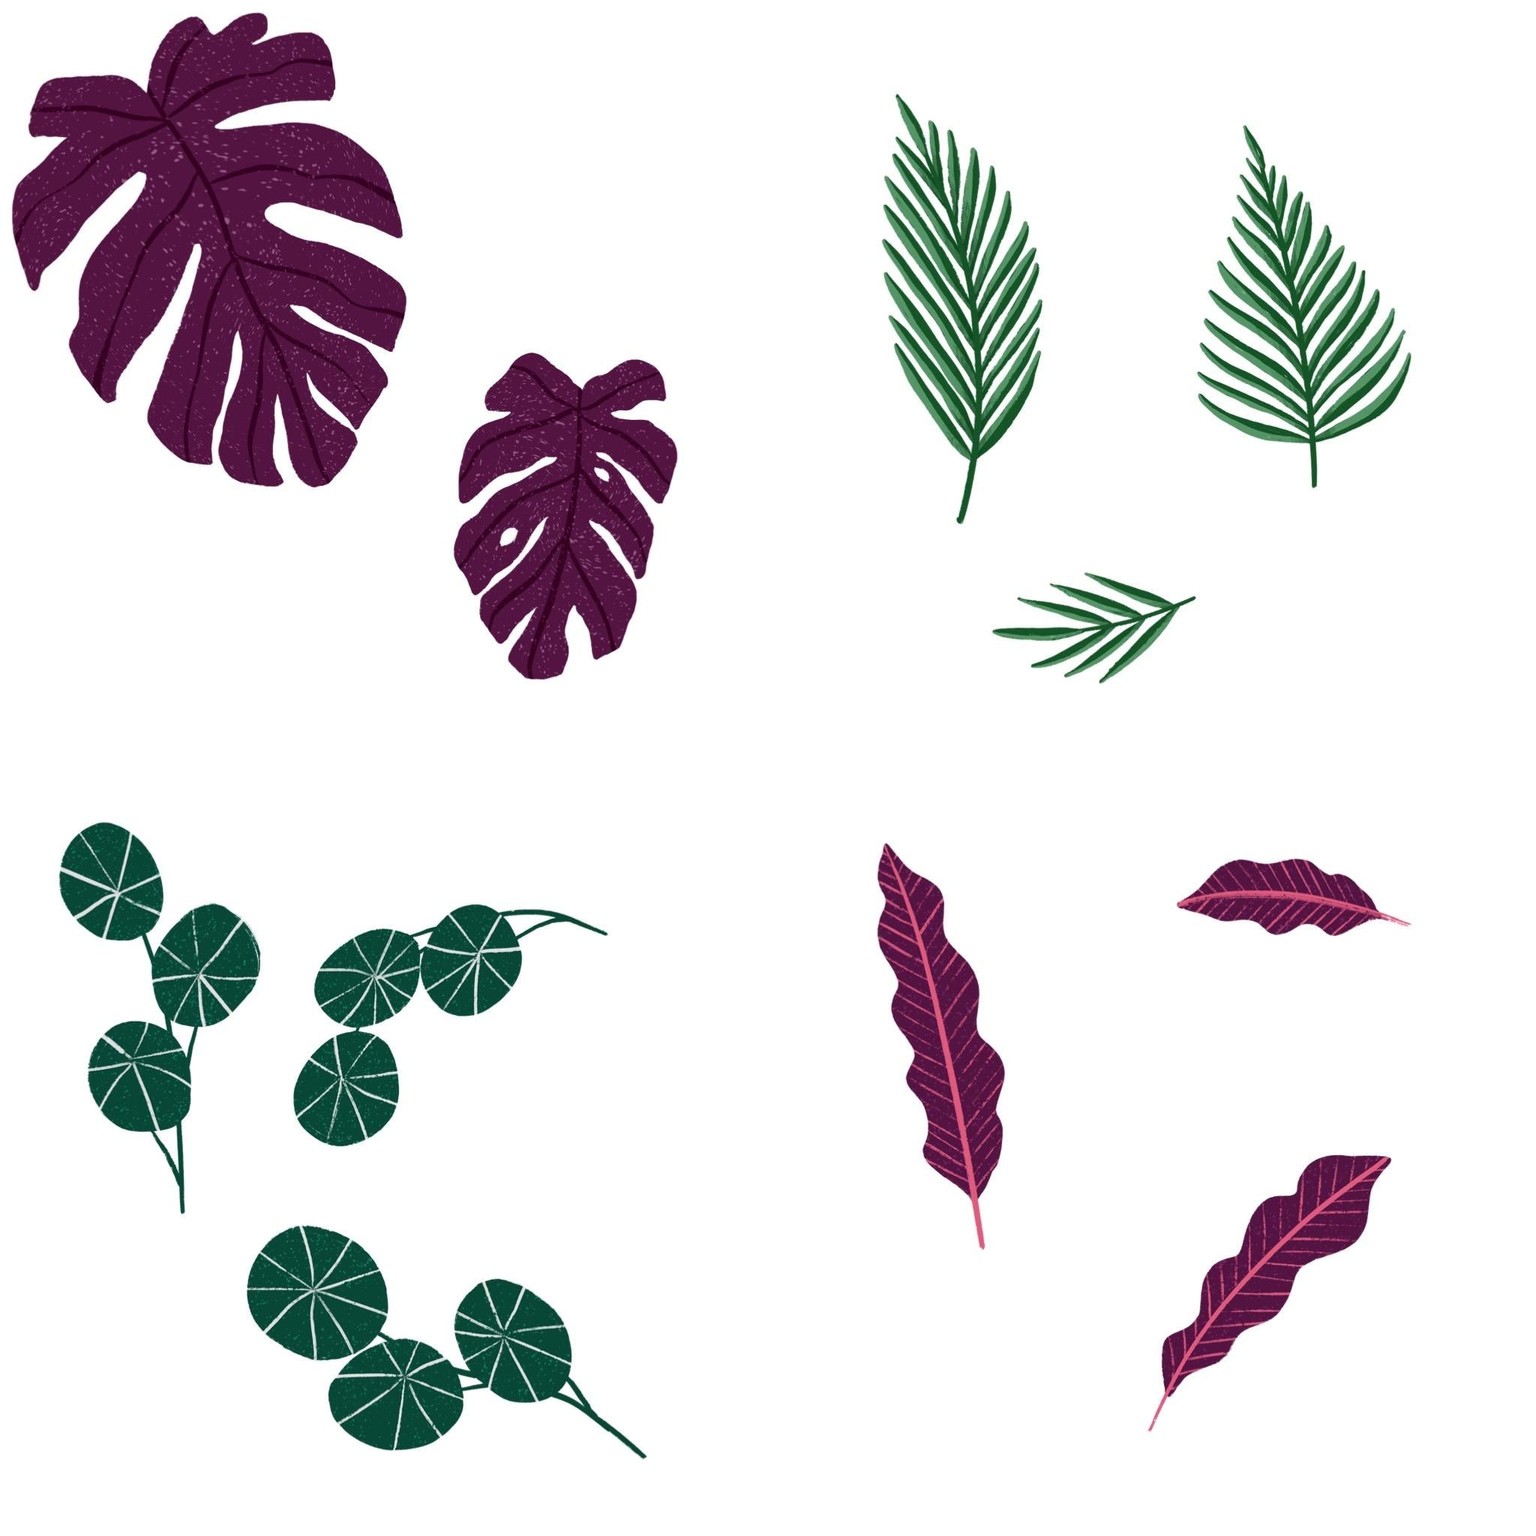
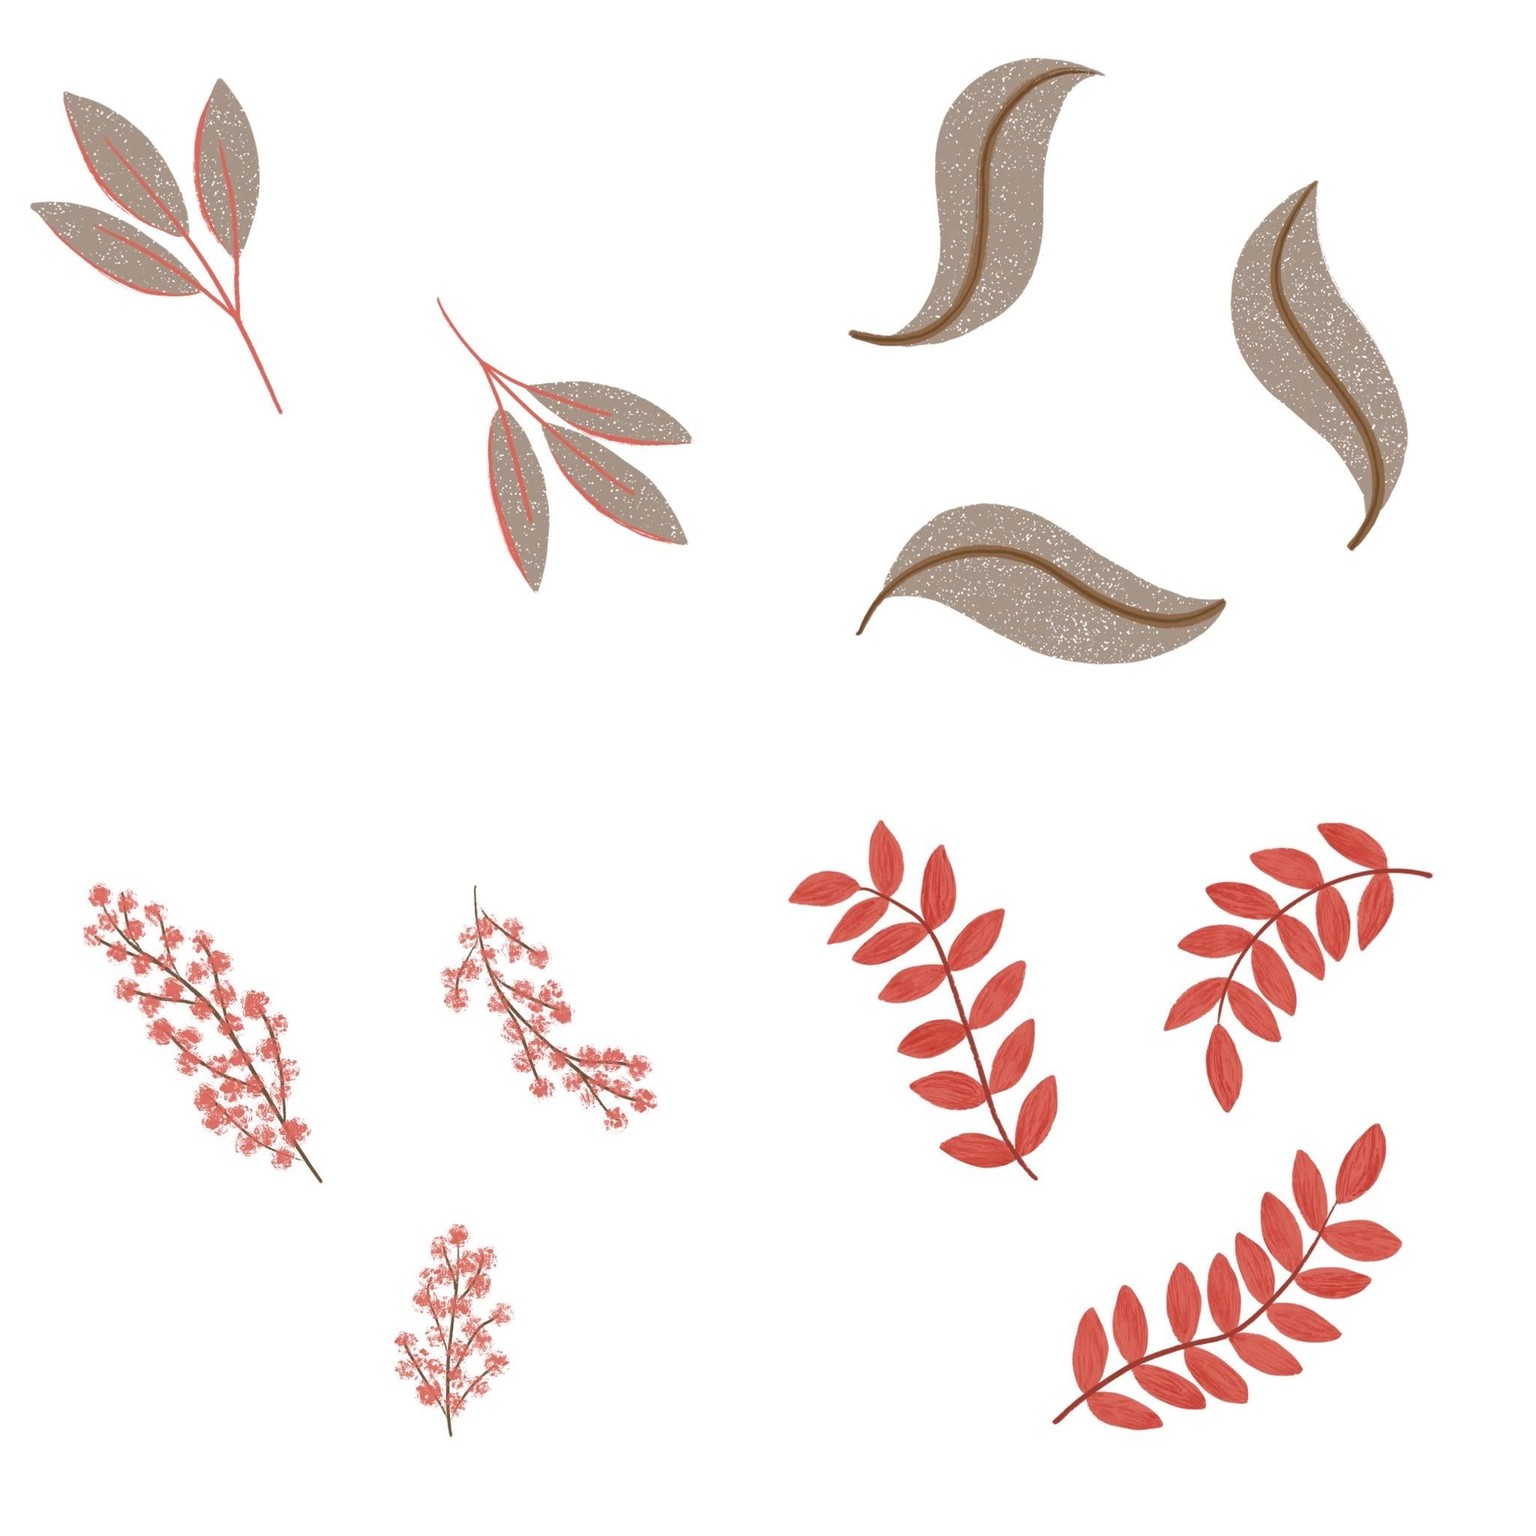
My 12 elements.
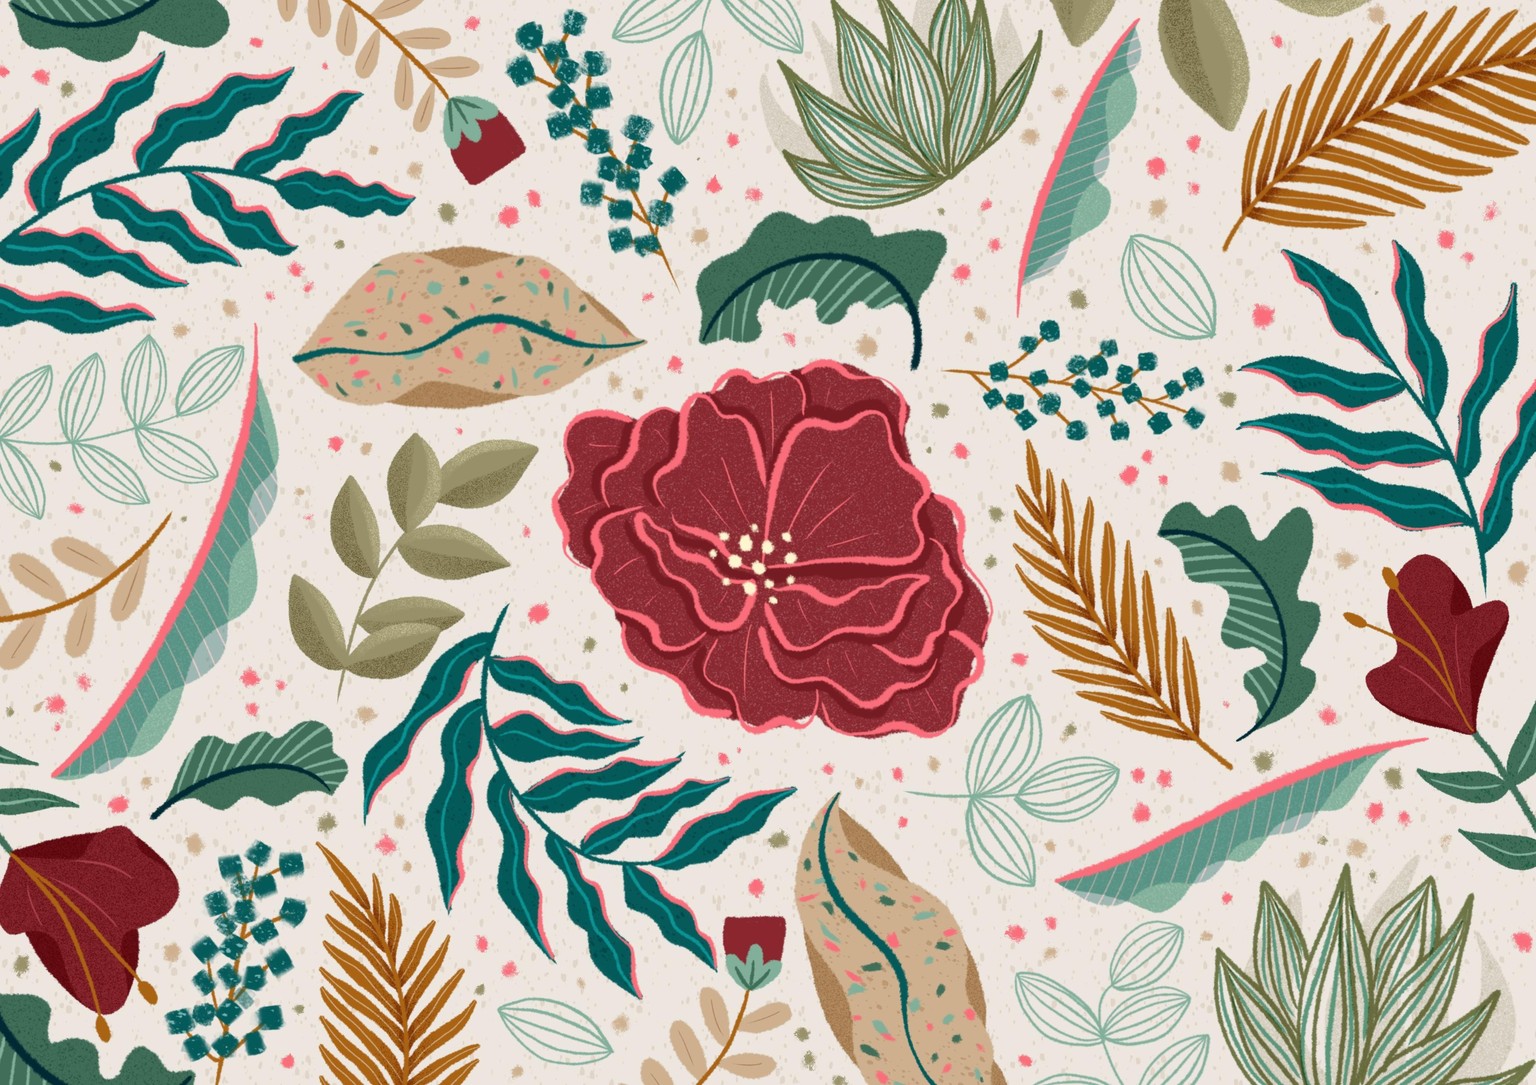
Putting them all together.
I made another one with only a selection of the elements and drew in some simple flowers to fill in the spaces.

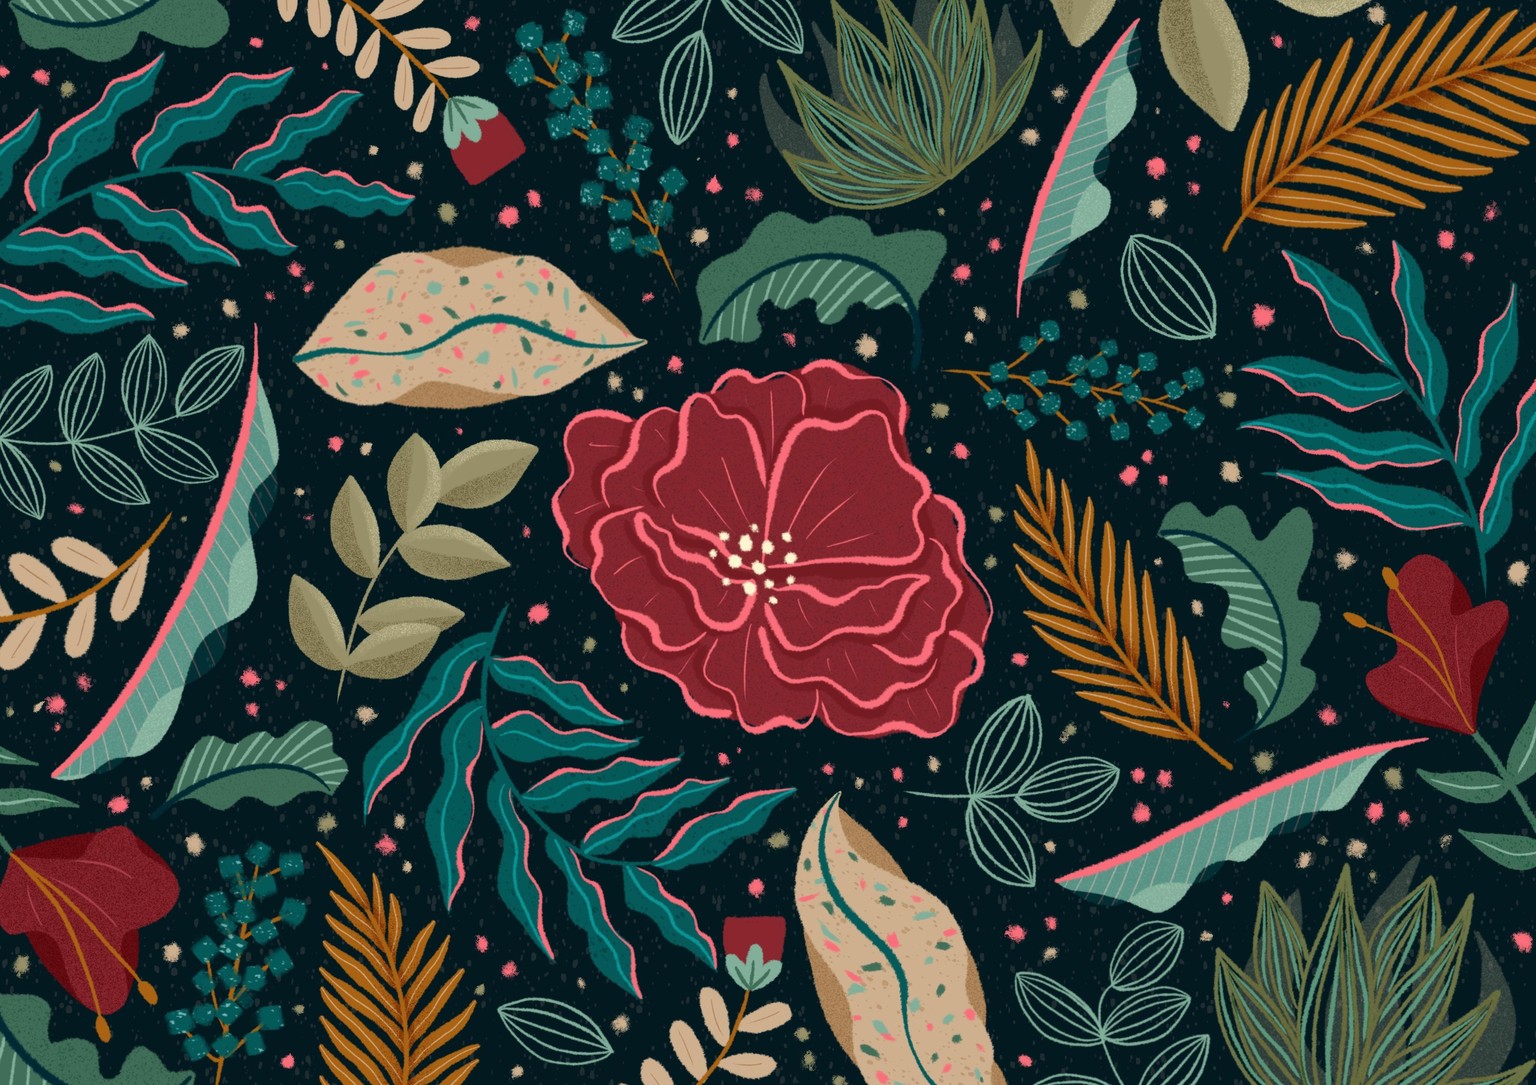
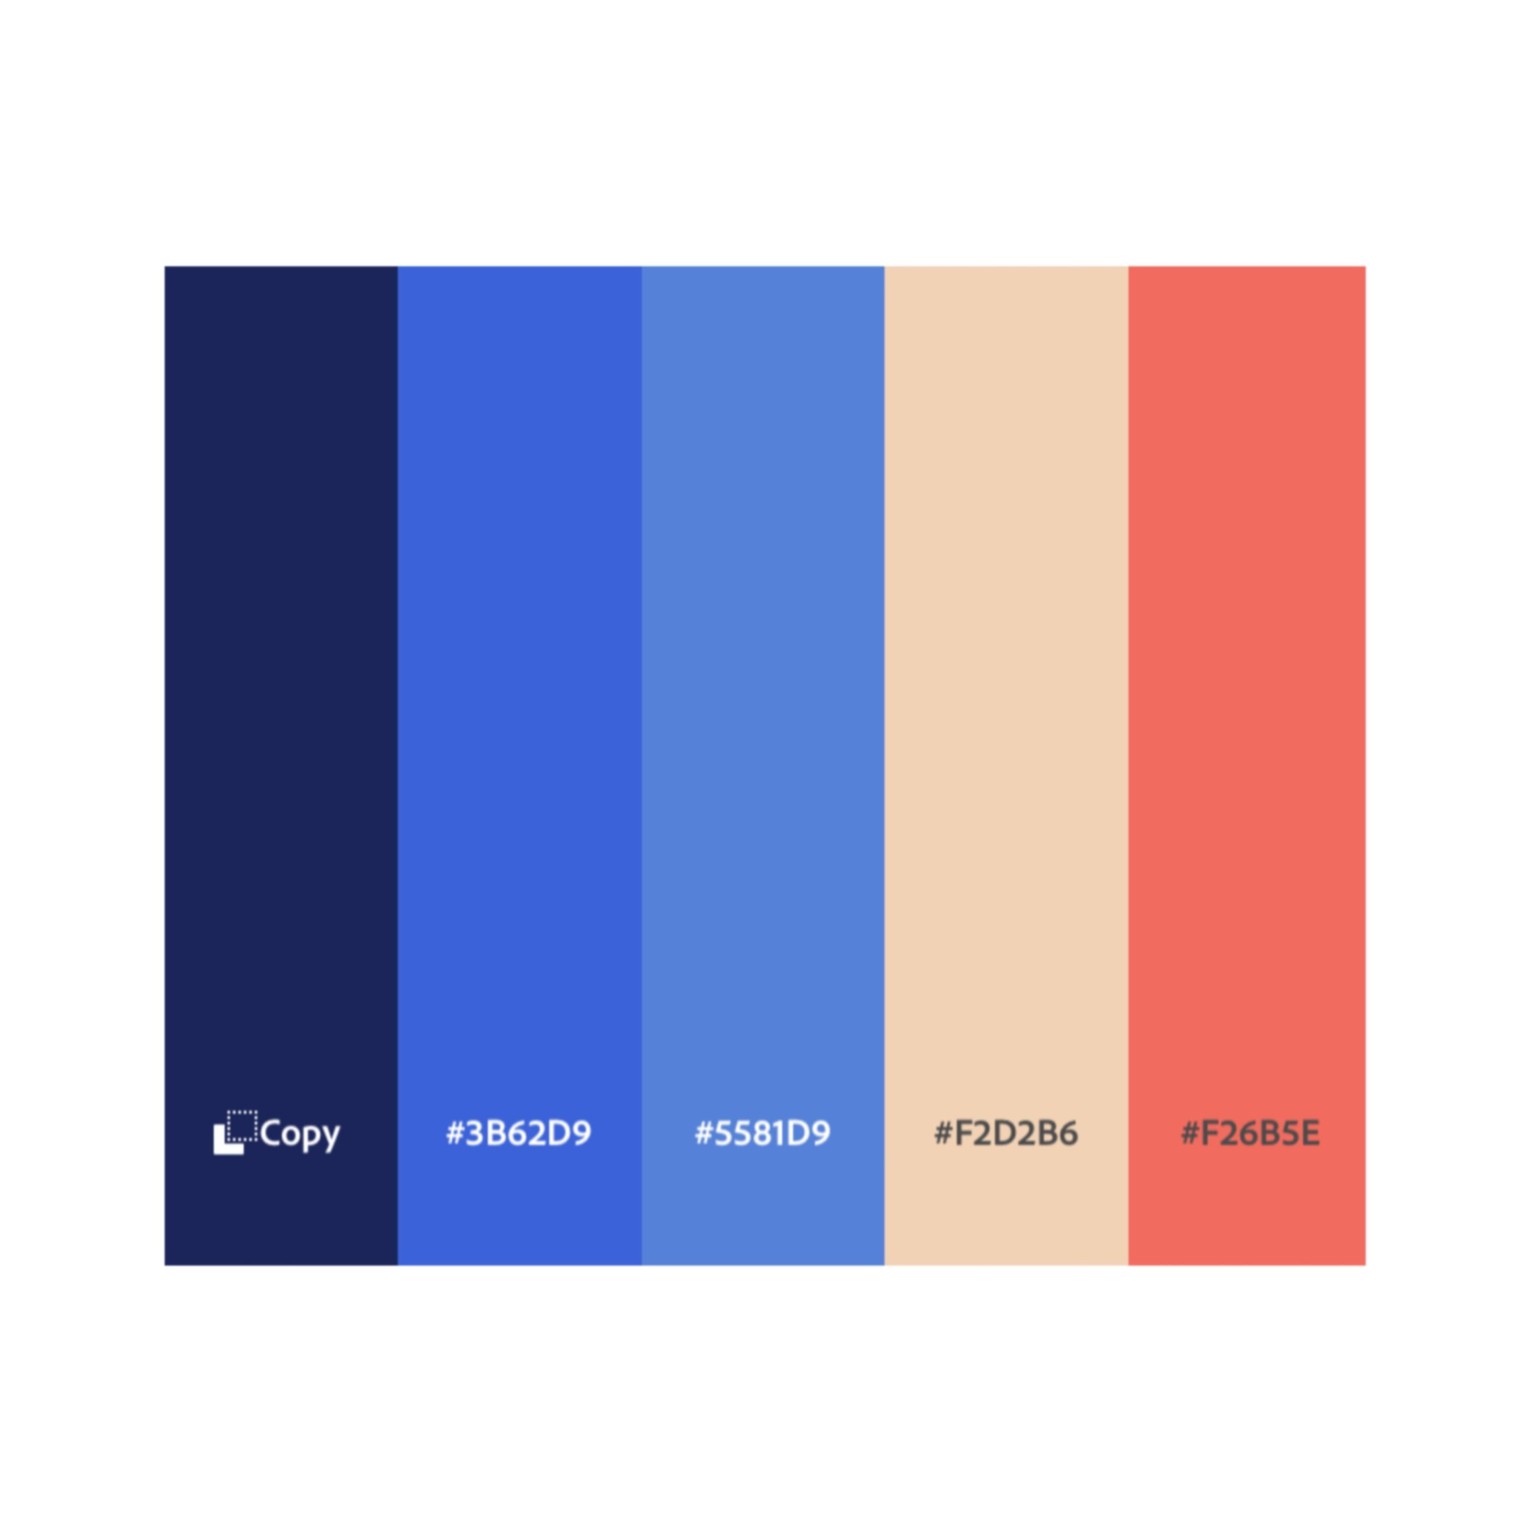
And now for a different colour palette, I found this one on Adobe Color.

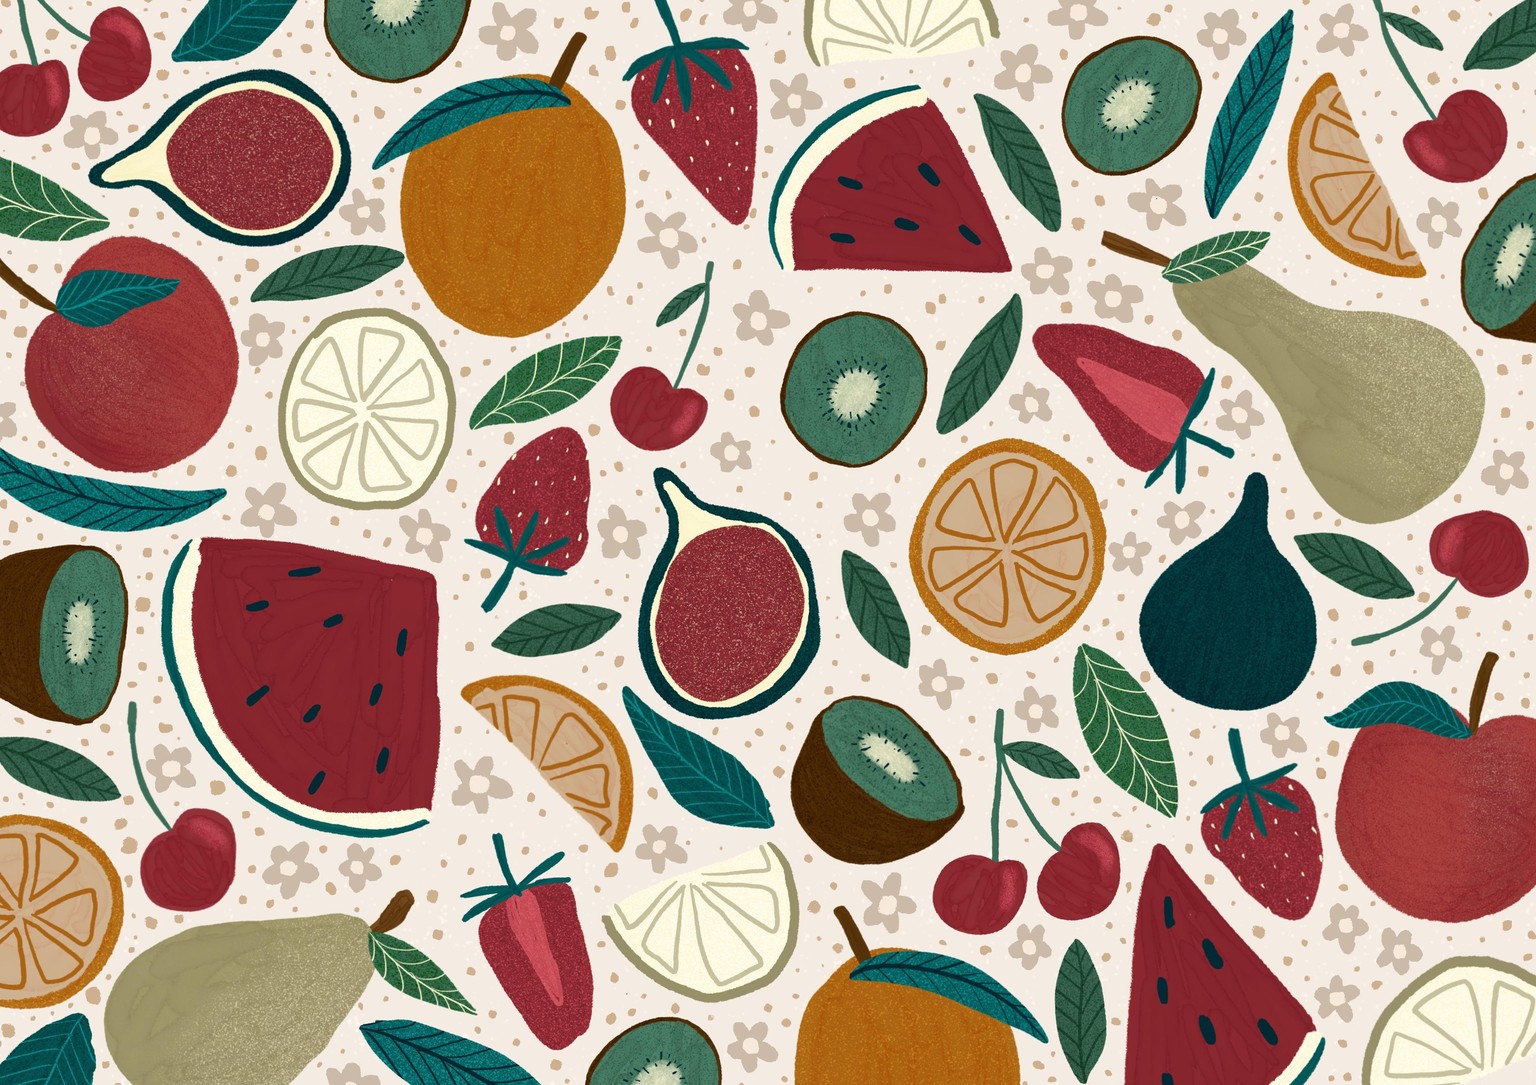
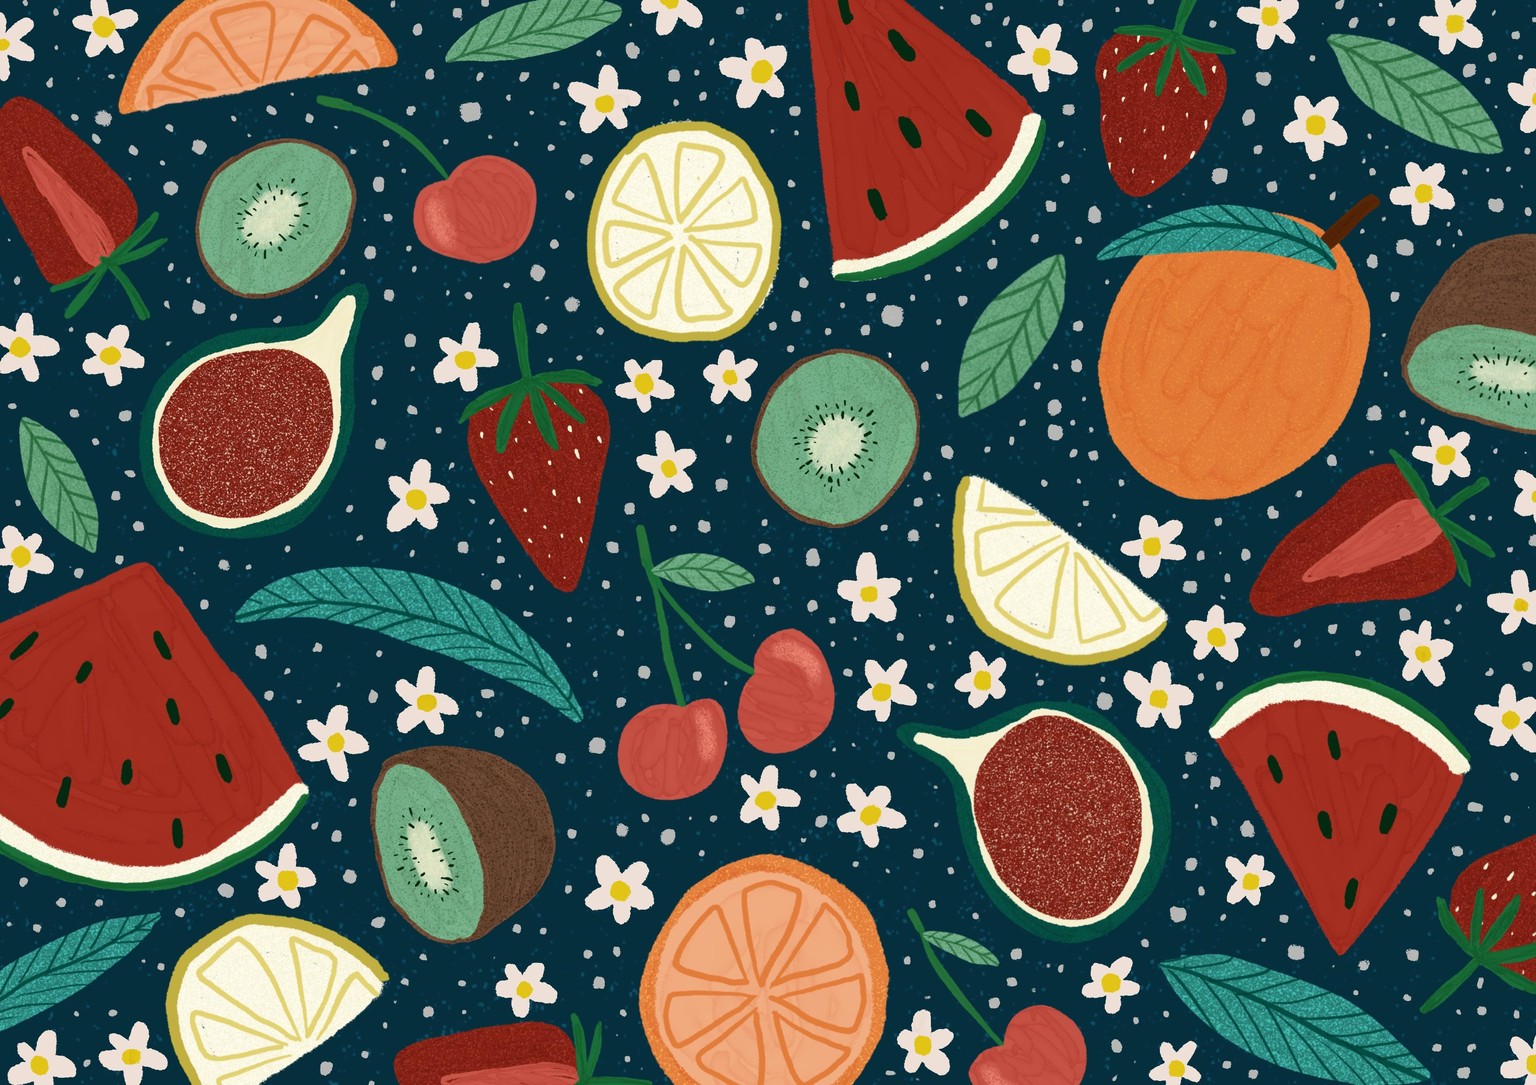
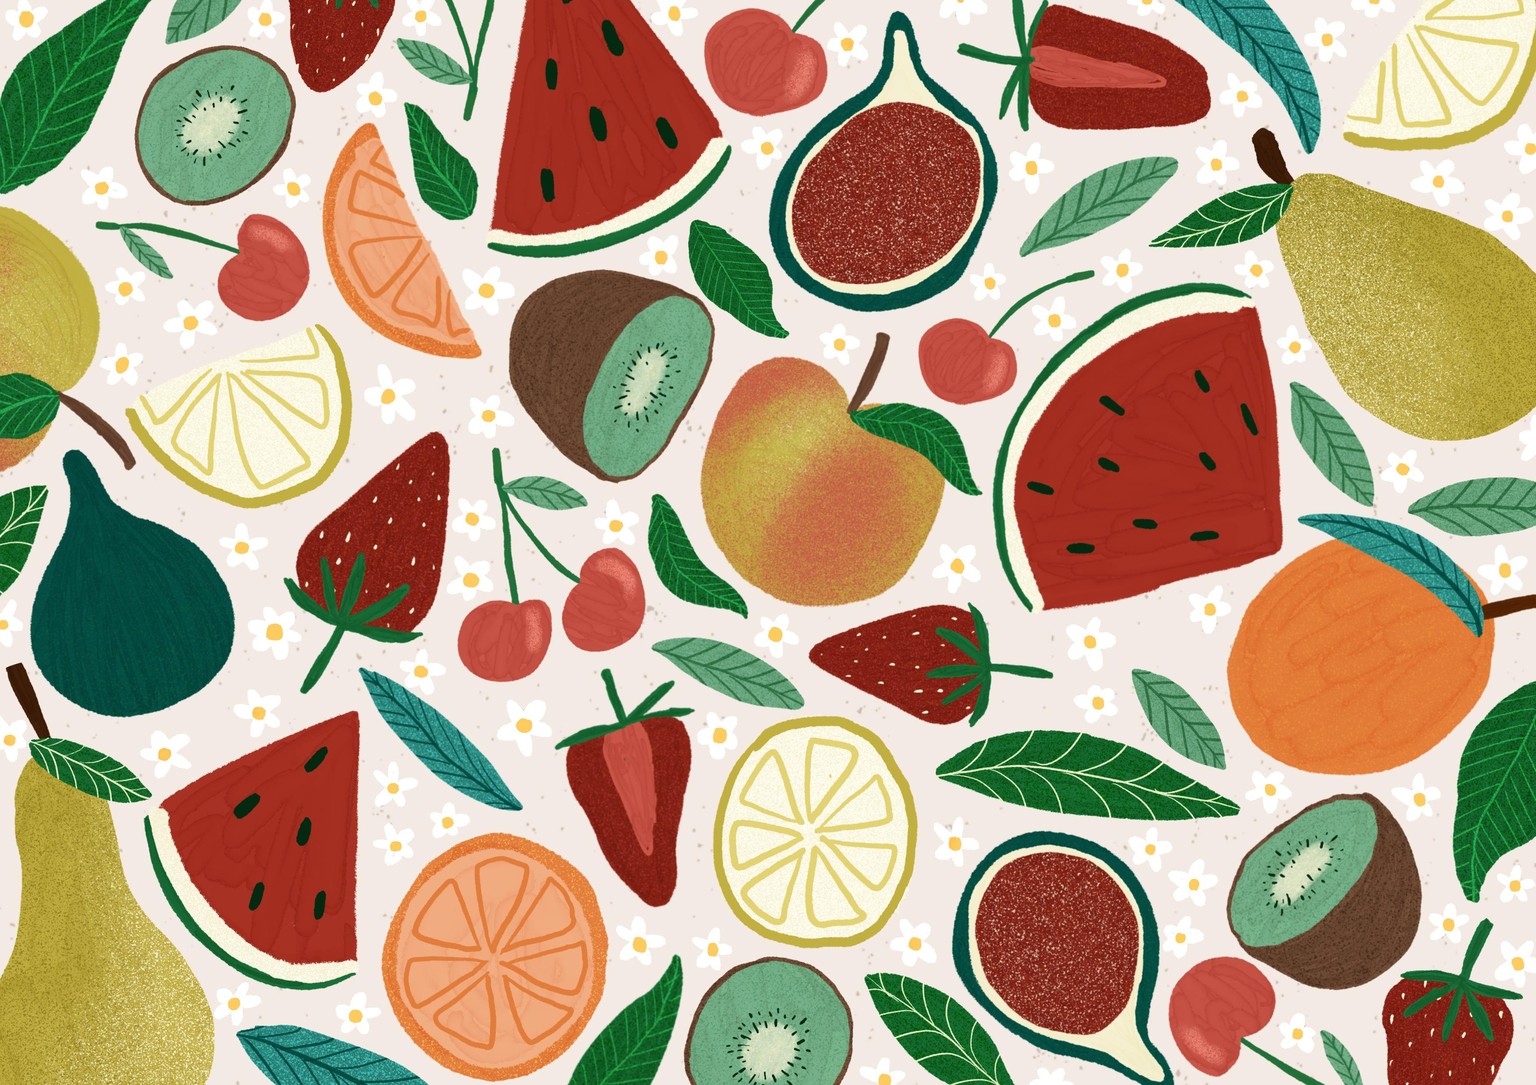
I decided to create another flat lay but this time using fruit! I used the same process as for the floral ones. (There are three different colour and composition versions but they all have the same elements.)